Articles
How To Remove Can Lights Without Attic Access
Modified: October 19, 2024
Learn the best techniques to remove can lights without the need for attic access. Our articles provide step-by-step instructions and expert tips for a successful removal process.
(Many of the links in this article redirect to a specific reviewed product. Your purchase of these products through affiliate links helps to generate commission for Storables.com, at no extra cost. Learn more)
Introduction
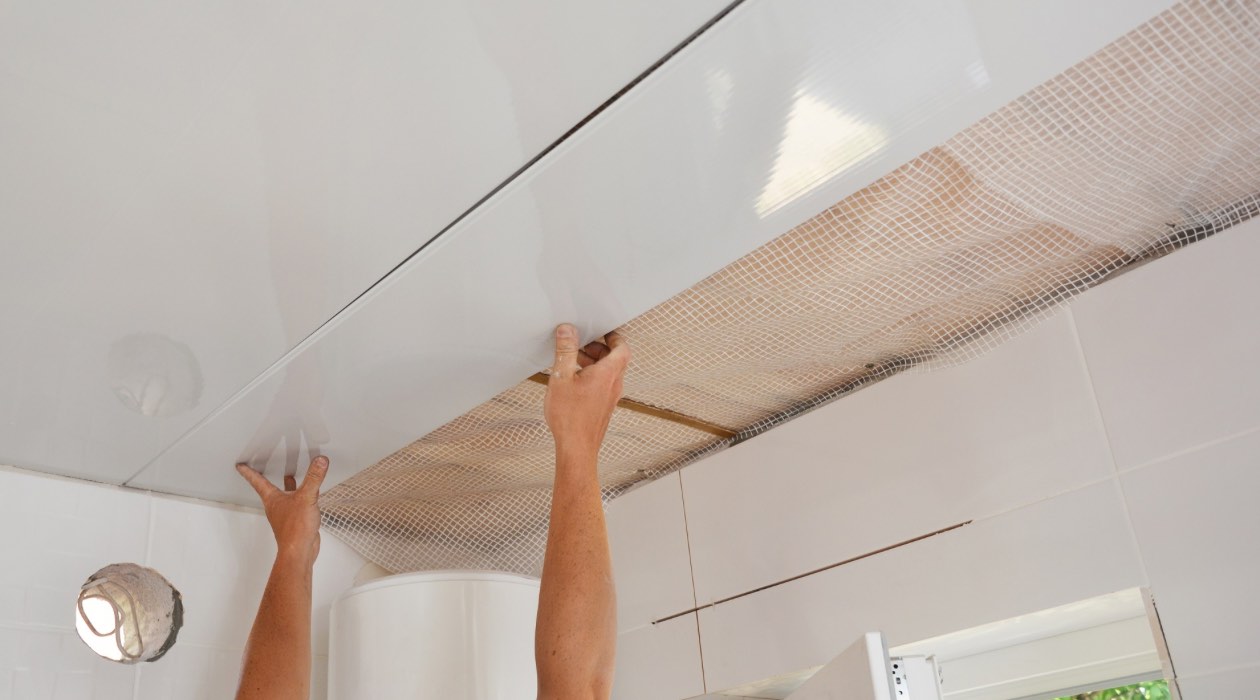
Can lights, also known as recessed lights, are popular lighting fixtures that are installed flush with the ceiling, providing a sleek and modern look to any space. However, there may come a time when you need to remove these can lights, whether it’s for replacing them with a different type of light fixture or making repairs.
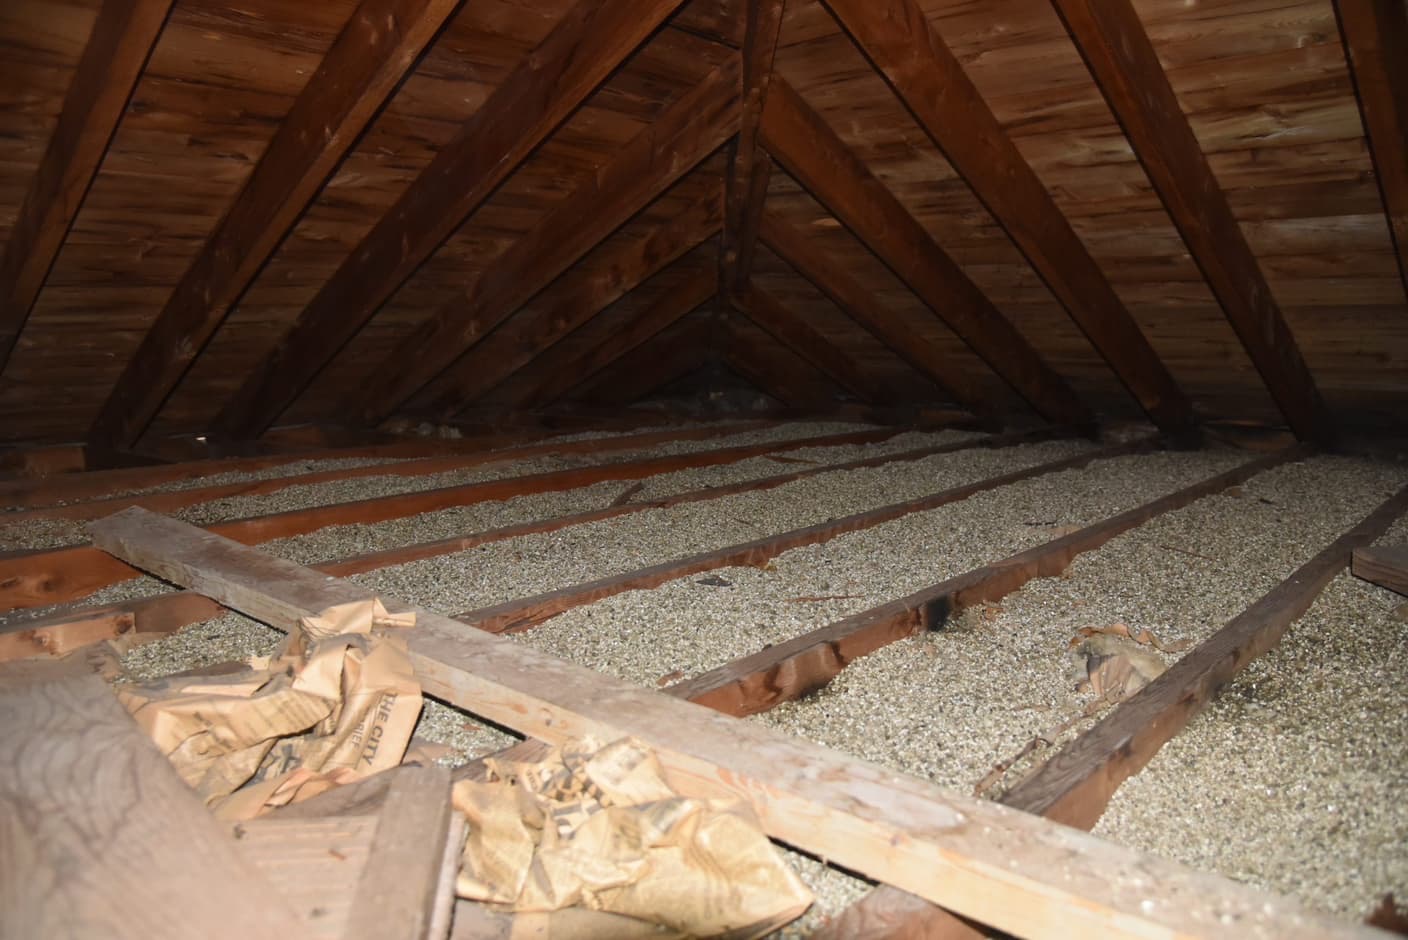
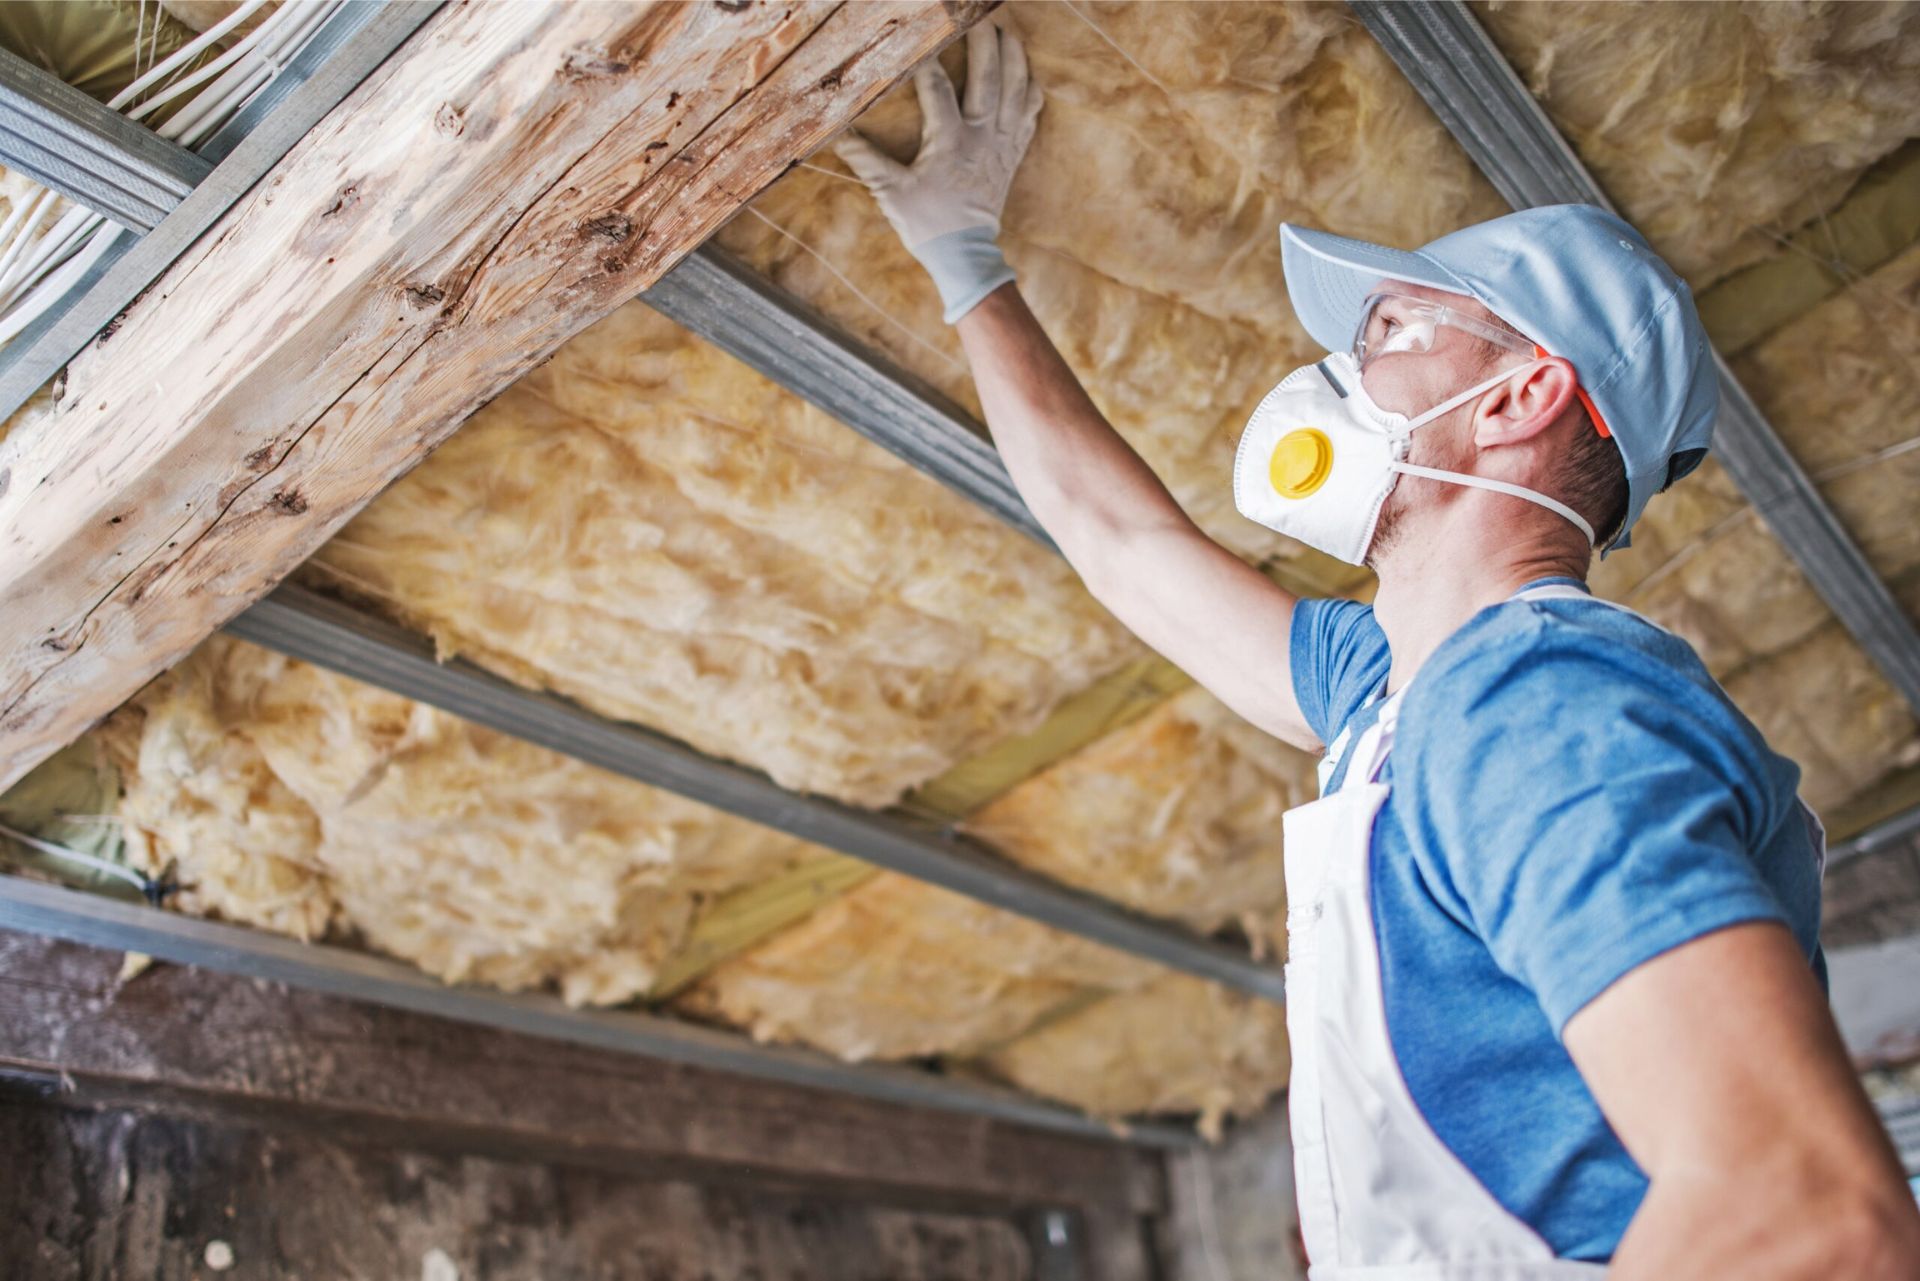
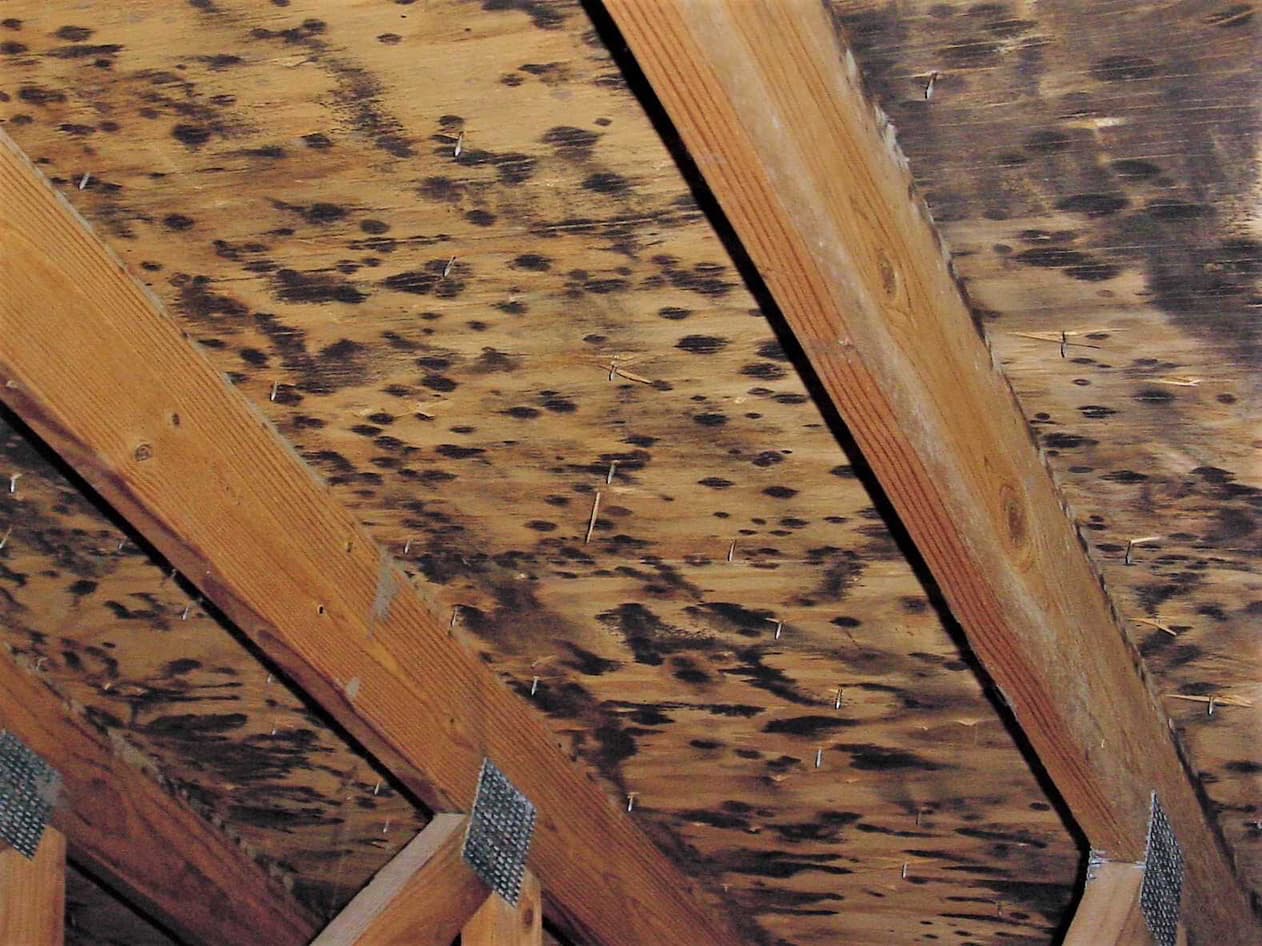
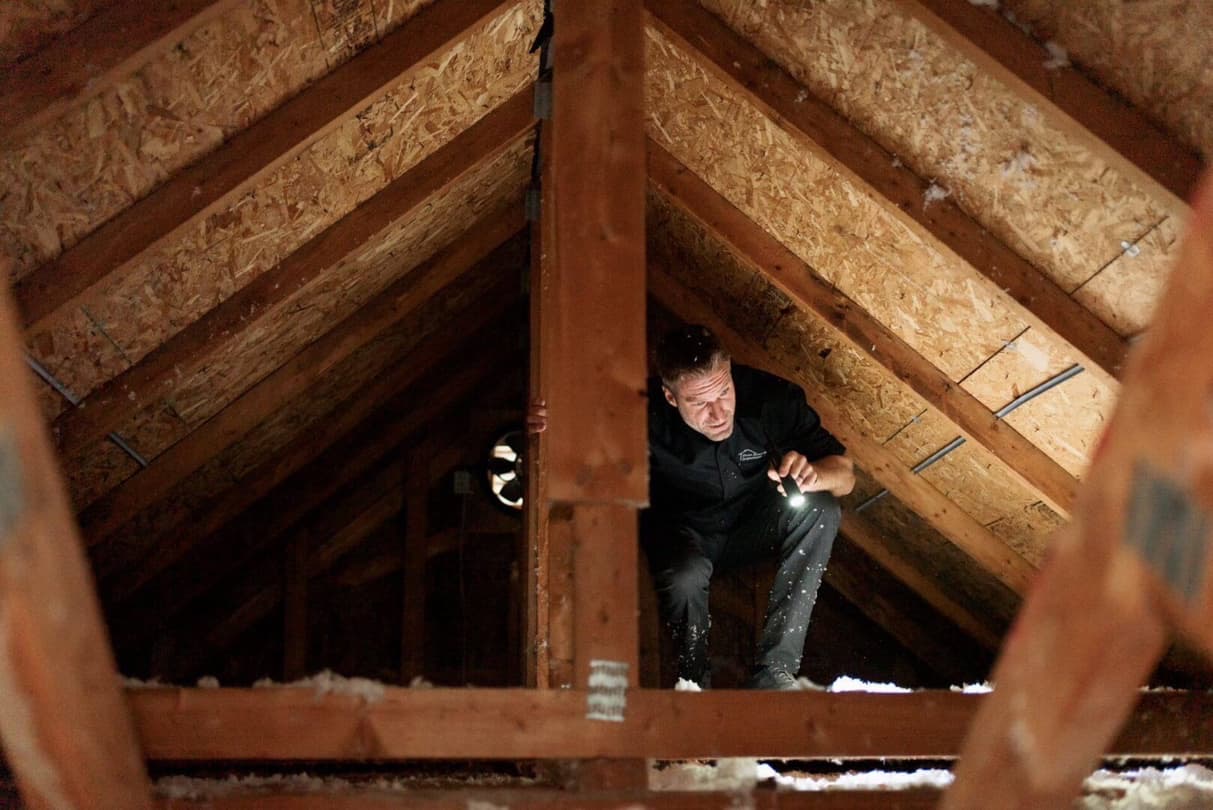
One common challenge when removing can lights is the lack of attic access. In some cases, the can lights are located in ceilings that do not have a crawl space or attic above them, making it difficult to access and remove the lights. However, with the right tools and techniques, it is still possible to remove can lights without attic access.
In this article, we will guide you through the step-by-step process of removing can lights without attic access. We will cover all the necessary tools and materials, as well as provide expert tips to ensure a smooth and successful removal process. So, let’s get started!
Key Takeaways:
- Removing can lights without attic access is possible with the right tools and safety precautions. Follow the step-by-step guide to safely disconnect wiring, patch the ceiling, and install a new fixture or cover the opening.
- Prioritize safety by turning off the power and handling wiring with care. Whether installing a new fixture or covering the opening, take your time and seek professional assistance if needed for a successful can light removal project.
Read more: How To Access Attic
Step 1: Gather the necessary tools and materials
Before you begin removing the can lights without attic access, it’s important to gather all the necessary tools and materials. This will ensure that you have everything you need at hand and can complete the task efficiently. Here’s a list of items you’ll need:
- A sturdy step ladder or platform to safely reach the can lights
- A screwdriver (preferably a Phillips-head) or a drill with a screwdriver bit
- A pair of needle-nose pliers or wire cutters
- An insulated voltage tester to ensure the power is off
- Electrical tape to secure wire connections
- Safety goggles and gloves for protection
- Patch and paint materials for the ceiling, if needed
It’s important to note that the specific tools and materials required may vary depending on your specific situation. For example, if you have additional wiring or specific mounting brackets, you may need additional tools to disconnect them. It’s always a good idea to assess your particular setup and gather any additional tools or materials that may be required.
Once you have gathered all the necessary tools and materials, double-check to ensure you have everything and are ready to proceed to the next step. It’s always better to be fully prepared before starting any home improvement project.
Step 2: Turn off the power to the can lights
Before performing any work on electrical fixtures, it is crucial to ensure that the power is turned off. This step is crucial for your safety as well as preventing any accidental damage to the wiring or electrical components. Here’s how you can turn off the power to the can lights:
- Locate the circuit breaker panel in your home. It is usually found in the basement, garage, or utility room. If you’re unsure of its location, consult your home’s blueprint or ask for assistance.
- Open the circuit breaker panel and locate the breaker that controls the power to the can lights. It may be labeled as “recessed lights” or “can lights.” If not labeled, you can identify the correct breaker by turning off each one individually and testing the lights.
- Once you have identified the correct breaker, switch it to the “off” position. It is recommended to place a piece of tape over the breaker to prevent anyone from accidentally turning it back on while you’re working.
- After turning off the power at the circuit breaker panel, test the can lights to ensure they are no longer receiving power. To do this, turn on the light switch that controls the can lights. If the lights do not turn on, you have successfully turned off the power.
It is important to exercise caution and treat all wires as if they are live, even after turning off the power. Always use insulated tools and avoid touching any exposed wires or electrical components. Safety should always be a top priority when working with electrical systems.
Once you have confirmed that the power is off, you can proceed to the next step of removing the can lights.
Step 3: Remove the light bulb and trim from the can light
With the power turned off, it’s time to remove the light bulb and trim from the can light. This step will allow you to access the mounting brackets or screws and disconnect the wiring. Here’s how you can remove the light bulb and trim:
- Start by carefully unscrewing or removing the light bulb from the can light. Set it aside in a safe place to avoid any breakage.
- Next, examine the trim surrounding the can light. Depending on the type of can light, the trim may be held in place by clips, springs, or screws.
- If there are clips or springs, gently squeeze or depress them to release the trim. If screws are present, use a screwdriver to loosen and remove them.
- Once the trim is free, carefully pull it away from the can light. Be mindful of any wiring connections that may still be attached.
- If there are any additional components attached to the trim, such as baffles or lenses, remove them as well.
During this step, it’s important to handle the trim and components with care to avoid any damage. Some trims may be fragile, so use caution when removing them.
By removing the light bulb and trim, you have now gained access to the inner workings of the can light, making it easier to proceed with the next steps of removing the fixture completely.
Step 4: Loosen the mounting brackets or screws
With the light bulb and trim removed, it’s time to loosen the mounting brackets or screws that hold the can light in place. This step will allow you to detach the can light from the ceiling. Here’s how you can loosen the mounting brackets or screws:
- Inspect the inside of the can light and locate the mounting brackets or screws that secure it to the ceiling.
- If the can light is secured with mounting brackets, look for small tabs or levers that hold them in place. Using a screwdriver or pliers, carefully push or rotate these tabs to release the brackets.
- If the can light is secured with screws, use a screwdriver or drill with a suitable bit to loosen and remove the screws. Make sure to keep a firm grip on the can light while loosening the screws.
- As you loosen the mounting brackets or screws, you may feel or hear the can light becoming loose from the ceiling. Continue loosening until the can light is completely detached.
It is important to exercise caution when loosening the mounting brackets or screws to prevent any damage to the ceiling or surrounding areas. If the can light does not seem to be coming loose easily, double-check for any additional fasteners that may be holding it in place.
Once the can light is completely detached, set it aside in a safe location. Take care when handling the can light as it may still be connected to the wiring.
With the mounting brackets or screws loosened, you’re ready to move on to the next step of disconnecting the wiring from the can light.
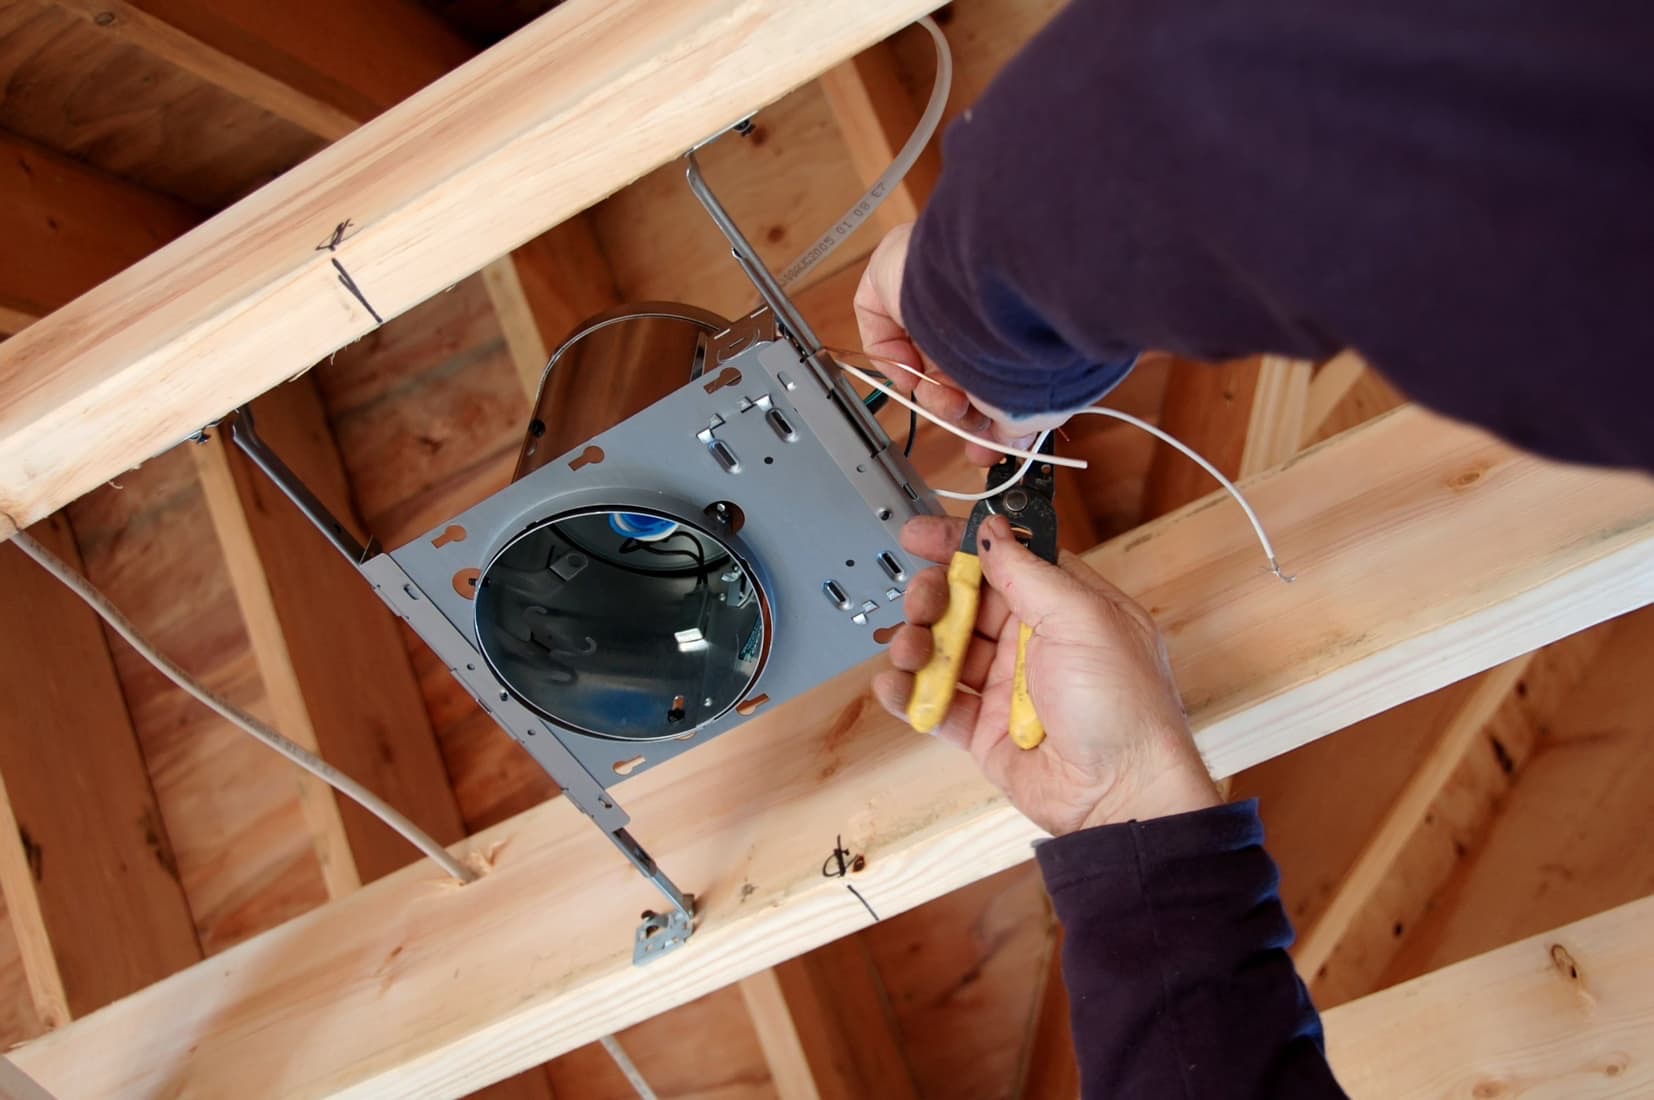
Step 5: Disconnect the wiring from the can light
Now that the can light is detached from the ceiling, it’s time to disconnect the wiring to safely remove it completely. Here’s how you can disconnect the wiring from the can light:
- Before proceeding, double-check that the power to the can lights is still turned off at the circuit breaker panel.
- Locate the wiring connections within the can light. There are typically three wires: a black (hot) wire, a white (neutral) wire, and a bare or green (ground) wire.
- Using a screwdriver or wire cutters, loosen the wire connectors by turning them counterclockwise or cutting them, if necessary.
- Once the wire connectors are loose, gently separate the wires by pulling them apart. Take care not to yank or pull too forcefully to avoid damaging the wires or connectors.
- After the wires are disconnected, use electrical tape to secure the wire ends and prevent them from accidentally coming into contact with each other or with any other live wires.
It’s important to handle the wiring with extreme care. If you’re unsure about disconnecting the wiring, it may be wise to consult a licensed electrician for assistance. Electricity can be dangerous, and proper precautions should always be taken.
Once the wiring is safely disconnected, you can move on to the next step of removing the can light from the ceiling.
If you don’t have attic access, you can remove can lights by carefully prying them out with a flathead screwdriver. Be sure to turn off the power before starting.
Step 6: Remove the can light from the ceiling
With the wiring safely disconnected, you’re now ready to remove the can light from the ceiling. This step involves carefully pulling the can light out of its housing. Here’s how to remove the can light:
- Position yourself on the step ladder or platform so that you have a clear view and access to the can light.
- Grasp the outer edge of the can light firmly with both hands.
- Gently pull the can light straight down and away from the ceiling. Use steady, even pressure to avoid any sudden movements or jerks.
- As you pull the can light, you may encounter some resistance due to the tight fit in the ceiling. If needed, wiggle the can light back and forth or gently rotate it to loosen it from any adhesive or drywall compound.
- Continue pulling until the can light is completely removed from the ceiling. Set it aside in a safe area away from the workspace.
Be cautious when removing the can light from the ceiling, as it may be heavier than it appears. If you have any concerns about your ability to safely handle the can light, consider enlisting the help of a second person.
With the can light successfully removed, you’re now ready to proceed to the next step of patching and painting the ceiling.
Step 7: Patch and paint the ceiling
After removing the can light, you may have a hole or opening in the ceiling where the light was previously installed. In this step, we will guide you through the process of patching and painting the ceiling to restore its appearance. Here’s how to patch and paint the ceiling:
- Assess the size and condition of the hole or opening left by the can light. If it is a small hole or indentation, you can use a premixed patching compound to fill it. For larger openings, you may need to use a drywall patch or mesh tape to create a smooth surface.
- Clean the area around the hole to remove any dust or debris. Use a damp cloth or sponge to wipe away any loose particles.
- If using premixed patching compound, apply a thin layer over the hole using a putty knife. Smooth it out evenly and feather the edges to blend with the surrounding ceiling surface. Allow the compound to dry according to the manufacturer’s instructions.
- For larger openings or ones that require a drywall patch or mesh tape, follow the instructions on the product packaging for proper installation. Typically, this involves applying a layer of joint compound, placing the patch or tape over it, and then adding additional layers of joint compound to create a smooth surface.
- Once the patching compound is dry and the surface is smooth, sand it lightly with fine-grit sandpaper to create a seamless finish. Wipe away any dust with a clean cloth.
- Now it’s time to paint the patched area. Use a roller or brush to apply paint that matches the color of your ceiling. Apply multiple thin coats, allowing each coat to dry before adding another. This will help achieve an even and uniform finish.
- Once the final coat of paint has dried, step back and inspect the patched area for any imperfections. If needed, touch up any areas with additional paint to ensure a seamless blend with the rest of the ceiling.
Remember to follow the instructions provided with the patching compound and paint products for the best results. Take your time during the patching and painting process to achieve a professional-looking finish.
With the ceiling patched and painted, you have successfully completed this step. The next and final step is to either install a new light fixture or cover the opening left by the can light.
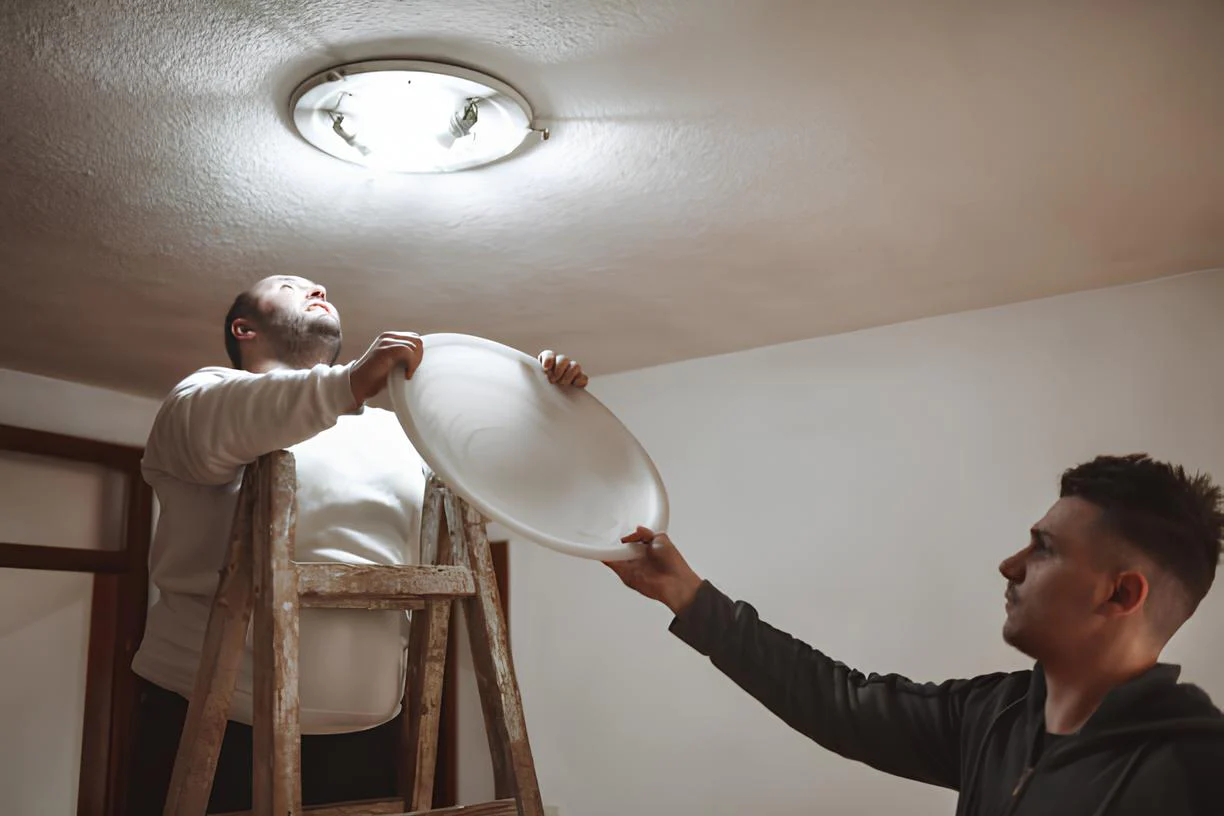
Step 8: Install a new light fixture or cover the opening
With the can light removed and the ceiling patched and painted, you have reached the final step in the process. In this step, you have two options: installing a new light fixture to replace the can light or covering the opening left by the can light. Here’s how to proceed with each option:
Option 1: Install a new light fixture:
- Select a new light fixture that fits your desired style and functionality. Ensure that the mounting bracket or base of the new fixture covers the opening left by the can light.
- Follow the manufacturer’s instructions for installing the new light fixture. This may involve connecting the wiring, securing the fixture to the ceiling, and attaching any decorative components or shades.
- Once the new light fixture is securely installed, turn on the power at the circuit breaker panel and test the light to ensure it is functioning properly.
- Make any necessary adjustments to the light fixture, such as angling the direction of the light or adjusting the height, to achieve your desired lighting effect.
Option 2: Cover the opening:
- If you prefer not to install a new light fixture, cover the opening left by the can light with a ceiling medallion or a decorative cover plate.
- Select a ceiling medallion or cover plate that matches the style and size of the hole left by the can light.
- Securely attach the ceiling medallion or cover plate to the ceiling using adhesive or screws, following the manufacturer’s instructions.
- If necessary, make any additional adjustments or enhancements to the covering, such as painting or adding decorative elements, to create a cohesive look with your ceiling.
Remember to take your time and ensure that the new light fixture is installed securely or the covering is properly affixed to the ceiling. Safety and stability should be your top priorities.
Congratulations! You have successfully completed the process of removing can lights without attic access and either installed a new light fixture or covered the opening. Take a moment to admire your handiwork and enjoy the updated look of your space!
It is always advisable to consult the manufacturer’s instructions and, if necessary, seek professional assistance when installing new light fixtures or performing any electrical work.
Conclusion
Removing can lights without attic access may seem like a daunting task, but with the right tools, materials, and knowledge, it is entirely possible to accomplish. By following the step-by-step guide outlined in this article, you can safely and effectively remove can lights from your ceiling, whether for replacement or repair purposes.
Throughout the process, we covered essential steps such as gathering the necessary tools and materials, turning off the power, removing the light bulb and trim, loosening the mounting brackets or screws, disconnecting the wiring, removing the can light from the ceiling, patching and painting the ceiling, and finally, installing a new light fixture or covering the opening left by the can light.
It’s crucial to prioritize safety during the entire process. Always turn off the power at the circuit breaker panel before working on any electrical fixtures, and never hesitate to consult a professional if you’re unsure about any electrical work.
Now that you have successfully removed the can lights, you have the opportunity to transform your space by installing a new light fixture that suits your style and needs or covering the opening with a decorative solution.
Remember that every home may have unique challenges, so adapt the steps as needed to fit your specific situation. While this guide provides a general framework, it’s essential to always refer to the manufacturer’s instructions for specific fixtures and seek professional assistance when necessary.
By following these steps and exercising patience and care, you can achieve the desired results and enjoy a refreshed look in your home. Best of luck with your can light removal project!
Now that you've mastered removing can lights, why not brighten your space with some modern flair? Our next feature walks you through choosing LED mirrors that not only illuminate but also add style to any room. Perfect for bathrooms, dressing areas, or any part of your home needing a splash of light, these LED mirrors are both practical and chic. Don't miss out on transforming your spaces with these stylish fixtures.
Frequently Asked Questions about How To Remove Can Lights Without Attic Access
Was this page helpful?
At Storables.com, we guarantee accurate and reliable information. Our content, validated by Expert Board Contributors, is crafted following stringent Editorial Policies. We're committed to providing you with well-researched, expert-backed insights for all your informational needs.


0 thoughts on “How To Remove Can Lights Without Attic Access”