
Articles
How To Install Bathroom Sink Plumbing
Modified: March 1, 2024
Learn the step-by-step process of installing bathroom sink plumbing with these informative articles. Discover expert tips and avoid common pitfalls for a successful DIY project.
(Many of the links in this article redirect to a specific reviewed product. Your purchase of these products through affiliate links helps to generate commission for Storables.com, at no extra cost. Learn more)
Introduction
Welcome to our comprehensive guide on how to install bathroom sink plumbing. Whether you are remodeling your bathroom or simply replacing an old sink, understanding the process of installing sink plumbing is crucial.
Having a functional and efficient plumbing system is essential for any bathroom. Installing the plumbing for your bathroom sink may seem like a challenging task, but with the right tools, materials, and step-by-step instructions, it can be a straightforward process.
In this article, we will walk you through each step of the installation process, from preparing the area to securing the sink to the vanity. By following our guide, you can save money by avoiding professional plumber fees and have the satisfaction of completing the project yourself.
Before we dive into the installation process, let’s take a look at the tools and materials you will need.
Key Takeaways:
- Installing bathroom sink plumbing is a manageable DIY project with the right tools and step-by-step instructions. By preparing the area, connecting the water supply lines, and testing for leaks, you can achieve a reliable and efficient plumbing system.
- Prioritizing safety and attention to detail throughout the installation process is crucial for a successful outcome. By following this comprehensive guide, you can save money and gain valuable knowledge while achieving a properly installed and functional bathroom sink.
Tools and Materials Needed
Before you begin installing your bathroom sink plumbing, gather the necessary tools and materials. Having everything prepared upfront will make the installation process smoother and more efficient. Here are the tools and materials you will need:
- Adjustable wrench
- Hacksaw
- Tape measure
- Plumber’s putty
- Teflon tape
- Pipe cutter
- Slip-joint pliers
- Screwdriver
- Bucket or basin
- Flexible supply lines
- Plumbing trap (P-trap)
- Drain assembly
- Sink mounting clips
- Plumbing fittings (elbows, tees, couplings, etc.)
- PVC or copper pipes
- Plumber’s tape
- Plumber’s epoxy (for repairing leaks)
Make sure to have all these tools and materials on hand before you start the installation. It’s also a good idea to check the sink manufacturer’s instructions, as they may provide specific tools or materials that are required for your particular sink model.
Once you have gathered all the necessary tools and materials, you are ready to move on to the next step: preparing the area for installation.
Step 1: Prepare the Area
Before you start installing the bathroom sink plumbing, it’s important to prepare the area where the sink will be placed. This involves clearing the space, ensuring proper measurements, and making any necessary adjustments to the plumbing rough-in.
Here’s how to prepare the area:
- Clear the space: Remove any items or clutter from the countertop or vanity where the sink will be installed. This will provide you with a clear workspace to maneuver and install the plumbing.
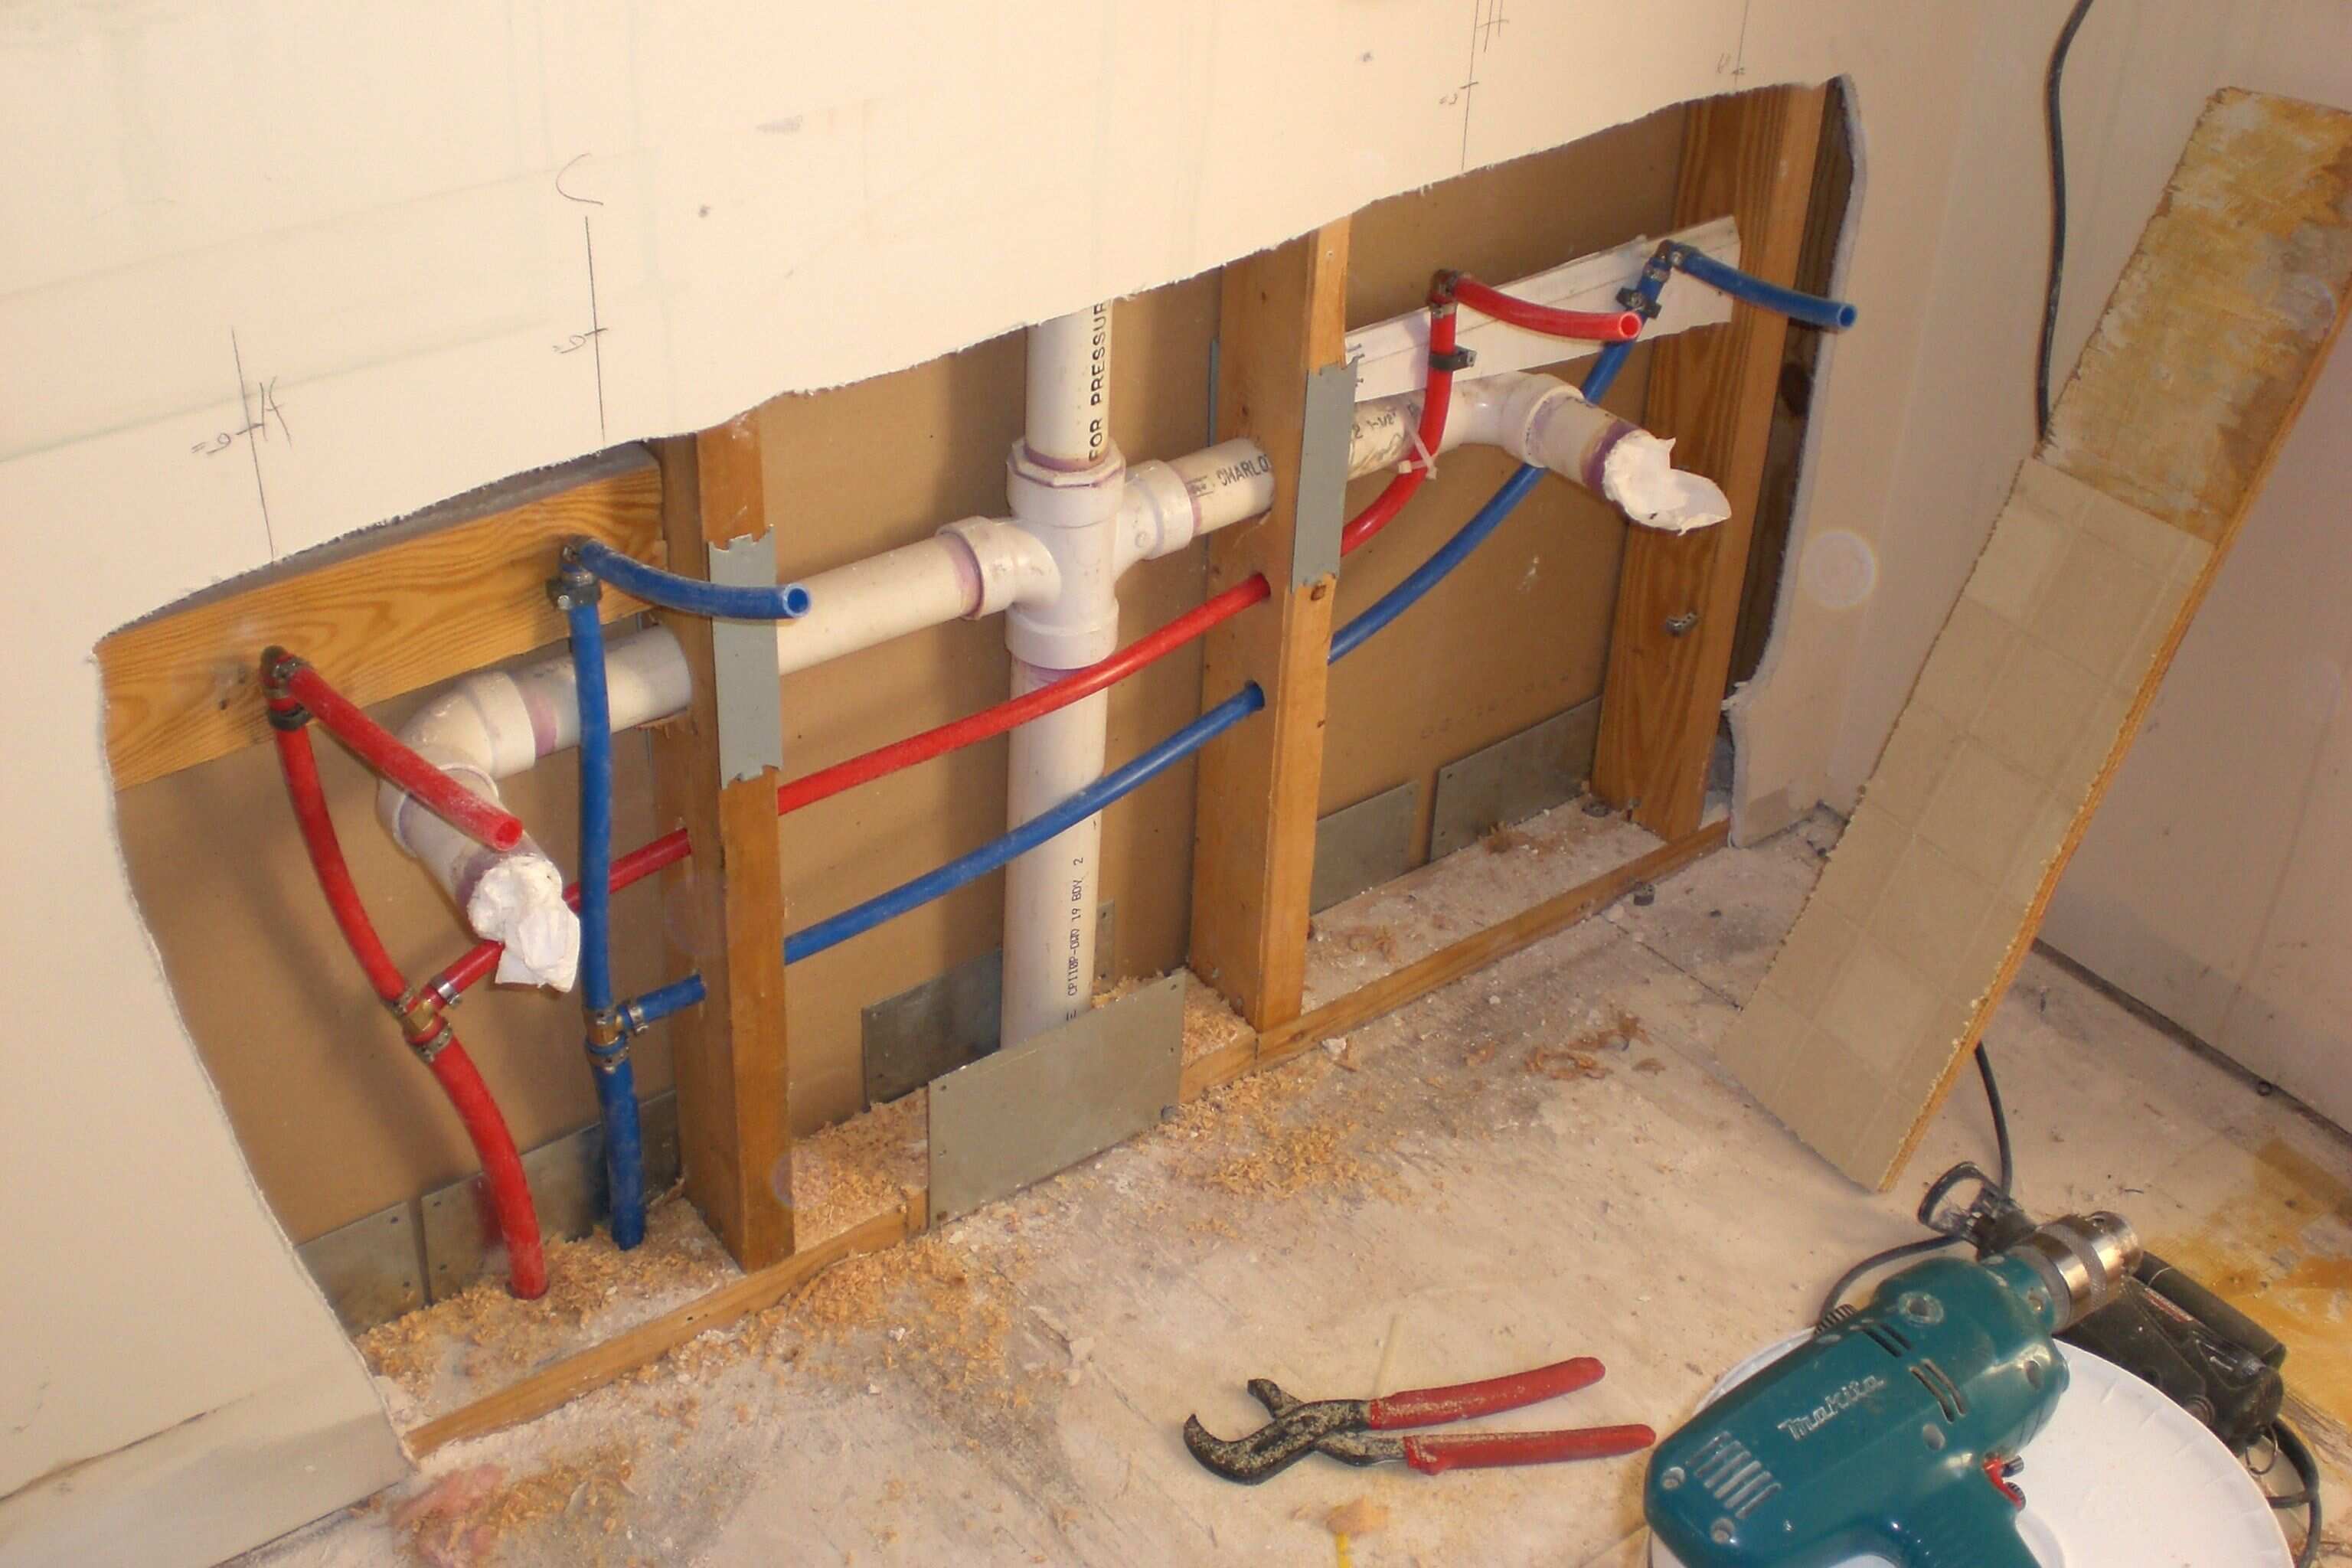
- Measure the rough-in: Measure the rough-in dimensions for the sink drain and water supply lines. The rough-in refers to the distance between the wall and the centerline of the drain and supply lines. Ensure that the measurements are accurate as they will determine where the sink will be positioned on the countertop or vanity.
- Adjust the rough-in: If the existing plumbing rough-in does not match the measurements for your sink, you may need to make adjustments. This can involve cutting and repositioning the drain pipe and supply lines. Use a hacksaw or pipe cutter to make any necessary modifications.
- Check for leaks: Before proceeding with the installation, check for any leaks or water damage in the existing plumbing. This is crucial to ensure a clean and secure installation. If you detect any leaks or damage, it may be necessary to repair or replace the affected pipes or fittings.
By taking the time to properly prepare the area, you will ensure a smooth and trouble-free installation process. Once you have completed these steps, you can move on to the next step: installing the drain pipe.
Step 2: Install the Drain Pipe
Installing the drain pipe is a crucial step in the bathroom sink plumbing installation process. The drain pipe is responsible for carrying away waste water from the sink and ensuring proper drainage. Follow these steps to install the drain pipe:
- Assemble the drain assembly: Start by assembling the drain assembly according to the manufacturer’s instructions. This typically involves attaching the drain flange to the sink basin and connecting the tailpiece to the drain pipe.
- Apply plumber’s putty: Apply a thin layer of plumber’s putty around the underside of the drain flange. This will create a watertight seal between the flange and the sink basin.
- Insert the drain flange: Insert the drain flange into the drain hole in the sink basin. Make sure the flange is centered and aligned properly.
- Tighten the locknut: From under the sink, insert the rubber gasket, followed by the friction ring, and then the locknut. Use an adjustable wrench to tighten the locknut and secure the drain flange in place. Be careful not to overtighten, as it may damage the sink or cause leaks.
- Connect the tailpiece: Attach the tailpiece to the drain pipe. Use plumber’s tape or Teflon tape to create a tight seal between the threads of the tailpiece and the drain pipe.
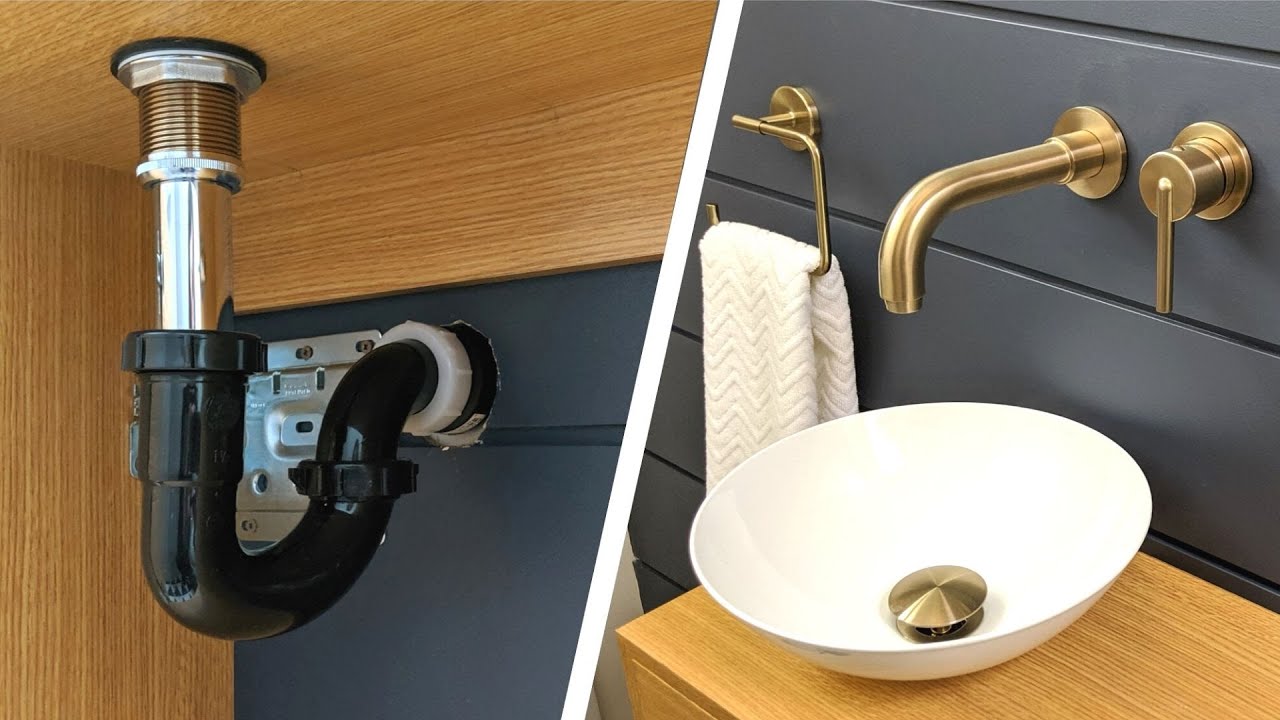
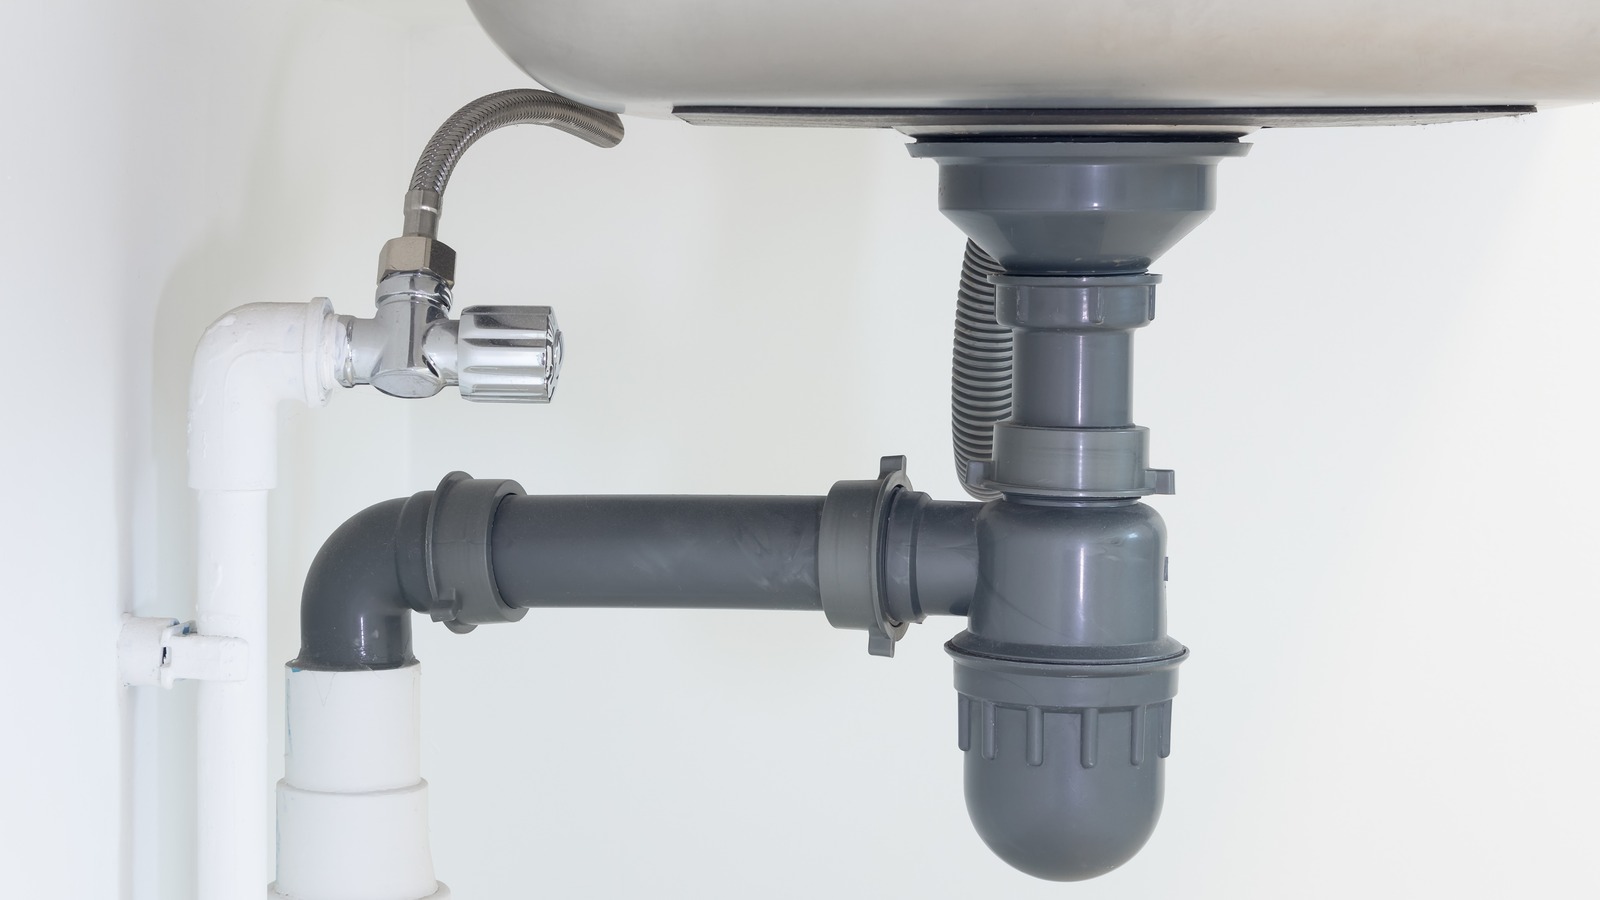
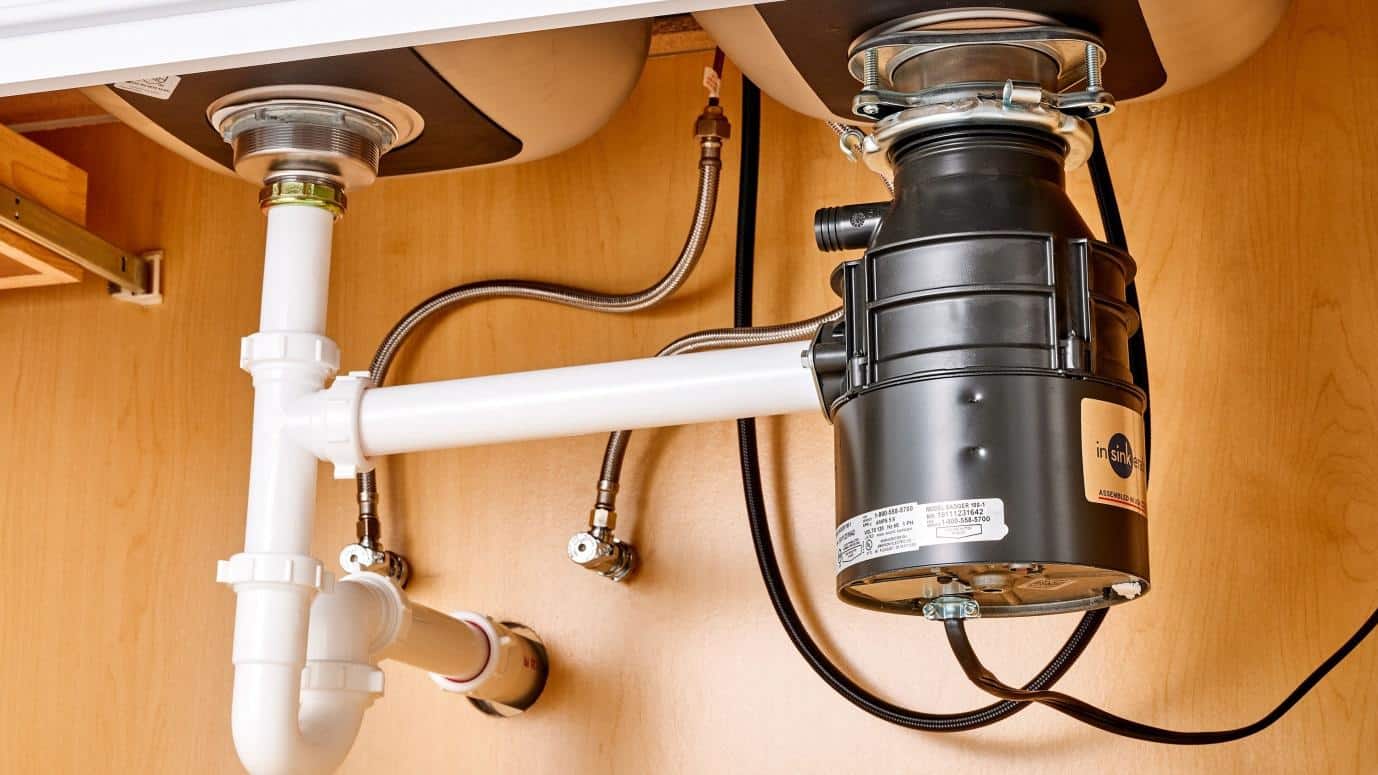
- Secure the P-trap: Install the P-trap onto the tailpiece. Ensure that the P-trap is properly aligned with the drain pipe and tighten the connections using slip-joint pliers.
Once you have installed the drain pipe, it’s important to test for leaks before proceeding to the next step. Run water into the sink and check for any leaks around the drain assembly and P-trap. If you notice any leaks, tighten the connections or apply plumber’s epoxy to seal the leaks.
With the drain pipe successfully installed and tested for leaks, you can move on to the next step: connecting the water supply lines.
Step 3: Connect the Water Supply Lines
Connecting the water supply lines is an essential step in installing bathroom sink plumbing. The water supply lines are responsible for delivering clean water to the faucet and ensuring proper functionality. Follow these steps to connect the water supply lines:
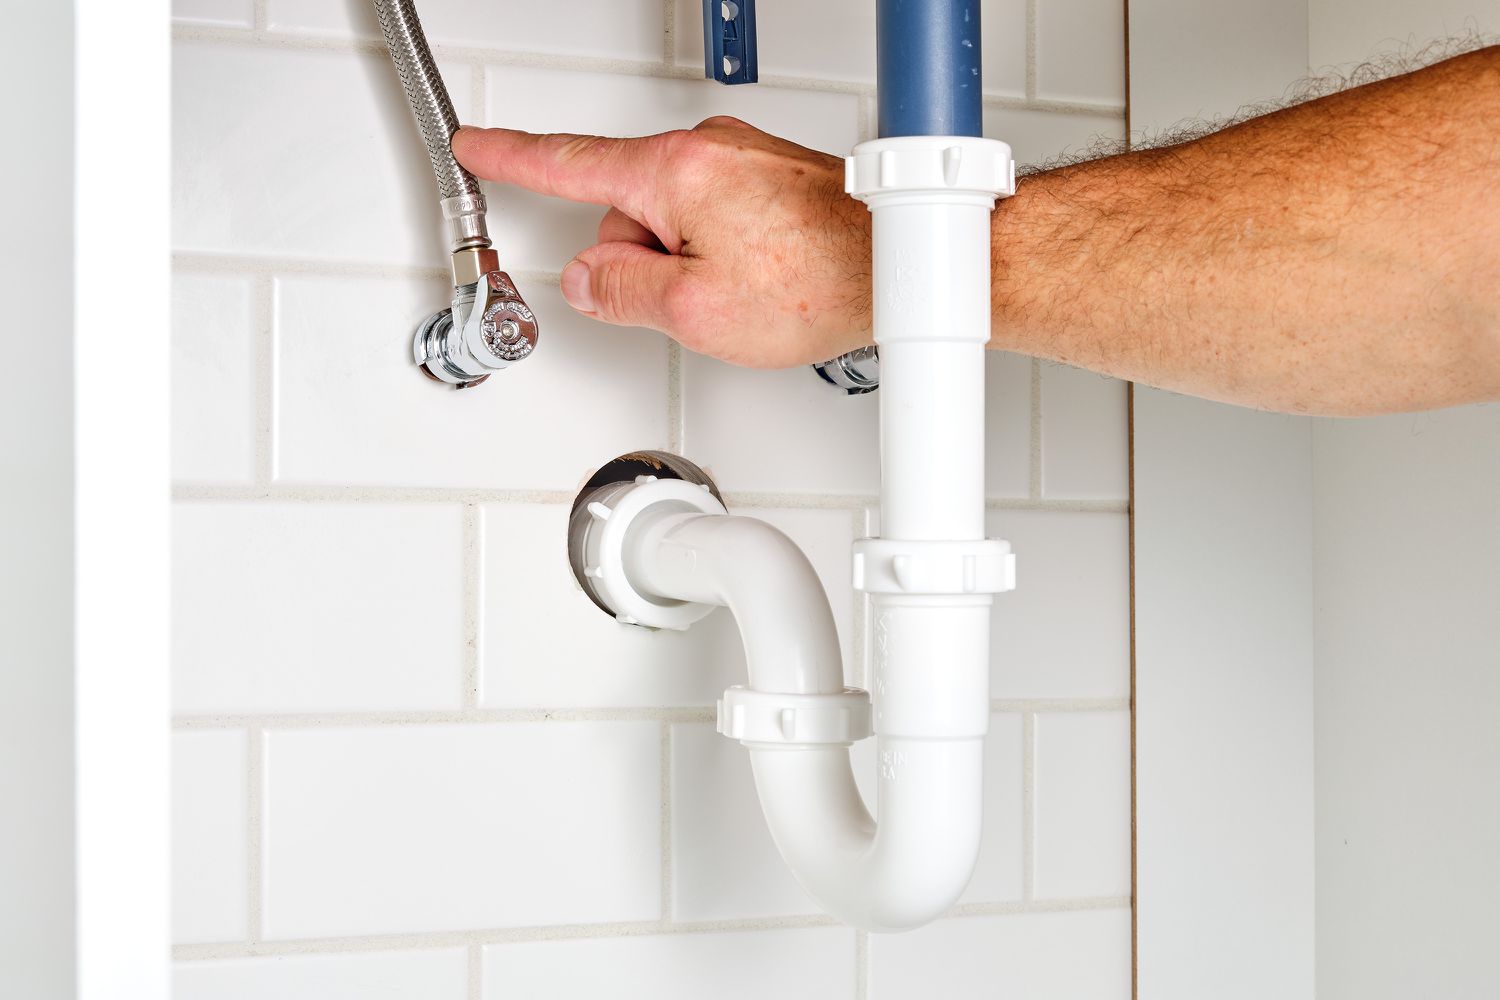
- Locate the shut-off valves: Before connecting the water supply lines, locate the shut-off valves for the hot and cold water. These valves are usually located under the sink or in the bathroom plumbing access panel.
- Turn off the water supply: Use a screwdriver or wrench to turn off the shut-off valves. This will prevent any water flow while connecting the supply lines.
- Attach the flexible supply lines: Connect one end of the flexible supply lines to the shut-off valves. Ensure that you match the hot supply line to the hot water shut-off valve and the cold supply line to the cold water shut-off valve.
- Tighten the connections: Use an adjustable wrench to tighten the connections between the supply lines and shut-off valves. Make sure the connections are secure to prevent any leaks.
- Connect the other end to the faucet: Attach the other end of the supply lines to the corresponding hot and cold water inlets on the faucet. Again, use an adjustable wrench to tighten the connections.
- Turn on the water supply: Once the supply lines are securely connected, use the shut-off valves to turn on the water supply. Check for any leaks around the supply line connections and fix them if necessary.
It’s important to properly connect and tighten the water supply lines to ensure a steady flow of clean water to your bathroom sink. Once you have successfully connected the supply lines, you can move on to the next step: attaching the P-trap.
When installing bathroom sink plumbing, make sure to properly measure and cut the pipes to ensure a secure and leak-free connection. Use a pipe cutter for clean, precise cuts.
Read more: How To Install Sink Vanity
Step 4: Attach the P-Trap
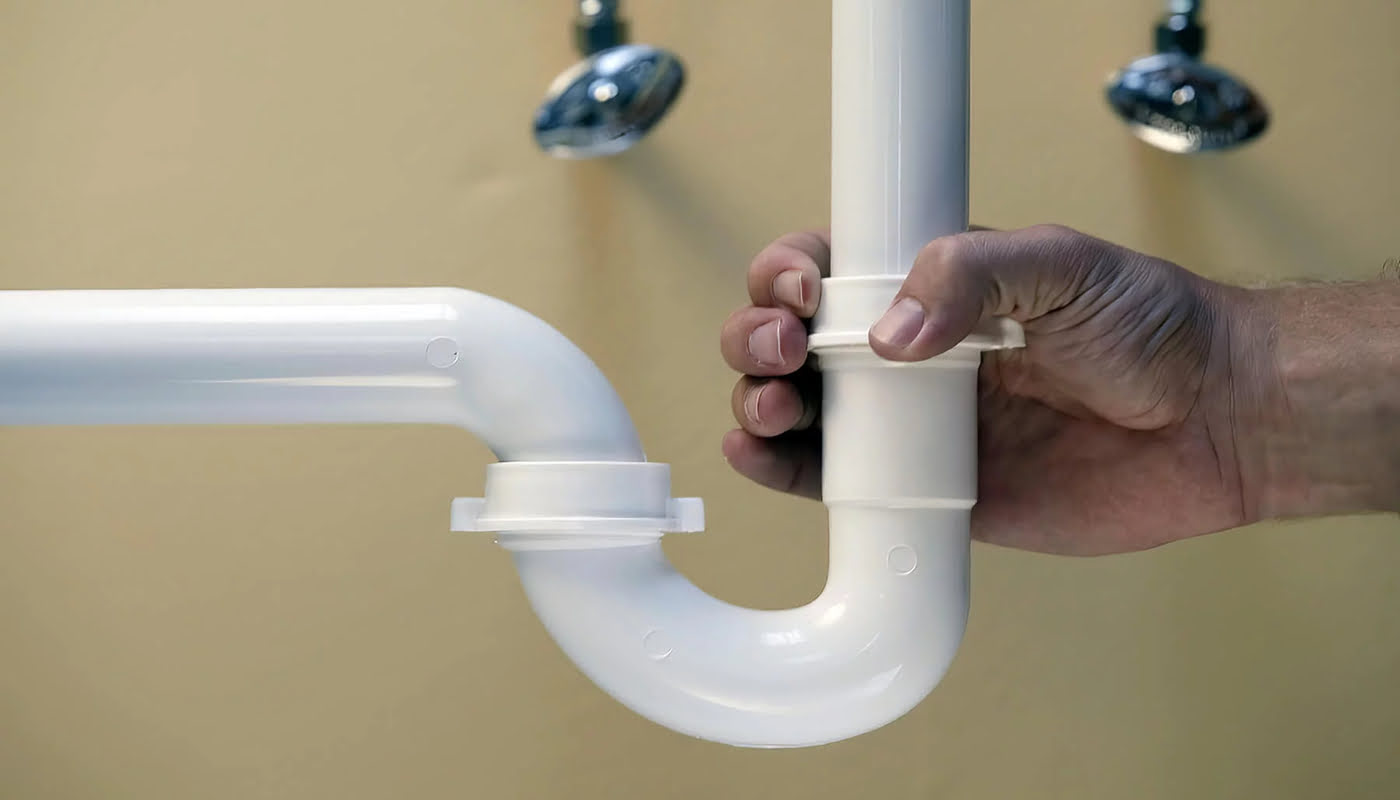
Attaching the P-Trap is an important step in the bathroom sink plumbing installation process. The P-Trap is responsible for preventing sewer gases from entering your bathroom and also allows for easy access in case of clogs or blockages. Follow these steps to attach the P-Trap:
- Position the P-Trap: Position the P-Trap underneath the sink drain, ensuring that it aligns with the drain pipe and the tailpiece.
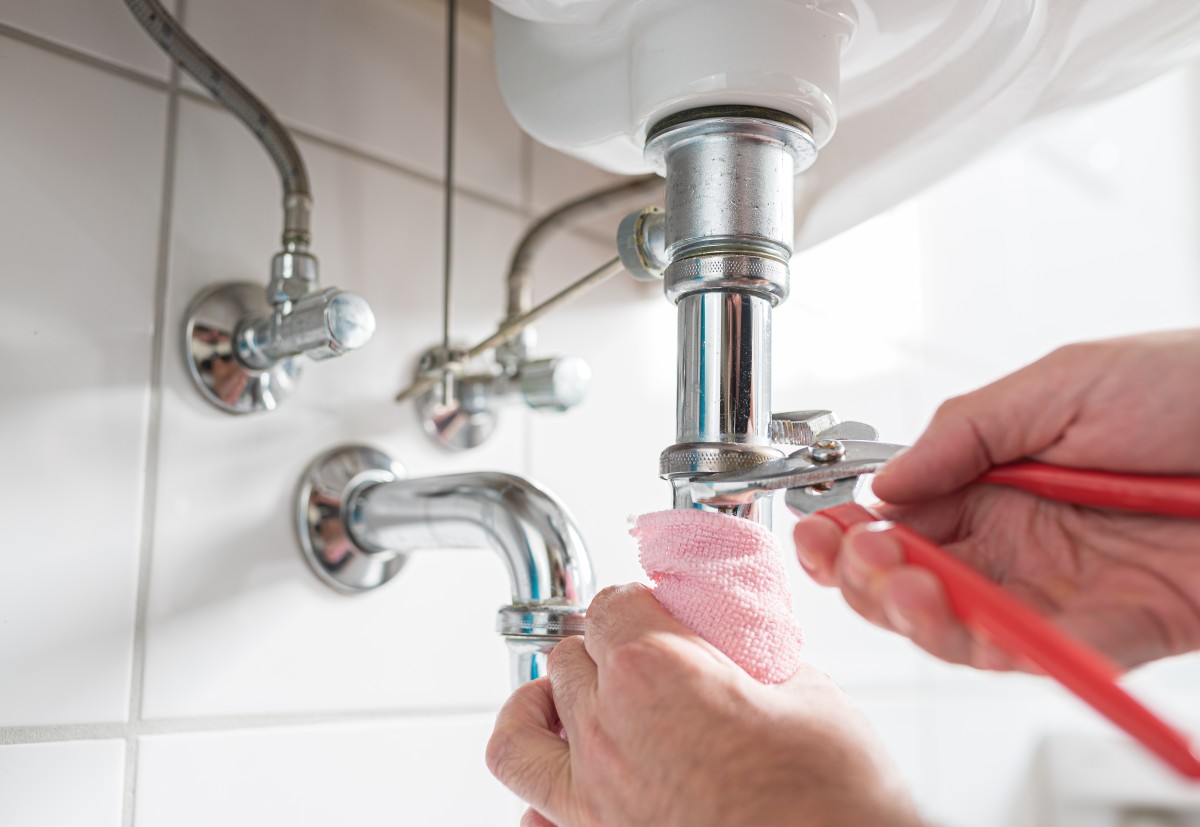
- Connect the P-Trap to the tailpiece: Insert the washer onto the end of the P-Trap and connect it to the tailpiece. Use slip-joint pliers to securely tighten the connection.
- Connect the P-Trap to the drain pipe: Insert the washer onto the other end of the P-Trap and connect it to the drain pipe. Once again, use slip-joint pliers to tighten the connection.
- Check for proper alignment: Ensure that the P-Trap is properly aligned with both the tailpiece and the drain pipe. Adjust the P-Trap if necessary to achieve the proper alignment.
- Tighten the connections: Use slip-joint pliers to tighten the connections between the P-Trap, tailpiece, and drain pipe. Make sure the connections are secure and leak-free.
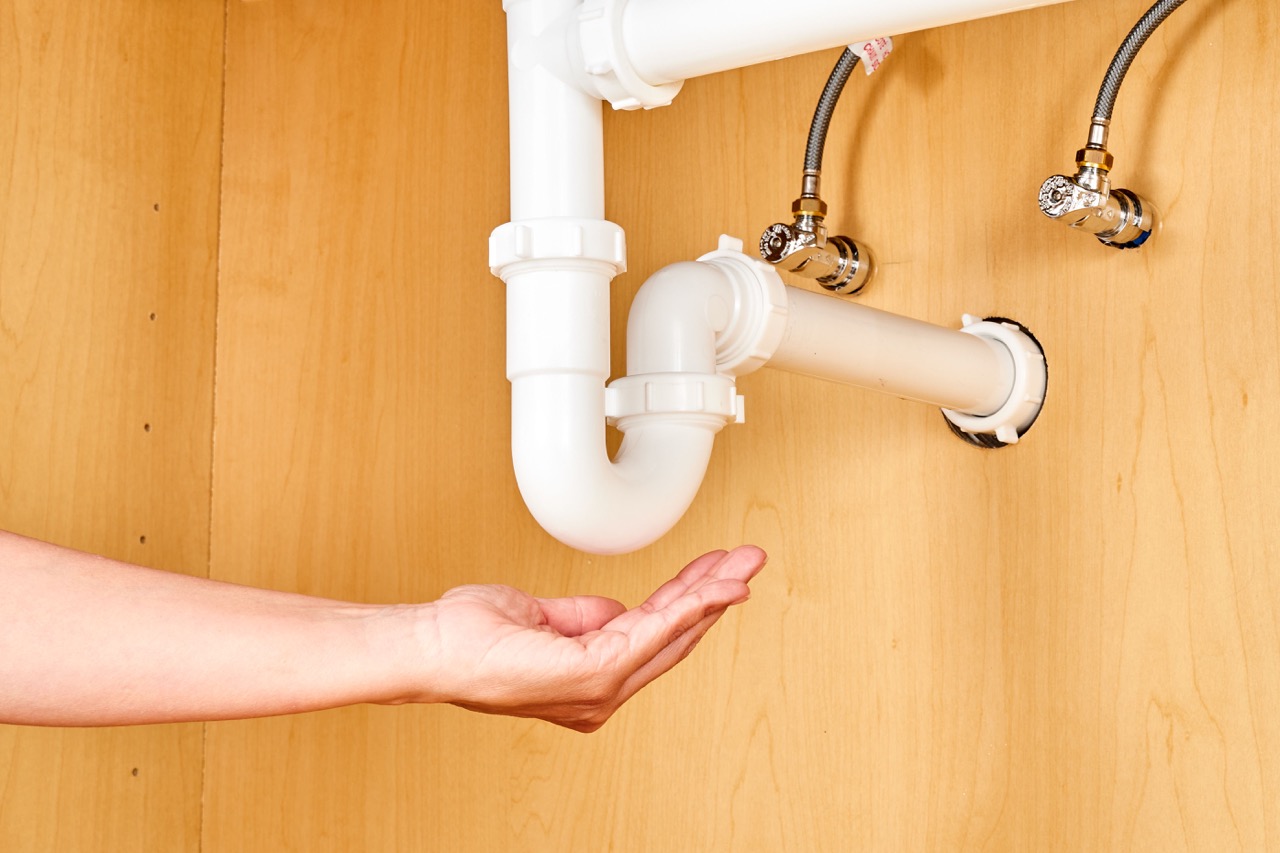
Once you have attached the P-Trap, it’s important to test for any leaks. Run water into the sink and check for any leaks around the P-Trap connections. If you notice any leaks, tighten the connections further or apply plumber’s epoxy to seal the leaks.
With the P-Trap securely attached and tested for leaks, you can move on to the next step: testing for leaks in the entire plumbing system.
Step 5: Test for Leaks
Testing for leaks is a crucial step in the bathroom sink plumbing installation process. It ensures that all connections are secure and that your plumbing system is functioning properly. Follow these steps to test for leaks:
- Fill the sink with water: Plug the sink drain and fill the sink basin with water. Make sure the water level reaches at least midway up the sink.
- Check for leaks: Carefully observe all the connections, including the drain assembly, P-Trap, and water supply lines. Look for any signs of leaks, such as dripping water or wet spots.
- Inspect under the sink: Place a bucket or basin under the P-Trap and drain pipe connections. This will catch any drips or leaks that may occur during the testing process.
- Leave water in the sink: Let the water sit in the sink for a few minutes and continue to observe for any leaks. You can also try running the water for a short period to see if any leaks occur during water flow.
- Check for proper drainage: After checking for leaks, release the water from the sink and observe how quickly it drains. If the water drains slowly, it may indicate a clog or improper installation.
If you notice any leaks during the testing process, you will need to make the necessary adjustments. Tighten any loose connections, apply plumber’s tape or plumber’s epoxy to seal leaks, or replace any faulty components if required.
Once you are confident that there are no leaks and the water is draining properly, you can move on to the final step: securing the sink to the vanity or countertop.
Step 6: Secure the Sink to the Vanity
The final step in the bathroom sink plumbing installation process is to secure the sink to the vanity or countertop. This step ensures that the sink is stable and properly aligned. Follow these steps to secure the sink:
- Apply silicone adhesive: Apply a thin bead of silicone adhesive around the underside edge of the sink. This will create a watertight seal between the sink and the vanity or countertop.
- Place the sink on the vanity: Carefully lower the sink onto the vanity or countertop, ensuring that it is centered and aligned properly.
- Secure the sink with mounting clips: Depending on the sink model, you may need to use mounting clips provided by the manufacturer. Attach the mounting clips to the underside of the sink and secure them to the vanity or countertop using screws.
- Tighten the mounting clips: Use a screwdriver to tighten the mounting clips, ensuring that the sink is securely fastened to the vanity or countertop.
Once the sink is properly secured, wipe away any excess silicone adhesive and clean the sink surface to ensure a polished appearance.
With the sink securely attached and the installation complete, it’s important to check all the components one last time. Ensure that the drain pipe is securely connected, the water supply lines are tight, and there are no visible leaks.
Congratulations! You have successfully installed the bathroom sink plumbing. Now you can enjoy not only a functional sink but also the satisfaction of completing the installation yourself.
Remember, if you encounter any difficulties or are unsure about any step in the process, it’s always advisable to seek the assistance of a professional plumber.
Thank you for following this comprehensive guide on how to install bathroom sink plumbing. We hope this article has been helpful and wish you the best of luck with your installation project!
Conclusion
Installing bathroom sink plumbing may initially seem like a daunting task, but with the right knowledge and guidance, it can be a manageable and rewarding project. By following the step-by-step instructions outlined in this comprehensive guide, you have learned how to prepare the area, install the drain pipe, connect the water supply lines, attach the P-Trap, test for leaks, and secure the sink to the vanity or countertop.
Throughout the installation process, it is important to prioritize safety, accuracy, and attention to detail. Properly aligning and securing the plumbing components, checking for leaks, and ensuring the functionality of the sink will result in a reliable and efficient plumbing system for your bathroom.
Remember, if you ever feel unsure or overwhelmed, don’t hesitate to consult a professional plumber for assistance. They have the expertise and experience to troubleshoot any issues and offer valuable insights.
By taking on this DIY project, not only have you saved money by avoiding professional plumbing fees, but you have also gained valuable knowledge and a sense of accomplishment. Now, you can enjoy the benefits of a properly installed and functional bathroom sink.
We hope this guide has provided you with the guidance you needed to successfully install bathroom sink plumbing. Remember to always refer to the manufacturer’s instructions for your specific sink model, as there may be slight variations in the installation process.
Thank you for choosing our comprehensive guide as your resource. We wish you success in your future plumbing endeavors!
Frequently Asked Questions about How To Install Bathroom Sink Plumbing
Was this page helpful?
At Storables.com, we guarantee accurate and reliable information. Our content, validated by Expert Board Contributors, is crafted following stringent Editorial Policies. We're committed to providing you with well-researched, expert-backed insights for all your informational needs.


0 thoughts on “How To Install Bathroom Sink Plumbing”