Articles
How To Install New Sink Plumbing
Modified: October 28, 2024
Learn how to install new sink plumbing with our informative articles. Step-by-step guides and expert tips to help you complete the project efficiently.
(Many of the links in this article redirect to a specific reviewed product. Your purchase of these products through affiliate links helps to generate commission for Storables.com, at no extra cost. Learn more)
Introduction
Welcome to our comprehensive guide on how to install new sink plumbing. Whether you are remodeling your kitchen or bathroom, upgrading your plumbing system, or simply replacing an old sink, knowing how to correctly install the plumbing is an essential skill.
Installing new sink plumbing may seem like a daunting task, but with the right tools and knowledge, you can tackle this project with confidence. In this article, we will walk you through the step-by-step process of installing new sink plumbing, ensuring that you have a leak-free and properly functioning system.
Before we dive into the specifics, it is important to note that installing sink plumbing requires some basic plumbing skills. If you feel unsure or uncomfortable with any of the steps outlined in this guide, it is always a good idea to consult a professional plumber to ensure the job is done correctly and safely.
In the following sections, we will provide you with a list of tools and materials you will need, guide you through shutting off the water supply, explain how to remove the old plumbing, and take you through the process of preparing the sink area. We will then cover assembling the drain components and attaching the water supply lines, before finally testing for leaks.
By following our step-by-step instructions, you will be well-equipped to install new sink plumbing and successfully complete your project. So, let’s gather our tools and get started on this plumbing adventure!
Key Takeaways:
- Master the art of installing new sink plumbing with confidence by following our step-by-step guide. From shutting off the water supply to testing for leaks, you’ll be equipped to tackle this essential home improvement project.
- Ensure a leak-free and properly functioning sink plumbing system by investing in high-quality tools and materials. Proper preparation, assembly, and testing are key to a successful installation.
Read more: How To Install New Kitchen Sink
Tools and Materials
Before you begin installing new sink plumbing, it is important to gather all the necessary tools and materials. Here is a list of what you will need:
- Adjustable wrench
- Pipe wrench
- Teflon tape
- Hacksaw
- PVC pipe cutter
- Screwdriver (flathead and Phillips-head)
- Pipe cutter
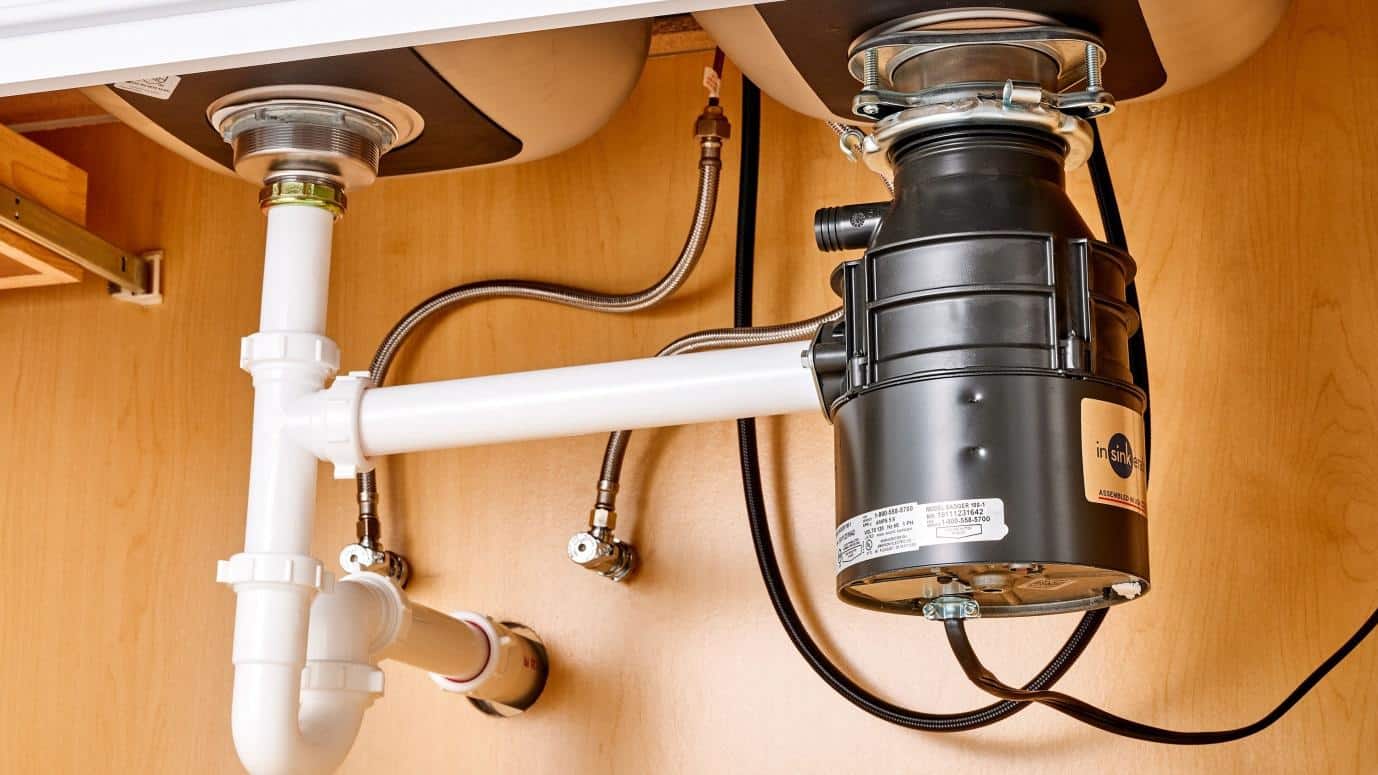
- Pipe fittings (P-trap, slip joints, couplings)
- Plumber’s putty
- Plumbing tape
- PVC pipes
- Flexible water supply lines
- Plastic drainpipe
- Plumber’s tape
- Bucket
- Rags
Having these tools and materials on hand before you start the installation process will save you time and make the job much easier.
It is also important to ensure that the tools you are using are in good condition and appropriate for the job. Worn-out or damaged tools can lead to difficulties during the installation process and may result in an improperly installed plumbing system.
Additionally, it is crucial to purchase high-quality plumbing materials. Invest in durable PVC pipes and fittings that will withstand the test of time and prevent leaks. Furthermore, ensuring you have the right size and type of pipe fittings will make the installation process smoother.
Now that we have covered the essential tools and materials, it’s time to move on to shutting off the water supply.
Shutting off the Water Supply
Before you begin working on the plumbing for your new sink, it is important to turn off the water supply to avoid any water leaks or damage. Here are the steps to properly shut off the water supply:
- Locate the main water shut-off valve: The main shut-off valve is typically located near the water meter or where the main water line enters your house. It is usually a round or lever-type valve.
- Turn off the water supply: Rotate the valve clockwise or move the lever to the “off” position to shut off the water supply. You may need to use an adjustable wrench or a pair of pliers to turn the valve.
- Drain any remaining water: After shutting off the main water supply, open all faucets in your house and flush the toilets to drain any remaining water from the plumbing system.
Once you have successfully shut off the water supply and drained the system, you can proceed with confidence to remove the old plumbing.
It is worth noting that if you are unsure about locating or shutting off the main water shut-off valve, it is best to consult a professional plumber to assist you. They will have the expertise and knowledge to handle this task safely.
Now that the water supply has been shut off, it’s time to move on to the next step: removing the old plumbing.
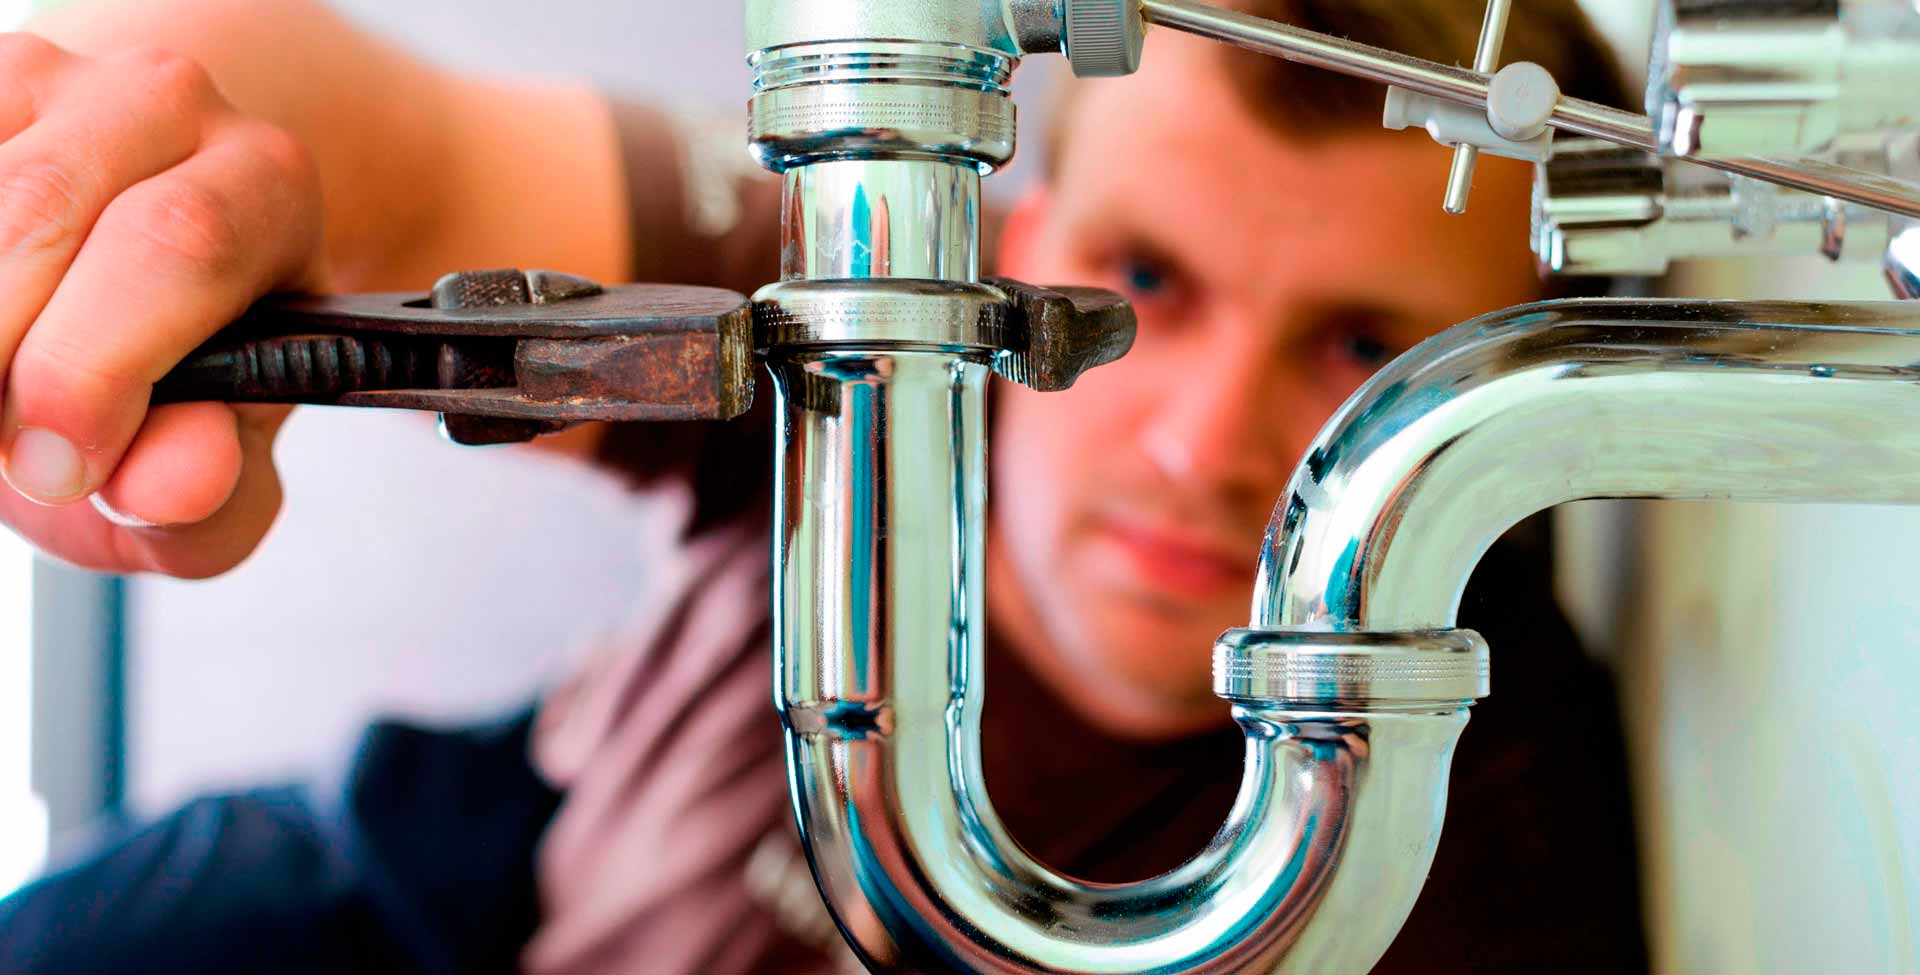
Removing the Old Plumbing
Now that you have shut off the water supply, it’s time to remove the old plumbing to make way for the new sink installation. Follow these steps to remove the old plumbing:
- Place a bucket under the sink: Before you begin removing any pipes, place a bucket under the sink to catch any water or debris that may spill out.
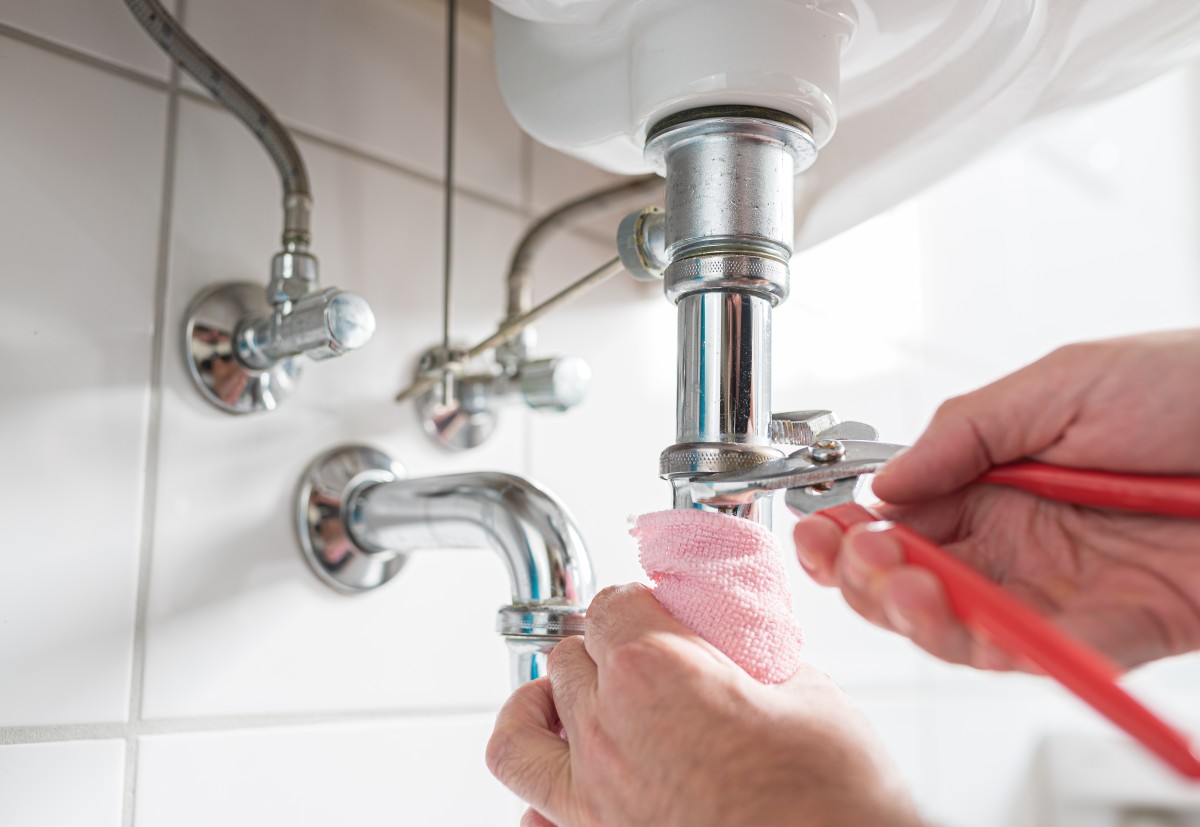
- Disconnect the water supply lines: Using an adjustable wrench, loosen the nuts connecting the water supply lines to the faucet valves. Once loosened, carefully remove the lines and set them aside.
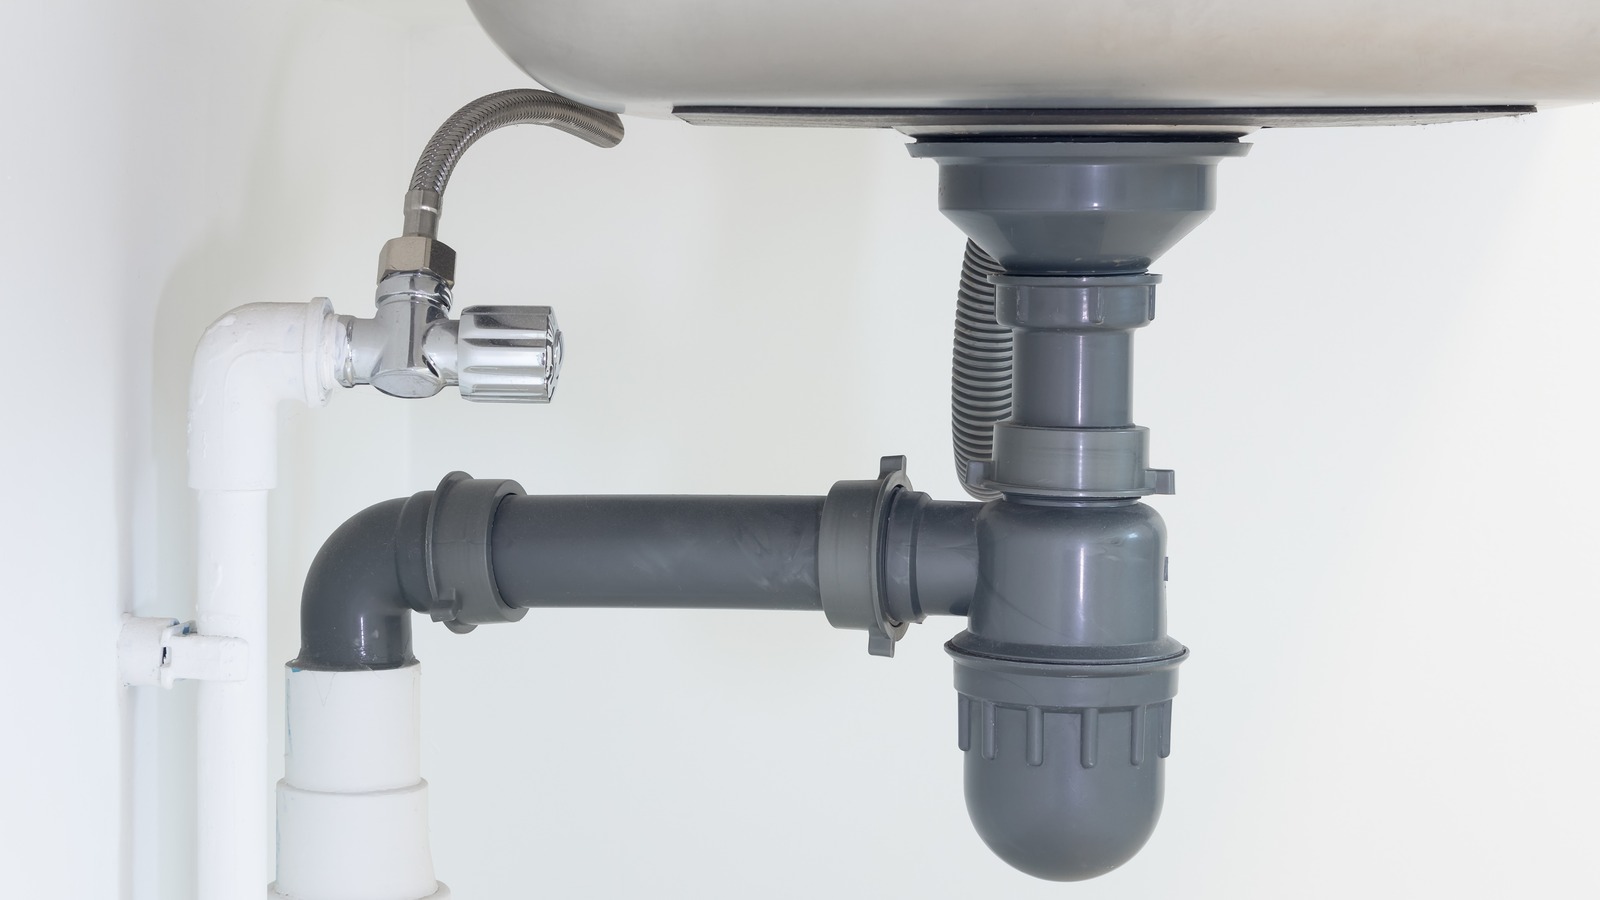
- Remove the P-trap: Locate the P-trap, which is the curved pipe beneath the sink. Use a pair of pliers or a pipe wrench to loosen the slip nuts connecting the P-trap to the sink drain and the vertical drainpipe. Once loosened, carefully remove the P-trap and set it aside.
- Disconnect the sink drain: Locate the nut connecting the sink drain to the bottom of the sink. Use a pair of pliers or a pipe wrench to loosen and remove the nut. Once the nut is removed, the sink drain should easily slide out of the sink.
- Inspect and clean the area: After removing the old plumbing, inspect the area for any signs of damage or corrosion. Clean the area with a rag or paper towels to ensure it is free of debris and ready for the new plumbing installation.
It is important to handle the old plumbing with care, as it may be sharp or contain remnants of water or debris. To prevent any accidental injury, wear protective gloves and dispose of the old plumbing safely.
With the old plumbing removed and the area cleaned, you are now ready to move on to the next step: preparing the sink area.
Preparing the Sink Area
Now that the old plumbing has been removed, it’s time to prepare the sink area for the installation of the new plumbing. Follow these steps to ensure the sink area is ready:
- Clean the sink: Thoroughly clean the sink, removing any debris, soap residue, or grime. A clean sink will provide a smooth surface for the new plumbing components.
- Apply plumber’s putty: Roll a small amount of plumber’s putty between your hands to create a thin, rope-like shape. Apply the putty around the underside of the sink’s drain opening. This will help create a watertight seal when the new sink drain is installed.
- Attach the new sink drain: Insert the new sink drain into the drain opening from below the sink. Secure it in place by tightening the nut onto the drain from below the sink using a pair of pliers or a wrench. Be careful not to overtighten, as it may damage the sink or drainage components.
- Connect the P-trap: Slide the slip nut and washer onto the bottom end of the P-trap. Connect the P-trap to both the sink’s drain and the vertical drainpipe. Tighten the slip nuts securely using pliers or a pipe wrench.
- Prepare the water supply lines: If your new sink requires different water supply lines than the previous one, now is the time to replace them. Measure and cut the new water supply lines, ensuring they are the correct length and will reach the faucet valves.
- Attach the water supply lines: Connect the water supply lines to the faucet valves, using an adjustable wrench to tighten the nuts securely. Ensure there are no leaks by giving each connection a slight twist while the water supply is still off.
By following these steps, you have successfully prepared the sink area for the installation of the new plumbing components. The next section will cover how to assemble the drain components.
When installing new sink plumbing, make sure to measure and cut the pipes accurately to ensure a proper fit. Use plumber’s tape or joint compound on threaded connections to prevent leaks. Double-check all connections before turning on the water.
Assembling the Drain Components
Now that the sink area is prepared, it’s time to assemble the drain components for your new sink plumbing. Follow these steps to properly assemble the drain components:
- Apply plumber’s tape: Wrap a few layers of plumber’s tape clockwise around the threads of the sink drain’s tailpiece. This will create a tight seal between the drain components.
- Attach the tailpiece: Screw the tailpiece onto the sink drain, hand-tightening it until it is secure. Use an adjustable wrench to give it an extra quarter turn for a snug fit.
- Install the P-trap: Slide the slip nut and washer onto the top end of the P-trap. Connect the P-trap to the tailpiece and the vertical drainpipe, ensuring the connections are secure.
- Check alignment: Ensure that the drain components are properly aligned and straight. Make any adjustments necessary to ensure a smooth flow of water.
- Tighten all slip nuts: Use pliers or a pipe wrench to tighten all slip nuts securely. Avoid over-tightening, as it may cause damage to the components.
- Test the drain: Once all the components are assembled, run water through the sink to test the drain. Check for any leaks or issues with the drainage. If any leaks are found, tighten the slip nuts or make adjustments as needed.
Assembling the drain components requires attention to detail and proper alignment. Taking the time to ensure everything is properly fitted will result in a leak-free and efficient drain system for your new sink.
With the drain components properly assembled, we can move on to the next step: attaching the water supply lines.
Attaching the Water Supply Lines
With the drain components in place, it’s time to connect the water supply lines to your new sink plumbing. Follow these steps to properly attach the water supply lines:
- Measure and cut the supply lines: If the existing water supply lines are not compatible with your new sink or if you are installing a brand new plumbing system, measure and cut the supply lines to the appropriate length. Ensure the lines reach the faucet valves with a little extra slack.
- Apply plumber’s tape: Wrap a few layers of plumber’s tape clockwise around the threads of the faucet valve connections. This will provide a secure and leak-free connection.
- Connect the supply lines: Attach one end of each supply line to the corresponding faucet valve. Use an adjustable wrench to tighten the nuts securely. Make sure the connections are firm, but be careful not to overtighten and damage the valve or the supply line.
- Attach the other end of the supply lines: Connect the other end of each supply line to the corresponding hot and cold water shut-off valves. Again, use an adjustable wrench to tighten the nuts securely.
- Turn on the water supply: Slowly turn on the water supply by opening the shut-off valves. Check for any leaks at the supply line connections. If there are any leaks, tighten the nuts slightly or reposition the supply lines until the connections are tight and leak-free.
- Test the faucet: Turn on the faucet and check for any leaks or abnormalities in water flow. Allow the water to run for a few minutes to ensure the system is functioning properly.
Properly attaching the water supply lines is crucial for a fully functional and leak-free sink plumbing system. Taking the time to ensure secure connections will provide you with peace of mind and a reliable water supply for your new sink.
With the water supply lines securely attached and tested, the final step is to test for leaks in the entire plumbing system.
Testing for Leaks
After completing the installation of your new sink plumbing, it’s essential to thoroughly test the system for any leaks. Follow these steps to ensure your plumbing is watertight:
- Inspect all connections: Carefully examine all the connections, including the drain components and water supply lines. Look for any signs of water dripping or moisture around the connections.
- Check for water leaks: Turn on the water supply and let it run for a few minutes. Observe all the connections closely to see if any water is leaking. Pay particular attention to the joints and fittings.
- Feel for moisture: Run your fingers along the connections to feel for any moisture. Even a small amount of dampness can indicate a potential leak.
- Monitor the drain: Fill the sink with water and then release it all at once. Watch the drain closely to ensure that it drains quickly and efficiently, without any water backing up or pooling.
- Inspect the area beneath the sink: Place a towel or a piece of paper underneath the sink to catch any water that may leak during the testing process. Check the towel or paper after a few minutes to see if any water has accumulated.
If you notice any leaks or issues during the testing process, take immediate action to address them. Tighten any loose connections, replace worn-out washers or seals, or consult a plumber for assistance if needed.
Remember, it’s crucial to ensure that your new sink plumbing is completely leak-free before finalizing the installation. Addressing any leaks early on will save you from potential water damage and costly repairs down the line.
With the testing complete and any necessary adjustments made, you can now enjoy your newly installed sink plumbing system!
Conclusion
Congratulations! You have successfully learned how to install new sink plumbing. By following the step-by-step instructions provided in this guide, you have acquired the knowledge and skills to tackle this project with confidence.
From shutting off the water supply to removing the old plumbing, preparing the sink area, assembling the drain components, attaching the water supply lines, and testing for leaks, each step is vital to ensuring a properly functioning and leak-free sink plumbing system.
Remember, if you ever feel unsure or uncomfortable with any part of the installation process, it is always recommended to consult a professional plumber. They have the expertise and experience to handle any complications or challenges that may arise.
As you continue your home improvement journey, it’s important to maintain and periodically check your sink plumbing system for any signs of leaks or issues. Regular maintenance will extend the lifespan of your plumbing and prevent costly repairs in the long run.
We hope that this comprehensive guide has empowered you to successfully install new sink plumbing and enhance the functionality and aesthetics of your kitchen or bathroom. Enjoy your new sink and the satisfaction of a job well done!
Frequently Asked Questions about How To Install New Sink Plumbing
Was this page helpful?
At Storables.com, we guarantee accurate and reliable information. Our content, validated by Expert Board Contributors, is crafted following stringent Editorial Policies. We're committed to providing you with well-researched, expert-backed insights for all your informational needs.


0 thoughts on “How To Install New Sink Plumbing”