
Articles
How To Winterize Well Water Pump
Modified: October 20, 2024
Learn how to winterize your well water pump with this informative article. Protect your water supply from freezing temperatures and ensure your pump lasts through the winter.
(Many of the links in this article redirect to a specific reviewed product. Your purchase of these products through affiliate links helps to generate commission for Storables.com, at no extra cost. Learn more)
Introduction:
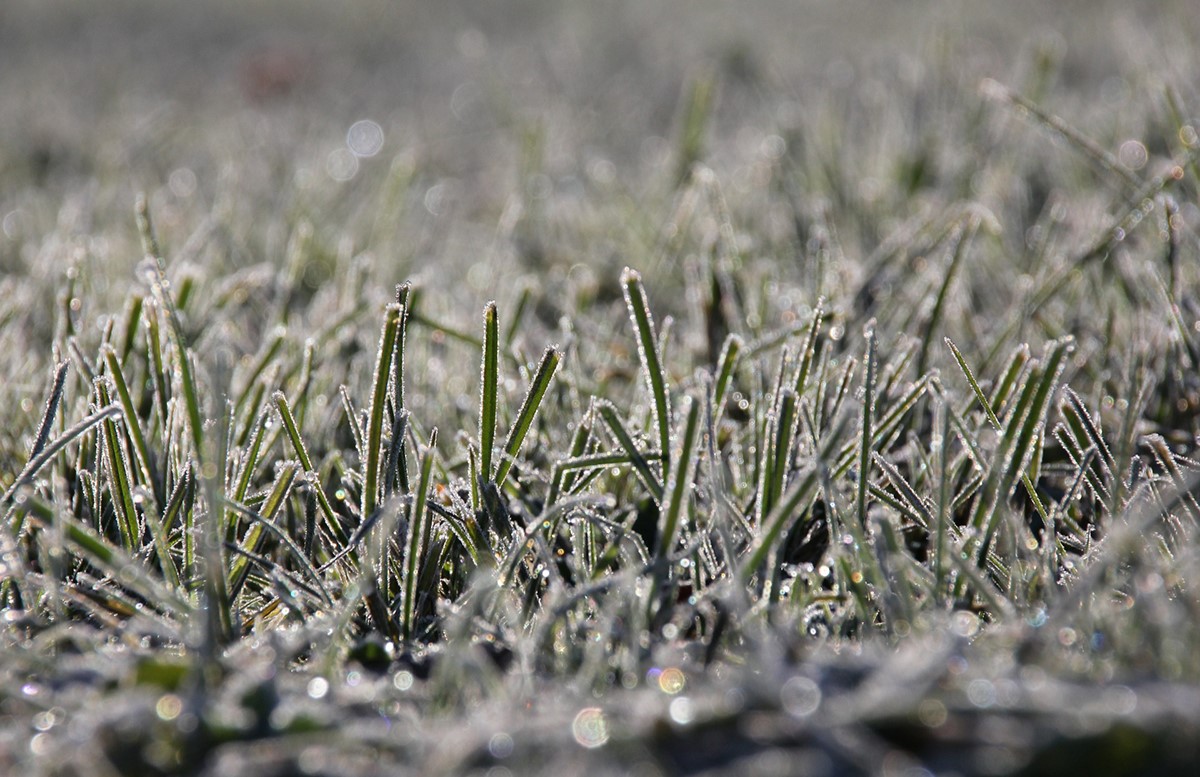
As the cold winter months approach, it is crucial to take steps to protect your well water pump from freezing. Freezing temperatures can cause damage to the pump, pipes, and other components of your well system, leading to costly repairs and inconvenience. By winterizing your well water pump, you can ensure its longevity and functionality during the winter season. In this article, we will guide you through the steps you need to take to effectively winterize your well water pump.
Key Takeaways:
- Protect your well water pump from freezing by shutting off the power, draining the system, insulating the pump and well casing, checking for leaks, and testing the system. Winterizing ensures a reliable water supply during the cold months.
- Insulate the well water pump and casing, check for leaks, and test the system to ensure functionality throughout winter. Professional assistance is recommended for any uncertainties.
Read more: How To Prime A Water Pump On A Well
Step 1: Shut off the Power
The first step in winterizing your well water pump is to shut off the power supply. Locate the circuit breaker or fuse box that controls the well pump and turn it off. This will prevent the pump from running while you are performing the maintenance tasks.
It is important to ensure that the power is completely shut off to avoid any accidents or damage. Double-check that the power is off by trying to operate the pump. If it doesn’t start, it means that the power is successfully turned off.
By cutting the power supply, you protect yourself and give yourself peace of mind while working on the other winterization steps.
Step 2: Drain the Water Supply System
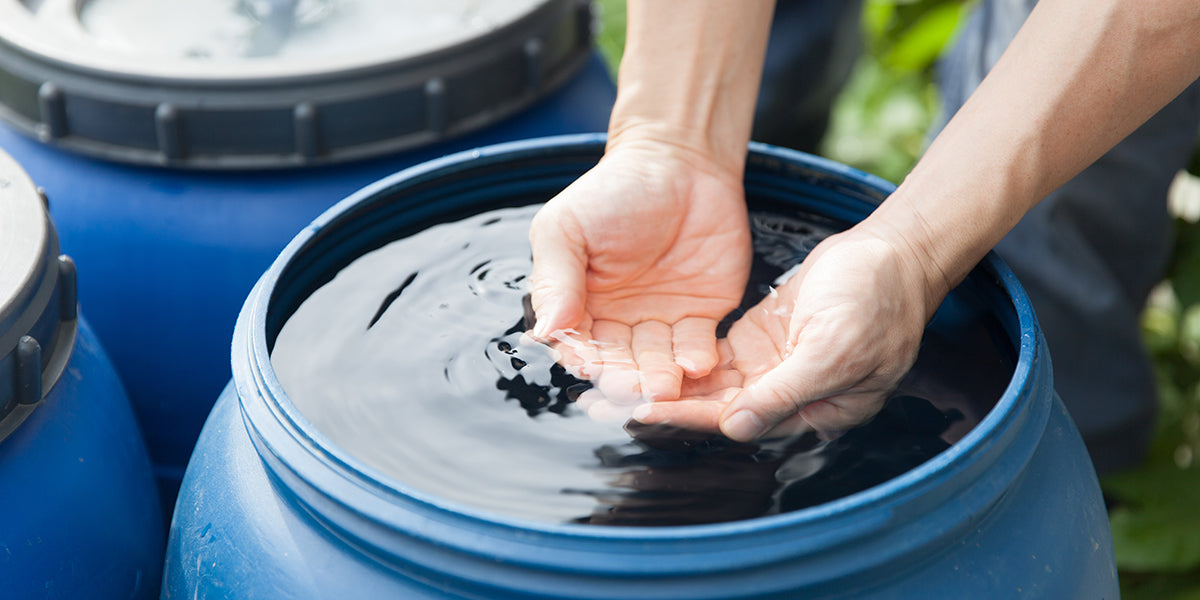
Once you have turned off the power to your well water pump, the next step is to drain the water supply system. Start by locating the main shutoff valve, which is usually located near the pressure tank or the point where the water enters the house.
Close the main shutoff valve to prevent any water from entering the system while you are winterizing it. Once the valve is closed, open all the faucets and fixtures in your house to release any remaining water in the pipes.
It is important to drain all the water from your well water system, including any water in the pressure tank, pipes, and fixtures. This is essential to prevent freezing and potential damage to the system. Use a drain valve or a spigot to drain the water from the pressure tank completely.
After draining the water, close all the faucets and fixtures in your home. This will ensure that no water can enter the system and freeze during the winter months.
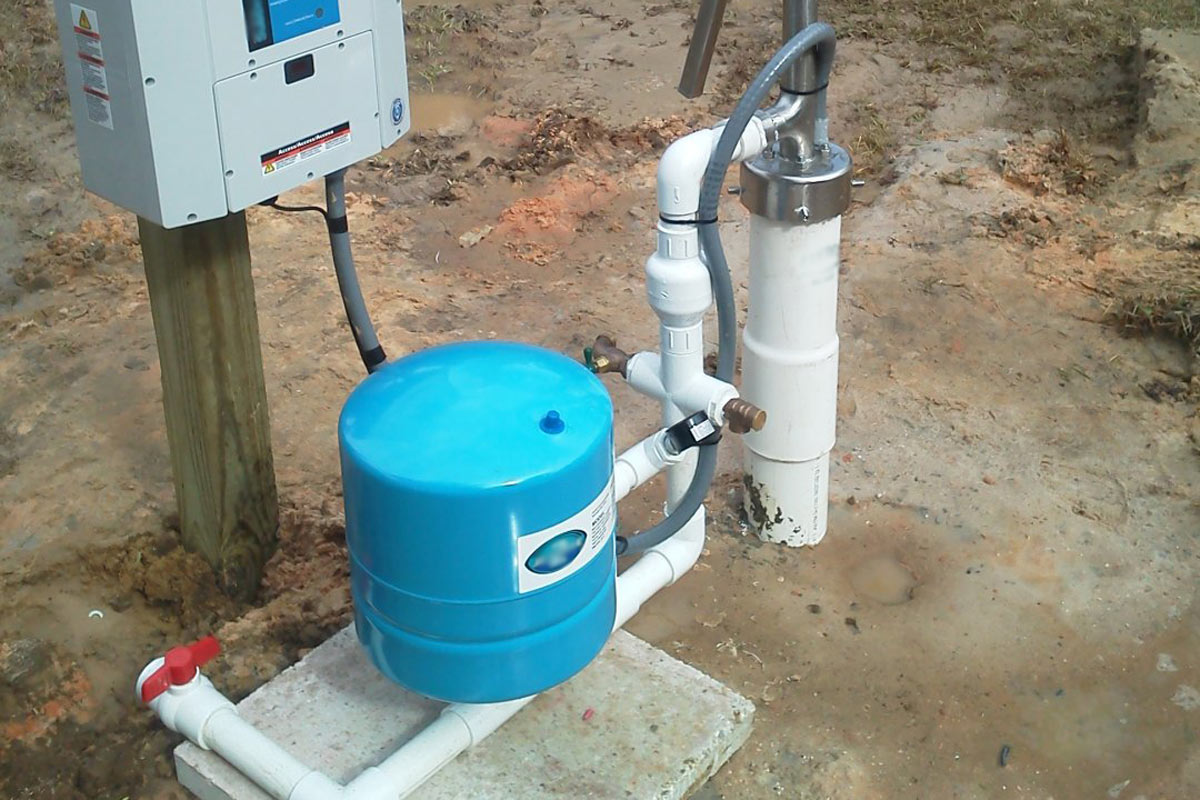
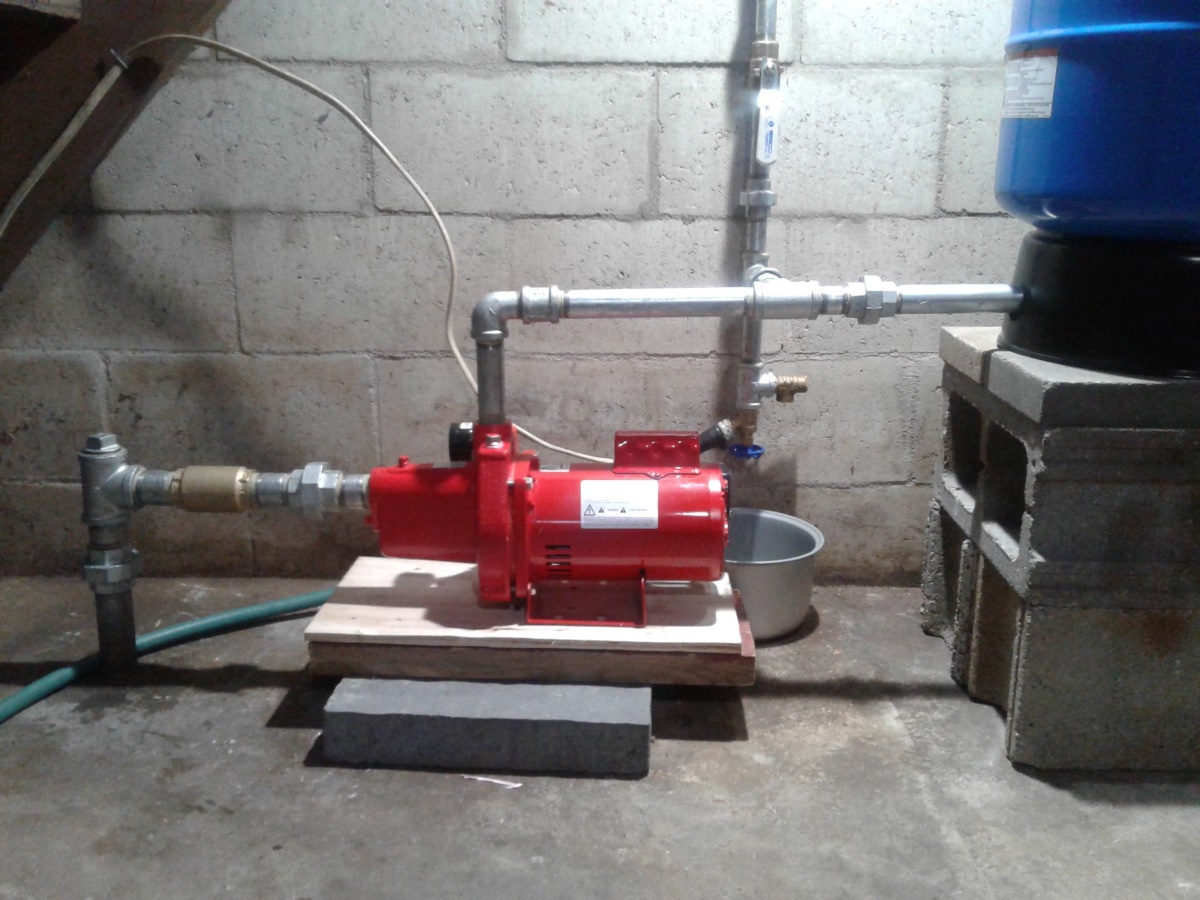
Step 3: Protect the Water Pump
Once you have drained the water supply system, it’s time to protect the water pump itself. The pump is the heart of your well system, and it needs to be safeguarded from freezing temperatures.
Start by insulating the pump and its components. Wrap the pump in a thermal insulation blanket or cover it with a specially designed pump cover. This insulation will help to maintain the pump’s temperature and prevent freezing.
In addition to insulation, you can also use a heat tape or heat cable to provide extra warmth to the pump. These products can be wrapped around the pump and connected to a power source to generate heat, keeping the pump and its components from freezing.
Ensure that any electrical connections to the pump are secure and protected. Use electrical tape or waterproof sealants to seal any exposed wires or connections. This will guard against moisture and help prevent electrical issues.
Lastly, consider installing a freeze protection device, such as a thermostatically controlled outlet or a pump control box with freeze protection features. These devices are designed to monitor the temperature and activate the pump when necessary to prevent freezing.
By taking these steps to protect the water pump, you can ensure its functionality and prevent any damage caused by freezing temperatures during the winter season.
Make sure to insulate any exposed pipes and the pressure tank to prevent freezing. Drain the pump and disconnect hoses before winter to avoid damage.
Step 4: Insulate the Well Casing
In addition to protecting the water pump, it’s important to insulate the well casing to prevent freezing. The well casing is the vertical pipe that extends above ground and houses the well pump and other components.
Start by wrapping the well casing with pipe insulation. This insulation material helps to maintain a consistent temperature and prevent freezing. Choose insulation that is specifically designed for outdoor use and can withstand the elements.
Wrap the insulation tightly around the well casing, securing it with zip ties or tape. Ensure that the entire length of the well casing is covered by the insulation, including any exposed pipes or fittings.
If you live in an area with extremely cold temperatures, you may opt for additional insulation measures. This can include adding an insulating well cap or using a well house or well enclosure to provide extra protection from the elements. These options provide an extra layer of insulation and help to shield the well casing from extreme temperatures.
Remember to seal any gaps or openings in the insulation to prevent cold air from entering. Inspect the insulation regularly throughout the winter and make any necessary repairs or adjustments to maintain its effectiveness.
By properly insulating the well casing, you can minimize the risk of freezing and ensure the reliable operation of your well water pump during the winter months.
Read more: How To Fix A Well Water Pump
Step 5: Check for Leaks
After winterizing your well water pump and insulating the casing, it’s important to thoroughly check for any leaks in the system. Identifying and addressing leaks is crucial to prevent water damage and ensure the proper functioning of your well system.
Start by visually inspecting all the exposed pipes, fittings, and connections. Look for any signs of corrosion, cracks, or water stains. These can indicate potential leaks or weak points in the system.
Next, pressurize the system by slowly opening the main shutoff valve and allowing the water to fill the pipes. Monitor the system for any changes in water pressure or signs of water leakage. Pay close attention to areas where pipes are joined or connected.
If you notice any leaks, it’s important to address them immediately. Depending on the severity of the leak, you may need to tighten a loose fitting or replace a damaged component. In some cases, you may need to seek professional assistance to fix the issue.
Additionally, check for any signs of water pooling around the well casing or any unusual sounds coming from the system. These can also indicate leaks or other issues that need attention.
Regularly checking for leaks and addressing them promptly will help to prevent water damage and maintain the integrity of your well water system throughout the winter.
Step 6: Test the System
Once you have completed all the previous steps to winterize your well water pump, it’s important to test the system to ensure everything is functioning properly. Testing the system will give you peace of mind and confidence that your well water pump is prepared to handle the cold winter months.
Start by restoring power to the well water pump. Turn on the circuit breaker or fuse that controls the pump and ensure that it is receiving power. Allow the pump to run for a few minutes to prime the system and check for any abnormal noises or vibrations.
Next, open each faucet and fixture in your home to check the water flow and ensure there is no air trapped in the system. Run the water for a few minutes at each location to flush out any remaining air and test the water pressure.
While the water is running, check for any signs of leaks or abnormalities in the system. Look for any changes in water pressure, discoloration, or strange odors. These can indicate a problem that needs to be addressed before the winter season.
Monitor the water flow and pressure throughout your home to ensure consistency and proper functioning. If you notice any issues, it is important to investigate and resolve them promptly to prevent further damage or inconvenience.
Lastly, take note of any observations or concerns during the testing process. This will help you keep track of any potential issues and allow you to address them proactively.
By testing the system after winterizing your well water pump, you can identify any issues and make sure that your well system is ready to provide you with a reliable water supply throughout the winter season.
Conclusion
Winterizing your well water pump is a crucial step in protecting your well system from freezing temperatures and potential damage. By following the steps outlined in this article, you can ensure the longevity and functionality of your well water pump throughout the winter season.
Remember to start by shutting off the power to the pump and draining the water supply system. Protect the water pump by insulating it and securing any electrical connections. Insulate the well casing to prevent freezing, and check for any leaks in the system. Finally, test the system to ensure everything is functioning properly.
Taking the time to properly winterize your well water pump can save you from costly repairs and inconvenience in the long run. It ensures that you have a reliable water supply, even in the coldest months of the year.
If you are unsure about any of the steps or encounter difficulties during the process, it is always recommended to seek professional assistance. They can provide guidance and ensure that your well water pump is winterized effectively.
By investing the time and effort into winterizing your well water pump, you can have peace of mind knowing that your well system is protected and will continue to provide you with clean and reliable water throughout the winter season.
Frequently Asked Questions about How To Winterize Well Water Pump
Was this page helpful?
At Storables.com, we guarantee accurate and reliable information. Our content, validated by Expert Board Contributors, is crafted following stringent Editorial Policies. We're committed to providing you with well-researched, expert-backed insights for all your informational needs.


0 thoughts on “How To Winterize Well Water Pump”