Articles
How To Install Flashing Around A Skylight
Modified: January 8, 2024
Learn how to properly install flashing around a skylight with step-by-step instructions and helpful tips. Read our informative articles on skylight installation for expert guidance.
(Many of the links in this article redirect to a specific reviewed product. Your purchase of these products through affiliate links helps to generate commission for Storables.com, at no extra cost. Learn more)
Introduction
Welcome to our comprehensive guide on how to install flashing around a skylight. Skylights are a beautiful addition to any home, allowing natural light to flood in and create a bright and airy atmosphere. However, proper installation and maintenance are essential to prevent water leaks and other potential issues.
Flashing plays a crucial role in protecting the skylight and the surrounding area from water infiltration. It acts as a barrier between the skylight and the roof, ensuring that rainwater and other external elements are directed away from the interior of your home. This article will provide you with step-by-step instructions on how to install flashing around your skylight to ensure a watertight and secure installation.
Before starting the installation process, it is important to gather all the necessary tools and materials. This will ensure that you have everything you need within reach, saving you time and effort during the installation. In the next section, we will discuss what tools and materials are required for this project.
Key Takeaways:
- Protect your home from water damage by following step-by-step instructions to install flashing around your skylight. Proper preparation, precise measurements, and thorough inspection are crucial for a watertight seal.
- Enjoy natural light in your home with confidence, knowing that your skylight is well-protected. Follow the detailed guide to install flashing, apply finishing touches, and maintain regular inspections for long-lasting effectiveness.
Read more: How To Flash Around A Chimney
Step 1: Gather the necessary tools and materials
Before starting the installation process, it is important to gather all the necessary tools and materials. Having everything ready and within reach will make the installation process much smoother. Here is a list of the tools and materials you will need:
- Measuring tape
- Pencil
- Safety glasses
- Gloves
- Ladder or scaffolding
- Roofing cement
- Roofing nails or screws
- Flashing material (typically aluminum or galvanized steel)
- Utility knife
- Hammer
- Caulk gun
- Roofing sealant
Make sure to wear safety glasses and gloves throughout the installation process to protect yourself from any potential injuries. Additionally, ensure that you have a sturdy ladder or scaffolding to safely access the skylight area.
Once you have gathered all the necessary tools and materials, you are ready to move on to the next step: preparing the skylight area.
Step 2: Preparing the skylight area
Before installing the flashing, it is important to properly prepare the skylight area. This involves cleaning and inspecting the area to ensure a smooth and secure installation. Here are the steps to follow:
- Clean the skylight area: Begin by removing any debris, dirt, or old caulking around the skylight. Use a broom or brush to sweep away loose particles. This will ensure a clean surface for the flashing to adhere to.
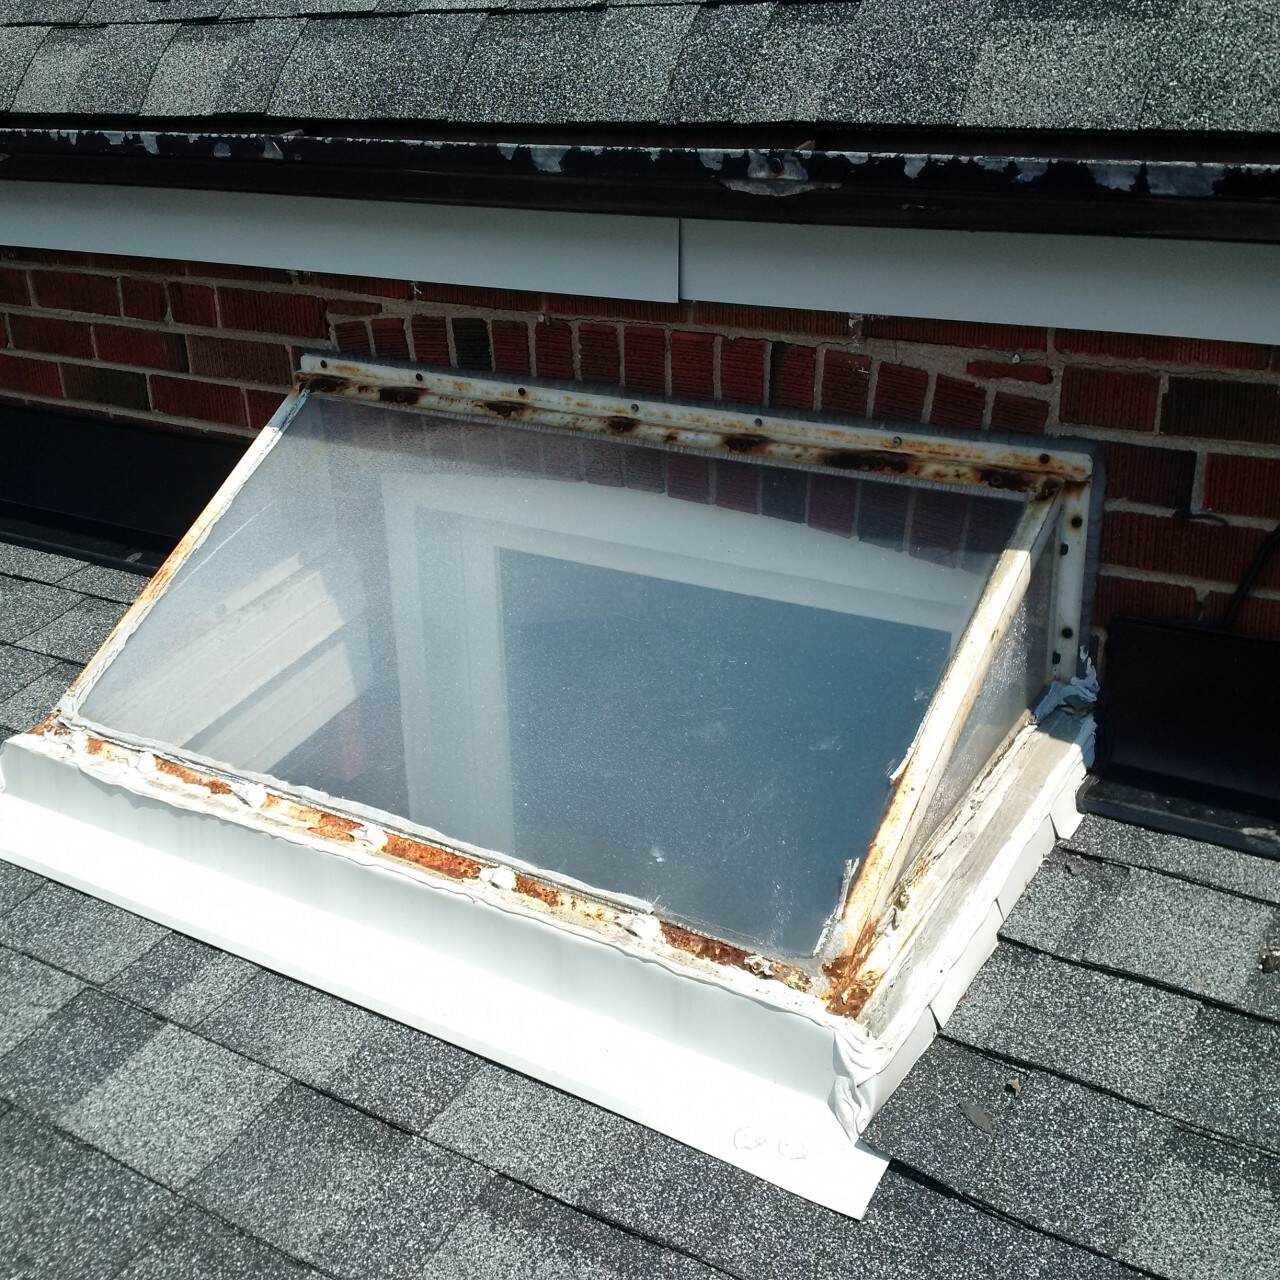
- Inspect for any damage: Carefully examine the skylight and its surrounding area for any signs of damage or deterioration. Check for cracks, rust, or decay that may compromise the integrity of the skylight. If you notice any issues, it is recommended to repair or replace the skylight before proceeding with the flashing installation.
- Apply roofing sealant: Using a caulk gun, apply a bead of roofing sealant along the edges of the skylight opening. This will create a watertight seal between the skylight and the roof.
Preparing the skylight area ensures that the flashing will adhere properly and provide maximum protection against water leaks. Once you have completed these steps, it’s time to move on to the next phase: measuring and cutting the flashing.
Step 3: Measuring and cutting the flashing
Accurate measurements and precise cutting are crucial when installing flashing around a skylight. This step ensures that the flashing fits perfectly and provides a tight seal to prevent water infiltration. Here’s how to measure and cut the flashing:
- Measure the skylight dimensions: Using a measuring tape, carefully measure the length and width of the skylight. Take note of these measurements as they will determine the size of the flashing you need.
- Add flashing overlap: To ensure proper coverage and waterproofing, add an additional 4-6 inches to the length and width measurements. This will provide enough flashing overlap on all sides.
- Transfer measurements to the flashing material: Place the flashing material on a flat surface and use a pencil to mark the measurements based on the calculations. Make sure to double-check the measurements before proceeding.
- Cut the flashing: Using a utility knife, carefully cut the flashing along the marked lines. Take your time and ensure a straight and clean cut.
Keep in mind that different skylights may have specific requirements for flashing size and shape. Always refer to the manufacturer’s instructions for precise measurements and cutting guidelines.
Once you have measured and cut the flashing, you are ready to move on to the next step: applying the adhesive.
Step 4: Applying the adhesive
Applying adhesive is a crucial step in ensuring a secure and watertight seal for the flashing. The adhesive will help the flashing adhere to the skylight and roof, preventing any water infiltration. Here’s how to properly apply the adhesive:
- Read the manufacturer’s instructions: Before applying the adhesive, make sure to carefully read and follow the instructions provided by the manufacturer. Different types of flashing may require specific adhesive products.
- Clean the flashing edges: Use a clean cloth or brush to remove any dirt, debris, or oil from the edges of the flashing. This will help the adhesive bond more effectively.
- Apply roofing cement: Using a putty knife or brush, apply a layer of roofing cement along the edges of the skylight where the flashing will be placed. This will act as a bonding agent between the skylight and the flashing.
- Spread adhesive on the flashing: Apply a layer of adhesive onto the underside of the flashing. Be sure to cover the entire surface that will come into contact with the skylight and roof.
Take care to apply the adhesive evenly and thoroughly, ensuring complete coverage. This will help create a strong bond between the flashing and the skylight area.
Once you have applied the adhesive, it’s time to move on to the next step: installing the flashing.
When installing flashing around a skylight, make sure to use the appropriate flashing material for your roof type and follow the manufacturer’s instructions carefully to ensure a watertight seal.
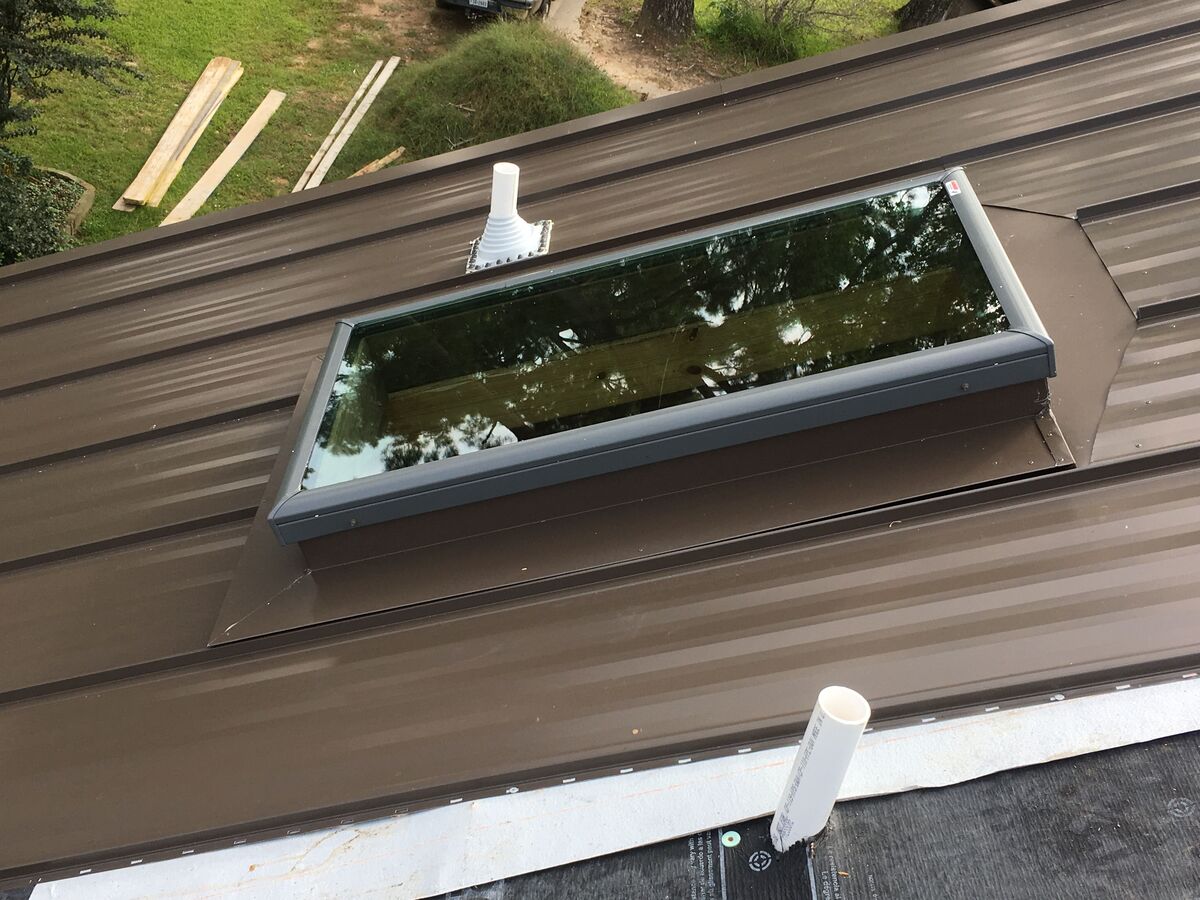
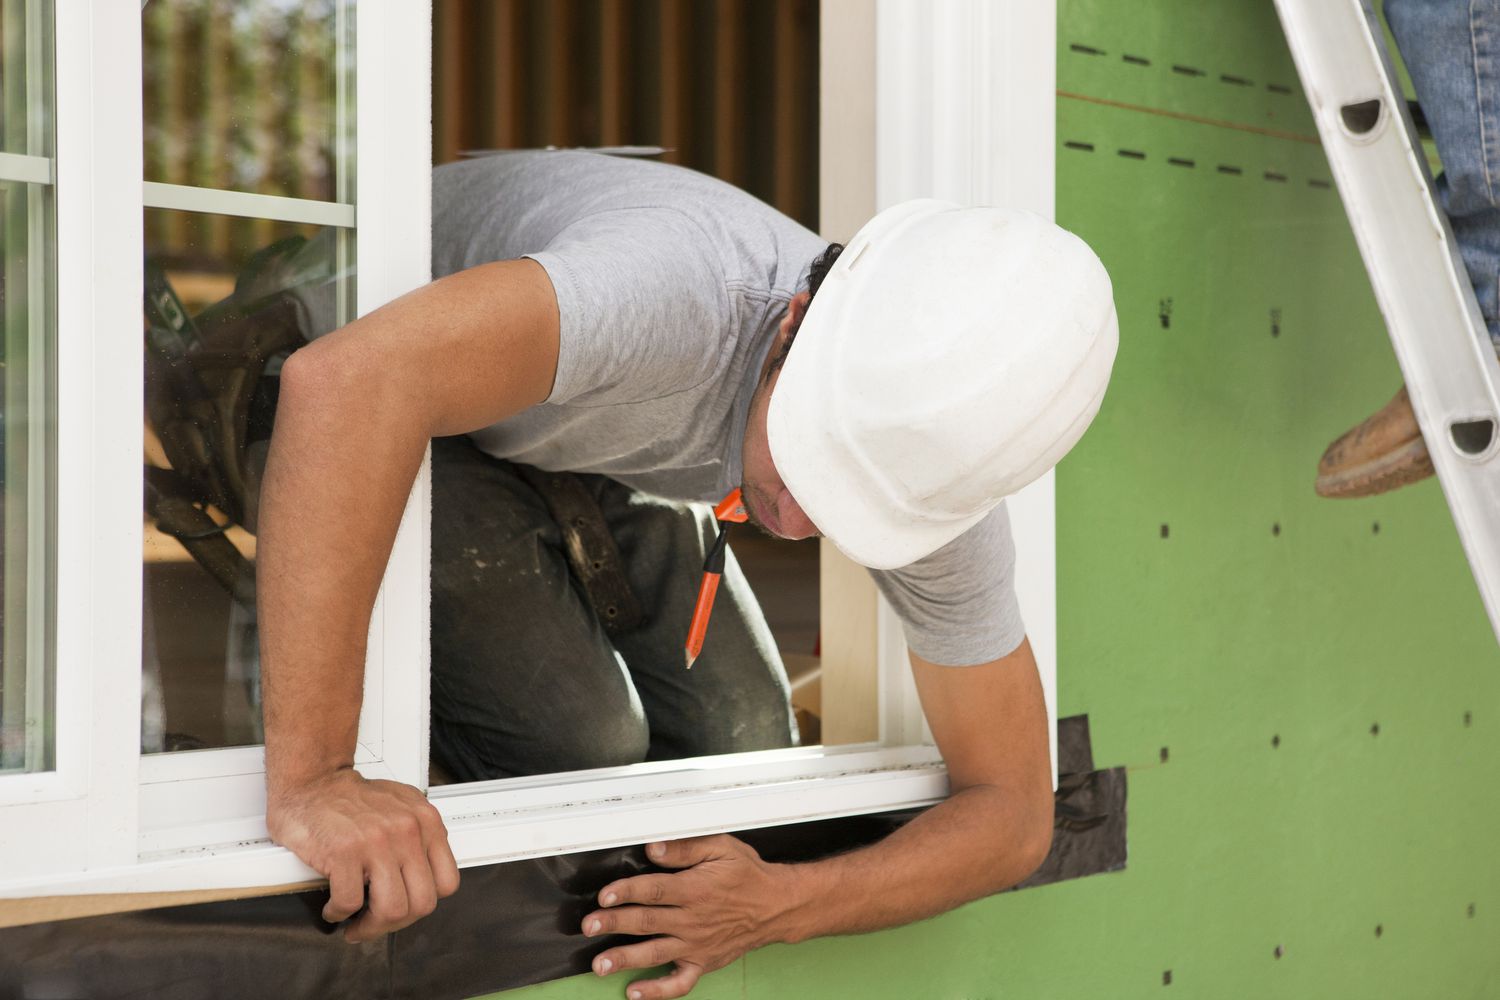
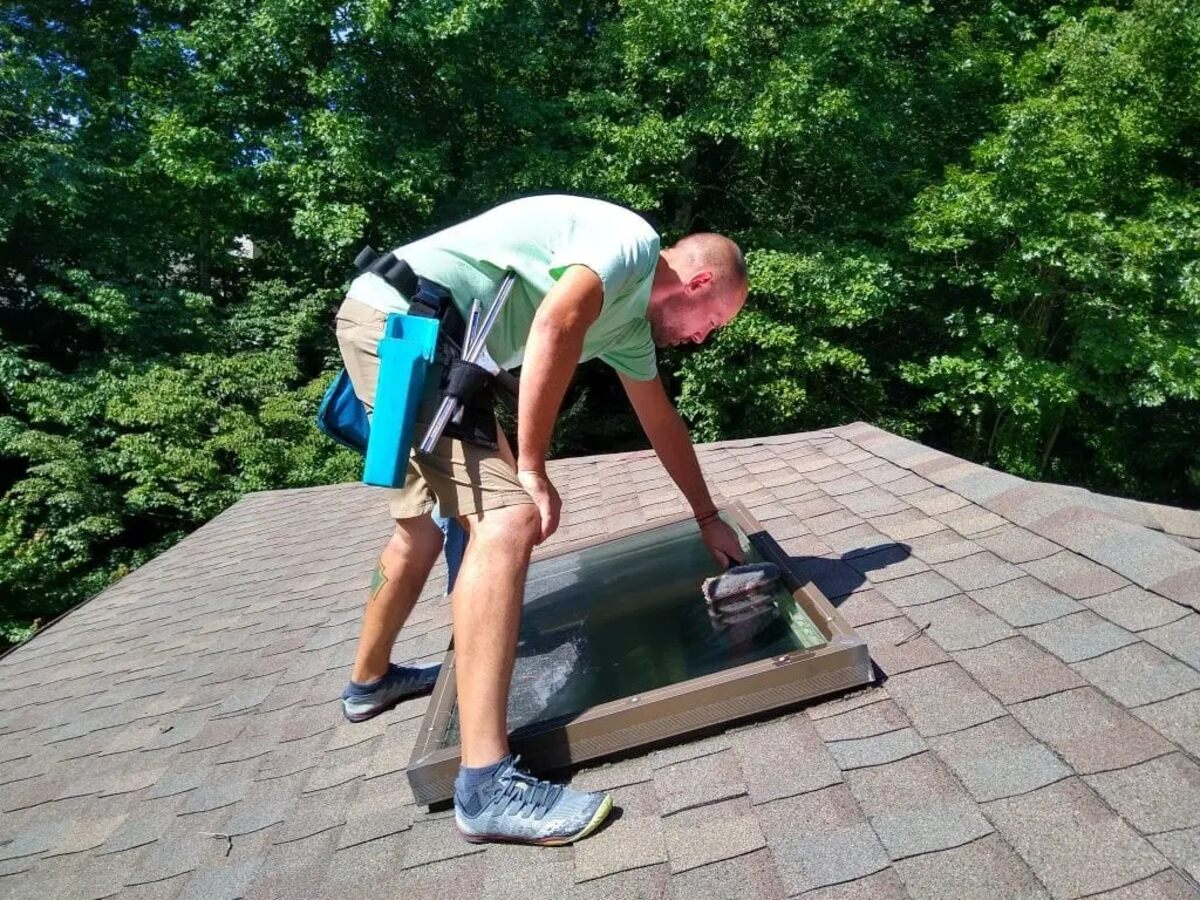
Step 5: Installing the flashing
Now that the adhesive has been applied, it’s time to install the flashing around the skylight. The flashing will help to divert water away from the skylight, ensuring a watertight seal. Follow these steps for a successful installation:
- Position the flashing: Carefully place the flashing onto the skylight, ensuring that it aligns with the edges and covers the areas where water is likely to collect. Take your time to position it correctly, as this will determine the effectiveness of the flashing.
- Press the flashing firmly: Once the flashing is positioned, press it firmly onto the roofing cement that was previously applied. The adhesive should adhere to the skylight and create a secure bond.
- Smooth out any wrinkles or bubbles: Check the flashing for any wrinkles or bubbles that may have formed. Smooth them out with your hand, ensuring that the flashing lies flat against the skylight and roof surface.
It’s important to note that different skylights may require specific installation techniques. Always refer to the manufacturer’s instructions provided with the skylight or flashing for any additional guidelines or recommendations.
With the flashing successfully installed, you can move on to the next step: securing the flashing.
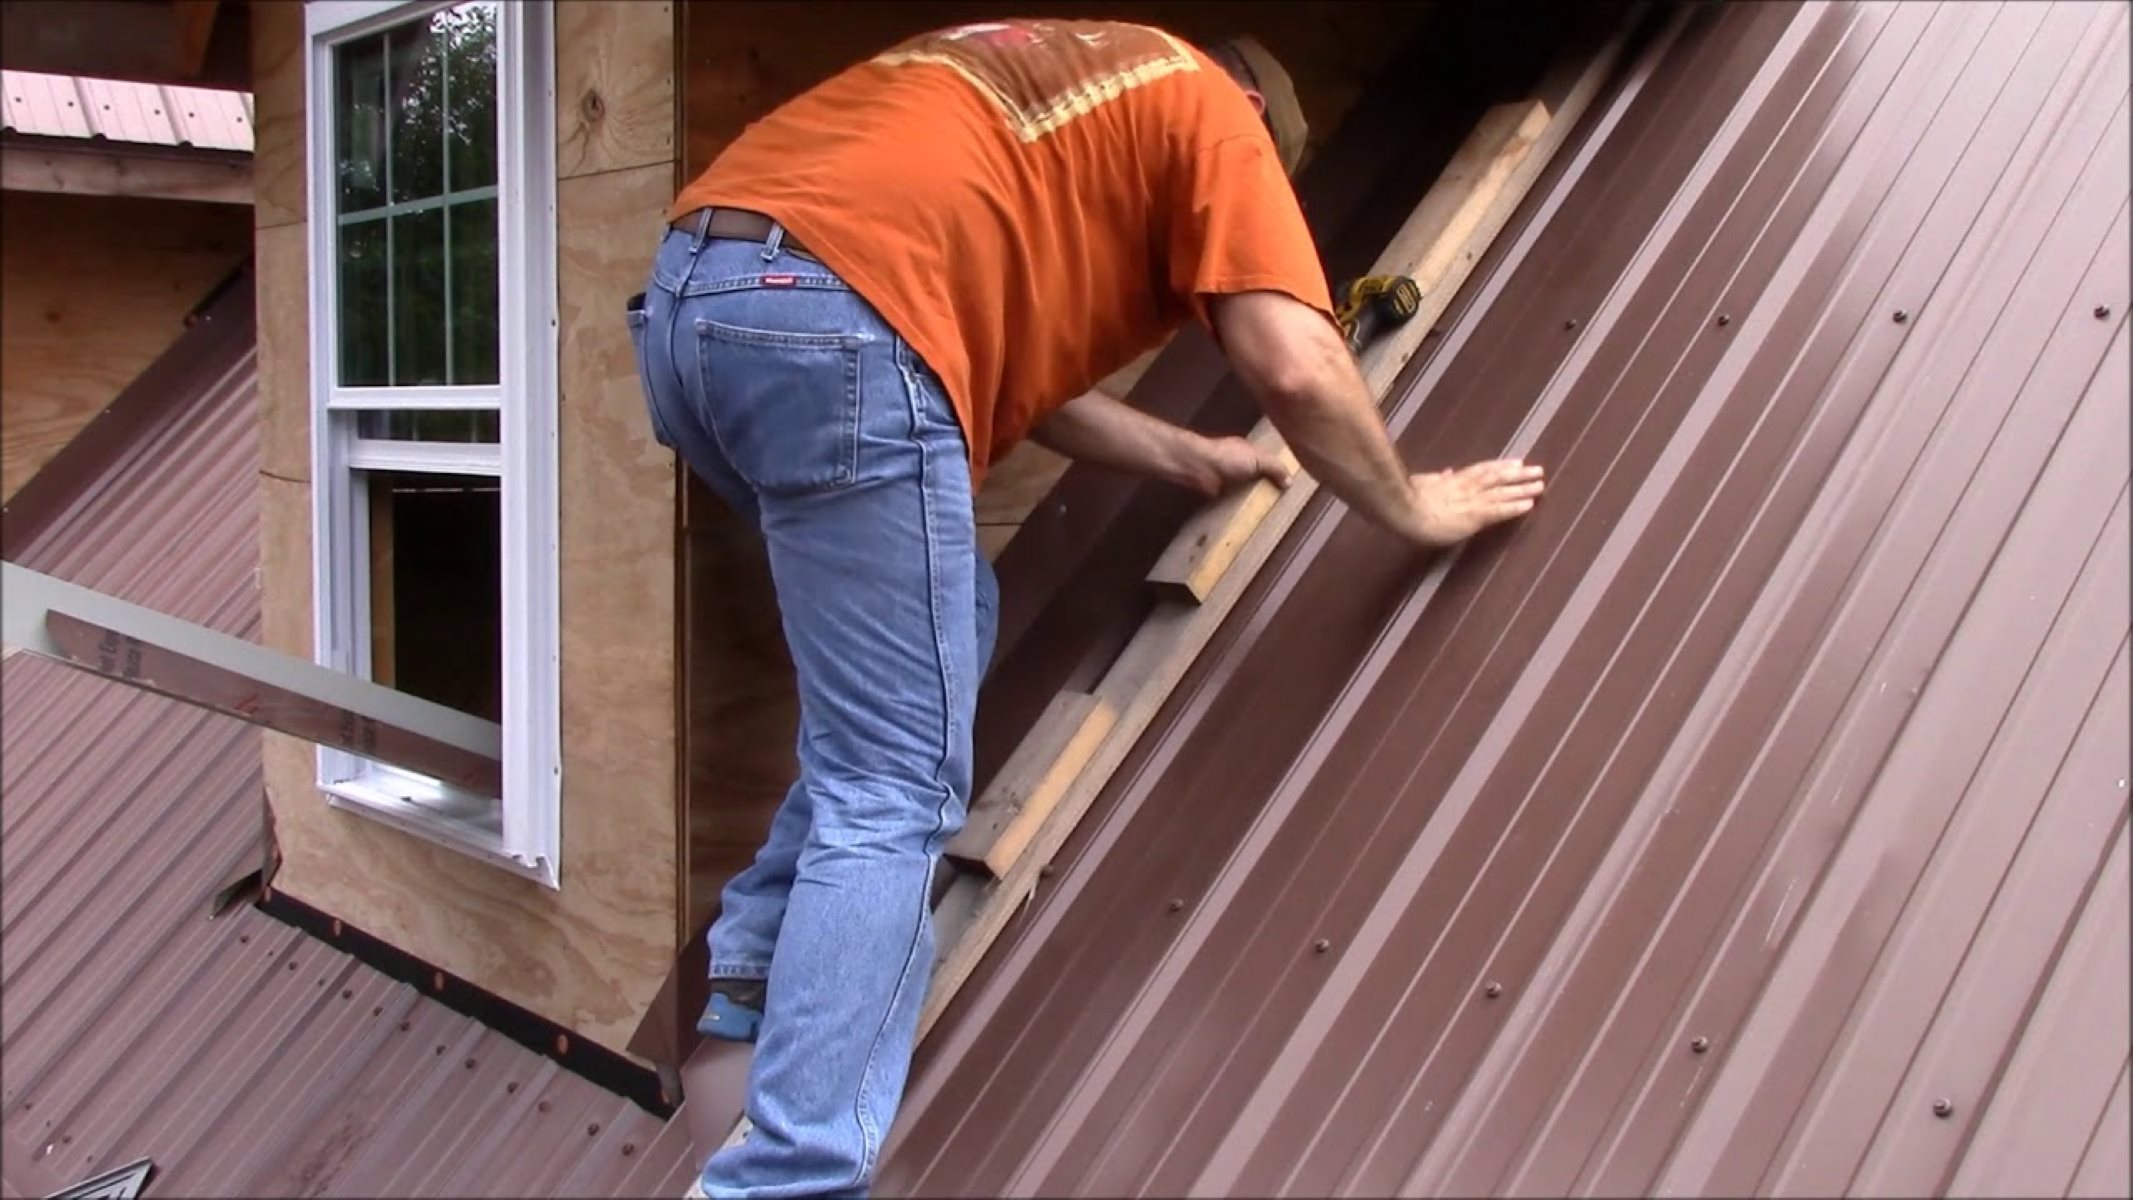
Step 6: Securing the flashing
Securing the flashing is essential to ensure that it stays in place and provides optimal protection against water infiltration. This step involves attaching the flashing to the skylight and the roof. Here’s how to securely fasten the flashing:
- Use roofing nails or screws: Depending on the type of flashing and skylight, use roofing nails or screws to secure the flashing to the skylight frame. Place the nails or screws along the edges of the flashing, ensuring they go through both the flashing and the skylight frame.
- Space the fasteners evenly: Place the nails or screws at regular intervals, typically every 6-8 inches. This will provide adequate support and prevent the flashing from lifting or detaching in windy conditions.
- Attach the flashing to the roof: If the flashing extends onto the roof surface, use roofing nails or screws to attach it securely. Place the fasteners at regular intervals, following the guidelines provided by the manufacturer for proper spacing.
When securing the flashing, be sure not to over-tighten the nails or screws, as this can cause damage to the skylight or flashing. Use just enough force to hold the flashing securely in place.
With the flashing properly secured, you can move on to the next step: checking for any gaps or leaks.
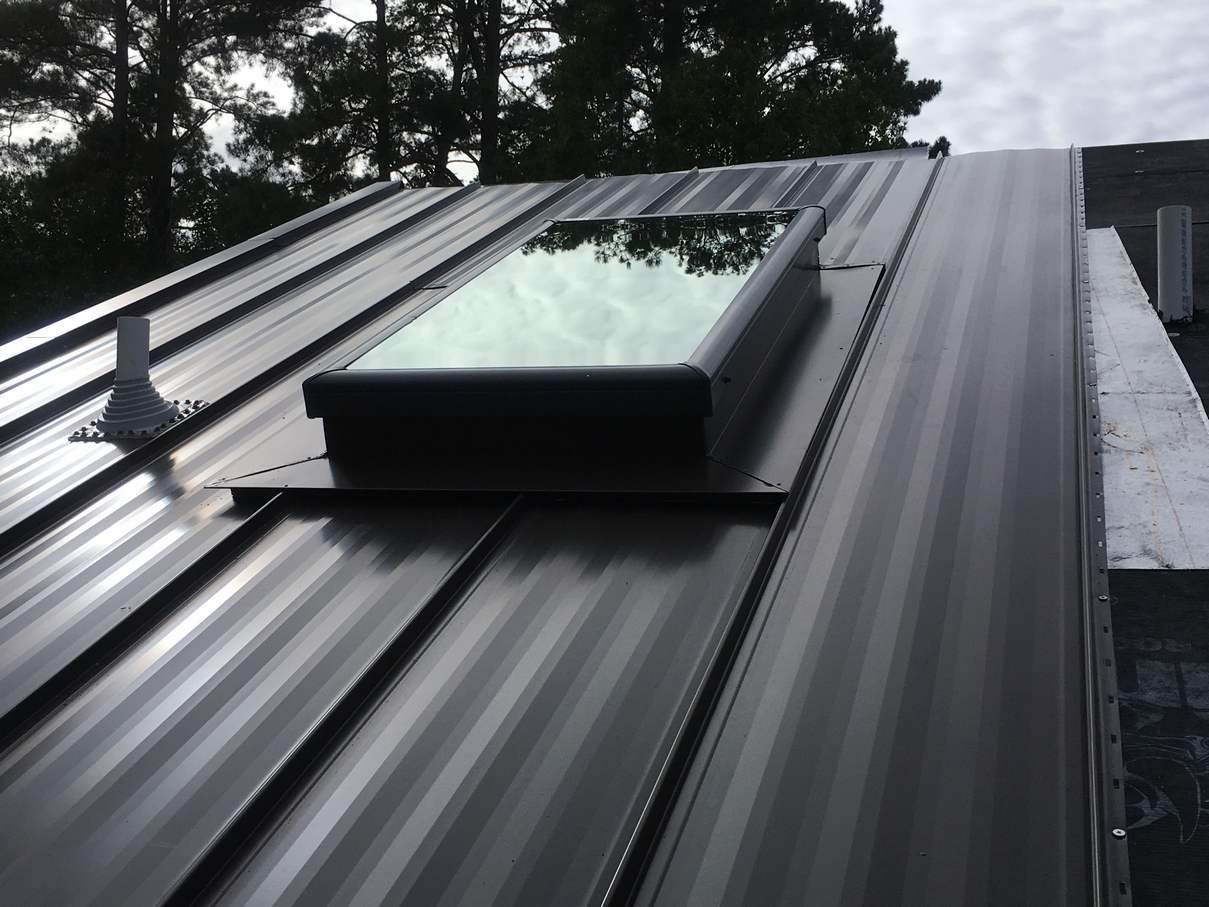
Step 7: Checking for any gaps or leaks
After installing and securing the flashing, it’s crucial to check for any gaps or potential areas where water could leak into your home. Taking this step will ensure that the skylight is properly sealed and protected against water infiltration. Follow these steps to check for gaps or leaks:
- Inspect the flashing: Carefully examine the flashing, paying close attention to the areas where it meets the skylight and the roof. Look for any gaps, cracks, or separation between the flashing and the skylight or roof surface.
- Check for gaps or separation: Run your fingers along the edges of the flashing to feel for any gaps or separations. Also, visually inspect for any signs of daylight coming through or water stains on the interior side of the skylight.
- Address any gaps or leaks: If you find any gaps or signs of potential leaks, you will need to take immediate action. Apply roofing cement or silicone sealing caulk to fill any gaps or areas where water could penetrate. Ensure that the sealant is applied evenly and completely covers the gaps.
It’s important to thoroughly inspect the flashing and address any gaps or leaks promptly. Overlooking even small gaps can lead to significant water damage and costly repairs in the future.
Once you have checked for any gaps or leaks and addressed them accordingly, you can proceed to the final step: finishing touches.
Step 8: Finishing touches
Now that the flashing installation is complete, it’s time to add some finishing touches to ensure a professional and polished appearance. These final steps will not only improve the aesthetics but also provide additional protection against water infiltration. Here’s what you need to do:
- Trim any excess flashing: Use a utility knife or tin snips to trim any excess flashing that extends beyond the skylight or roof. This will create a clean and neat finish.
- Seal the edges: Apply a layer of roofing sealant along the edges of the flashing to create an additional barrier against water intrusion. This will provide an extra level of protection and help prevent any potential leaks.
- Inspect the surrounding area: Take a moment to inspect the area around the skylight for any debris or loose materials. Clear away any dirt or debris that may have accumulated during the installation process.
- Maintain regular inspection and maintenance: To ensure the longevity and effectiveness of your skylight and flashing, it’s important to conduct regular inspections and maintenance. Check for any signs of damage or deterioration and address them promptly.
By performing these final touches, you’ll not only improve the durability and functionality of the flashing installation but also enhance the overall appearance of your skylight.
Congratulations! You have successfully installed flashing around your skylight. Following these steps and paying attention to detail will help protect your home from potential water damage and ensure a watertight seal. Remember, proper installation and regular maintenance are key to the longevity of your skylight and its flashing. Enjoy the beautiful natural light that your skylight brings into your home, knowing that it is well-protected.
Read more: How To Install A Velux Skylight
Conclusion
Installing flashing around a skylight is a critical step in ensuring the longevity and effectiveness of your skylight. Properly installed flashing provides a barrier against water infiltration, protecting your home from potential damage caused by leaks. By following the step-by-step guide outlined in this article, you can successfully install flashing around your skylight and enjoy a watertight and secure installation.
Remember to gather all the necessary tools and materials before starting the installation process. Preparing the skylight area and measuring the flashing accurately are essential for a proper fit. Applying adhesive and securely fastening the flashing will ensure its stability and durability. Checking for any gaps or leaks and addressing them promptly is crucial to maintain a watertight seal.
Finishing touches, such as trimming excess flashing and sealing the edges, will not only enhance the appearance but also provide additional protection. Regular inspection and maintenance will help prolong the life of your skylight and flashing, ensuring their continued effectiveness.
Now that you have the knowledge and instructions on how to install flashing around a skylight, you can confidently take on this project. Enjoy the benefits of natural light in your home while keeping it safe and dry with a properly installed and maintained skylight and flashing.
Frequently Asked Questions about How To Install Flashing Around A Skylight
Was this page helpful?
At Storables.com, we guarantee accurate and reliable information. Our content, validated by Expert Board Contributors, is crafted following stringent Editorial Policies. We're committed to providing you with well-researched, expert-backed insights for all your informational needs.


0 thoughts on “How To Install Flashing Around A Skylight”