Articles
How To Install Insulation Supports
Modified: October 20, 2024
Learn how to properly install insulation supports with this comprehensive guide. Find step-by-step articles and tips to ensure your insulation is securely held in place.
(Many of the links in this article redirect to a specific reviewed product. Your purchase of these products through affiliate links helps to generate commission for Storables.com, at no extra cost. Learn more)
Introduction
Installing insulation supports is an essential step in ensuring energy efficiency and maintaining comfortable indoor temperatures. Insulation supports, also known as insulation hangers or spacers, are used to hold insulation material in place between the joists or beams in your home’s walls, floors, or ceilings.
In this article, we will guide you through the process of installing insulation supports. Whether you are a DIY enthusiast or a homeowner looking to reduce energy consumption and lower utility costs, this step-by-step guide will provide you with the necessary instructions to successfully install insulation supports.
Before we dive into the installation process, let’s take a moment to go over the materials you’ll need for this project.
Key Takeaways:
- Ensure proper insulation support installation by accurately measuring, marking, and securing supports. This creates a thermal barrier, improving energy efficiency and reducing utility costs for a comfortable living space.
- Prioritize safety and thorough inspection when installing insulation supports. Securely attach and align supports, cut and fit insulation, and tidy up the area for optimal thermal performance.
Read more: How To Install A Support Beam In The Attic
Materials Needed
Before you begin installing insulation supports, gather the following materials:
- Insulation supports: These can be metal or plastic hangers specifically designed for holding insulation in place.
- Tape measure: To accurately measure the distance between joists or beams.
- Pencil or marker: For marking the placement of the insulation supports on the joists.
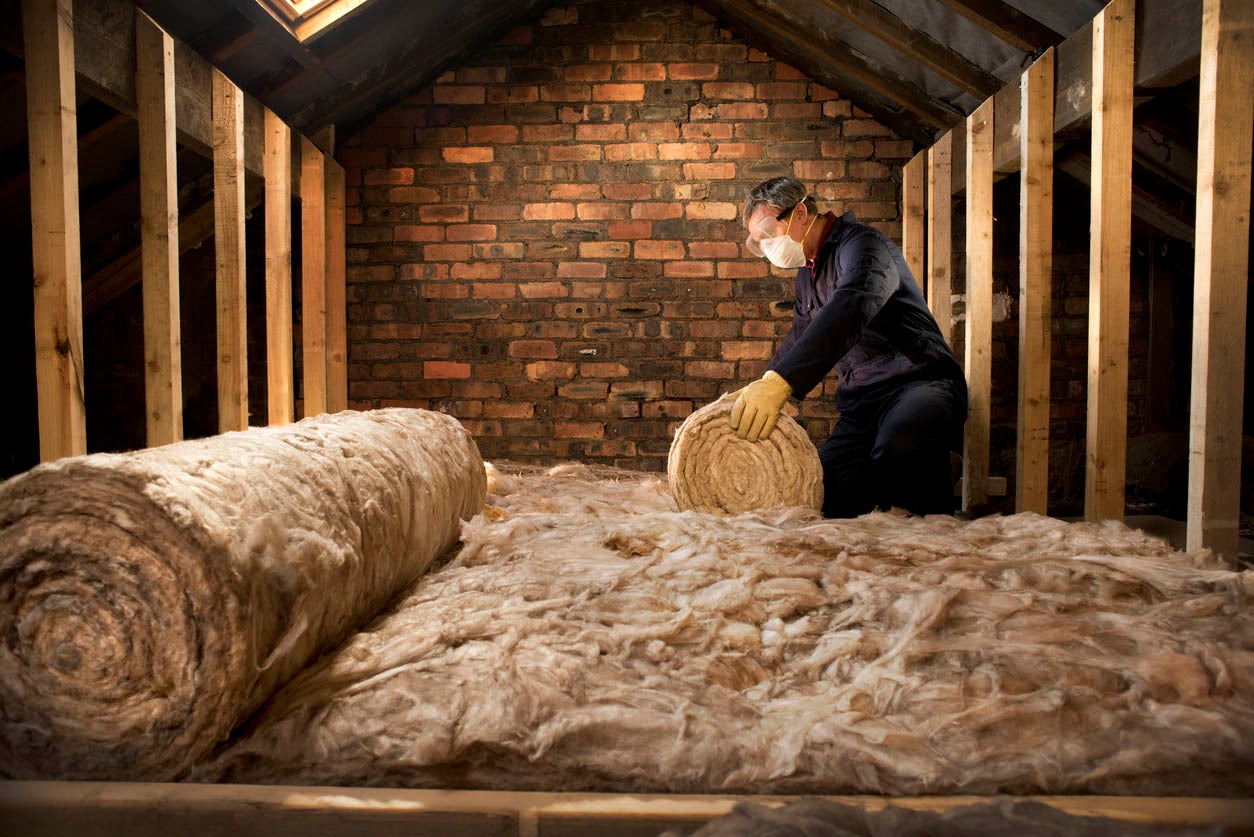
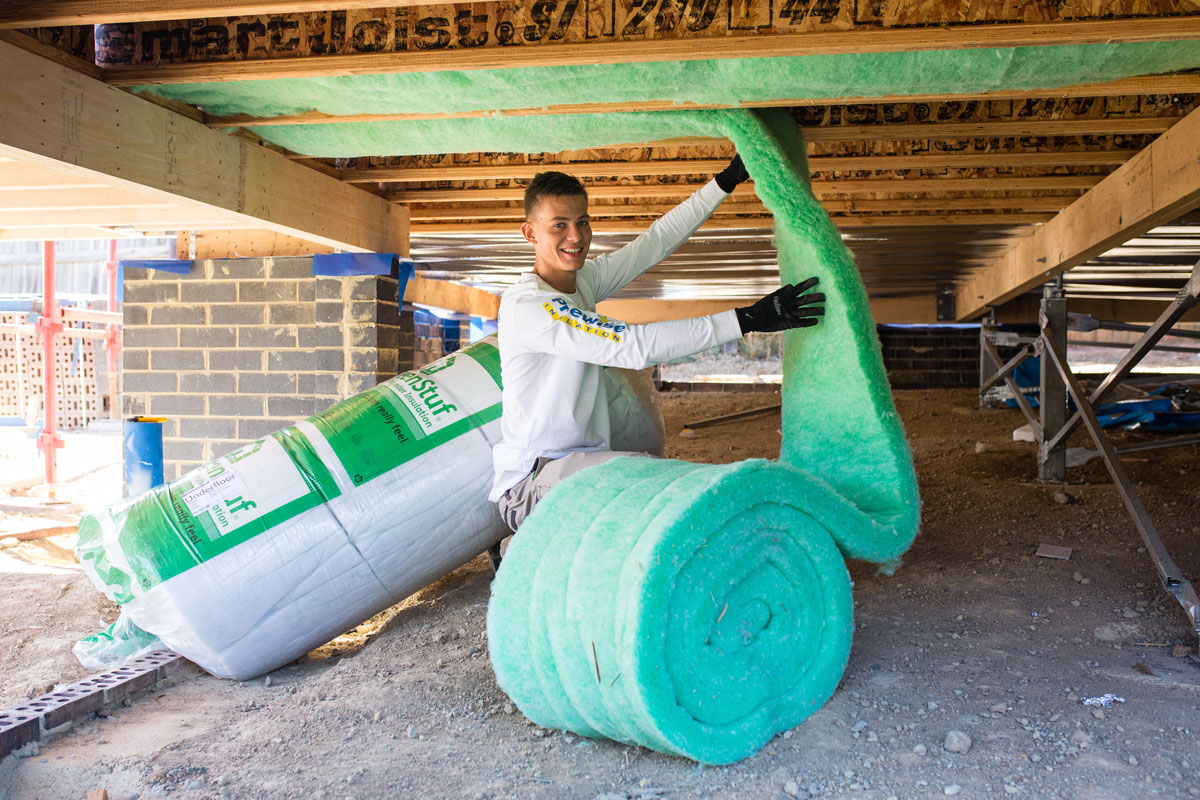
- Insulation material: Choose the appropriate insulation material for your project, such as fiberglass batts or spray foam insulation.
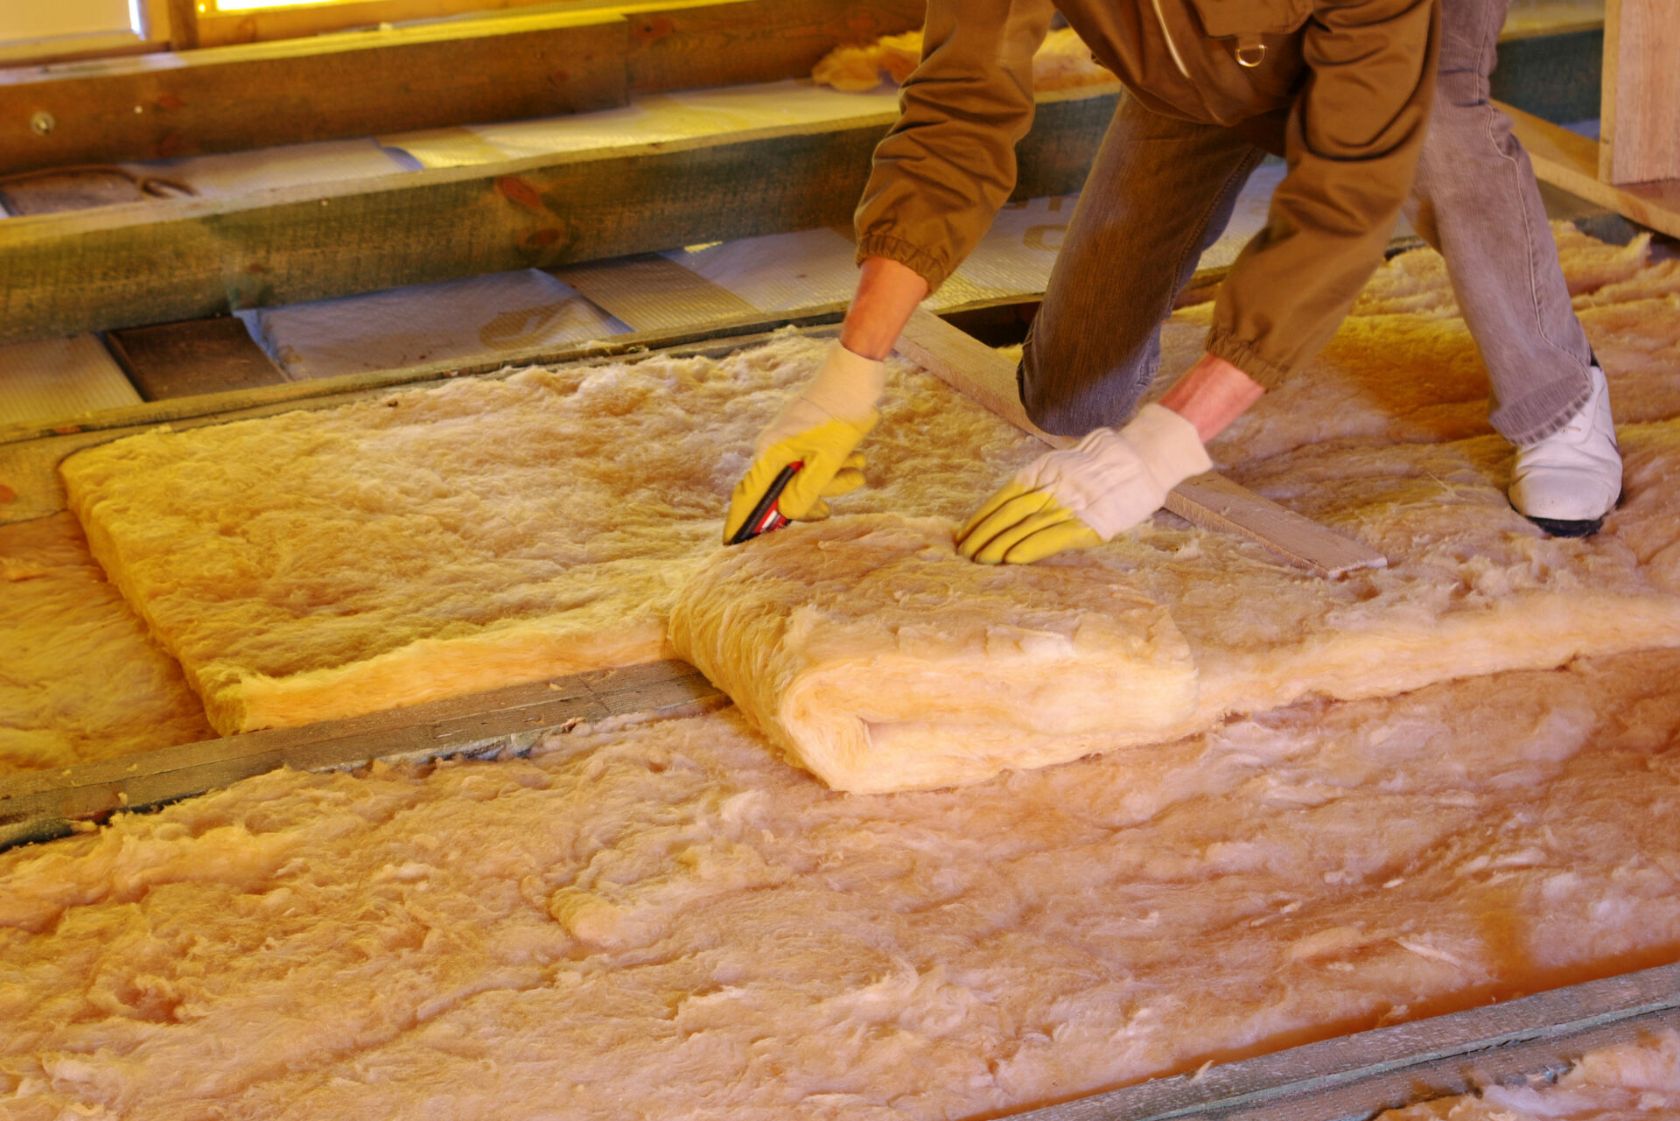
- Utility knife or insulation cutter: To cut the insulation material to fit between the joists.
- Protective equipment: It is always important to prioritize safety. Wear work gloves, safety goggles, and a dust mask when handling insulation.
- Step ladder or scaffolding: Depending on the height of the area you’re working on, you may need a ladder or scaffolding to reach the joists.
- Screws or nails: For securing the insulation supports to the joists. Choose the appropriate size and type based on the material and thickness of the supports.
- Screwdriver or hammer: To install the screws or nails.
Ensure that you have all of these materials ready before you start the installation process. Having everything on hand will make the process smoother and more efficient.
Step 1: Measure and Mark the Joists
The first step in installing insulation supports is to accurately measure and mark the spacing of the joists. This is crucial to ensure that the insulation fits properly between the joists and that the supports are evenly spaced.
Here’s how to measure and mark the joists:
- Start by locating the first joist. This is typically the one closest to the edge of the area you’re working on.
- Using a tape measure, measure the distance between one joist and the next. Take multiple measurements along the length of the joists to ensure accuracy, as the spacing may vary slightly.
- Once you have determined the spacing, mark each joist with a pencil or marker at the appropriate intervals. These marks will serve as a guide for the placement of the insulation supports.
Remember to measure and mark each joist individually, as the spacing between them may vary. Taking the time to accurately measure and mark the joists will ensure that the insulation supports are installed correctly and provide optimal insulation performance.
Step 2: Install the First Row of Insulation Supports
Once you have measured and marked the joists, it’s time to start installing the insulation supports. The first row of supports will serve as the foundation for securing the insulation material.
Follow these steps to install the first row of insulation supports:
- Begin at one end of the joists. Take an insulation support and align it with the mark you made on the first joist.
- Hold the support in place and use a screwdriver or hammer to attach it to the joist securely. If you’re using screws, make sure to choose an appropriate length that will penetrate the joist without protruding too much.
- Continue to install the supports along the first row, aligning them with the marks on the joists and securing them in place.
- Ensure that the supports are evenly spaced and aligned parallel to each other.
Installing the first row of insulation supports correctly is crucial, as it sets the foundation for the remaining installation process. Make sure to take your time to ensure that the supports are securely attached and properly aligned.
Step 3: Install the Remaining Rows of Insulation Supports
After completing the first row of insulation supports, it’s time to install the remaining rows. These additional rows will provide further support and ensure that the insulation material is held securely in place.
Follow these steps to install the remaining rows of insulation supports:
- Move to the next joist and align an insulation support with the mark you made for that joist.
- Secure the support to the joist using a screwdriver or hammer, just as you did with the first row.
- Continue installing insulation supports along the remaining joists, ensuring that they are evenly spaced and aligned with the marks.
- As you install each support, double-check that they are vertically aligned with the supports in the previous row. This will help provide a consistent and secure structure for the insulation material.
- Repeat this process for each row of insulation supports until you have covered all the joists in the area.
By installing the remaining rows of insulation supports, you are strengthening the overall structure and creating a solid framework for the insulation material to be installed.
Take your time to ensure that each support is properly aligned and securely attached to the joists. This will help prevent any movement or sagging of the insulation material in the future.
When installing insulation supports, make sure to space them according to the manufacturer’s recommendations to ensure proper support for the insulation material.
Read more: How To Install Foil Insulation
Step 4: Cut Insulation to Fit
With the insulation supports in place, it’s time to cut the insulation material to fit between the joists. Properly fitting insulation is essential for maximizing energy efficiency and maintaining a comfortable environment.
Follow these steps to cut the insulation material to fit:
- Measure the distance between the installed insulation supports. This will help you determine the width of the insulation piece you need to cut.
- Transfer the measurements onto the insulation material using a pencil or marker.
- Using a utility knife or insulation cutter, carefully cut along the marked lines. Be sure to follow a straight line and apply consistent pressure to achieve clean and precise cuts.
- Continue cutting insulation pieces to fit between each pair of insulation supports.
- When cutting the insulation, make sure to leave a small gap on each side to allow for expansion and proper fitting of the material.
Remember to take your time when cutting the insulation material to ensure accurate measurements and clean cuts. Having properly fitted insulation will improve thermal performance and prevent air leakage.
If you’re working with a particularly large or irregularly shaped area, you may need to use multiple pieces of insulation. In such cases, make sure the seams between the insulation pieces are tightly fitted and sealed to maintain a continuous thermal barrier.
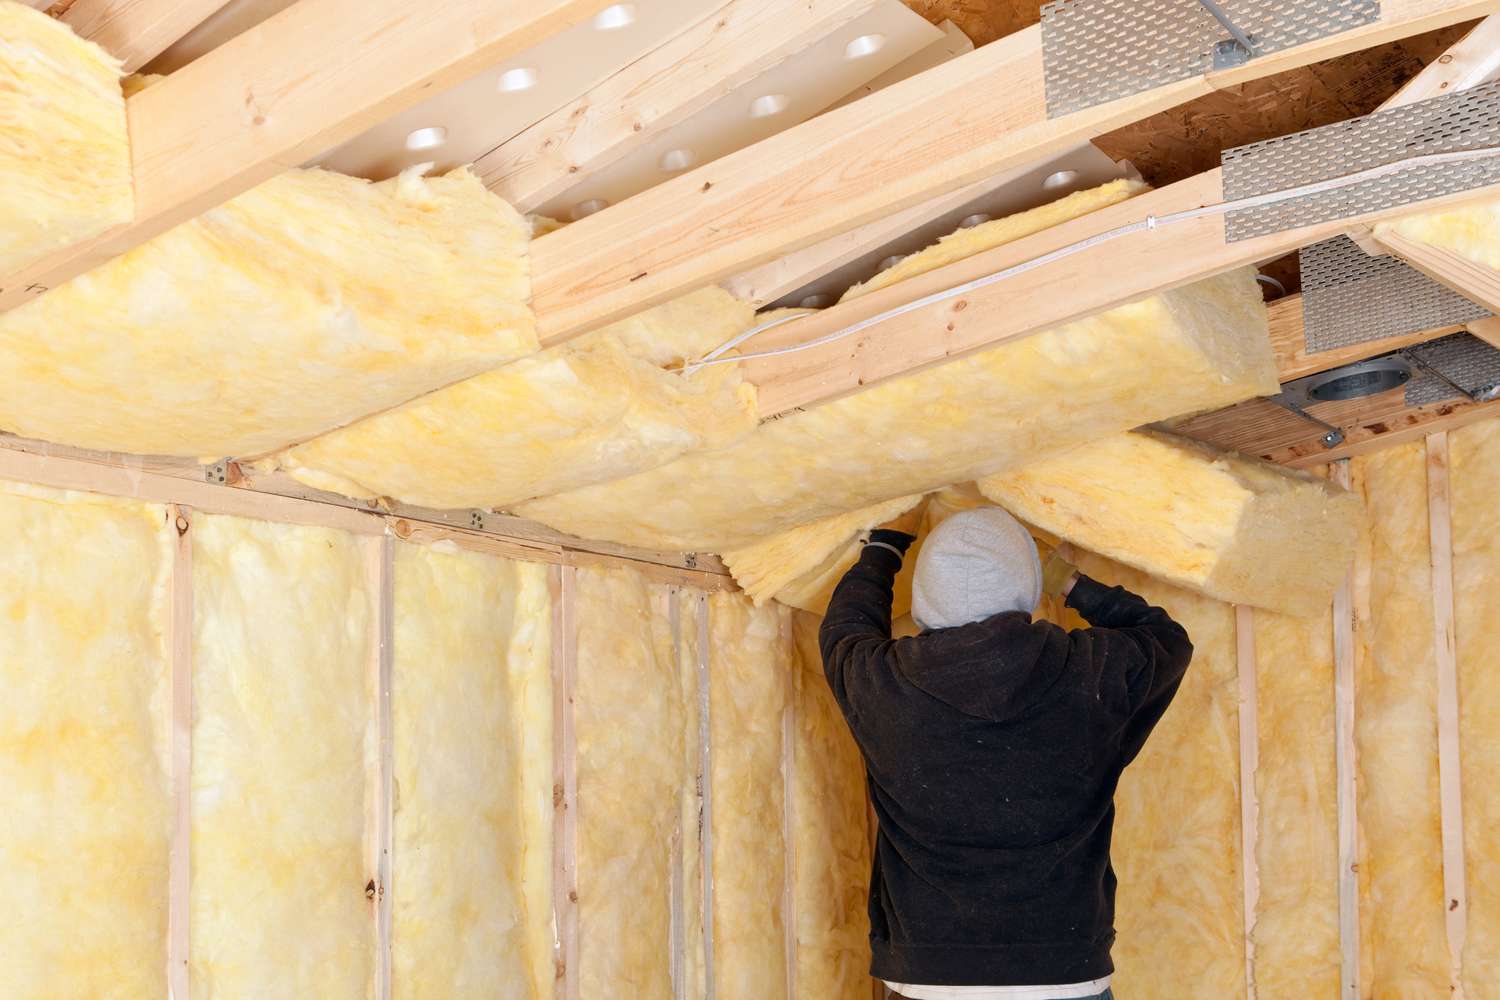
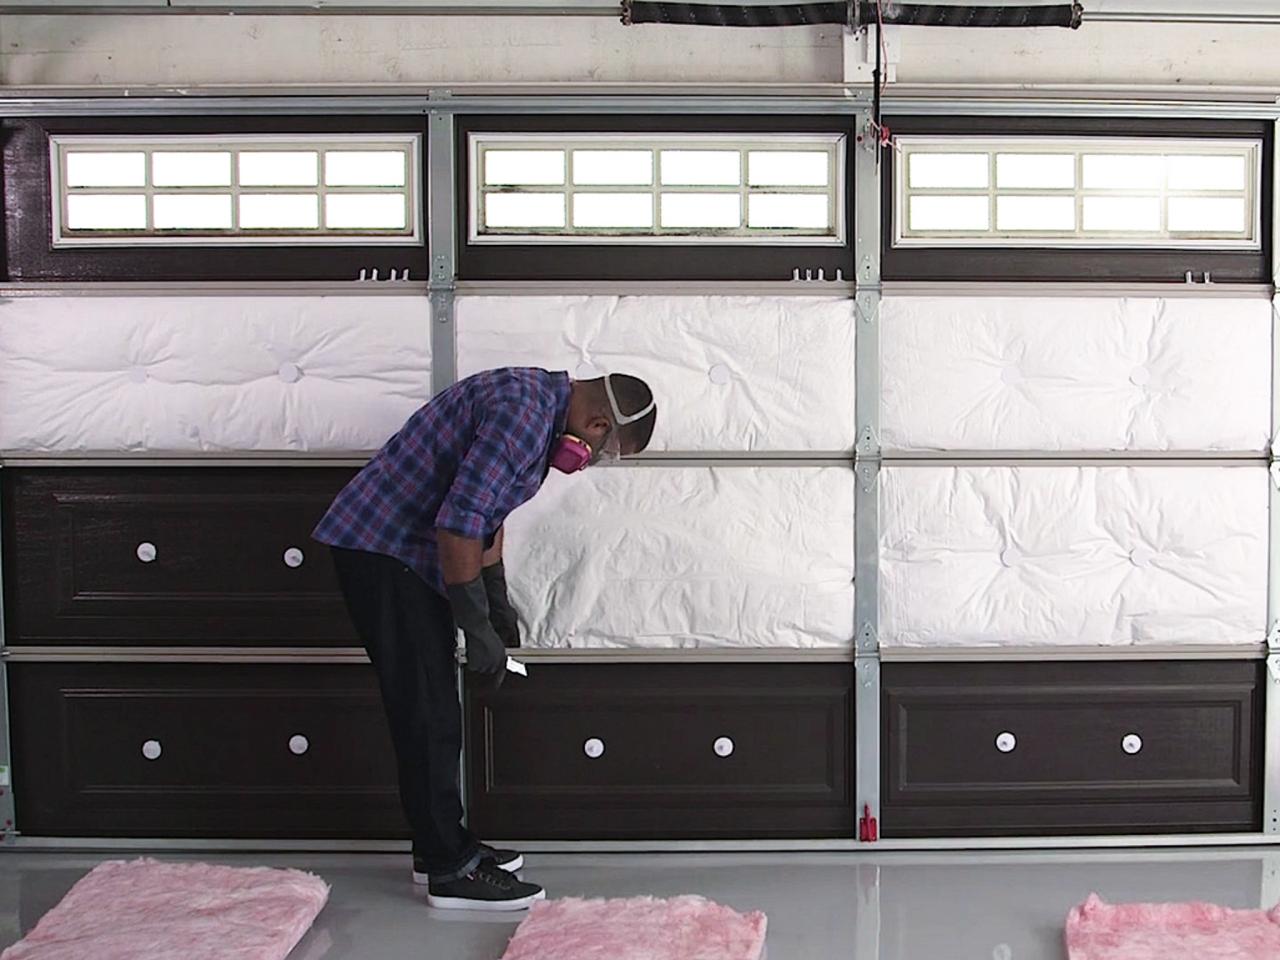
Step 5: Secure Insulation to Supports
Once the insulation material has been cut to fit between the insulation supports, it’s time to secure it in place. Properly securing the insulation will ensure that it remains in position and provides optimal insulation performance.
Follow these steps to secure the insulation to the supports:
- Take the first piece of cut insulation and position it between the insulation supports, ensuring that it fits snugly.
- Using screws or nails, attach the insulation to the supports by inserting them through the insulation material and into the supports. Take care not to compress or compress the insulation too tightly, as this can reduce its thermal effectiveness.
- Continue securing the insulation material to the supports along the entire length of the joist, making sure to space the screws or nails evenly to provide adequate support.
- Repeat this process for each piece of insulation, ensuring that all the insulation material is securely attached to the supports.
- Double-check the insulation to ensure there are no gaps or loose sections. Properly secured insulation will provide effective thermal insulation and reduce heat loss.
By properly securing the insulation to the supports, you prevent it from sagging or shifting over time. This is crucial as it helps maintain the integrity of the insulation and ensures consistent thermal performance.
Take your time during this step to ensure that each piece of insulation is securely fastened to the supports, providing a tight and continuous thermal barrier.
Step 6: Repeat the Process for Each Joist
Now that you have successfully installed and secured the insulation material between the supports of the first joist, it’s time to repeat the process for each remaining joist. This will ensure that the entire area is properly insulated and energy-efficient.
Follow these steps to repeat the installation process for each joist:
- Move on to the next joist, adjacent to the one you just completed.
- Measure the distance between the joists to determine the length of the insulation pieces you need to cut.
- Cut the insulation material to fit between the supports of the new joist, following the same process as in Step 4.
- Install the first row of insulation supports on the new joist, aligning them with the marked points.
- Secure the insulation material to the supports, using screws or nails, as described in Step 5.
- Repeat this process for each remaining joist until the entire area is insulated.
By repeating the installation process for each joist, you ensure consistent insulation coverage and maintain thermal performance throughout the space. Taking the time to properly insulate all the joists will result in enhanced energy efficiency and improved comfort.
Continue this step-by-step process for each joist until the entire area is insulated, ensuring that each piece of insulation is securely attached and properly aligned with the insulation supports.
Step 7: Inspect and Tidy Up
After completing the installation of insulation supports and securing the insulation material, it’s important to take a final step to inspect your work and tidy up the area. This will ensure that everything is in order and ready to provide optimal insulation and energy efficiency.
Follow these steps to inspect and tidy up:
- Starting from one end, visually inspect the installed insulation supports and secure attachments to ensure that they are in place and properly aligned.
- Check for any gaps or loose sections in the insulation material. If you find any, reattach or adjust the insulation supports and secure the insulation material accordingly.
- Inspect the overall appearance of the installation, looking for any sharp edges or protruding screws or nails that may pose a safety hazard. File down or cover any sharp edges and ensure that all fasteners are flush with the insulation supports.
- Remove any excess insulation material or debris from the installation area, using a broom or vacuum cleaner. Keeping the area tidy not only improves the aesthetics but also helps maintain the effectiveness of the insulation.
By conducting a thorough inspection and tidying up the installation area, you can address any potential issues and ensure that the insulation system is functioning optimally.
Take the time to carefully inspect all aspects of the installation, making necessary adjustments and cleaning up any debris, so that you can enjoy the full benefits of a well-insulated space.
Read more: How To Install Insulation In An Attic
Conclusion
Installing insulation supports is a crucial step in effectively insulating your home and improving energy efficiency. By following the step-by-step guide outlined in this article, you can successfully install insulation supports and create a thermal barrier that will help maintain comfortable indoor temperatures and reduce energy consumption.
Remember to gather all the necessary materials before starting the installation process, including insulation supports, insulation material, measuring tools, and fasteners. Take your time to accurately measure and mark the joists, ensuring proper alignment and spacing of the supports.
Once the supports are in place, cut the insulation material to fit between the joists, leaving room for expansion. Secure the insulation to the supports using screws or nails, ensuring a tight and continuous thermal barrier.
Repeat the installation process for each joist, inspecting and tidying up the area as you go. Conduct a final inspection to ensure all supports are properly aligned, the insulation material is securely attached, and the area is free from debris.
By installing insulation supports correctly and securing the insulation material, you can improve energy efficiency, reduce utility costs, and create a more comfortable living space.
Remember to prioritize safety throughout the installation process by wearing protective gear and handling insulation material with caution.
With the knowledge and guidance provided in this article, you are now equipped to successfully install insulation supports and create a well-insulated and energy-efficient home.
Frequently Asked Questions about How To Install Insulation Supports
Was this page helpful?
At Storables.com, we guarantee accurate and reliable information. Our content, validated by Expert Board Contributors, is crafted following stringent Editorial Policies. We're committed to providing you with well-researched, expert-backed insights for all your informational needs.


0 thoughts on “How To Install Insulation Supports”