Home>Articles>How To Install GAF Liberty Peel And Stick Roofing

Articles
How To Install GAF Liberty Peel And Stick Roofing
Modified: February 23, 2024
Learn how to install GAF Liberty Peel and Stick roofing with our informative articles. Get step-by-step instructions and expert guidance for a successful installation.
(Many of the links in this article redirect to a specific reviewed product. Your purchase of these products through affiliate links helps to generate commission for Storables.com, at no extra cost. Learn more)
Introduction
Welcome to the comprehensive guide on how to install GAF Liberty Peel and Stick Roofing! If you’re looking for an efficient and hassle-free way to give your roof a new lease on life, GAF Liberty Peel and Stick Roofing is the perfect solution. With its easy installation process and durable performance, this roofing system is a popular choice among homeowners and contractors alike.
In this article, we will provide you with a step-by-step walkthrough of the installation process, along with valuable tips and tricks to ensure a successful application. Whether you’re a seasoned DIY enthusiast or a first-time roofer, this guide will equip you with the knowledge and confidence to tackle your roofing project.
But before we dive into the installation process, let’s take a moment to understand what sets GAF Liberty Peel and Stick Roofing apart from other roofing systems on the market. This self-adhering roofing underlayment is made from a rubberized asphalt material that provides superior weatherproofing and protection against leaks. Its unique peel-and-stick feature eliminates the need for torches or hot asphalt, making it a safer and more convenient option for homeowners.
Additionally, GAF Liberty Peel and Stick Roofing is renowned for its longevity and durability. It can withstand extreme weather conditions, including high winds, heavy rain, and even hail. This means that once installed, you can have peace of mind knowing that your roof is well-protected for years to come.
Now that you have a better understanding of the benefits of GAF Liberty Peel and Stick Roofing, let’s move on to the materials you’ll need for the installation process.
Key Takeaways:
- Installing GAF Liberty Peel and Stick Roofing is a DIY-friendly process that involves cleaning the roof, measuring and cutting the material, and ensuring proper adhesion for long-lasting protection against the elements.
- Proper preparation, attention to detail, and adherence to manufacturer guidelines are essential for a successful GAF Liberty Peel and Stick Roofing installation. Completing the process results in a durable and visually appealing roofing system.
Read more: How To Install Peel And Stick Roofing
Materials Needed
Before starting the installation process, it’s important to gather all the necessary materials and tools. Here’s a list of what you’ll need:
- GAF Liberty Peel and Stick Roofing rolls (calculate the amount based on the square footage of your roof)
- Roofing nails or staples
- Roofing adhesive (compatible with GAF Liberty Peel and Stick Roofing)
- Tape measure
- Roofing knife or utility knife with a sharp blade
- Safety glasses and gloves
- Work gloves
- Ladder or scaffolding
- Caulking gun
- Roofing cement
- Drip edge
- Roofing nails
- Hammer or roofing nail gun
- Carpenter’s pencil or chalk
- Roofing underlayment
- Roofing felt
- Roofing membrane primer (if recommended by the manufacturer)
Make sure to double-check the manufacturer’s instructions for any additional materials or tools specific to the GAF Liberty Peel and Stick Roofing system. It’s essential to have everything ready before you begin to ensure a smooth and efficient installation process.
Once you have gathered all the necessary materials, you’re ready to move on to the pre-installation preparation stage.
Pre-Installation Preparation
Before you can start installing the GAF Liberty Peel and Stick Roofing, it’s important to prepare your roof and ensure it is clean and in good condition. Follow these steps for pre-installation preparation:
- Inspect the roof: Start by inspecting the roof for any existing damage, such as leaks, cracks, or loose shingles. Repair any issues before proceeding with the installation to ensure a solid foundation.
- Clean the roof surface: Remove any debris, dirt, or loose materials from the roof surface. Use a broom or a leaf blower to sweep away leaves, sticks, and other debris. This step is crucial for ensuring proper adhesion of the GAF Liberty Peel and Stick Roofing.
- Check for moisture: It’s important to check for any moisture or water damage on the roof. Look for signs of leaks, such as water stains or rotting wood. Address any moisture issues and make necessary repairs before proceeding.
- Apply a roofing primer (if recommended): Some roofing manufacturers recommend applying a primer to the roof surface before installing the peel and stick roofing. Check the manufacturer’s instructions to see if a primer is required and follow the application guidelines accordingly.
- Measure and calculate the required materials: Use a tape measure to measure the square footage of your roof. Calculate the amount of GAF Liberty Peel and Stick Roofing rolls needed based on the measurements. It’s a good idea to add an extra 10% to account for waste and any unforeseen cuts or adjustments.
By taking the time to properly prepare your roof, you’ll ensure a smooth installation process and maximize the performance and durability of the GAF Liberty Peel and Stick Roofing system. Once you have completed the pre-installation preparation, you’re ready to move on to the next step: cleaning the roof surface.
Step 1: Clean the Roof Surface
Cleaning the roof surface is an essential step before installing the GAF Liberty Peel and Stick Roofing. A clean surface ensures proper adhesion and enhances the longevity of the roofing system. Follow these steps to clean the roof surface:
- Wear the appropriate safety gear: Before you begin, put on safety glasses, work gloves, and non-slip shoes to protect yourself from any potential hazards.
- Remove loose debris: Use a broom or leaf blower to remove any loose debris, such as leaves, twigs, or dirt, from the roof surface. Start from the top of the roof and work your way down, making sure to clear all areas.
- Inspect and clean gutters: Check the gutters for any clogs or blockages and remove any debris. Ensure that the gutters and downspouts are clear, as they play a crucial role in draining water away from the roof.
- Use a roof cleaner solution (if necessary): If your roof has stubborn stains, moss, or algae growth, you may need to use a roof cleaner solution. Follow the manufacturer’s instructions for dilution, application, and safety precautions. Apply the cleaner to the affected areas, scrub gently with a soft-bristle brush, and rinse thoroughly with water.
- Inspect for leaks or damage: While cleaning the roof, carefully inspect the surface for any signs of leaks, damage, or deterioration. Look for cracked or missing shingles, loose flashing, or damaged areas. If you find any issues, address them before proceeding with the installation.
- Rinse the roof surface: After cleaning and inspecting the roof, rinse the surface thoroughly with a garden hose or pressure washer. Start at the top of the roof and work your way down, ensuring all cleaning solution residue and debris are washed away.
- Allow the roof to dry: Give the roof ample time to dry completely before moving on to the next step. A dry surface is critical for proper adhesion of the GAF Liberty Peel and Stick Roofing.
By thoroughly cleaning the roof surface, you’ll create an optimal environment for installing the GAF Liberty Peel and Stick Roofing. Once the roof is clean and dry, you can proceed to measure and cut the roofing material in the next step.
Step 2: Measure and Cut the GAF Liberty Peel and Stick Roofing
Accurate measurements and precise cuts are crucial for a successful installation of GAF Liberty Peel and Stick Roofing. In this step, we will guide you through the process of measuring and cutting the roofing material:
- Gather your materials: Make sure you have your tape measure, roofing knife or utility knife, and GAF Liberty Peel and Stick Roofing rolls ready.
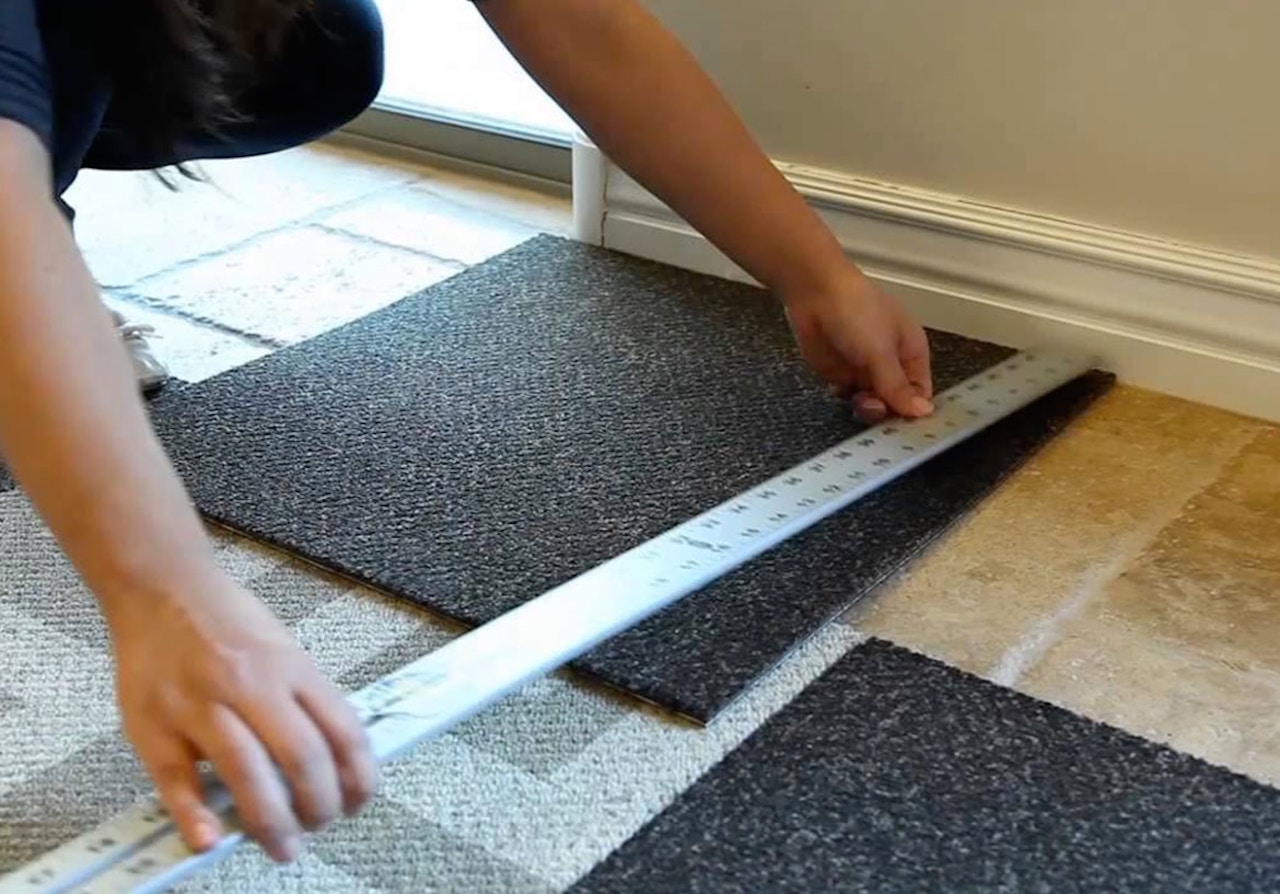
- Start measuring: Begin at one corner of the roof and measure the length of the area where you will be installing the first course of roofing. Mark the measurement on the back of the GAF Liberty Peel and Stick Roofing roll.
- Account for overlaps: It’s important to account for overlaps when measuring each course of roofing. Check the manufacturer’s instructions for the recommended overlap width and add it to your measurement. Mark the overlap line on the back of the roofing roll.
- Cut the roofing material: Use a roofing knife or utility knife with a sharp blade to cut along the marked lines. Ensure that your cuts are clean and straight for a proper fit. Repeat this process for each section of GAF Liberty Peel and Stick Roofing needed for the installation.
- Label the roofing sections: To keep track of the different sections of roofing, label them accordingly. You can use a carpenter’s pencil or chalk to mark the sections with their corresponding course numbers or roof areas.
- Organize the cut roofing sections: Once you have cut the roofing material into sections, organize them in a way that makes them easily accessible during the installation process. This will save you time and make the installation process more efficient.
Remember, accuracy is key when measuring and cutting the GAF Liberty Peel and Stick Roofing. Taking the time to measure each section correctly and making clean cuts will ensure a seamless and professional-looking installation. Now that you have measured and cut the roofing material, it’s time to prepare the roofing for installation in the next step.
Read more: What Is Peel And Stick Roofing
Step 3: Prepare the Roofing for Installation
Before you can start installing the GAF Liberty Peel and Stick Roofing, it’s important to properly prepare the roofing surface. This step will ensure that the roofing material adheres securely and provides optimal performance. Follow these guidelines to prepare the roofing for installation:
- Check the weather conditions: Ensure that the weather conditions are suitable for the installation. Avoid installing the roofing material during extreme temperatures, high winds, or rain, as it may affect adhesion and overall performance.
- Apply roofing membrane primer (if recommended): Some manufacturers recommend applying a roofing membrane primer before installing the GAF Liberty Peel and Stick Roofing. If specified by the manufacturer, follow the instructions on the primer container to apply it to the roof surface. Allow the primer to dry completely.
- Install drip edge (if necessary): If your roof requires a drip edge, now is the time to install it. A drip edge helps channel water away from the roof edge, preventing damage and leaks. Follow the manufacturer’s instructions for the proper installation of the drip edge.
- Apply roofing underlayment: Before installing the GAF Liberty Peel and Stick Roofing, it’s recommended to apply a layer of roofing underlayment. The underlayment acts as an additional protective barrier against water and helps ensure a watertight seal. Unroll the underlayment and secure it to the roof surface using roofing nails or staples.
- Ensure proper ventilation: Adequate ventilation is essential for the longevity of your roof. Check that your roof has proper ventilation systems, such as ridge vents or soffit vents. If necessary, install or replace vents to ensure proper airflow and prevent moisture buildup.
By taking the time to properly prepare the roofing for installation, you’ll ensure a solid foundation for the GAF Liberty Peel and Stick Roofing. It’s important to follow the manufacturer’s instructions specific to your roofing system and address any additional preparation steps they recommend. With the roofing surface prepared, you’re ready to move on to the installation process in the next step.
When installing GAF Liberty Peel and Stick roofing, make sure to properly clean the surface and remove any debris before applying the membrane to ensure a secure and long-lasting installation.
Step 4: Install the First Course of Roofing
Now that you have prepared the roofing surface, it’s time to start installing the GAF Liberty Peel and Stick Roofing. In this step, we will guide you through the process of installing the first course of roofing:
- Start at one corner: Begin at one corner of the roof and position the first section of GAF Liberty Peel and Stick Roofing. Ensure that it is aligned properly with the edge of the roof and any overlaps or overhangs are in the correct position.
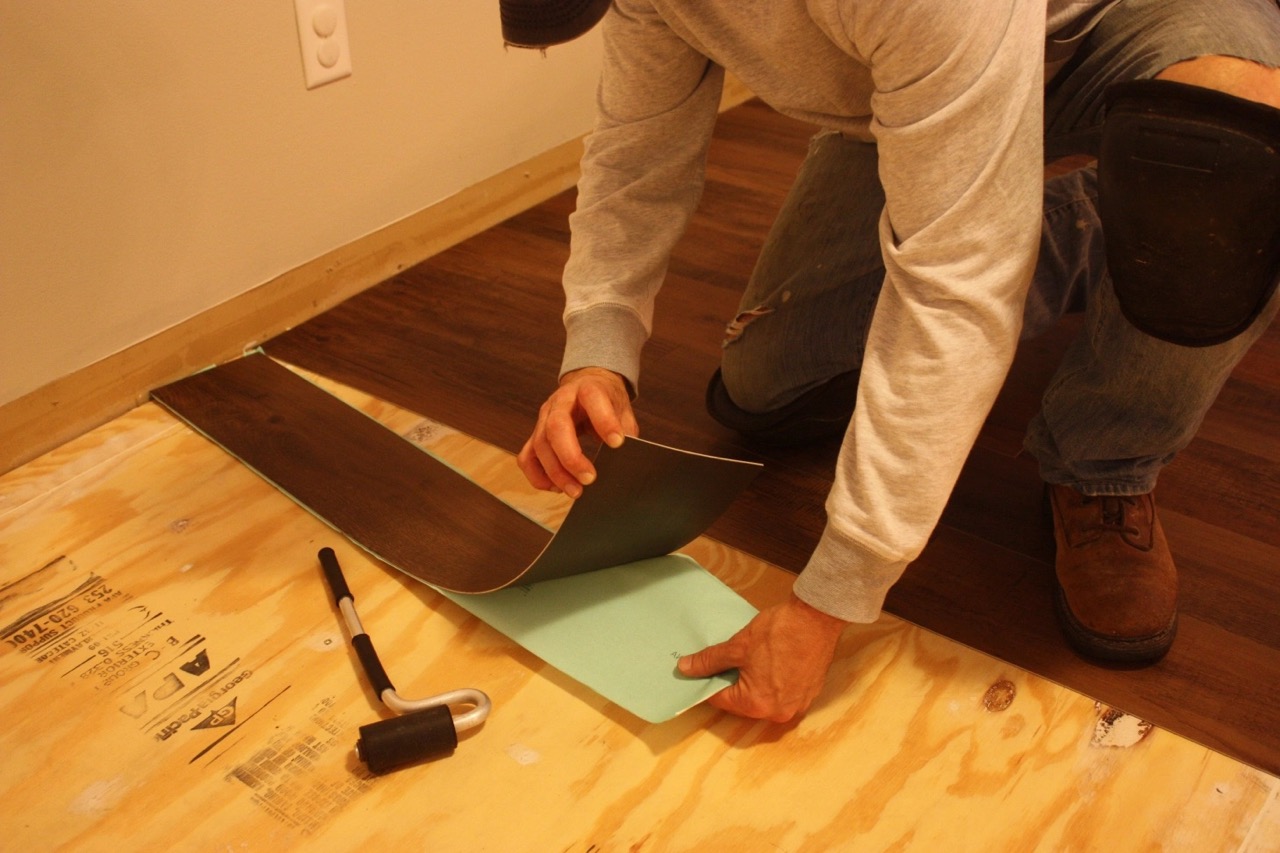
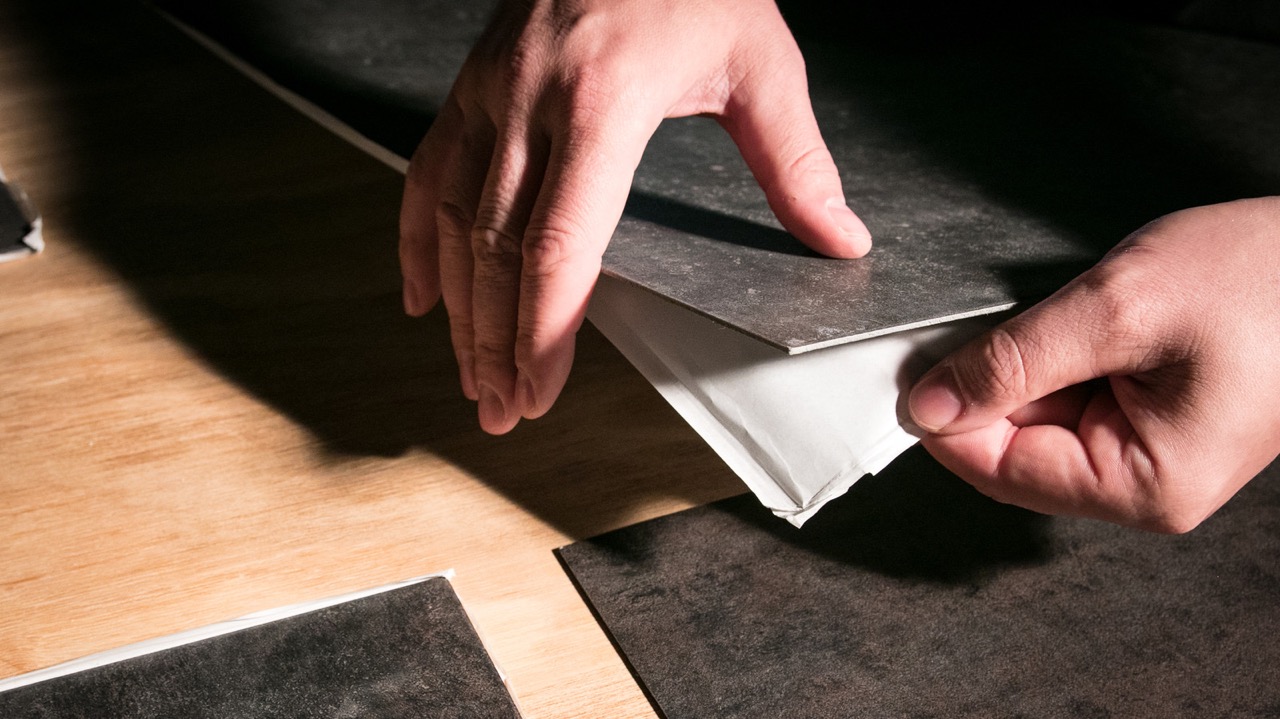
- Remove the backing: Peel off the release paper from a small section of the roofing material, exposing the sticky adhesive beneath. Avoid removing the backing from the entire section to prevent it from getting dirty or sticking to unintended areas.
- Align and press down: Carefully align the exposed sticky adhesive with the edge of the roof and press the roofing material firmly against the roof surface. Slowly remove the remaining backing while continuing to smooth the roofing material in place.
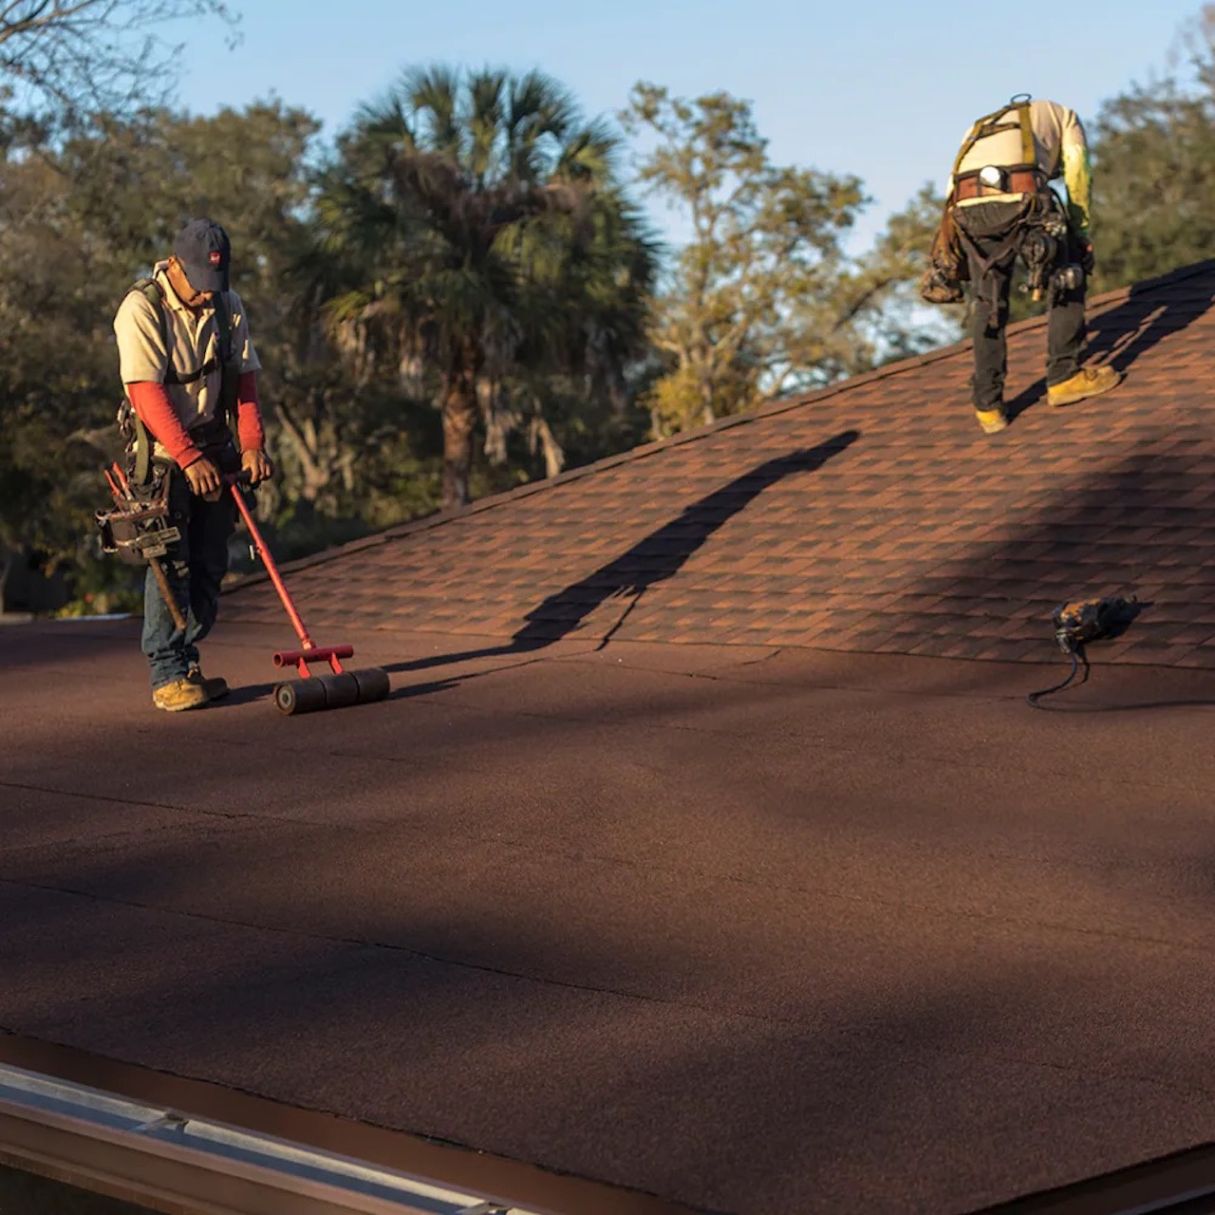
- Smooth out any air bubbles: As you press the roofing material down, be mindful of any air bubbles that may form. Use a roller or your hand to smooth out any bubbles and ensure a secure and even bond with the roof surface.
- Continue with the first course: Repeat the process of removing the backing and pressing the roofing material in place, section by section, until you reach the end of the first course. Trim the excess roofing material if necessary.
- Ensure proper overlaps: As you install each section, make sure there is a proper overlap between adjacent sections. Refer to the manufacturer’s instructions for the recommended overlap width, which may vary based on the specific GAF Liberty Peel and Stick Roofing product you are using.
- Secure with roofing nails or staples: Once the first course is in place, secure it further by using roofing nails or staples along the edges, as recommended by the manufacturer. This will provide additional reinforcement and ensure the roofing material stays securely in place.
By following these steps, you’ll successfully install the first course of the GAF Liberty Peel and Stick Roofing. Remember to take your time and ensure that each section is aligned correctly and securely bonded to the roof surface. With the first course installed, you can now proceed to the next step – continuing with the installation of the roofing courses.
Step 5: Continue Installing the Roofing Courses
With the first course of GAF Liberty Peel and Stick Roofing securely in place, it’s time to continue with the installation by adding additional courses. Follow these steps to install the roofing courses:
- Align the next section: Start by aligning the next section of GAF Liberty Peel and Stick Roofing, ensuring that it overlaps with the previously installed course according to the manufacturer’s instructions. Take care to maintain a consistent overlap width throughout the installation.
- Remove the backing and press down: Peel off the release paper from a small section of the new section and press it firmly against the roof surface, just like in the first course. Gradually remove the remaining backing while smoothing out any air bubbles and ensuring proper adhesion.
- Blend the seams: As you install each new section, pay attention to blending the seams between adjacent sections. This will help create a seamless, uniform appearance for your roof. Use a roller or your hand to press down and blend the seams as you go along.
- Trim excess material: If necessary, trim any excess material from the edges of the roofing sections. A sharp roofing knife or utility knife can be used to make clean and precise cuts. Be careful not to cut into the underlying roofing surface or compromise the integrity of the installation.
- Secure the courses: Once each course is installed, secure it further by using roofing nails or staples along the edges, as recommended by the manufacturer. This will provide additional stability and prevent any lifting or movement of the roofing material.
- Repeat the process: Continue installing additional courses of GAF Liberty Peel and Stick Roofing, following the same steps as outlined above. Take your time to ensure each section is aligned properly, adheres securely, and blends seamlessly with the previous courses.
It’s important to maintain consistency and attention to detail throughout the installation process. Double-check the alignment, overlapping, and adhesion of each section to ensure a professional and durable installation. As you continue installing the roofing courses, you’re one step closer to completing the project. Proceed to the next step to learn about applying overlaps and sealing the roofing.
Step 6: Apply Overlaps and Sealing
As you near the completion of the GAF Liberty Peel and Stick Roofing installation, it’s important to apply overlaps and sealing to ensure a watertight and secure roofing system. Follow these steps to apply overlaps and sealing:
- Check the manufacturer’s recommendations: Refer to the GAF Liberty Peel and Stick Roofing manufacturer’s instructions for the recommended overlap width and sealing methods. These may vary depending on the specific product you are using.
- Apply overlaps between roofing sections: For each course of roofing, ensure there is an adequate overlap between adjacent sections. Follow the manufacturer’s guidelines to determine the desired overlap width, typically ranging from 3 to 6 inches.
- Secure overlaps with roofing adhesive: To achieve a strong and waterproof bond, apply roofing adhesive in between the overlapping sections. Use a caulking gun or trowel to apply a generous amount of adhesive, ensuring complete coverage along the overlap area.
- Smooth out and compress the overlaps: After applying the roofing adhesive, use a roller or your hand to smooth out the overlaps and compress them firmly together. This will create a tight seal and help prevent water infiltration.
- Inspect and seal any gaps or seams: Carefully inspect the entire roof surface for any gaps, seams, or areas that may require additional sealing. Fill these gaps with roofing cement or an appropriate sealant, following the product instructions.
- Double-check for proper adhesion: Take a final look at the installed roofing sections to ensure they are adhered securely to the roof surface. Press down on any lifted or loose areas and use a roller or hand to reinforce the adhesion.
By applying overlaps and sealing the roofing sections, you will enhance the waterproofing capabilities of the GAF Liberty Peel and Stick Roofing system. This step is crucial to prevent water infiltration and ensure the long-term performance of your roof. With the overlaps and sealing complete, you’re ready to move on to the final step of the installation – installing roof caps and adding finishing touches.
Read more: How To Install Peel And Stick Wallpaper
Step 7: Install Roof Caps and Finishing Touches
As you approach the final stage of installing GAF Liberty Peel and Stick Roofing, it’s time to focus on the roof caps and adding finishing touches. These elements will not only enhance the appearance of your roof but also provide additional protection against the elements. Follow these steps to install roof caps and add finishing touches:
- Measure and cut roof caps: Start by measuring the length of the ridge of your roof, where the roof caps will be installed. Use a tape measure to determine the necessary length for the roof caps. Cut the GAF Liberty Peel and Stick Roofing into sections that are slightly longer than the measured length.
- Apply roofing adhesive: Apply a generous amount of roofing adhesive to the underside of each roof cap section. This will ensure a secure bond with the roof surface and prevent any lifting or movement.
- Place and press down the roof caps: Carefully position each roof cap section along the ridge of the roof, ensuring proper alignment and overlap. Press down on the roof caps firmly to ensure they adhere securely to the roof surface.
- Secure the roof caps: Use roofing nails or staples to further secure the roof caps. Place the nails or staples along the edges of the roof caps, following the manufacturer’s recommendations for proper placement and spacing.
- Seal the roof cap seams: Apply roofing cement or an appropriate sealant to the seams between each roof cap section. This will provide an extra layer of protection against water penetration and reinforce the integrity of the roof caps.
- Inspect and make any necessary adjustments: After installing the roof caps, inspect the entire roof surface for any areas that may require additional sealing, caulking, or touch-ups. Attend to any gaps, seams, or imperfections to ensure a professional and watertight final result.
- Clean up and admire your finished roof: Clean up any debris or materials that were used during the installation process. Step back and admire your finished roof, knowing that your hard work and attention to detail have resulted in a durable and visually appealing roofing system.
By installing roof caps and adding finishing touches, you complete the installation process of GAF Liberty Peel and Stick Roofing. These final steps not only contribute to the overall aesthetics of your roof but also contribute to its long-term performance and protection. Congratulations on a job well done!
Remember, proper maintenance and regular inspections will help ensure the longevity and optimal performance of your newly installed GAF Liberty Peel and Stick Roofing.
Conclusion
Congratulations! You have successfully completed the installation process of GAF Liberty Peel and Stick Roofing. By following the step-by-step guide and paying attention to important details, you have transformed your roof into a durable and weather-resistant structure. The GAF Liberty Peel and Stick Roofing system provides a convenient and reliable solution for homeowners and contractors alike.
Throughout the installation process, you learned how to clean and prepare the roof surface, measure and cut the roofing material, and install the GAF Liberty Peel and Stick Roofing courses with precision. You also discovered the importance of applying overlaps and sealing to create a watertight barrier against the elements. Finally, you added the finishing touches by installing roof caps, ensuring the overall integrity and aesthetics of your roof.
It’s crucial to note that proper maintenance and regular inspections are key to preserving the longevity and performance of your newly installed roofing system. Periodically check for any signs of damage, such as cracked or lifted sections, and address them promptly to prevent further issues. Regularly clean and clear debris from the roof to prevent clogs and potential water damage.
Remember to consult the manufacturer’s instructions and guidelines specific to your GAF Liberty Peel and Stick Roofing system for any additional care and maintenance recommendations. By following these best practices, you can enjoy a beautifully protected roof for years to come.
We hope this comprehensive guide has equipped you with the knowledge and confidence to tackle your roofing project. Whether you undertook this endeavor as a DIY enthusiast or as a contractor working on behalf of a client, you have gained valuable skills and expertise. If you continue to have any questions or concerns, don’t hesitate to reach out to a roofing professional for assistance.
Thank you for choosing GAF Liberty Peel and Stick Roofing and investing in a reliable and high-quality roofing solution. Here’s to a roof that will withstand the test of time and provide enduring protection for your home or building.
Frequently Asked Questions about How To Install GAF Liberty Peel And Stick Roofing
Was this page helpful?
At Storables.com, we guarantee accurate and reliable information. Our content, validated by Expert Board Contributors, is crafted following stringent Editorial Policies. We're committed to providing you with well-researched, expert-backed insights for all your informational needs.


0 thoughts on “How To Install GAF Liberty Peel And Stick Roofing”