Home>Articles>How To Install Peel And Stick Flooring On Concrete
Articles
How To Install Peel And Stick Flooring On Concrete
Modified: January 5, 2024
Learn how to install peel and stick flooring on concrete with our comprehensive articles. Transform your space with ease and efficiency.
(Many of the links in this article redirect to a specific reviewed product. Your purchase of these products through affiliate links helps to generate commission for Storables.com, at no extra cost. Learn more)
Introduction
Peel and stick flooring is a popular and convenient option for homeowners looking to update their floors without the hassle of traditional installation methods. Whether you want to give your basement a fresh new look, transform your kitchen, or revamp your bathroom, peel and stick flooring on concrete can be a great solution.
Installing peel and stick flooring on concrete is a relatively simple process that can be done by most DIY enthusiasts. By following a few key steps and using the right materials and tools, you can achieve professional-looking results and enjoy the benefits of a beautiful, durable, and low-maintenance floor.
In this article, we will guide you through the process of installing peel and stick flooring on concrete. We will cover everything from preparing the surface to choosing the right flooring and completing the installation. Whether you are a seasoned DIY-er or a beginner, this step-by-step guide will help you achieve a successful installation.
Before we dive into the installation process, let’s go through the materials and tools you will need to gather beforehand. Having everything ready will ensure a smooth and efficient installation process.
Key Takeaways:
- Installing peel and stick flooring on concrete requires thorough preparation, precise placement, and attention to detail. Proper maintenance and care are essential for preserving the flooring’s durability and aesthetics.
- Choosing the right peel and stick flooring, planning the layout, and focusing on finishing touches are crucial for achieving a professional-looking installation. Following maintenance tips will help preserve the flooring’s longevity.
Materials and Tools Needed
Before you begin installing peel and stick flooring on concrete, it’s important to gather all the necessary materials and tools. Here is a list of what you will need:
- Peel and stick flooring tiles or planks: Choose a style, color, and pattern that suits your taste and complements your space.
- Moisture barrier (if needed): Depending on the condition of your concrete and the level of moisture, you may need to use a moisture barrier to protect your flooring from any potential moisture damage.
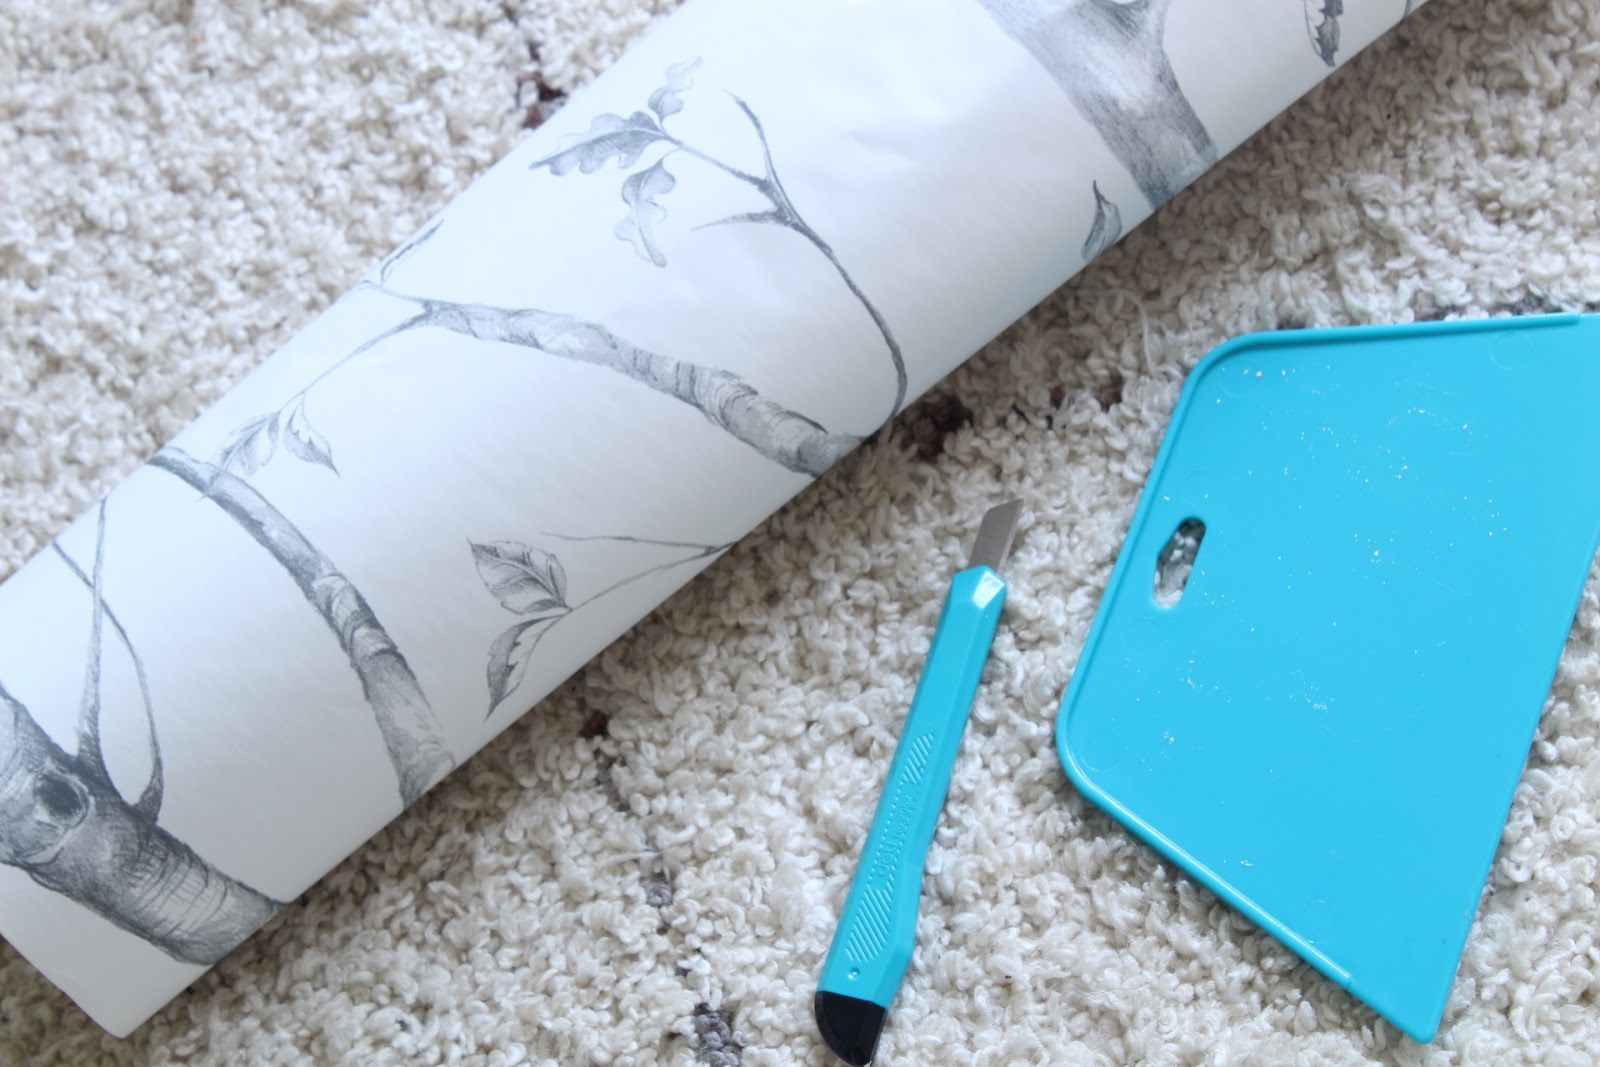
- Utility knife: A sharp utility knife will be used to cut the flooring to size.
- Straight edge or ruler: A straight edge or ruler will help you make straight and precise cuts.
- Chalk line: This will be useful for creating layout guidelines and ensuring accurate placement of the flooring.
- Tape measure: You’ll need a tape measure to measure the size of your space and cut the flooring accordingly.
- Rolling pin or laminate roller: A rolling pin or laminate roller will help you firmly adhere the flooring to the concrete surface to ensure proper adhesion.
- Cleaner or degreaser: You’ll need a cleaner or degreaser to thoroughly clean the concrete surface before installation.
- Safety goggles and gloves: It’s important to protect your eyes and hands while working with tools and chemicals.
- Dust mask: Wear a dust mask to protect your lungs from any debris or dust that may be generated during the installation process.
Having these materials and tools on hand will make the installation process much smoother and more efficient. Ensure that you have everything ready before you begin, as this will save you valuable time and prevent any unnecessary delays.
Preparation
Before you start installing peel and stick flooring on concrete, it’s important to properly prepare the surface to ensure a smooth and successful installation. Here are the steps to follow:
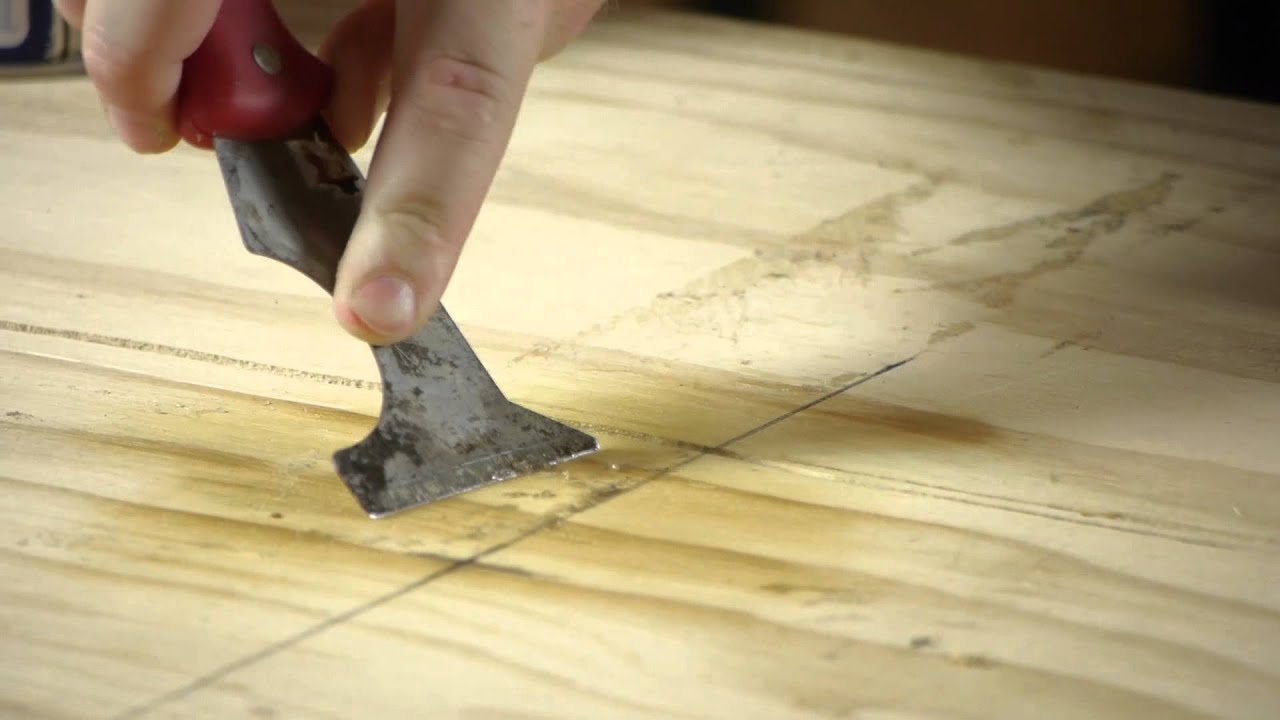
- Remove any existing flooring: If there is any existing flooring on the concrete, such as tiles or carpet, you will need to remove it completely. Use a scraper or floor stripper to remove any adhesive residue or stubborn bits of flooring.
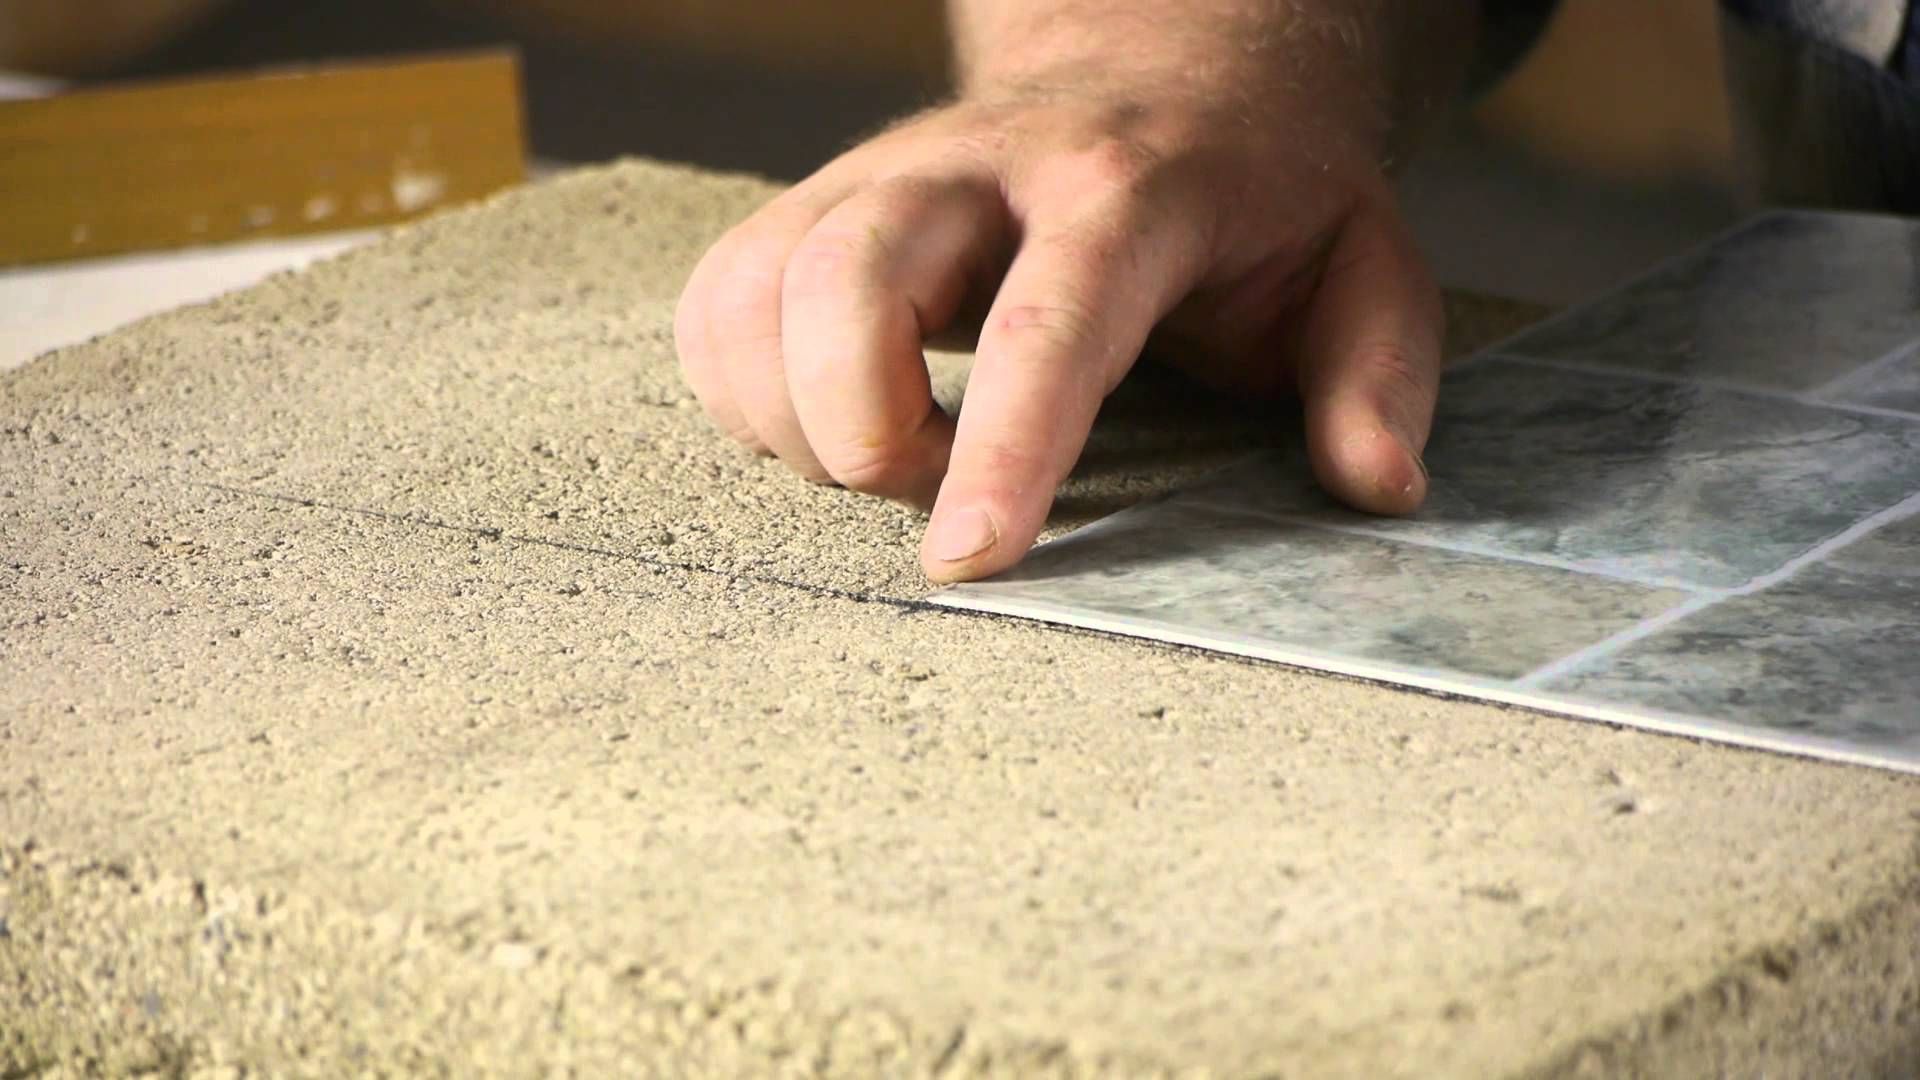
- Inspect the concrete: Thoroughly inspect the concrete surface for any cracks, holes, or unevenness. If you come across any cracks or holes, fill them with a concrete patching compound and smooth them out with a trowel. Allow the compound to dry completely before moving on to the next step.
- Clean the concrete: Use a cleaner or degreaser specifically designed for concrete to clean the surface. Remove any dirt, dust, grease, or stains. Scrub the concrete with a stiff brush and rinse it thoroughly with water. Allow it to dry completely.
- Sand the surface (if necessary): If the concrete surface is rough or has any high spots, you may need to sand it lightly. This will help create a smoother surface for the flooring to adhere to. Use a floor sander or sanding block to even out the surface, and then clean away any dust.
- Check for moisture: Concrete can sometimes have moisture-related issues, which can affect the adhesion of the peel and stick flooring. Conduct a moisture test by taping a plastic sheet to the floor and leaving it for 24 hours. If you notice any condensation or water droplets on the underside of the plastic, it’s important to address the moisture issue before proceeding with the installation.
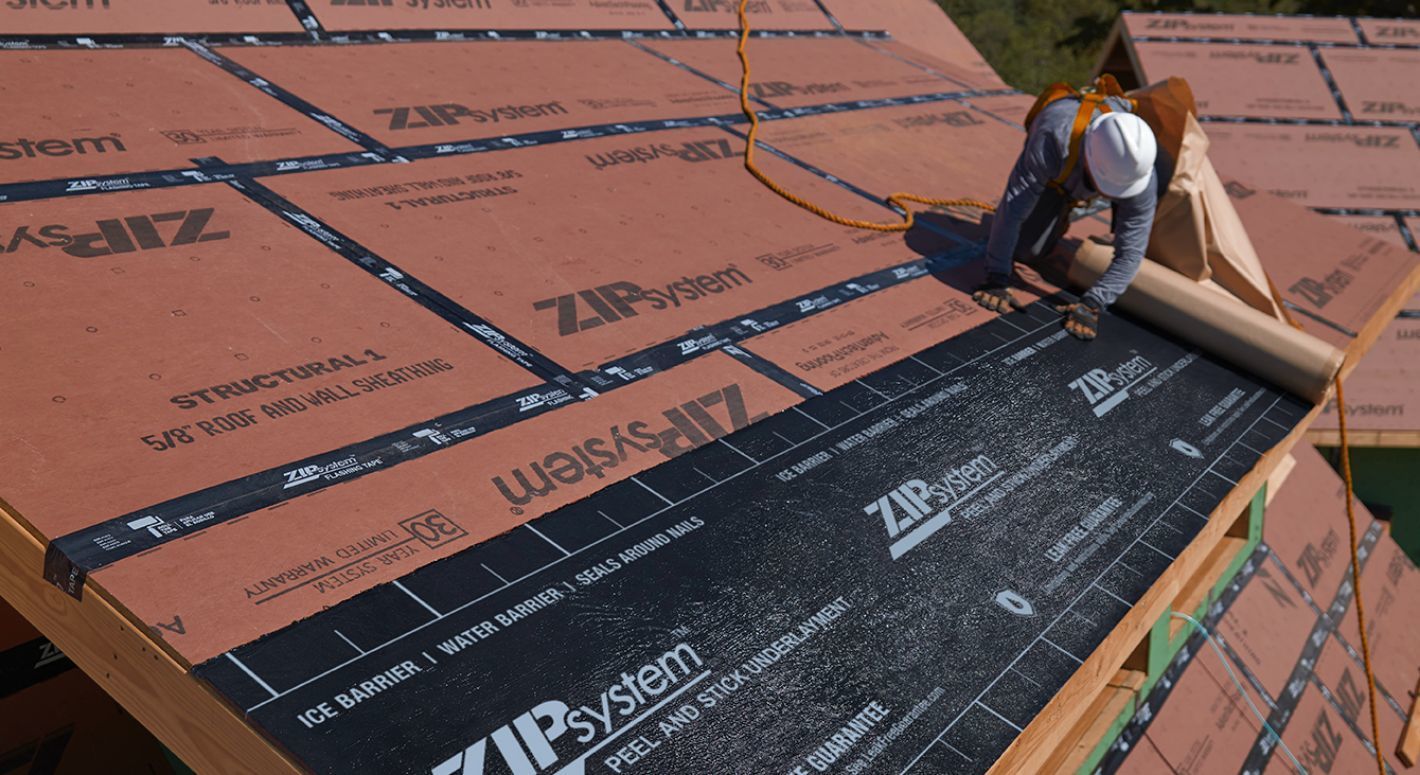
- Apply a moisture barrier (if necessary): If your moisture test reveals excess moisture, you will need to apply a moisture barrier before installing the peel and stick flooring. There are various types of moisture barriers available, such as epoxy coatings or sheet membranes. Follow the manufacturer’s instructions to apply the moisture barrier and allow it to cure completely.
By properly preparing the concrete surface, you are setting the foundation for a successful peel and stick flooring installation. Taking the time to clean, inspect, and address any issues will ensure better adhesion and longevity of your new flooring. Once the preparation is complete, you can move on to choosing the right peel and stick flooring for your space.
Cleaning the Concrete Surface
Before you can begin the installation of peel and stick flooring on concrete, it is essential to clean the surface thoroughly. Cleaning the concrete surface will remove any dirt, dust, grease, or stains that could hinder the adhesion of the flooring. Here are the steps to follow:
- Gather your cleaning supplies: You will need a cleaner or degreaser specifically designed for concrete, a stiff brush or broom, a bucket of warm water, and a mop or sponge.
- Sweep or vacuum the floor: Start by removing any loose dirt or debris from the concrete surface. Use a broom or vacuum cleaner to sweep the floor thoroughly.
- Prepare the cleaning solution: Dilute the concrete cleaner or degreaser according to the manufacturer’s instructions. Pour the cleaning solution into a bucket of warm water and mix well.
- Apply the cleaning solution: Use a mop or sponge to apply the cleaning solution to the concrete surface. Start from one corner and work your way towards the exit to avoid stepping on the wet floor.
- Scrub the surface: Use a stiff brush or broom to scrub the concrete surface, focusing on any areas with stubborn stains or grease. Apply moderate pressure to ensure thorough cleaning.
- Rinse the floor: Once you have scrubbed the entire floor, rinse it thoroughly with clean water. This will remove any remaining cleaner or degreaser residue.
- Dry the surface: Allow the concrete surface to dry completely. Use a mop or sponge to soak up any excess water, and open windows or use fans to promote air circulation and speed up the drying process.
It is important to ensure that the concrete surface is free from any dirt, dust, or contaminants before installing the peel and stick flooring. This will provide a clean and smooth surface for the adhesive to bond properly. Taking the time to clean the concrete surface will contribute to the long-term durability and appearance of your new flooring.
Letting the Concrete Dry
After cleaning the concrete surface, it is crucial to allow it to dry completely before proceeding with the installation of peel and stick flooring. Properly drying the concrete will ensure optimal adhesion and prevent any moisture-related issues. Here are the key considerations:
- Patience is key: Drying time for concrete can vary depending on various factors such as humidity, temperature, and ventilation. It’s important to exercise patience and allow enough time for the concrete to dry thoroughly. Rushing the process can lead to problems with adhesion and potentially compromise the longevity of the flooring.
- Check for visible signs of moisture: Visual inspection can provide some indication of whether the concrete is dry. Look for any lingering patches of dampness or water droplets on the surface. If you notice any moisture, it is not yet ready for the installation. Give it more time to dry out completely.
- Perform a moisture test: To accurately determine if the concrete is dry, it’s recommended to conduct a moisture test. There are various moisture testing methods available, such as using a moisture meter or a calcium chloride test kit. Follow the manufacturer’s instructions to perform the test and interpret the results.
- Follow the manufacturer’s guidelines: It’s important to refer to the manufacturer’s guidelines or installation instructions for the specific peel and stick flooring you are using. They may provide specific recommendations on the acceptable moisture levels for installation. Adhering to these guidelines will help ensure a successful and long-lasting installation.
- Adequate ventilation: Proper airflow and ventilation can aid in the drying process. Open windows and doors to promote air circulation, or use fans or dehumidifiers if necessary. This will help remove excess moisture and expedite the drying time.
Remember, allowing the concrete to dry completely is crucial for a successful installation. Rushing the process can result in insufficient adhesion and potential damage to the flooring. Take the necessary precautions and follow the recommended drying times and guidelines to ensure a smooth and long-lasting installation of your peel and stick flooring.
Read more: How To Install Peel And Stick Floor Tile
Checking for Moisture
Checking for moisture on the concrete surface is an essential step before installing peel and stick flooring. Excessive moisture can cause issues such as adhesive failure, mold growth, and warping of the flooring. To avoid these problems, it’s important to assess the moisture content of the concrete. Here’s how to do it:
- Visual inspection: Start by inspecting the concrete surface for any visible signs of moisture. Look for dark patches, condensation, or water droplets. If you notice any of these signs, it indicates that there may be excess moisture in the concrete.
- Tape test: Perform a simple tape test to get an initial indication of the moisture content. Place a small piece of clear plastic sheet or aluminum foil onto the concrete surface, and secure it with tape along all edges. Leave it undisturbed for 24 hours.
- Check for condensation: After 24 hours, remove the tape and carefully lift the plastic sheet or foil. Check the underside for any moisture or condensation. If you find moisture beneath the plastic, it suggests that the concrete has high moisture levels and may not be suitable for direct installation of peel and stick flooring.
- Calcium chloride test: For a more accurate measurement of moisture levels, consider conducting a calcium chloride test. You can purchase a moisture test kit containing a pre-weighed calcium chloride container and a plastic dome. Follow the manufacturer’s instructions to place the container on the concrete surface, seal it with the dome, and leave it for the recommended period.
- Measure and interpret the results: After the specified time, weigh the calcium chloride container and compare it to the initial weight. The difference in weight will indicate the amount of moisture the concrete has emitted. Refer to the manufacturer’s guidelines or consult with a professional to determine whether the moisture levels are within the acceptable range for installing peel and stick flooring.
It is crucial to assess the moisture content of the concrete accurately before proceeding with the installation. If there are excessive moisture levels, it is essential to address the issue before installing the flooring to avoid potential damage. Consult with professionals or consider using moisture barriers or mitigation techniques to mitigate moisture-related problems.
Applying a Moisture Barrier (If Necessary)
If your concrete has a high moisture content or you have determined that it is necessary to provide extra protection against moisture, applying a moisture barrier is a critical step. A moisture barrier helps prevent moisture from seeping through the concrete and compromising the adhesion and longevity of your peel and stick flooring. Here’s how to apply a moisture barrier:
- Choose the right moisture barrier: There are different types of moisture barriers available, such as epoxy coatings, sheet membranes, or moisture-resistant underlayment. Consider factors like the level of moisture, budget, and specific requirements for your project to select the most suitable moisture barrier.
- Prepare the concrete surface: Ensure that the concrete surface is clean, dry, and free from any dirt or debris. Use a broom or vacuum cleaner to remove any loose particles. If there are any cracks or uneven areas, consider repairing and leveling them before applying the moisture barrier.
- Follow manufacturer’s instructions: Read and familiarize yourself with the manufacturer’s instructions for the specific moisture barrier you have chosen. Understand the recommended application method, curing time, and any special precautions you need to take.
- Apply the moisture barrier: Depending on the type of moisture barrier you are using, follow the manufacturer’s instructions to apply it to the concrete surface. This may involve mixing and spreading an epoxy coating, rolling out a sheet membrane, or installing a moisture-resistant underlayment. Ensure that you apply the barrier evenly and according to the recommended thickness.
- Allow for proper curing: Give the moisture barrier sufficient time to cure and dry. Follow the manufacturer’s guidelines for the curing duration, which may range from a few hours to several days. During this time, it’s important to avoid walking or placing any objects on the moisture barrier to prevent damage.
- Check for proper adhesion: After the moisture barrier has cured, perform a simple adhesion test to ensure that it adhered well to the concrete surface. Press a small piece of tape firmly onto the barrier and then peel it off. If the tape comes off easily or takes off any moisture barrier material, it may indicate a poor bond. In such cases, consult with professionals to address the issue before proceeding with the peel and stick flooring installation.
Applying a moisture barrier is an additional step that provides extra protection against moisture-related issues. It is especially important in areas with high moisture levels or where the concrete has a history of moisture problems. By properly applying a moisture barrier, you can ensure better adhesion and enhance the longevity of your peel and stick flooring on concrete.
Choosing the Right Peel and Stick Flooring
When it comes to choosing the right peel and stick flooring for your concrete surface, several factors need to be considered, including style, durability, and installation requirements. Here are some key considerations to help you make an informed decision:
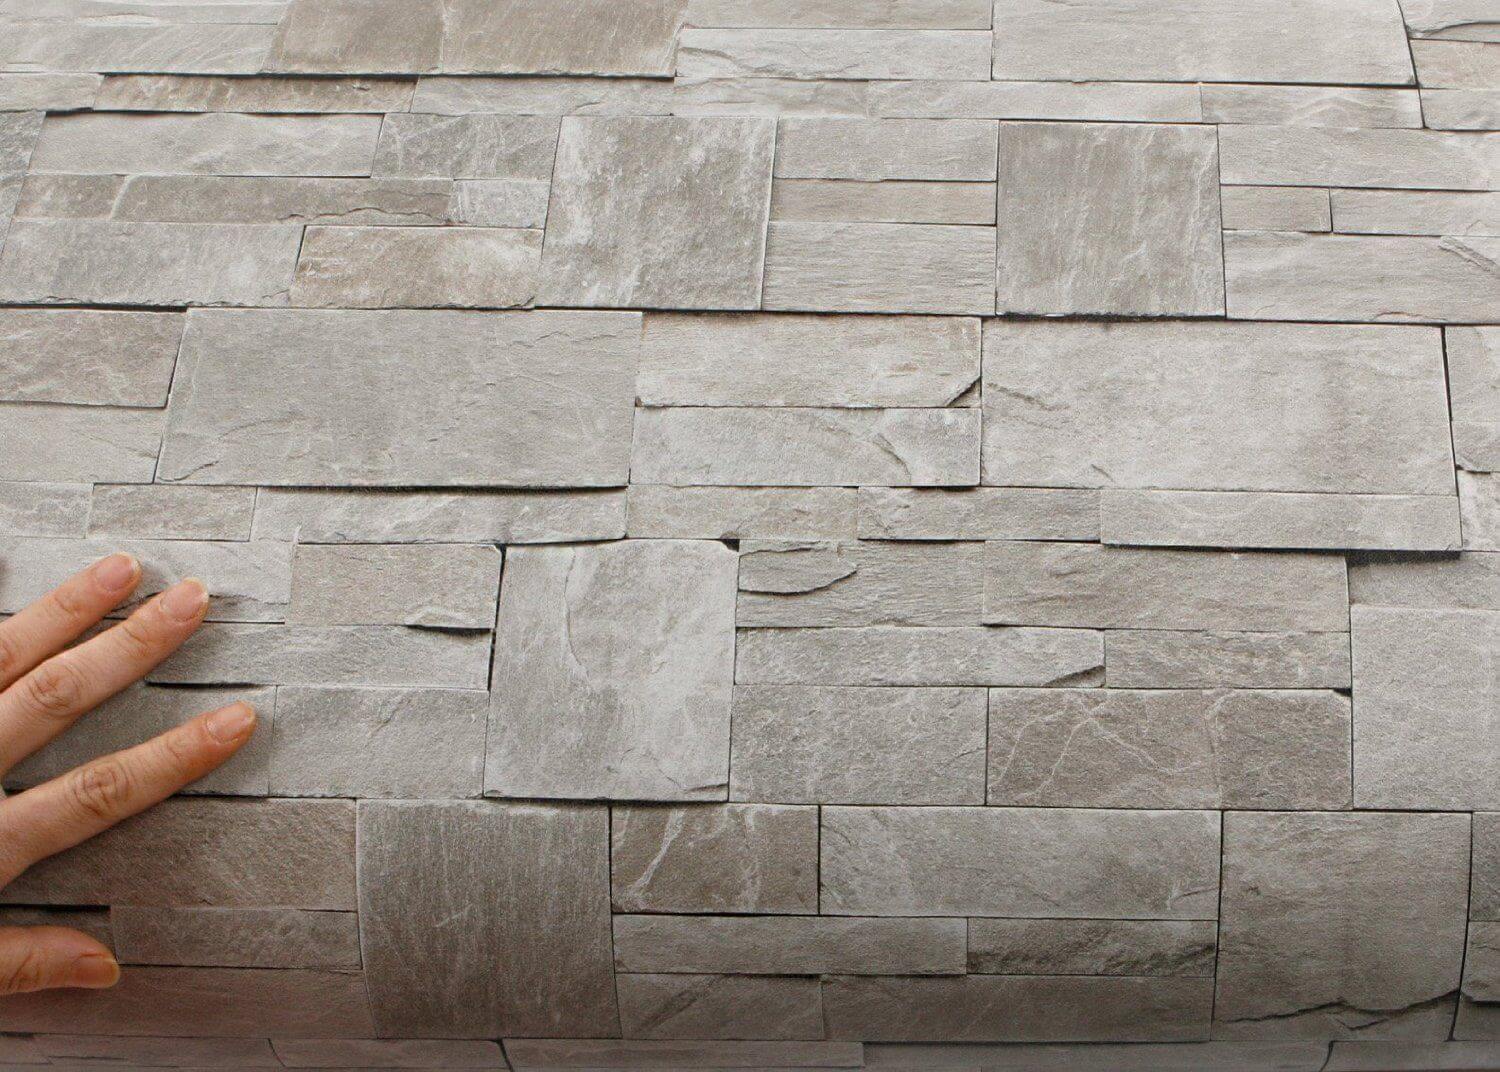
- Style and Design: Consider the overall style and aesthetic of your space. Look for peel and stick flooring options that complement the existing decor and desired ambiance. Choose from a wide range of options, including solid colors, patterns, faux wood, or stone designs.
- Durability and Traffic: Assess the level of foot traffic in the area where you plan to install the peel and stick flooring. If it’s a high-traffic area like a hallway or kitchen, opt for a more durable flooring option that can withstand wear and tear over time.
- Water and Moisture Resistance: Evaluate the moisture levels in the space and consider whether you need a peel and stick flooring that is resistant to water and moisture. This is particularly important for areas such as bathrooms, laundry rooms, or basements.
- Thickness and Stability: Pay attention to the thickness and stability of the peel and stick flooring. Thicker options are generally more durable and provide better insulation and sound absorption. Look for flooring that offers stability and resistance to warping or buckling.
- Installation Method: Consider the installation method specified by the manufacturer. Some peel and stick flooring options require a direct adhesive application to the concrete, while others may come with a built-in adhesive backing. Choose an installation method that suits your skill level and preferences.
- Budget Considerations: Set a budget for your peel and stick flooring project. Determine how much you are willing to spend and consider options that fit within your price range. Keep in mind that while some higher-end options may be more expensive, they often offer better durability and quality.
Take the time to research and explore different peel and stick flooring options. Read product reviews, compare prices, and consult with experts if needed. Ultimately, choose a flooring option that meets your style preferences, durability requirements, and budget constraints.
Once you have chosen the perfect peel and stick flooring for your concrete, it’s time to plan the layout and start the installation process.
Planning the Layout
Planning the layout of your peel and stick flooring is a crucial step to ensure a smooth and visually appealing installation. Proper planning will help you determine the best starting point, optimize material usage, and create a balanced and aesthetically pleasing design. Here’s how to plan the layout:
- Measure the space: Start by measuring the dimensions of the room or area where you will be installing the peel and stick flooring. Use a tape measure to accurately measure the length and width of the space. Note down these measurements as they will guide you in determining the number of flooring tiles or planks needed.
- Consider the focal points: Identify any focal points or areas of visual interest in the room, such as prominent furniture pieces or architectural features. Keep these in mind as you plan the layout to ensure that the flooring design enhances and complements these focal points.
- Create a layout plan: Using graph paper or a digital design tool, create a scale drawing of the room and mark the dimensions. This will allow you to visualize different layout options and experiment with different patterns, orientations, and tile/plank arrangements. Consider factors such as tile/wood grain direction, symmetry, and placing full tiles or planks at high visibility areas.
- Optimize material usage: To minimize waste and ensure an efficient installation, plan the layout to use full tiles or planks wherever possible. Avoid small, narrow cuts at the edges of the room as they can compromise the overall aesthetic and be more challenging to install. Adjust your layout plan accordingly to achieve the best material usage.
- Consider transitions and doorways: Take into account any doorways or transitions to other flooring types. Plan the layout to create smooth and visually appealing transitions between different areas. If needed, use transition strips or moldings to achieve a professional and seamless look.
- Check the layout visually: Once you have finalized the layout plan, take a step back and visually inspect it. Look for any potential design issues, imbalances, or areas where adjustments may be needed. Making adjustments at this stage will save time and effort during the actual installation.
By planning the layout of your peel and stick flooring in advance, you can ensure a visually pleasing result that enhances the overall aesthetics of your space. Investing time in careful planning will help you achieve a professional-looking installation and allow for a smoother installation process.
Now that you have a well-thought-out layout plan, you are ready to start the installation process and bring your vision to life.
Make sure the concrete is clean and level before installing peel and stick flooring. Use a primer to ensure proper adhesion and consider using a floor roller for a smooth finish.
Read more: What Is Peel And Stick Flooring
Starting Installation
Now that you have planned the layout of your peel and stick flooring, it’s time to begin the installation process. Follow these steps to get started:
- Gather your tools: Ensure that you have all the necessary tools and materials ready, including your peel and stick flooring, utility knife, straight edge, chalk line, measuring tape, rolling pin or laminate roller, and safety goggles/gloves.
- Prepare the first piece: Start by preparing the first piece of flooring. If needed, measure and cut the piece to fit appropriately against walls or other obstacles using a utility knife and straight edge.
- Mark guidelines: Use a chalk line to mark guidelines on the concrete surface to ensure straight and precise installation. These guidelines will serve as a reference as you lay down the flooring.
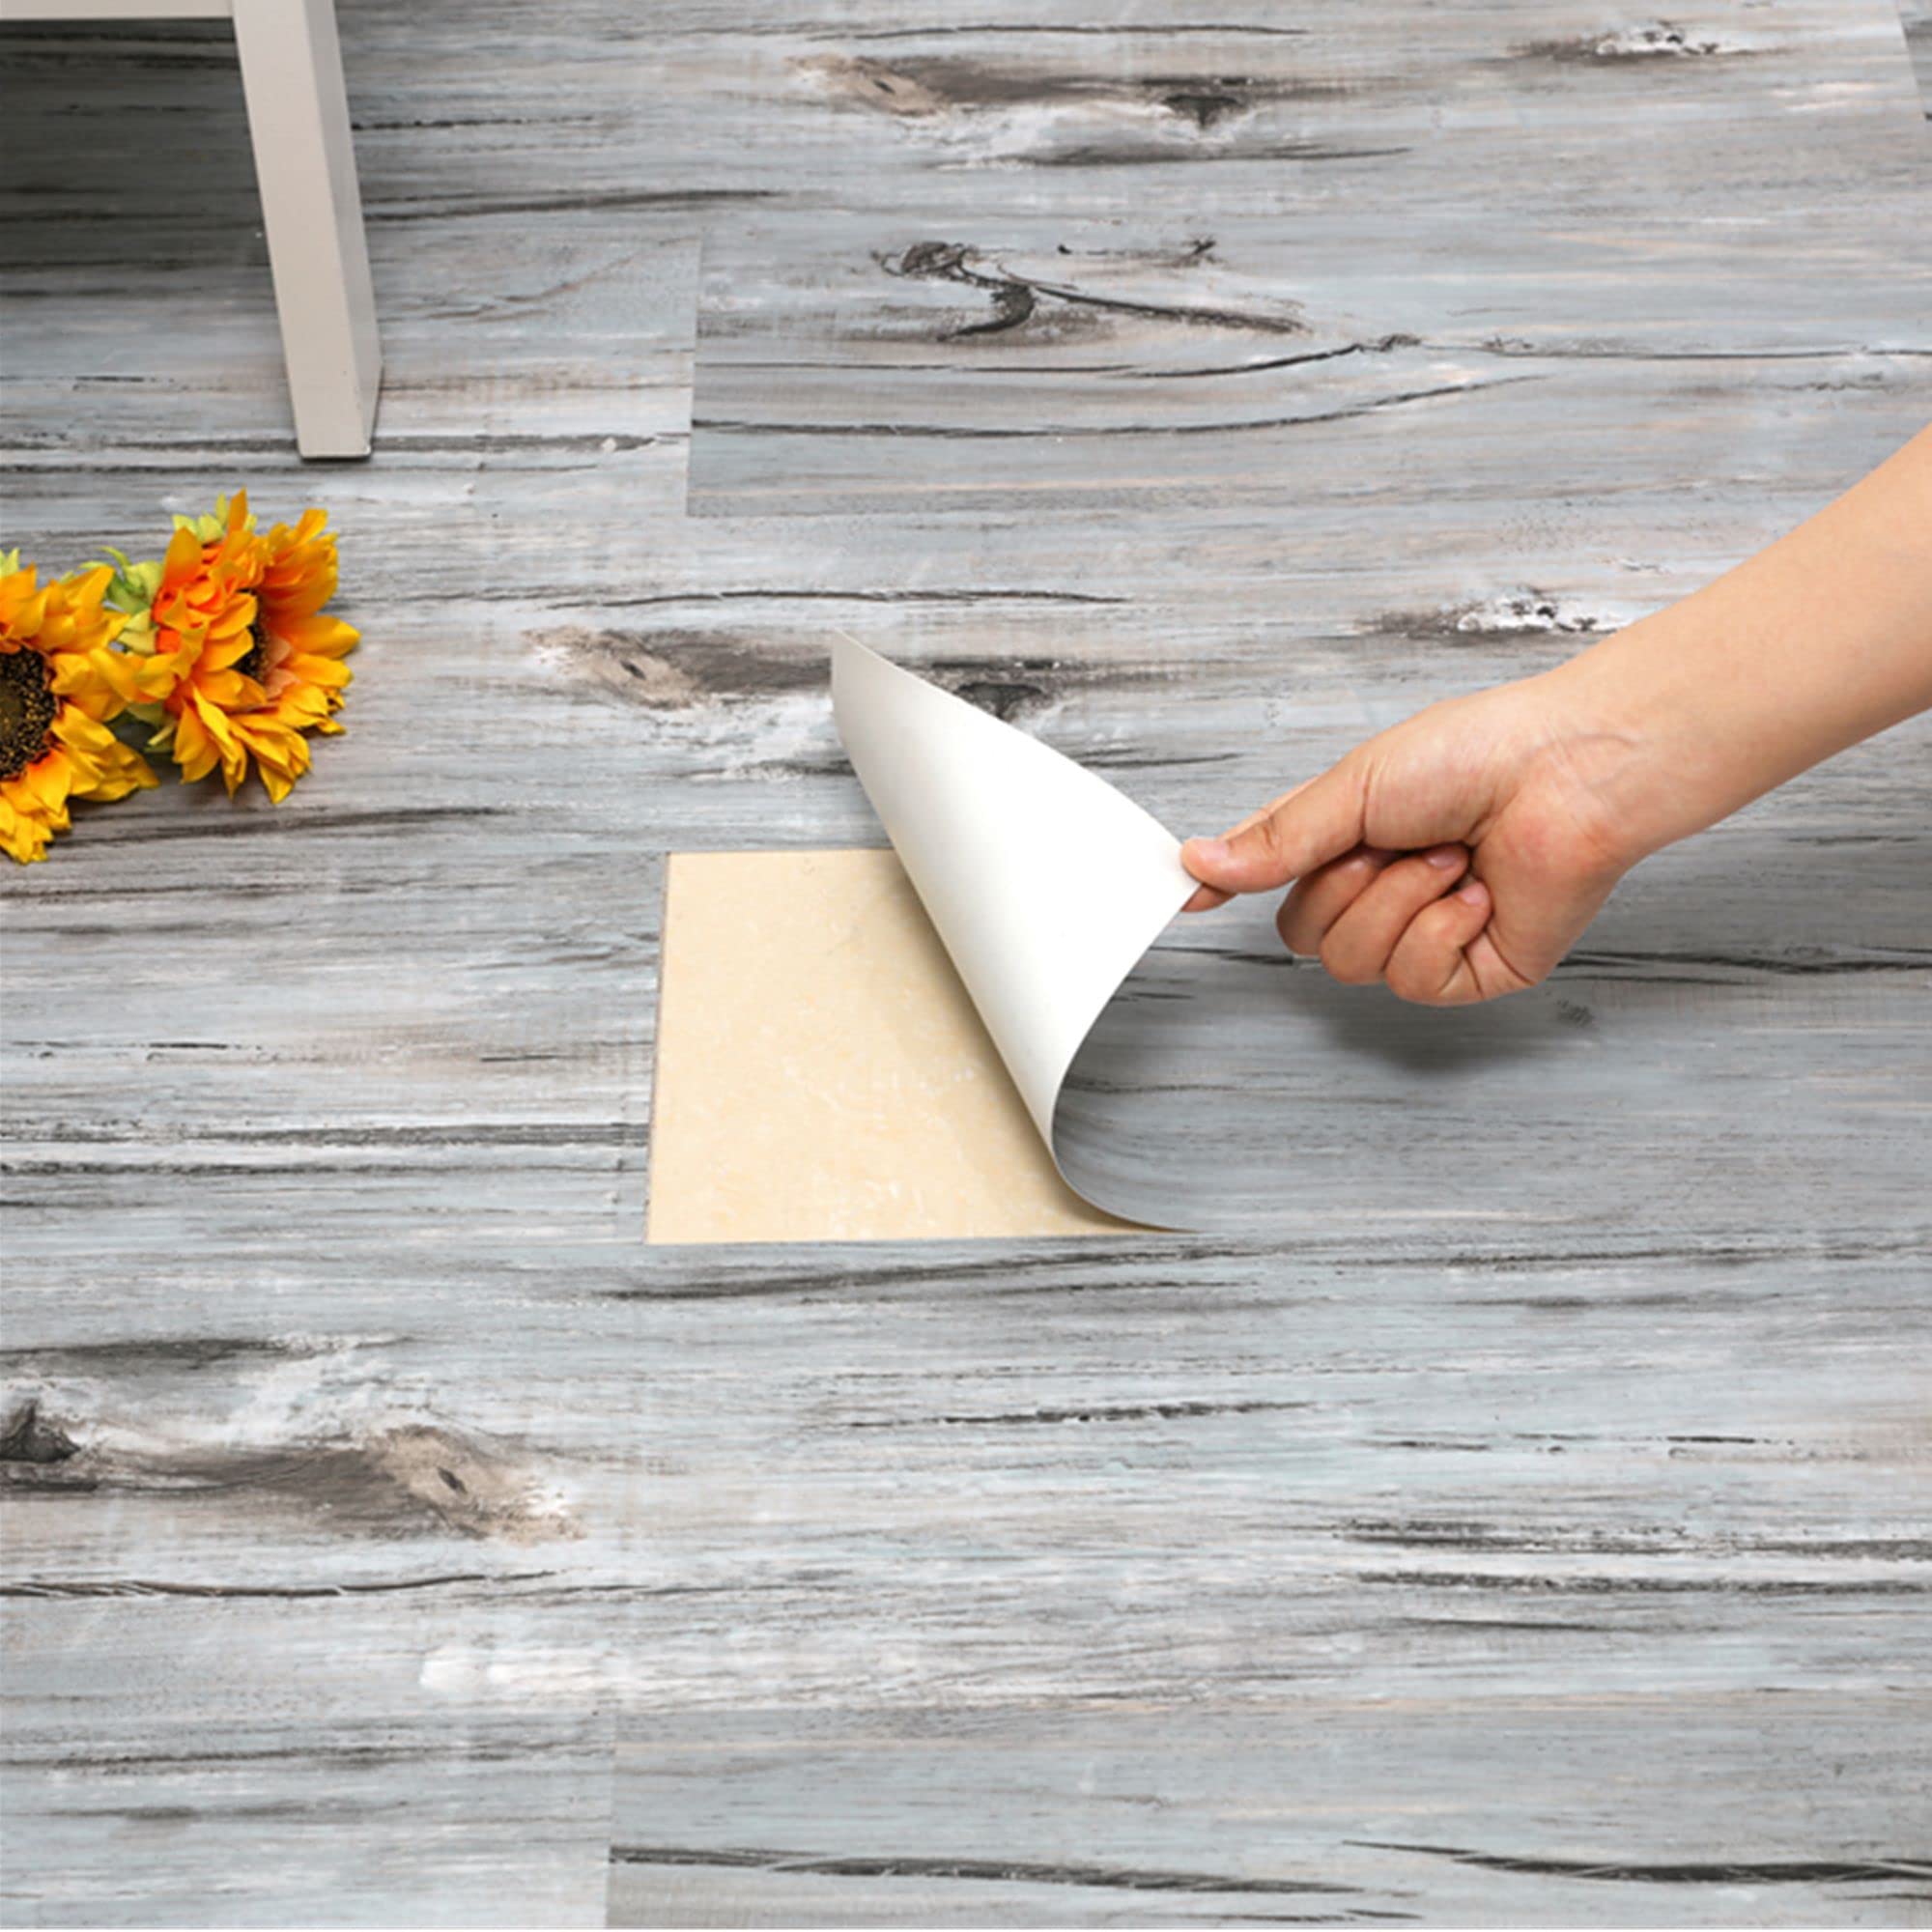
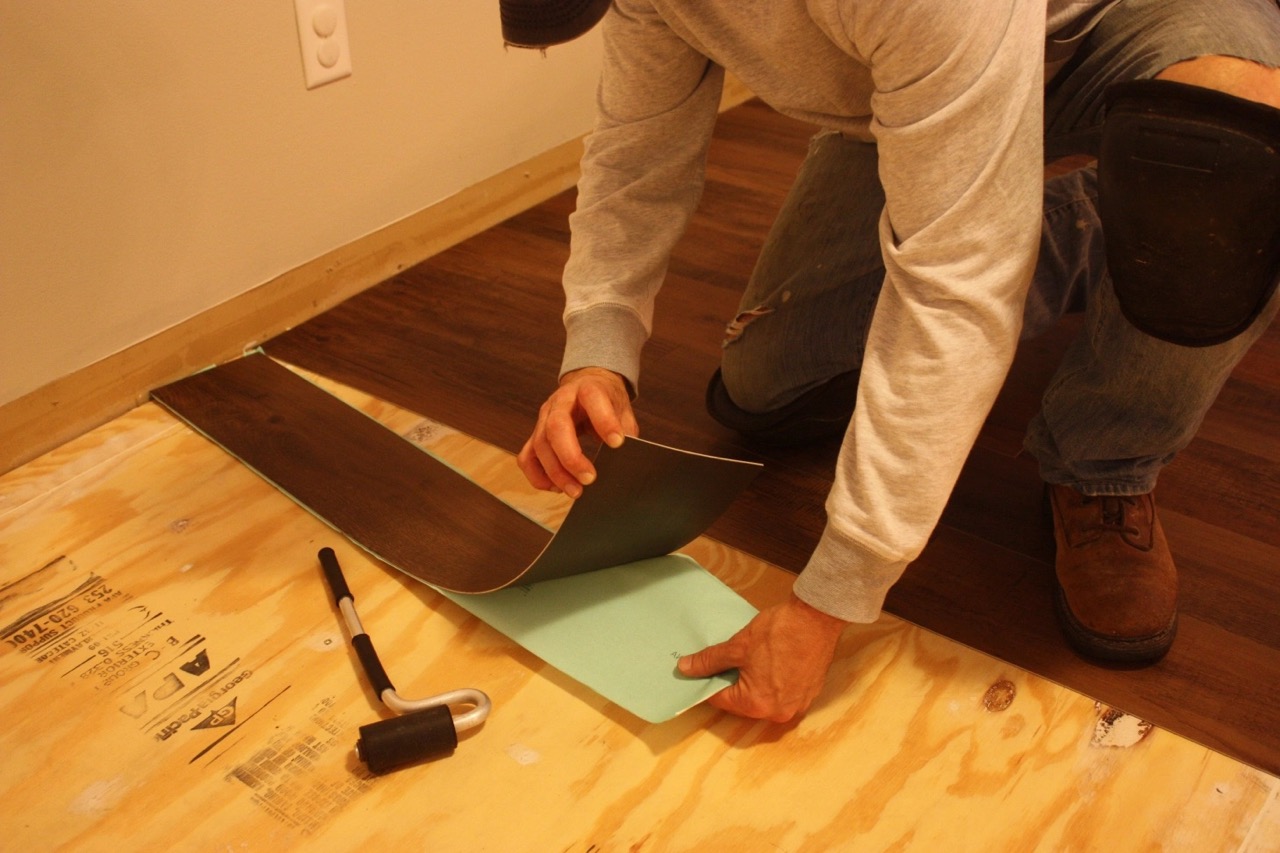
- Remove backing: Peel off the backing from the first piece of flooring, exposing the adhesive side. Be careful not to touch or allow debris to contact the adhesive.
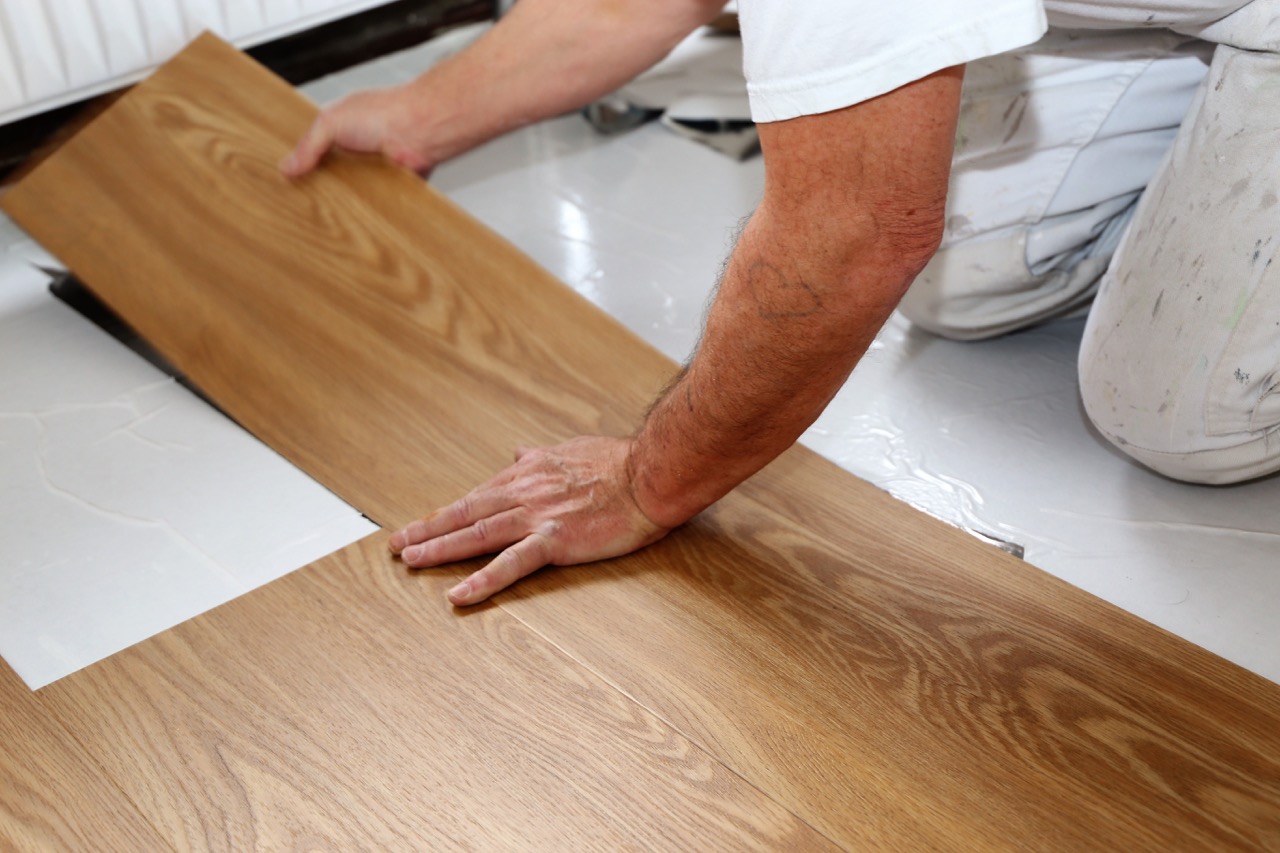
- Place the first piece: Align the first piece of flooring along the marked guidelines and press it firmly onto the concrete surface, starting from one side and working your way across. Use a rolling pin or laminate roller to ensure proper adhesion and to eliminate any air bubbles or wrinkles.
- Continue installation: Repeat the process of removing the backing, aligning, and pressing the flooring onto the concrete surface. Work in small sections, ensuring that each piece is tightly and securely adhered to the previous piece. Use a rolling pin or laminate roller as needed to ensure proper adhesion.
- Trim the flooring: As you approach the edges or obstacles, you may need to make additional cuts to fit the flooring properly. Use a utility knife and straight edge to trim the flooring as necessary. Take caution to make clean and accurate cuts.
- Maintain continuity and alignment: Throughout the installation, pay attention to maintaining continuity and alignment of the flooring. Check periodically to ensure that the seams between each piece are even and the pattern or grain of the flooring remains consistent.
- Finishing touches: Once all the flooring is installed, go over the entire surface with a rolling pin or laminate roller to ensure optimal adhesion and eliminate any remaining air bubbles or wrinkles.
As you proceed with the installation, take your time to ensure proper alignment and adhesion. Work in small sections to prevent the adhesive from drying out before you can apply the flooring. Keeping the workspace clean and free from debris will also help to achieve a smooth and successful installation.
Congratulations! You have now started the installation process and are on your way to enjoying your newly installed peel and stick flooring. Continue with the remaining installation steps to complete the project.
Removing the Backing
One of the crucial steps in installing peel and stick flooring is removing the backing from each tile or plank. The backing is what protects the adhesive until you’re ready to install the flooring. Follow these steps to successfully remove the backing:
- Prepare your work area: Before you begin, ensure that your work area is clean and free from any debris. This will prevent anything from getting stuck to the adhesive or causing imperfections during installation.
- Organize your materials: Arrange your peel and stick flooring tiles or planks within easy reach so that you can access them quickly as you remove the backing.
- Start in a corner: Begin in one corner of the room, preferably in the furthest corner from the entryway. This will give you a consistent starting point and allow you to work your way out of the room.
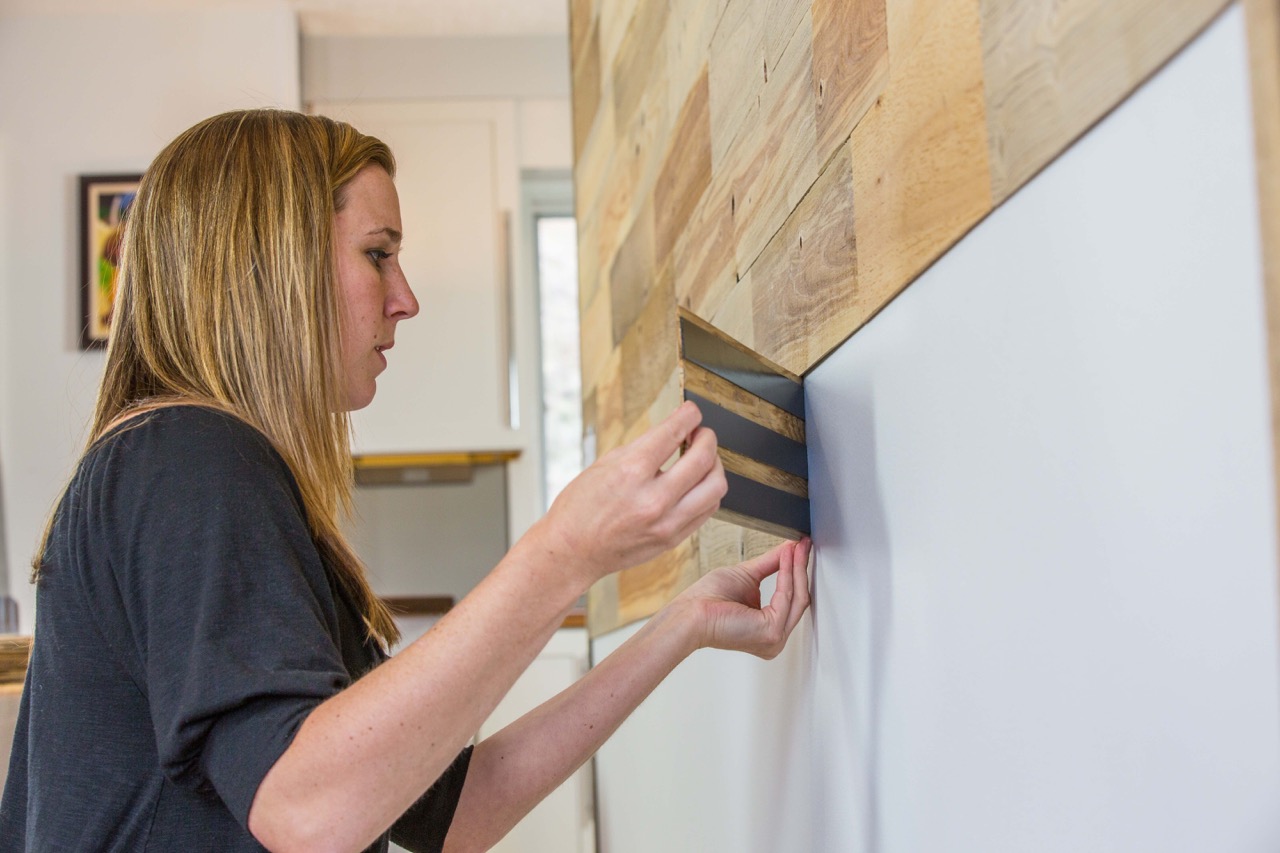
- Peel a small section: Gently lift the corner of the first tile or plank to expose a small section of the adhesive side. Be careful not to touch the adhesive or allow any debris to come into contact with it.
- Peel off the backing: Slowly and steadily pull the backing off in a smooth motion, ensuring that the adhesive side remains facing downward. Continue peeling the backing while holding onto the tile or plank to avoid it sticking to the adhesive prematurely.
- Remove the backing completely: Continue peeling off the backing until it is completely removed from the tile or plank. Be careful not to apply excessive force that could damage the flooring. If the backing becomes resistant, use your fingers or a utility knife to help separate it from the adhesive if necessary.
- Place the tile or plank: Once the backing is fully removed, carefully position the tile or plank in its designated spot. Align it with the marked guidelines or previous pieces, making sure it is snugly fitted.
- Press down firmly: Apply pressure to the tile or plank, starting from the center and working your way towards the edges. Use a rolling pin or laminate roller to ensure proper adhesion and eliminate any air bubbles or wrinkles.
- Repeat the process: Repeat the process of removing the backing and placing the tiles or planks, working your way across the room in the desired pattern or layout. Take care to maintain continuity and alignment as you progress.
Removing the backing properly is essential to ensure a secure and successful installation of your peel and stick flooring. Take your time, be patient, and maintain a clean work area to achieve the best results. With each backing removed, you’re one step closer to enjoying your newly installed flooring.
Placing the First Piece
Placing the first piece of peel and stick flooring sets the foundation for the rest of the installation. It’s important to start off correctly to ensure a seamless and precise layout. Follow these steps to successfully place the first piece:
- Prepare your work area: Before you begin, ensure that your work area is clean, dry, and free from any debris. This will provide a smooth surface for the adhesive to bond to.
- Measure and plan: Measure the area where you will be placing the first piece of flooring to determine the correct size. If necessary, use a straight edge and a utility knife to cut the piece to fit against walls or obstacles.
- Position the first piece: Start in one corner of the room, ideally in the furthest corner from the entryway. Align the first piece of flooring in the designated spot, making sure it is snugly fitted against the adjacent walls or obstacles.
- Check alignment: Use a straight edge or ruler to check the alignment of the first piece. Ensure that it is parallel and properly positioned according to your layout plan. Make any necessary adjustments before proceeding.
- Remove the backing: Once the first piece is in position, peel off the backing from the exposed adhesive side. Be careful not to touch the adhesive or let any debris come into contact with it.
- Place the first piece: With the backing removed, carefully place the first piece of flooring back into its designated spot. Align it precisely according to your layout plan and press it firmly onto the surface.
- Press down firmly: Apply firm and even pressure to the first piece of flooring, starting from the center and working your way towards the edges. Use a rolling pin or laminate roller to ensure proper adhesion and eliminate any air bubbles or wrinkles.
- Inspect and adjust: Once the first piece is securely in place, inspect it for any issues such as misalignment or gaps. If necessary, make adjustments or reposition the piece before continuing with the next ones.
- Continue with the next pieces: With the first piece set, proceed to place and install the remaining pieces, following your layout plan. Maintain continuity and alignment as you progress, ensuring a seamless transition between each piece.
By properly placing the first piece of peel and stick flooring, you establish a strong and accurate starting point for the rest of the installation. Take your time, double-check the alignment, and press the piece firmly for optimal adhesion. With each piece you place, you’re one step closer to completing your peel and stick flooring installation.
Continuity and Alignment
Continuity and alignment are crucial factors in achieving a professional-looking installation of peel and stick flooring. Consistency in the placement and alignment of each piece ensures a seamless and visually appealing result. Follow these tips to maintain continuity and alignment throughout the installation process:
- Refer to your layout plan: Continuously refer to your layout plan as you install each piece of peel and stick flooring. This will guide you in maintaining consistency and following the desired pattern or arrangement.
- Check alignment frequently: Regularly check the alignment of each piece as you lay it down. Use a straight edge or ruler to ensure that the edges of the tiles or planks are straight and parallel to one another.
- Avoid gaps or overlaps: Pay attention to the spacing between each piece. Avoid leaving noticeable gaps between tiles or planks, as this can compromise the overall aesthetic. Similarly, ensure there are no overlaps where the edges of two pieces meet.
- Inspect visually: Step back occasionally to visually inspect your progress. Ensure that the seams between the pieces are aligned and consistent throughout the room. Make any necessary adjustments before moving on to the next piece.
- Use guidelines: If you marked guidelines on the concrete surface, remember to reference them to ensure proper alignment. Adjust the placement of each piece as needed to follow the guidelines accurately.
- Trim pieces as necessary: When nearing the edges or obstacles, you may need to make cuts to fit the flooring properly. Take care to trim the pieces accurately with a utility knife and straight edge to maintain continuity in the pattern or design.
- Press down firmly: As you place each piece, press down firmly to ensure proper adhesion. Use a rolling pin or laminate roller to eliminate any air bubbles or wrinkles and secure the flooring in place.
- Be precise and patient: Take your time with each piece to ensure precision and accuracy. Rushing the installation can lead to misalignment or gaps between the tiles or planks. Pay attention to detail and maintain a consistent approach throughout the process.
By maintaining continuity and alignment, your peel and stick flooring will appear seamless and professional. Take the necessary time and care to achieve precise placement and proper alignment of each piece. Step back occasionally to assess your progress and make any adjustments needed along the way. With attention to detail, you’ll be rewarded with a visually striking and well-crafted finished installation.
Read more: How To Clean Peel And Stick Flooring
Trimming the Flooring
Trimming the peel and stick flooring is an important step in achieving a proper fit and a polished finish. As you approach the edges of the room or encounter obstacles, you may need to make precise cuts to ensure a seamless and professional-looking installation. Follow these steps for successful trimming:
- Measure and mark: Begin by measuring the space where you need to trim the flooring. Use a tape measure to determine the dimensions accurately.
- Transfer measurements: Transfer the measurements onto the back of the piece of flooring that needs to be trimmed. Use a pencil or a marker to mark the cutting line.
- Use a straight edge: To ensure a straight and precise cut, align a straight edge along the marked cutting line. This will act as a guide for your utility knife.
- Cut carefully: Holding the straight edge firmly in place, carefully cut along the marked line with a sharp utility knife. Apply steady and even pressure to achieve a smooth and clean cut.
- Trim small sections at a time: It is often best to trim small sections at a time rather than attempting to cut the entire length in one go. This allows for better control and accuracy.
- Check the fit: After making the cut, check the fit of the trimmed piece against the wall or obstacle. Ensure that it fits snugly and aligns properly with the adjacent flooring.
- Make any necessary adjustments: If needed, make slight adjustments to the trimmed piece to achieve a better fit. Use a utility knife or sandpaper to refine the edges as necessary.
- Continue with the next piece: Once the trimmed piece fits correctly, proceed with placing and adhering it to the floor. Press it down firmly, aligning it with the surrounding flooring for a seamless transition.
- Dispose of trimmed pieces: Properly dispose of any trimmed pieces of flooring to keep your work area clean and safe.
Trimming the peel and stick flooring requires precision and attention to detail. Take your time and make sure to measure and cut accurately. By properly trimming the flooring, you’ll achieve a neat and professional finish, even around corners, edges, or obstacles.
Remember, safety is important during the trimming process. Always exercise caution when using sharp tools, and wear protective gloves and goggles as necessary.
Finishing Touches
As you near the completion of your peel and stick flooring installation, it’s time to focus on the finishing touches. Paying attention to the final details will ensure that your flooring looks polished and professional. Here are some important finishing touches to consider:
- Inspect for any imperfections: Take the time to carefully inspect the entire flooring surface for any imperfections, such as air bubbles, wrinkles, or loose edges. If you notice any issues, use a rolling pin or laminate roller to reapply pressure and ensure proper adhesion.
- Remove any adhesive residue: While installing the peel and stick flooring, adhesive residue may occasionally build up on the surface. Use a clean cloth or sponge with a mild adhesive remover to gently wipe away any excess residue. Be sure to follow the manufacturer’s instructions for the specific adhesive remover you’re using.
- Install transition strips or moldings: If your peel and stick flooring transitions to a different flooring type or if there are gaps between the flooring and the walls, consider installing transition strips or moldings. These will provide a finished and professional look while also protecting the edges of the flooring.
- Clean the flooring: Once the installation is complete, give your peel and stick flooring a thorough cleaning. Use a mild floor cleaner appropriate for your flooring type to remove any dust, residue, or marks. Follow the manufacturer’s instructions for cleaning and maintenance to maintain the beauty and longevity of your flooring.
- Add rugs or mats: To further enhance the appearance and protect high-traffic areas, consider adding rugs or mats to your newly installed peel and stick flooring. These not only provide additional comfort and insulation but also add a decorative touch to the space.
- Take photographs: Before moving furniture or walking on the newly installed flooring, take photographs to document the completed project. This will allow you to showcase your hard work and serve as a reference for future maintenance or repairs.
- Consider additional decor: With your flooring installed, consider adding decorative elements that enhance the overall aesthetic of the space. Choose furniture, curtains, wall art, or accessories that complement the peel and stick flooring and create a cohesive and inviting environment.
By focusing on these finishing touches, you will ensure that your peel and stick flooring installation is not only visually appealing but also durable and well-maintained. The extra attention to detail will make a noticeable difference in the final result and contribute to the overall ambiance of the room.
Congratulations! With the finishing touches complete, you can now fully enjoy and appreciate your beautiful new peel and stick flooring.
Maintenance and Care Tips
To keep your peel and stick flooring looking its best and maximize its longevity, proper maintenance and care are essential. Follow these maintenance tips to ensure the continued beauty and durability of your flooring:
- Regular cleaning: Clean your peel and stick flooring regularly to remove dirt, dust, and spills. Use a broom, vacuum, or dust mop for everyday cleaning. For deeper cleaning, use a mild floor cleaner recommended for your specific flooring type.
- Avoid excessive moisture: While peel and stick flooring is generally moisture-resistant, it’s important to promptly clean up spills to prevent prolonged contact with moisture. Avoid using excessive water or steam when cleaning, as this can damage the adhesive and the flooring material.
- Protect against scratches: Place protective pads or floor protectors under furniture legs to prevent scratches. Avoid dragging heavy furniture or sharp objects across the flooring. Use doormats at entrances to minimize dirt and debris tracked onto the floor.
- Avoid direct sunlight: Over time, prolonged exposure to direct sunlight can cause the flooring to fade or discolor. If possible, use curtains or blinds to block out direct sunlight during peak hours of the day or consider using UV-protective film on windows.
- Be mindful of high-traffic areas: Pay extra attention to high-traffic areas of your flooring, such as entryways or hallways. Consider adding rugs or mats in these areas to provide an additional layer of protection against wear and tear.
- Handle spills promptly: When spills occur, especially substances such as oil, vinegar, or acidic liquids, wipe them up immediately with a soft cloth or paper towel. Avoid using harsh chemicals or abrasive cleaners, as they can damage the flooring surface.
- Avoid extreme temperature changes: While peel and stick flooring is generally durable, extreme temperature changes can potentially affect its performance. Avoid exposing the flooring to extreme cold or heat, such as placing it near heating vents or air conditioning units.
- Perform regular inspections: Periodically check the flooring for any signs of wear, loose edges, or damaged areas. If you notice any issues, address them promptly to prevent further damage and maintain the integrity of the flooring.
Following these maintenance and care tips will help your peel and stick flooring retain its appearance and durability for years to come. Refer to the manufacturer’s instructions for specific maintenance guidelines for your flooring type, as they may provide additional recommendations or precautions.
Remember, proper maintenance and care are key to preserving the beauty and extending the life of your peel and stick flooring. By making it a regular part of your cleaning routine, you can enjoy a stunning and long-lasting flooring surface.
Conclusion
Installing peel and stick flooring on concrete is an excellent way to update your space with a durable, versatile, and easy-to-maintain flooring option. By following the step-by-step guide provided in this article, you can achieve a successful and professional installation that will enhance the aesthetics and functionality of your room.
From preparing the surface to selecting the right peel and stick flooring, planning the layout, and applying the flooring with precision and care, each step is crucial in ensuring a seamless and visually appealing result. Maintenance and proper care are equally important to keep your flooring looking its best and to safeguard its longevity.
Always remember to gather all the necessary materials and tools before starting the installation process. Take your time with each step, paying attention to detail and ensuring proper alignment and adhesion. When it comes to maintenance, establish a regular cleaning routine and follow the manufacturer’s recommendations to keep your flooring in top condition.
Whether you’re transforming your basement, updating your kitchen, or revamping your bathroom, peel and stick flooring on concrete provides a convenient and stylish solution. By using the right techniques and maintaining the flooring properly, you can enjoy its benefits for years to come.
We hope this comprehensive guide has provided you with the knowledge and confidence to install peel and stick flooring on your concrete surface. Embrace the creativity and versatility of peel and stick flooring, and let it transform your space into a beautiful and functional area you’ll love.
Frequently Asked Questions about How To Install Peel And Stick Flooring On Concrete
Was this page helpful?
At Storables.com, we guarantee accurate and reliable information. Our content, validated by Expert Board Contributors, is crafted following stringent Editorial Policies. We're committed to providing you with well-researched, expert-backed insights for all your informational needs.


0 thoughts on “How To Install Peel And Stick Flooring On Concrete”