

Articles
How To Install LP Siding
Modified: August 28, 2024
Learn how to install LP siding with our comprehensive articles. Step-by-step instructions and expert tips to ensure a successful siding project.
(Many of the links in this article redirect to a specific reviewed product. Your purchase of these products through affiliate links helps to generate commission for Storables.com, at no extra cost. Learn more)
Introduction
Welcome to our guide on how to install LP siding! LP (Louisiana-Pacific) siding is a popular choice among homeowners due to its durability, versatility, and aesthetic appeal. Whether you’re replacing old siding or installing new siding for your home, this comprehensive article will walk you through the step-by-step process of installing LP siding.
LP siding is made from engineered wood, which combines the natural beauty of wood with advanced manufacturing techniques to create a high-performance product. It is known for its strength, resistance to moisture, and ability to withstand harsh weather conditions.
Before you begin installing LP siding, it’s important to gather the necessary tools and materials. You’ll need a measuring tape, circular saw or miter saw, a level, a nail gun or hammer, nails or screws, caulk, and a paint or stain of your choice. It’s also essential to have safety equipment such as gloves, goggles, and a dust mask to protect yourself during the installation process.
In this guide, we’ll take you through each step of the installation process, from preparing the surface to painting or staining the LP siding. By following these instructions, you’ll be able to achieve a professional-looking installation that will enhance the beauty and durability of your home.
It’s important to note that even though LP siding is designed to be low maintenance, regular inspections and maintenance are still necessary to ensure its longevity. This includes cleaning the surface periodically and addressing any signs of damage or wear.
Now that we’ve covered the basics, let’s dive into the first step: preparing the surface for LP siding installation.
Key Takeaways:
- Proper surface preparation, precise measurements, and careful installation are crucial for a successful LP siding project. Follow the step-by-step guide to achieve a professional finish that enhances your home’s durability and aesthetic appeal.
- Regular maintenance, including cleaning, inspections, and re-caulking, is essential to ensure the longevity of your LP siding. With proper care, your siding will continue to protect and beautify your home for years to come.
Read more: What Is LP Siding Made Of
Step 1: Preparing the Surface
Before installing LP siding, it’s crucial to prepare the surface to ensure proper adhesion and long-lasting results. Here are the key steps to follow:
- Clean the surface: Start by removing any existing siding, trim, or debris from the area where you’ll be installing the LP siding. Use a pressure washer or a scrub brush and mild detergent to thoroughly clean the surface. This will help remove dirt, mold, and other contaminants that may hinder adhesion.
- Inspect for damage: Carefully inspect the walls for any signs of water damage, rot, or structural issues. Addressing these issues before installing LP siding is essential to prevent further damage and ensure a solid foundation for the new siding.
- Repair and replace: If you come across any damaged or rotten areas, take the time to repair or replace them. This may involve replacing damaged sheathing, reinforcing framing, or repairing any cracks or holes. It’s crucial to have a stable and sound surface before proceeding with the installation.
- Apply a moisture barrier: LP siding is moisture-resistant, but it’s still essential to install a moisture barrier to provide an extra layer of protection against water intrusion. Use a weather-resistant barrier such as house wrap or building felt, and follow the manufacturer’s instructions for proper installation.
- Flash windows and doors: Properly flashing windows and doors is crucial to prevent water infiltration. Use flashing tape or flashing panels to create a waterproof seal around windows and doors. Ensure that all seams are adequately sealed to keep moisture out.
By thoroughly preparing the surface before installing LP siding, you can ensure a smooth and successful installation that will stand the test of time. Once you have completed these steps, you’re ready to move on to the next phase: measuring and cutting the LP siding.
Step 2: Measuring and Cutting LP Siding
Accurate measurements and precise cuts are essential for a seamless and visually appealing LP siding installation. Here’s how to measure and cut LP siding effectively:
- Measure the wall: Begin by measuring the height and width of the wall where you’ll be installing the LP siding. Measure from the bottom of the wall to the top, and from one end to the other. Take these measurements into account when cutting the LP siding panels.
- Calculate panel width: Divide the width of the wall by the desired panel width to determine the number of panels needed. Don’t forget to account for any trim or corner boards that will be installed.
- Mark the panels: Use a chalk line or a straightedge and pencil to mark the panel width on each LP siding piece. This will guide your cuts and ensure accuracy.
- Cut the LP siding: Use a circular saw or a miter saw to make the necessary cuts. Ensure that the saw is set to the appropriate depth to prevent accidental damage to the underlying sheathing or framing. Follow the marked lines and make clean, straight cuts.
- Trim for windows and doors: For panels that will be installed around windows and doors, measure and mark the cut-outs needed. Use a jigsaw or a utility knife to carefully make these cuts. Take care to create clean and precise cut-outs for a professional finish.
It’s important to remember to wear appropriate safety equipment, including protective eyewear and gloves, when cutting LP siding. Take your time and double-check your measurements before making any cuts to avoid costly mistakes.
Once you’ve successfully measured and cut the LP siding, you’re ready to move on to the next step: applying the first row of LP siding.
Step 3: Applying the First Row of LP Siding
Now that you have prepared the surface and cut the LP siding pieces, it’s time to start the installation process. Follow these steps to apply the first row of LP siding:
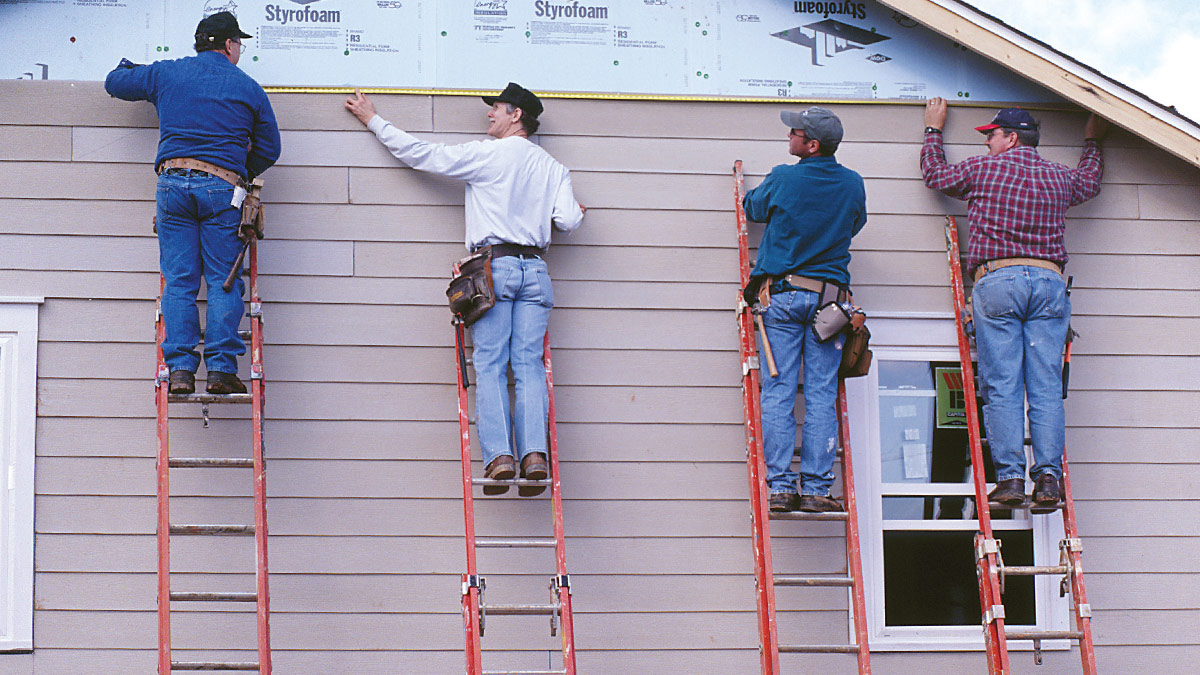
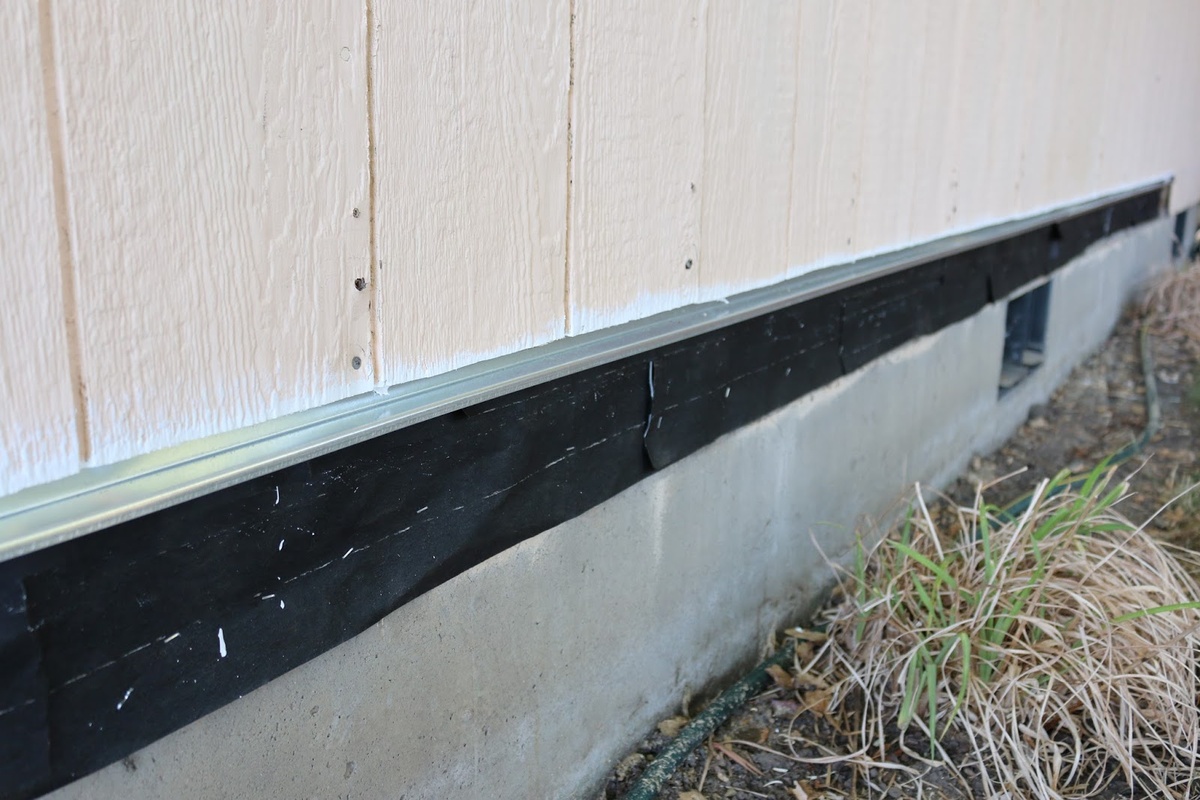
- Start from the bottom: Begin by placing the first piece of LP siding at the bottom corner of the wall. Ensure that it is level and flush with the corner trim or starter strip. Use a level to check for accuracy.
- Leave a gap: Leave a small gap, usually around 1/8 inch, between each LP siding piece to allow for expansion and contraction due to temperature changes. Use siding nails or screws to secure the first piece in place, placing them near the top of the nailing slots to allow for movement.
- Continue the first row: Align the next piece of LP siding with the first, ensuring a consistent gap between them. Secure it in place with nails or screws, following the manufacturer’s recommendations for spacing. Repeat this process until you reach the end of the wall.
- Cut the last piece: Measure and cut the final LP siding piece in the first row to fit the remaining space. Use a circular saw or a miter saw to make the necessary cuts, ensuring a precise fit.
- Check for level: Use a level to ensure that the first row is perfectly level. Adjust the siding pieces as needed to achieve a straight and even appearance.
Properly installing the first row of LP siding sets the foundation for the rest of the installation. Take your time to ensure accurate placement and levelness, as it will impact the overall look of the finished project.
Now that you’ve completed the first row, you’re ready to move on to the next step: installing subsequent rows of LP siding.
Step 4: Installing Subsequent Rows of LP Siding
With the first row of LP siding securely in place, it’s time to continue the installation by adding subsequent rows. Follow these steps to install the rest of the LP siding:
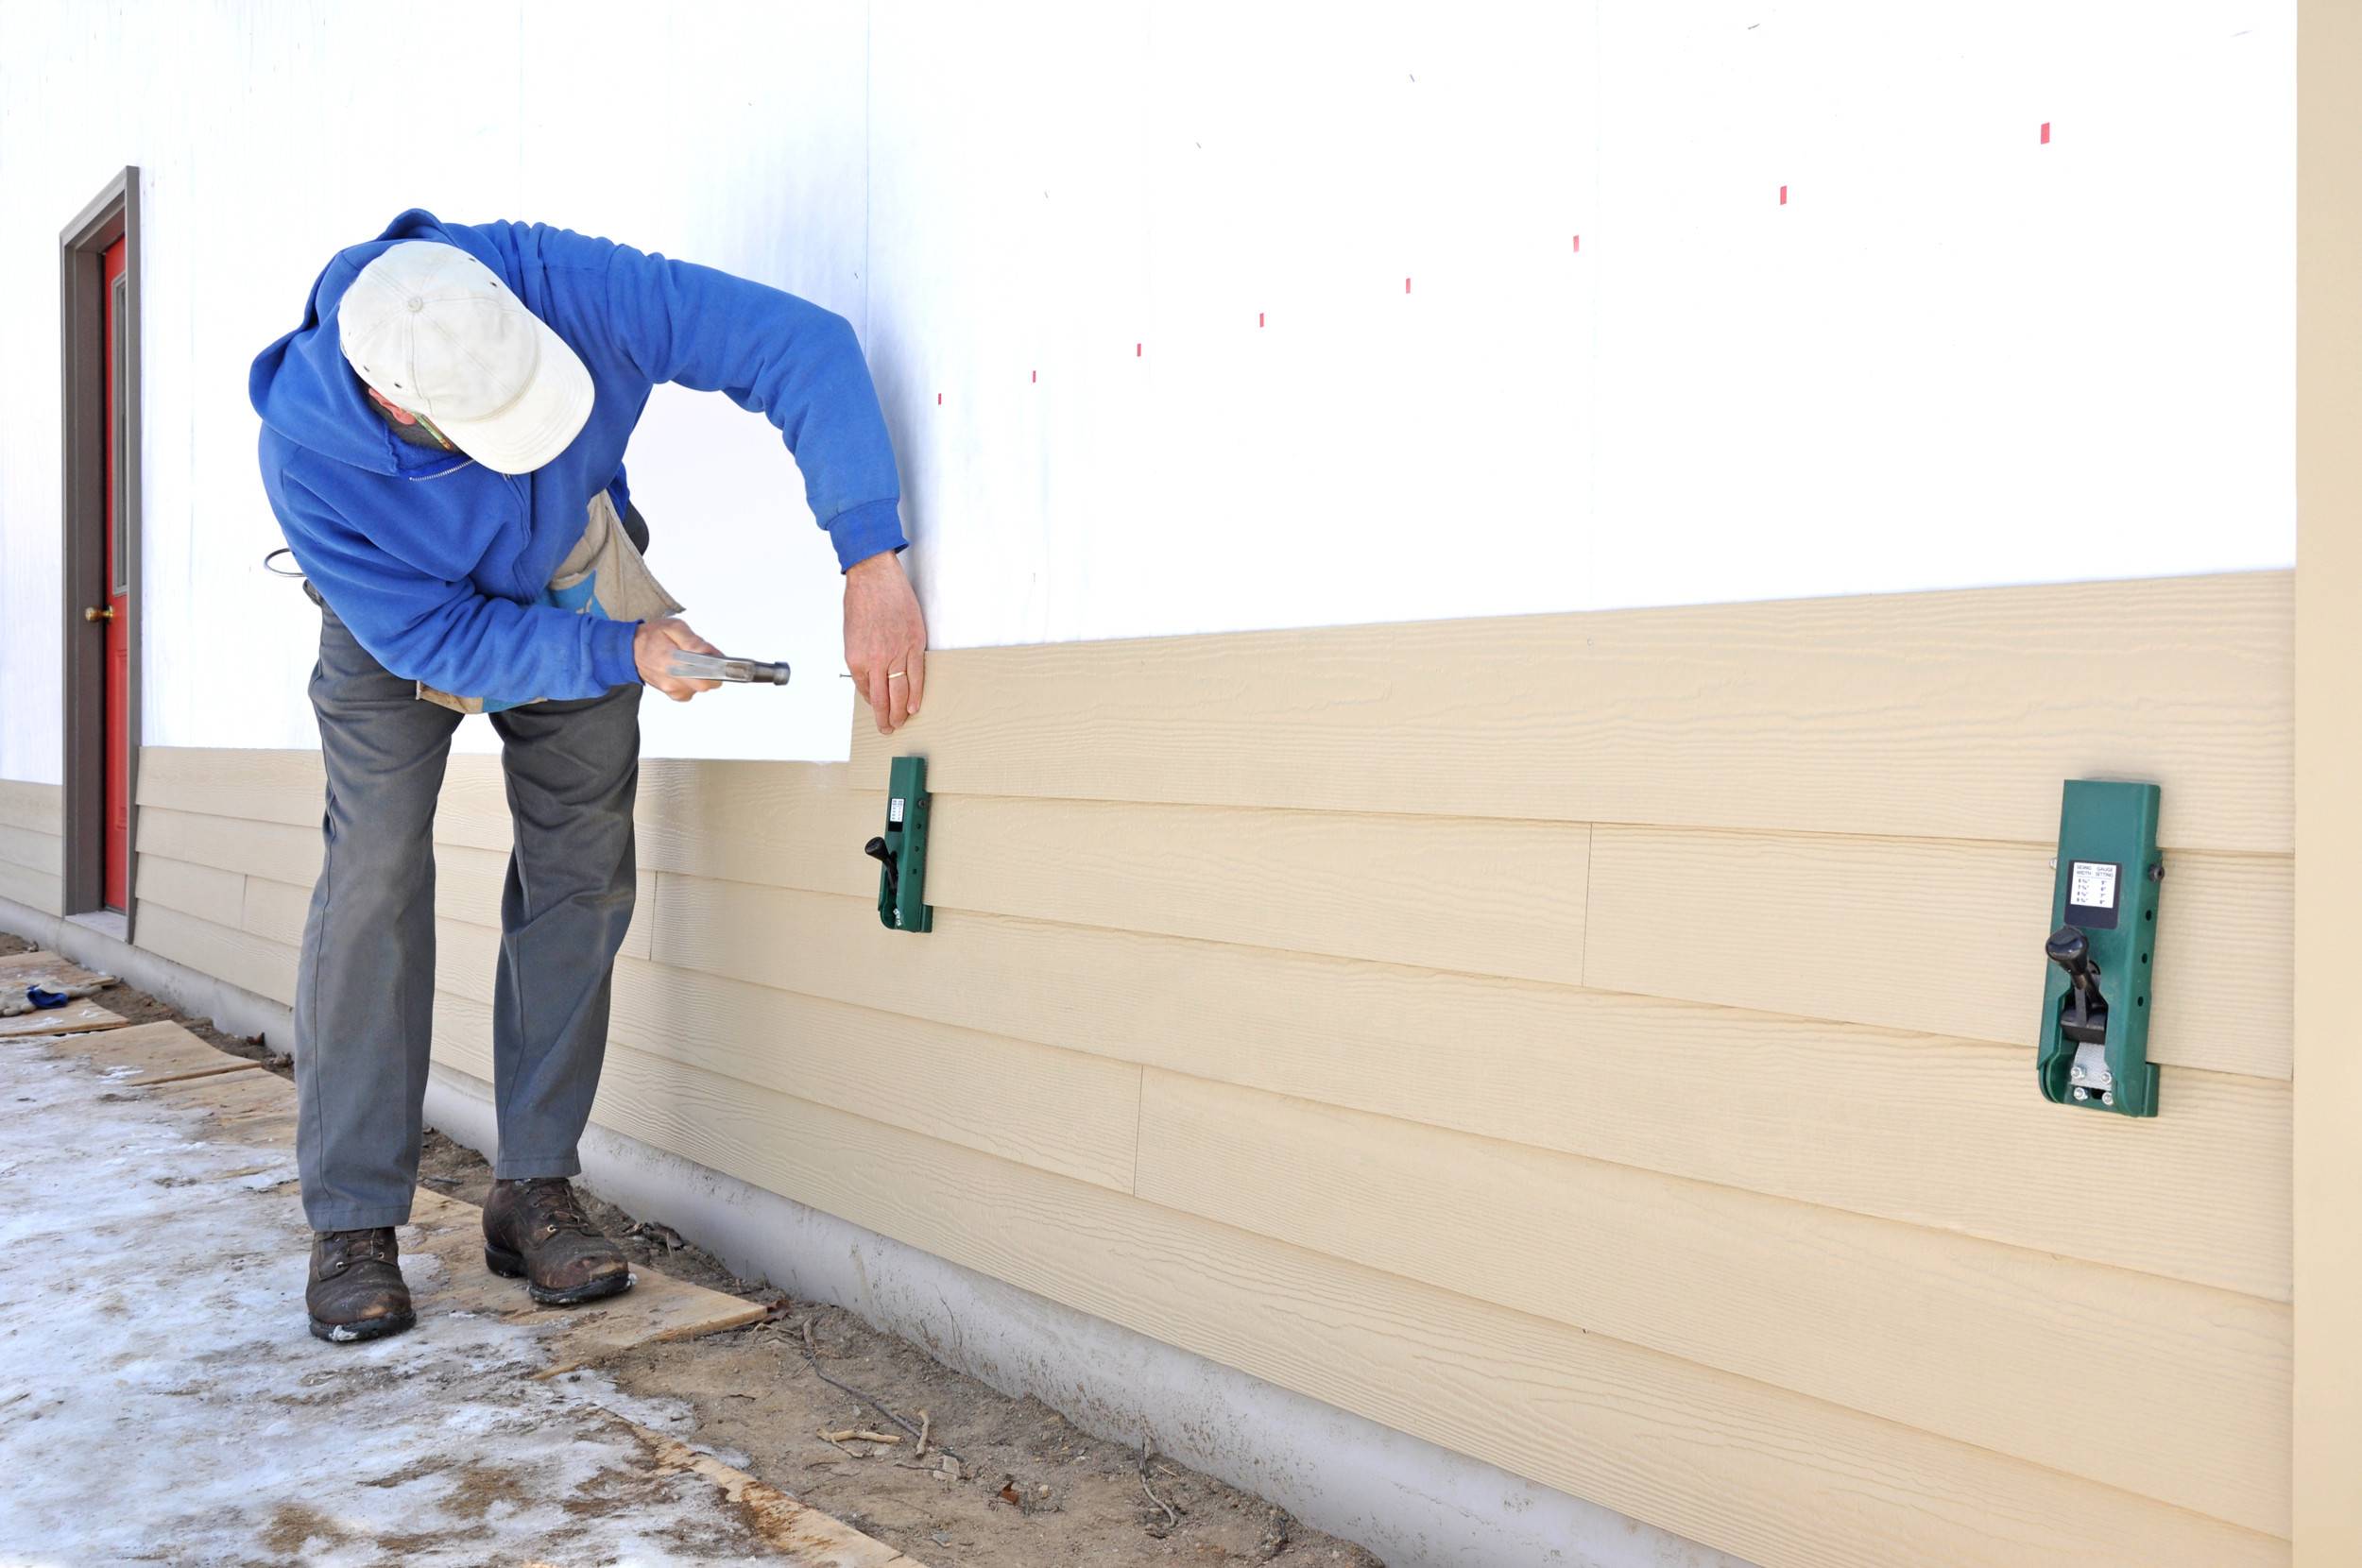
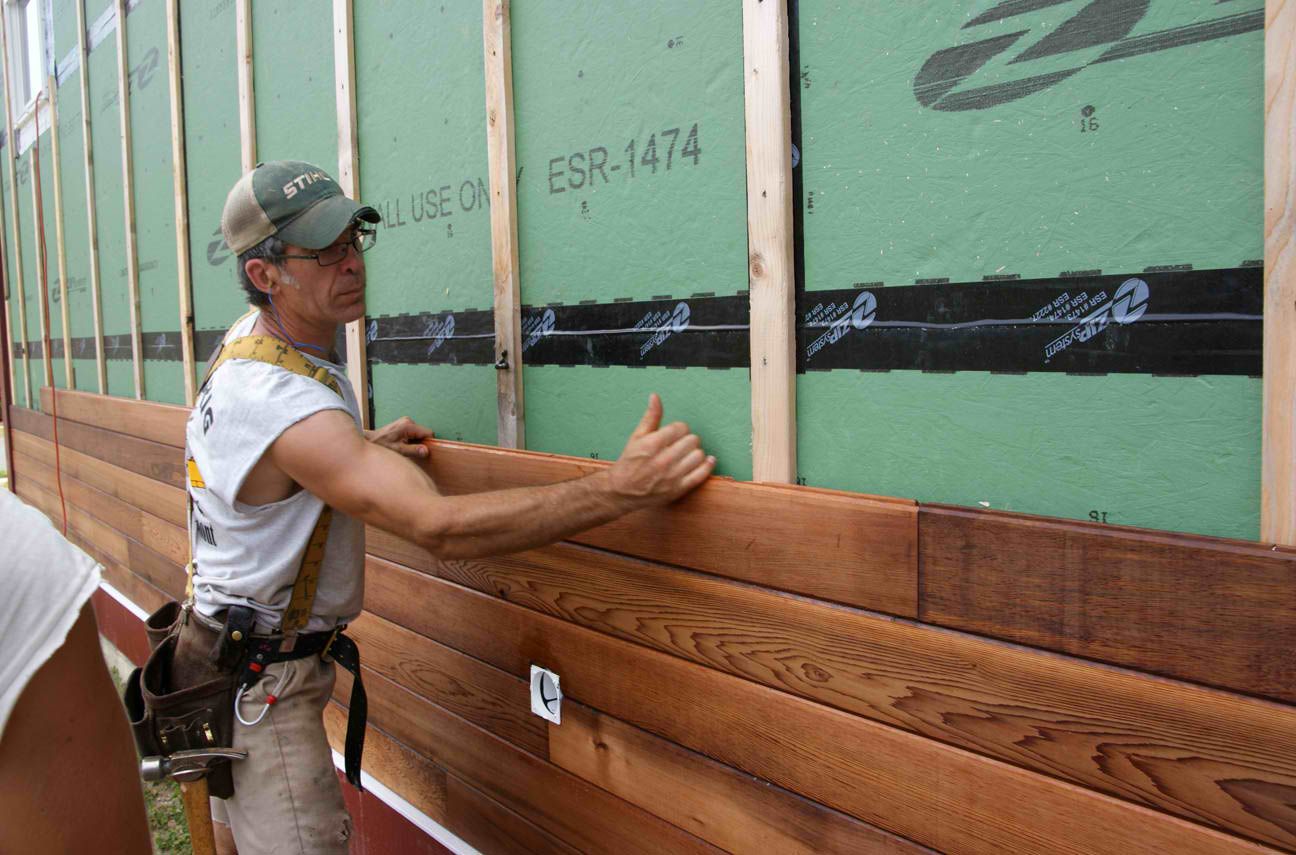
- Overlap the siding: Start the second row by overlapping the bottom edge of the second LP siding piece onto the top edge of the first row. This overlapping design helps to prevent water infiltration and creates a visually pleasing staggered pattern.
- Secure each piece: Use siding nails or screws to secure each LP siding piece to the wall. Place the nails or screws in the nailing slots, leaving room for expansion and contraction. Follow the manufacturer’s recommended nail spacing for optimal performance.
- Continue installation: Repeat the process of overlapping and securing each LP siding piece for the rest of the rows. Take care to maintain the proper gap between each piece and ensure a level installation.
- Trim around obstacles: If you encounter obstacles such as windows, doors, or vents, carefully measure and cut the LP siding pieces to fit around them. Use a jigsaw or a utility knife to make precise cuts and create a clean and finished appearance.
- Maintain consistent gaps: As you install subsequent rows, make sure to maintain consistent gaps between each LP siding piece. This allows for expansion and contraction and helps ensure a professional finish.
Continue following these steps until you have installed all the LP siding rows. Take breaks as needed and double-check your work periodically to ensure a precise and visually appealing installation.
Once you’ve installed all the LP siding rows, you’re ready to move on to the next step: adding trim and accessories to complete the look.
When installing LP siding, make sure to follow the manufacturer’s instructions carefully, including proper spacing and fastening techniques to ensure a successful and long-lasting installation.
Read more: Where To Buy LP Smart Siding
Step 5: Adding Trim and Accessories
Adding trim and accessories is an important step in completing the installation of LP siding. Trim not only enhances the visual appeal of your siding but also helps protect the edges and corners from moisture and other elements. Follow these steps to add trim and accessories:
- Choose the right trim: Select the trim that complements your LP siding and matches your desired style. Common trim options include corner boards, window and door trim, fascia, and soffit.
- Measure and cut the trim: Measure and mark the trim pieces according to the specific areas where they will be installed. Use a saw, such as a miter saw or a circular saw, to make precise cuts.
- Secure the trim: Attach the trim to the wall using nails or screws. Make sure the trim is level and straight for a professional finish. Follow the manufacturer’s guidelines for recommended fastening methods.
- Consider additional accessories: Depending on your preference and the design of your LP siding, you may want to add additional accessories such as decorative mouldings and vents. These can further enhance the overall look of your siding.
- Paint or stain the trim: Once the trim is installed, you can choose to paint or stain it to match the chosen color scheme. Make sure to use exterior-grade paint or stain suitable for the material of the trim.
Adding trim and accessories not only adds visual interest but also provides a finished look to your LP siding installation. It’s important to take your time with this step to ensure precise measurements, accurate cuts, and proper installation.
Now that you’ve added the trim and accessories, you’re ready to move on to the next step: caulking and sealing the joints to ensure a weather-tight seal.
Step 6: Caulking and Sealing Joints
Properly caulking and sealing the joints of your LP siding is essential to create a weather-tight barrier and prevent water infiltration. Here’s how to effectively seal the joints:
- Inspect the joints: Thoroughly inspect the joints between each LP siding piece. Look for any gaps, cracks, or areas where moisture can enter. It’s important to address these areas before applying caulk.
- Clean the joints: Use a wire brush or a putty knife to clean out any debris or old caulking from the joints. This ensures better adhesion and a clean surface for the new caulk.
- Choose the right caulk: Select a high-quality exterior-grade caulk that is compatible with LP siding and suitable for outdoor use. Silicone or polyurethane caulks are commonly recommended for their durability and flexibility.
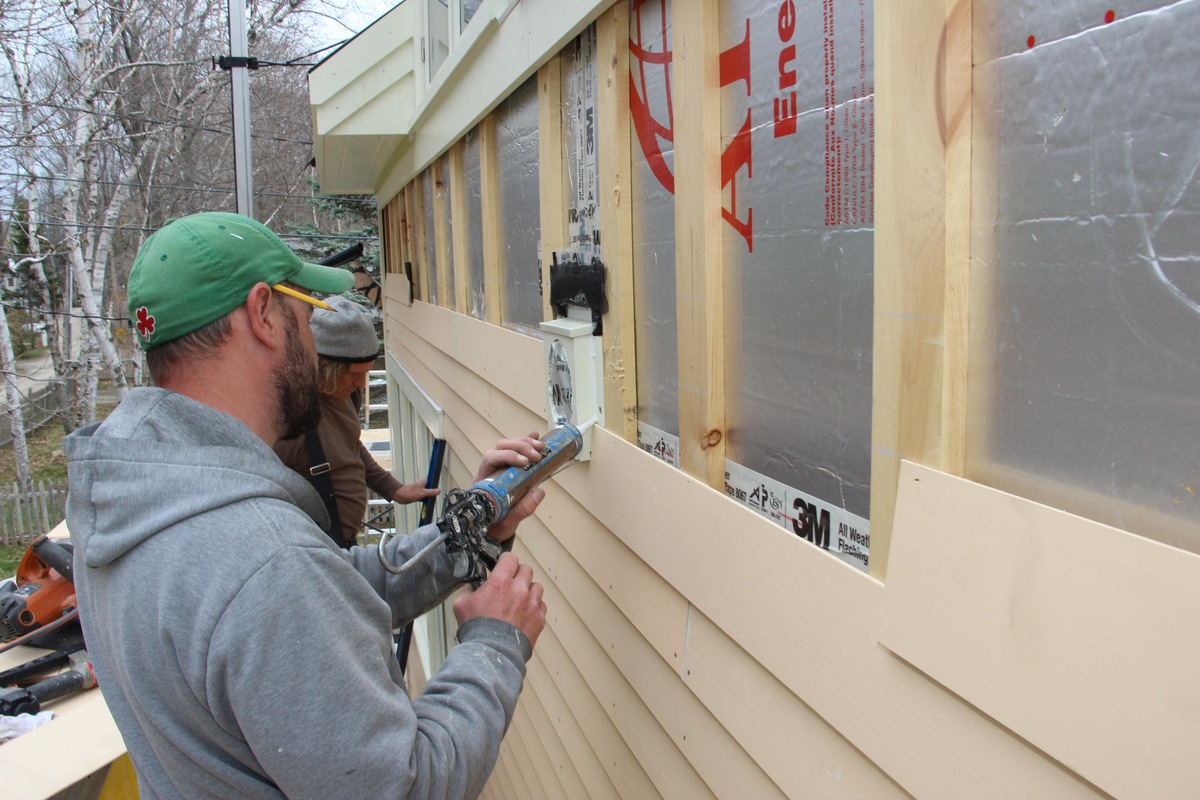
- Apply caulk: Load the caulk into a caulk gun and cut the tip at a 45-degree angle. Start applying caulk from one end of the joint, smoothly moving along its length. Fill any gaps or cracks, making sure the caulk adheres well to both siding pieces.
- Smooth and shape the caulk: Use a caulk smoothing tool or your finger dipped in water to smooth and shape the applied caulk. This helps create a neat and seamless finish.
- Allow for drying and curing: Follow the manufacturer’s instructions regarding the drying and curing time of the caulk. It’s important to allow sufficient time for the caulk to fully cure before painting or exposing it to moisture.
Proper caulking and sealing of the joints is crucial for maintaining the longevity and integrity of your LP siding installation. Regularly inspect and re-caulk any areas that may have deteriorated over time for effective and long-lasting protection.
With the joints properly sealed, you’re ready for the final step: painting or staining your LP siding to achieve the desired appearance.
Step 7: Painting or Staining the LP Siding
The final step in the LP siding installation process is painting or staining your siding to enhance its appearance and provide added protection. Here’s how to paint or stain your LP siding:
- Clean the siding: Before painting or staining, ensure that the LP siding is clean and free of dust and debris. Use a gentle detergent, a scrub brush, and water to clean the surface. Rinse thoroughly and allow it to dry completely.
- Choose the right paint or stain: Select a high-quality exterior paint or stain that is designed for wood or engineered wood siding. Consider factors such as color, opacity, and the desired level of protection.
- Prepare the painting area: If possible, cover the surrounding areas to protect them from paint or stain splatters. Use drop cloths or plastic sheeting to shield windows, plants, and other nearby surfaces.
- Apply primer (if needed): If you’re painting unfinished LP siding or making a significant color change, applying a primer may be necessary. Follow the manufacturer’s instructions for the recommended primer and application method.
- Apply the paint or stain: Use a brush, roller, or sprayer to apply paint or stain evenly to the LP siding, following the direction of the grain. Start from the top and work your way down, ensuring complete coverage and avoiding drips or runs.
- Allow for drying and curing: Follow the recommended drying and curing time specified by the paint or stain manufacturer. It’s crucial to allow sufficient time for the finish to dry and cure properly, especially before exposing the siding to harsh weather conditions.
- Maintain and touch up as needed: Regularly inspect your painted or stained LP siding for any signs of wear or damage. Touch up any areas that have chipped or faded over time to maintain the beauty and protection of the finish.
By properly painting or staining your LP siding, you not only enhance its visual appeal but also provide an additional layer of protection against UV rays, moisture, and other environmental elements.
Congratulations! You’ve successfully completed the installation of LP siding, from preparing the surface to painting or staining the siding. With proper maintenance and care, your LP siding will continue to enhance the beauty and durability of your home for years to come.
Hopefully, this guide has provided you with the knowledge and confidence to tackle your LP siding installation project. Enjoy the satisfaction of a job well done and the long-lasting benefits of your new LP siding!
Conclusion
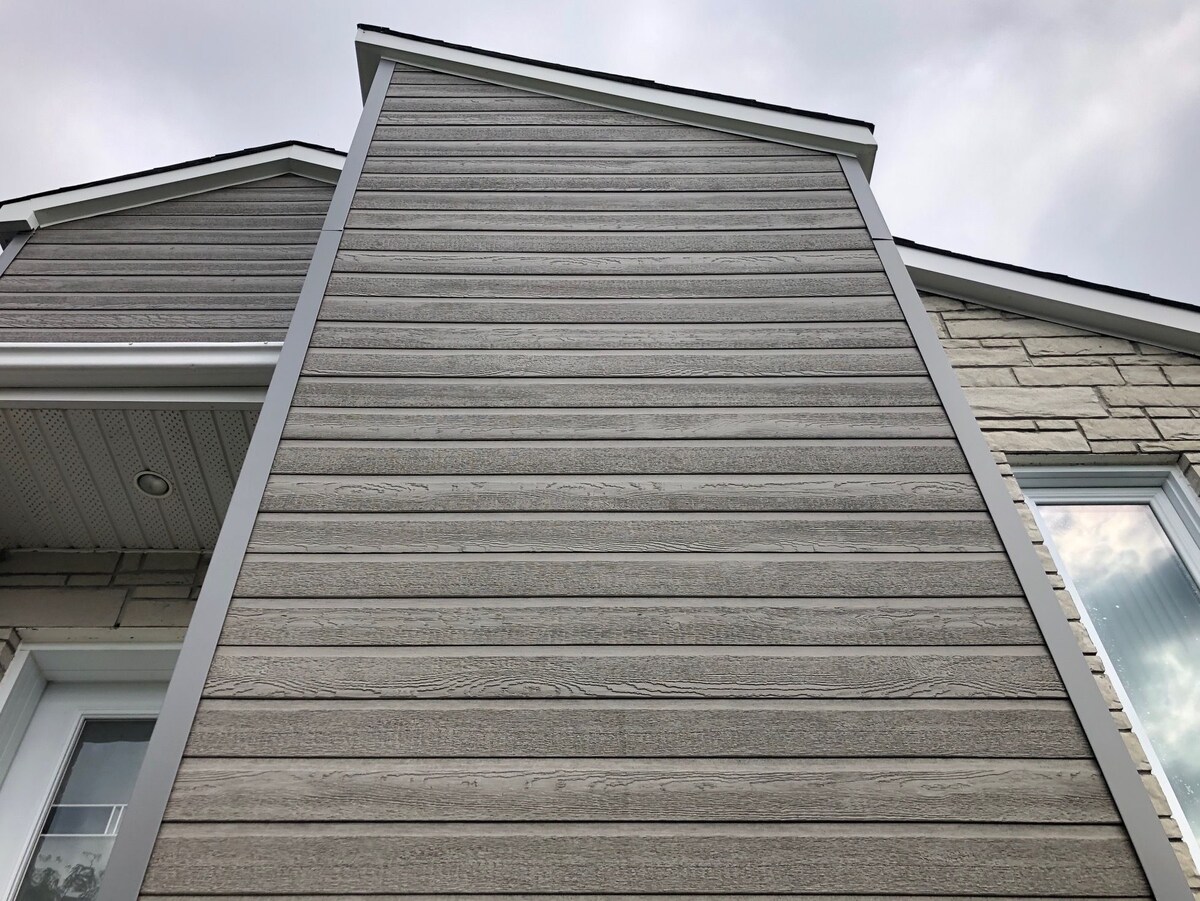
Installing LP siding can be a rewarding and worthwhile project that enhances the appearance and durability of your home. We’ve provided you with a step-by-step guide to help you successfully navigate the installation process, from preparing the surface to painting or staining the siding.
By following these instructions and taking the time to properly measure, cut, and install the LP siding, you can achieve a professional-looking finish that will stand the test of time. Remember to wear the necessary safety equipment, pay attention to detail, and double-check your work at each stage.
LP siding offers a range of benefits, including its strength, resistance to moisture, and ability to withstand harsh weather conditions. However, it’s important to perform regular maintenance and inspections to ensure its longevity. Clean the surface periodically, address any signs of damage or wear, and re-caulk and touch up as needed.
With the proper care and maintenance, your LP siding will continue to enhance the beauty and protection of your home for many years to come. Enjoy the satisfaction of a job well done and the peace of mind that comes with knowing your home is protected and visually appealing.
We hope this comprehensive guide has empowered you with the knowledge and confidence to install LP siding successfully. Remember, if you’re unsure about any step or encounter any challenges, it’s always a good idea to consult with a professional contractor or LP siding installation expert.
Thank you for choosing us as your guide in this LP siding installation journey. We wish you the best of luck in your project and the many benefits that come with your newly installed LP siding.
Frequently Asked Questions about How To Install LP Siding
Was this page helpful?
At Storables.com, we guarantee accurate and reliable information. Our content, validated by Expert Board Contributors, is crafted following stringent Editorial Policies. We're committed to providing you with well-researched, expert-backed insights for all your informational needs.

0 thoughts on “How To Install LP Siding”