Home>Garden Essentials>How To Install Landscaping Lights

Garden Essentials
How To Install Landscaping Lights
Modified: March 7, 2024
Learn how to install garden landscaping lights and enhance the beauty of your outdoor space. Step-by-step guide for a stunning garden illumination.
(Many of the links in this article redirect to a specific reviewed product. Your purchase of these products through affiliate links helps to generate commission for Storables.com, at no extra cost. Learn more)
Introduction
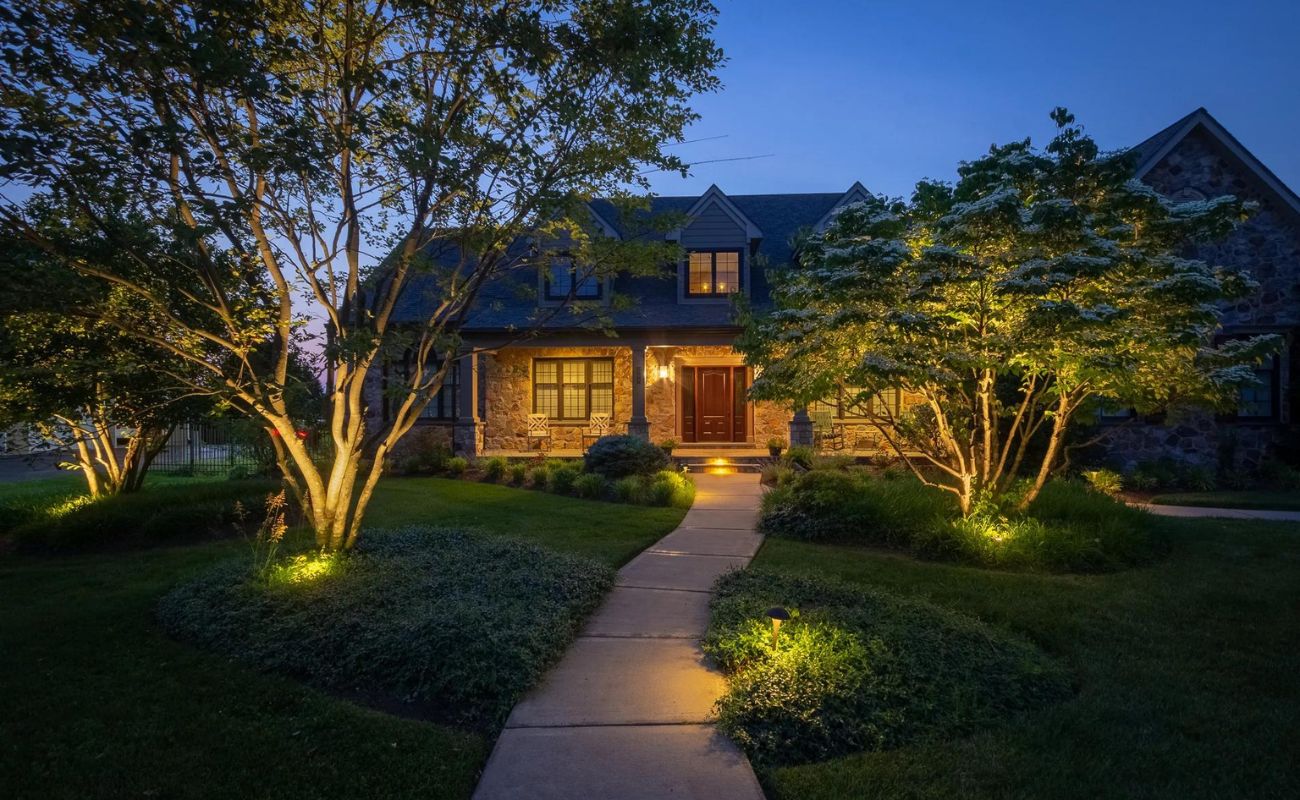
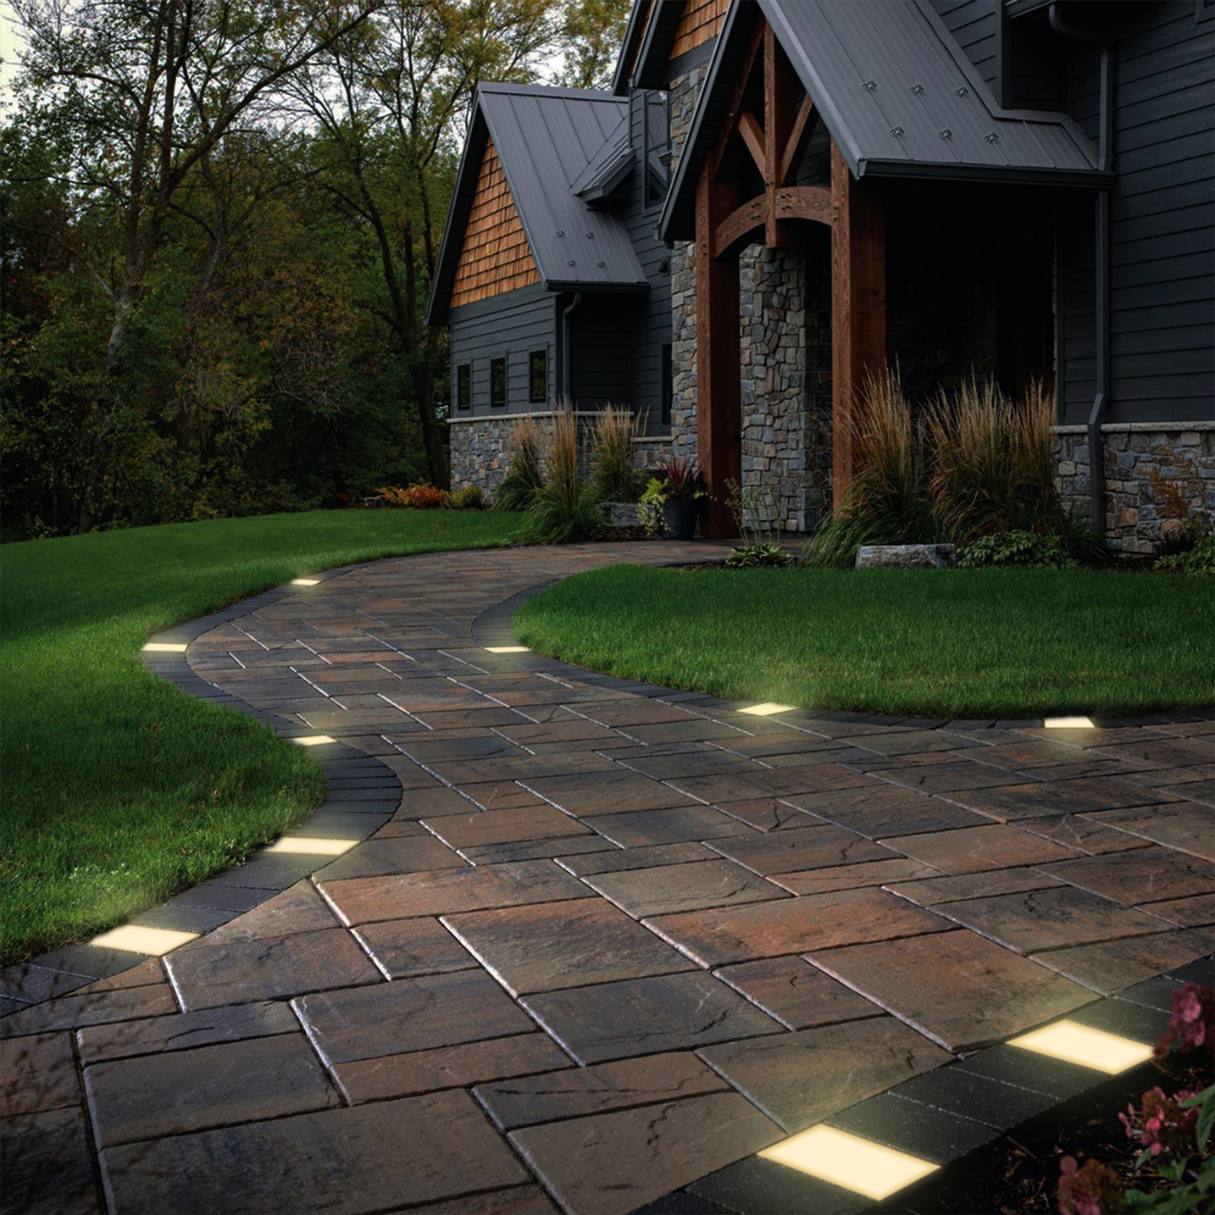
Welcome to our guide on how to install landscaping lights! Adding outdoor lighting to your garden or backyard can dramatically enhance its beauty and functionality, allowing you to enjoy your outdoor space even after the sun goes down. Whether you want to illuminate paths, highlight specific features, or create a cozy ambiance, installing landscaping lights is a great way to achieve your desired effect.
In this article, we will take you through the step-by-step process of planning, gathering materials, installing, and testing your landscape lighting system. By following these instructions, you will be able to transform your outdoor space into a stunning oasis that can be enjoyed day and night.
Before you begin your installation journey, it’s important to plan and design your lighting layout. Consider the areas you want to illuminate, the type of lighting fixtures you prefer, and the power source you will be using. By carefully planning your design, you can ensure that your lighting will not only look aesthetically pleasing but also serve its intended purpose effectively.
Once you have your design in mind, it’s time to gather the necessary tools and materials. The specific tools you will need may vary depending on the complexity of your lighting system, but some common items include a shovel, wire strippers, waterproof connectors, and a voltage tester. By having all the required tools and materials on hand, you can avoid unnecessary delays during the installation process.
Preparing the area for installation is the next step in the process. This involves clearing any obstacles, marking out the locations for your lighting fixtures, and making any necessary adjustments to the terrain. Proper preparation is crucial to ensure that the installation goes smoothly and that your lights are positioned exactly as you envision.
Installing the lighting fixtures is where you’ll get to see your design come to life. This step involves securely placing the fixtures in the designated spots and making sure they are level and stable. Depending on the type of fixtures you choose, you may need to dig holes, use mounting brackets, or secure them with stakes. Taking care during this step will ensure that your lights are positioned correctly and will stand up to the elements.
Key Takeaways:
- Planning and designing your landscape lighting is essential for creating a beautiful and functional outdoor space. Consider the areas to illuminate, the purpose of the lights, the type of fixtures, and the power source to achieve your desired ambiance.
- Proper preparation, installation, and testing of your landscape lighting system are crucial for ensuring safety and optimal performance. Securely place the fixtures, wire and connect the lights, and make necessary adjustments to create a stunning oasis in your garden.
Read more: How To Install Outdoor Landscape Lighting
Step 1: Planning and Designing Your Landscape Lighting
Before you start installing landscape lighting, it’s essential to have a clear plan and design in mind. Taking the time to plan will help you determine the best placement for your lights, choose the appropriate type of fixtures, and ensure that your lighting system meets your specific needs and preferences. Here are some key considerations for planning and designing your landscape lighting:
- Identify the Areas to Illuminate: Take a walk around your garden or backyard and identify the areas you want to highlight. This could include pathways, flower beds, trees, water features, or outdoor seating areas. By determining the areas you want to illuminate, you can create a focal point and enhance the overall ambiance of your outdoor space.
- Consider the Purpose of the Lights: Think about the purpose your lighting will serve. Are you looking for functional lighting to improve safety and visibility along paths and walkways? Do you want to create a warm and inviting atmosphere for outdoor entertaining? Knowing the purpose of your lighting will help you select the right fixtures and determine the appropriate brightness and color temperature.
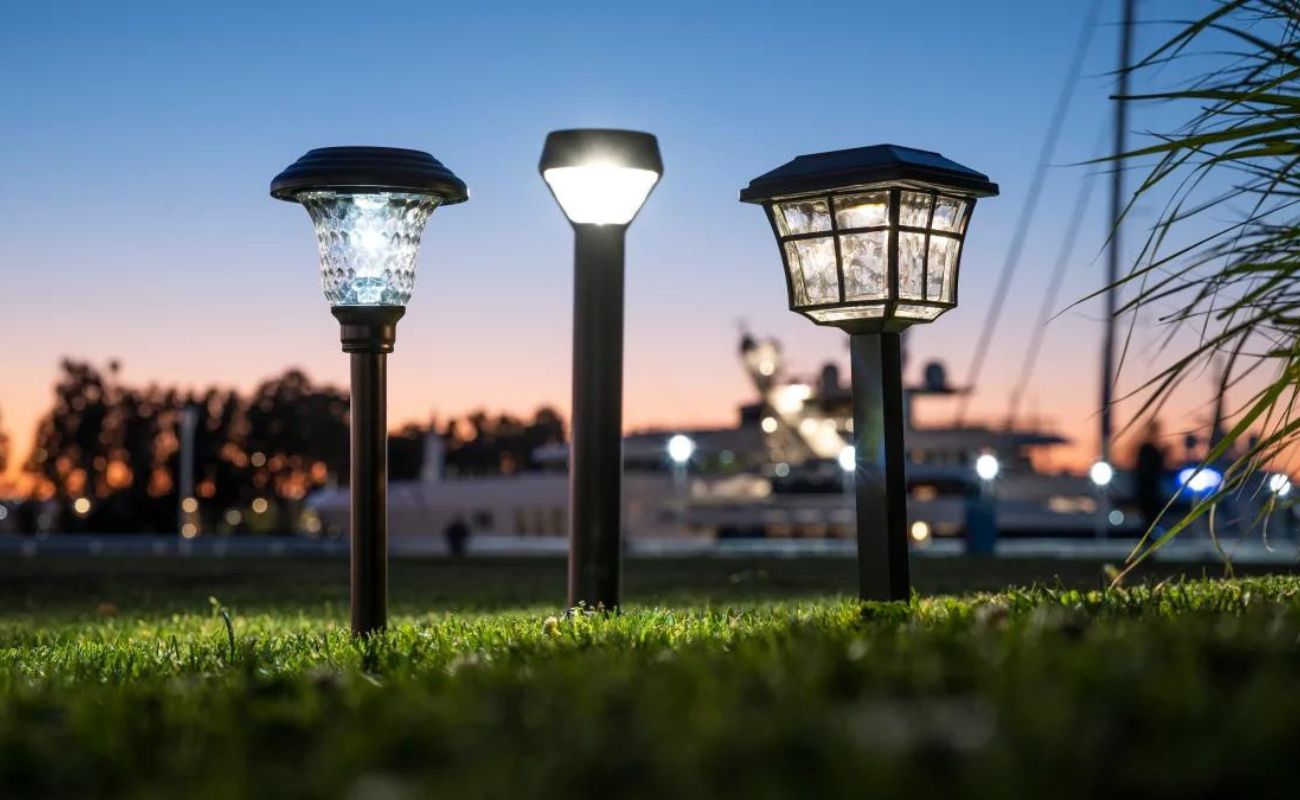
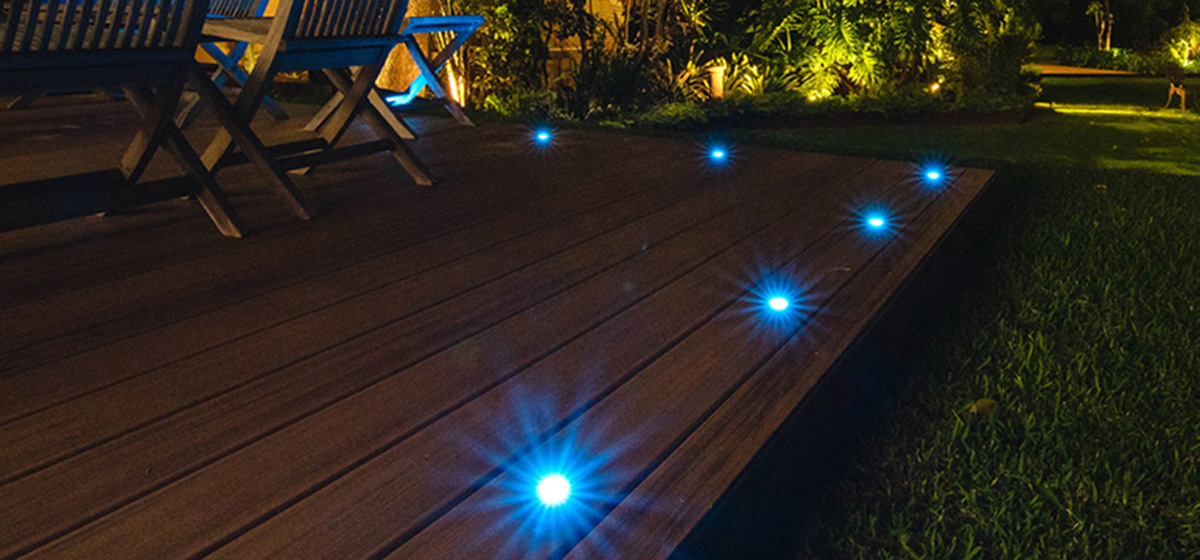
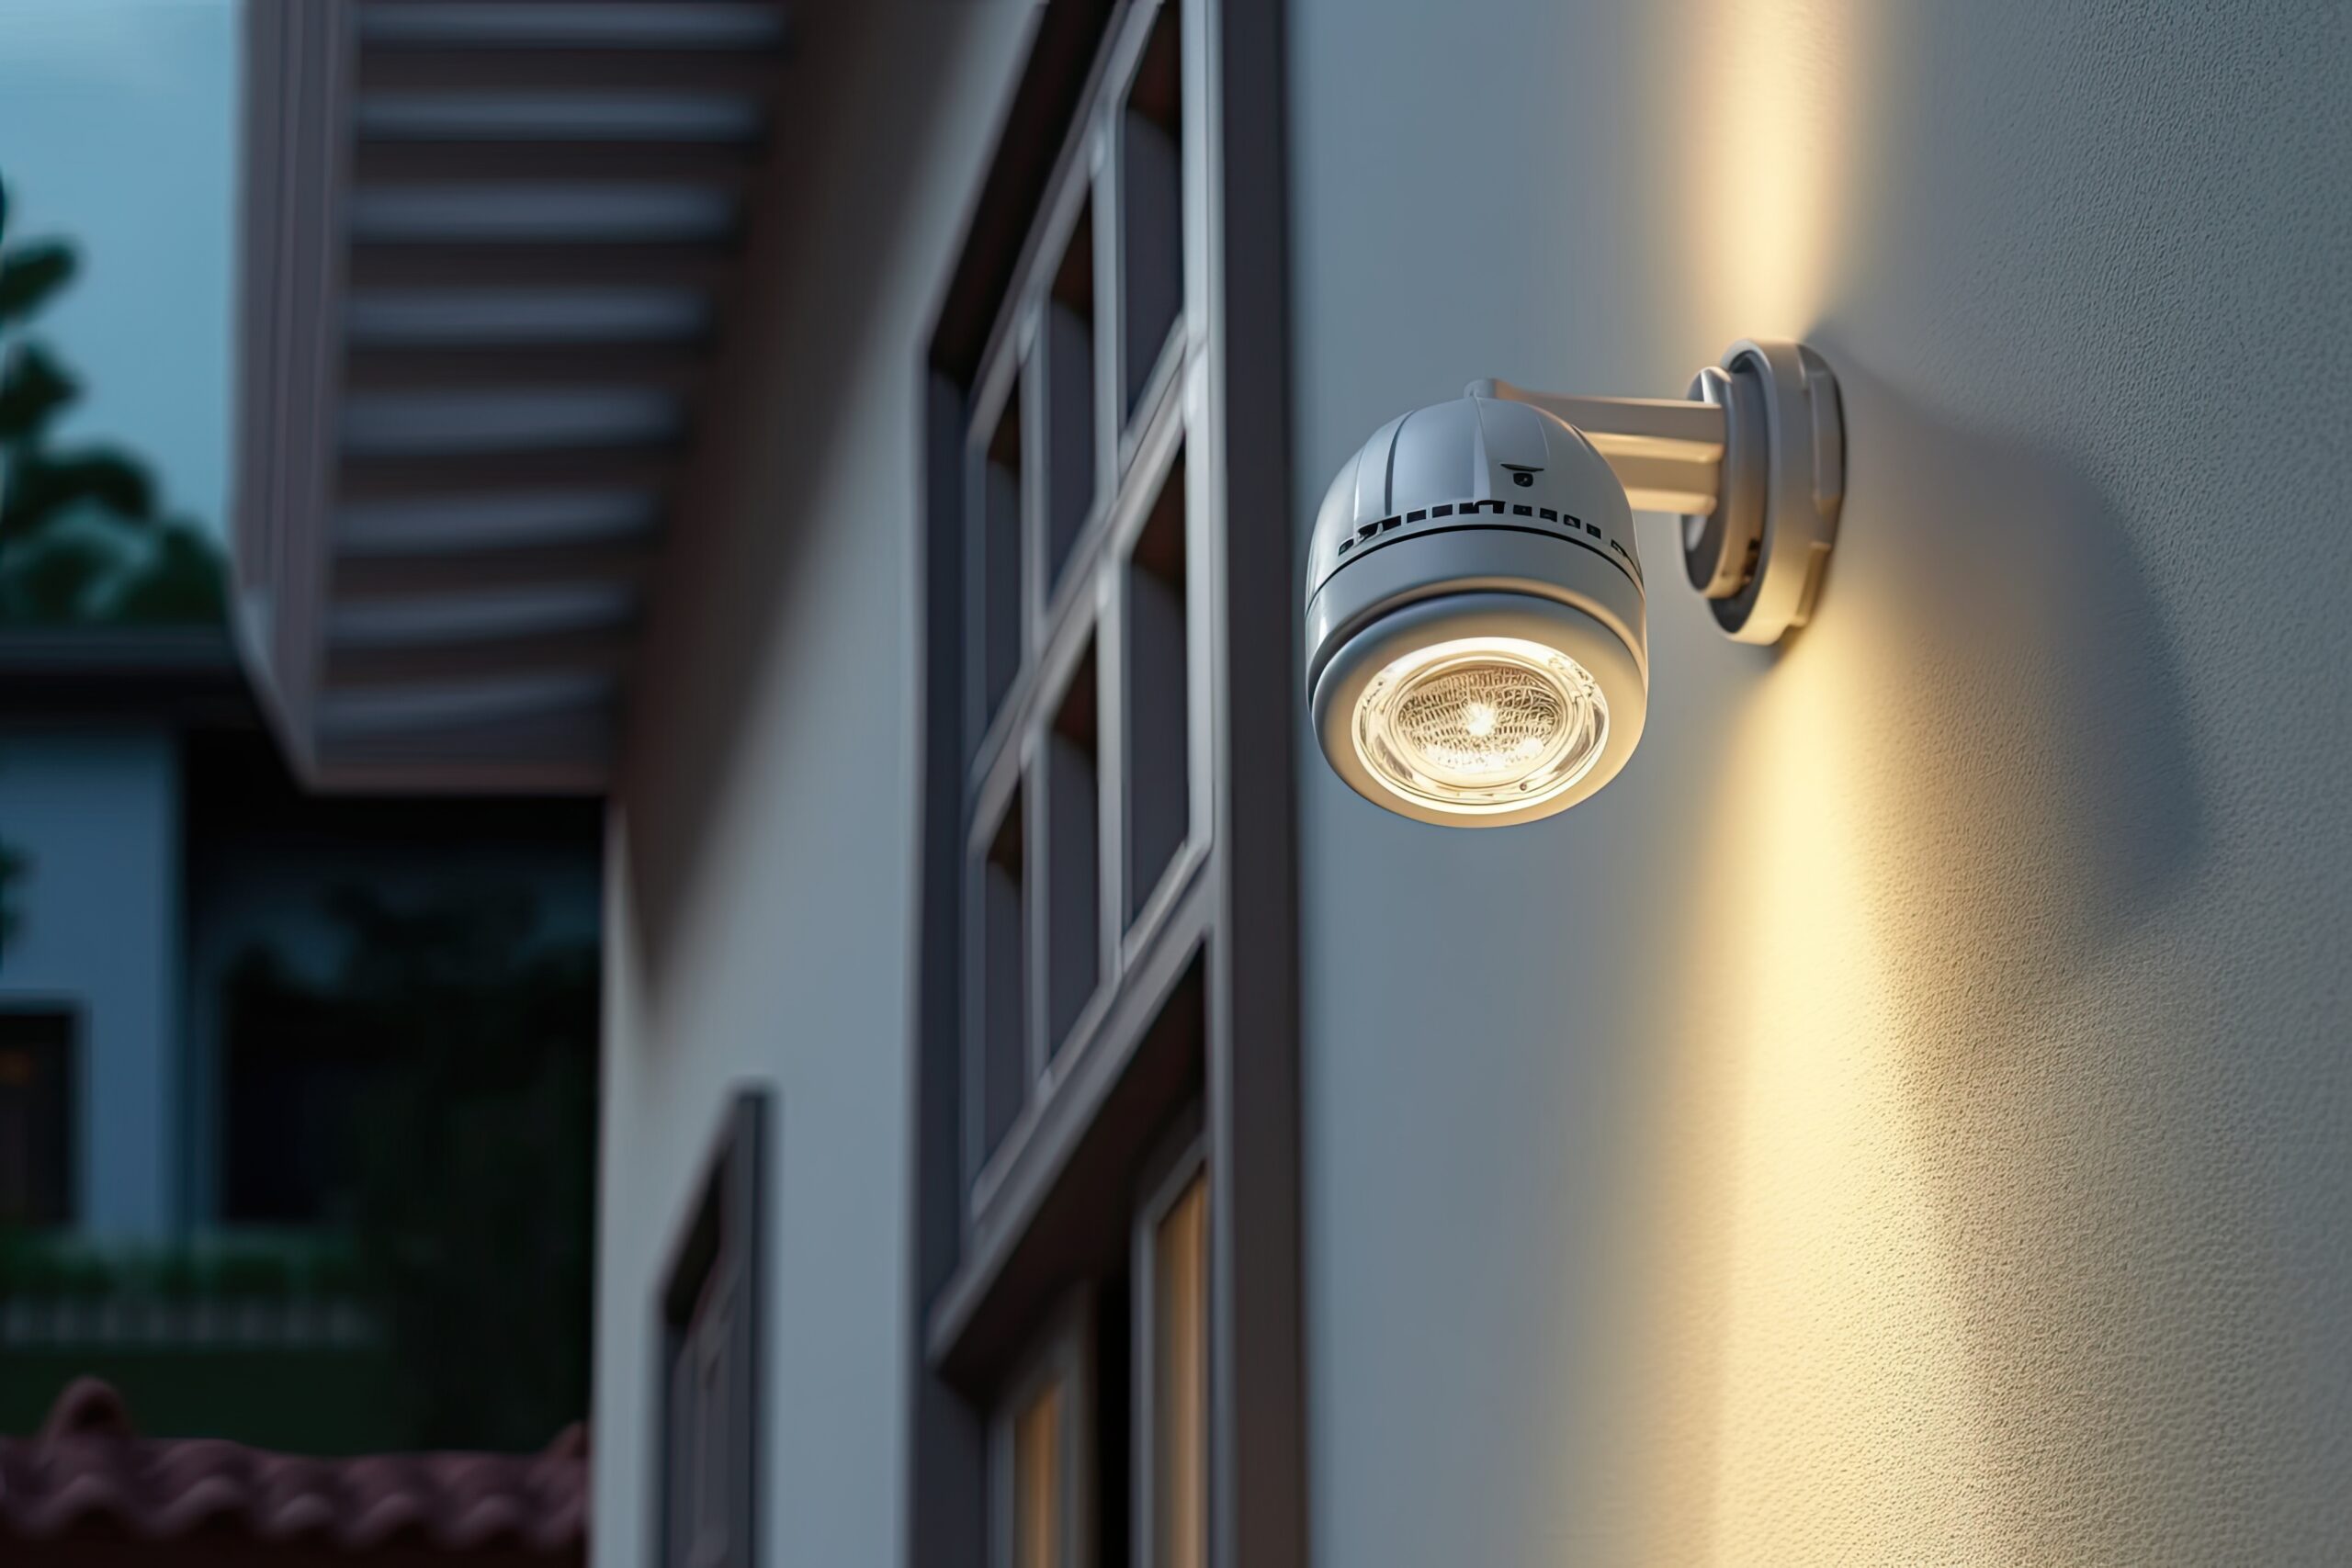
- Choose the Type of Lighting Fixtures: There are various types of landscape lighting fixtures to choose from, including path lights, spotlights, well lights, floodlights, and deck lights. Each type serves a different purpose and creates a different effect. Path lights, for example, are perfect for illuminating walkways, while spotlights can be used to highlight specific landscape features. Consider the aesthetic you want to achieve and select fixtures that complement your overall design.
- Decide on the Power Source: Landscape lighting can be powered by electricity, solar energy, or low-voltage systems. Each option has its advantages and considerations. Electric-powered lights provide a consistent and reliable source of light, while solar lights are environmentally friendly and require no wiring. Low-voltage systems are flexible and safe to install. Choose the power source that best suits your needs and abilities.
- Create a Lighting Plan: Once you have determined the areas to illuminate, the purpose of the lights, the type of fixtures, and the power source, it’s time to create a lighting plan. Use a scaled drawing of your outdoor space and mark the locations where you want to install the lights. This will help you visualize the layout and ensure that you have the right number of fixtures for each area.
Remember to take into account the natural features and existing structures in your garden. Consider how the lighting will interact with trees, shrubs, and architectural elements. Experiment with different placements to find the most flattering angles and effects. Your lighting plan should enhance the beauty of your landscape without overwhelming it.
By taking the time to plan and design your landscape lighting system, you can ensure that it not only meets your aesthetic preferences but also fulfills its intended purpose. A well-planned lighting design will enhance the safety and security of your outdoor space while creating a visually stunning and inviting atmosphere.
Step 2: Gathering the Necessary Tools and Materials
Before you begin installing your landscape lighting, it’s important to gather all the necessary tools and materials. Having everything at hand will save you time and ensure a smoother installation process. While the specific tools and materials may vary depending on the complexity of your lighting system, here are some essentials:
- Shovel: A shovel will come in handy when digging holes for your lighting fixtures. Choose a shovel that is sturdy and appropriate for the type of soil in your outdoor space.
- Wire Strippers: Wire strippers are essential for removing the insulation from the wires when connecting the lights. Look for wire strippers with different gauge options to accommodate various wire sizes.
- Waterproof Connectors: Waterproof connectors are crucial for ensuring that the connections between the wires and fixtures are secure and protected from the elements. Opt for high-quality connectors that are durable and reliable.
- Voltage Tester: A voltage tester is used to ensure that the power to the lighting system is off before working with the wires. This tool helps prevent accidents and ensures your safety during installation.
- Trenching Tool: If you plan on burying the wires underground, a trenching tool will be useful for creating a narrow trench to house the wires. This tool will help protect them from damage and allow for a neater installation.
- Cable or Wiring: Depending on the distance between the lights and the power source, you may need to purchase extra cable or wiring to connect everything together. Make sure to choose wiring that is suitable for outdoor use and can withstand the elements.
In addition to these tools, you’ll also need to gather the necessary lighting fixtures. This will depend on your specific design and lighting plan. You may require path lights, spotlights, wall sconces, or other types of fixtures. Consider the style, brightness level, and quality of the fixtures to ensure they align with your overall design aesthetic and lighting goals.
It’s also a good idea to gather any additional materials that might be needed for installation. This could include mounting brackets, stakes for securing fixtures, screws, wire nuts, and any other hardware that may be required to ensure a secure and professional installation.
Take the time to review your lighting plan and consult with a professional if needed to ensure that you have all the necessary tools and materials. Being prepared will help streamline the installation process and ensure that you have everything you need to bring your landscape lighting vision to life.
Step 3: Preparing the Area for Installation
Before you can begin installing your landscape lighting, it’s important to properly prepare the area. This step ensures that your installation will go smoothly and that your lights will be positioned securely and effectively. Here are some key steps to follow when preparing the area for installation:
- Clear the Area: Remove any obstacles, such as rocks, branches, or debris, from the area where the lights will be installed. Clearing the area will make it easier to dig holes, lay cables, and position the lighting fixtures.
- Mark the Locations: Use stakes or small flags to mark the locations where you plan to install the lights. This will give you a visual guide when it’s time to place the fixtures in their designated spots. Take measurements to ensure the proper spacing and alignment of your lights.
- Adjust the Terrain: If the terrain is uneven or slopes, you may need to make some adjustments to ensure that your fixtures will be level and stable. Use a shovel to level the ground or add soil to create a stable base for the lights. Taking the time to level the area will ensure a professional-looking installation.
- Consider Underground Wiring: If you plan on burying the wiring underground, you’ll need to dig a narrow trench along the paths or designated areas. Use a trenching tool or shovel to create the trench, ensuring that it is deep enough to accommodate the wires and provide adequate protection. Be cautious of any existing utility lines or pipes in the area and dig carefully.
- Ensure Proper Drainage: If your outdoor space is prone to water accumulation or has poor drainage, it’s important to address this before installing the lights. Excessive moisture can damage the wiring and create safety hazards. Improve drainage in the area by adding gravel or installing a drainage system to ensure the longevity of your landscape lighting.
- Check for Overhead Hazards: Take a careful look at any overhanging branches or structures that may obstruct the path of your lighting fixtures. Trim any branches or consider repositioning the fixtures to ensure that they have a clear path and won’t be obstructed by any overhead hazards.
By taking the time to properly prepare the area for installation, you will ensure that your landscape lighting system is installed securely and effectively. Clearing the area, marking the locations, adjusting the terrain, considering underground wiring, ensuring proper drainage, and checking for overhead hazards all contribute to a successful installation process.
Remember to take safety precautions throughout the preparation phase, such as wearing appropriate protective gear and following any local regulations or guidelines. Once the area is prepared, you will be ready to move on to the exciting part of installing your landscape lighting.
Step 4: Installing the Lighting Fixtures
With the area prepared, it’s time to move on to the installation of your landscape lighting fixtures. This step involves securely placing the fixtures in their designated spots, ensuring they are level and stable. Here’s a step-by-step guide on how to install your lighting fixtures:
- Digging Holes: If you are installing stake lights or other types of fixtures that need to be secured in the ground, use a shovel or a specialized auger to dig holes at the marked locations. Make sure the holes are deep enough to accommodate the fixtures while providing stability.
- Positioning the Fixtures: Place each lighting fixture into its respective hole, making sure it sits firmly and securely. Adjust the fixture’s position as necessary to achieve the desired lighting effect while keeping it level and straight.
- Securing the Fixtures: To ensure that the fixtures remain stable, backfill the holes with soil or a mixture of soil and gravel, gently tamping it down around the base of each fixture. This will provide support and help prevent any wobbling or leaning over time.
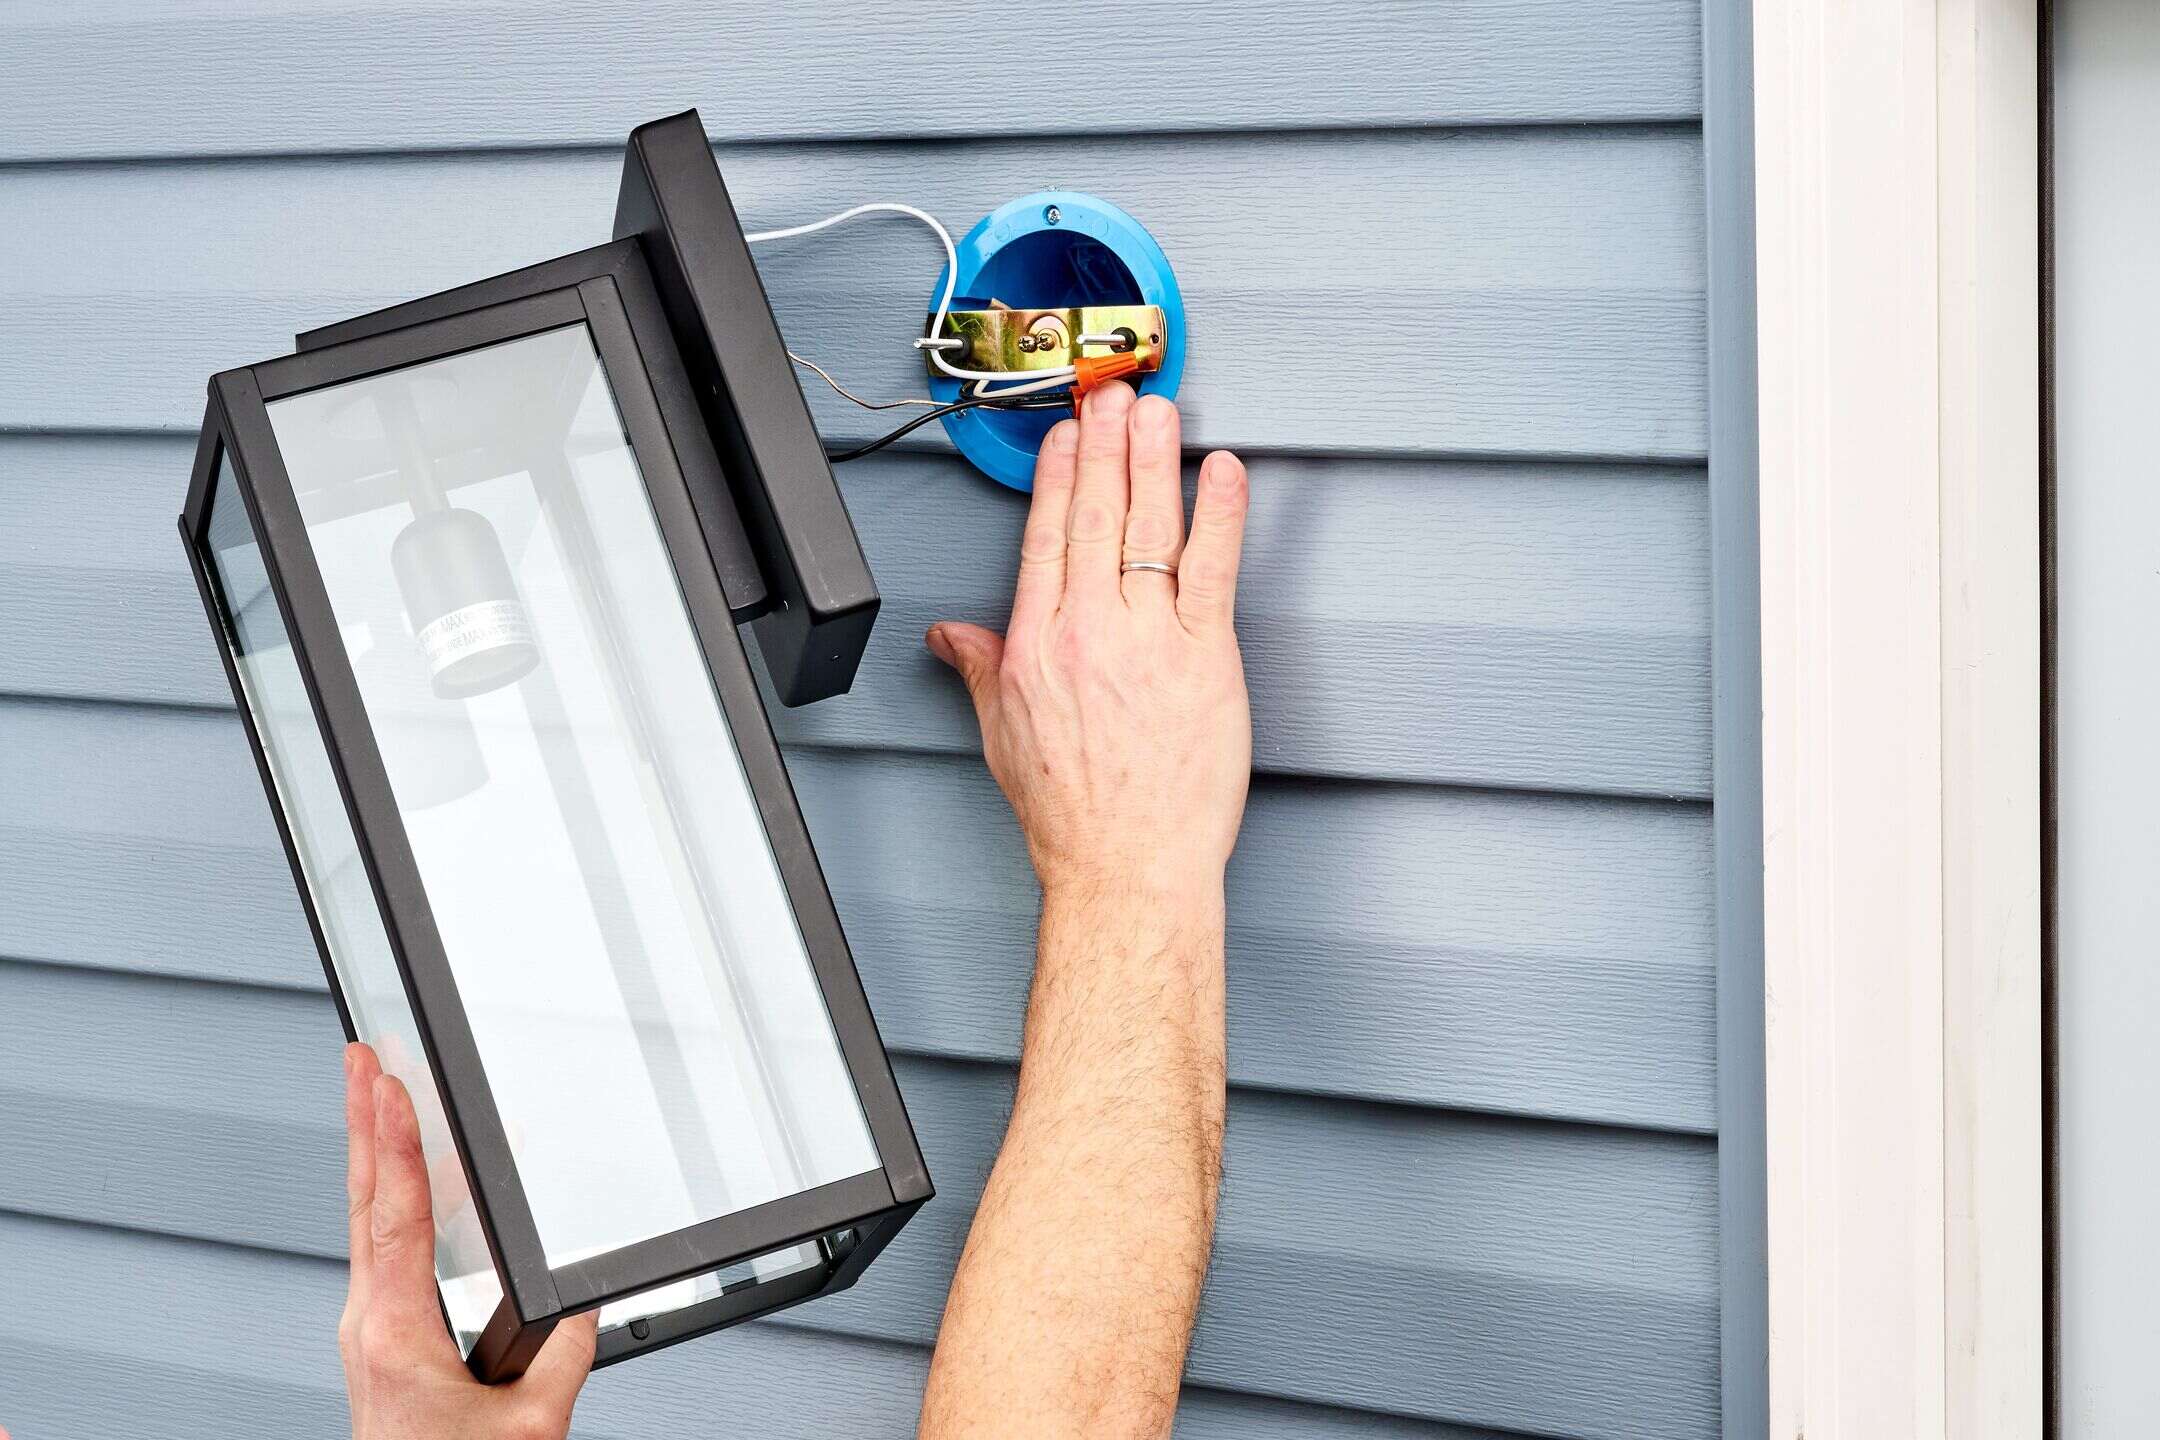
- Mounting Options: If you have wall-mounted lights or fixtures that need to be attached to a surface, use the appropriate mounting brackets and screws. Ensure that the fixtures are level and securely fastened to the wall or other surfaces.
- Connecting Wiring: Follow the manufacturer’s instructions to connect the wiring from each fixture to the main power source. Use waterproof connectors and wire nuts to make secure and waterproof connections. Strip the wires using wire strippers and twist them tightly together to ensure a solid connection.
- Tucking Away Excess Wiring: If you have any excess wire, neatly coil it up and tuck it away in a hidden area, such as under foliage or along a hidden pathway. Avoid leaving exposed wires as they can present a tripping hazard and detract from the overall aesthetics.
Throughout the installation process, double-check that each fixture is securely installed and properly connected. Ensure that the lights are positioned as intended and aligned according to your lighting plan. Take a step back and assess the overall effect to ensure that the fixtures are evenly spaced and providing the desired illumination.
Remember to exercise caution when working with electrical connections. Always turn off the power supply before making any wiring connections and use a voltage tester to ensure that the power is indeed off. If you are unfamiliar with electrical work, consider consulting a professional to avoid any safety hazards.
By taking care during the installation process, you will ensure that your lighting fixtures are securely and properly mounted, allowing you to fully enjoy the transformative effects of your landscape lighting system.
Before installing landscaping lights, make sure to plan out the placement and design of the lights to ensure even illumination and avoid overloading the circuit.
Read more: How To Install Landscaping Bricks
Step 5: Wiring and Connecting the Lights
Once the lighting fixtures are securely installed, it’s time to wire and connect the lights. Proper wiring is essential for ensuring that your landscape lighting system functions correctly and safely. Here’s a step-by-step guide on how to wire and connect your lights:
- Plan the Wiring Layout: Before you begin wiring, review your lighting plan and determine the best route for the wires. Consider the shortest and most efficient path from the power source to each lighting fixture. Take into account any obstacles, such as trees or structures, and plan your wiring accordingly.
- Strip the Wire: Using wire strippers, carefully remove the insulation from the ends of the wires. Make sure to expose enough wire for a secure and reliable connection.
- Connect the Wires: Follow the manufacturer’s instructions for each lighting fixture to connect the wires. Typically, this involves matching the positive and negative wires of the fixture with the corresponding wires from the power source. Use waterproof connectors or wire nuts to join the wires together, ensuring a secure and watertight connection.
- Test the Connections: Once the wiring is complete, use a voltage tester to check the connections. This will verify that there is no power running through the wires before proceeding. Safety always comes first, so be thorough in testing and double-checking your connections.
- Bury the Wires (If applicable): If your landscape lighting system uses buried wires, gently bury them in the trench you prepared earlier. Be cautious not to damage or pinch the wires during this process. Ensure that the wires are buried deep enough to avoid any accidental damage but still easily accessible for future maintenance or additions.
- Secure the Wiring: Use landscaping staples or clips to secure the wiring along its designated path. This will help keep the wires tidy and prevent tripping hazards. Make sure the wiring is not visible or prone to damage from foot traffic or landscaping activities.
- Consider Waterproofing: Depending on the location of your lighting fixtures and the overall weather conditions in your area, you may need to take additional steps to waterproof the connections. Applying silicone sealant or using waterproof wire connectors can help protect the wiring connections from moisture and prolong their lifespan.
Throughout the wiring and connecting process, pay close attention to detail and ensure that all connections are secure and properly matched. Take the time to test each connection and verify that the wiring is functioning as expected.
If you are unsure about any aspect of wiring or electrical work, it’s always best to consult a professional electrician. They can provide guidance and expertise to ensure a safe and reliable wiring installation for your landscape lighting system.
By following these steps and taking the necessary precautions, you’ll be able to wire and connect your lights with confidence, knowing that your landscape lighting system is set up for optimal performance and functionality.
Step 6: Testing and Adjusting the Lighting System
Once your landscape lighting system is wired and connected, it’s crucial to thoroughly test and adjust the lights to ensure they are functioning properly and delivering the desired effect. Testing and adjusting your lighting system will help you fine-tune the placement, brightness, and overall aesthetics. Here’s how to test and adjust your lighting system:
- Verify the Power Supply: Before testing the lights, double-check that the power supply to the lighting system is turned on. If you are using a power transformer, ensure that it is properly connected and delivering power to the lighting fixtures.
- Turn on the Lights: Go to the power source or control panel and switch on the lights. Walk around your outdoor space and observe the illumination of each lighting fixture. Check that all the lights are turning on and that the desired areas are properly illuminated.
- Adjust the Placement: As you test the lights, evaluate their placement and make any necessary adjustments. Note any fixtures that may need to be repositioned for better coverage or to avoid casting unwanted shadows. Tweak the angles and orientations of the fixtures until you achieve the desired lighting effect.
- Measure the Brightness: Use a light meter or simply your own judgment to assess the brightness of the lights. If certain areas appear too bright or too dim, adjust the wattage of the bulbs or consider installing dimmers to control the intensity. Aim for a balanced and visually pleasing lighting display.
- Consider Color Temperature: Pay attention to the color temperature of your lighting system. Some fixtures may emit a warm yellow light, while others produce a cooler white light. Ensure that all the fixtures in your landscape lighting system are harmonious in color temperature, creating a cohesive and inviting ambiance.
- Test In the Dark: To get a more accurate assessment of the lighting effect, test the system in complete darkness. This will help you identify any areas that may need additional lighting or adjustments. Make notes of the areas that appear too dark or not adequately illuminated for future adjustments.
Take your time with testing and adjusting the lighting system, as this step is crucial for achieving the desired results. Experiment with different angles, beam spreads, and combinations to create different effects and moods within your outdoor space.
Remember that lighting is subjective, and what may appear perfect to one person may not be to another. Trust your own judgment and continually evaluate the lighting system’s performance, making adjustments as needed to create the desired atmosphere and functionality.
By carefully testing and adjusting your lighting system, you can ensure that your landscape is beautifully and effectively illuminated. This step will ultimately enhance the overall aesthetics and usability of your outdoor space.
Step 7: Finalizing the Installation
Congratulations! You are in the final stage of the landscape lighting installation process. Step 7 involves finalizing the installation by making a final assessment of the system, securing any loose connections, and completing any finishing touches. Here’s what you need to do to finalize the installation:
- Inspect the System: Take a comprehensive look at the entire lighting system to ensure that everything is functioning as intended. Walk around your outdoor space and examine each lighting fixture, checking for any loose connections, damaged wires, or signs of wear and tear. Address any issues promptly to prevent further damage or malfunctions.
- Secure all Connections: Double-check and tighten all wire connections, ensuring they are secure and protected from moisture. This will help maintain the integrity of your landscape lighting system over time. Pay extra attention to connections that may have come loose during the testing and adjusting phase.
- Add Finishing Touches: Consider adding additional elements to enhance the overall aesthetics of your landscape lighting. This may include installing decorative covers or shields for the fixtures to create unique lighting patterns or provide added protection. Additionally, consider adding mulch or landscape rocks around the base of the fixtures to blend them seamlessly into the surroundings.
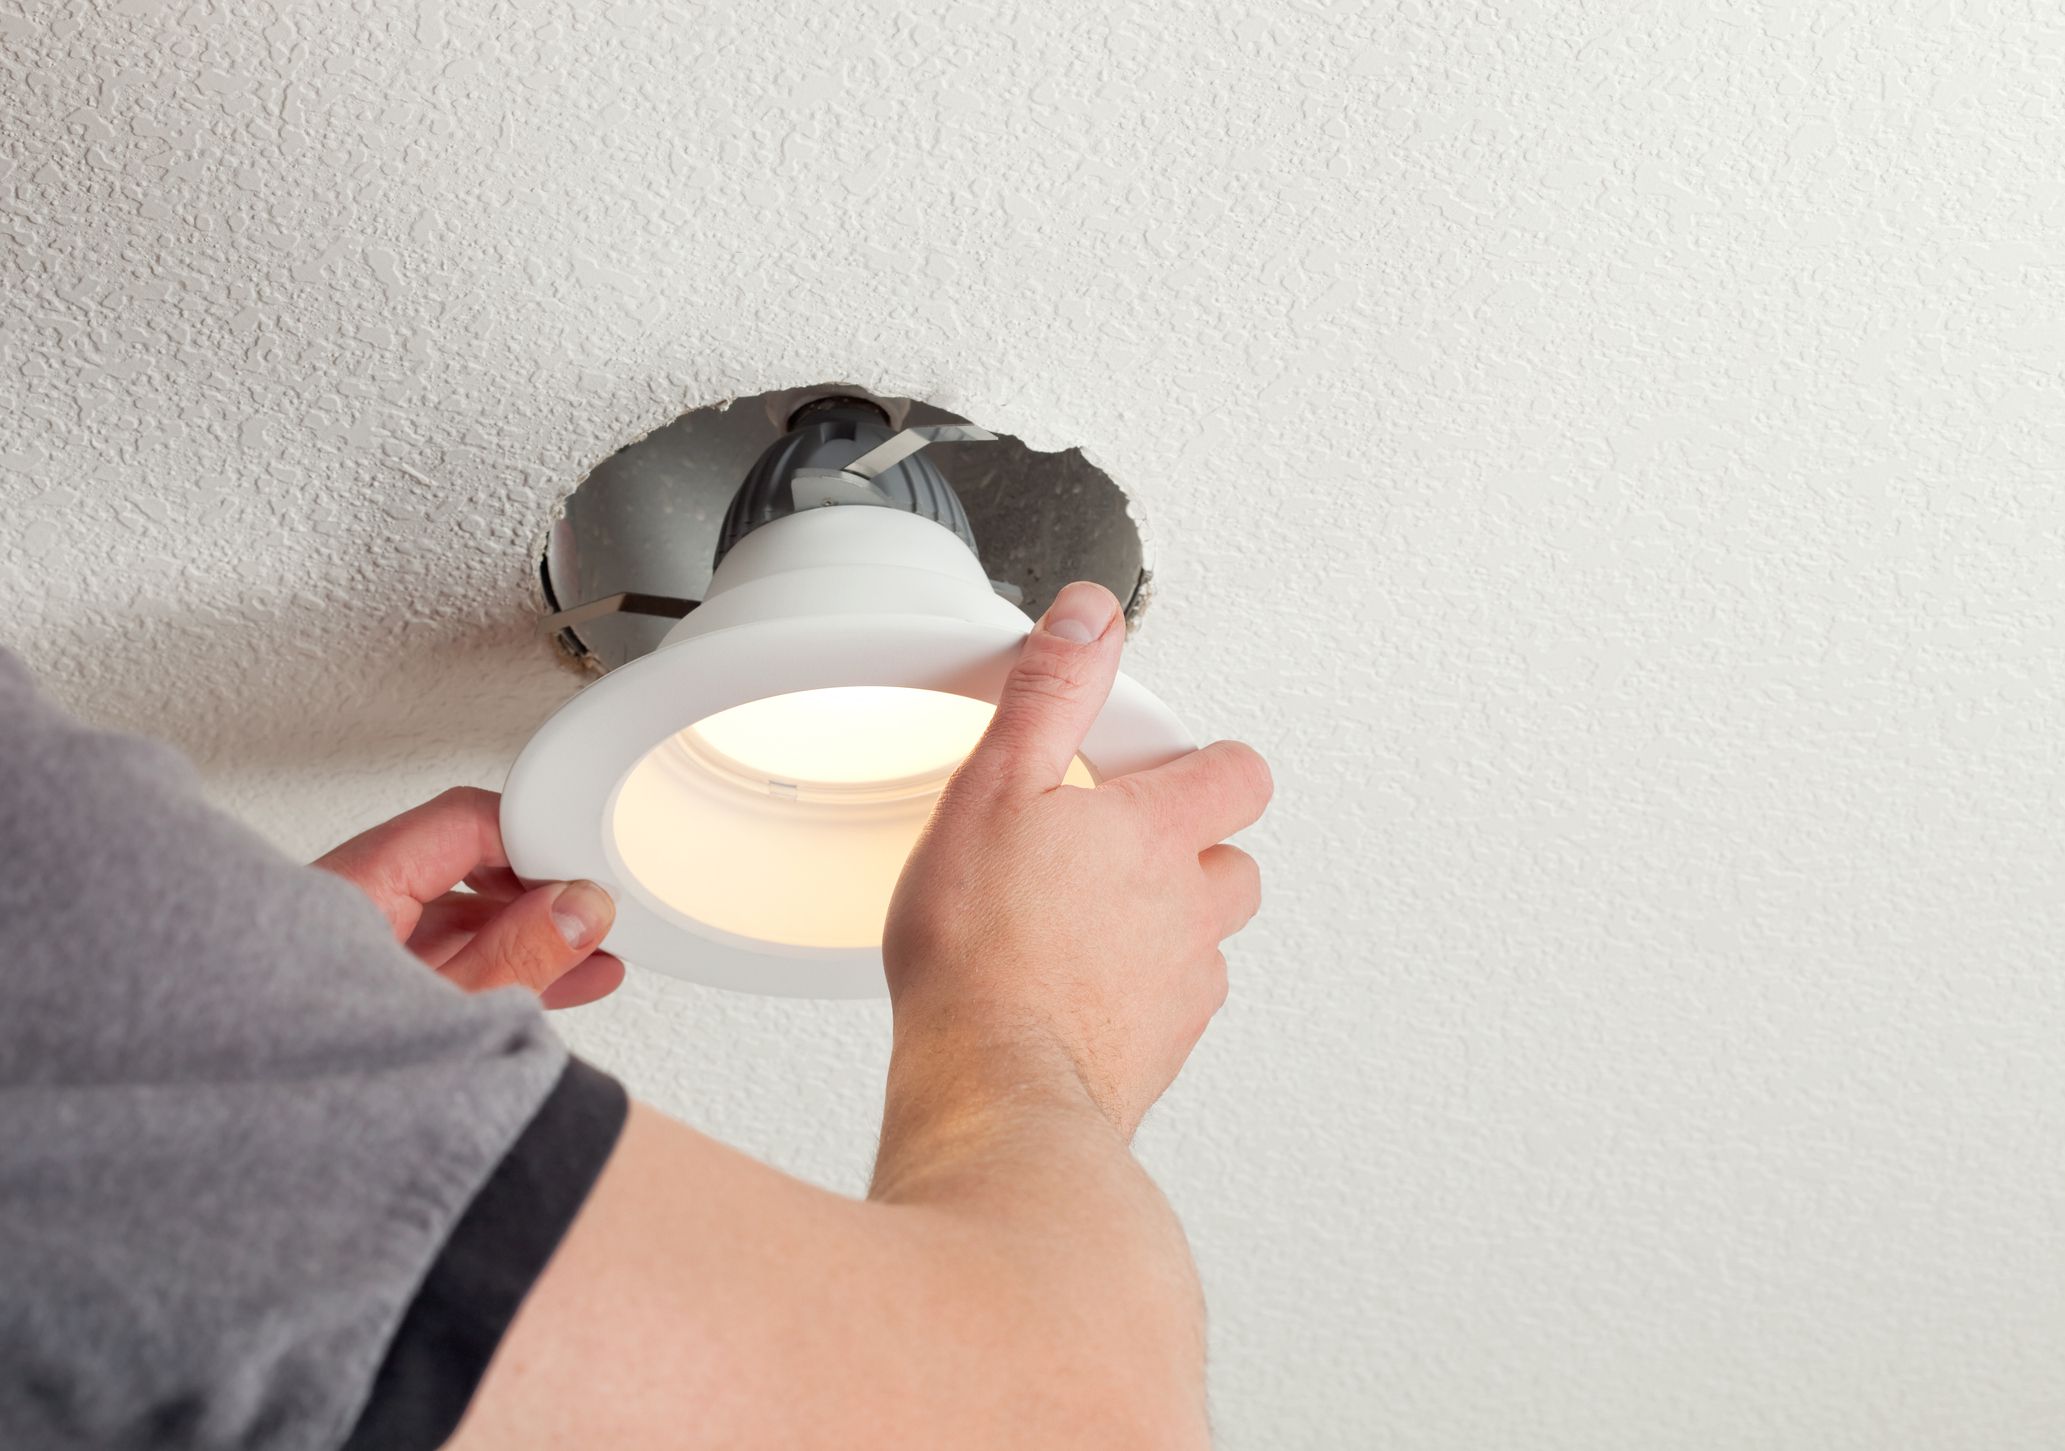
- Optimize Energy Efficiency: Evaluate energy efficiency options for your lighting system. Consider replacing traditional incandescent bulbs with LED bulbs, which are more energy-efficient and have a longer lifespan. LED bulbs also offer a variety of color options and can be dimmed to create different atmospheres.
- Document the Installation: Take photos or make notes of the final installation to serve as a reference for future maintenance or upgrades. Documenting the placement of each fixture, the wiring connections, and any specific details will make it easier to troubleshoot or expand the system in the future.
- Regular Maintenance: Schedule regular maintenance checks to ensure that your landscape lighting system continues to perform optimally. Clean the fixtures, remove any debris or vegetation around them, and periodically review the wiring connections to prevent any potential issues.
By finalizing the installation with a thorough inspection, securing all connections, and adding finishing touches, you can ensure that your landscape lighting system is ready to shine. Regular maintenance and periodic assessments will help prolong the life of your system and maintain its impact throughout the seasons.
Now that you have completed the installation process, take a step back and admire your beautifully lit outdoor space. Enjoy the ambiance, safety, and beauty that your landscape lighting brings, and make memories in your transformed garden or backyard.
Conclusion
Congratulations on successfully installing your landscape lighting! By following the step-by-step process outlined in this guide, you have transformed your outdoor space into a captivating and functional oasis. The careful planning, gathering of tools and materials, preparation of the area, installation of fixtures, wiring and connection, testing and adjusting, and finalizing the installation have all played a crucial role in creating a stunning lighting display.
With your new landscape lighting system in place, you can now enjoy the beauty and functionality of your outdoor space long after the sun sets. Illuminate pathways, highlight key features, and create an inviting ambiance for outdoor entertaining. Whether you want to create a relaxing atmosphere or show off the intricate details of your garden, your landscape lighting system will bring your vision to life.
Remember to regularly maintain your landscape lighting system to ensure its optimal performance. Keep an eye on connections, clean fixtures, and periodically assess the system to address any issues that may arise. With proper care, your landscape lighting will continue to enhance the beauty of your outdoor space for years to come.
Don’t hesitate to experiment and make adjustments as you see fit. Outdoor lighting is an art, and everyone’s preferences differ. Fine-tune the brightness levels, adjust the placement of the fixtures if needed, and consider adding additional lighting elements to further enhance your outdoor space.
With your newly installed landscape lighting, you can now extend the enjoyment of your outdoor living area and create unforgettable evenings under the stars. So sit back, relax, and bask in the magical glow of your beautifully illuminated garden or backyard.
Happy lighting!
Frequently Asked Questions about How To Install Landscaping Lights
Was this page helpful?
At Storables.com, we guarantee accurate and reliable information. Our content, validated by Expert Board Contributors, is crafted following stringent Editorial Policies. We're committed to providing you with well-researched, expert-backed insights for all your informational needs.


0 thoughts on “How To Install Landscaping Lights”