Articles
How To Join Wood Planks With Hand Tools
Modified: December 7, 2023
Discover the art of joining wood planks with hand tools in this informative article. Learn the techniques and tools needed for seamless and sturdy results.
(Many of the links in this article redirect to a specific reviewed product. Your purchase of these products through affiliate links helps to generate commission for Storables.com, at no extra cost. Learn more)
Introduction
Woodworking projects often involve joining different pieces of wood together to create a larger structure. While there are various methods to join wood planks, one classic and satisfying approach is to use hand tools. Not only does this method allow for precise and detailed work, but it also provides a sense of accomplishment and craftsmanship.
In this article, we will guide you through the process of joining wood planks with hand tools. Whether you are a beginner or an experienced woodworker, this step-by-step guide will help you achieve strong and seamless joints.
Before we delve into the process, it’s important to note that choosing the right tools is essential for a successful project. Having well-maintained and sharp hand tools will make your work easier and produce cleaner cuts.
Key Takeaways:
- Mastering wood joinery with hand tools allows for precise, detailed, and visually appealing wood joints, providing a sense of accomplishment and craftsmanship for both beginners and experienced woodworkers.
- Attention to detail, patience, and the right tools are crucial for successful wood joinery. Properly preparing wood planks, accurate marking, precise cutting, and meticulous assembly lead to professional-quality results.
Read more: How To Carve Wood With Hand Tools
Choosing the Right Tools
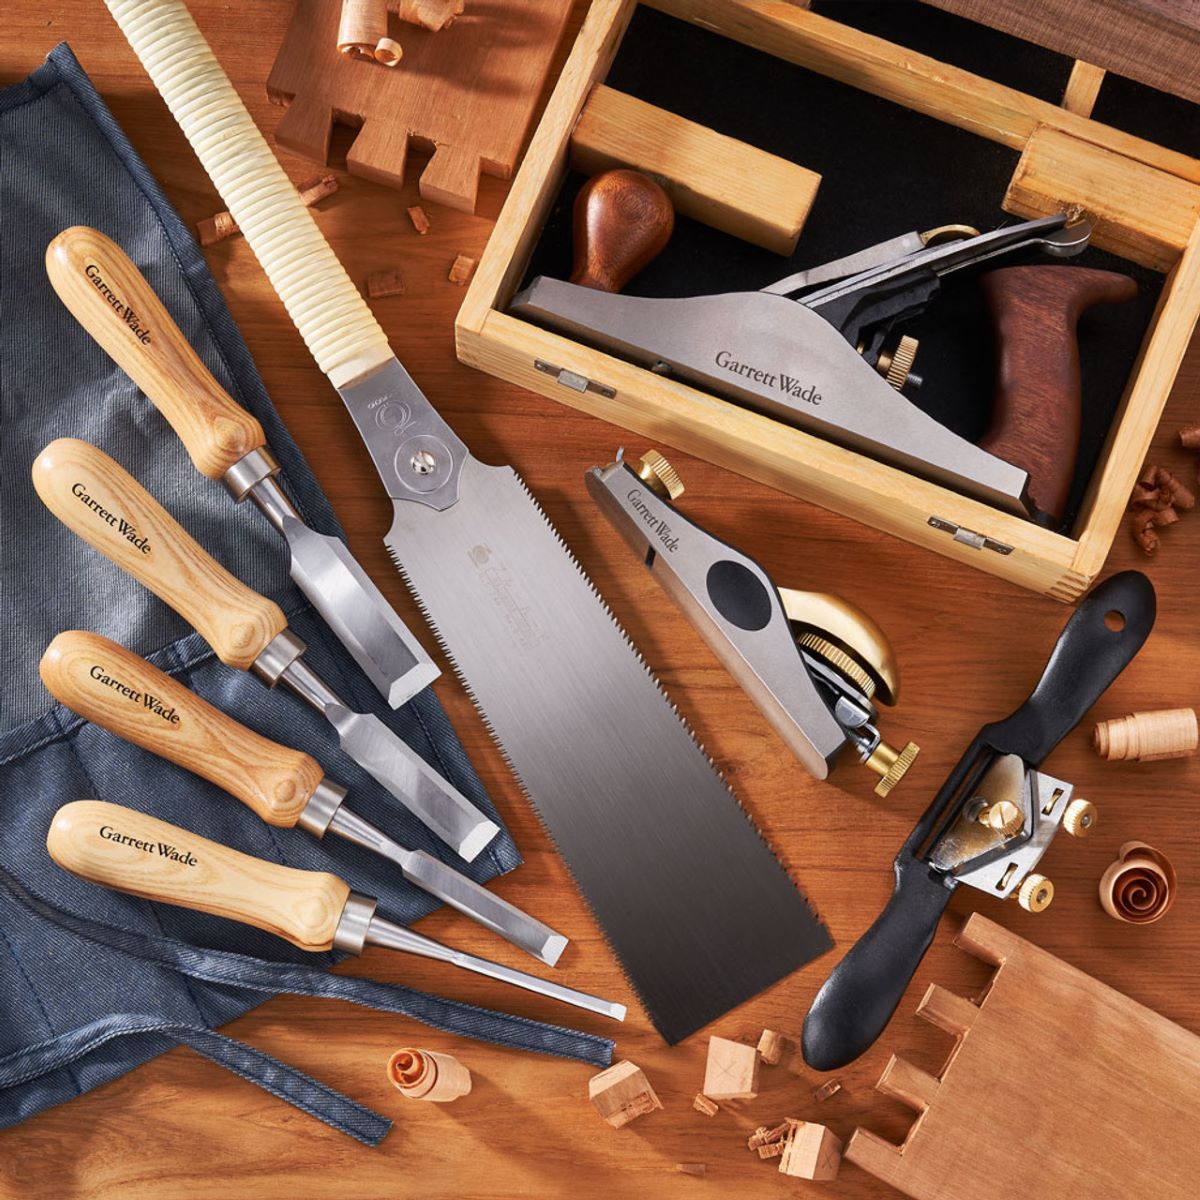
Before you begin your woodworking project, it’s crucial to have the right tools in your arsenal. Here are some essential hand tools you’ll need for joining wood planks:
- 1. Saw: A high-quality hand saw is essential for cutting precise joints. Choose a saw with fine teeth for smoother cuts.
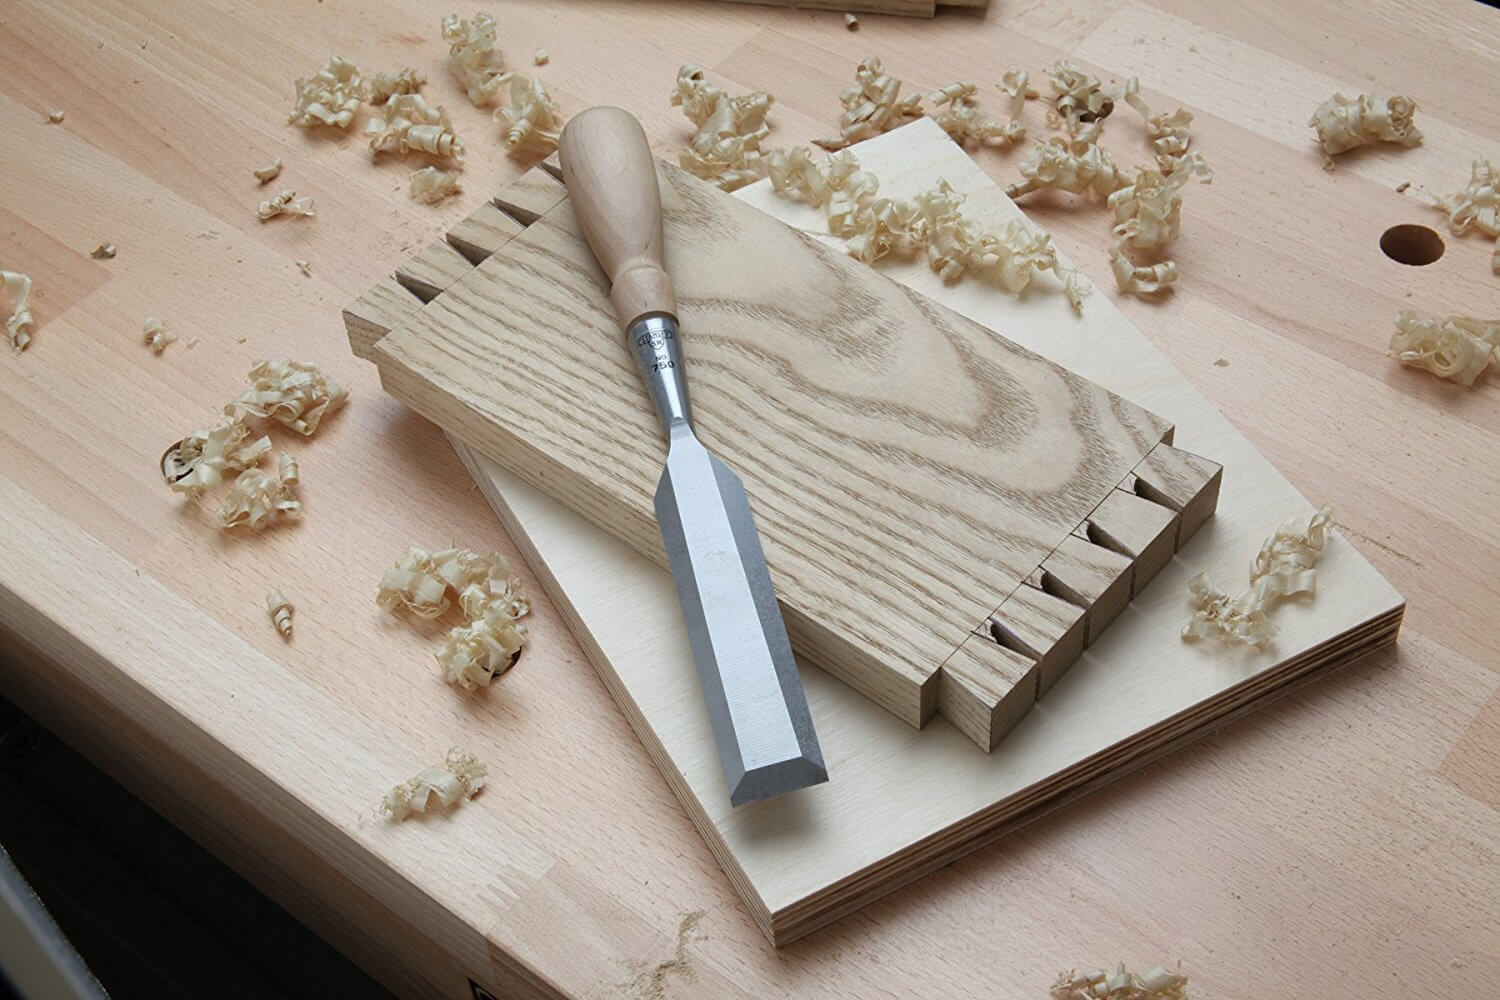
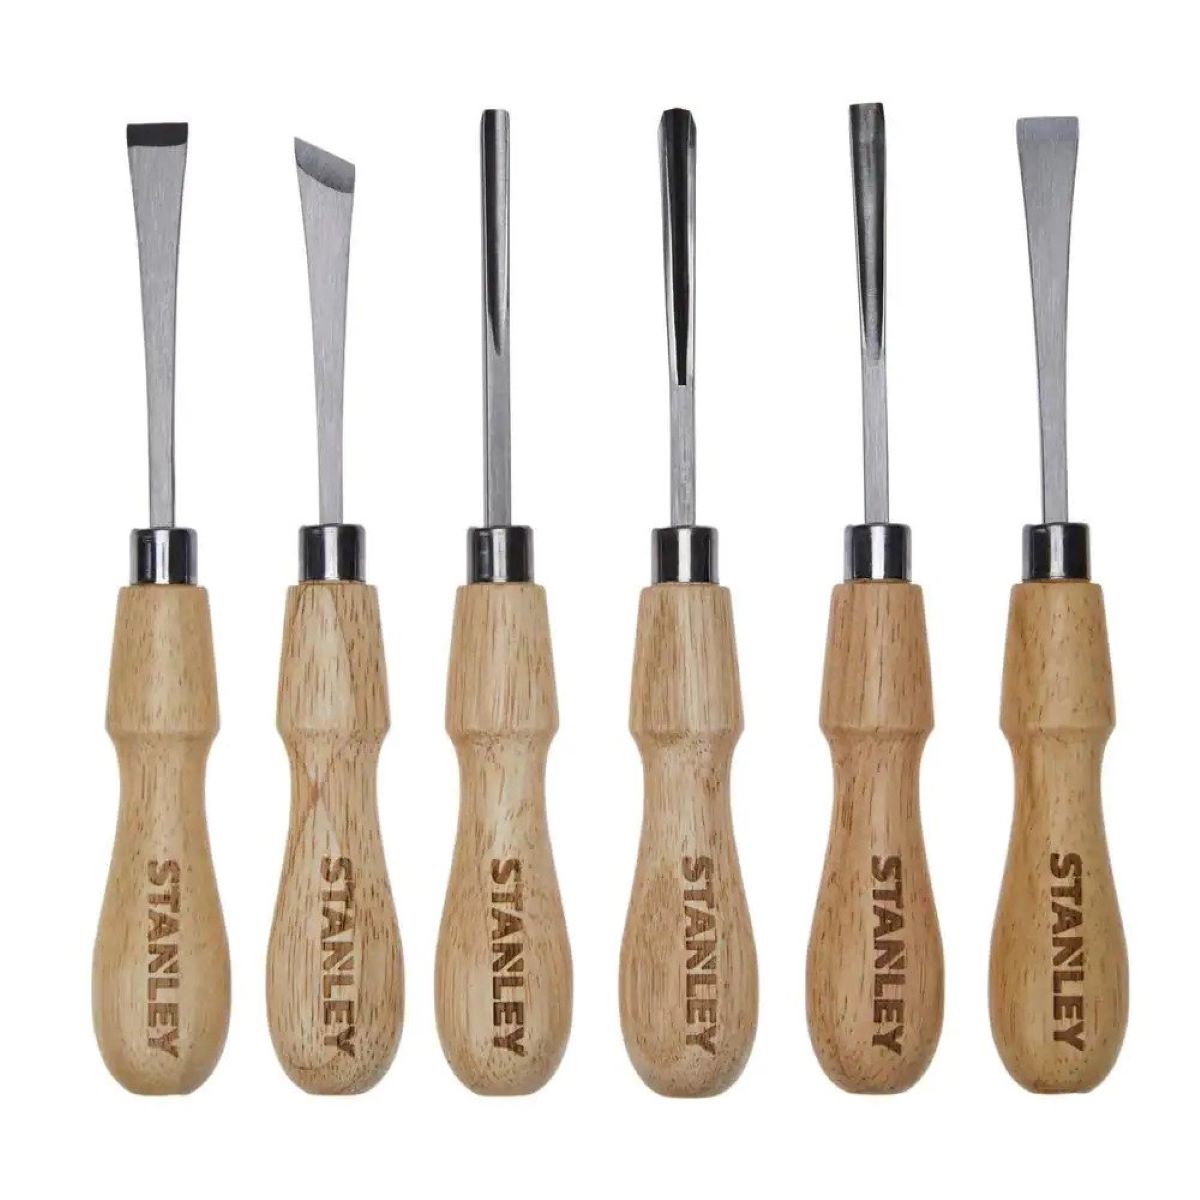
- 2. Chisels: Chisels are used to remove excess wood and create clean and precise joints. Invest in a set of different sizes to suit different joint widths.
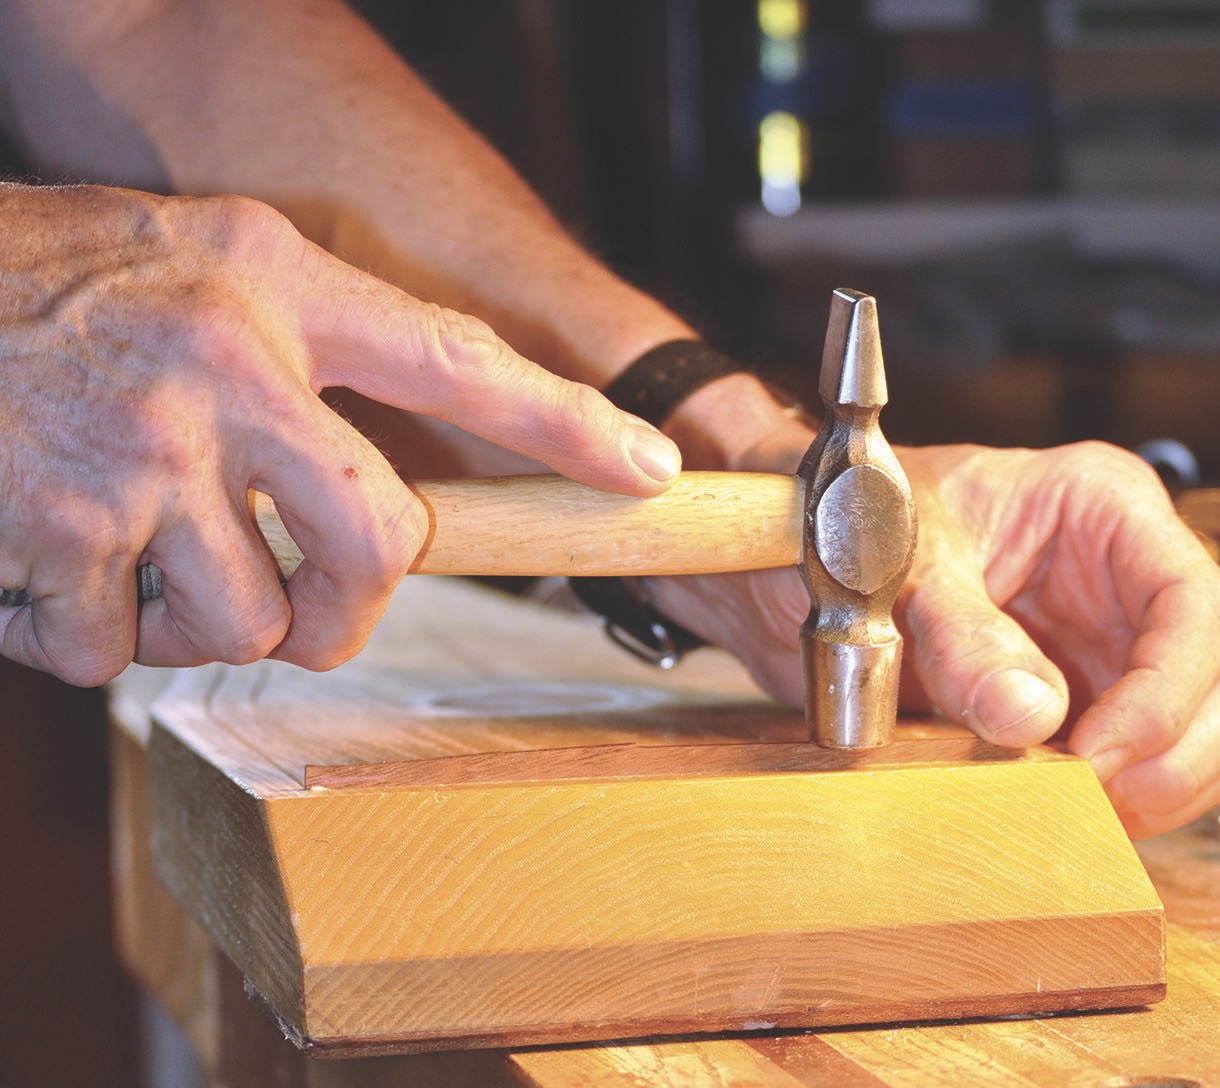
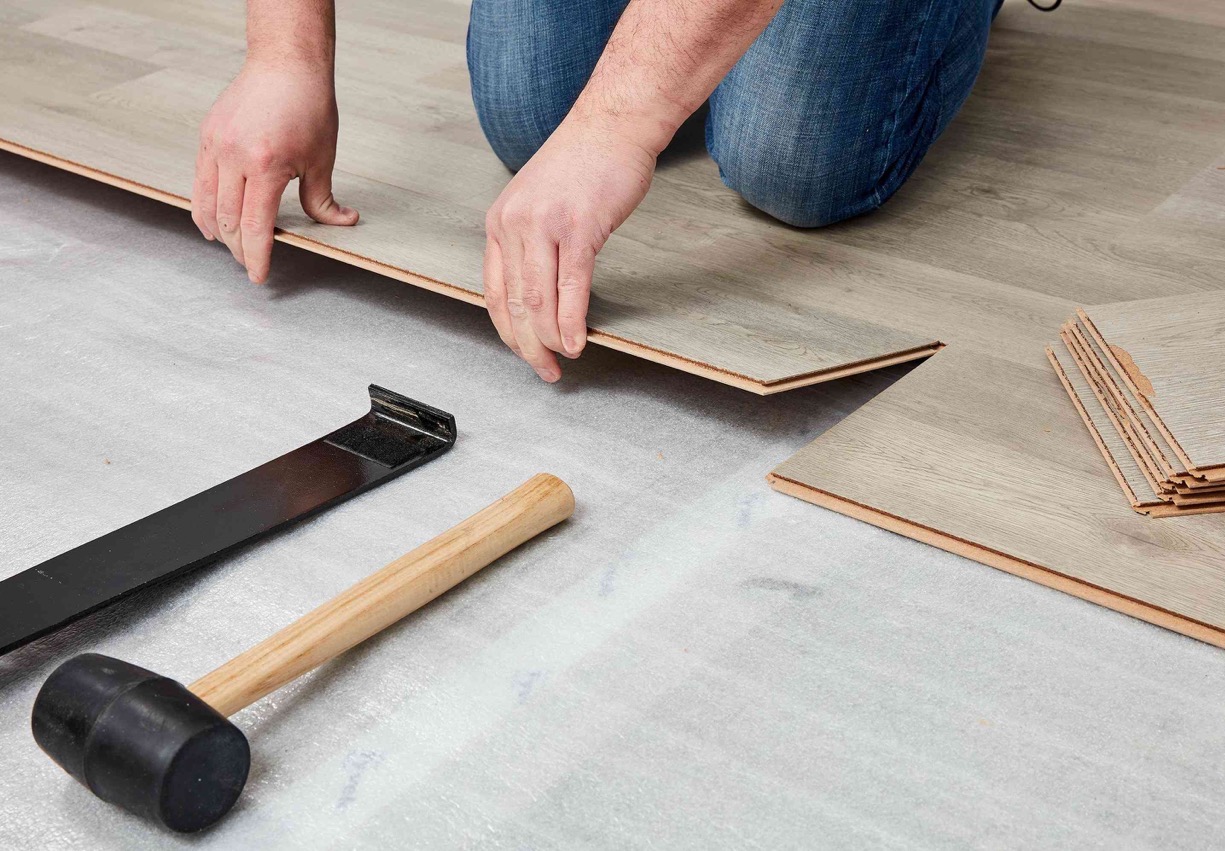
- 3. Mallet: A wooden or rubber mallet is necessary for driving chisels and achieving accurate cuts without damaging the tools.
- 4. Marking tools: Have a pencil and a marking gauge handy to mark your wood planks accurately.
- 5. Ruler or measuring tape: Accurate measurements are crucial for successful wood joinery. Ensure you have a reliable ruler or measuring tape for precise marking and cuts.
- 6. Sharpening tools: Keeping your tools sharp is essential for clean and effortless cuts. Invest in sharpening stones or a honing guide to maintain the sharpness of your saw and chisels.
- 7. Clamps: Clamps are useful for holding the wood pieces together during assembly, providing stability and ensuring a strong joint.
These are just a few of the essential hand tools you’ll need for joining wood planks. Depending on the specific joint you plan to create, you may need additional tools such as a coping saw or a router plane. Make sure to research the joint you’ll be working on to determine if any specialized tools are required.
Remember, investing in high-quality tools will not only make your woodworking experience more enjoyable, but it will also result in better quality joints and finished projects. Take the time to select tools that feel comfortable in your hands and are known for their durability and performance.
Preparing the Wood Planks
Before you begin the jointing process, it’s essential to prepare the wood planks properly. Here are the steps you should follow:
- Ensure flat and square edges: Start by selecting wood planks that have straight and flat edges. If needed, use a jointer or hand plane to flatten any uneven edges and make them square. This will ensure a tight and seamless joint.
- Smooth and clean the surfaces: Use a hand plane or sandpaper to smooth the surfaces of the wood planks. This step is crucial as any rough or uneven surfaces can affect the quality of the joint. Additionally, make sure the wood planks are free from dirt, dust, and any other debris.
- Determine the orientation: Take the time to decide on the orientation of the wood planks. Consider the grain patterns, color, and any other aesthetic factors. Additionally, make sure to account for any wood movement that might occur due to changes in humidity.
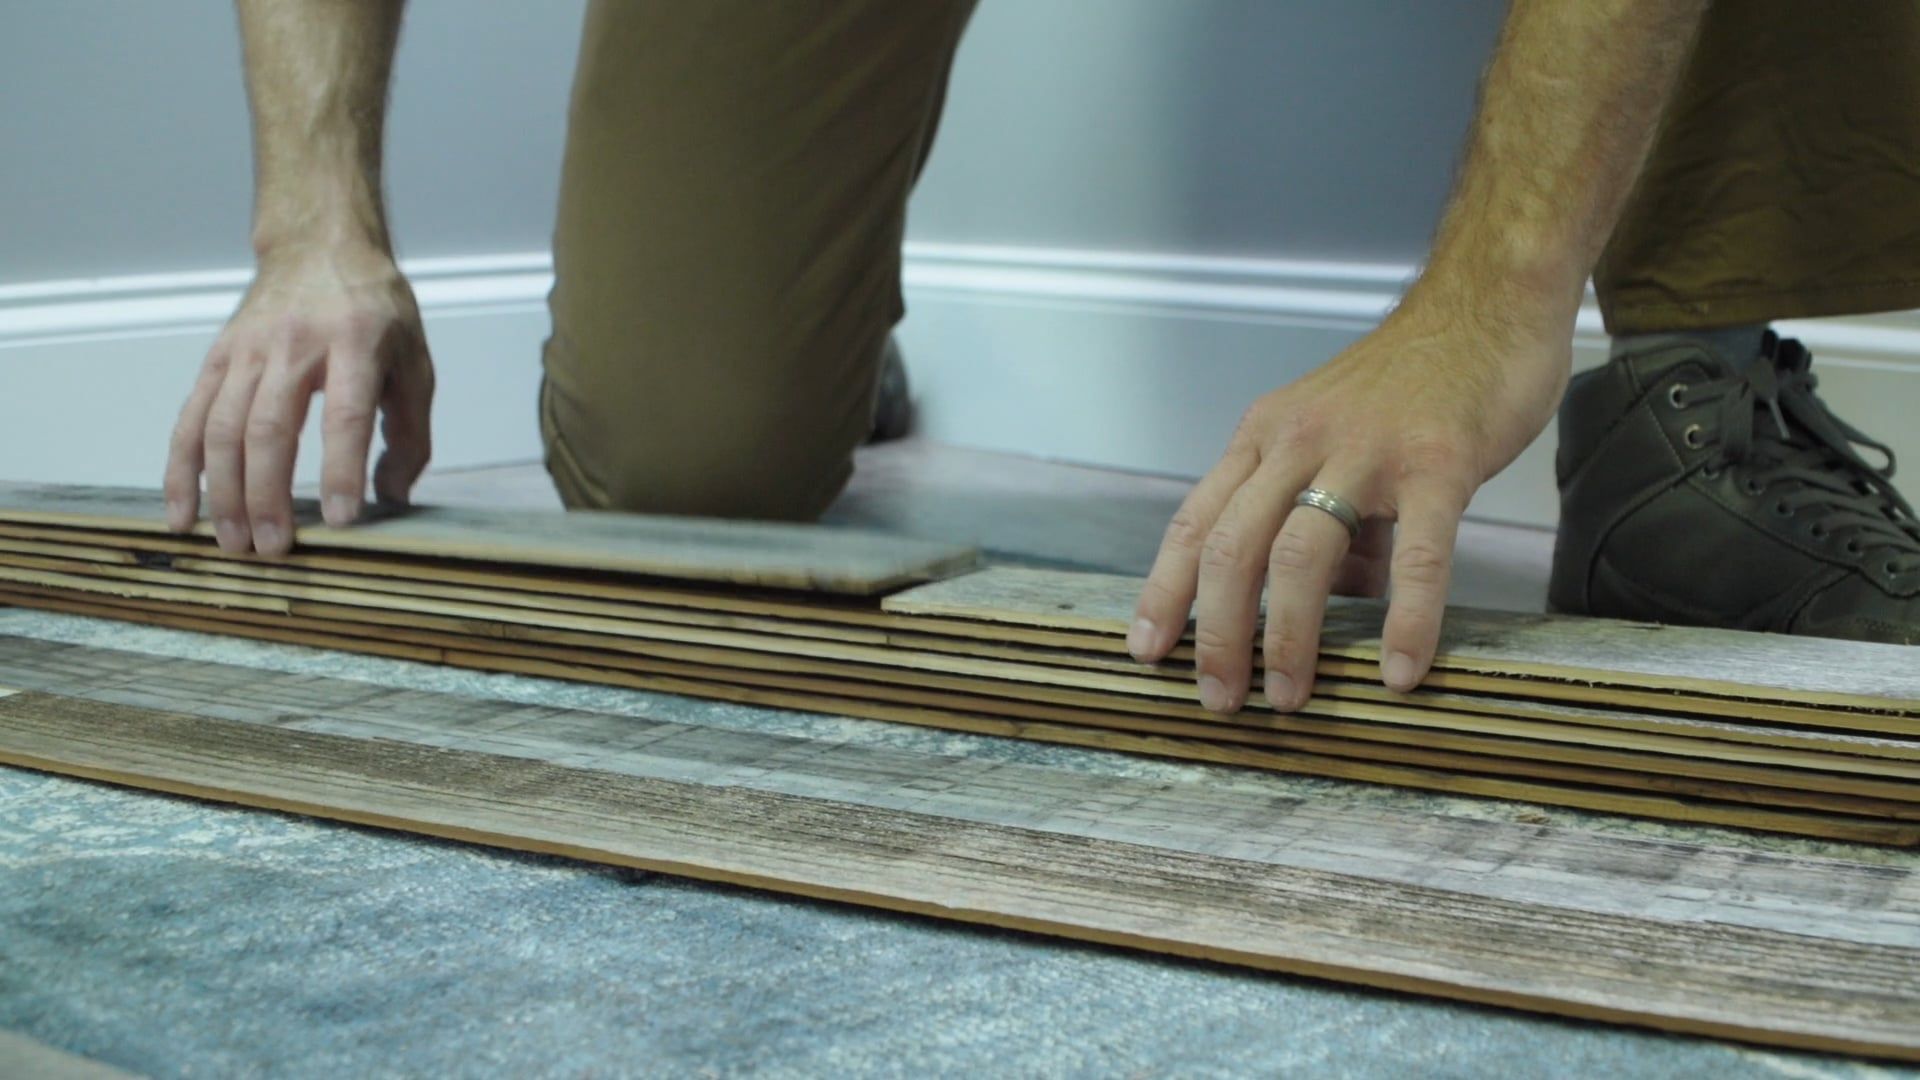
- Arrange the planks: Lay out the wood planks in the desired order and orientation for the joint. This step will help you visualize the final result and ensure that everything lines up correctly.
- Check for gaps: Examine the edges of the wood planks to ensure there are no noticeable gaps between them. If you do spot any gaps, adjust the positioning or make necessary modifications to ensure a tight joint.
By properly preparing your wood planks, you’ll create a solid foundation for a successful jointing process. Taking the time to ensure flat and square edges, smooth surfaces, and proper orientation will help you achieve a professional-looking result.
Marking the Joint
Marking the joint accurately is a crucial step in achieving a seamless and precise wood joint. The marking process helps guide your cuts and ensures a tight fit. Here’s how to mark the joint:
- Measure and mark the joint location: Use a ruler or measuring tape to measure the desired location of the joint on both wood planks. Make sure the measurements are consistent and precise.
- Mark the baseline: Decide on the type of joint you’ll be creating, such as a mortise and tenon or a dovetail joint. Based on the joint type, mark the baseline on both wood planks. The baseline serves as a reference for cutting and ensures proper alignment.
- Transfer the marking: Use a marking gauge or a pencil to transfer the marking from one wood plank to the other. This will ensure that both pieces are identical and will fit together precisely.
- Mark any additional details: Depending on the joint type, you may need to mark additional details such as the depth of the cut or the angle of the slope. Take the time to carefully mark these details to ensure a proper fit.
- Double-check the markings: Before proceeding with the cutting process, double-check your markings to ensure accuracy. Any mistakes or discrepancies at this stage can lead to a poorly fitting joint.
Remember to make your marks clearly and consistently on both wood planks. Using a sharp pencil or a marking knife can help achieve precise markings. Take your time with this step as accuracy is crucial for a successful joint.
Once the joint is accurately marked, you can proceed to the next stage of the jointing process – cutting the joint.
Cutting the Joint
Now that you have accurately marked the joint, it’s time to proceed with cutting. This step requires precision and attention to detail to ensure a tight and seamless joint. Here’s how to cut the joint:
- Select the appropriate cutting tool: Depending on the joint type and complexity, you’ll need different cutting tools. For example, a saw is commonly used to make the initial cuts, while chisels are used for removing excess material and refining the joint.
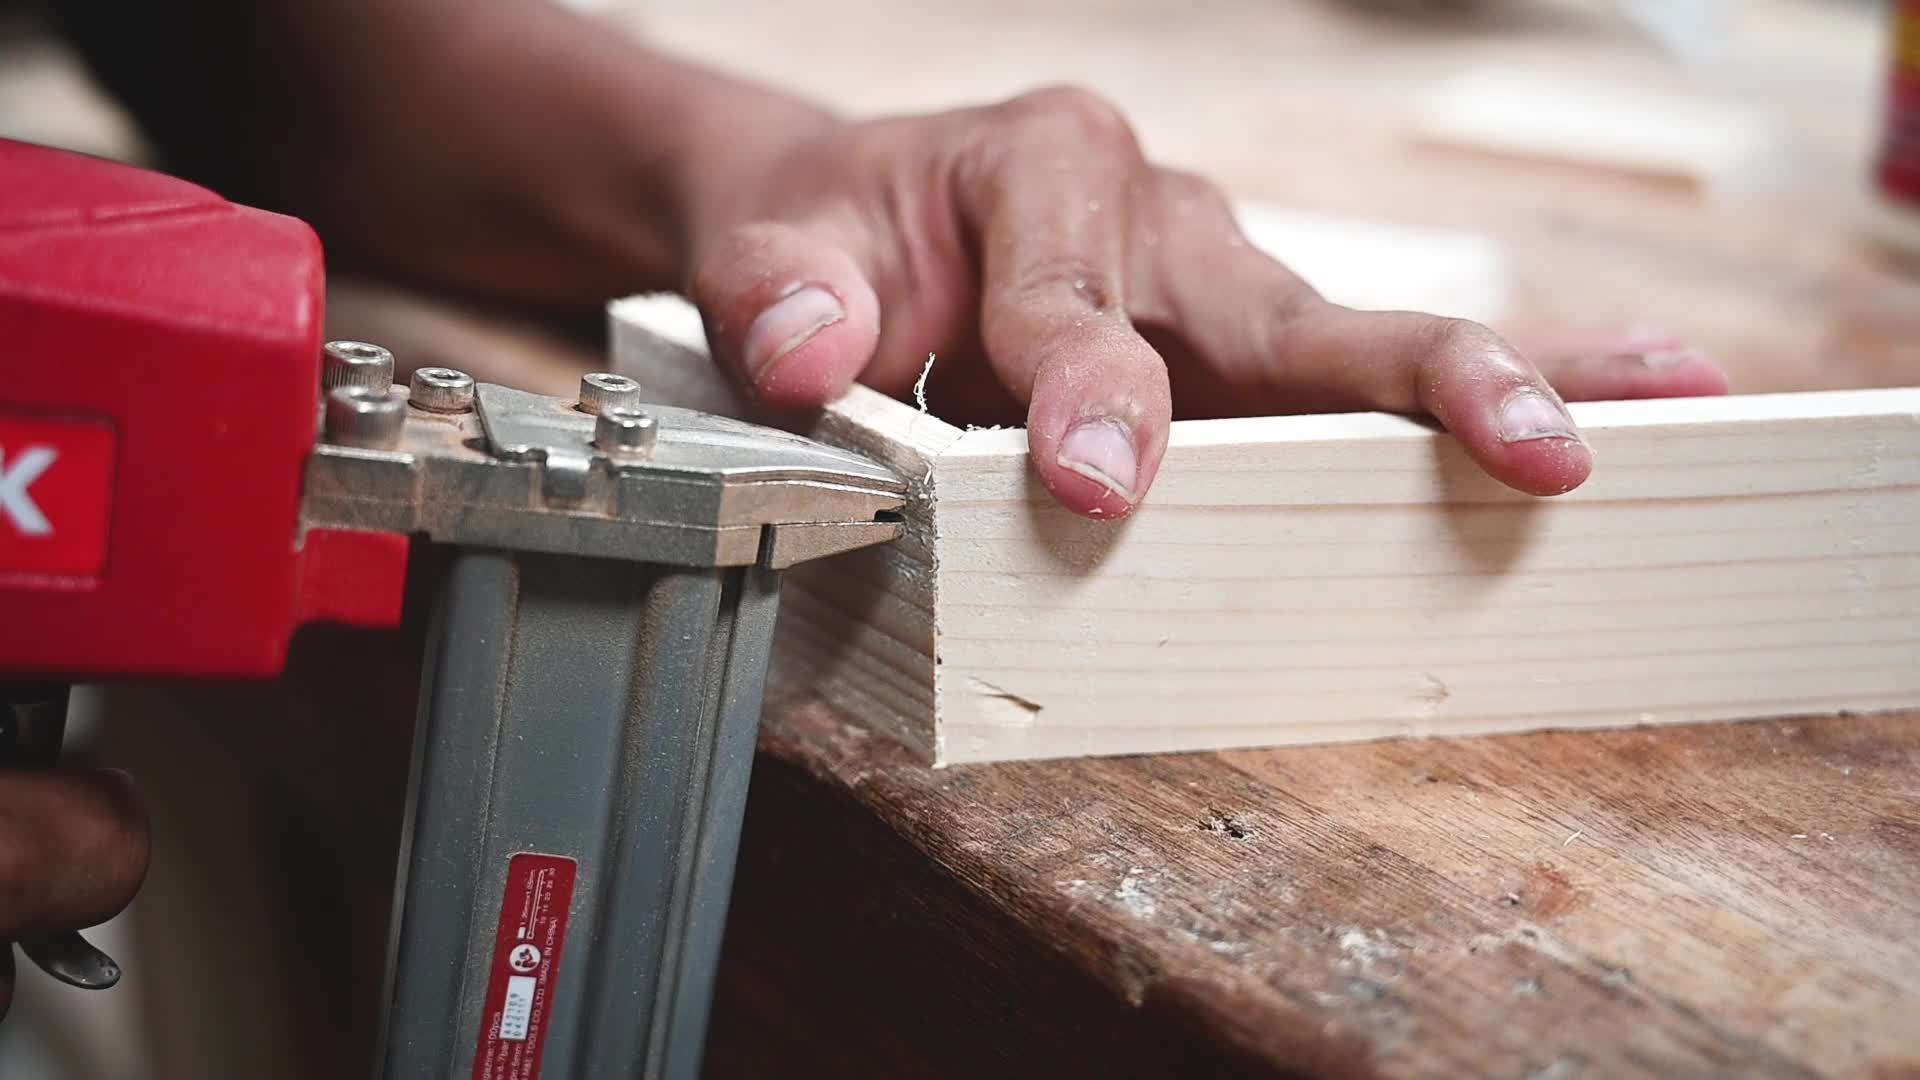
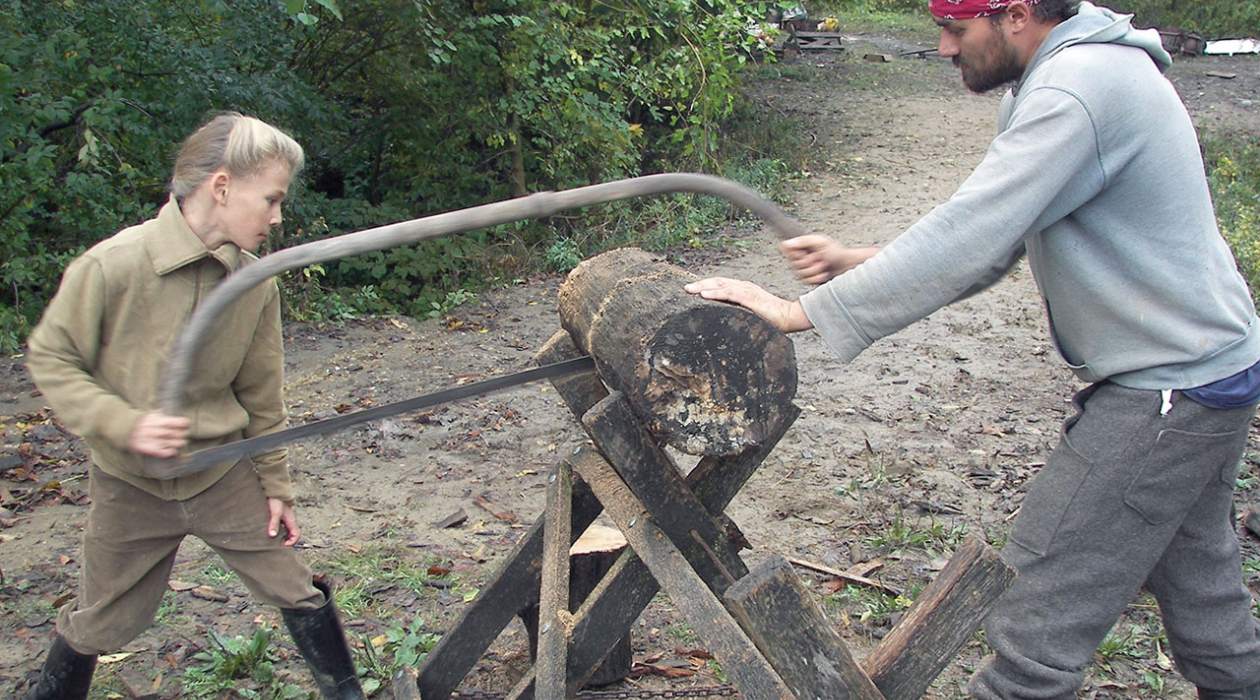
- Make the initial cuts: Use a saw to make the initial cuts along the marked baseline. Take your time and follow the line accurately to ensure straight cuts.
- Remove excess material: With the initial cuts made, use a chisel to remove the excess material. Start by creating small notches along the joint, then carefully chisel away the waste wood. Take your time and work slowly to avoid removing too much material.
- Refine the joint: Once the bulk of the waste wood is removed, use a chisel to refine the joint. This involves carefully paring and smoothing the joint surfaces to achieve a snug fit.
- Test the fit: Periodically test the fit of the joint as you work. It’s better to remove small amounts of material at a time and repeatedly check the fit rather than rushing and potentially ruining the joint.
- Make any necessary adjustments: If the joint is too tight, use a chisel or sandpaper to carefully remove material. If it’s too loose, consider adding small wedges or shims to achieve a tighter fit.
Remember to work slowly and methodically during the cutting process. Pay close attention to your cuts and make adjustments as needed. It’s better to take your time and achieve a well-fitting joint rather than rush and end up with a sloppy result.
Once you’re satisfied with the fit of the joint, move on to the next stage – preparing for assembly.
When joining wood planks with hand tools, always use a sharp chisel and a mallet to create clean and precise cuts for a tight and secure joint.
Read more: How To Install Wood Ceiling Planks
Preparing for Assembly
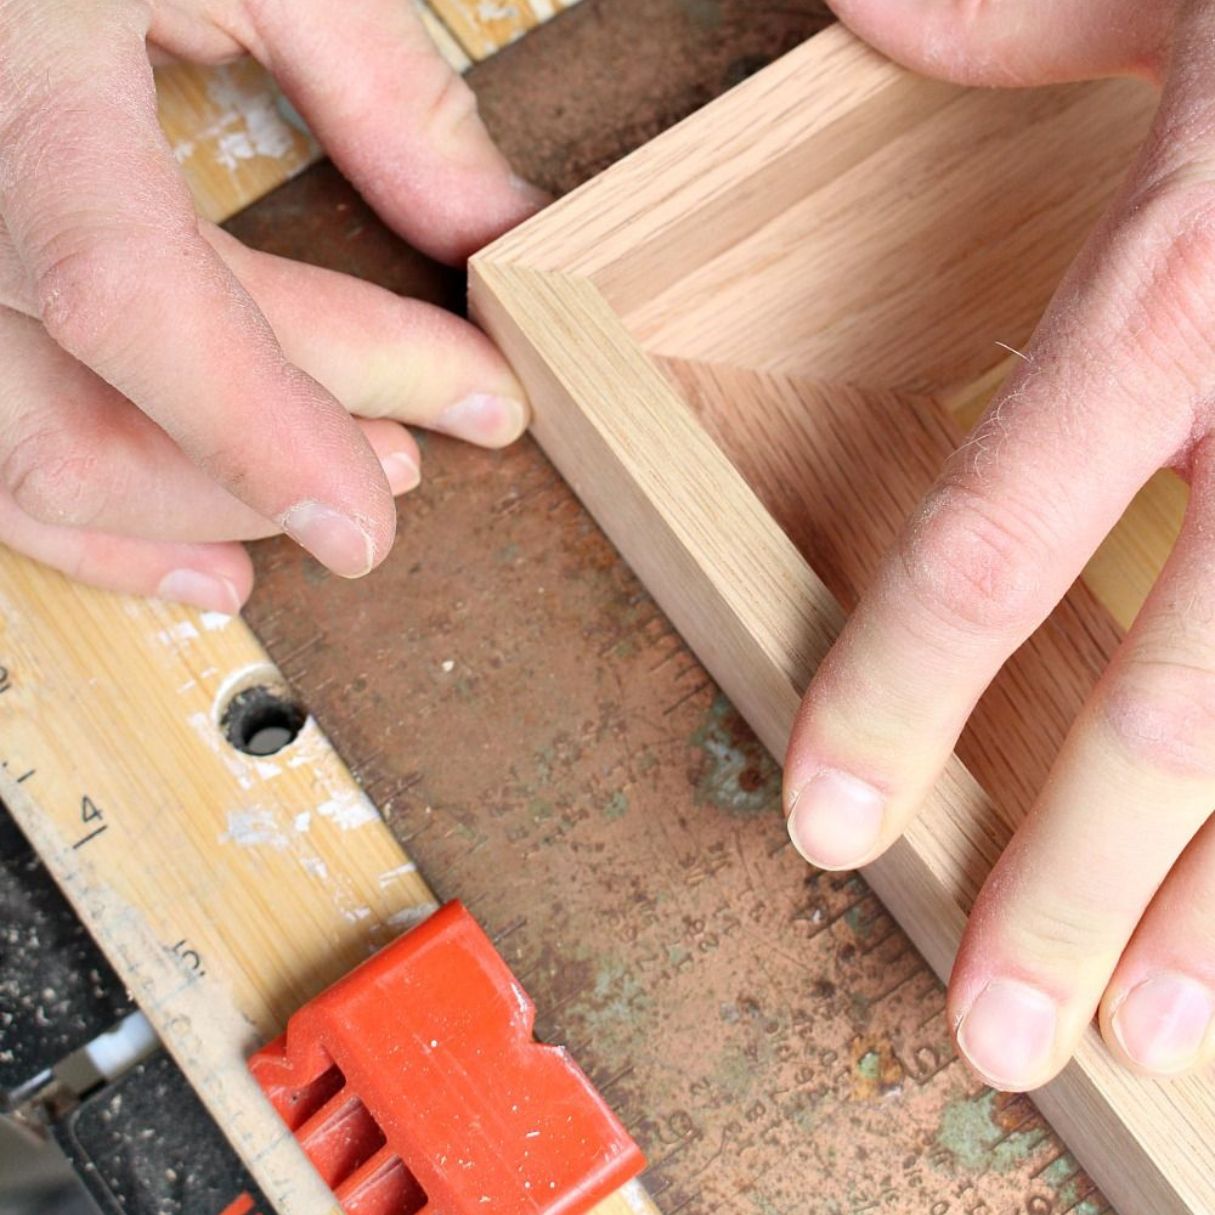
Before you can join the wood planks, it’s important to prepare them for the assembly process. This involves ensuring a seamless fit, a strong bond, and ease of assembly. Here’s how to prepare for assembly:
- Check the fit: Double-check the fit of the joint by dry-fitting the wood planks together. This will help you identify any tight spots or areas that need further adjustment before gluing and clamping.
- Sand and smooth the joint surfaces: Use sandpaper to smooth and refine the joint surfaces. This will ensure a tight and even bond between the wood planks.
- Apply glue: Once the joint surfaces are smooth, apply a thin, even layer of woodworking glue to both surfaces. Use a brush or a small stick to spread the glue evenly.
- Assemble the joint: Carefully join the wood planks together, aligning the joint precisely. Gently tap or apply pressure to ensure a tight fit. Wipe away any excess glue that may squeeze out.
- Secure with clamps: Use woodworking clamps to hold the joint together during the glue drying process. Apply even pressure to ensure a strong bond. Follow the glue manufacturer’s instructions regarding drying time.
During the assembly process, it’s essential to work quickly and confidently. Wood glue has a limited open time, so ensure that you have everything ready before applying the glue. Take care to align the wood planks accurately and apply even pressure when clamping.
Once the glue has fully cured, you can remove the clamps and move on to the next stage – adding the finishing touches to your joined wood planks.
Joining the Wood Planks
With the wood planks prepared and the joint properly assembled, it’s time to move on to the final step – joining the wood planks. This step involves refining the joint, reinforcing the connection, and ensuring a durable and long-lasting bond. Here’s how to join the wood planks:
- Remove excess glue: Once the glue has fully cured, carefully scrape or sand away any excess glue residue from the joint. This will ensure a clean and smooth finish.
- Reinforce the joint (optional): Depending on the joint type and the intended use of the wood structure, you may consider reinforcing the joint with additional methods. This can include adding wooden dowels, screws, or metal brackets for added strength.
- Refine the joint: Use a chisel, sandpaper, or a hand plane to refine the joint surfaces. Pay attention to any inconsistencies, gaps, or rough edges and work on achieving a seamless and flush joint.
- Apply a finish: Once the joint is refined and smooth, you can apply a finish to protect and enhance the wood. This can include applying varnish, stain, or wax. Follow the manufacturer’s instructions for optimal results.
As you join the wood planks, make sure to prioritize precision and attention to detail. Take the time to refine the joint and ensure it is seamless and sturdy.
Remember, the strength of the joint is crucial for the overall integrity of the wood structure. Don’t hesitate to invest additional reinforcement if required, especially for projects that will undergo heavy use or load.
Once you have completed the joining process and applied the finish, step back and admire your craftsmanship. You have successfully joined wood planks using hand tools, creating a strong and beautiful piece of woodworking.
Finishing Touches
With the wood planks successfully joined, it’s time to add those final touches that will enhance the visual appeal and durability of your project. These finishing touches will protect the wood, bring out its natural beauty, and give it a polished appearance. Here are a few options to consider:
- Sanding: After the glue has fully dried, use sandpaper to smooth any rough edges or imperfections. Start with a coarse grit and gradually work your way up to a finer grit for a smooth and polished finish.
- Stain: If you want to add color to your wood project, consider applying a wood stain. Stain enhances the natural grain and adds depth and richness to the wood. Choose a stain that complements your project and follow the manufacturer’s instructions for application and drying time.
- Varnish or sealant: To protect the wood from moisture, UV rays, and general wear and tear, apply a coat of varnish or sealant. Choose a product that is suitable for the intended use of your project, whether it’s indoors or outdoors. Apply thin, even coats and allow proper drying time between layers.
- Wax or oil: For a more natural and matte finish, you can use wax or oil. These products penetrate the wood and provide a protective layer while maintaining the wood’s natural texture and appearance. Apply the wax or oil according to the manufacturer’s instructions.
- Final inspection: After applying the finish, carefully inspect your project for any touch-ups. Look for any smudges, drips, or uneven areas and address them accordingly. A final light sanding with a fine grit sandpaper can help smooth any imperfections.
By paying attention to these finishing touches, you can elevate the overall look and durability of your wood project. The choice of finish will depend on your personal preferences, the type of wood used, and the intended use of the project.
Remember to work in a well-ventilated area when applying finishes, and follow safety precautions outlined by the product manufacturers. Enjoy the process and take pride in the finished result!
Conclusion
Joining wood planks with hand tools is a rewarding and fulfilling process that allows you to create strong and visually appealing wood joints. By following the steps outlined in this guide, you can achieve professional-quality results and showcase your craftsmanship.
Choosing the right tools, preparing the wood planks, accurately marking the joint, cutting with precision, and properly assembling the joint are all crucial steps in the process. Additionally, adding the finishing touches, such as sanding, staining, and applying protective coatings, will enhance the durability and aesthetic appeal of your wood project.
Remember that patience and attention to detail are key throughout the entire process. Take your time, double-check measurements and markings, and make adjustments as needed. Working slowly and methodically will lead to high-quality joints and a finished project that you can be proud of.
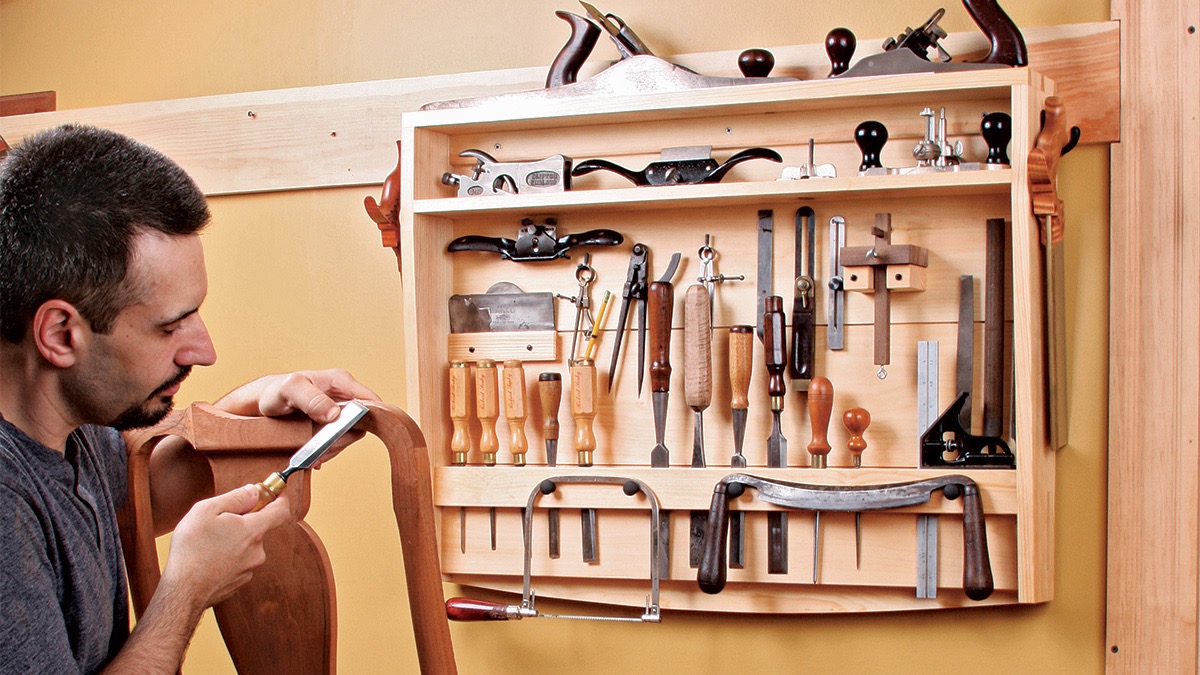
Whether you’re a beginner or an experienced woodworker, honing your skills in joining wood planks with hand tools will open up a world of possibilities for your woodworking projects. From furniture construction to cabinetry and beyond, mastering wood joinery techniques will allow you to create custom pieces that stand the test of time.
So, gather your hand tools, select your wood planks, and embark on your next woodworking adventure. Enjoy the process, embrace the craftsmanship, and let your creativity shine through as you bring your vision to life.
Frequently Asked Questions about How To Join Wood Planks With Hand Tools
Was this page helpful?
At Storables.com, we guarantee accurate and reliable information. Our content, validated by Expert Board Contributors, is crafted following stringent Editorial Policies. We're committed to providing you with well-researched, expert-backed insights for all your informational needs.


0 thoughts on “How To Join Wood Planks With Hand Tools”