Articles
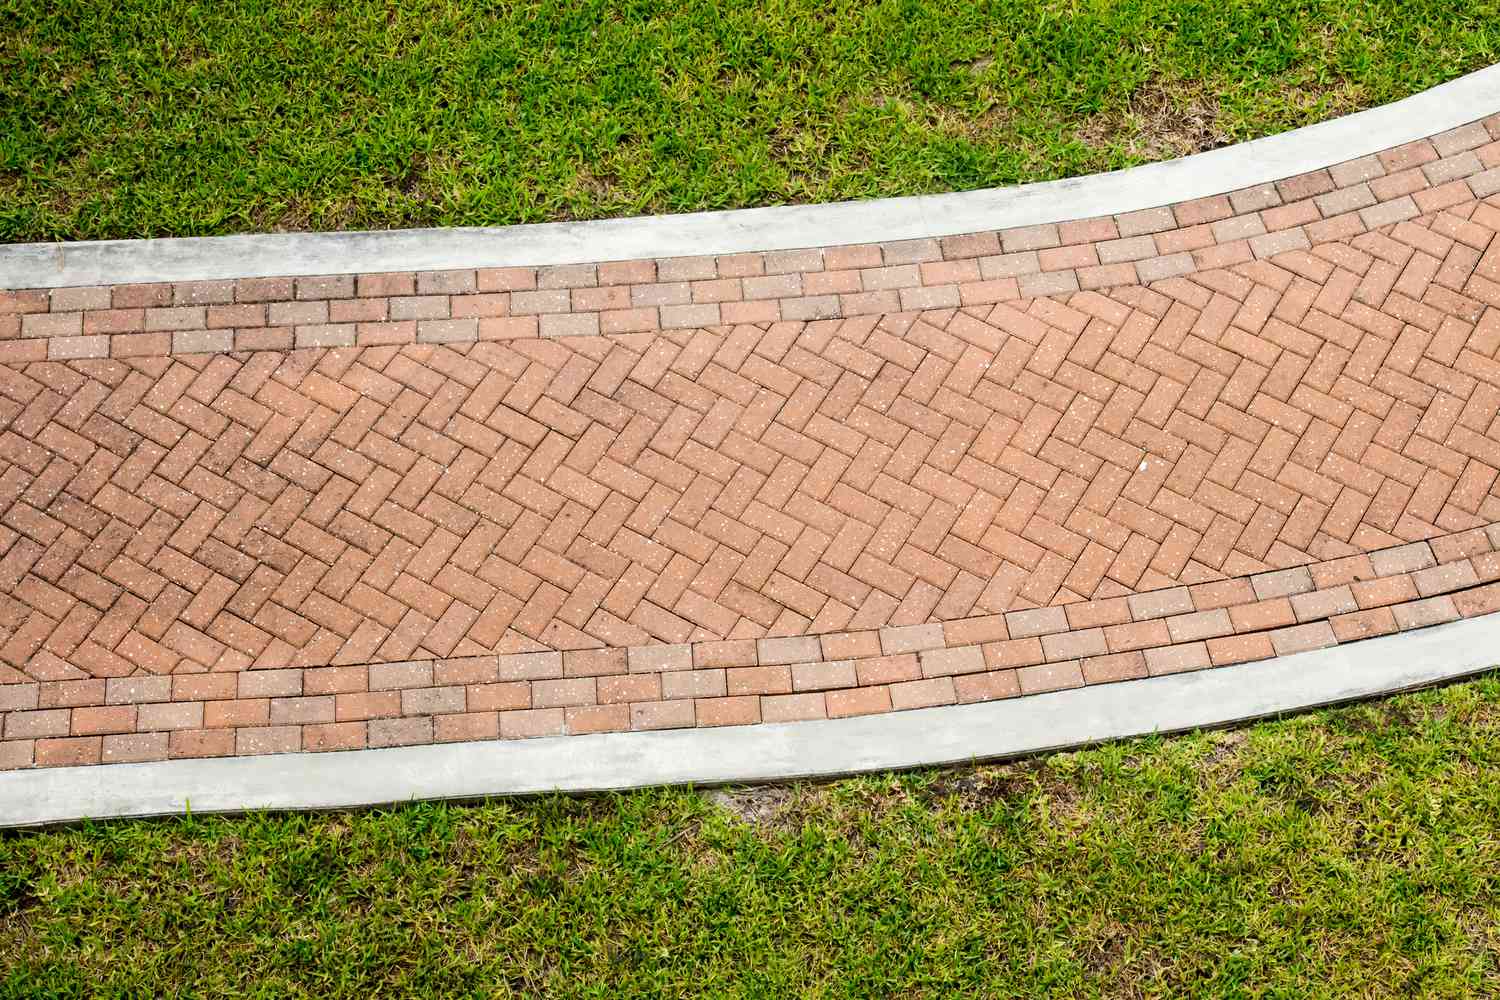
How To Repair A Brick Walkway
Modified: October 20, 2024
Learn how to repair a brick walkway with our informative articles. Get step-by-step instructions and expert tips for fixing your damaged walkway.
(Many of the links in this article redirect to a specific reviewed product. Your purchase of these products through affiliate links helps to generate commission for Storables.com, at no extra cost. Learn more)
Introduction
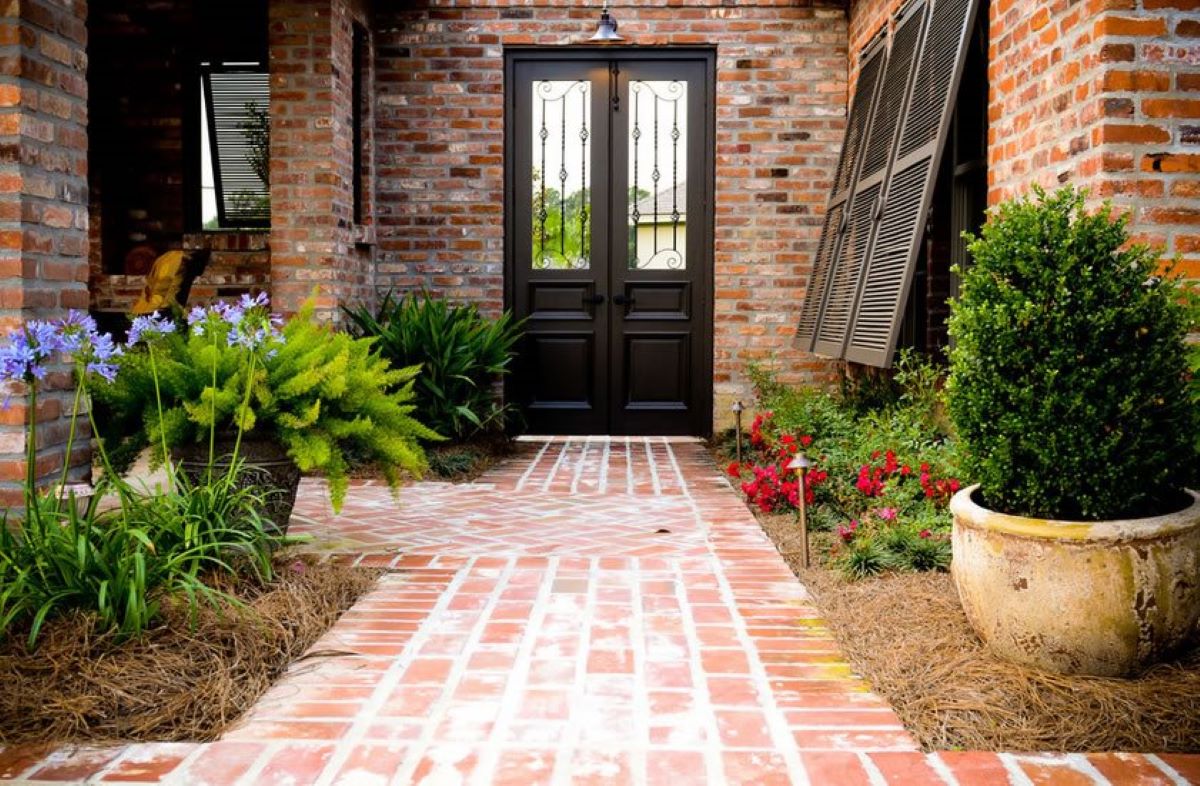
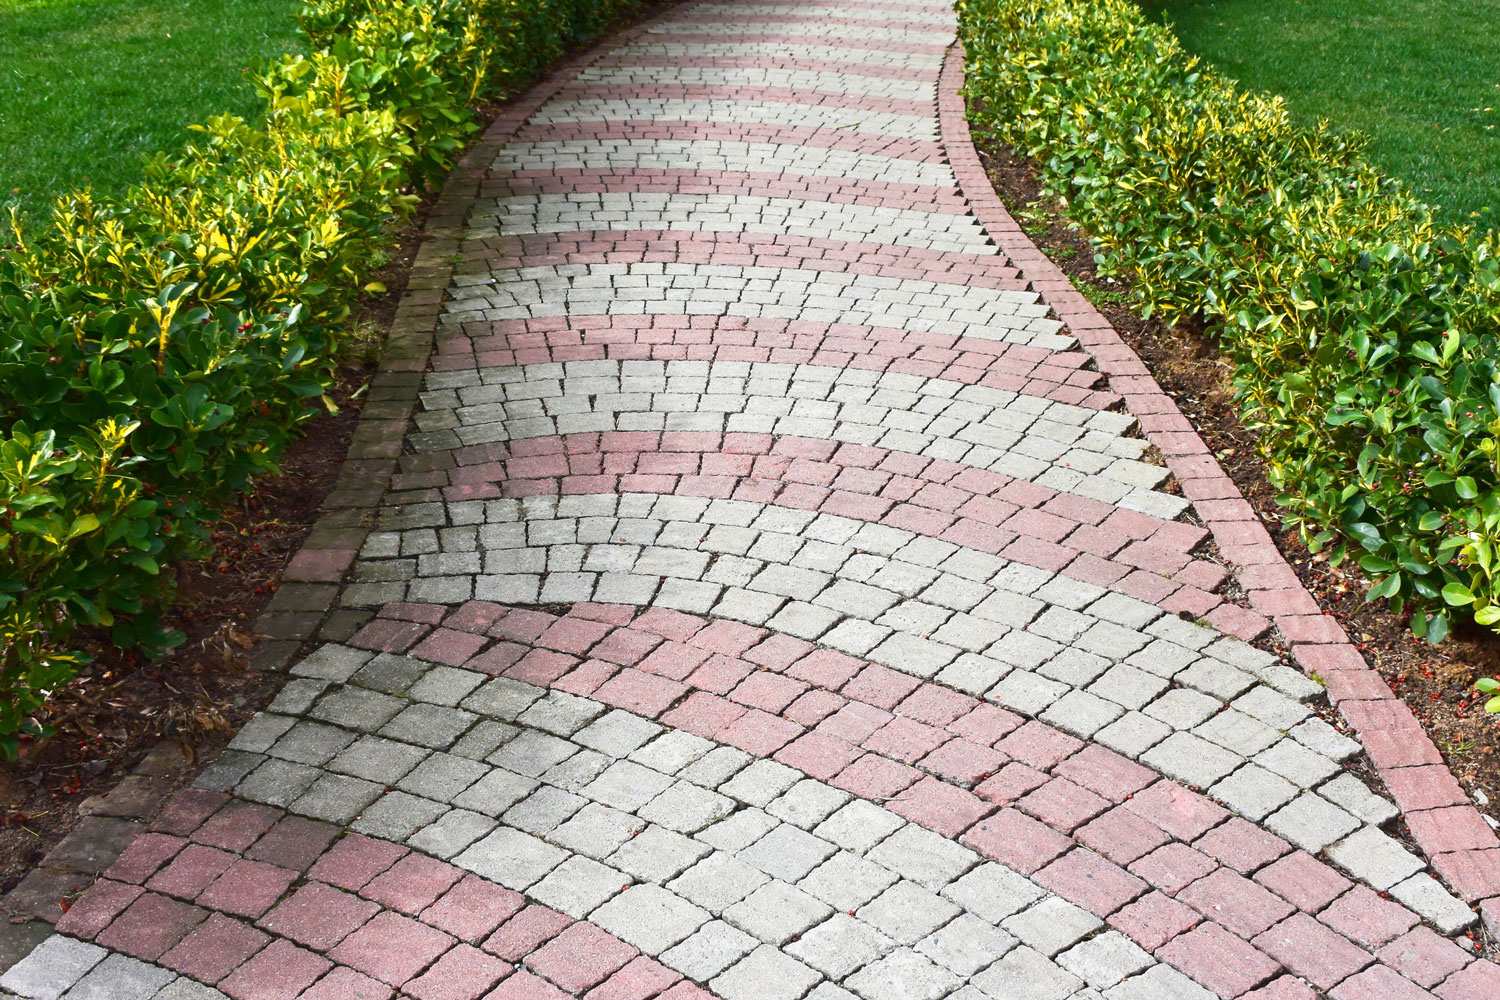
A brick walkway can add charm and character to any outdoor space. However, over time, wear and tear, weather conditions, and other factors can cause the bricks to crack, loosen or become uneven. If your brick walkway is in need of repair, don’t worry – with the right tools and materials, you can easily restore it to its former glory. In this article, we will guide you through the steps to repair a brick walkway, ensuring that it not only looks great but also maintains its durability and functionality.
Before embarking on this repair project, it’s important to assess the extent of the damage. Depending on the severity, you may need to replace a few individual bricks or undertake a more extensive repair. Having a clear understanding of the scope of the project will help you plan accordingly and ensure a successful outcome.
To complete this repair, you’ll need a few essential tools and materials. These include a masonry chisel, a mallet or hammer, a level, a trowel, a broom, a wheelbarrow, sand, and new bricks. It’s important to gather all the necessary supplies before you start the repair work to avoid any unnecessary delays.
Now, let’s dive into the step-by-step process of repairing your brick walkway to make it safe, sturdy, and visually appealing once again.
Key Takeaways:
- Properly assessing the damage, preparing the base, and meticulously installing new bricks are essential steps in repairing a brick walkway. Attention to detail and patience will result in a visually appealing and durable walkway.
- Filling the joints with mortar and adding finishing touches, such as cleaning, sealing, and landscaping, are crucial for the longevity and aesthetic appeal of a repaired brick walkway. Regular maintenance is key to preserving its condition.
Read more: How To Clean Brick Walkway
Tools and Materials Required
Before you begin repairing your brick walkway, it’s crucial to gather all the necessary tools and materials. Here’s a list of what you’ll need:
- Masonry chisel
- Mallet or hammer
- Level
- Trowel
- Broom
- Wheelbarrow
- Sand
- New bricks
The Masonry chisel is an essential tool for removing damaged bricks. It has a sharp edge that allows you to chip away at the mortar surrounding the bricks. A mallet or hammer will be needed to strike the chisel gently and safely remove the damaged bricks.
The level is necessary to ensure that the repaired walkway remains even and level. You’ll use it to check the height and alignment of the bricks as you install them.
A trowel is used to remove and replace the mortar. It’s also handy for spreading the new mortar and creating a smooth surface. A broom will help you clean the area before and after the repair work.
A wheelbarrow is useful for mixing and transporting the sand. You’ll need sand to create a stable base for the bricks and to fill the joints between them.
Finally, you’ll need new bricks to replace the damaged ones. It’s essential to select bricks that match the existing ones in terms of size, shape, and color to maintain a cohesive look.
By gathering these tools and materials before you start the repair work, you’ll save time and ensure that you have everything you need to complete the project successfully.
Step 1: Assessing the Damage
Before you begin repairing your brick walkway, it’s crucial to assess the extent of the damage. This will help you determine the scope of the repair and plan accordingly. Here’s how you can assess the damage:
1. Start by visually inspecting the entire walkway. Look for any cracked or loose bricks, uneven surfaces, or areas with missing mortar. Take note of the locations and the severity of the damage.
2. Walk along the walkway and feel for any bricks that are wobbly or sinking. This can indicate a problem with the base or foundation.
3. Use a level to check the overall slope of the walkway. It should have a slight slope away from any nearby structures to allow for proper drainage. If you notice areas with poor drainage or water pooling, it may indicate a need for additional repairs.
4. Pay attention to any signs of structural damage, such as large cracks or significant sinking. If you notice such issues, it may be best to consult a professional for further assessment and guidance.
By thoroughly assessing the damage, you’ll have a clear understanding of the work that needs to be done. This will help you plan your repairs effectively and ensure that you have all the necessary materials and tools on hand.
Keep in mind that while minor cracks or loose bricks can be repaired on your own, more extensive structural damage may require professional help. It’s important to prioritize safety and seek professional assistance when needed.
Step 2: Removing Damaged Bricks
Once you have assessed the damage and are ready to begin the repair process, the next step is to remove the damaged bricks. Here’s how you can do it:
1. Put on protective gloves and safety glasses before starting the removal process.
2. Use a masonry chisel and a mallet or hammer to carefully break away the mortar around the damaged bricks. Start by chipping away at the vertical mortar joints on either side of the brick.
3. Once the vertical mortar joints are cleared, use the chisel and hammer to carefully chip away at the horizontal mortar joints beneath the brick. Take your time to avoid damaging the surrounding bricks.
4. Once the mortar is removed, gently tap the brick from the sides with the mallet or hammer to loosen it. Take care not to hit it too hard to prevent any further damage.
5. Once the damaged brick is sufficiently loosened, carefully lift it out of place and set it aside. If the brick is broken into pieces, remove the broken fragments and discard them.
6. Repeat this process for all the damaged bricks along the walkway, ensuring that you remove all the mortar surrounding them.
7. After removing the damaged bricks, inspect the area to ensure that any loose mortar or debris is cleared away. Use a broom or brush to clean the area thoroughly.
By removing the damaged bricks, you create a clean space for the installation of new bricks. Take your time and work carefully to prevent any damage to the surrounding bricks or the walkway itself.
Keep in mind that during this step, you may come across bricks that are still in good condition. In such cases, you can carefully remove them and set them aside to be reused later during the installation process.
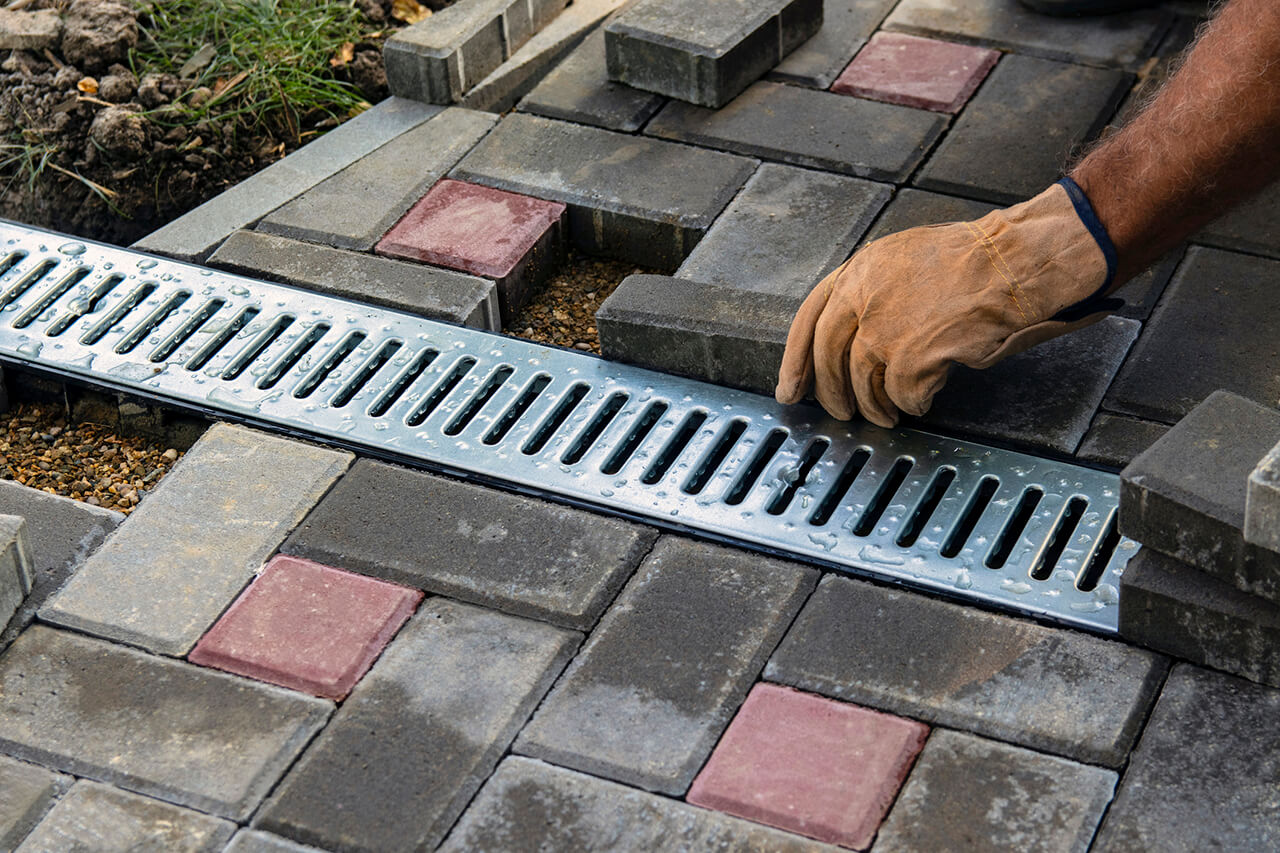
Step 3: Preparing the Base
With the damaged bricks removed, it’s time to prepare the base for the new bricks. This step is crucial to ensure a stable and long-lasting brick walkway. Follow these steps to prepare the base:
1. Begin by assessing the condition of the existing base material. If it is uneven or damaged, it may need to be removed and replaced. However, if the base is in good condition, you can proceed with the following steps.
2. Use a broom or brush to remove any debris, dirt, or loose particles from the base. Ensure that the area is clean and free from any obstructions.
3. If the base material has settled or has uneven spots, you may need to add or remove some material to achieve a level surface. Use a shovel or a rake to adjust the base as necessary.
4. Once the base is level, pour a layer of sand over it. The sand will act as a bedding material for the bricks and provide stability.
5. Use a trowel or a rake to evenly spread the sand and create a smooth surface. Ensure that the thickness of the sand layer is consistent throughout the walkway.
6. Use a level to check the slope and alignment of the sand layer. The walkway should have a slight slope away from any nearby structures to allow for proper drainage.
7. Once the sand is leveled, compact it using a tamper or a hand compactor. This will help to ensure a solid and stable base for the new bricks.
By properly preparing the base, you create a solid foundation for the new bricks. This will help prevent future shifting and settling, ensuring the longevity of your repaired brick walkway.
Take your time during this step to ensure that the base is level and compacted correctly. A well-prepared base is vital for a successful repair and will contribute to a visually appealing and functional walkway.
Use a chisel and hammer to remove damaged bricks. Clean the area, apply mortar, and place new bricks. Use a level to ensure they are even.
Read more: How To Fix Loose Brick Walkway
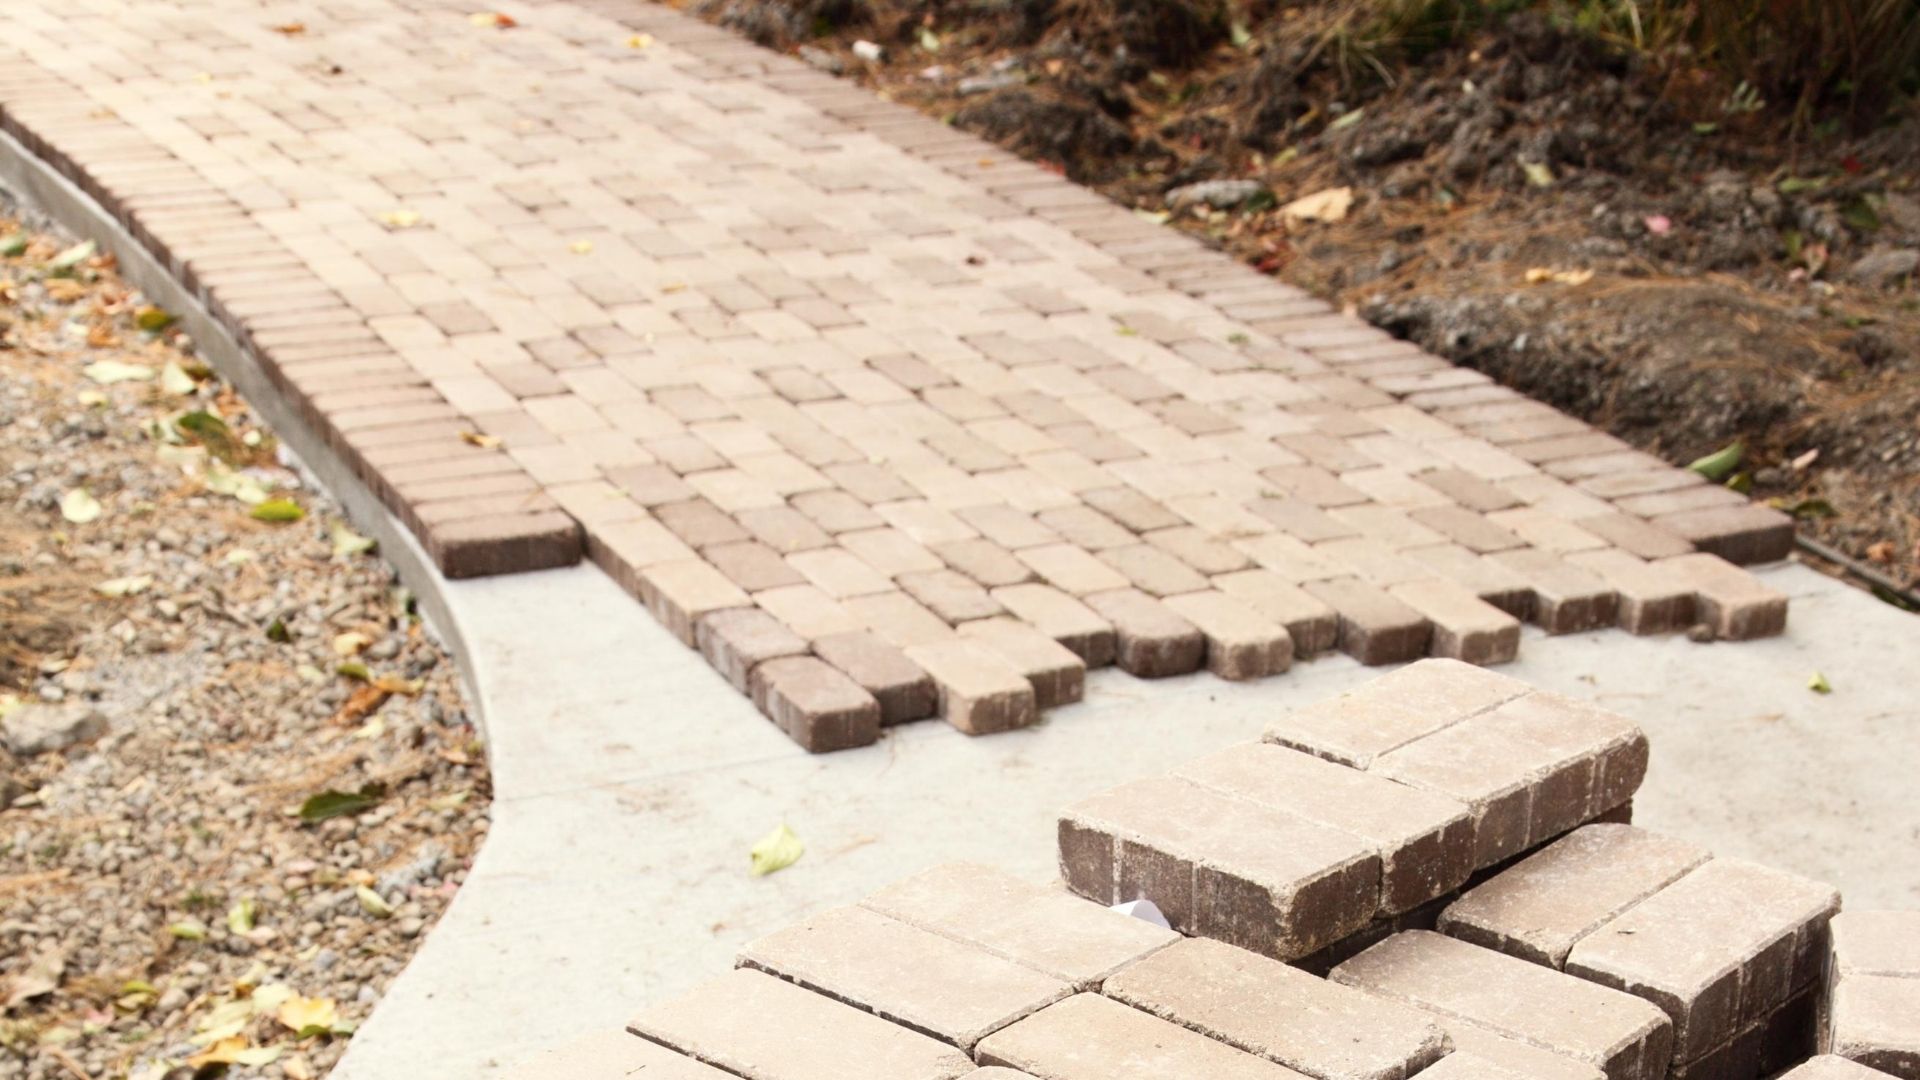
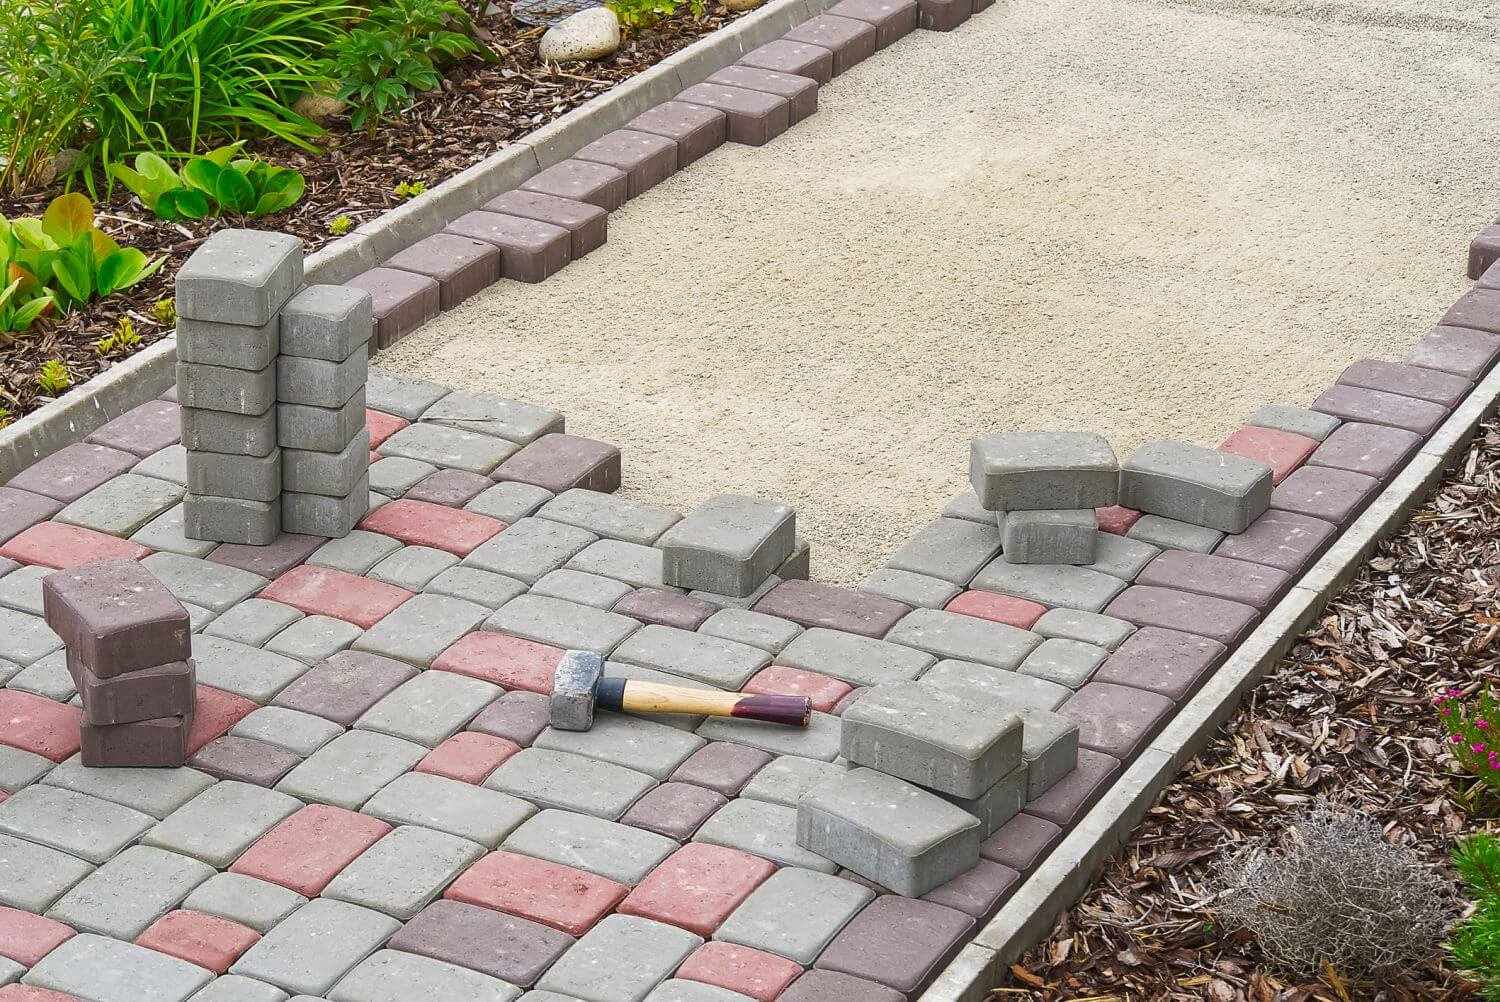
Step 4: Installing New Bricks
Now that the base is prepared, it’s time to install the new bricks and start rebuilding your walkway. Follow these steps to properly install the new bricks:
1. Start by placing a thin layer of sand on top of the prepared base. This will help create a level surface for the bricks to sit on, as well as provide a cushioning effect.
2. Carefully place the first brick at one end of the walkway, ensuring that it is aligned with the surrounding bricks. Tap it gently with a rubber mallet or hammer to set it in place.
3. Use a level to check the height and alignment of the brick. Adjust the sand bed if needed to achieve a level surface. It’s important to take your time during this step to ensure the bricks are properly aligned and even.
4. Continue placing the remaining bricks one by one, working your way along the walkway. Leave a small and uniform gap between each brick to allow for proper expansion and contraction.
5. As you go, periodically check the level and alignment of the bricks to ensure consistency throughout the walkway. Make adjustments as needed.
6. If necessary, cut bricks to fit into the desired spaces. This can be done using a masonry saw or chisel. Exercise caution and wear appropriate protective gear when cutting bricks.
7. Once all the new bricks are in place, tap them down gently with a mallet or hammer to ensure they are firmly set in the sand bed.
8. Use a broom or brush to sweep off any excess sand from the surface of the bricks. This will help achieve a clean and finished look.
By methodically installing the new bricks, you’ll be able to rebuild your walkway with precision and care. Take the time to ensure proper alignment, spacing, and levelness, as these are crucial factors for the finished appearance and functionality of the walkway.
After completing this step, your walkway will begin to take shape, and you’ll be able to see the results of your repair efforts.
Step 5: Filling the Joints
After installing the new bricks, it’s time to fill the joints between them. Properly filling the joints will not only enhance the stability and longevity of the walkway but also contribute to its aesthetic appeal. Follow these steps to fill the joints:
1. Start by preparing the mortar mix according to the manufacturer’s instructions. Typically, you’ll need to mix mortar with water in a wheelbarrow or a bucket until you achieve a thick and workable consistency.
2. Using a trowel, scoop a generous amount of mortar onto the walkway and apply it to the joints between the bricks. Work in small sections to prevent the mortar from drying too quickly.
3. Use the edge of the trowel or a pointing tool to push the mortar into the joints firmly. Ensure that the mortar fills the gaps completely and is level with the top surface of the bricks.
4. As you go, smooth the mortar joints with the edge of the trowel to create a clean and finished look. Remove any excess mortar from the surface of the bricks using the trowel or a brush.
5. Repeat this process for all the joints along the walkway, ensuring a consistent and even fill.
6. Allow the mortar to dry and set according to the manufacturer’s instructions. This typically takes about 24 to 48 hours. During this time, avoid walking on the repaired areas to prevent any disturbance to the mortar.
7. Once the mortar has dried, use a brush or broom to sweep away any remaining residue or loose mortar from the surface of the bricks.
By properly filling the joints, you are reinforcing the structure of the walkway and preventing water penetration and weed growth. Additionally, the filled joints add visual appeal and give a polished look to your repaired brick walkway.
Take your time during this step to ensure that the mortar is applied smoothly and uniformly, creating a seamless and durable joint fill.
Step 6: Finishing Touches
With the major repair work complete, it’s time to add the finishing touches to your brick walkway. These final steps will help ensure the longevity and visual appeal of the repaired area. Follow these steps for the finishing touches:
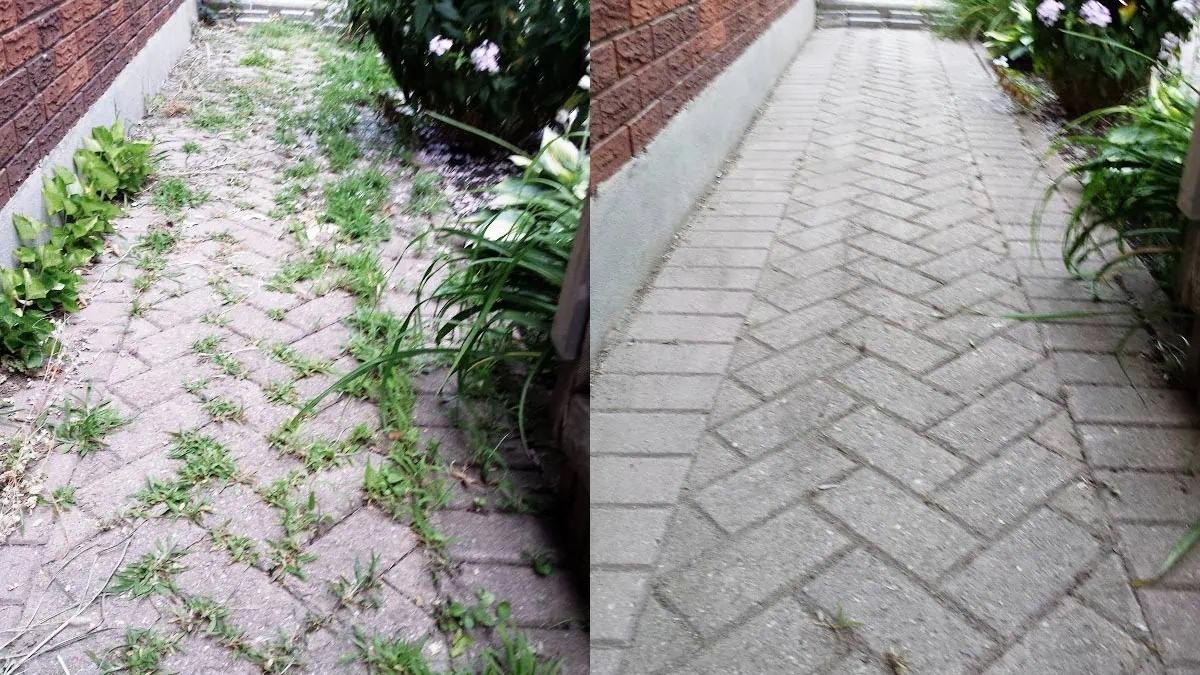
1. Clean the surface of the brick walkway thoroughly using a broom, brush, or pressure washer. This will remove any dirt, debris, or leftover mortar from the surface.
2. Inspect the joints to ensure they are fully filled and no gaps or cracks are visible. If needed, touch up any areas with additional mortar to create a seamless and even look.
3. Apply a sealant or brick paver sealer to protect the bricks from moisture, stains, and fading. Follow the manufacturer’s instructions for proper application and allow the sealer to dry completely.
4. Consider adding a layer of sand or polymeric sand over the surface of the bricks and sweeping it into the joints. This will help further stabilize the bricks and prevent weed growth.
5. Take the opportunity to enhance the overall look of your walkway by adding decorative elements or landscaping features around the area. This can include adding potted plants, installing landscape lighting, or creating a border with stones or edging.
6. Regularly check and maintain your brick walkway by removing any weeds, repairing any minor damages, and keeping the surface clean and free from debris.
By paying attention to these finishing touches, you’ll not only ensure the longevity and functionality of your repaired brick walkway but also create a visually pleasing outdoor space that enhances the overall appeal of your home.
Remember to maintain your walkway regularly to preserve its beauty and to address any issues promptly to prevent further damage.
Conclusion
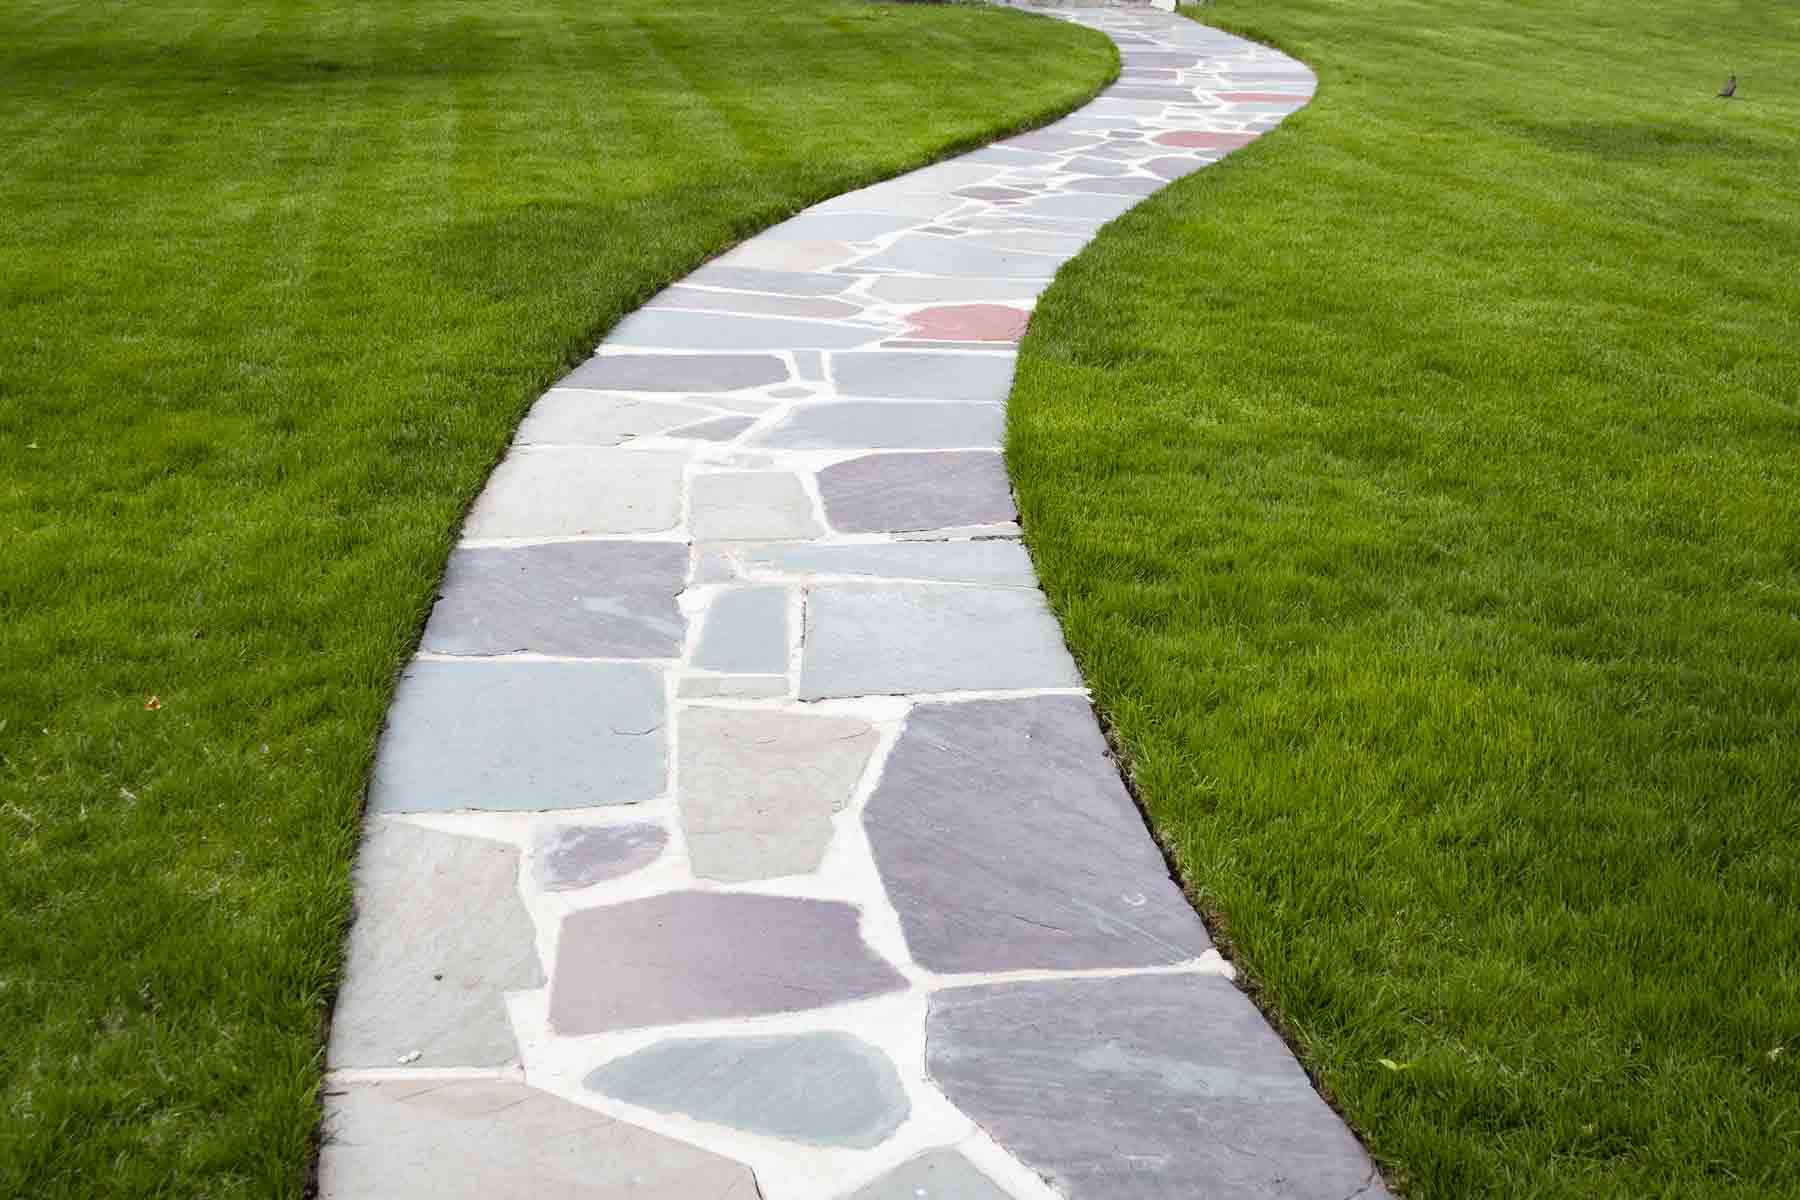
Repairing a brick walkway may seem like a daunting task, but with the right tools, materials, and step-by-step guidance, it can be a rewarding and achievable project. By following the steps outlined in this article, you can successfully restore your brick walkway to its former glory, ensuring its durability, functionality, and visual appeal.
Assessing the damage, removing the damaged bricks, preparing the base, installing new bricks, filling the joints, and adding the finishing touches are all crucial steps in the repair process. Taking the time to properly execute each step will help create a walkway that stands the test of time.
Remember to prioritize safety throughout the process by wearing protective gear and exercising caution when working with tools or lifting heavy materials. If you encounter any extensive structural damage or feel overwhelmed, it is always a good idea to consult a professional for assistance.
Once your brick walkway is repaired, regular maintenance is key to preserving its condition. Keep the walkway clean, remove any weeds or debris promptly, and address any minor damages before they escalate.
With proper care and maintenance, your repaired brick walkway will not only enhance the aesthetics of your outdoor space but also provide a safe and functional pathway for years to come.
So roll up your sleeves, gather your tools, and embark on the journey of repairing your brick walkway. Enjoy the satisfaction of bringing new life to your outdoor space and creating a beautiful and inviting walkway that will be enjoyed by all who visit.
Frequently Asked Questions about How To Repair A Brick Walkway
Was this page helpful?
At Storables.com, we guarantee accurate and reliable information. Our content, validated by Expert Board Contributors, is crafted following stringent Editorial Policies. We're committed to providing you with well-researched, expert-backed insights for all your informational needs.


0 thoughts on “How To Repair A Brick Walkway”