Articles
How To Make A Wearable Blanket
Modified: December 21, 2023
Learn how to make a cozy and stylish wearable blanket with our informative articles. Stay warm and comfortable all winter long. Step-by-step instructions and helpful tips.
(Many of the links in this article redirect to a specific reviewed product. Your purchase of these products through affiliate links helps to generate commission for Storables.com, at no extra cost. Learn more)
Introduction
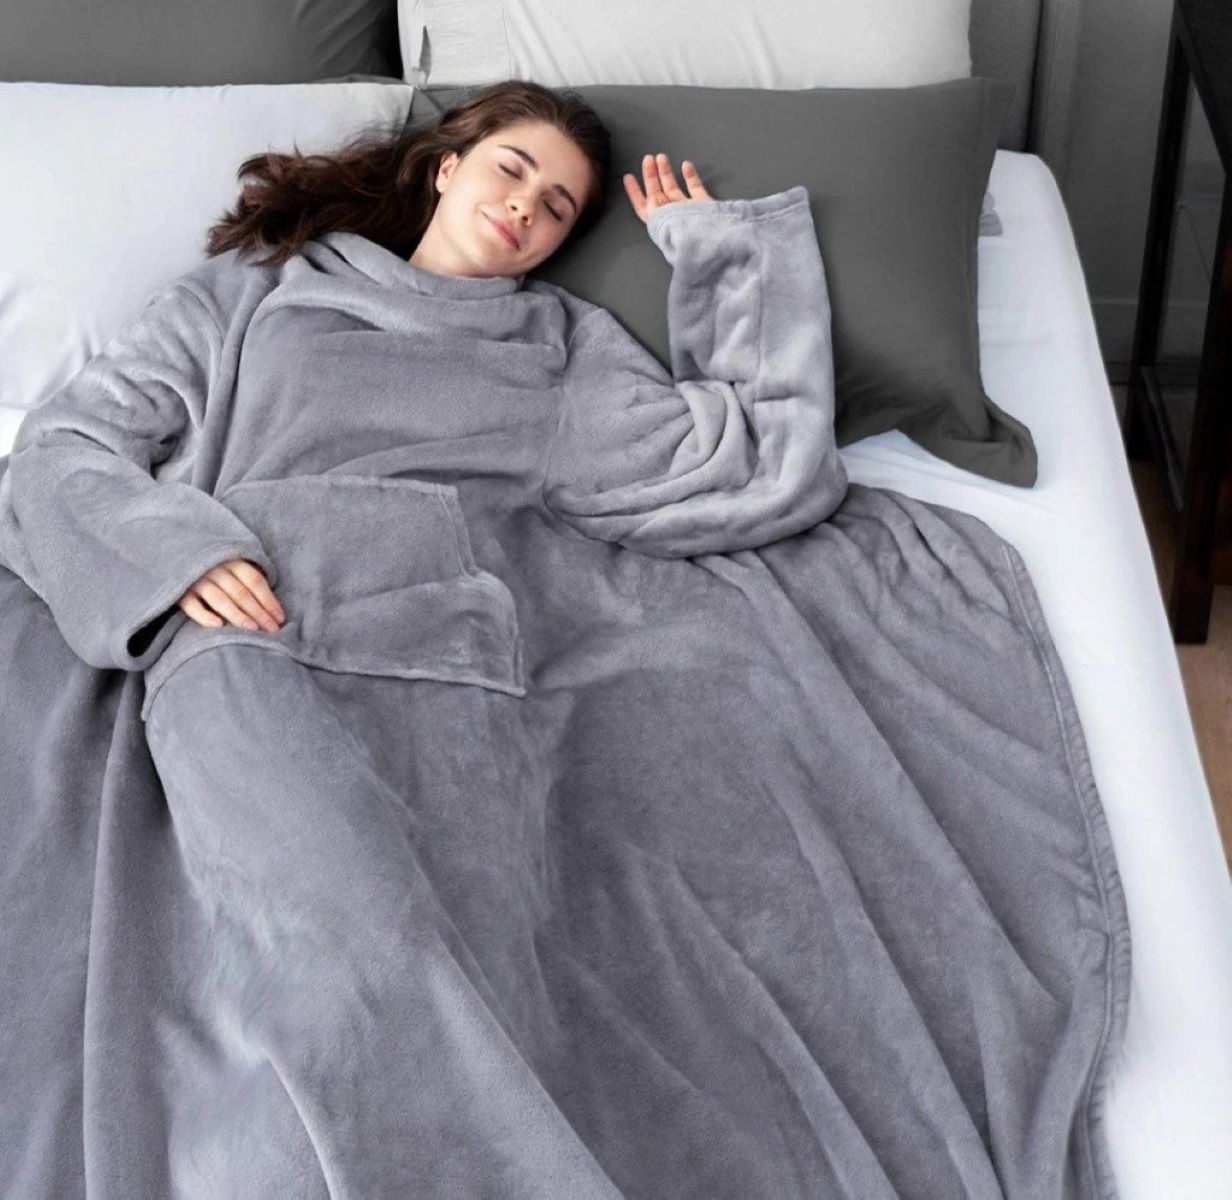
Welcome to the world of cozy comfort and practicality – the wearable blanket, also known as a "snuggie" or "blanket with sleeves." This ingenious creation combines the warmth and comfort of a traditional blanket with the convenience of being able to wear it like a garment. Whether you're lounging on the couch, reading a book, or enjoying a movie night, a wearable blanket is the perfect solution for staying warm while still having the freedom to move your arms.
In this comprehensive guide, we will explore the step-by-step process of creating your very own wearable blanket. From selecting the ideal fabric to adding personalized touches, you'll learn everything you need to know to craft a cozy and stylish garment that suits your preferences.
Whether you're a seasoned crafter or a beginner with a passion for DIY projects, making a wearable blanket is a rewarding and enjoyable endeavor. Not only will you have the satisfaction of creating something practical and unique, but you'll also have a versatile and comfortable garment to enjoy during chilly evenings or lazy weekends.
So, grab your sewing materials and get ready to embark on a creative journey that will result in a delightful addition to your loungewear collection. Let's dive into the world of wearable blankets and discover how to make your own cozy and stylish creation.
Key Takeaways:
- Creating a wearable blanket involves choosing the right fabric, precise measuring and cutting, and adding sleeves and pockets. It’s a fun and rewarding DIY project that results in a cozy and stylish garment.
- By carefully attending to details and adding personalized touches, you can craft a unique and functional wearable blanket that reflects your creativity and provides warmth and comfort for relaxing moments.
Read also: 15 Amazing Wearable Blanket for 2024
Materials Needed
Before diving into the crafting process, it's essential to gather the necessary materials and tools to ensure a smooth and enjoyable DIY experience. Here's a list of the basic items you'll need to create your own wearable blanket:
- Fabric: Choose a soft, warm, and durable fabric that suits your preferences. Popular options include fleece, flannel, and minky fabric.
- Measuring tape: An essential tool for accurately measuring the dimensions of the blanket and sleeves.
- Scissors: High-quality fabric scissors for cutting the fabric with precision.
- Pins: Straight pins to secure the fabric in place during the sewing process.
- Sewing machine: If you prefer to sew the blanket using a machine, ensure that it is in good working condition.
- Thread: Select a thread color that complements or matches the fabric for a seamless finish.
- Needles: If hand-sewing certain parts of the blanket, have a set of needles on hand.
- Buttons or snaps (optional): If you plan to add closures or embellishments, gather the necessary buttons, snaps, or other fasteners.
- Embroidery floss or fabric paint (optional): For adding decorative touches such as monograms or designs.
- Iron and ironing board: To press the fabric and ensure smooth, wrinkle-free seams.
- Pattern or template: If you prefer to use a pre-made pattern, have it ready for reference.
By having these materials at your disposal, you'll be well-equipped to start the exciting process of creating your very own wearable blanket. Whether you're a seasoned crafter or a beginner, gathering the right materials is the first step toward a successful and enjoyable DIY project.
Choosing the Right Fabric
When it comes to creating a wearable blanket, selecting the perfect fabric is crucial for achieving the ideal combination of comfort, warmth, and durability. The fabric you choose will determine the overall feel and functionality of your garment, so it’s important to consider various factors before making a decision. Here are some popular fabric options to consider:
- Fleece: Known for its softness and warmth, fleece is a popular choice for wearable blankets. It provides excellent insulation and is relatively easy to work with, making it suitable for both beginners and experienced crafters.
- Flannel: With its cozy and brushed surface, flannel fabric offers a comforting feel that’s perfect for loungewear. It’s available in a wide range of colors and patterns, allowing you to personalize your wearable blanket to suit your style.
- Minky fabric: This plush and luxurious fabric is incredibly soft and adds a touch of elegance to your wearable blanket. While it may require extra care during sewing due to its pile, the end result is a blanket with a sumptuous texture.
When choosing a fabric, consider factors such as breathability, weight, and ease of maintenance. Additionally, think about the garment’s intended use – whether it’s for cozy nights at home or outdoor activities – as this can influence your fabric selection.
If you’re creating a wearable blanket for colder climates, opt for a thicker and more insulating fabric. Conversely, if you live in a milder climate or plan to use the blanket indoors, a lighter-weight fabric may be more suitable.
Before making a final decision, it’s a good idea to feel the fabric in person, if possible, to assess its texture and drape. Keep in mind that the right fabric should not only provide warmth and comfort but also align with your personal style and preferences.
By carefully considering the characteristics of different fabrics and their suitability for your project, you’ll be well-prepared to choose the ideal material for your DIY wearable blanket. With the fabric selected, you can move on to the next steps of measuring, cutting, and sewing, bringing you closer to the completion of your cozy and stylish creation.
Measuring and Cutting
Once you’ve chosen the perfect fabric for your wearable blanket, the next essential steps involve measuring and cutting the fabric to the desired dimensions. This phase is crucial for ensuring that your blanket will fit comfortably and drape elegantly when worn. Here’s a step-by-step guide to help you navigate the measuring and cutting process:
- Measure the Dimensions: Using a measuring tape, determine the ideal length and width for your wearable blanket. Consider the wearer’s height and the desired coverage when deciding on the dimensions. For the sleeves, measure the arm length and circumference to ensure a comfortable fit.
- Mark and Cut the Fabric: Once you have the measurements, lay the fabric on a flat surface and mark the dimensions using tailor’s chalk or fabric-friendly markers. Use sharp fabric scissors to cut along the marked lines with precision, ensuring straight edges and even corners.
- Consider Seam Allowance: When cutting the fabric, remember to account for seam allowance if you plan to sew the blanket. Typically, a 1/2-inch to 5/8-inch seam allowance is sufficient for most sewing projects.
- Optional Embellishments: If you intend to add decorative elements or pockets to your wearable blanket, consider the placement and dimensions of these features when measuring and cutting the fabric. Mark these areas accordingly to ensure accurate placement during the sewing process.
Accuracy and attention to detail are key during the measuring and cutting phase, as they directly impact the overall look and fit of your wearable blanket. Taking the time to measure meticulously and cut the fabric with care will contribute to a polished and professional-looking end result.
As you progress through this stage, visualize how the fabric will come together to form the cozy garment you envision. Whether you’re creating a snug, full-length wearable blanket or a shorter, wrap-style design, precision in measuring and cutting is essential for achieving the desired outcome.
With the fabric expertly measured and cut to size, you’re ready to advance to the next phase – sewing the pieces together to bring your wearable blanket to life. This exciting step will transform the fabric into a functional and stylish garment that promises to provide warmth and comfort in a fashionable and versatile form.
Sewing the Blanket
Now that you have your fabric cut to the desired dimensions, it’s time to bring your wearable blanket to life through the art of sewing. Whether you’re using a sewing machine or opting for hand-sewing techniques, this phase is where the individual pieces of fabric come together to form a cozy and stylish garment. Here’s a step-by-step guide to sewing your wearable blanket:
- Prepare the Edges: Before sewing, it’s beneficial to finish the edges of the fabric to prevent fraying. You can achieve this by using a serger, overlock stitch on a sewing machine, or by carefully folding and stitching the edges to create a clean and polished look.
- Align and Pin the Pieces: Lay out the fabric pieces for the main body of the blanket, ensuring that the right sides are facing each other. Pin the edges together, aligning them evenly to maintain consistency throughout the sewing process.
- Sew the Seams: Using a straight stitch or your preferred sewing technique, carefully sew along the pinned edges, securing the pieces together. Remember to backstitch at the beginning and end of each seam to reinforce the stitching and prevent unraveling.
- Optional Embellishments: If you plan to add decorative elements such as trim, embroidery, or appliqué, this is the ideal stage to incorporate these features into the design. Take your time to ensure precise placement and secure attachment for a professional finish.
- Press the Seams: After sewing the seams, use an iron to press the blanket, setting the seams and creating a smooth, professional-looking result. Pressing the fabric also aids in achieving a neat and polished appearance.
Throughout the sewing process, attention to detail and precision are paramount. Whether you’re a seasoned seamstress or a novice with a passion for crafting, taking the time to sew carefully and accurately will contribute to the overall quality of your wearable blanket.
If you’re using a sewing machine, familiarize yourself with its settings and features to ensure smooth and efficient stitching. For those embracing hand-sewing techniques, patience and a steady hand will yield beautifully crafted seams and details.
As you sew the pieces together, visualize the transformation of the fabric into a functional and fashionable garment. Each stitch brings you closer to the realization of your cozy creation, promising warmth and comfort in a stylish and versatile form.
With the main body of the wearable blanket expertly sewn together, you’re ready to move on to the next steps, which may include adding sleeves, pockets, and personalized touches to enhance the functionality and aesthetic appeal of your garment.
When making a wearable blanket, be sure to choose a soft and warm fabric that is comfortable against the skin. Fleece or flannel are good options.
Read more: How To Make A Blanket
Adding Sleeves
Introducing sleeves to your wearable blanket enhances its functionality, allowing for greater freedom of movement and versatility. Whether you prefer full-length sleeves or a shorter, wrap-style design, adding this feature is a key step in transforming your creation into a practical and stylish garment. Here’s a guide to help you seamlessly incorporate sleeves into your wearable blanket:
- Measure Arm Length and Circumference: Begin by measuring the intended wearer’s arm length and circumference. This will ensure that the sleeves are tailored to provide a comfortable and unrestricted fit.
- Cut and Prepare the Sleeve Fabric: Using the measurements obtained, cut the fabric for the sleeves, ensuring that the dimensions align with the wearer’s arm size. Finish the edges of the fabric to prevent fraying and create a polished appearance.
- Attach the Sleeves to the Body: With the main body of the wearable blanket laid out, align the sleeves with the arm openings, ensuring that the right sides of the fabric are facing each other. Pin the sleeves in place, distributing any excess fabric evenly to maintain a balanced fit.
- Sew the Sleeve Seams: Carefully sew along the pinned edges to attach the sleeves to the body of the blanket. Take your time to ensure smooth and even stitching, reinforcing the seams for durability.
- Test the Fit: Once the sleeves are attached, have the intended wearer try on the garment to assess the fit and comfort of the sleeves. Make any necessary adjustments to ensure a tailored and comfortable fit.
When adding sleeves to your wearable blanket, precision and attention to detail are essential for achieving a garment that offers both comfort and practicality. Whether you’re crafting a snug, full-length design or a more relaxed and versatile style, the addition of sleeves elevates the functionality of your creation.
As you sew the sleeves in place, visualize the transformation of the garment into a cozy and stylish piece of loungewear. Each stitch brings you closer to the completion of your wearable blanket, promising warmth, comfort, and unrestricted movement in a fashionable and functional form.
With the sleeves seamlessly integrated into the design, you’re ready to explore additional features such as pockets and personalized embellishments, further enhancing the appeal and utility of your unique and cozy creation.
Adding Pockets
Integrating pockets into your wearable blanket not only enhances its functionality but also adds a practical and stylish element to the garment. Whether you envision cozy hand pockets or convenient storage compartments, the addition of pockets provides versatility and convenience. Here’s a guide to help you seamlessly incorporate pockets into your wearable blanket:
- Choose Pocket Placement: Determine the ideal placement for the pockets based on the wearer’s comfort and convenience. Common options include front pockets at waist level or side pockets for easy access.
- Prepare the Pocket Fabric: Cut the fabric for the pockets, ensuring that the dimensions align with your chosen placement and desired pocket size. Finish the edges of the fabric to prevent fraying and create a polished appearance.
- Attach the Pockets: With the main body of the wearable blanket laid out, carefully position the pockets according to your chosen placement. Pin the pockets in place, ensuring that they are evenly aligned and securely attached to the garment.
- Sew the Pocket Seams: Using a straight stitch or your preferred sewing technique, sew along the edges of the pockets to attach them to the garment. Reinforce the seams for durability, especially in areas that will experience frequent use.
- Test the Functionality: Once the pockets are attached, assess their functionality and convenience by placing items of various sizes in them. Ensure that the pockets are securely attached and provide easy access to their contents.
When adding pockets to your wearable blanket, thoughtful consideration of placement and functionality is essential for creating a garment that seamlessly combines comfort and practicality. Whether you’re incorporating spacious front pockets for warming your hands or discreet compartments for storing essentials, the addition of pockets enriches the versatility of your creation.
As you sew the pockets in place, envision the enhanced functionality and convenience they bring to your wearable blanket. Each stitch contributes to the transformation of your creation into a cozy and stylish piece of loungewear, promising warmth, comfort, and practical utility in a fashionable and functional form.
With the pockets seamlessly integrated into the design, you’re ready to explore personalized embellishments and finishing touches, further enhancing the appeal and individuality of your unique and cozy creation.
Finishing Touches
As you near the completion of your wearable blanket, it’s time to add the finishing touches that will elevate its overall appeal and functionality. From personalized embellishments to ensuring a polished and professional appearance, these final steps will bring your creation to its full potential. Here’s a guide to help you add the perfect finishing touches to your wearable blanket:
- Embellishments and Personalization: Consider adding decorative elements such as embroidery, appliqué, or fabric paint to personalize your wearable blanket. Whether it’s monogramming the garment or incorporating artistic designs, these embellishments add a unique and individualized touch.
- Closures and Fasteners (Optional): If your design includes closures such as buttons, snaps, or ties, carefully attach these elements to ensure secure and functional fastening. Choose closures that complement the overall aesthetic of the garment.
- Quality Inspection: Thoroughly inspect the wearable blanket for any loose threads, uneven seams, or overlooked details. Make any necessary adjustments to ensure that the garment meets your standards of quality and craftsmanship.
- Pressing and Final Ironing: Use an iron to press the entire garment, ensuring that the seams are smooth and any decorative elements are securely attached. This final step lends a polished and professional appearance to your creation.
- Try On and Assess: Have the intended wearer try on the wearable blanket to assess its fit, comfort, and overall appeal. Make any final adjustments to ensure that the garment meets the wearer’s expectations and provides the desired level of warmth and functionality.
As you add the finishing touches to your wearable blanket, take the time to appreciate the transformation of the fabric into a cozy and stylish garment. Each embellishment and detail contributes to the individuality and functionality of your creation, promising warmth, comfort, and personal expression in a fashionable and versatile form.
By carefully attending to the final details and ensuring that the garment meets your standards of quality and craftsmanship, you’ll create a wearable blanket that not only provides practical warmth but also reflects your creativity and attention to detail.
With the finishing touches in place and the wearable blanket expertly crafted to your satisfaction, you’ve successfully brought your vision to life, resulting in a unique and cozy creation that promises comfort and style for many relaxing moments to come.
Conclusion
Congratulations on completing your journey to create a cozy and stylish wearable blanket! Through careful selection of fabric, precise measuring and cutting, skilled sewing techniques, and thoughtful additions such as sleeves, pockets, and personalized touches, you’ve crafted a versatile garment that promises warmth, comfort, and individual expression.
As you reflect on the process of making your wearable blanket, you’ve not only honed your crafting skills but also infused your creation with personal flair and functionality. The garment you’ve crafted is a testament to your creativity and dedication, offering a cozy refuge for moments of relaxation and warmth.
With each step of the crafting process, from choosing the perfect fabric to adding the finishing touches, you’ve invested time and effort to create a garment that aligns with your preferences and lifestyle. Whether you’re lounging at home, enjoying a favorite book, or simply seeking comfort on a chilly day, your wearable blanket is a versatile and cherished addition to your loungewear collection.
As you admire the completed wearable blanket, take pride in the craftsmanship and attention to detail that have culminated in a garment that not only provides practical warmth but also reflects your unique style and personality. The thoughtful additions and personalized touches ensure that your creation is more than just a garment – it’s a reflection of your creativity and a source of comfort for countless moments of relaxation.
As you embrace the cozy embrace of your wearable blanket, may it serve as a reminder of the joy and fulfillment that come from bringing a creative vision to life. Whether you’re snuggled up for a movie night or simply unwinding after a long day, your wearable blanket is a tangible representation of your dedication to craftsmanship and the comfort it brings to your everyday life.
With your wearable blanket ready to envelop you in warmth and style, you’ve not only crafted a practical and fashionable garment but also embarked on a creative journey that has resulted in a cherished and personalized creation. Here’s to many cozy and relaxing moments with your unique and stylish wearable blanket!
Frequently Asked Questions about How To Make A Wearable Blanket
Was this page helpful?
At Storables.com, we guarantee accurate and reliable information. Our content, validated by Expert Board Contributors, is crafted following stringent Editorial Policies. We're committed to providing you with well-researched, expert-backed insights for all your informational needs.
0 thoughts on “How To Make A Wearable Blanket”