Articles
How To Make A Tapestry Blanket
Modified: May 6, 2024
Discover the art of creating stunning tapestry blankets with our comprehensive articles. Learn how to choose the right materials, design patterns, and master the weaving techniques for a beautiful finished product.
(Many of the links in this article redirect to a specific reviewed product. Your purchase of these products through affiliate links helps to generate commission for Storables.com, at no extra cost. Learn more)
Introduction
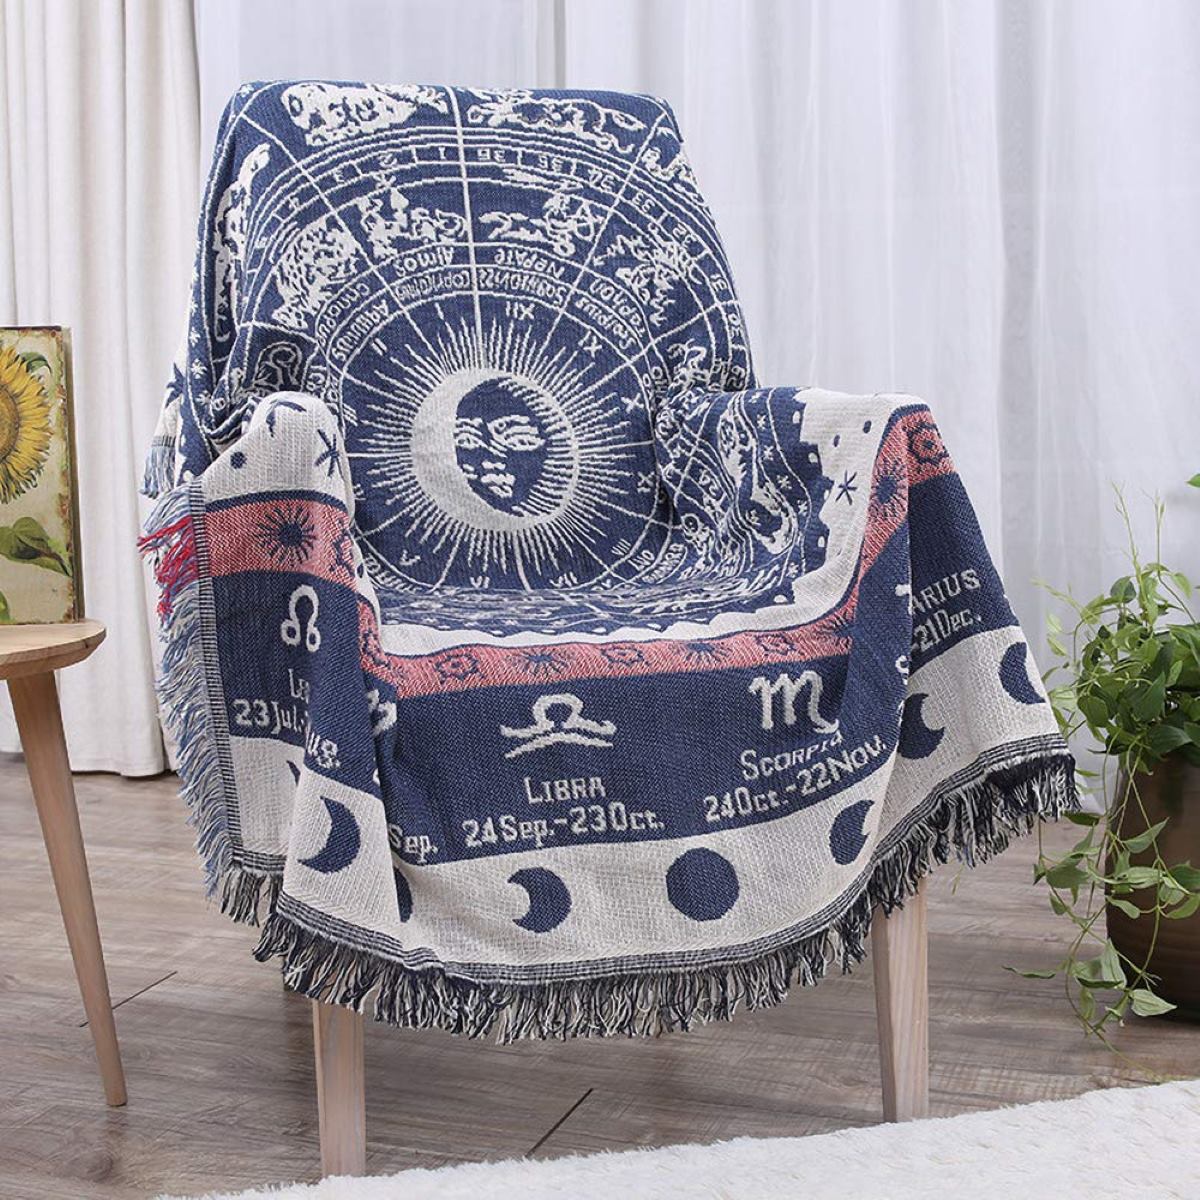
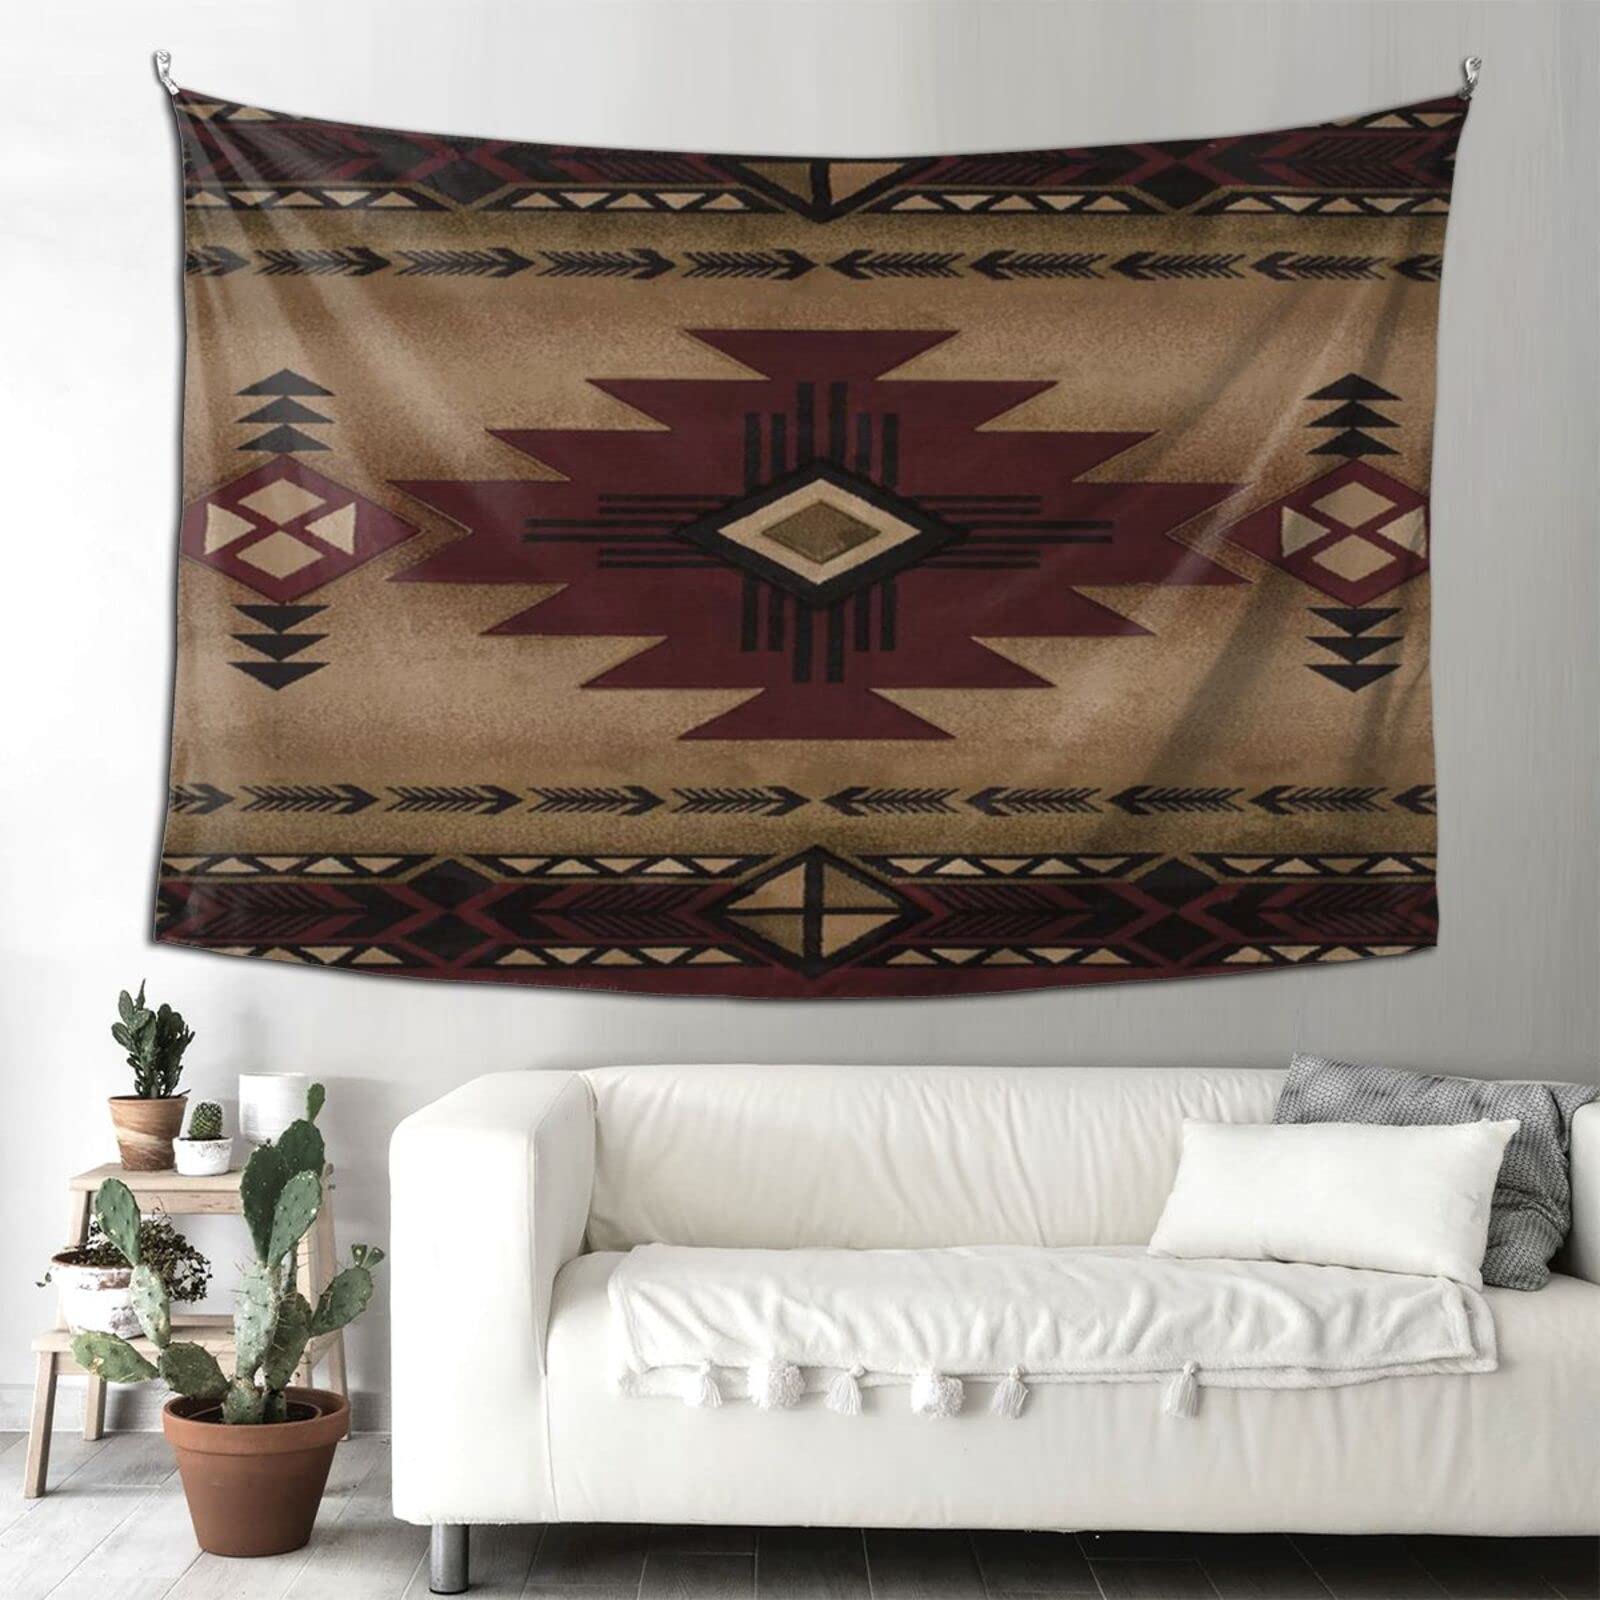
Tapestry blankets are a beautiful and versatile addition to any home. They add warmth, color, and texture to a space, and can be customized to suit various styles and preferences. Whether you are a seasoned weaver or a beginner looking to try your hand at tapestry, this article will guide you through the process of making your own tapestry blanket.
In this step-by-step guide, we will walk you through the materials needed, the preparation of the loom, warping techniques, and the actual weaving process. We will also cover the creation of patterns and designs, finishing off the edges, and adding fringes for that extra decorative touch. Finally, we will provide care instructions to ensure your tapestry blanket lasts for years to come.
Making a tapestry blanket is a creative and rewarding endeavor. It allows you to express your artistic vision and create a unique piece of functional art. Whether you choose to display your tapestry on a wall as a statement piece, use it as a cozy blanket on your bed, or even give it as a heartfelt gift, the possibilities are endless.
So gather your materials, set up your loom, and let’s begin the journey of creating your own beautiful tapestry blanket.
Key Takeaways:
- Crafting a tapestry blanket is a fulfilling and creative journey that allows you to express your artistic vision, create a unique piece of functional art, and add warmth and color to your home.
- By carefully choosing a design, preparing the loom, weaving with patience, and following proper care instructions, you can create a cherished tapestry that stands the test of time and becomes a treasured heirloom.
Read more: How To Make A Blanket
Materials Needed
Before you can start creating your tapestry blanket, you will need to gather the necessary materials. Here is a list of items you will need:
- A loom: Choose a loom that suits your needs and preferences. There are various types of looms available, including frame looms, rigid heddle looms, and floor looms. Consider the size of the loom and the type of tapestry you want to create.
- Yarn: Select yarn in the colors and textures you desire for your tapestry blanket. Choose a variety of colors to create intricate designs and patterns. Opt for yarn that is durable and suitable for weaving.
- Warp thread: Warp thread is used to create the foundation of the tapestry. Choose a strong and sturdy warp thread that complements the colors of your yarn.
- Weft thread: Weft thread is used to weave through the warp threads to create the designs and patterns. Select weft thread in the colors and textures you want for your tapestry blanket.
- Scissors: You will need a pair of scissors to cut the yarn and thread.
- Tapestry needles: Tapestry needles are used to weave the weft thread through the warp threads. Choose needles with a large enough eye to accommodate your yarn.
- Loom comb or shuttle: A loom comb or shuttle is used to push the weft threads down and pack them tightly together. Select a comb or shuttle that is compatible with your loom.
- Optional embellishments: If desired, you can gather additional embellishments such as beads, sequins, or embroidery floss to add extra flair to your tapestry blanket.
It is important to have all the materials ready before you start your tapestry project. This will ensure a smooth and uninterrupted weaving process. Now that you have gathered all the necessary materials, let’s move on to the next step: choosing your design.
Step 1: Choosing Your Design
Choosing the design for your tapestry blanket is an exciting and personal step. It allows you to showcase your creativity and individuality. Here are some tips to help you choose the perfect design:
- Consider the purpose: Think about where and how you plan to use your tapestry blanket. If it will be displayed on a wall, you may want to choose a design that complements your room’s aesthetic. If you plan to use it as a blanket, consider designs that are both visually appealing and cozy.
- Draw inspiration: Look for inspiration in nature, art, patterns, or even your own imagination. Browse through books, websites, or visit art galleries to spark your creativity. Create a mood board or gather images that resonate with you.
- Start simple: If you are new to tapestry weaving, it is advisable to start with a simpler design. Choose a design that consists of basic shapes and patterns. As you gain more experience and confidence, you can experiment with more complex designs.
- Consider color theory: Think about the color scheme you want to incorporate into your tapestry blanket. Consider complementary colors, analogous colors, or monochromatic schemes. Experiment with different color combinations to create harmony and balance.
- Plan your dimensions: Determine the size of your tapestry blanket and sketch a rough outline of the design on graph paper. This will help you visualize the placement of the elements and ensure that your design fits within the dimensions of your loom.
Remember, there are no set rules when it comes to choosing your design. The most important aspect is to select a design that speaks to you and reflects your personality. Once you have chosen your design, you can move on to the next step: preparing the loom.
Step 2: Preparing the Loom
Before you can start weaving your tapestry blanket, you need to prepare the loom. Follow these steps to properly set up your loom:
- Assemble the loom: If your loom comes in separate pieces, follow the manufacturer’s instructions to assemble it. Make sure all the parts are secure and in the correct position.
- Position the loom: Find a sturdy and comfortable surface to place your loom. Ensure that the loom is positioned at a comfortable height for you to work on.
- Add the warp thread: Take the warp thread and tie one end to the loom, making sure it is tightly secured. Thread the warp thread through the appropriate grooves or holes on the loom, depending on the type of loom you have.
- Tension the warp thread: Once the warp thread is threaded through the loom, adjust the tension by carefully turning the tension knobs or moving the warp beam, if applicable. The warp thread should be taut but not overly stretched.
- Secure the other end: Once the warp thread is tensioned, tie the other end to the loom, ensuring it is tightly secured. You can use additional clamps or ties to hold the warp thread in place if needed.
- Straighten the warp thread: Use a loom comb or your fingers to gently comb through the warp threads, straightening any unevenness and ensuring they are properly aligned.
Preparing the loom is a crucial step in the tapestry weaving process. It ensures that the warp thread is properly set up and ready for weaving the weft thread. Once you have completed the loom setup, you are now ready to move on to the next step: warping the loom.
Step 3: Warping the Loom
Warping the loom is the process of threading the warp thread onto the loom in preparation for weaving. Follow these steps to properly warp your loom:
- Measure the warp thread: Determine the desired length of your tapestry blanket and add extra length for loom waste and fringe. Measure and cut the warp thread to the appropriate length.
- Tie the warp thread: Tie one end of the warp thread to the front of the loom, ensuring it is tightly secured. Leave a few inches of excess thread for later finishing.
- Guide the warp thread: Thread the warp thread through the appropriate grooves or holes on the loom, guiding it back and forth in a zigzag pattern. Maintain an even tension throughout the warping process.
- Secure the warp thread: Once the warp thread is threaded through the loom, tie the other end to the back of the loom, tightly securing it. Make sure the warp thread is evenly spaced and has the desired tension.
- Check for evenness: Take a moment to check that the warp threads are evenly spaced and parallel to each other. Adjust the tension or realign any uneven threads if necessary.
Warping the loom can be a time-consuming process, but it is important to take your time and ensure that the warp threads are properly set up. The evenness and tension of the warp thread will affect the quality of your tapestry. Once you have completed warping the loom, you are now ready to proceed to the next step: starting the tapestry.
Read more: How To Make A Blanket Scarf
Step 4: Starting the Tapestry
With the loom properly prepared and the warp thread in place, it’s time to start weaving your tapestry blanket. Follow these steps to begin the tapestry:
- Select your weft thread: Choose the first color of weft thread you want to use. Cut a piece of thread long enough to cover the width of your tapestry plus a few inches for finishing.
- Thread the tapestry needle: Thread the weft thread through the eye of the tapestry needle. Ensure that it is securely threaded, but not too tightly to prevent it from moving smoothly through the warp threads.
- Start weaving from the bottom: Position the tapestry needle under the first warp thread at the bottom of the loom. Leave a few inches of weft thread as a tail, which will be woven in later to secure the loose ends.
- Weave the weft thread: Bring the tapestry needle over and under the warp threads in a straight line. Push the weft thread tightly against the previous row of weft threads using a loom comb or shuttle. Repeat this process until you reach the other end of the loom.
- Pack the weft thread: Take the loom comb or shuttle and gently press down on the woven weft threads to pack them together tightly. This will create a dense and sturdy tapestry fabric.
- Continue with the next weft thread: Once you have reached the end of the row, bring the weft thread back in the opposite direction, following the same over and under pattern. Repeat this process for each row, alternating colors and creating the desired patterns and designs.
Starting the tapestry can be a bit challenging at first, but with practice, you will become more comfortable with the weaving process. Take your time to ensure that each weft thread is securely woven and packed tightly together. As you progress, you will see your tapestry blanket starting to take shape. Next, let’s move on to step 5: creating the patterns and designs in your tapestry.
When making a tapestry blanket, be sure to choose a durable and washable yarn to ensure the longevity and practicality of the finished product.
Step 5: Creating the Patterns and Designs
Creating patterns and designs in your tapestry blanket is where your creativity truly shines. This step allows you to add visual interest and personalize your tapestry. Follow these steps to create beautiful patterns and designs:
- Sketch your design: Start by sketching your desired pattern or design on paper. This will serve as a guide as you weave your tapestry.
- Plan for color changes: If your design involves color changes, plan ahead and decide where each color will be introduced. Prepare the weft threads of the desired colors and weave them in as needed.
- Weave in geometric shapes: If you want to incorporate geometric shapes into your tapestry, use the over and under weaving technique to create lines and angles. Experiment with different weaving patterns to achieve the desired shapes.
- Add texture: To add texture to your tapestry, consider using different weaving techniques such as looping, knotting, or interlacing. These techniques can create raised areas or added depth to your design.
- Experiment with different textures: Play with different yarn textures to add visual interest. Combine yarns of varying thickness, texture, or fiber content to create contrast and tactile appeal.
- Create gradients: Use a technique called color blending to create smooth transitions between colors. This can be achieved by weaving multiple weft threads of different colors next to each other, gradually decreasing one color and increasing another.
- Layer patterns: To create more intricate designs, layer different patterns on top of each other. This can be achieved by weaving one pattern first, then weaving another on top of it, creating depth and complexity.
Remember, this is your opportunity to let your imagination run wild and create a tapestry design that speaks to you. Embrace experimentation and don’t be afraid to make changes or adjustments along the way. Once you are satisfied with your patterns and designs, you can proceed to the next step: weaving the tapestry.
Step 6: Weaving the Tapestry
Now that you have your design and patterns in place, it’s time to weave the tapestry blanket. Follow these steps to continue the weaving process:
- Continue the weaving process: Using the techniques described in Step 4, continue weaving the weft thread over and under the warp threads according to your design. Take your time to ensure each row is tightly packed and aligned with the previous rows.
- Pay attention to tension: As you weave, pay attention to the tension in your warp and weft threads. Avoid pulling the weft thread too tightly, as it can cause your tapestry to pucker or warp. Maintain a consistent tension throughout the weaving process.
- Check for mistakes: Regularly inspect your work for any mistakes or unevenness. If you notice any errors, gently remove the weft thread to correct it and re-weave the section.
- Avoid long weft thread floats: To create a sturdy tapestry, avoid long weft thread floats. These occur when the weft thread runs across several warp threads without being woven under and over them. Secure or trim any long floats for a cleaner finish.
- Experiment with texture: Use different weaving techniques to add texture and visual interest to your tapestry. Try techniques such as soumak, rya knots, or wrapping to create raised areas or decorative elements.
- Take breaks and step back: Weaving a tapestry requires patience and attention to detail. Take regular breaks to rest your eyes and step back to examine your work from a distance. This will give you a better perspective and help you identify any areas that need adjustment.
Enjoy the process of weaving your tapestry blanket. Let your creativity flow and embrace any unexpected design elements that arise. With each row, your tapestry will come to life and become a true reflection of your artistic vision. After completing the weaving process, it’s time to move on to the next step: finishing off the edges of your tapestry.
Step 7: Finishing off the Edges
Once you have finished weaving your tapestry blanket, it’s important to properly finish off the edges to ensure durability and a polished look. Follow these steps to complete the edge finishing:
- Trim the excess warp threads: Carefully trim the excess warp threads at both ends of your tapestry, leaving a few inches for finishing. Use scissors to cut the warp threads straight across.
- Create a fringe (optional): If you desire a fringe on your tapestry blanket, leave a few inches of warp threads beyond the cut ends. Comb or twist the warp threads together to create a fringe, then secure it with a knot or weave it into the tapestry for added strength.
- Fold and hem the edges: To create a clean and finished edge, fold the raw edges of the tapestry to the back and hem them. Use a needle and thread that matches the colors of your tapestry to stitch close to the edge, ensuring the stitches are secure but not visible from the front.
- Miter the corners (optional): If you prefer a more professional and polished look, you can miter the corners of your tapestry. To do this, fold the tapestry at a 45-degree angle, creating a diagonal fold at each corner before hemming. This technique gives the corners a neat and seamless appearance.
- Secure loose ends: If there are any loose ends or weft thread tails, weave them in using a tapestry needle. Weave the loose ends into the back of the tapestry, following the direction of the weft threads for a tidy and secure finish.
Finishing off the edges is the final step to completing your tapestry blanket. Take your time to ensure that the edges are neatly folded, stitches are secure, and any loose ends are properly woven in. These finishing touches will give your tapestry a professional and refined look. Now that the edges are finished, you can add fringes if desired or move on to the next step: final touches and care instructions.
Read more: How To Make A Baby Blanket
Step 8: Adding Fringes (Optional)
If you want to add a decorative touch to your tapestry blanket, you can consider adding fringes. Fringes can enhance the visual appeal of your tapestry and provide a beautiful finishing detail. Follow these steps to add fringes to your tapestry:
- Determine the length of the fringes: Decide on the desired length of the fringes. Take into consideration the overall size of your tapestry and the desired aesthetic.
- Measure and cut the fringe threads: Cut the fringe threads twice as long as the desired length, as the threads will be folded in half to create the fringes.
- Fold the fringe threads in half: Take one fringe thread and fold it in half. Create a loop at the folded end.
- Attach the fringes to the tapestry: Insert the looped end of the fringe thread through the hemmed edge of the tapestry, from the back to the front. Pass the loose ends of the fringe thread through the loop and pull tight to secure the fringe in place.
- Repeat for the remaining fringes: Repeat the previous step for the remaining fringe threads, spacing them evenly along the hemmed edge.
- Trim the fringes: Once all the fringes are attached, trim them to achieve a uniform length. You can cut them straight across or create a tapered look by trimming them at an angle.
Adding fringes is an optional step that can add a touch of elegance and movement to your tapestry blanket. Consider the overall style and aesthetic you want to achieve when deciding whether to include fringes. Take your time to attach and trim the fringes carefully for a clean and polished appearance. With the fringes added, your tapestry is almost complete!
Step 9: Final Touches and Care Instructions
With your tapestry blanket near completion, it’s time to add some final touches and learn how to properly care for your masterpiece. Follow these steps for the final touches and care instructions:
- Inspect and make adjustments: Take a step back and carefully inspect your tapestry blanket for any loose threads, uneven edges, or areas that need touch-ups. Make any necessary adjustments or repairs to ensure the tapestry looks its best.
- Block the tapestry (optional): If your tapestry needs some reshaping or straightening, you can block it. Wet the tapestry with water, gently reshape it into the desired dimensions, and pin it into place on a flat surface until it dries completely.
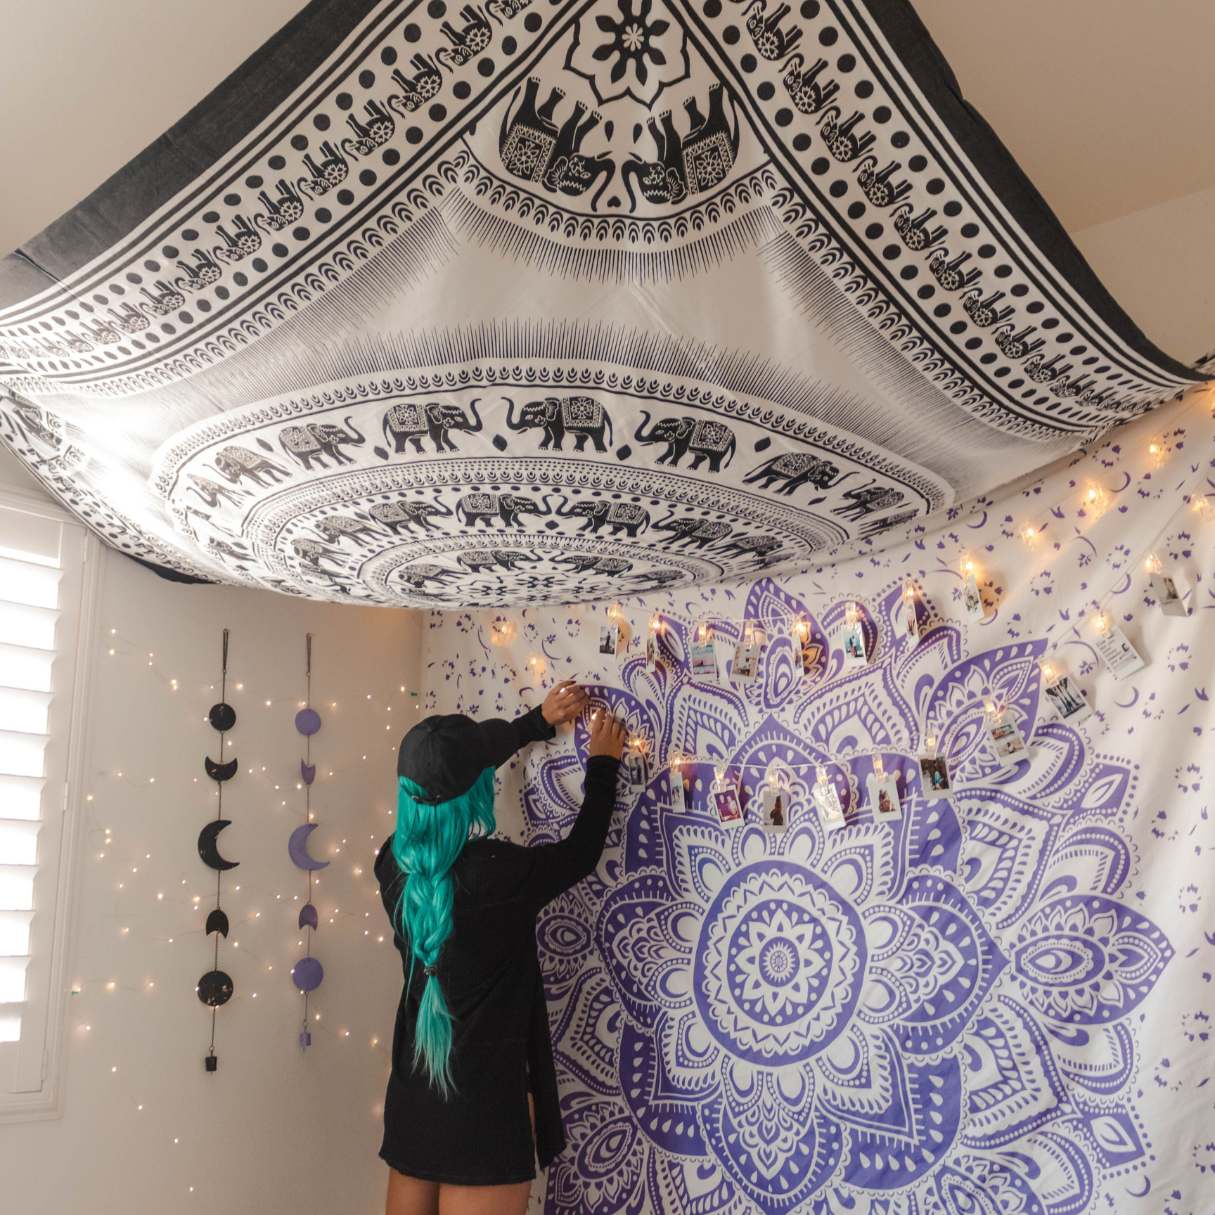
- Display or use your tapestry: Decide how you want to use or display your tapestry blanket. Whether it’s as a wall hanging, a decorative throw, or a cozy blanket, find the perfect spot to showcase your creation and enjoy its beauty.
- Care for your tapestry: To keep your tapestry in optimal condition, it’s important to follow proper care instructions. Here are some guidelines:
- Spot clean as needed: If your tapestry gets dirty or stained, gently spot clean the affected area using mild soap and water. Be cautious not to scrub or rub vigorously, as this can damage the fibers.
- Avoid harsh chemicals: Do not use bleach or harsh cleaning chemicals on your tapestry, as they can cause discoloration or weaken the fibers.
- Avoid direct sunlight: Prolonged exposure to direct sunlight can fade the colors of your tapestry over time. If possible, display or store your tapestry in a location where it is protected from strong sunlight.
- Gently vacuum or shake: Occasionally, you can lightly vacuum or shake your tapestry to remove dust or debris. Use a soft brush attachment or hold the tapestry securely and shake it gently outside to dislodge any loose particles.
- Store properly: If you need to store your tapestry blanket for an extended period, make sure it is clean and completely dry. Roll it loosely or fold it with acid-free tissue paper to prevent creases. Store it in a cool, dry place to avoid moisture and pests.
By following these final touches and care instructions, you can ensure that your tapestry blanket remains in excellent condition for years to come. Enjoy the beauty and warmth it brings to your space and continue to appreciate the artistry and creativity that went into its creation.
Congratulations on completing your own tapestry blanket!
Conclusion
Crafting your own tapestry blanket is a fulfilling and creative endeavor that allows you to showcase your artistic vision and create a unique piece of functional art. Through the steps of choosing a design, preparing the loom, warping, weaving, and adding final touches, you have embarked on a journey that combines technique, creativity, and patience.
By selecting the perfect design, gathering the necessary materials, and taking the time to weave your tapestry with care, you have created a beautiful and personalized piece that adds warmth, texture, and color to your home. Whether you choose to display your tapestry as a striking wall hanging or snuggle up with it as a cozy blanket, you can take pride in the craftsmanship and artistry that went into its creation.
Remember, the process of tapestry weaving is both an art form and a leisurely pursuit. Take joy in the weaving process, allowing your imagination to flow and your creativity to shine through your choice of colors, patterns, and textures. Embrace any imperfections as part of your tapestry’s unique charm.
To ensure your tapestry blanket stands the test of time, follow the care instructions provided, gently clean and maintain it, and store it properly when not in use. With proper care, your tapestry can be enjoyed for years to come, becoming a cherished heirloom piece or a treasured gift for generations to come.
So, whether you are a seasoned weaver or a beginner, pick up your loom, gather your materials, and let your imagination run wild as you embark on the journey of creating your own beautiful tapestry blanket. May your tapestry be a reflection of your artistic expression and bring joy and warmth to your home.
Now that you've mastered weaving a tapestry blanket, why not channel that creativity into festive projects? Our guide on crafting elegant Easter decorations offers unique ideas to bring seasonal charm into your home. Whether you're a novice or seasoned at DIY crafts, you'll find inspiration to transform simple materials into eye-catching pieces. Dive into fun, easy projects that'll add a personal touch to your Easter celebrations. Ready to craft something special?
Frequently Asked Questions about How To Make A Tapestry Blanket
Was this page helpful?
At Storables.com, we guarantee accurate and reliable information. Our content, validated by Expert Board Contributors, is crafted following stringent Editorial Policies. We're committed to providing you with well-researched, expert-backed insights for all your informational needs.
0 thoughts on “How To Make A Tapestry Blanket”