Articles
How To Make A Blanket Scarf
Modified: January 6, 2024
Learn how to make a stylish and cozy blanket scarf with this step-by-step guide. Our articles provide detailed instructions and tips for creating your own fashion statement.
(Many of the links in this article redirect to a specific reviewed product. Your purchase of these products through affiliate links helps to generate commission for Storables.com, at no extra cost. Learn more)
Introduction
Blanket scarves have become a fashionable accessory, adding style and warmth to any outfit. Their versatility and cozy appeal make them a must-have item in your wardrobe, perfect for all seasons. But have you ever considered making your own blanket scarf? Not only is it a fun and creative DIY project, but it also allows you to customize the fabric, size, and design according to your preference.
In this article, we will guide you through the process of making your very own blanket scarf. Whether you’re a beginner or an experienced DIY enthusiast, you’ll find this step-by-step tutorial easy to follow. From choosing the right fabric to adding decorative fringe, we’ll cover everything you need to know to create a stylish and personalized blanket scarf.
So, grab your sewing kit and let’s get started on this exciting journey of making your own trendy and cozy blanket scarf!
Key Takeaways:
- Create a personalized blanket scarf by choosing the right fabric, measuring and cutting with precision, and adding optional fringe. Express your creativity and style with this versatile DIY accessory.
- Care for your homemade blanket scarf by following proper maintenance tips to ensure it remains a timeless and cozy wardrobe staple. Embrace your creativity and enjoy the process of crafting and styling your unique accessory.
Read more: How To Use A Blanket Scarf
Step 1: Choosing the right fabric
When it comes to making a blanket scarf, selecting the right fabric is crucial. You want something that is not only soft and comfortable but also durable and easy to work with. Here are a few factors to consider when choosing your fabric:
- Fabric type: Opt for fabrics like flannel, cashmere, or lightweight wool for a warm and cozy blanket scarf. These fabrics are soft and have a great drape, making them perfect for wrapping around your neck.
- Pattern and color: Choose a fabric that matches your personal style and complements your existing wardrobe. Whether you prefer a solid color, plaid, floral, or geometric patterns, make sure it aligns with your fashion aesthetic.
- Size: Decide on the size of your blanket scarf before purchasing the fabric. Generally, a square-shaped fabric measuring around 54 inches by 54 inches is ideal, as it provides enough material to create multiple looks while still being manageable to work with.
- Texture: Consider the texture of the fabric and how it will feel against your skin. Smooth fabrics like silk or lightweight cotton are perfect for spring and summer, while textured fabrics like flannel or wool are better suited for colder months.
- Budget: Keep your budget in mind when selecting the fabric. While luxurious materials like cashmere may be more expensive, there are also affordable options available that provide both comfort and style.
Remember, the fabric you choose will determine the overall look and feel of your blanket scarf, so take your time in finding the perfect one. Once you have your fabric selected, you’re ready to move on to the next step: measuring and cutting.
Step 2: Measuring and cutting
Now that you have chosen the perfect fabric for your blanket scarf, it’s time to measure and cut it to the desired size. Follow these simple steps to ensure precise measurements and clean edges:
- Prepare your workspace: Clear a large, flat surface where you can lay out your fabric. Make sure it is clean and free from any obstructions.
- Unfold your fabric: If your fabric is folded, carefully unfold it and lay it flat on your workspace. Smooth out any wrinkles or creases so that you have a smooth surface to work with.
- Measure and mark: Using a fabric measuring tape or ruler, measure out the desired size for your blanket scarf. For a standard square-shaped scarf, a size of approximately 54 inches by 54 inches works well. Use fabric chalk or a washable marker to mark the measurements on the fabric.
- Cut the fabric: Using fabric scissors, carefully cut along the marked lines to create your desired size for the blanket scarf. Take your time and ensure clean, straight cuts to achieve a professional finish.
- Trim any uneven edges: After cutting, check the edges of your fabric to make sure they are even. If you notice any unevenness, carefully trim the excess fabric to achieve clean and symmetrical edges.
It’s important to note that the measurements provided are just a general guideline. Feel free to adjust the size according to your preference and style. Once you have finished measuring and cutting your fabric, you are ready to move on to the next step: hemming the edges.
Step 3: Hemming the edges
Hemming the edges of your blanket scarf adds a polished and finished look to your DIY creation. It prevents fraying and increases the longevity of the fabric. Follow these steps to hem the edges of your scarf:
- Prepare your sewing machine: Set up your sewing machine with a matching thread color and a straight stitch. Make sure you have a bobbin thread ready as well.
- Fold and press: Fold each edge of the fabric about ½ inch towards the wrong side and press with an iron. This will create a clean fold line for sewing.
- Sew the hem: Starting at one corner, sew a straight stitch along the folded edge, about ¼ inch from the edge. Continue sewing all the way around, maintaining the same distance from the edge.
- Backstitch at the corners: When you reach a corner, backstitch a few stitches to reinforce the seam. This will prevent the threads from unraveling.
- Trim any loose threads: After sewing the entire hem, carefully trim any loose threads to ensure a neat and tidy finish.
Remember to sew with a steady hand and maintain consistent seam allowance throughout. If you prefer a more decorative finish, you can explore options like a rolled hem or a decorative stitch. Once you have completed hemming all the edges, your blanket scarf is taking shape. The next step is optional, but it adds a stylish touch – adding fringe to your scarf.
When choosing fabric for a blanket scarf, opt for a soft and cozy material like flannel or fleece for warmth and comfort.
Step 4: Adding fringe (optional)
If you want to give your blanket scarf a boho-chic look, adding fringe is a fantastic option. Fringe adds movement and a playful element to your scarf, making it even more stylish. Here’s how you can add fringe to your scarf:
- Choose your fringe: Decide on the type of fringe you want for your scarf. You can opt for pre-made fringe trim or make your own fringe using matching fabric or yarn. Make sure to choose a length that complements the size of your scarf.
- Measure and mark: Determine where you want the fringe to be placed along the edges of your scarf. Use fabric chalk or a washable marker to mark the spots where you will attach the fringe.
- Sew or attach the fringe: If you’re using pre-made fringe trim, simply sew it onto the marked spots using a straight stitch. If you’re making your own fringe, cut strands of fabric or yarn to your desired length and attach them to the marked spots using a crochet hook or needle and thread.
- Trim the fringe: Once all the fringe is attached, carefully trim any uneven ends to make sure they are all the same length.
Adding fringe is a creative way to personalize your blanket scarf and make it uniquely yours. It adds a touch of flair and elevates the overall look. If you prefer a more streamlined and minimalist style, you can skip this step and proceed to the next one: styling your blanket scarf.
Read also: 8 Best Blanket Scarf for 2025
Step 5: Styling your blanket scarf
Now that you have created your beautiful blanket scarf, it’s time to explore the various ways to style and wear it. Here are some stylish and trendy options to consider:
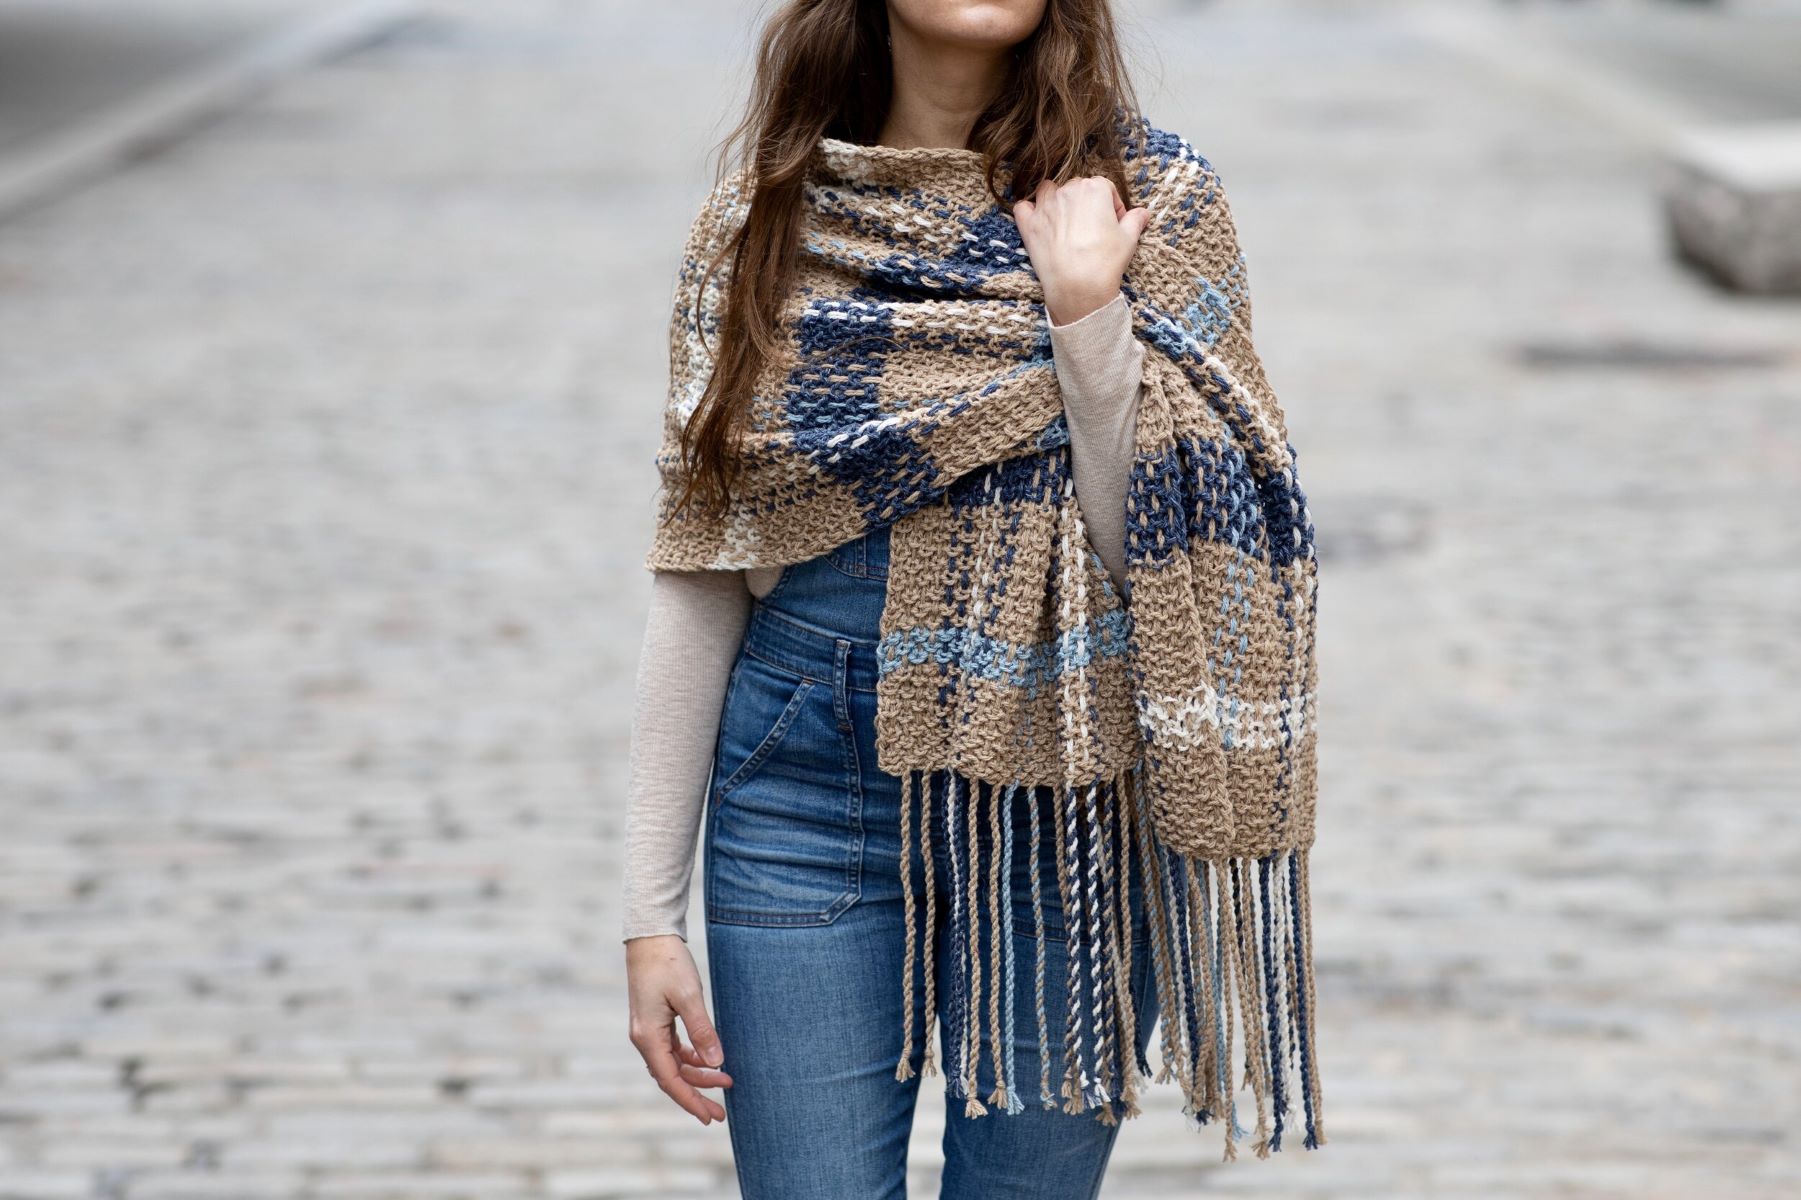
- Classic drape: Simply fold your scarf in half diagonally to create a triangle. Drape it over your shoulders, with the point facing downward, and let the sides hang loose.
- Belted wrap: Wrap the scarf around your neck, leaving one end longer than the other. Tie a belt around your waist, securing both ends of the scarf underneath.
- Poncho style: Fold your scarf in half diagonally to create a triangle. Place it around your shoulders, with the point facing downward. Tie the two ends together at the front, creating a loose and flowing poncho-like look.
- Infinity loop: Fold your scarf in half lengthwise and then in half again. Loop it around your neck and pull the loose ends through the folded end to create a cozy and stylish infinity loop.
- Head wrap: Fold your scarf in half diagonally to create a triangle. Place the folded edge at your forehead and tie the two ends at the back of your head, leaving the point of the triangle hanging down as a stylish accent.
These are just a few ideas to get you started, but don’t be afraid to experiment and create your own unique styles. The beauty of a blanket scarf lies in its versatility, allowing you to express your personal style in countless ways.
Remember to have fun and embrace your creativity while styling your scarf. Whether you’re going for a casual or sophisticated look, your blanket scarf will add a touch of charm to any outfit.
Step 6: Care and maintenance tips
Now that you have learned how to make and style your blanket scarf, it’s important to know how to keep it looking its best. Proper care and maintenance will ensure that your scarf stays in great condition for years to come. Here are some tips to help you care for your blanket scarf:
- Follow the care instructions: Always check the care label on your fabric for specific cleaning instructions. Some fabrics may require hand washing, while others can be machine washed on a gentle cycle. Follow the recommended care instructions to avoid damaging the fabric.
- Avoid harsh detergents: Use a mild detergent when washing your scarf to prevent color fading or damage to the fabric. Avoid using bleach or fabric softeners, as they can weaken the fibers.
- Gently hand wash: If hand washing is recommended, fill a basin or sink with lukewarm water and a small amount of mild detergent. Gently swish the scarf in the water, being careful not to agitate or wring it. Rinse thoroughly and squeeze out excess water without twisting the fabric.
- Handle with care: When drying your scarf, avoid wringing or twisting it. Instead, lay it flat on a clean towel and gently roll the towel to squeeze out excess water. Then, reshape the scarf and lay it flat to air dry.
- Store properly: when not in use, fold your scarf neatly and store it in a clean, dry place. Avoid hanging it for long periods, as this may cause stretching or distortion of the fabric.
- Remove wrinkles: If your scarf becomes wrinkled, you can use a steamer or a low-heat iron to remove the wrinkles. Be sure to place a cloth between the scarf and the iron to protect the fabric.
By following these care and maintenance tips, you can enjoy your blanket scarf for many seasons. Remember to regularly inspect your scarf for any signs of wear and tear and address them promptly. With proper care, your DIY blanket scarf will continue to be a stylish and cozy accessory for years to come.
Conclusion
Congratulations! You have successfully learned how to make your very own blanket scarf. By selecting the right fabric, measuring and cutting with precision, hemming the edges, and adding optional fringe, you have created a stylish and personalized accessory that adds warmth and flair to any outfit. Furthermore, learning how to style and care for your scarf ensures that it remains a timeless and versatile piece in your wardrobe.
Making a blanket scarf allows you to express your creativity and showcase your personal style. Whether you prefer classic drapes, belted wraps, or unique head wraps, there are endless possibilities to explore. Additionally, taking proper care of your scarf ensures that it continues to look its best and lasts for years to come.
So, the next time you’re in need of a cozy and fashionable accessory, look no further than your homemade blanket scarf. Whether you make it for yourself or as a thoughtful gift for a loved one, you can take pride in the fact that you’ve created something truly special.
Now, gather your materials, embrace your creative spirit, and enjoy the process of making your own blanket scarf. Happy crafting and styling!
Frequently Asked Questions about How To Make A Blanket Scarf
Was this page helpful?
At Storables.com, we guarantee accurate and reliable information. Our content, validated by Expert Board Contributors, is crafted following stringent Editorial Policies. We're committed to providing you with well-researched, expert-backed insights for all your informational needs.