Articles
How To Make A Flannel Blanket
Modified: January 4, 2024
Learn the step-by-step process of creating cozy flannel blankets with our informative articles. Discover helpful tips and techniques for making your own personalized blanket.
(Many of the links in this article redirect to a specific reviewed product. Your purchase of these products through affiliate links helps to generate commission for Storables.com, at no extra cost. Learn more)
Introduction
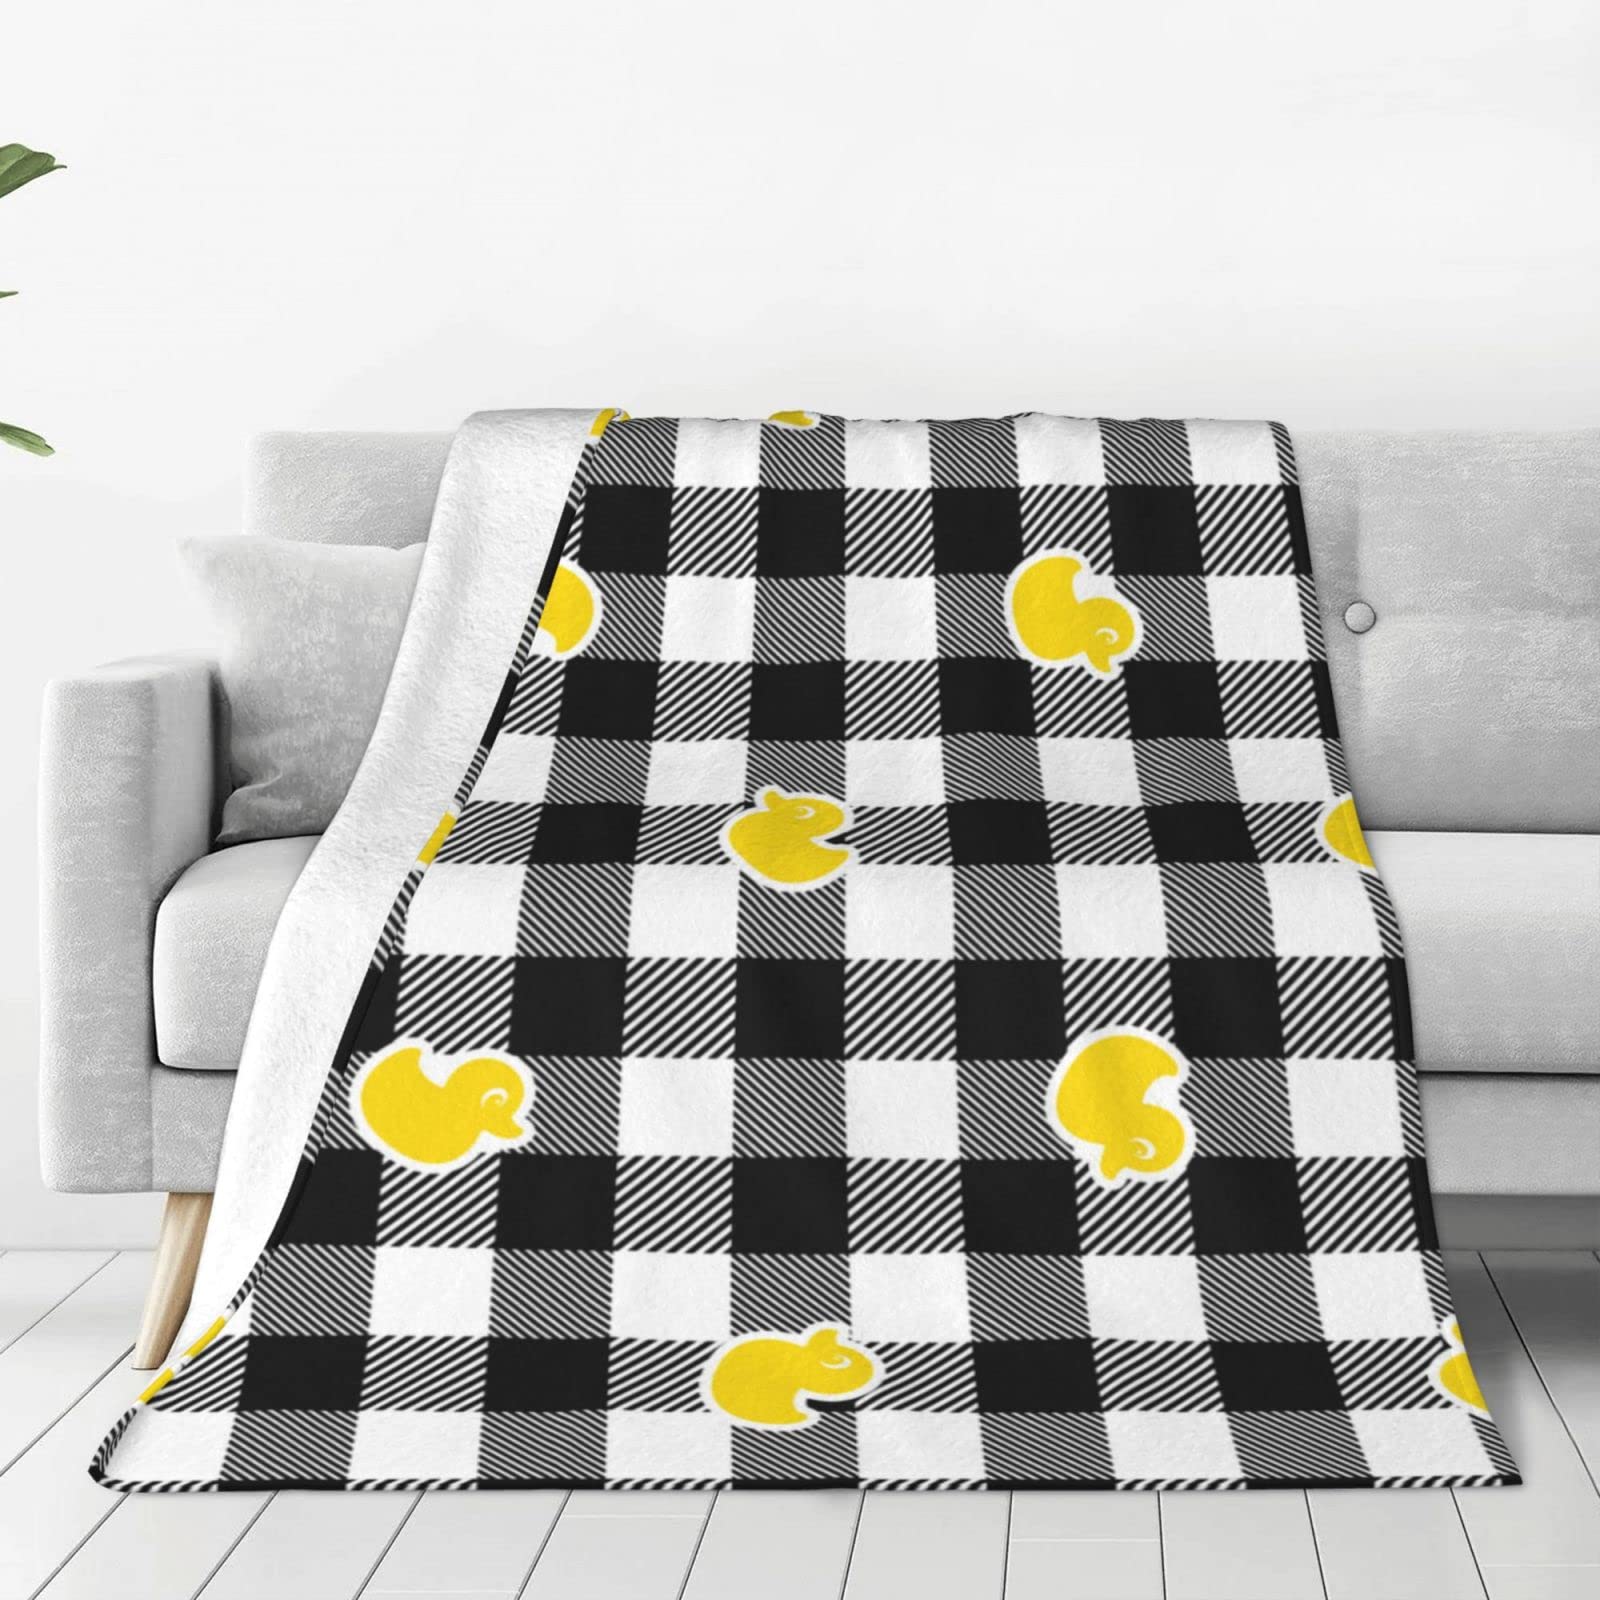
Flannel blankets are not only cozy and warm, but they can also be a stylish addition to your home decor. Whether you want to snuggle up on a chilly evening or add a pop of color to your living room, making your own flannel blanket is a rewarding and fun DIY project. In this article, we will guide you through the steps of creating your very own flannel blanket, from choosing the perfect fabric to adding personalized touches.
Creating a flannel blanket is a creative and crafty way to make a unique and personalized item for yourself or to give as a heartfelt gift to someone special. By following the steps outlined in this article, you will be able to create a beautiful and functional flannel blanket that is sure to impress.
Before we dive into the step-by-step process, let’s gather all the necessary materials and tools you will need for this project.
Key Takeaways:
- Create a cozy and personalized flannel blanket by choosing the perfect fabric, preparing it with care, and adding decorative touches to reflect your unique style and creativity.
- Enjoy the rewarding process of making a flannel blanket, from carefully selecting the fabric to adding finishing touches, and cherish the warmth and comfort of a handmade item crafted with love.
Read more: What Is A Flannel Blanket
Materials Needed
Before you get started, make sure you have the following materials and tools on hand:
- Flannel fabric: Choose a flannel fabric that suits your style and preferences. You can opt for a solid color, a patterned design, or a combination of both.
- Measuring tape: A measuring tape will come in handy when determining the size of your flannel blanket.
- Scissors: Make sure you have a pair of sharp scissors to cut the fabric neatly.
- Sewing machine: While it is possible to sew the flannel blanket by hand, using a sewing machine will make the process faster and more efficient.
- Pins: Pins will help keep the fabric in place while sewing.
- Thread: Choose a thread color that matches or complements the fabric. Polyester thread is a good choice for sewing flannel.
- Sewing needles: If you are sewing by hand, make sure you have sewing needles that are appropriate for the fabric and thread you are using.
- Iron: An iron will be necessary for pressing the fabric and ensuring clean and crisp edges.
- Ironing board or flat surface: This will provide a stable and smooth surface for ironing.
- Decorative trim or embellishments (optional): If you want to add a personal touch or decorative element to your flannel blanket, consider having trim, lace, or buttons on hand.
Once you have gathered all the necessary materials and tools, you are ready to begin making your flannel blanket. Let’s move on to the first step: choosing the flannel fabric.
Step 1: Choosing the Flannel Fabric
The first step in making a flannel blanket is selecting the perfect fabric. Flannel fabric comes in a variety of colors, patterns, and thicknesses, so take some time to consider your preferences and the intended use of your blanket.
When choosing flannel fabric, consider the following:
- Color: Decide on a color that matches your personal style or complements your home decor. Consider selecting a solid color for a classic look or opt for a patterned flannel to add some flair.
- Pattern: If you choose a patterned flannel fabric, consider the size and design of the pattern. Be mindful of how the pattern will look when the blanket is fully assembled.
- Weight: Flannel fabric comes in different weights, ranging from lightweight to heavyweight. Consider the level of warmth and coziness you desire for your blanket. Thicker flannel fabric will provide added warmth, while lighter options are great for those who prefer a more breathable material.
- Care Instructions: Check the care instructions on the fabric bolt or consult with the salesperson to ensure that the flannel fabric can be easily cared for and washed.
Visit a local fabric store or explore online options to find a wide variety of flannel fabrics to choose from. Take your time to browse through different options and select the fabric that speaks to you. Once you have chosen your flannel fabric, you are ready to move on to the next step: preparing the fabric.
Step 2: Preparing the FabricBefore you start cutting and sewing your flannel fabric, it is important to prepare it properly to ensure a clean and professional-looking finished blanket. The following steps will guide you through the process of preparing the fabric:
- Wash and dry the fabric: Even if the flannel fabric is labeled as pre-washed, it is recommended to wash and dry it before starting your project. This will help to remove any remaining chemicals or shrinkage from the fabric, ensuring that your blanket maintains its shape and size.
- Iron the fabric: Once the fabric is dry, iron it to remove any wrinkles and create a smooth surface. This step is essential for accurate cutting and precise sewing.
- Measure and mark the desired size: Use a measuring tape to determine the dimensions of your flannel blanket. Mark the measurements on the fabric using fabric chalk or washable markers. Add a few inches to the desired size to account for seam allowances and any additional decorative trim you may want to add.
By following these steps, you will ensure that your flannel fabric is clean, wrinkle-free, and ready to be transformed into a cozy blanket. Now that your fabric is prepared, we can move on to the next step: cutting the fabric.
Step 3: Cutting the Fabric
With your prepared flannel fabric, it’s time to cut it into the desired shape and size for your blanket. Follow these steps to ensure accurate and clean cuts:
- Place the fabric on a flat surface: Lay the flannel fabric on a large, flat surface such as a table or cutting mat. Smooth out any wrinkles or creases.
- Align the measurements: Use the marks you made in the previous step to align the fabric according to your desired size. Make sure it is straight and even on all sides.
- Cut the fabric: Using sharp fabric scissors, carefully cut along the marked lines. Take your time and make slow, smooth cuts to ensure accuracy.
If your flannel blanket is going to be a standard rectangular shape, simply cut straight lines along all four edges. However, if you prefer a different shape such as a square, circle, or even a custom shape, use a template or a compass to guide your cuts.
Remember to leave a seam allowance of about 1/2 inch on all sides if you plan to sew the edges or add any trim. This will ensure that your blanket is properly finished and the fabric won’t fray.
Once you have finished cutting the fabric according to your desired size and shape, it’s time to move on to the next step: sewing the edges of your flannel blanket.
When making a flannel blanket, pre-wash and dry the fabric to prevent shrinkage later on. This will ensure that your finished blanket maintains its shape and size.
Step 4: Sewing the Edges
Sewing the edges of your flannel blanket will give it a polished and finished look. Follow these steps to sew the edges securely:
- Fold in the edges: Fold the fabric edges over by about 1/2 inch towards the wrong side of the fabric. Use your fingers or a hot iron to press the folds in place. This will create a clean and neat edge.
- Pin the folded edges: Secure the folded edges with sewing pins to keep them in place while you sew. Place the pins about 2-3 inches apart along each side.
- Sew the edges: Using a sewing machine or a needle and thread, stitch along the folded edges. Use a straight stitch or a zigzag stitch to secure the fabric. Sew slowly and carefully, removing the pins as you go. Backstitch at the beginning and end of each side to reinforce the stitches.
If you prefer a decorative touch, you can also use a decorative stitch or add trim along the edges of your flannel blanket. This will add a unique and personalized look to your finished product.
Once you have sewn all the edges, trim any loose threads and give your flannel blanket a final press with an iron to ensure that the edges are crisp and flat.
With the edges sewn, your flannel blanket is taking shape. Now, let’s move on to the optional step of adding decorative touches to make your blanket truly unique.
Step 5: Adding Decorative Touches (Optional)
If you want to personalize your flannel blanket or add some extra flair, this step allows you to get creative and add decorative touches. Here are some ideas to consider:
- Embroidery: Use embroidery floss and a needle to add personalized monograms, names, or decorative designs to your flannel blanket. You can stitch these onto a corner, along the edge, or in the center.
- Appliqué: Cut out shapes or designs from contrasting fabric and stitch them onto your flannel blanket. This can be done by hand or using a sewing machine.
- Trim: Add a decorative trim such as lace, ribbon, or pom-poms to the edges of your flannel blanket. This can be sewn onto the fabric or attached using fabric glue.
- Buttons: Sew on buttons in coordinating colors to add a playful touch to your flannel blanket. You can create a pattern or randomly scatter them across the fabric.
- Fabric paint or markers: If you are feeling artistic, use fabric paint or markers to create your own designs or patterns on the flannel fabric. Make sure to follow the manufacturer’s instructions for setting the paint or markers.
These decorative touches allow you to showcase your creativity and add a personal touch to your flannel blanket. Remember to consider the design and colors of your flannel fabric when choosing your decorative elements to ensure they complement each other.
Once you have completed the optional decorative touches, it’s time for the final step: adding the finishing touches to your flannel blanket.
Step 6: Finishing Touches
Now that your flannel blanket is almost complete, it’s time to add the finishing touches. Follow these steps to give your blanket a final touch of perfection:
- Inspect the blanket: Carefully inspect the entire blanket for any loose threads, uneven stitching, or missed spots. Trim any loose threads or make any necessary repairs.
- Press the blanket: Give your flannel blanket a final press with an iron to ensure all the seams are flat and any decorative elements are securely attached.
- Test the blanket: Before you use or gift your flannel blanket, take some time to test its durability and comfort. Snuggle up with it, feel its warmth, and make any final adjustments or improvements if needed.
Once you are satisfied with the final result, your flannel blanket is ready to be enjoyed. Curl up with it on a chilly evening, drape it over your couch as a cozy decor accent, or gift it to someone special to bring warmth and comfort into their life.
Congratulations on completing your own handmade flannel blanket! The time, effort, and creativity you put into this project make it truly special. Enjoy the cozy comfort and satisfaction of wrapping yourself in something made with love.
Remember, you can always come back to this article as a guide for future flannel blanket projects or to inspire others to create their own cozy and stylish blankets. Happy crafting!
Conclusion
Making a flannel blanket is a rewarding and enjoyable DIY project that allows you to create a cozy and personalized item for yourself or as a heartfelt gift. By following the steps outlined in this article, you can easily create a beautiful flannel blanket that reflects your style and preferences.
Choosing the right flannel fabric is the first step. Consider factors such as color, pattern, weight, and care instructions to find the perfect fabric for your project. Preparing the fabric by washing, drying, and ironing ensures a clean and smooth surface for cutting and sewing.
The cutting and sewing process requires careful attention to detail. Measure and mark the desired size, and cut the fabric accordingly. Sewing the edges with precision and securing them with stitches or trim adds a professional touch to your flannel blanket.
If you want to add a personal touch, consider adding decorative touches such as embroidery, appliqué, or trim. These elements can make your flannel blanket truly unique and showcase your creativity.
Finally, don’t forget the finishing touches. Inspect the blanket for any loose threads or imperfections, iron it one last time to ensure a polished appearance, and test its durability and comfort.
Creating your own flannel blanket is not only a fun and fulfilling activity, but it also allows you to enjoy the warmth and coziness of a handmade item that you can cherish for years to come. So, gather your materials, unleash your creativity, and embark on your flannel blanket-making journey. Happy crafting!
Frequently Asked Questions about How To Make A Flannel Blanket
Was this page helpful?
At Storables.com, we guarantee accurate and reliable information. Our content, validated by Expert Board Contributors, is crafted following stringent Editorial Policies. We're committed to providing you with well-researched, expert-backed insights for all your informational needs.