
Articles
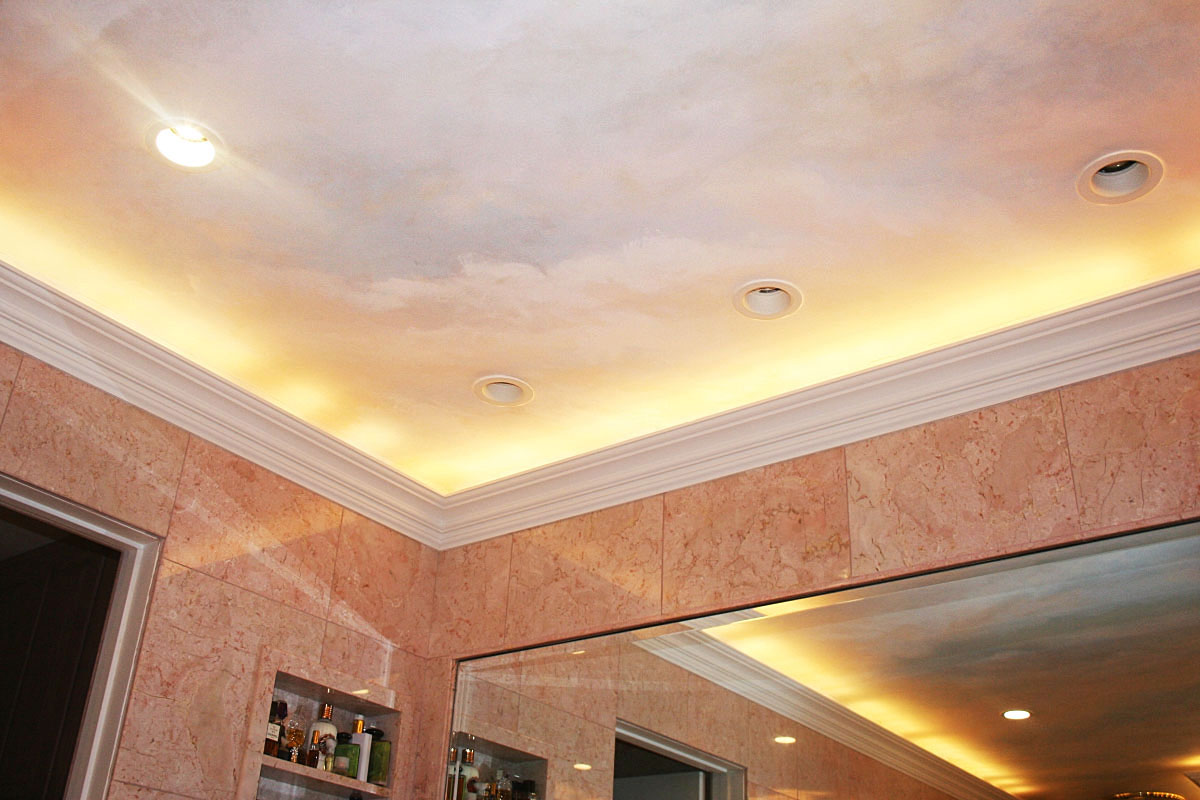
How To Make A Cloud Ceiling
Modified: October 19, 2024
Learn how to create a stunning cloud ceiling with our informative articles. Find step-by-step instructions, tips, and tricks to bring the sky indoors.
(Many of the links in this article redirect to a specific reviewed product. Your purchase of these products through affiliate links helps to generate commission for Storables.com, at no extra cost. Learn more)
Introduction
Welcome to the world of creative home decor! If you’re looking to add a touch of whimsy and enchantment to your living space, a cloud ceiling is the perfect DIY project for you. Imagine lying down and gazing up at a serene sky filled with fluffy clouds, even when the weather outside is gloomy. Creating a cloud ceiling is a fun and unique way to transform any room into a tranquil oasis. In this article, we will guide you through the step-by-step process of making your very own cloud ceiling.
Before we begin, it’s important to gather all the materials you’ll need. Don’t worry, the list is not extensive, and you might even have some of these items lying around your house. So let’s dive in and get started on this exciting project!
Key Takeaways:
- Transform any room into a serene oasis with a DIY cloud ceiling. Follow the step-by-step guide to bring the beauty and tranquility of the sky indoors, creating a mesmerizing and awe-inspiring space.
- Embrace your creativity and infuse your living space with enchantment by creating a cloud ceiling. Let your imagination soar as you embark on this exciting journey to make your own dreamy, whimsical oasis.
Read more: How To Make A Cloud Lamp
Materials Needed
For this project, you’ll need the following materials:
- Painters tape
- Drywall joint compound
- Paintbrushes
- Polyester batting or pillow stuffing
- Craft wire or floral wire
- String or fishing line
- White or light-colored fabric
- LED strip lights or string lights
- Scissors
- Ladder or step stool
These materials are easily accessible and can be found at your local hardware store or online. It’s important to choose light-colored fabric to create a realistic cloud-like effect. Polyester batting or pillow stuffing will provide dimension and texture to your clouds. LED strip lights or string lights will add a soft, warm glow to mimic sunlight filtering through the clouds.
Now that you have all the necessary materials, let’s move on to the next step of preparing the ceiling for your cloud creation.
Step 1: Preparing the Ceiling
The first step in creating your cloud ceiling is to prepare the surface by cleaning and prepping the ceiling. Start by removing any existing fixtures, such as light fixtures or ceiling fans, temporarily. This will provide a smooth surface to work with and ensure that the cloud frame adheres properly.
Next, clean the ceiling with a mild cleanser to remove any dirt or dust. This will help the cloud materials to adhere better and ensure a clean and polished look. Use a damp cloth or sponge to wipe down the ceiling, and allow it to dry completely before proceeding to the next step.
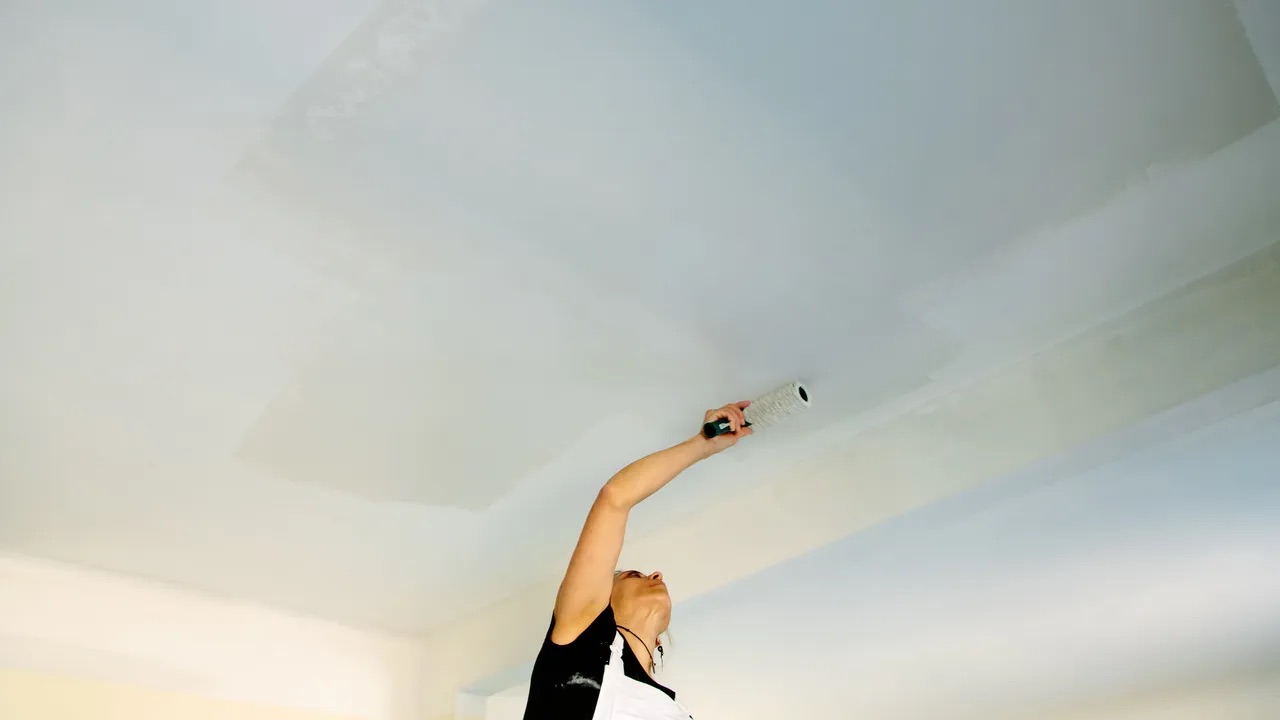
Once the ceiling is clean and dry, apply painter’s tape around the perimeter of the ceiling. This will protect the walls from any accidental paint spills or drips during the cloud installation process. Ensure that the tape is securely attached and that there are no gaps where paint can seep through.
With the ceiling prepped and protected, you’re now ready to move on to creating the cloud frame. This step will establish the structure for your cloud ceiling and provide a foundation to build upon.
Step 2: Creating the Cloud Frame
Creating the cloud frame is an essential step in bringing your cloud ceiling to life. This frame will serve as the structure that holds the cloud materials in place and gives them their fluffy shape.
To create the cloud frame, start by cutting craft wire or floral wire into different lengths, ranging from 6 inches to 12 inches. These wire pieces will act as the support beams for your cloud formation.
Take one piece of wire and shape it into a loop or a curved shape to resemble a cloud. Secure the ends of the wire together tightly, ensuring that it holds its shape. Repeat this process with the remaining wire pieces, creating multiple cloud-shaped frames.
Once you have created several wire frames, it’s time to attach them to the ceiling. Use string or fishing line to tie the wire frames securely to the ceiling at different points. This will help distribute the weight and create a more natural-looking cloud formation.
Space the cloud frames evenly across the ceiling, ensuring that they are secure and balanced. You can experiment with different sizes and shapes to create a varied and realistic cloud arrangement.
With the cloud frames in place, you’re now ready to move on to the next step of attaching the cloud material and bringing your cloud ceiling to life.
Step 3: Mounting the Cloud Frame
Now that you have created the cloud frames, it’s time to mount them securely to the ceiling. This step will ensure that the frames are firmly in place and won’t shift or sag over time.
Start by using drywall joint compound to fill in any gaps or holes around the wire frames. Apply a thin layer of joint compound over the wire and feather it outwards to create a seamless transition between the wire frame and the ceiling. Allow the joint compound to dry according to the manufacturer’s instructions.
Once the joint compound is dry, inspect the cloud frames to ensure they are securely attached to the ceiling. Gently tug on each frame to check for stability. If any frames feel loose, reinforce them by applying additional joint compound and allowing it to dry.
It’s important to note that the joint compound may add weight to the cloud frames. Make sure the frames are properly supported and that the ceiling can handle the added weight. If necessary, consult a professional or reinforce the ceiling structure before proceeding.
With the cloud frames securely mounted, it’s time to move on to the next step of attaching the cloud material.
When creating a cloud ceiling, use lightweight materials such as cotton batting or polyester fill to create a fluffy and realistic cloud effect. Hang the materials from the ceiling using fishing line for a floating appearance.
Read more: How To Store Files In The Cloud
Step 4: Attaching the Cloud Material
Now that the cloud frames are securely mounted, it’s time to bring your clouds to life by attaching the cloud material. This step will give your cloud ceiling its fluffy and realistic appearance.
Start by cutting white or light-colored fabric into several pieces, ensuring they are larger than the individual cloud frames. You can use polyester batting or pillow stuffing to create the cloud-like texture. Take one piece of fabric and gently drape it over a cloud frame, allowing it to hang down and mimic the natural shape of a cloud.
Secure the fabric to the wire frame using string or fishing line. Tie the fabric snugly to the frame, creating gentle folds and pleats to add dimension and texture. Repeat this process for each cloud frame, ensuring that the fabric is secured tightly and evenly distributed.
Continue attaching the fabric pieces to all the cloud frames, allowing the clouds to overlap slightly for a more organic and cohesive look. Take your time in arranging the fabric and adjusting the shape and size of the clouds to achieve your desired effect.
Once all the fabric pieces are attached, step back and admire your cloud ceiling. Take a moment to make any necessary adjustments or add additional fabric to areas that may need more coverage.
The cloud material will give your ceiling a soft and dreamy ambiance. Now, let’s move on to the next step of installing the lighting to enhance the overall effect.
Step 5: Installing the Lighting
Lighting plays a crucial role in creating a captivating cloud ceiling. With the right lighting, you can enhance the illusion of floating clouds and create a mesmerizing ambiance in the room.
There are a few options for lighting your cloud ceiling. One popular choice is to use LED strip lights that can be easily installed within the cloud frames. These lights provide a soft, diffused glow that mimics natural sunlight peeking through the clouds.
Start by measuring the length of each cloud frame and cut the LED strip lights accordingly. Carefully attach the LED strip lights along the inner edges of the cloud frames, following the manufacturer’s instructions.
If you prefer a more subtle lighting effect, you can opt for string lights instead of LED strip lights. String lights can be woven through the fabric of the clouds, creating a whimsical and ethereal glow.
With either option, make sure the lights are evenly distributed throughout the cloud ceiling. Take the time to hide any visible wires or cords by tucking them behind or alongside the cloud frames.
Once the lighting is installed, switch it on and marvel at the magical transformation of your cloud ceiling. The combination of the fabric clouds and the soft, warm glow of the lights will create a serene and enchanting atmosphere in the room.
Now that you have installed the lighting, it’s time to move on to the final step – testing the cloud ceiling to ensure everything is working perfectly.
Step 6: Testing the Cloud Ceiling
Before you can fully enjoy your newly created cloud ceiling, it’s important to test it to ensure that everything is working as intended and that the overall effect meets your expectations.
To begin, switch on the lighting system and take a moment to bask in the soft, ambient glow that illuminates your cloud ceiling. Observe the distribution of light and make any necessary adjustments to ensure that the clouds are evenly lit.
Next, step back and view the cloud ceiling from different angles and distances. Take note of any areas that may require additional fabric or adjustments to create a more realistic cloud formation.
If you find any inconsistencies or imperfections, take the time to make the necessary changes. This could involve rearranging fabric, repositioning cloud frames, or adjusting the lighting. Remember, the goal is to create a cloud ceiling that transports you to a tranquil and dreamy atmosphere.
Once you are satisfied with the appearance and functionality of your cloud ceiling, take a moment to appreciate your accomplishment. It’s a testament to your creativity and DIY skills, and it will surely be a conversation piece for friends and family who visit your home.
Now, it’s time to sit back, relax, and enjoy the peaceful ambiance of your cloud ceiling, whether it’s in your bedroom, nursery, home office, or any other space where you desire a touch of whimsy and tranquility.
Congratulations on successfully creating your very own cloud ceiling!
Conclusion
Creating a cloud ceiling is a delightful and imaginative way to transform any room into a serene oasis. By following the step-by-step process outlined in this article, you can bring the beauty and tranquility of the sky indoors and experience the magic of floating clouds from the comfort of your own home.
From preparing the ceiling and constructing the cloud frames to attaching the cloud material and installing the lighting, each step is essential in creating a realistic and enchanting cloud ceiling. The attention to detail and careful execution will result in a truly mesmerizing and awe-inspiring space.
Whether you choose to create a cloud ceiling in your bedroom, nursery, or any other room, it will undoubtedly add a touch of whimsy and tranquility to the space. The soft glow of the lights illuminating the fluffy clouds will create a soothing ambiance that invites relaxation and calm.
Remember, as with any DIY project, it’s essential to take your time, be patient, and embrace your creativity. Allow yourself the freedom to experiment with different fabric textures, cloud shapes, and lighting options to achieve the desired effect.
Now that you have the knowledge and guidance to create your own cloud ceiling, it’s time to embark on this exciting journey and infuse your living space with a touch of enchantment. Let your imagination soar as you create a cloud ceiling that will undoubtedly make you feel like you’re floating among the clouds.
So gather your materials, get ready to create, and marvel at the wondrous beauty of your very own cloud ceiling.
Frequently Asked Questions about How To Make A Cloud Ceiling
Was this page helpful?
At Storables.com, we guarantee accurate and reliable information. Our content, validated by Expert Board Contributors, is crafted following stringent Editorial Policies. We're committed to providing you with well-researched, expert-backed insights for all your informational needs.






0 thoughts on “How To Make A Cloud Ceiling”