Articles
How To Make A Water Pump From Scratch
Modified: January 8, 2024
Learn how to make a water pump with our informative articles. Find step-by-step guides and expert tips to build your own water pump at home.
(Many of the links in this article redirect to a specific reviewed product. Your purchase of these products through affiliate links helps to generate commission for Storables.com, at no extra cost. Learn more)
Introduction
Water pumps play a vital role in various industries and applications, from agricultural irrigation to residential plumbing systems. They are responsible for moving water efficiently and effectively, ensuring a steady supply for different purposes. While there are many commercially available water pumps on the market, building your own can be a rewarding and cost-effective option.
In this article, we will guide you through the process of making a water pump from scratch. Whether you’re a DIY enthusiast or simply looking to expand your technical skills, this step-by-step guide will provide you with the necessary knowledge and instructions to create your own homemade water pump.
Before we dive into the details, it’s important to note that building a water pump requires some basic knowledge of electrical wiring and mechanical assembly. Ensure that you have the necessary materials and tools before you begin, and exercise caution and safety throughout the process.
So, if you’re ready to embark on this DIY adventure, let’s explore the world of water pumps and get started on building your very own!
Key Takeaways:
- Building your own water pump from scratch is a rewarding and cost-effective project that allows you to customize a pumping solution to meet your specific needs, providing a sense of accomplishment and expanding your knowledge of mechanical and electrical systems.
- Thorough testing and troubleshooting common issues are crucial steps in ensuring the functionality and efficiency of your homemade water pump, allowing you to address potential problems and optimize its performance for various applications.
Read more: How To Make Water Pump Quieter
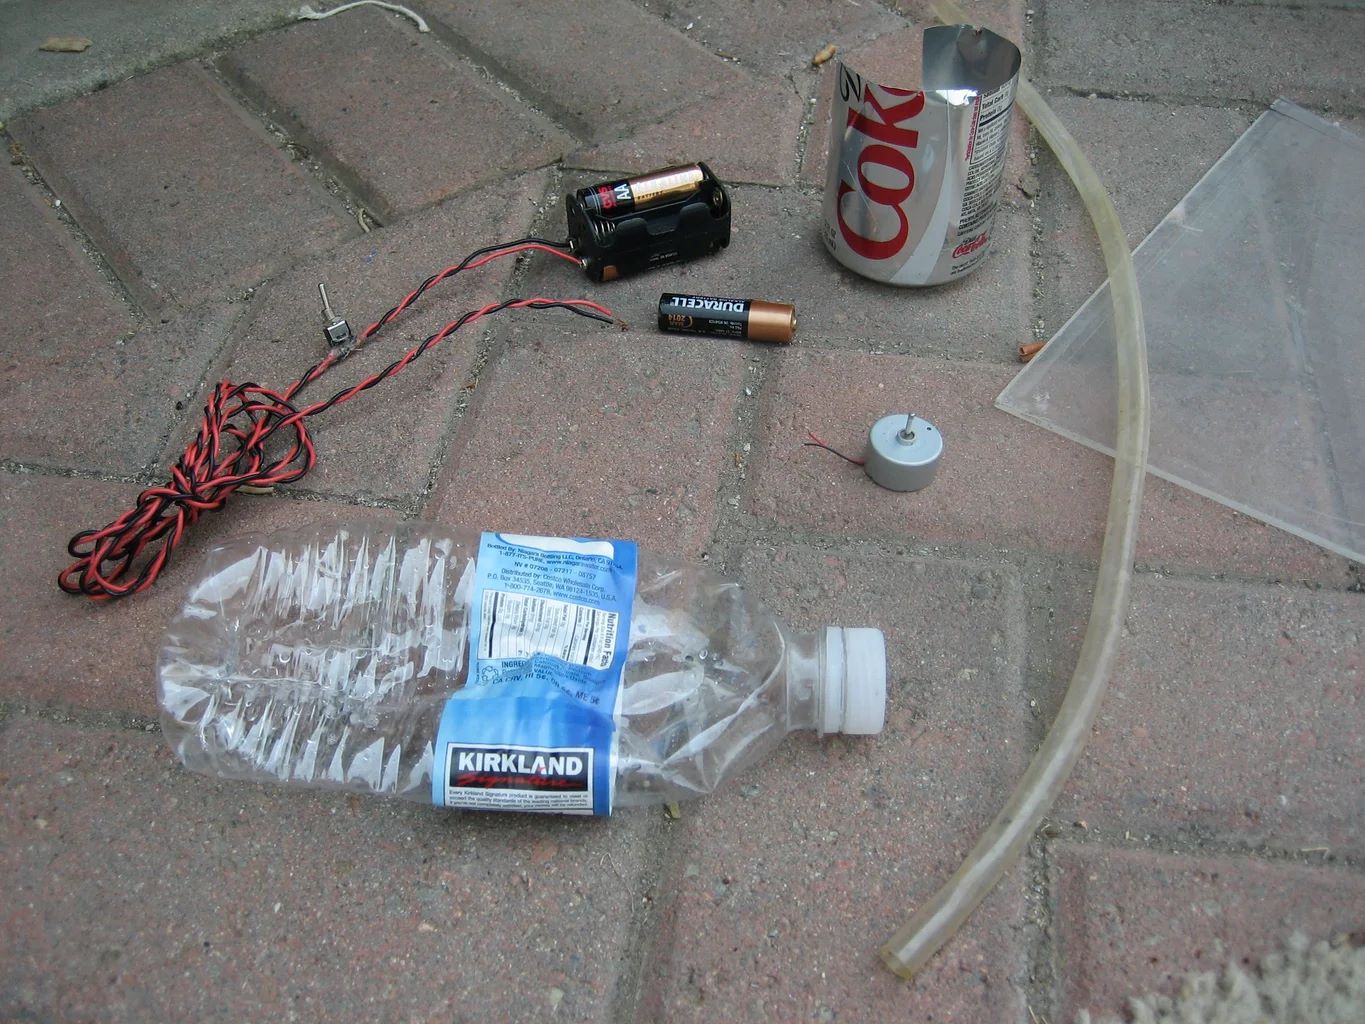
Materials and Tools
Before you begin constructing your water pump, it’s essential to gather all the necessary materials and tools. Here is a comprehensive list of what you will need:
Materials:
- 1. PVC pipe (1.5 inches in diameter)
- 2. PVC elbow joints
- 3. PVC T-joints
- 4. PVC caps
- 5. Rubber gaskets
- 6. Clear plastic tubing
- 7. Submersible motor and impeller
- 8. Plastic housing or container
- 9. Waterproof sealant or glue
- 10. Screws
- 11. Wire connectors
- 12. Electrical wire
- 13. Power source (battery or power supply)
Tools:
- 1. Pipe cutter or hacksaw
- 2. Drill
- 3. Screwdriver
- 4. Wire stripper
- 5. Heat gun or torch
- 6. Measuring tape or ruler
- 7. Pliers
Ensure that you have all the materials and tools on hand before you start building your water pump. This will help you work efficiently and avoid any unnecessary delays.
It’s important to mention that while the specific materials and tools listed here are commonly used, you can make adjustments based on your preference and availability. However, it’s crucial to maintain the functionality and safety of the water pump by using appropriate materials and tools.
Now that you have everything you need, let’s move on to the step-by-step process of constructing your homemade water pump!
Step 1: Gathering the necessary components
The first step in building your own water pump is to gather all the necessary components. Having these components ready will ensure a smooth construction process. Here’s what you’ll need:
Read more: How To Make A Homemade Water Pump
1. PVC Pipe and Fittings:
Start by acquiring a PVC pipe that is 1.5 inches in diameter. This will serve as the main body of the water pump. You’ll also need PVC elbow joints and T-joints to connect the various sections of the pump. Additionally, PVC caps are required to secure the ends of the pipe.
2. Rubber Gaskets:
Rubber gaskets are crucial for creating a watertight seal between the components of the pump. These gaskets prevent leakage and ensure efficient water flow. Make sure to choose gaskets that fit securely in the pipe and fittings.
3. Clear Plastic Tubing:
Clear plastic tubing is used to transport water from the source to the pump and from the pump to the desired destination. The size of the tubing should be compatible with the fittings and connectors of your water pump.
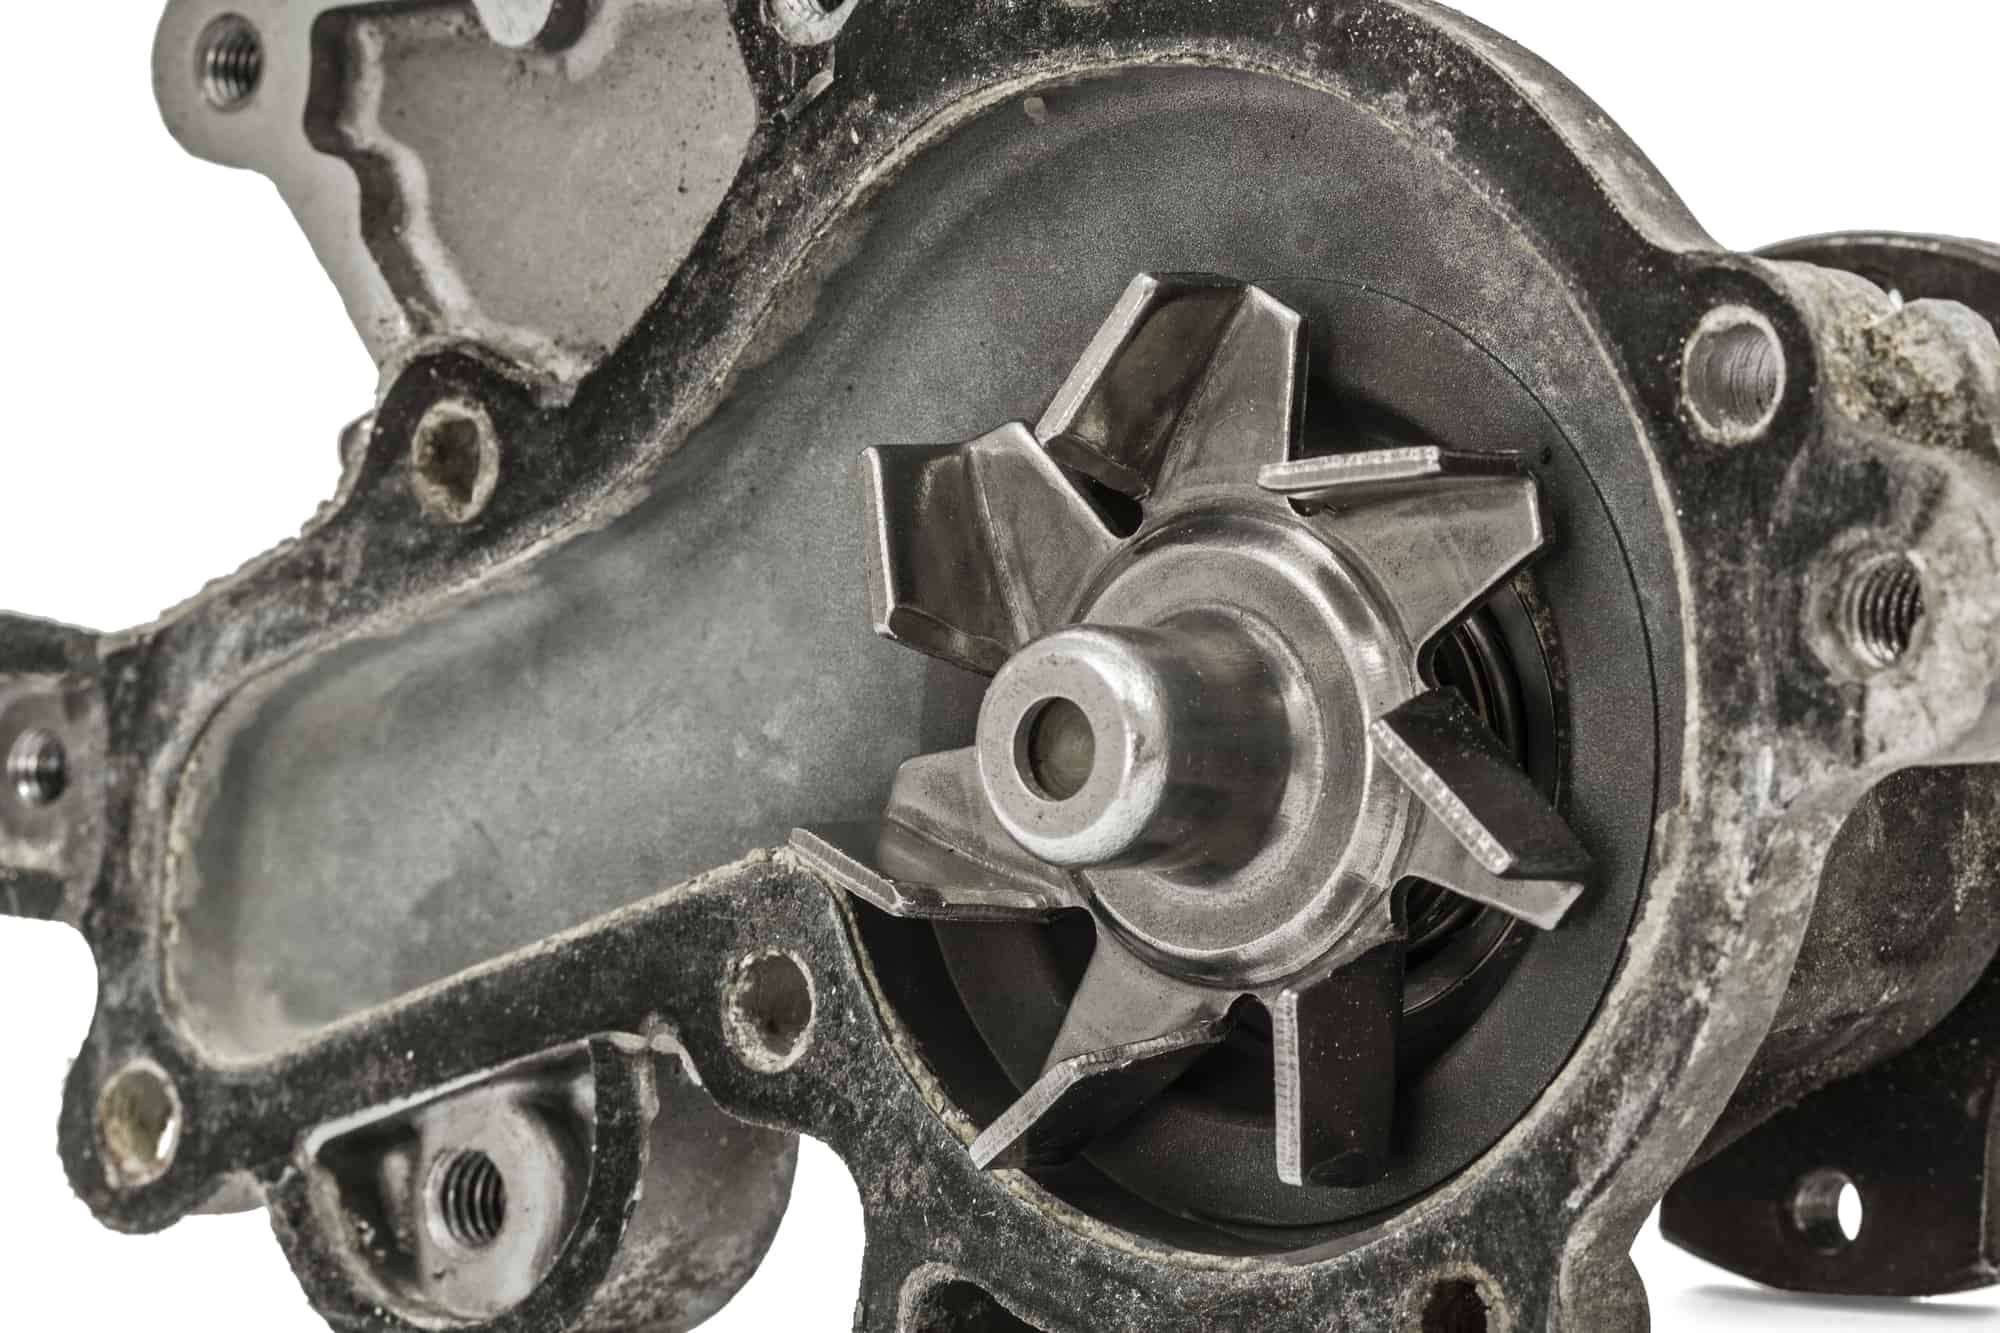
4. Submersible Motor and Impeller:
The heart of your water pump is the submersible motor and impeller. This component is responsible for generating the pumping action to move the water. Ensure that the motor and impeller are compatible and of adequate power for your intended use.
Read more: How To Keep A Water Pump From Freezing
5. Plastic Housing or Container:
Choose a suitable plastic housing or container to house the motor and impeller assembly. It should be large enough to accommodate the components and provide stability to the pump. Consider the size of your pump and the available space when selecting the housing or container.
6. Waterproof Sealant or Glue:
Using a waterproof sealant or glue, you can secure the joints and connections between the PVC pipe and fittings. This will provide added durability and prevent any water leakage.
7. Additional Hardware:
Gather screws, wire connectors, electrical wire, and a power source such as a battery or power supply. These items are necessary for securing and connecting the various components of the water pump.
By gathering all these components before you start building, you’ll have a clear understanding of the materials required for each step. This preparation will help streamline the construction process and ensure a successful outcome.
Step 2: Assembling the water pump
Now that you have gathered all the necessary components, it’s time to proceed with assembling your water pump. Follow these step-by-step instructions to construct your homemade water pump:
Read more: How To Make A Water Pump Using A Motor
1. Prepare the PVC pipe:
Measure and cut the PVC pipe to the desired length using a pipe cutter or hacksaw. Ensure that the pipe is clean and free of any debris or rough edges.
2. Attach the PVC fittings:
Connect the PVC elbow joints and T-joints to the pipe as needed to create the desired configuration for your pump. Use a waterproof sealant or glue to secure the connections and ensure a tight fit.
3. Install the rubber gaskets:
Place rubber gaskets inside the fittings and caps to create a watertight seal. The gaskets should fit securely and prevent any leakage.
4. Prepare the plastic housing or container:
If your water pump requires a housing or container, make any necessary modifications to accommodate the motor and impeller assembly. Drill holes for the tubing and power cord, ensuring they are properly aligned with the pump components.
Read more: How To Make Water Pump Without Electricity
5. Mount the motor and impeller:
Attach the submersible motor and impeller assembly to the designated area inside the plastic housing or container. Ensure that it is securely mounted and positioned correctly to create the pumping action.
6. Connect the PVC pipe to the motor:
Attach one end of the PVC pipe to the outlet of the motor assembly. Use a waterproof sealant or glue to secure the connection and prevent any water leakage.
7. Connect the clear plastic tubing:
Connect the clear plastic tubing to the other end of the PVC pipe. This tubing will transport the water from the pump to the desired destination. Secure it tightly using hose clamps or zip ties.
8. Set up the power source:
Connect the power source, whether it’s a battery or power supply, to the motor using electrical wire and wire connectors. Follow proper electrical safety guidelines and ensure a secure connection.
Once you have completed these steps, you will have successfully assembled your homemade water pump. However, before moving forward, it’s crucial to verify the functionality and safety of your pump by conducting thorough testing.
Continued in the next step…
Read more: How To Make A Solar Powered Water Pump
Step 3: Connecting the pump to a power source
With your water pump assembled, the next step is to connect it to a power source. Follow these instructions to ensure proper connection and safe operation of your pump:
1. Verify power requirements:
Refer to the specifications of your submersible motor to determine the power requirements. Make sure your power source can provide the necessary voltage and current for the motor to function optimally.
2. Wire the power source:
If you’re using a battery as the power source, ensure that it is fully charged. If you are using a power supply, connect it to a suitable electrical outlet. Take proper precautions when handling electrical components and follow safety guidelines.
3. Connect the motor to the power source:
Using electrical wire and wire connectors, make the necessary connections between the motor and the power source. Follow the motor manufacturer’s instructions and ensure a secure, tight connection.
Read more: How To Build A Shed From Scratch
4. Insulate the wires:
To prevent any accidental contact and ensure electrical safety, insulate the exposed wires using electrical tape or heat shrink tubing. This will reduce the risk of electrical shocks and potential damage to the pump or surrounding components.
5. Test the power connection:
Before fully submerging the pump in water, verify that the power connection is working properly. Switch on the power source and check if the motor starts running smoothly. If everything is functioning as expected, proceed to the next step. If not, review your connections and troubleshoot any issues.
6. Install protective measures:
If you plan to use the pump in a location where it may encounter water splashes or excessive moisture, consider installing protective measures such as a waterproof enclosure or electrical insulation to ensure the safety of the electrical components.
Remember, safety should be your top priority when working with electrical connections. If you are unsure about any aspect of the power connection, consult a professional or seek guidance from an electrical expert.
Once you have successfully connected the pump to a power source and verified its functionality, you are now ready to move on to the next step, which involves testing the water pump.
Step 4: Testing the water pump
After connecting your water pump to a power source, it’s essential to test its performance and functionality. This step will ensure that your pump operates as intended and meets your requirements. Follow these instructions to carry out a successful pump test:
Read more: How To Remove Fan From Water Pump Dodge Ram
1. Prepare a water source:
Fill a container or basin with water that will be used as the source for your pump. Ensure that the water level is sufficient to submerge the pump completely.
2. Submerge the pump:
Carefully lower the assembled pump into the water, ensuring that it is fully submerged. The clear plastic tubing should be positioned so that it can efficiently deliver water to the desired location.
3. Power on the pump:
Switch on the power source to activate the water pump. Observe the pump’s operation, paying attention to the flow of water through the clear plastic tubing and the movement of the impeller.
4. Monitor the performance:
Observe the pump’s performance and test its efficiency. Check the water flow rate and ensure that it meets your expectations. You may also want to evaluate the pump’s power consumption and noise levels, taking note of any discrepancies or irregularities.
Read more: How To Start A Wardrobe From Scratch
5. Inspect for leaks or malfunctions:
During the test, inspect the entire water pump assembly for any signs of leakage or malfunctions. Pay special attention to the connections, joints, and gaskets. If you notice any issues, stop the pump immediately and address the problem before proceeding.
6. Adjustments and fine-tuning:
If necessary, make any adjustments to optimize the pump’s performance. This may involve fine-tuning the position of the impeller, adjusting the water flow rate, or ensuring proper alignment of the components.
7. Repeat the test if needed:
If you encounter any issues during the test or make adjustments to the pump, repeat the testing process to ensure that the modifications have resolved the problem.
By thoroughly testing your water pump, you can identify any potential problems and address them before putting the pump to regular use. This step ensures that your pump is functioning optimally and meets your specific requirements.
Once you are satisfied with the pump’s performance and have successfully tested it, you can move on to the next step, which involves troubleshooting common issues that might arise with your homemade water pump.
Step 5: Troubleshooting common issues
While building and testing your homemade water pump, you may come across certain issues or challenges. In this step, we will discuss some common problems that may arise and provide troubleshooting steps to resolve them:
Read more: How To Train Cats To Not Scratch Furniture
1. Insufficient water flow:
If your pump is not delivering the desired water flow rate, first check the power source to ensure it is providing sufficient voltage. Additionally, inspect the clear plastic tubing and connections for any blockages or restrictions. Clear any obstructions and confirm that the impeller is functioning properly.
2. Leakage:
If you notice any water leakage from the pump assembly, examine the connections, joints, and gaskets. Make sure that the fittings are tightly secured and the rubber gaskets create a proper seal. Apply additional waterproof sealant or glue if necessary.
3. Motor not running:
If the motor fails to start or run, check the electrical connections to ensure they are properly secured. Verify that the power source is functioning correctly and providing adequate power. If the issue persists, refer to the manufacturer’s manual or seek professional assistance.
4. Excessive noise:
If your water pump produces an unusual amount of noise, check for loose components or vibrations in the pump assembly. Secure any loose parts and ensure proper alignment. Additionally, inspect the impeller for any damage or obstruction that may be causing excessive noise.
Read more: How To Remove Scratches From Toilet Seat
5. Overheating:
If the pump becomes excessively hot during operation, it may be due to internal motor issues or inadequate cooling. Consider adding a cooling system or ensuring proper ventilation for the motor. If the problem persists, consult an expert or the manufacturer for further guidance.
6. Power supply issues:
If you experience intermittent power supply or fluctuations, check the electrical connections and power source for any loose connections or faulty wiring. Consider using a backup power source or adding surge protection to prevent damage to the pump’s components.
Remember, troubleshooting common issues is part of the process of building and maintaining your water pump. By identifying and resolving these problems, you can ensure the longevity and efficiency of your homemade pump.
Now that you are familiar with the troubleshooting process, you can confidently address any issues that may arise and move forward with using your homemade water pump for various applications.
Conclusion
Building your own water pump can be a fulfilling and cost-effective project that allows you to customize a pumping solution to meet your specific needs. By following the step-by-step guide outlined in this article, you can create a functional and efficient homemade water pump.
Throughout the process, we discussed the materials and tools required, as well as the assembly and connection of the pump components. We also covered the importance of testing the pump and troubleshooting common issues that may arise.
Remember, safety should always be a priority when working with electrical components and water. Take the necessary precautions, follow the guidelines, and consult professionals if needed.
Building your own water pump not only provides a sense of accomplishment but also offers the opportunity to learn and expand your knowledge of mechanical and electrical systems. It can be a fun and engaging project for DIY enthusiasts, students, and anyone interested in understanding how water pumps work.
Once you have successfully constructed and tested your water pump, you can start putting it to use in a variety of applications, such as garden irrigation, water circulation, or even small-scale hydroponic setups.
Remember, the process of building a water pump is adaptable. You can modify the design, size, and components based on your specific requirements, making it a versatile project for different applications.
In conclusion, building your own water pump is an exciting journey that can save you money while providing you with a functional and customized solution. So, gather your materials, tools, and enthusiasm, and embark on this rewarding DIY project today!
Frequently Asked Questions about How To Make A Water Pump From Scratch
Was this page helpful?
At Storables.com, we guarantee accurate and reliable information. Our content, validated by Expert Board Contributors, is crafted following stringent Editorial Policies. We're committed to providing you with well-researched, expert-backed insights for all your informational needs.


0 thoughts on “How To Make A Water Pump From Scratch”