Articles
How To Make A Water Pump Using A Motor
Modified: December 7, 2023
Learn how to make a water pump using a motor with step-by-step instructions and helpful tips. Discover articles on DIY water pump projects for home and garden.
(Many of the links in this article redirect to a specific reviewed product. Your purchase of these products through affiliate links helps to generate commission for Storables.com, at no extra cost. Learn more)
Introduction
Welcome to this article on how to make a water pump using a motor. Water pumps are essential devices that help circulate water, whether it’s for irrigation, household use, or other purposes. While there are various types of water pumps available on the market, building your own can be a rewarding and cost-effective option.
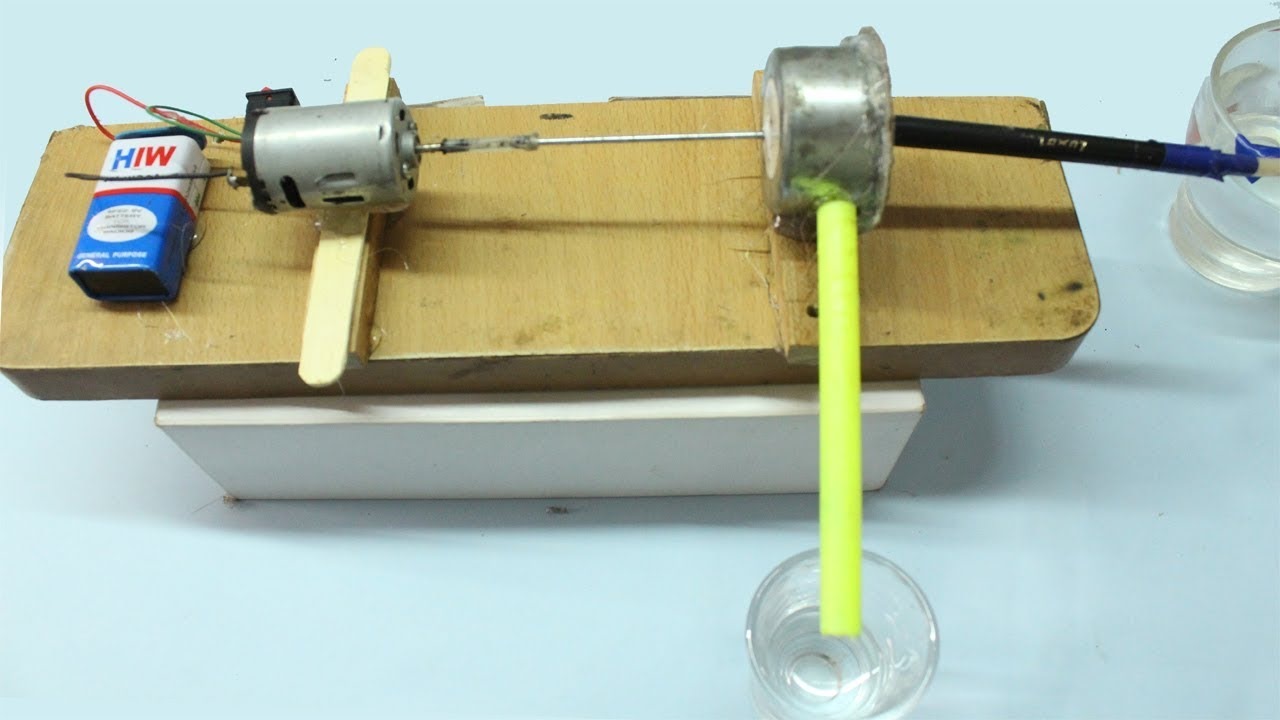
In this article, we’ll guide you through the step-by-step process of creating a water pump using a motor. By following these instructions and gathering the necessary materials, you’ll be able to construct a simple yet functional water pump that can be used for various applications.
Please note that safety is of utmost importance when working with electrical components and tools. Make sure to follow all safety precautions, wear protective gear, and work in a well-ventilated area. If you’re not comfortable handling electrical equipment, it’s best to seek assistance from someone with experience.
Now, let’s take a look at the materials you’ll need for this project.
Key Takeaways:
- Build your own water pump using a motor by following step-by-step instructions. Enjoy the satisfaction of creating a cost-effective solution for water circulation while having control over design and performance.
- Safety is crucial when working with electrical components and tools. Seek assistance if needed and continuously maintain and inspect your DIY water pump for efficient, long-term operation.
Read more: How To Use A Water Pump
Materials Needed
Before you start building your water pump, gather the following materials:
- A motor – You can use a small DC motor or a submersible pump motor.
- PVC pipe – Choose a size that suits your needs and the flow rate you desire.
- PVC fittings – Including elbows, couplings, and T-joints.
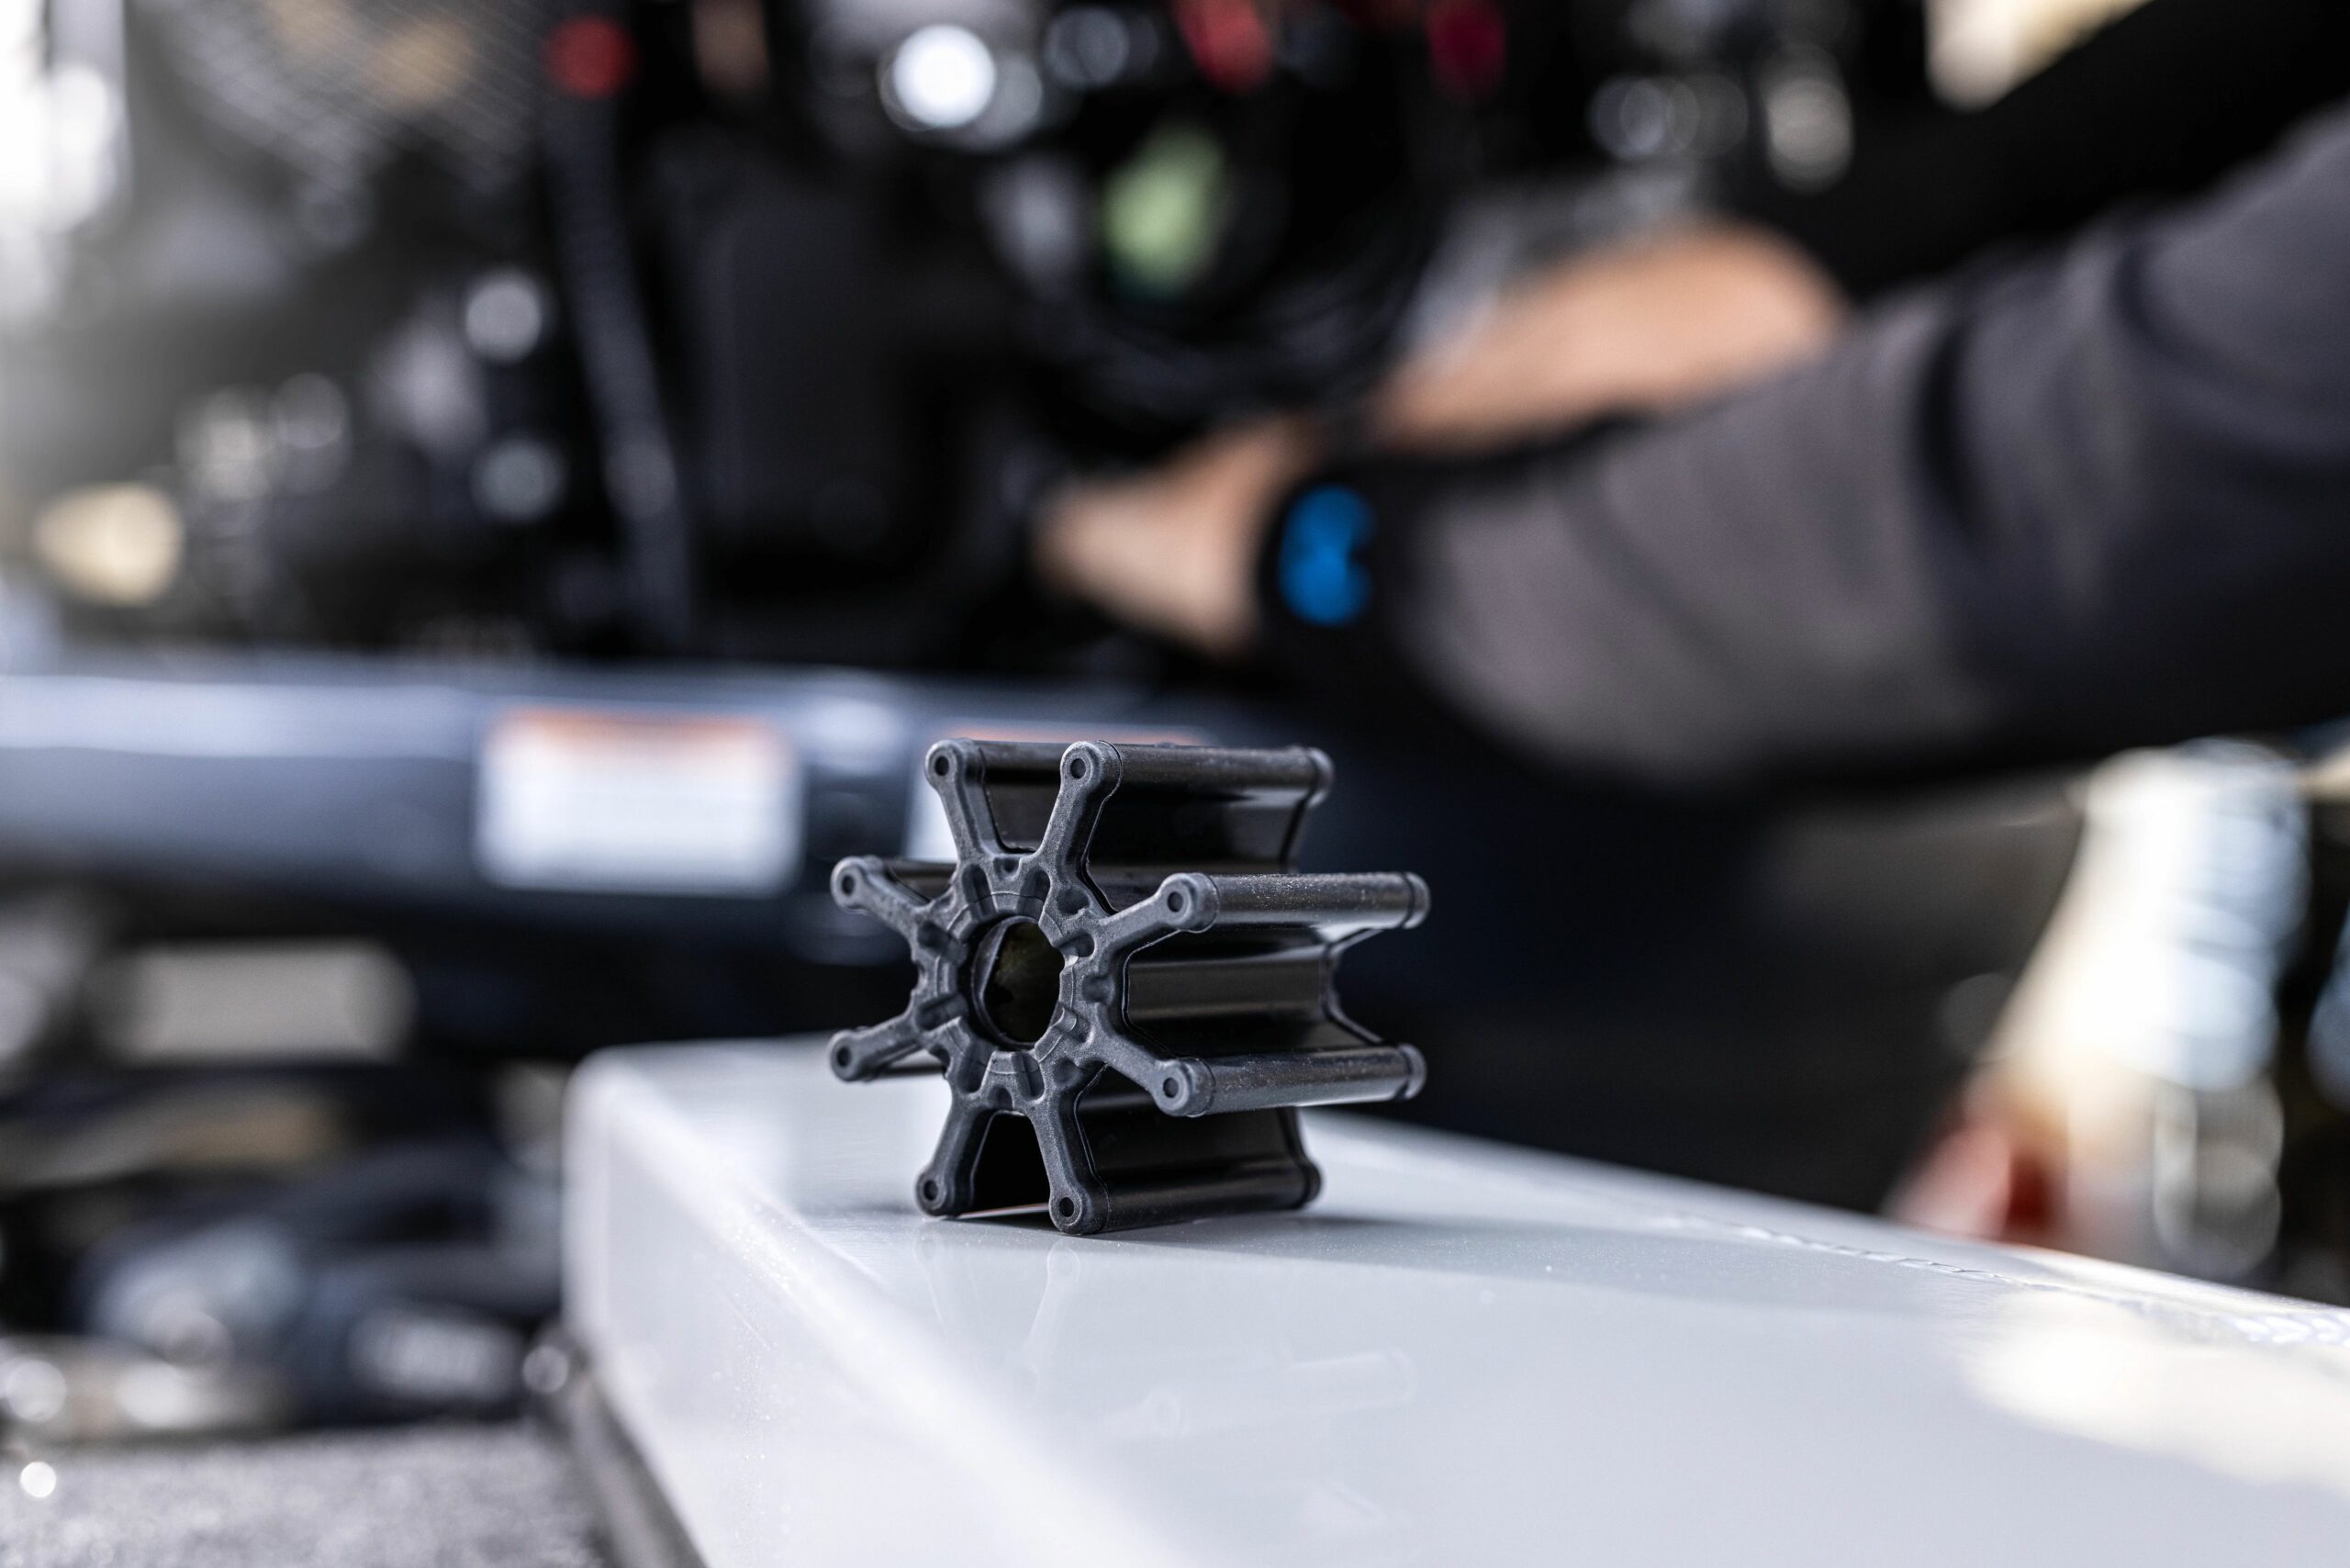
- A impeller – You can purchase one or create your own using materials like plastic or metal.
- Electrical wires and connectors – Ensure they are compatible with your motor.
- A power source – This can be a battery or any other suitable power supply.
- A switch – To control the on/off function of the pump.
- Teflon tape – To ensure watertight connections.
- Tools – Including a drill, saw, pipe cutter, soldering iron, and wire strippers.
These are the basic materials you’ll need to construct your water pump. Depending on your specific design and requirements, you might need additional components. It’s always a good idea to plan ahead and thoroughly research the type of pump you want to build.
Now that you’ve gathered all the necessary materials, let’s move on to the step-by-step instructions for building your water pump.
Step 1: Prepare the Motor
The first step in building your water pump is preparing the motor. Whether you’re using a small DC motor or a submersible pump motor, make sure it is in proper working condition. Here’s how to get started:
- Inspect the motor: Check for any damage, loose parts, or signs of wear. If you notice any issues, repair or replace the motor before proceeding.
- Clean the motor: Remove any dirt, debris, or grease from the motor housing using a soft brush or cloth. This will ensure smooth operation and prevent any interference with the pump assembly.
- Check the electrical connections: Examine the wires and connectors on the motor to ensure they are secure. If any wires are loose or damaged, reattach or replace them as needed.
- Connect the power source: If you’re using a separate power source such as a battery, connect the positive and negative terminals to the corresponding terminals on the motor.
- Test the motor: Once the connections are secure, briefly turn on the motor to verify that it spins freely and operates smoothly.
By preparing the motor properly, you’ll ensure that it functions optimally and provides the necessary power for your water pump. Now that the motor is ready, let’s move on to building the pump housing.
Step 2: Build the Pump Housing
Now that the motor is prepared, it’s time to build the pump housing. The pump housing provides a structure for the water to flow through and houses the impeller. Follow these steps to construct the pump housing:
- Choose a PVC pipe size: Determine the size of the PVC pipe based on your project requirements and the desired flow rate. Cut the PVC pipe to the desired length using a pipe cutter.
- Prepare the inlet and outlet: Decide where you want the water to enter and exit the pump housing. Using a drill and appropriate size drill bit, create holes for the inlet and outlet on the PVC pipe.
- Attach PVC fittings: Depending on your design, you may need to attach PVC elbows, couplings, or T-joints to the pump housing. Use PVC glue or adhesive to secure these fittings in place.
- Ensure watertight connections: Wrap Teflon tape around the threaded ends of the fittings before screwing them into place. This will provide a tight seal and prevent any water leakage.
Building the pump housing is an important step in creating an efficient and well-functioning water pump. Once the pump housing is constructed, we can move on to connecting the inlet and outlet.
When making a water pump using a motor, ensure that the motor is waterproof and suitable for continuous operation. Use a durable and corrosion-resistant impeller for efficient water pumping.
Step 3: Connect the Inlet and Outlet
With the pump housing built, it’s time to connect the inlet and outlet to allow water to flow in and out of the pump. Follow these steps to connect the inlet and outlet:
- Insert the inlet and outlet fittings: Take the appropriate PVC fittings (such as elbows or T-joints) and insert them into the holes you drilled in the pump housing for the inlet and outlet.
- Secure the fittings: Use PVC glue or adhesive to secure the fittings in place. Ensure that they are firmly attached and provide a watertight seal.
- Attach the inlet and outlet pipes: Cut additional lengths of PVC pipe to connect the inlet and outlet fittings to the water source and desired location for the pumped water to be discharged.
- Secure all connections: Use PVC glue or adhesive to secure all the connections between the fittings, inlet pipe, and outlet pipe. This will prevent any leaks or movement of the pipes during operation.
By connecting the inlet and outlet properly, you ensure a smooth and continuous flow of water through the pump. Now that the connections are in place, it’s time to move on to attaching the impeller to the motor shaft.
Step 4: Attach the Impeller to the Motor Shaft
Now that the pump housing and the inlet-outlet connections are ready, it’s time to attach the impeller to the motor shaft. The impeller is the rotating component that helps to create suction and force water through the pump. Follow these steps to attach the impeller:
- Select the proper impeller: Choose an impeller that is suitable for your water pump design and desired flow rate. You can purchase a pre-made impeller or create one using materials like plastic or metal.
By attaching the impeller to the motor shaft, you’re one step closer to completing your DIY water pump. The impeller plays a crucial role in creating the necessary suction and pressure to move water efficiently. With the impeller securely in place, it’s time to move on to the final step: testing the water pump.
Step 5: Test the Water Pump
Now that you have completed the construction of your water pump, it’s time to test it to ensure everything is working correctly. Follow these steps to test your water pump:
- Fill the pump housing with water: Submerge the pump housing in a water source such as a basin, bucket, or tank. Make sure the inlet is fully underwater.
It’s important to note that the performance of your water pump may vary based on factors such as motor power, impeller design, and overall system configuration. Take note of any adjustments or improvements that may be necessary for optimal performance.
With your water pump tested and functioning properly, you can now use it for various applications such as irrigation, water circulation, or other purposes that require the movement of water. Enjoy the fruits of your DIY efforts!
Conclusion
Congratulations on successfully building your own water pump using a motor! By following the step-by-step instructions outlined in this article and gathering the necessary materials, you have created a functional and cost-effective solution for water circulation. Building your own water pump allows you to have control over the design, flow rate, and overall performance of the pump.
Remember, safety should always be a priority when working with electrical components and tools. Follow all safety precautions, wear protective gear, and seek assistance if needed. It’s important to have a good understanding of the electrical connections and principles involved in building a water pump.
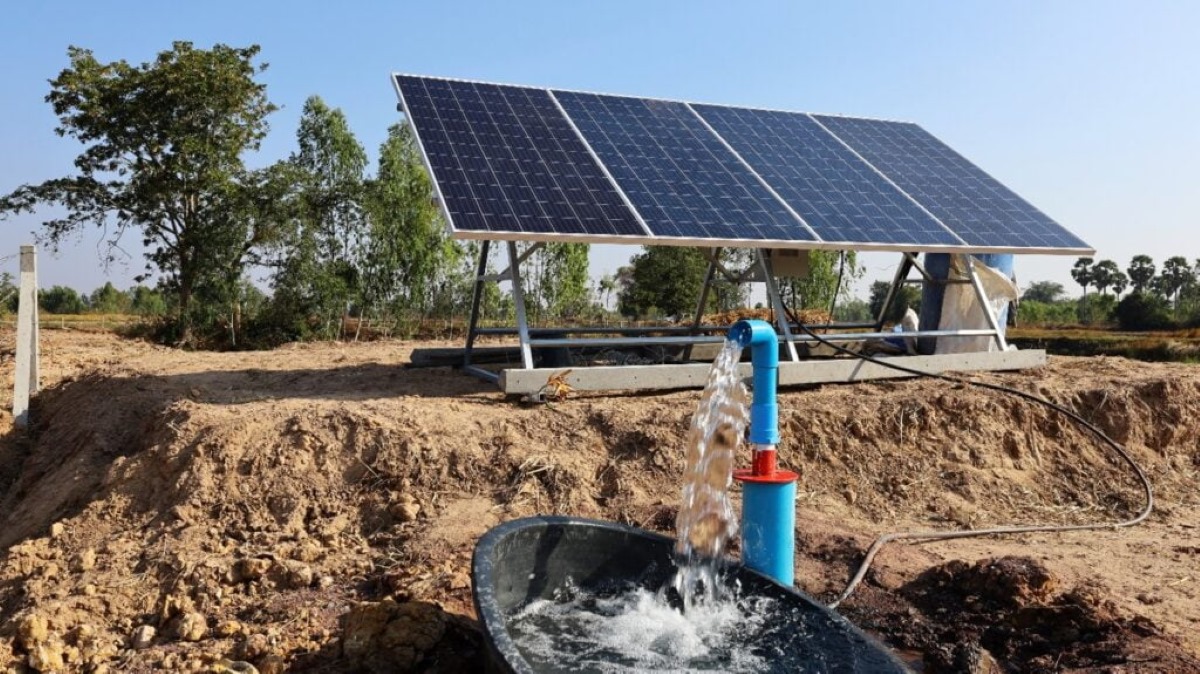
Your newly constructed water pump can be used for various purposes, such as irrigation for your garden, pumping water from a well, or creating a water circulation system. Experiment with different configurations and settings to optimize the performance of your pump.
As you gain more experience and knowledge in building water pumps, you can explore advanced techniques and designs to further enhance your pumping system. Consider adding features like pressure gauges or automatic shut-off mechanisms for improved functionality and control.
Building your own water pump not only saves you money but also provides you with a sense of satisfaction and accomplishment. You have acquired a valuable skill that can be applied to other DIY projects and continue to expand your knowledge of engineering and mechanics.
Keep in mind that continuous maintenance and regular inspection of your water pump are essential to ensure its longevity and efficient operation. Regularly check for any clogs, leaks, or signs of wear and address them promptly to avoid any damage to the pump or plumbing system.
Now that you have successfully built your own water pump, take pride in your accomplishment and enjoy the benefits it brings. Whether it’s providing water for your plants, keeping your pond aerated, or supplying water for various household needs, your DIY water pump will serve you well for years to come.
Frequently Asked Questions about How To Make A Water Pump Using A Motor
Was this page helpful?
At Storables.com, we guarantee accurate and reliable information. Our content, validated by Expert Board Contributors, is crafted following stringent Editorial Policies. We're committed to providing you with well-researched, expert-backed insights for all your informational needs.


0 thoughts on “How To Make A Water Pump Using A Motor”