Articles
How To Make A Quilt Made From Baby Clothes
Modified: February 24, 2024
Learn how to create a sentimental quilt using your baby's clothes with our informative articles. Discover helpful tips and techniques for this adorable DIY project.
(Many of the links in this article redirect to a specific reviewed product. Your purchase of these products through affiliate links helps to generate commission for Storables.com, at no extra cost. Learn more)
Introduction
Welcome to the world of quilting! There’s something incredibly special about creating a quilt made from baby clothes. Not only does it preserve precious memories, but it also serves as a meaningful and functional piece of art. Whether you’re a seasoned quilter or just starting out, making a quilt from baby clothes can be a rewarding and sentimental project.
In this article, we will guide you through the process of creating a beautiful and personalized quilt using your baby’s clothes. From gathering materials to adding the finishing touches, we’ll cover each step in detail to ensure that your quilt turns out just the way you envision.
Before we dive into the actual steps, it’s important to take a moment and think about the significance of the project. Quilts made from baby clothes have a unique ability to preserve memories and tell stories. Each piece of fabric carries with it a reminder of your little one’s first onesies, tiny socks, and beloved outfits. So as you embark on this journey, embrace the emotions and connection that comes with repurposing these cherished items.
Now, let’s get started on this beautiful journey of transforming your baby’s clothes into a quilt that will be treasured for years to come.
Key Takeaways:
- Preserve cherished memories and create a meaningful quilt by repurposing baby clothes. Each step, from gathering materials to adding final touches, is a labor of love that results in a unique and sentimental heirloom.
- Embrace the sentimental journey of transforming baby clothes into a beautiful quilt. From designing and piecing the fabric to quilting and binding, each step is an opportunity to showcase creativity and preserve precious memories.
Read more: How To Make A Quilt For A Baby
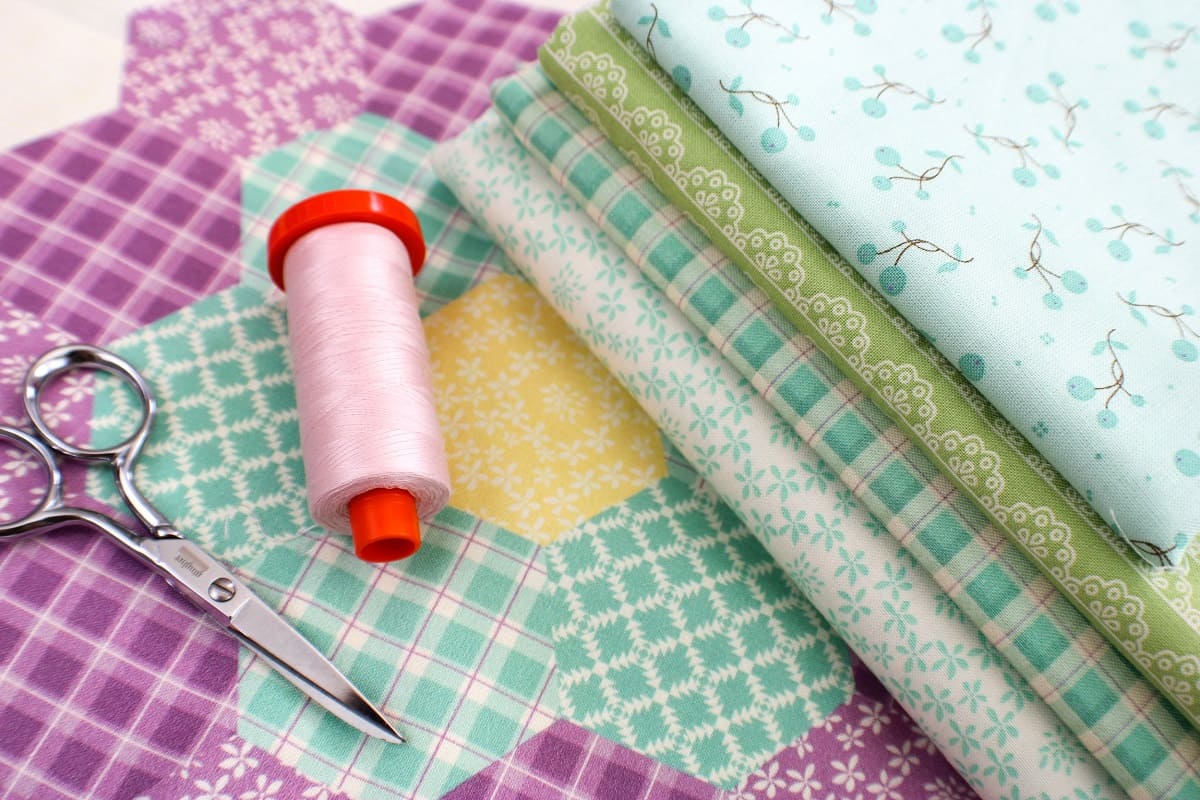
Gathering Materials
Before you begin creating your quilt made from baby clothes, it’s essential to gather all the necessary materials. Here’s a list of what you’ll need:
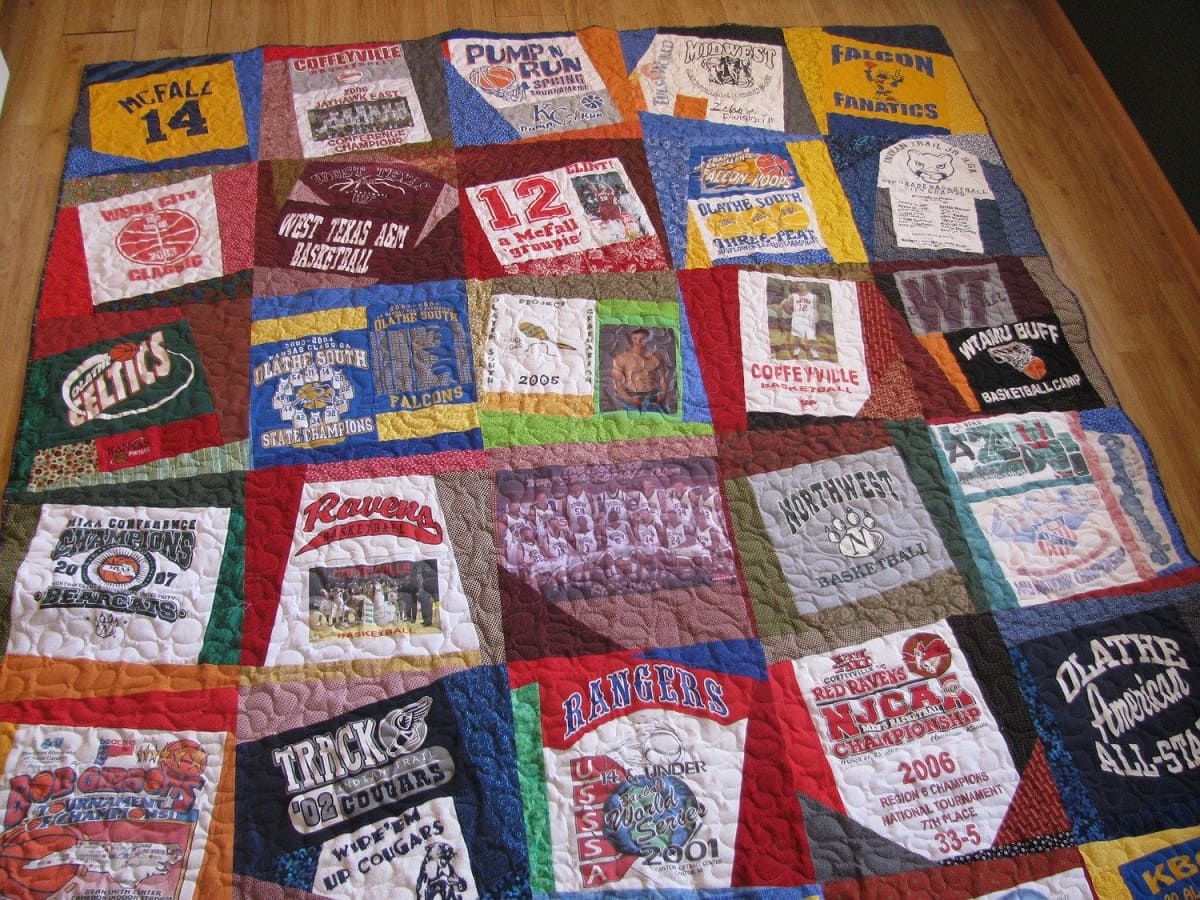
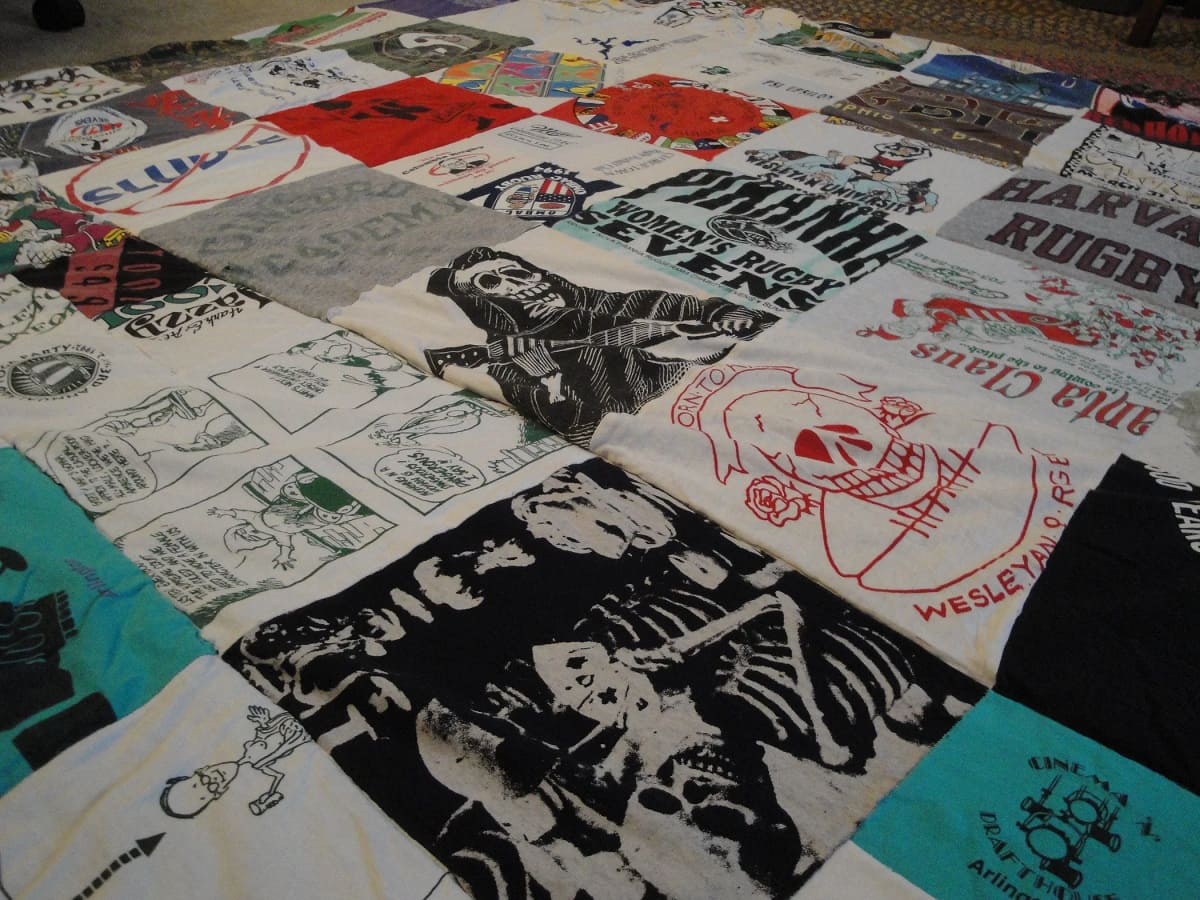
- Baby Clothes: Collect a variety of baby clothes that hold sentimental value or are no longer being used. Choose a mix of colors, patterns, and textures to add visual interest to your quilt.
- Fabric Scissors: Invest in a good pair of fabric scissors to ensure clean and precise cuts.
- Thread: Choose a strong and durable thread that matches or complements your fabric colors.
- Quilting Ruler: A quilting ruler will help you measure and cut the fabric pieces accurately.
- Cutting Mat: Place your fabric on a cutting mat to protect your work surface and provide a precise cutting area.
- Pins: Use pins to secure the fabric pieces together before sewing.
- Sewing Machine: A sewing machine will make the process quicker and more efficient. Ensure it’s in good working condition before starting.
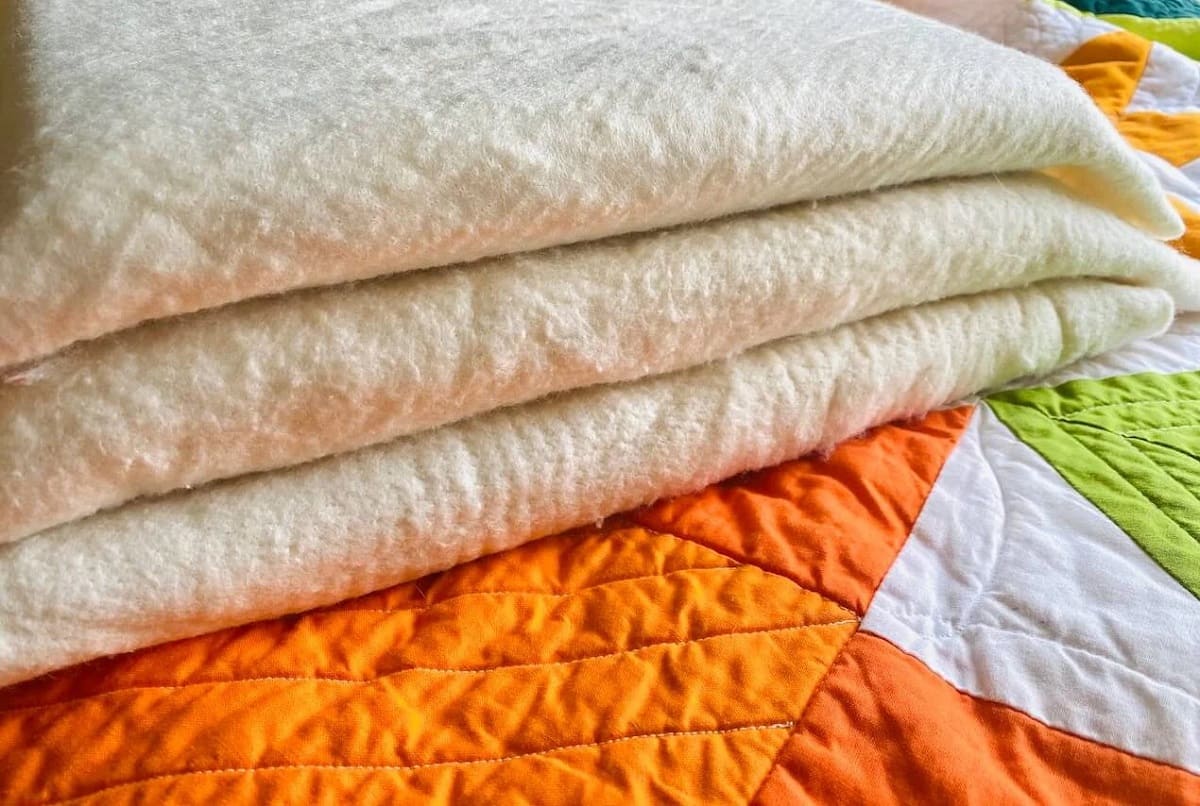
- Batting: Batting is the layer in the middle of the quilt that provides warmth and insulation. Choose a batting that suits your preference and climate.
- Backing Fabric: Select a fabric for the back of your quilt that complements the colors and style of your baby clothes.
- Quilting Pins or Spray: Choose either quilting pins or spray to secure the layers of your quilt for the quilting process.
- Binding Fabric: Choose a fabric that will serve as the edging or binding for your quilt.
- Iron and Ironing Board: Keep your fabric pieces crisp and smooth by ironing them before sewing.
Ensure that you have all these materials on hand before you start your quilting journey. You may also need additional supplies depending on your specific design and preferences.
Now that you have gathered all the necessary materials, it’s time to prepare the baby clothes for quilting. Let’s move on to the next step: Preparing the Clothes.
Preparing the Clothes
Once you have gathered all the baby clothes you want to include in your quilt, it’s important to properly prepare them before you start cutting and sewing. Follow these steps to ensure your clothes are ready for quilting:
- Wash the Clothes: Start by washing all the clothes using a gentle detergent. This will remove any dirt or stains and ensure that the fabric is clean and fresh.
- Inspect for Damage: Carefully examine each piece of clothing for any tears, holes, or loose threads. Remove any buttons or embellishments that could interfere with the quilting process.
- Cut into Square or Rectangular Pieces: Determine the desired size of your fabric pieces and cut the clothes accordingly. You can use a quilting ruler and fabric scissors to create uniform shapes.
- Remove Non-Fabric Elements: Take out any non-fabric elements, such as zippers, snaps, or elastic bands. These elements can cause unevenness or create bumps in your quilt.
- Iron the Fabric: Use an iron to remove any wrinkles or creases from the fabric pieces. It’s important to have smooth and flat fabric to work with during the quilting process.
By following these steps, you’ll ensure that your baby clothes are ready to be transformed into beautiful fabric pieces for your quilt. Taking the time to properly prepare the clothes will ensure that your quilt turns out neat and professional-looking.
Now that your clothes are prepared, it’s time to move on to the next step: Designing Your Quilt. This is where you get to unleash your creativity and plan the layout of your quilt using the fabric pieces you have prepared.
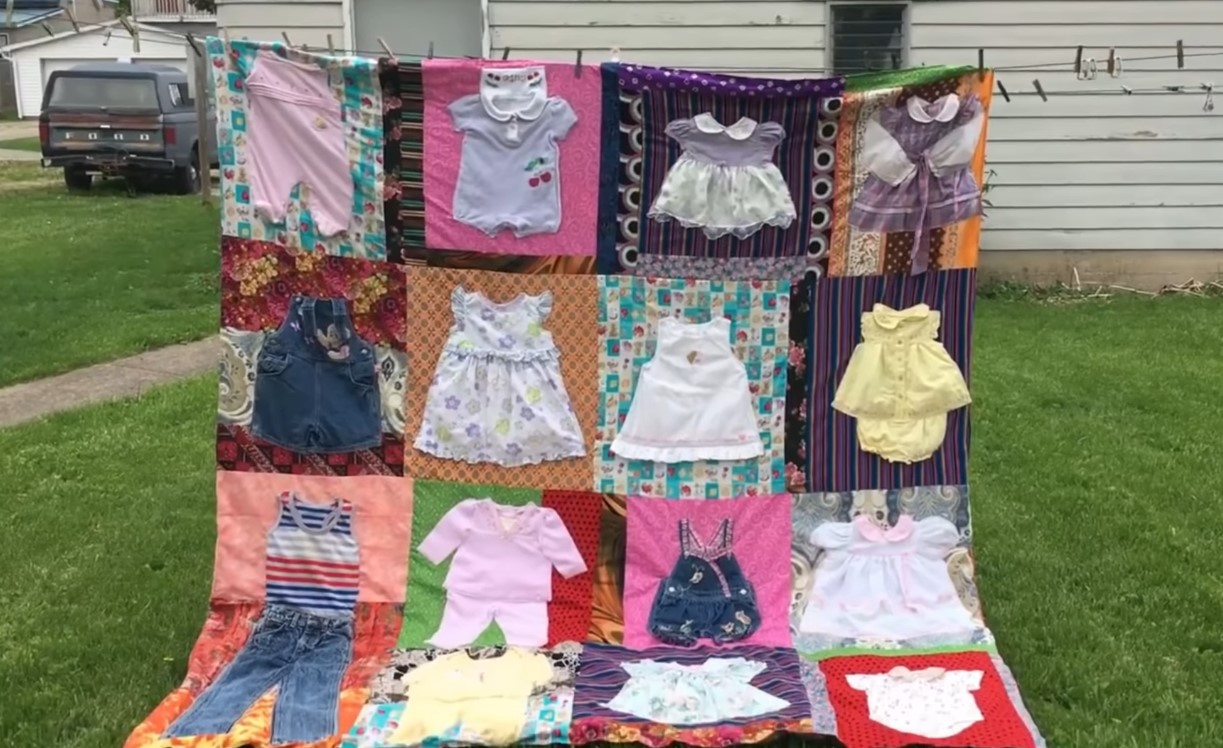
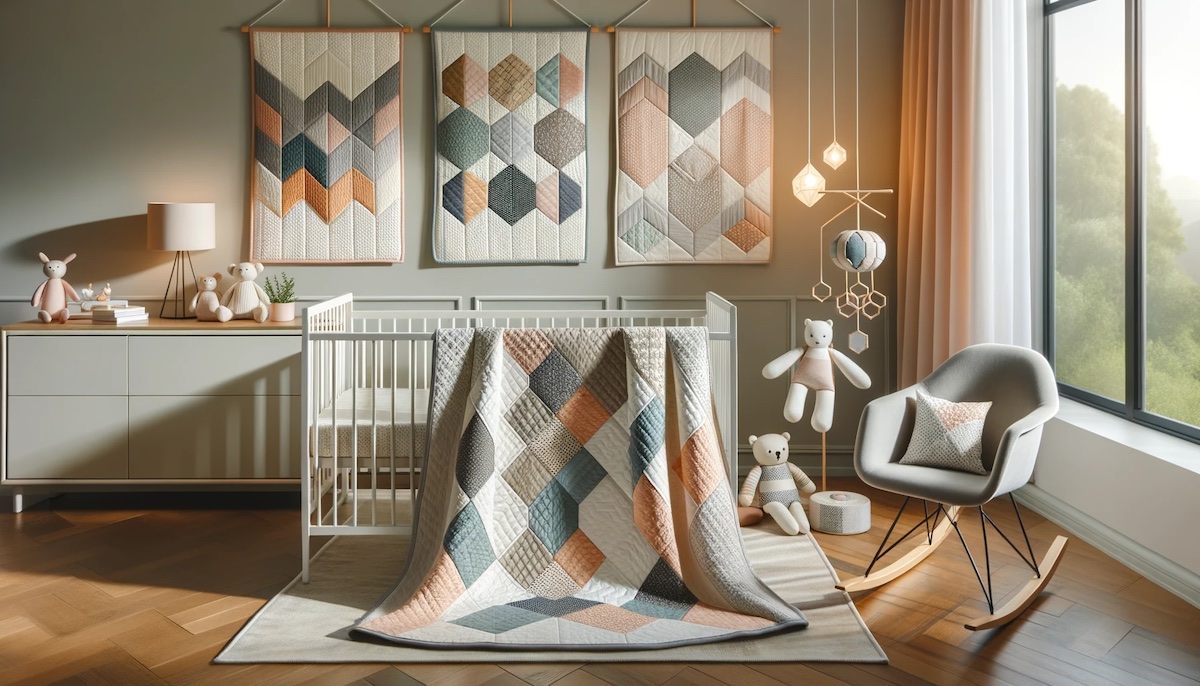
Designing Your Quilt
Designing your quilt is an exciting and creative process that allows you to showcase the baby clothes in a visually appealing way. Here are some steps to help you design your quilt:
- Lay Out the Fabric Pieces: Start by laying out all the fabric pieces on a flat surface. Take a step back and view them from different angles to get an idea of how they look together.
- Arrange the Pieces: Experiment with different arrangements and configurations to find a layout that you like. Consider factors like color, pattern, and size when arranging the fabric pieces.
- Consider Symmetry and Balance: Achieve a balanced and visually pleasing design by creating symmetry. Place similar fabric pieces across from each other or create a pattern that repeats across the quilt.
- Add Background Fabric: If you have smaller fabric pieces or want to create a larger quilt, consider adding a background fabric in a coordinating color. This will provide a cohesive look and fill in any gaps between the clothes.
- Take Photos: Once you have finalized your design, take photos of the layout from different angles. This will help you remember the placement when you start sewing.
Remember, the design of your quilt is entirely personal and can be as simple or intricate as you desire. Trust your intuition and go with what speaks to you. Don’t be afraid to experiment and try different layouts until you find the one that resonates with your vision.
Now that you have designed your quilt, it’s time to move on to the next step: Cutting and Piecing the Fabric. This is where you’ll bring your design to life by cutting and sewing the fabric pieces together.
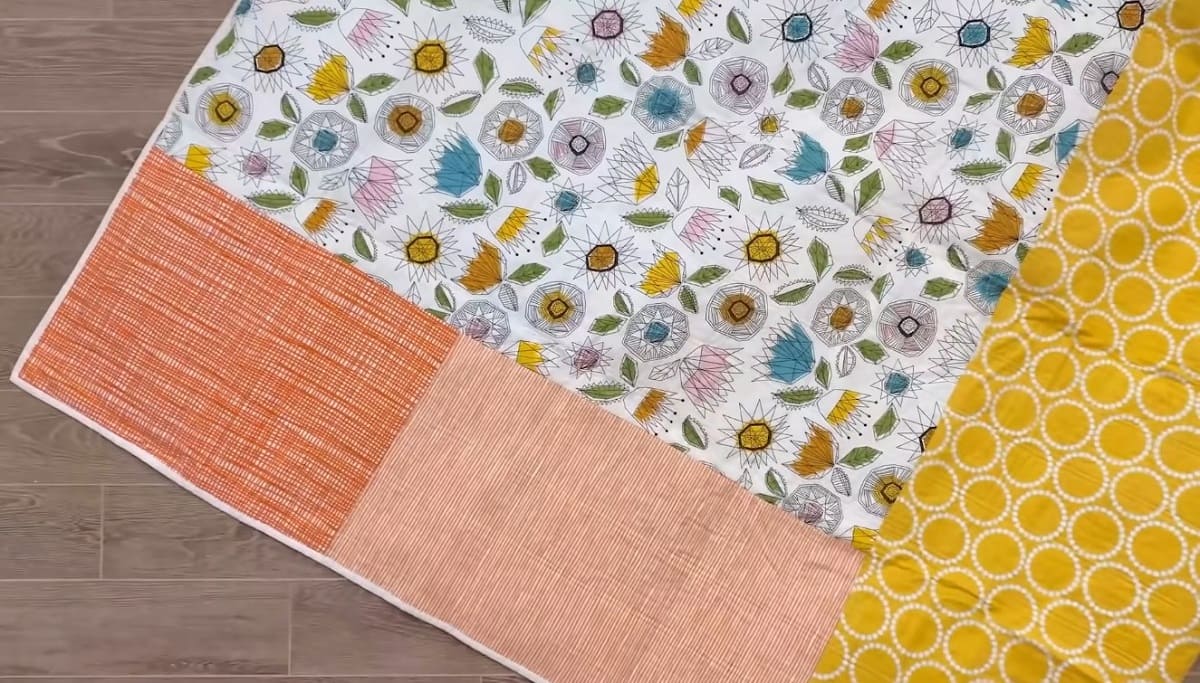
Cutting and Piecing the Fabric
Now that you have designed your quilt and have a clear vision in mind, it’s time to cut and piece the fabric together to create the quilt top. Follow these steps to bring your design to life:
- Measure and Mark: Use a quilting ruler to measure and mark the dimensions of each fabric piece according to your design. Take precise measurements to ensure accurate cuts.
- Cut the Fabric: Using fabric scissors, carefully cut along the marked lines to create the individual fabric pieces.
- Arrange the Pieces: Lay out the cut fabric pieces on a flat surface, following your planned design. Make sure they align properly and create a cohesive look.
- Sew the Pieces Together: Starting with the first row of fabric pieces, place the right sides together and use pins to hold them in place. Sew a ¼ inch seam allowance to join the pieces. Repeat this process for each row of fabric.
- Press the Seams: After sewing each row, press the seams open or towards one side using an iron. This will help the fabric lay flat and create a polished finish.
- Join the Rows: Once all the rows are sewn and pressed, align them right sides together and pin them in place. Sew along the edges with a ¼ inch seam allowance to join the rows together.
- Press the Quilt Top: After joining the rows, press the quilt top to ensure it lies flat and the seams are well-set.
As you cut and piece the fabric together, take your time to ensure accurate measurements and neat sewing. Pay attention to aligning seams and pressing them properly to create a smooth and professional-looking quilt top.
With the fabric pieces now perfectly sewn together, it’s time to move on to the next step: Sewing the Quilt Top. This is where you’ll add the batting and backing to complete the quilt.
Read more: How To Make A Quilted Baby Blanket
Sewing the Quilt Top
Now that you have your fabric pieces sewn together to create the quilt top, it’s time to move on to the next step: sewing the quilt top. This involves attaching the batting and backing to complete the quilt. Follow these steps to sew the quilt top:
- Prepare the Batting: Lay out the batting on a flat surface. Trim it to the same size as your quilt top, leaving a small extra allowance on all sides.
- Align the Layers: Place the backing fabric right side down on your work surface. Center the batting on top of the backing fabric, followed by the quilt top, right side up. Make sure all the layers are smooth and aligned properly.
- Pin the Layers: Use quilting pins to secure all three layers together. Start from the center and work your way towards the edges, ensuring that there are no wrinkles or puckers in the fabric.
- Baste the Layers: To further secure the layers, you can baste them together using long stitches or use a temporary fabric adhesive spray. This step will prevent shifting and ensure that the layers stay in place during the quilting process.
Once you have sewn the quilt top, you have completed the main construction phase of the quilt. Now, it’s time to move on to the next step: quilting the layers together. This is where the magic happens as you add intricate stitching patterns to enhance the quilt’s beauty and durability.
When making a quilt from baby clothes, be sure to use lightweight interfacing on the back of the fabric to add stability and prevent stretching. This will make the quilting process much easier and ensure a more professional finish.
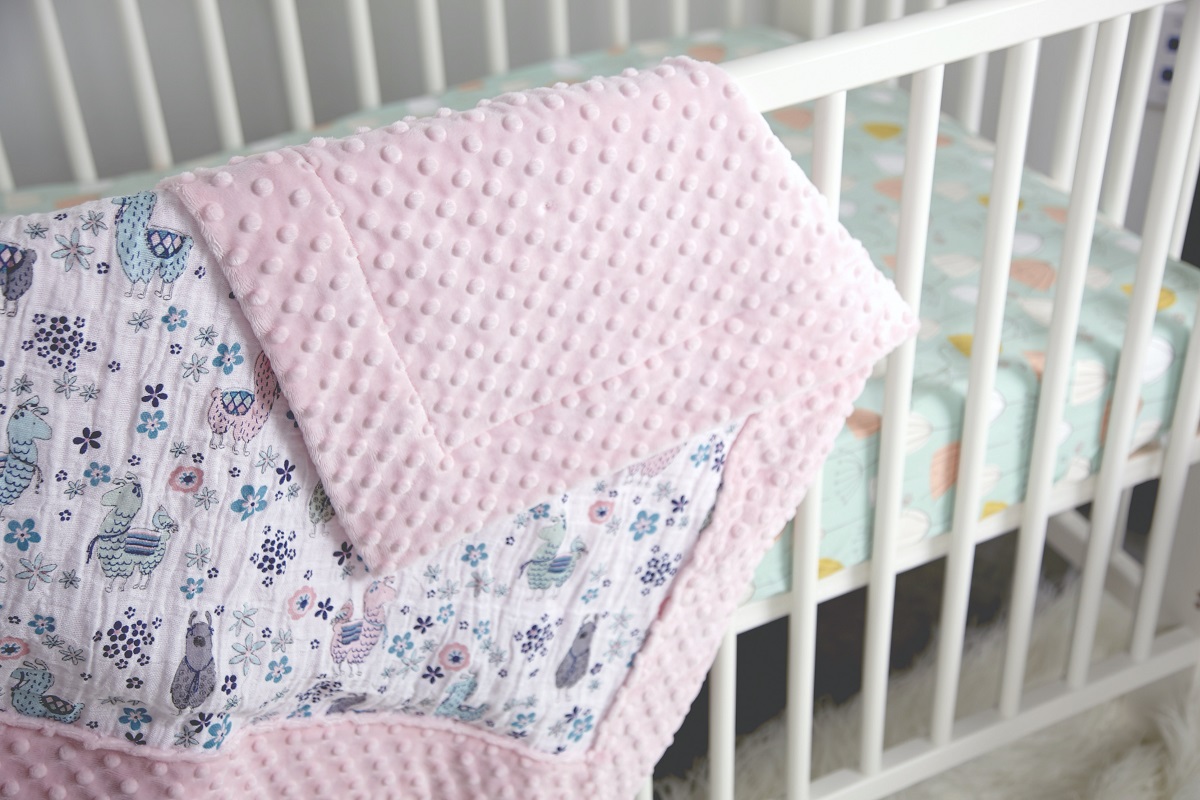
Adding the Batting and Backing
After sewing the quilt top, the next step is to add the batting and backing to create a cozy and finished quilt. Follow these steps to complete this stage:
- Prepare the Batting: Lay out the batting on a clean, flat surface that’s larger than your quilt top. Smooth out any wrinkles or creases in the batting.
- Place the Quilt Top: Center the quilt top, right side up, on top of the batting. Make sure all edges are aligned and the layers are smooth.
- Trim the Batting: Carefully trim the excess batting, ensuring that it aligns with the edges of the quilt top. Use scissors or a rotary cutter for a clean cut.
- Prepare the Backing Fabric: Lay out the backing fabric, right side down, on a clean, flat surface that’s larger than your quilt top. Smooth out any wrinkles or creases.
- Place the Quilt Sandwich: Carefully place the quilt sandwich on top of the backing fabric, with the quilt top facing up and the batting in the middle. Align all edges and smooth out any wrinkles.
- Pin or Baste the Layers: Use pins or basting stitches to secure the layers together. Start from the center and work your way towards the edges, ensuring that the layers stay in place.
By adding the batting and backing, you are creating the foundation of your quilt, providing warmth, stability, and a finished appearance. Taking the time to properly align and secure the layers will ensure a beautiful and long-lasting quilt.
Now that the layers are securely in place, it’s time to move on to the next step in the quilting process: quilting the layers together. This is where you have the opportunity to add unique and decorative stitching patterns that will enhance the overall design of your quilt.
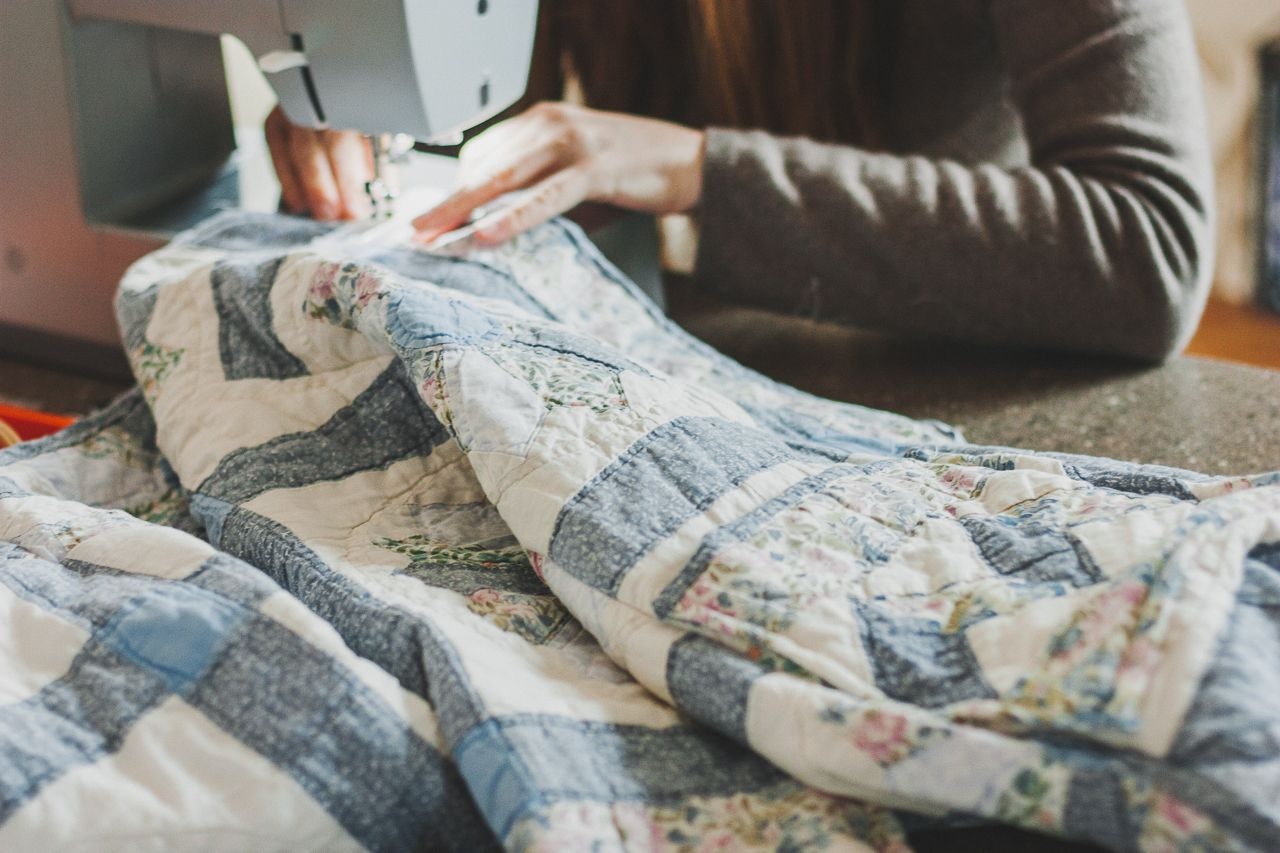
Quilting the Layers Together
Quilting is the process of stitching the layers of your quilt together, not only to create a decorative design but also to ensure durability and stability. Follow these steps to quilt the layers together:
- Choose your Quilting Method: Decide whether you want to hand quilt or machine quilt your quilt. Hand quilting offers a traditional and personal touch, while machine quilting provides efficiency and precision.
- Select a Quilting Pattern: Consider different quilting patterns such as straight lines, free-motion designs, or geometric shapes. Choose a pattern that complements your quilt design and adds visual interest.
- Prepare your Quilting Tools: Make sure you have the necessary tools, such as quilting needles, thimbles (if hand quilting), a quilting foot (if machine quilting), and quilting thread in a color that matches or enhances your quilt.
- Start Quilting: Begin quilting from the center of the quilt and work your way outwards. This helps prevent bunching or puckering of the layers. Follow your chosen quilting pattern, ensuring consistent stitch lengths and even tension.
- Quilt Block by Block: If you’re tackling a large quilt, consider quilting in smaller sections or blocks to manage the quilting process more easily.
- Take Breaks and Evaluate Progress: Quilting can be time-consuming, so remember to take breaks to rest your eyes and hands. Step back and assess your progress to ensure you’re following your desired quilting pattern.
Whether you choose to hand quilt or machine quilt, take your time and enjoy the process. Quilting is an opportunity to add your personal touch and make your quilt truly unique.
Once you have completed the quilting process, you can move on to the final steps of finishing your quilt. The next step is binding, where you will enclose the raw edges and add a polished, professional finish to your creation.
Binding the Quilt
Binding is the final step in completing your quilt. It involves enclosing the raw edges of the quilt and providing a finished and polished look. Follow these steps to bind your quilt:
- Prepare the Binding Strips: Cut fabric strips for binding. The width of the strips should be around 2.5 to 3 inches, and the length should be enough to cover the perimeter of your quilt plus a few extra inches for mitered corners.
- Join the Strips: Sew the binding strips together at a 45-degree angle to create a continuous binding strip. Trim the excess fabric and press the seams open.
- Attach the Binding: Start by aligning the raw edges of the binding strip with the raw edges of the quilt’s front side. Leaving a small tail, begin sewing with a ¼ inch seam allowance, and continue sewing along the entire perimeter of the quilt.
- Miter the Corners: When you reach a corner, stop sewing a ¼ inch away from the end. Fold the binding strip up, creating a 45-degree angle, and then fold it back down, aligning with the next side of the quilt. Continue sewing from the corner, repeating this process for all corners.
- Join the Ends: When you approach the starting point, trim the excess binding strip, leaving enough to overlap with the beginning tail. Join the ends by placing the starting tail inside the ending tail, and then sew them together.
- Finish Sewing: Complete sewing the binding to the quilt, ensuring that the stitching is secure and even.
Once the binding is sewn to the front side of the quilt, carefully fold it over to the back side of the quilt. Hand stitch the binding to the back, being careful to hide the stitches and maintain an even and neat appearance.
Binding adds the final touch, providing durability and a polished look to your quilt. Take your time to sew the binding with care, ensuring that it complements the overall design and enhances the beauty of your quilt.
Now that your quilt is bound and complete, it’s time to add the final touches and learn how to take care of your cherished creation.
Read more: How Many Fat Quarters To Make A Baby Quilt
Final Touches and Care Instructions
With the binding complete, your quilt is almost ready for its grand debut. However, there are a few final touches and care instructions to keep in mind to ensure your quilt remains beautiful and well-preserved:
1. Trim Excess Threads: Take a moment to carefully trim any stray threads on the front and back of the quilt. This will give it a polished and professional appearance.
2. Embellish (Optional): If desired, add any embellishments to further personalize your quilt. This can include appliqué, embroidery, or even adding a label with your name and the date of completion.
3. Press: Give your quilt a final press with an iron, using a low to medium heat setting. This will help smooth out any wrinkles and ensure the quilt lays flat.
4. Document and Share: Take a moment to capture photographs of your finished quilt. Sharing these memories online or with loved ones can be a wonderful way to celebrate your achievement.
When it comes to caring for your quilt, follow these guidelines to ensure its longevity:
1. Gentle Cleaning: Spot clean any stains on your quilt using a mild detergent and a cloth. Avoid submerging the entire quilt in water unless necessary.
2. Air Dry: To prevent shrinkage and damage, air dry your quilt by laying it flat or hanging it over a clothesline. Avoid direct sunlight to prevent fading.
3. Storage: When not in use, store your quilt in a clean and dry area. Consider using a cotton or muslin bag to protect it from dust and pests.
4. Rotate and Refold: To minimize the risk of creases, periodically rotate and refold your quilt when storing it. This will help distribute the weight and maintain its shape.
By following these care instructions, your quilt will remain a cherished heirloom for many years to come.
Congratulations on completing your beautiful and meaningful quilt made from baby clothes! It’s a labor of love that will serve as a reminder of cherished memories and provide warmth and comfort for generations. Be proud of your accomplishment and continue to explore the world of quilting with new projects and designs.
Now, wrap your quilt in love and enjoy the warmth it brings!
Conclusion
Crafting a quilt made from baby clothes is a heartfelt journey that combines creativity, nostalgia, and the art of quilting. By repurposing those precious baby outfits, you create a keepsake that embodies cherished memories and love.
Throughout this article, we’ve guided you through the step-by-step process of creating a quilt from baby clothes. From gathering materials and preparing the clothes to designing the quilt, cutting and piecing, sewing, adding the batting and backing, quilting the layers together, and finally binding the quilt, each stage played a crucial role in bringing your vision to life.
As you embarked on this quilting adventure, you tapped into your creativity, showcased your sewing skills, and poured your heart into every stitch. The result is more than just a quilt; it’s a tangible representation of the precious moments shared with your little one.
Remember, no two quilts are the same. Your quilt is a unique piece of art that tells your personal story. Each fabric square carries memories of laughter, growth, and love. As you snuggle under the warmth of your quilt, you’ll be reminded of those precious moments that have been carefully preserved in its stitches.
Take pride in your quilt; it’s a testament to your dedication and craftsmanship. Share its beauty with friends and family, and revel in the joy it brings to their faces. And as your quilt becomes an heirloom passed down through generations, it will continue to evoke emotions and create lasting connections.
So, whether you’re making a quilt for your own child, as a gift for someone special, or to capture memories for future generations, know that your efforts have transformed mere fabric into something extraordinary.
Enjoy the process, embrace the memories, and let your love and creativity flow as you embark on this beautiful journey of quilting with baby clothes.
Now, go forth and create a masterpiece that will be treasured for years to come!
Frequently Asked Questions about How To Make A Quilt Made From Baby Clothes
Was this page helpful?
At Storables.com, we guarantee accurate and reliable information. Our content, validated by Expert Board Contributors, is crafted following stringent Editorial Policies. We're committed to providing you with well-researched, expert-backed insights for all your informational needs.

0 thoughts on “How To Make A Quilt Made From Baby Clothes”