Articles
How To Make Quilt From Old Clothes
Modified: August 28, 2024
Learn how to make a beautiful quilt from your old clothes with our helpful articles. Transform your wardrobe into a cozy and sentimental masterpiece.
(Many of the links in this article redirect to a specific reviewed product. Your purchase of these products through affiliate links helps to generate commission for Storables.com, at no extra cost. Learn more)
Introduction
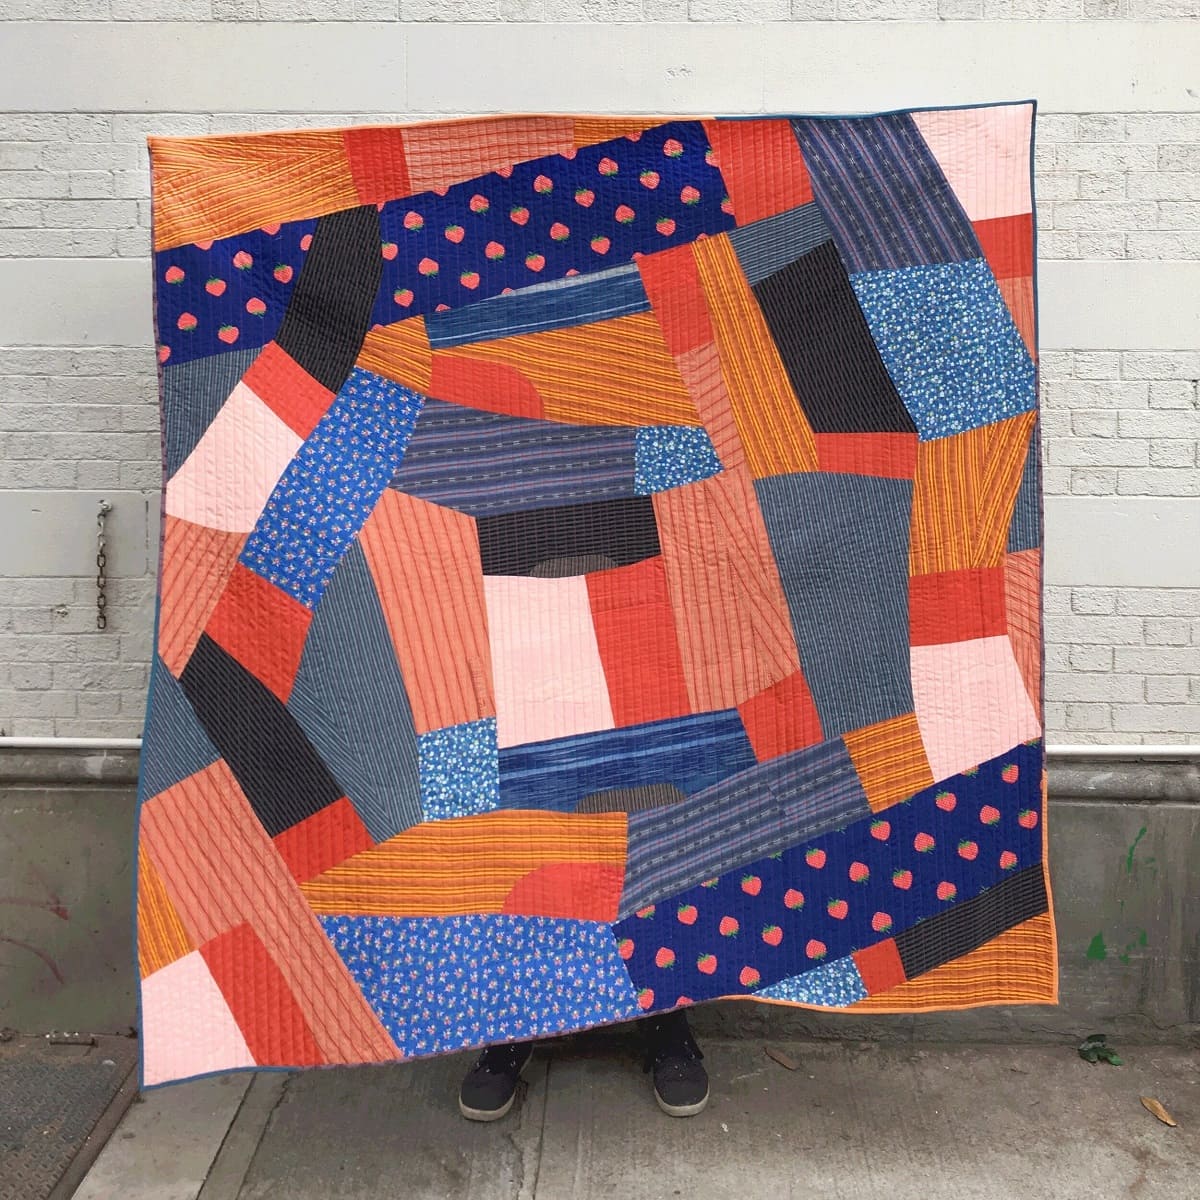
Quilting is a wonderful way to repurpose old clothes and create something beautiful and meaningful. Instead of letting your old clothes go to waste, you can transform them into a unique and personalized quilt that tells a story. Not only is this a great way to preserve memories, but it also allows you to reduce waste and be sustainable.
In this article, we will guide you through the process of making a quilt from your old clothes. Whether it’s sentimental t-shirts, baby clothes, or even denim jeans, you can turn them into a cherished quilt that will keep you warm and bring back memories for years to come.
Don’t worry if you’re new to quilting – this step-by-step guide will walk you through the process from start to finish. So, gather your old clothes, grab your sewing machine, and let’s get started on this creative and rewarding project.
Note: Before we begin, it’s important to properly prepare your clothes for quilting. Make sure to wash and iron them to remove any stains or wrinkles. This will help ensure that your quilt is clean and professional-looking.
Key Takeaways:
- Turn your old clothes into a cherished quilt that preserves memories and reduces waste. Follow the step-by-step guide to repurpose sentimental garments and create a unique piece of art.
- Enjoy the creative and rewarding process of making a quilt from old clothes. Infuse your personal touch, embrace imperfections, and relish the satisfaction of completing your own handmade quilt.
Read more: How To Make Rugs From Old Clothes
Step 1: Gather old clothes and materials
The first step in making a quilt from old clothes is to gather the materials you will need. Start by going through your closet and drawers to find any old clothes that hold sentimental value or that you no longer wear. Consider the colors, patterns, and textures of the clothes, as these will determine the overall look and feel of your quilt.
In addition to the clothes, you will need a few other materials to complete your quilt. These include:
- Fabric scissors: A good pair of fabric scissors is essential for cutting the clothes into quilt blocks.
- Quilting ruler: This will help you measure and cut straight lines.
- Pins: Use pins to keep the fabric in place while sewing.
- Thread: Choose a thread color that complements the colors of your clothes.
- Sewing machine: While it’s possible to hand sew a quilt, using a sewing machine will save you time and ensure a more professional finish. If you don’t have access to a sewing machine, consider borrowing one or checking out local community centers or sewing schools that may offer sewing machine rentals.
Once you have gathered your old clothes and materials, it’s time to move on to the next step – preparing the clothes for quilting.
Step 2: Prepare the clothes for quilting
Before you can start cutting your old clothes into quilt blocks, you must first prepare them. This involves inspecting each piece of clothing, removing any buttons, zippers, or embellishments, and making sure they are clean and ready for quilting.
If you come across clothes with logos or graphics that you want to incorporate into your quilt, carefully cut them out and set them aside. These can be used as unique patches or focal points in your quilt design.
Next, determine the size of the quilt blocks you want to create. This can vary depending on your personal preference and the size of the clothes you’re working with. Common quilt block sizes range from 6 inches to 12 inches. Use a quilting ruler to measure and mark the desired dimensions on each piece of clothing.
Once you have marked the dimensions, use a pair of fabric scissors to cut along the lines and create the quilt blocks. Take your time and cut as accurately as possible to ensure that the blocks will fit together smoothly when it’s time to sew them.
As you cut the clothes into quilt blocks, you may come across areas that are too worn or damaged to include in your quilt. In such cases, you can either trim around the damaged area or discard that particular section and focus on other parts of the clothing that are still in good condition.
After you have prepared all the clothes by cutting them into quilt blocks, you can move on to the next step – arranging the blocks to create your desired quilt design.
Step 3: Cut the clothes into quilt blocks
Now that your clothes are prepared, it’s time to cut them into quilt blocks. This step is where you can get creative and experiment with different block sizes and arrangements to design a unique quilt.
Start by selecting one of the quilt blocks you have prepared. You can choose to work on one block at a time or lay out multiple blocks at once to visualize how they will fit together. Consider the colors, patterns, and textures of the blocks as you arrange them.
Using a quilting ruler and fabric scissors, carefully cut each block to the desired size. Ensure that all the blocks have the same dimensions to maintain consistency throughout the quilt.
Don’t be afraid to mix and match different fabrics to add variety and visual interest to your quilt. You can alternate between solid-colored blocks and blocks with prints, or even combine fabrics of varying textures, such as cotton, denim, or flannel.
As you cut the clothes into quilt blocks, you may notice certain sections with unique patterns or designs that you want to highlight. Feel free to position these sections strategically within the blocks to create focal points or add visual accents.
Keep in mind that precision is key when cutting the quilt blocks. Take your time to ensure that the edges are straight and the corners are crisp. Accuracy at this stage will make it easier to sew the blocks together later on.
Once you have cut all the clothes into quilt blocks, it’s time to arrange them in a pleasing layout. This will be covered in the next step, so let’s move on to Step 4 – arranging the quilt blocks.
Step 4: Arrange the quilt blocks
Arranging the quilt blocks is where you can let your creativity shine. This step involves finding the perfect layout for your quilt by arranging the blocks in different configurations.
Start by laying out the blocks on a clean and flat surface, such as a large table or the floor. Play around with different arrangements, trying out different patterns, orientations, and color combinations. Take a step back and observe the layout from a distance to assess the overall look and balance of the quilt.
You can arrange the blocks in a traditional pattern, such as a patchwork or a checkerboard, or create a more abstract design by placing the blocks in a random or asymmetrical arrangement. The choice is entirely up to you and the aesthetic you want to achieve.
Consider the different sizes and shapes of the blocks as you arrange them. You can create a visually interesting quilt by alternating between different block sizes or by incorporating larger blocks as focal points within the design.
If you have fabrics with bold prints or motifs, you can strategically place them to create visual interest and draw the eye to specific areas of the quilt. Experiment with different placements until you find a layout that you love.
Take pictures of different arrangements to help you compare and decide which one you prefer. It’s also helpful to seek feedback from friends or family members who can offer a fresh perspective on the design.
Once you are satisfied with the arrangement of the quilt blocks, it’s time to move on to the next step – sewing the blocks together to form the quilt top.
When making a quilt from old clothes, be sure to wash and iron the fabric before cutting it into squares. This will ensure that the quilt is clean and the squares are easy to work with.
Read more: How To Store Old Quilts
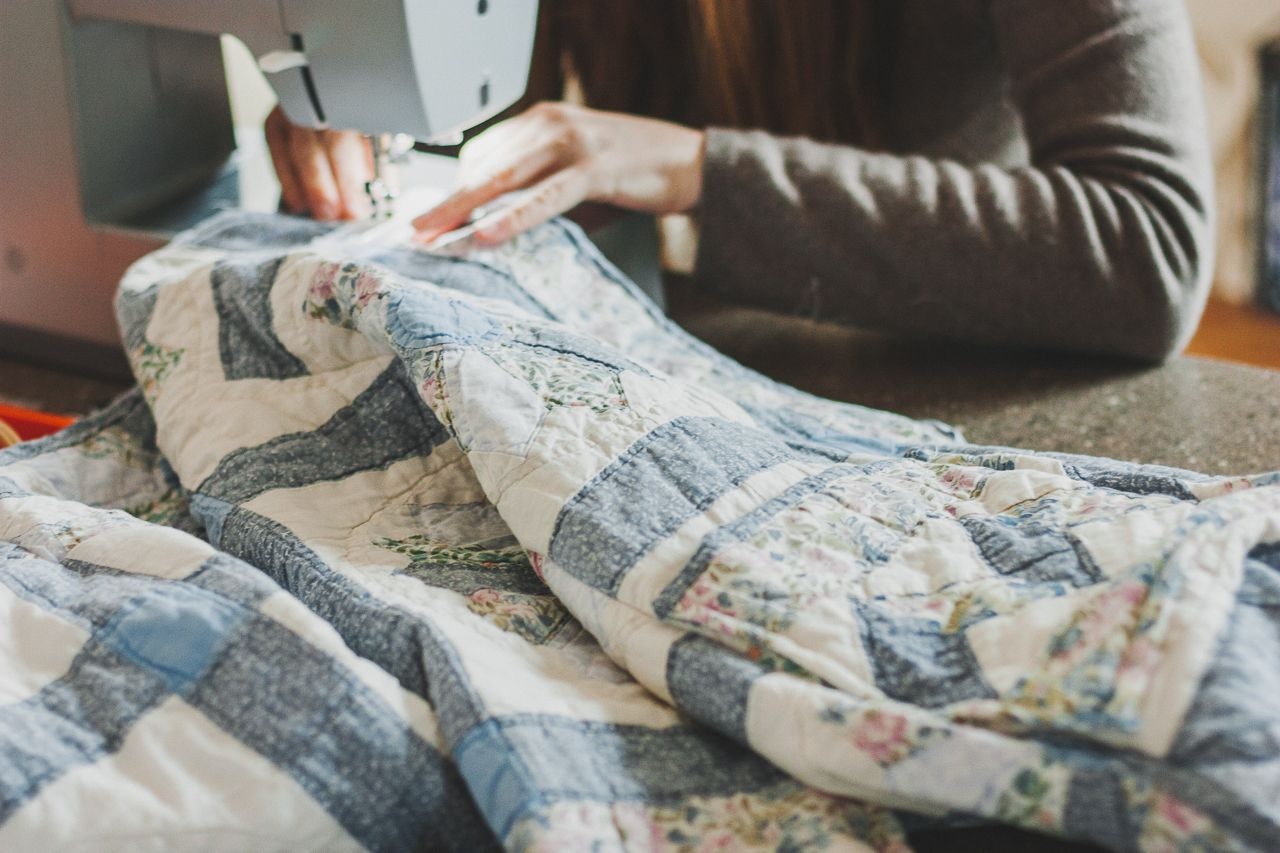
Step 5: Sew the quilt blocks together
Now that you have finalized the layout of your quilt blocks, it’s time to start sewing them together. This step will bring your quilt design to life and create a cohesive quilt top.
Begin by organizing your blocks in the desired order and orientation. Take note of any pattern or design elements that need to align as you sew the blocks together.
Start with the first two blocks that will be joined together. Place them right sides together, aligning the edges that will be sewn. Pin them in place to ensure they don’t shift while sewing.
Using a straight stitch on your sewing machine, sew along the pinned edge with a ¼ inch seam allowance. Backstitch at the beginning and end of the seam to secure the stitches. Press the seam allowance open or to one side, depending on your preferred quilting technique.
Repeat this process for the remaining blocks, sewing them together following the pattern or arrangement you have chosen. Take your time to ensure that the seams are straight and the blocks are aligned.
As you work on sewing the blocks together, refer back to your layout or pictures to make sure you’re maintaining the desired design. If you notice any adjustments that need to be made, this is the time to do so before moving on.
Once all the blocks are sewn together, press the entire quilt top to flatten the seams and ensure a smooth surface.
At this stage, you have completed the quilt top – congratulations! The next step will involve adding batting and backing to create a cozy and warm quilt.
Step 6: Add batting and backing to the quilt
Now that your quilt top is complete, it’s time to add the layers that will give your quilt its structure and warmth. These layers consist of batting and backing fabric.
First, choose a suitable batting material that will provide insulation and loft to your quilt. Batting comes in various thicknesses, such as cotton, polyester, or a blend of both. Consider the desired level of warmth and drape when selecting the batting.
Lay out the batting on a clean and flat surface, then place the quilt top on top of it. Smooth out any wrinkles or creases to ensure a flat and even surface.
The next step is adding the backing fabric. Choose a fabric that complements the colors and style of your quilt. Ensure that the backing fabric is larger than the quilt top, as it needs to wrap around and be secured to the edges later in the process.
Layer the backing fabric on top of the quilt top with the right sides facing out. Make sure everything is aligned and centered to avoid any misalignment when quilting.
Using pins or basting stitches, secure all three layers of the quilt together, starting from the center and working your way out towards the edges. This will prevent shifting and ensure that the layers stay in place while quilting.
Trim any excess batting and backing fabric so that they are aligned with the edges of the quilt top.
With the layers securely pinned or basted together, your quilt is now ready for the next step – quilting the layers together to create a beautiful texture and stability.
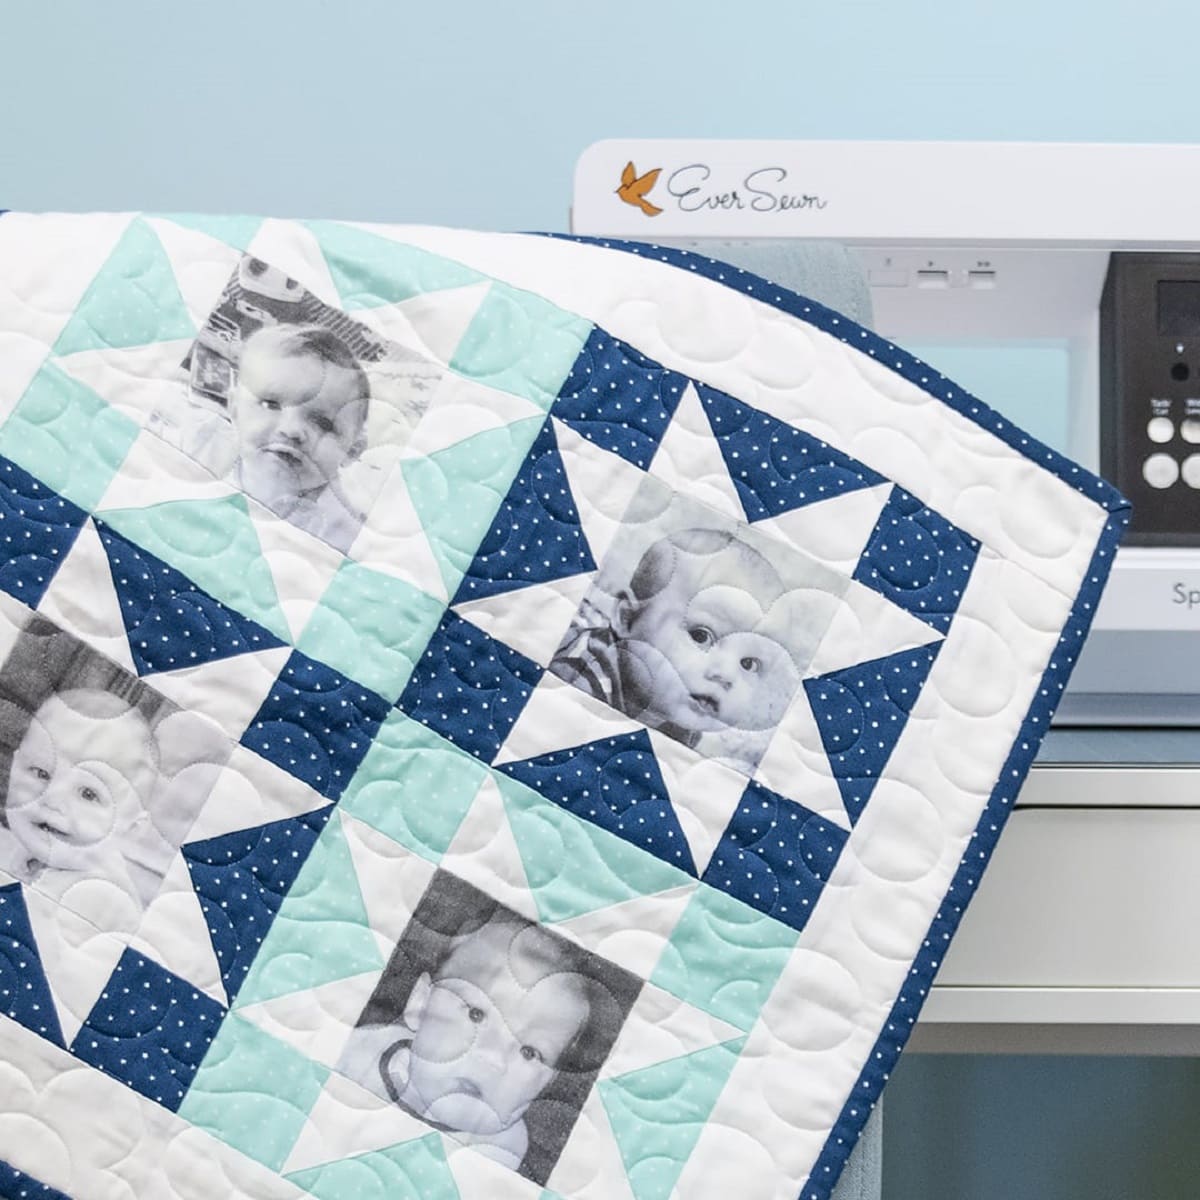
Step 7: Quilt the layers together
Quilting is the process of stitching the three layers of the quilt together to create a cohesive and durable finished product. The stitching not only adds decorative elements but also secures the layers in place.
Before you begin quilting, decide on the type of quilting you want to do. There are various options, such as hand quilting, machine quilting, or a combination of both. Consider your skill level, time availability, and the desired overall look of the quilt.
If you choose to hand quilt, use a quilting needle, and quilting thread. Start by stitching from the center of the quilt and work your way towards the edges, following your preferred quilting design. Common hand quilting stitches include running stitch, rocking stitch, and echo quilting.
If you opt for machine quilting, attach a quilting foot to your sewing machine and select the desired quilting pattern or design. Ensure that the layers are securely pinned or basted together to prevent shifting as you sew. Guide the quilt through the machine, stitching along the marked lines or creating free-motion quilting patterns.
Alternatively, you can send your quilt to a professional longarm quilter who will use a specialized quilting machine to add intricate designs to your quilt.
As you quilt, take your time and pay attention to the tension of the stitches. Consistent stitch length and tension will ensure a well-quilted and visually pleasing result.
Continue quilting until you have covered the entire quilt top with stitches. Depending on your design and preferences, the quilting lines can be spaced closely for a dense look or further apart for a more relaxed appearance.
Once the quilting is complete, remove any basting stitches or pins that were holding the layers together. Give the quilt a final press to flatten any wrinkles or creases.
Congratulations! You have successfully quilted the layers together. The next step will involve finishing the edges of your quilt.
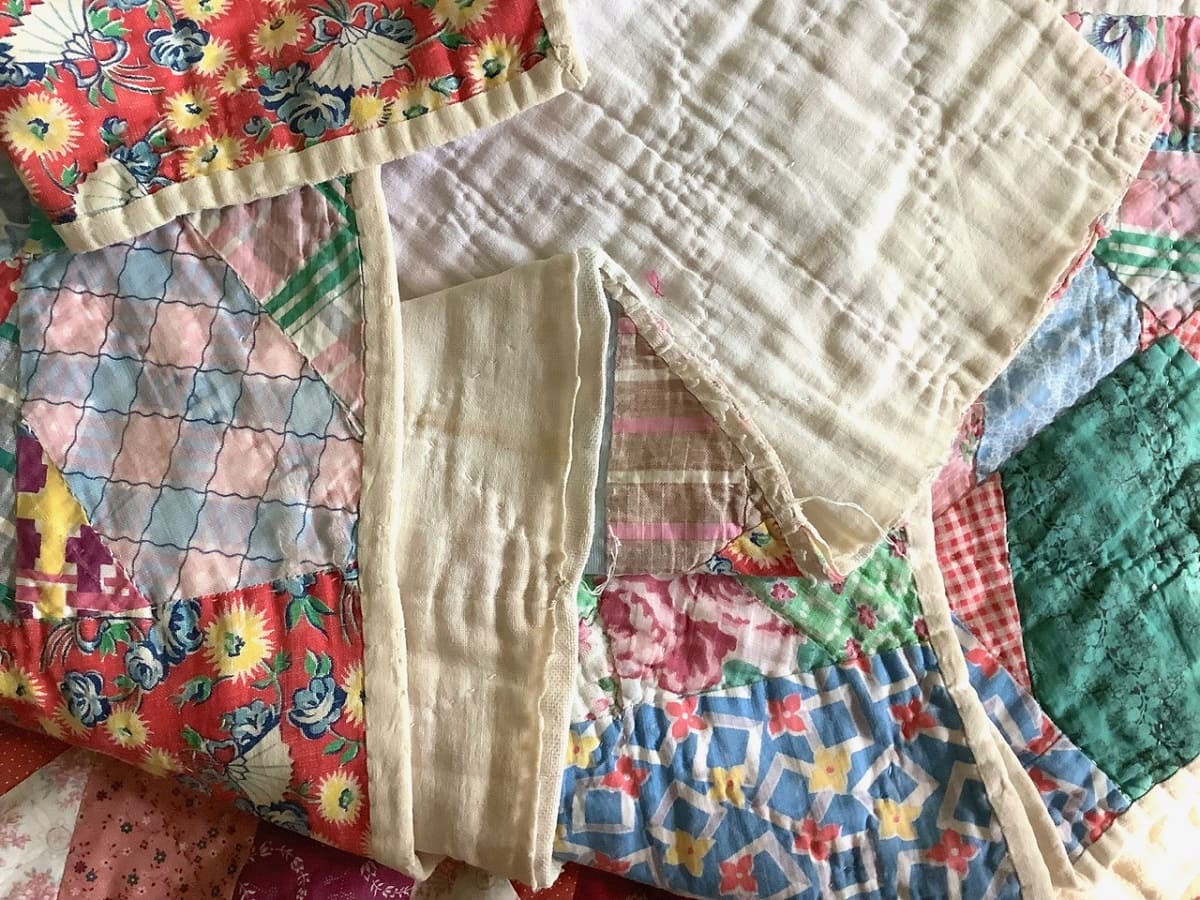
Step 8: Finish the quilt edges
Now that your quilt is fully quilted, it’s time to finish the edges for a polished and professional look. Finishing the edges not only adds durability but also provides a neat and tidy appearance to your quilt.
First, trim the excess batting and backing fabric so it lines up evenly with the quilt top. Use a ruler or quilting ruler to guide your cuts and ensure straight, clean edges.
There are several methods you can choose from to finish the edges of your quilt:
- Binding: This is a popular and traditional method of finishing quilt edges. Cut binding strips from fabric that coordinates with your quilt. Fold the strips in half lengthwise and press. Then, attach the binding to the raw edges of the quilt, starting in the middle of one side and working your way around. Fold the binding over to the back and hand or machine stitch it in place.
- Self-binding: If you want a simpler finish, you can use the backing fabric to create a self-binding. Trim the backing fabric so it extends about 1 inch beyond the quilt top on all sides. Fold the backing fabric over to the front, aligning the raw edges with the quilt top. Hand or machine stitch the folded edge in place.
- Facing: Another option is to create a facing that covers the raw edges of the quilt. Cut strips of fabric that are 2 inches wide and the length of each side of the quilt. Sew the strips together end-to-end to create a continuous strip. Press the strip in half lengthwise and attach it to the quilt, aligning the raw edges. Fold the facing to the back, enclosing the raw edges, and hand or machine stitch it in place.
Whichever method you choose, take your time to ensure the edges are clean and well-finished. Press the completed quilt once again to ensure it lays flat and all the stitches are settled.
With the edges finished, your quilt is now complete! Give it a final inspection and trim any loose threads for a polished appearance.
Congratulations on creating a beautiful quilt from your old clothes! Not only have you given new life to your cherished garments, but you’ve also created a unique and meaningful keepsake that will bring warmth and memories for years to come.
Take a moment to admire your finished quilt and feel a sense of accomplishment for your creativity and craftsmanship!
No matter which method or design you choose, the most important aspect of making a quilt from old clothes is the joy and satisfaction you take in the process. So, embrace your creativity, have fun, and enjoy the journey of turning old clothes into a cozy and sentimental quilt!
Read more: How To Store Old Clothes
Conclusion
Making a quilt from old clothes is a rewarding and eco-friendly way to repurpose sentimental garments and create a unique piece of art. By following the steps outlined in this guide, you can transform your old clothes into a cozy quilt that holds cherished memories and tells a story.
From gathering the materials and preparing the clothes to cutting them into quilt blocks and arranging them in a visually pleasing pattern, each step of the quilting process allows you to infuse your creativity and personal touch. Sewing the blocks together, adding the batting and backing, and quilting the layers together bring the quilt to life, while finishing the edges adds that final touch of polish.
Remember, quilting is not just about the end result; it’s about enjoying the process and expressing your creativity. Your quilt is a reflection of your personal style and memories, and it will serve as a tangible reminder of the garments and moments you hold dear.
So, instead of letting your old clothes go to waste, consider turning them into a beautiful quilt that will keep you warm and bring you joy for years to come. It’s a sustainable and meaningful way to repurpose your garments and leave a lasting legacy.
Whether you’re an experienced quilter or a beginner, the satisfaction of creating something with your own hands cannot be understated. Take the time to appreciate the journey, embrace the imperfections, and relish in the pride and sense of accomplishment that comes with completing your own handmade quilt.
Now, gather your old clothes, unleash your creativity, and embark on the wonderful journey of making a quilt from your cherished garments. Happy quilting!
Frequently Asked Questions about How To Make Quilt From Old Clothes
Was this page helpful?
At Storables.com, we guarantee accurate and reliable information. Our content, validated by Expert Board Contributors, is crafted following stringent Editorial Policies. We're committed to providing you with well-researched, expert-backed insights for all your informational needs.


0 thoughts on “How To Make Quilt From Old Clothes”