Articles
How To Design A Quilt
Modified: August 22, 2024
Learn the art of designing a quilt from our comprehensive articles. Discover expert tips, techniques, and inspiration to create stunning quilts for your home.
(Many of the links in this article redirect to a specific reviewed product. Your purchase of these products through affiliate links helps to generate commission for Storables.com, at no extra cost. Learn more)
Introduction
Welcome to the wonderful world of quilting! Whether you’re a seasoned quilter or a complete beginner, designing and creating a quilt can be a rewarding and fulfilling experience. Quilting allows you to explore your creativity, express yourself, and make something beautiful and functional.
In this article, we will guide you through the process of designing a quilt, from gathering inspiration to adding the finishing touches. We’ll cover everything from choosing fabrics and selecting a quilt design to piecing the quilt top and quilting techniques. So, let’s dive in and unleash your inner quilter!
Quilting dates back centuries and has evolved into an art form that encompasses both traditional and contemporary styles. From intricate patchwork to modern designs, there are endless possibilities when it comes to creating a quilt that reflects your personal style and preferences.
Before you start, it’s important to gather inspiration and ideas. Look for inspiration in nature, art, fashion, or even everyday objects. Pinterest, quilting magazines, and online forums are great sources of inspiration. Take note of colors, patterns, and motifs that catch your eye and use them as a starting point for your quilt design.
Once you have a clear idea of the direction you want to take, it’s time to choose the fabrics. Consider the color palette, theme, and mood of your quilt. Fabrics come in a variety of materials and prints, so explore different options and mix and match to create visual interest.
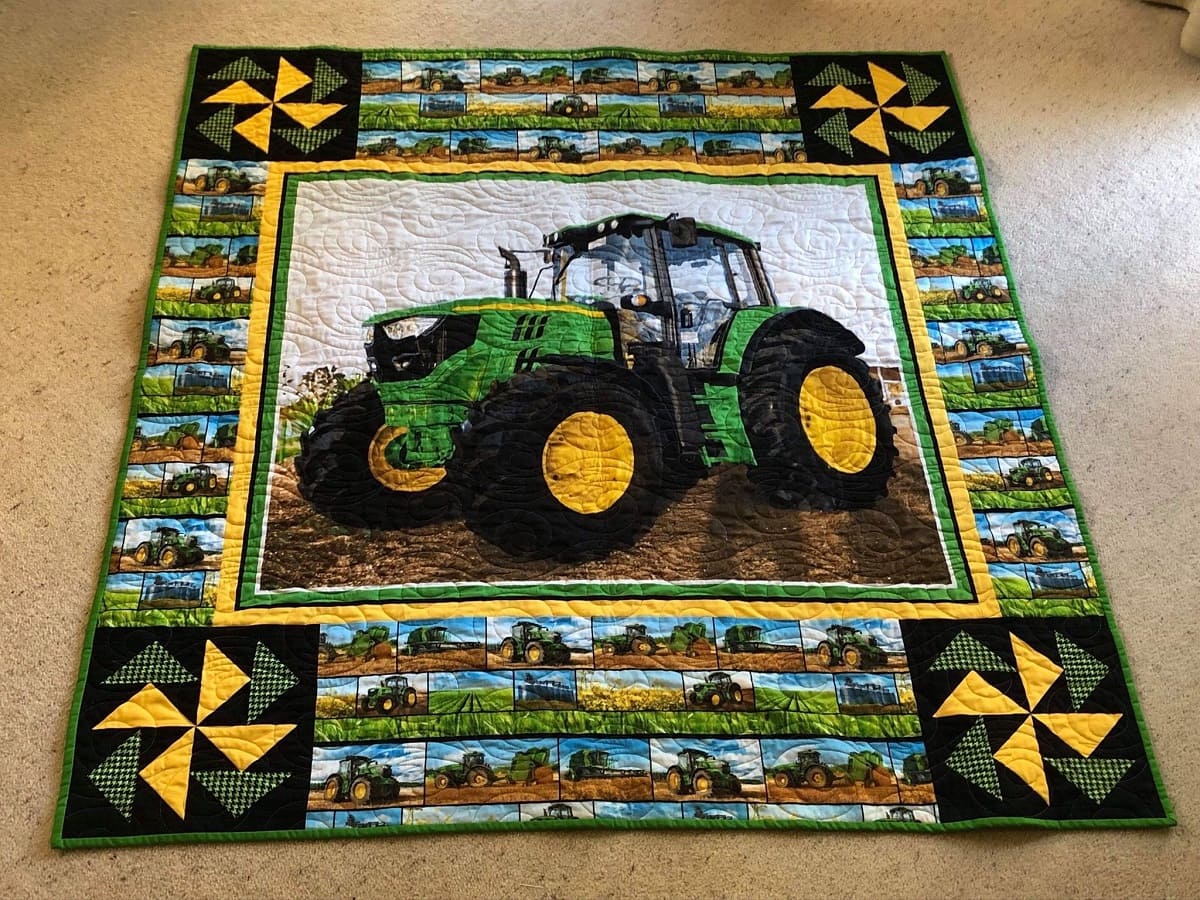
Choosing the right quilt design and pattern is crucial to the overall look of your quilt. Traditional patterns like Log Cabin, Nine Patch, and Flying Geese are timeless choices, while modern patterns offer a fresh and contemporary twist. Don’t be afraid to experiment and combine different patterns to create a unique design that reflects your personal style.
Once you have your design and fabrics ready, it’s time to measure and cut your fabric pieces. Accurate measurements are essential to ensure that your quilt will come together seamlessly. Invest in a good rotary cutter, ruler, and cutting mat to make this process easier and more precise.
Piecing the quilt top is where the magic happens. This is where you piece together your fabric pieces according to your chosen design and pattern. Take your time, be patient, and enjoy the process. It’s like putting together a puzzle where each piece fits perfectly with the others.
Adding borders and borders is an optional step but can enhance the overall look of your quilt. Borders can be simple or elaborate, depending on your design aesthetic. They frame the quilt and provide a finished look. Borders can be made from the same fabric as the quilt or contrasting fabrics to create visual interest.
Now comes the fun part: quilting! There are various quilting techniques to choose from, including free-motion quilting, straight-line quilting, and hand quilting. Each technique produces a different effect, so choose the one that best complements your quilt design. Quilting adds texture and depth to your finished quilt.
Finally, adding binding is the last step in completing your quilt. Binding is a fabric strip that covers the raw edges of the quilt and gives it a polished finish. It can be made from the same fabric as the quilt or a contrasting fabric to add a pop of color.
Once the binding is attached, your quilt is almost ready to be enjoyed and admired. Give it a final press with an iron to remove any wrinkles and add any finishing touches like labels or personalized embroidery.
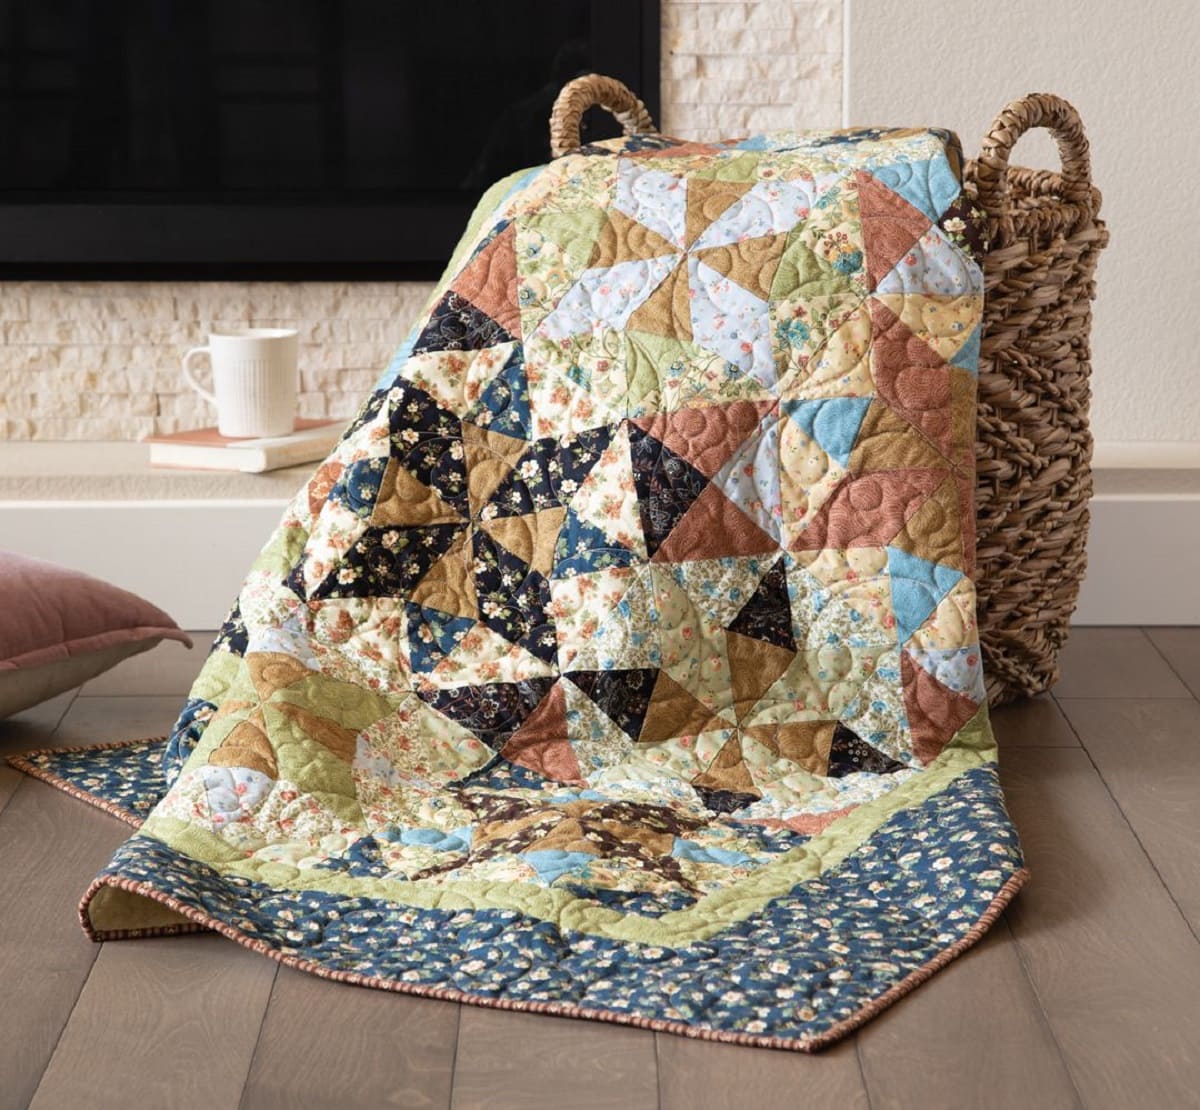
Designing and creating a quilt is a labor of love. It requires time, patience, and attention to detail. But the end result is a beautiful and unique piece of textile art that you can cherish for years to come. So, gather your materials, unleash your creativity, and dive into the world of quilting! Happy quilting!
Key Takeaways:
- Designing and creating a quilt is a labor of love that requires time, patience, and attention to detail. From gathering inspiration to adding the finishing touches, quilting is an opportunity for self-expression and creativity.
- Quilting offers a wide range of techniques, from hand quilting to machine quilting, each providing unique textures and visual interest. Embrace the joy of quilting and continue to explore new designs and styles.
Read more: How To Machine Quilt A Large Quilt
Gathering Inspiration and Ideas
Before you begin designing your quilt, it’s essential to gather inspiration and ideas to help fuel your creativity. Inspiration can come from various sources such as nature, art, fashion, or even everyday objects. The key is to keep an open mind and observe the world around you.
One of the best ways to gather inspiration is by browsing online platforms like Pinterest or Instagram. These platforms are a treasure trove of images that can spark your imagination. Create a dedicated board or folder where you can save images that catch your eye. Look for color combinations, patterns, textures, and motifs that resonate with you.
Another great source of inspiration is quilting magazines and books. They feature stunning quilts and provide valuable insights into design techniques and trends. Explore different quilting styles and take note of the quilting patterns and fabric selections that captivate you. You can also join online quilting communities or attend local quilting groups to connect with fellow quilters and exchange ideas.
Don’t limit yourself to traditional quilting sources. Look beyond the quilting world for inspiration. Visit art exhibits, museums, and galleries to gain a fresh perspective on color, composition, and textures. Pay attention to how different artists use techniques like blending, layering, or juxtaposition to create visual interest.
Nature is a boundless source of inspiration for quilters. Take a walk in a park, garden, or forest and observe the colors, shapes, and patterns found in flowers, leaves, or even the bark of a tree. Capture these images with your camera or sketch them in a notebook to refer to later. The beauty of nature can inspire unique and organic designs for your quilts.
Look for inspiration in unexpected places, like architecture or interior design. Notice how different patterns, textures, and color schemes are used to create visual impact. Study the lines and curves of buildings, the intricate details of furnishings, or the textures of fabrics. All these elements can translate into interesting quilt designs.
When gathering inspiration, it’s also important to consider the purpose of your quilt. Are you making a quilt as a gift for someone special, or is it for your own personal use? Consider the recipient’s preferences, their favorite colors, and any special motifs that are meaningful to them. This personal touch will make the quilt even more special.
Remember, inspiration can strike at any moment, so keep a notebook or sketch pad handy to jot down ideas or make quick sketches. Don’t worry about being perfect; the purpose is to capture the essence of your inspiration and refer back to it when designing your quilt.
By gathering inspiration and ideas, you are building a foundation for your quilt design. The process of exploring different sources and collecting visual references will spark your creativity and help you develop a clear vision for your quilt. So, be open to inspiration from various sources, embrace your unique perspective, and let your imagination soar as you embark on your quilting journey.
Choosing Fabrics
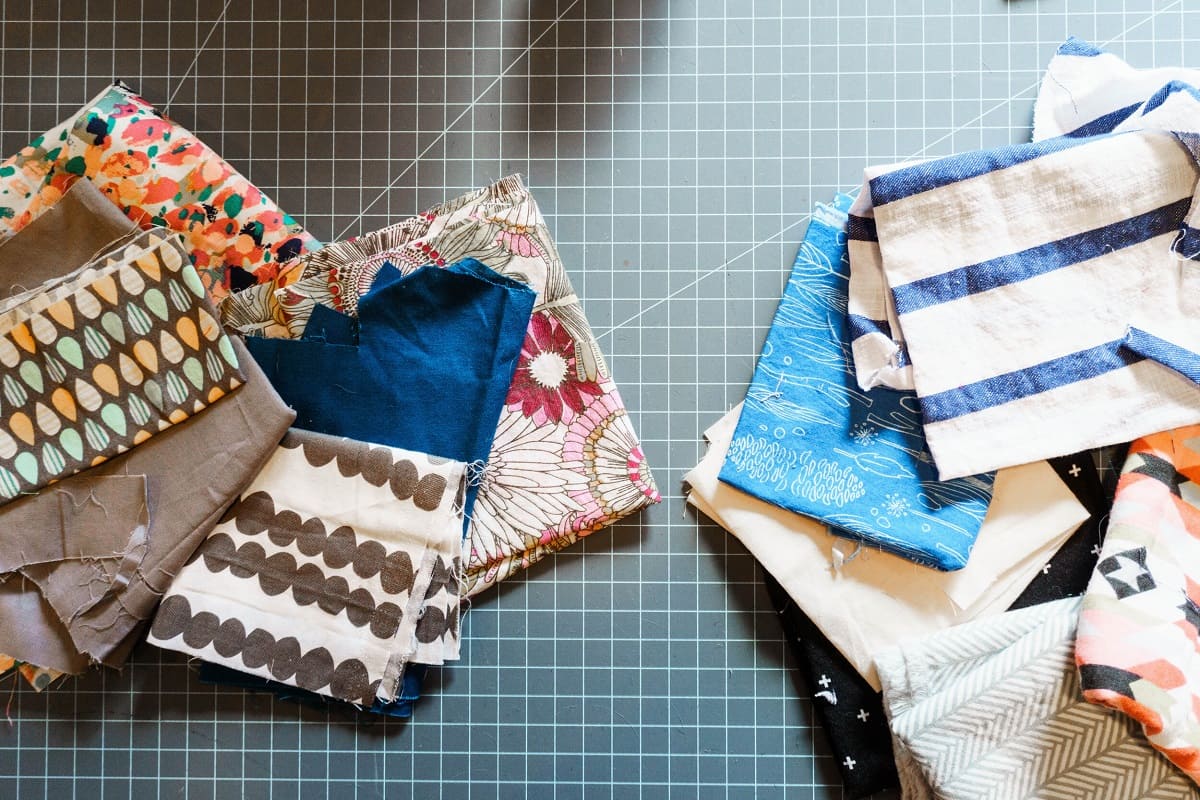
Choosing the right fabrics is a crucial step in the quilt design process. The fabrics you select will set the tone and mood of your quilt, so it’s important to consider factors like color, print, texture, and material. Let’s delve into some tips to help you choose fabrics that complement your design and bring your quilt to life.
Color is the first consideration when selecting fabrics. Think about the overall color scheme or palette you want to incorporate into your quilt. Do you want a monochromatic, analogous, or complementary color scheme? Consider the mood or feel you want to convey through your quilt. Bright, vibrant colors may create a cheerful and energetic look, while muted or pastel tones can give a more soothing and calming vibe.
Prints play an important role in providing visual interest and variety in your quilt. Explore different print types like florals, geometrics, stripes, or plaids. Mix and match prints of varying scales to create contrast and balance. Large-scale prints can make a bold statement, while small-scale prints add intricate details. Don’t be afraid to experiment and combine different print styles to achieve the desired effect.
Texture can add depth and tactile interest to your quilt. Consider the texture of the fabrics you select. Fabrics like linen or cotton blends can add a rustic or natural texture to your quilt, while silk or satin fabrics can bring a touch of elegance. Incorporate different textures through fabric choices or by incorporating techniques like appliqué or fabric manipulation.
Material is another important factor to consider when choosing fabrics for your quilt. Cotton is a popular choice for quilting due to its durability and ease of use. It comes in a wide range of patterns, colors, and textures. Other natural fibers like linen or silk can add a luxurious feel to your quilt. Synthetic fabrics like polyester can be an economical choice but may have different characteristics, so consider their suitability for your specific project.
As you gather fabrics, lay them out and view them together to see how they complement each other. Pay attention to the overall balance of colors and prints. Make sure that no single fabric dominates the others, unless that is the intention for your design.
It’s also a good idea to consider the theme or motif of your quilt. If you have a specific theme in mind, like a nautical or floral theme, look for fabrics with relevant motifs or patterns that align with your theme. This will create a cohesive and unified design.
Don’t be afraid to step outside your comfort zone and try new combinations. Experiment with unexpected color or print pairings to create a unique and eye-catching quilt. Quilting is an opportunity to express your individuality, so let your creativity guide you.
Lastly, consider the practical aspects of your fabric choices. Pre-wash your fabrics to ensure they won’t shrink or bleed colors when the quilt is washed in the future. Take note of any special care instructions for the fabrics to maintain the integrity of your quilt over time.
Choosing fabrics for your quilt is an exciting and creative process. By considering factors like color, print, texture, and material, you can curate a collection of fabrics that perfectly align with your vision. So, dive into fabric stores, explore online options, and let your imagination run wild as you choose the fabrics that will bring your quilt to life.
Selecting Quilt Design and Pattern
Once you have gathered inspiration and chosen your fabrics, the next step in designing a quilt is selecting a quilt design and pattern. The design and pattern you choose will give your quilt structure and visual appeal, so it’s important to consider various factors like complexity, style, and personal preference. Let’s explore some tips to help you navigate this step of the quilting process.
Start by considering the overall style or theme you want to portray in your quilt. Do you prefer a traditional, modern, or art-inspired design? Traditional designs like Log Cabin, Nine Patch, or Dresden Plate offer a timeless and classic look, while modern designs like starbursts or improvisational piecing can bring a fresh and contemporary feel to your quilt.
Consider the complexity of the design and pattern you are drawn to. If you are a beginner or prefer simplicity, opt for designs with straightforward block arrangements or straight lines. As you gain experience, you can challenge yourself with more intricate and complex designs that involve curved piecing, appliqué, or foundation piecing.
Take into account the size of the quilt and the intended use. If you are making a small wall hanging or a baby quilt, you may want a simple design that can be completed relatively quickly. For a bed-sized quilt, you have more room to explore larger designs and patterns.
Take advantage of resources like quilt books, magazines, or online platforms that provide a wide array of design options and pattern ideas. Flip through the pages, bookmark your favorites, and let them inspire your own interpretation. You can also find free or paid quilt patterns online that offer step-by-step instructions for creating a specific design.
Consider the versatility of the quilt pattern you choose. Can it be easily adapted to different sizes or color schemes? Look for patterns that offer flexibility so you can customize your quilt to fit your vision. This will allow you to make the pattern your own and add a personal touch to your quilt.
If you prefer a more improvisational or freestyle approach, explore techniques like crazy quilting or quilt-as-you-go. These techniques embrace spontaneity and allow for more creative experimentation. They can be a great way to add unique touches and express your individuality.
Another consideration is whether you want a repeating block pattern or a more random arrangement. Repeating blocks can create a sense of unity and rhythm, while random arrangements can give a more organic and free-flowing feel to your quilt design.
Don’t be afraid to combine different design elements or mix and match patterns. Play with color placement, block orientation, or variations in scale. This experimentation can lead to unexpected and exciting results that make your quilt design truly one-of-a-kind.
Ultimately, the design and pattern you choose should resonate with you and reflect your personal style. Trust your instincts and choose a design that sparks joy and excitement. Remember, quilting is a creative journey, and the possibilities are endless.
As you select your quilt design and pattern, have fun exploring different styles and techniques. Embrace the adventure and let your imagination guide you as you create a quilt that is uniquely yours.
Measuring and Cutting
Once you have chosen the design and pattern for your quilt, it’s time to move on to the practical aspect of measuring and cutting your fabric. Accurate measurements and precise cuts are essential for ensuring that your quilt comes together seamlessly. Let’s dive into some tips to help you navigate this important step in the quilting process.
Before you begin measuring and cutting, make sure you have all the necessary tools on hand. Invest in a good rotary cutter, a clear ruler, and a cutting mat. These tools will make the process faster and more accurate.
Start by referring to the pattern instructions or your own design plan. Identify the dimensions of the different fabric pieces and blocks required for your quilt. Take note of any seam allowances that need to be added to the measurements.
When measuring your fabric, it’s important to use a clear ruler or measuring tape. Place the ruler or tape at the edge of the fabric, making sure it is lined up straight. Measure accurately and double-check your measurements to avoid any errors.
When cutting the fabric, it’s essential to use a sharp rotary cutter. This will ensure clean and precise cuts. Place the fabric on a cutting mat to protect your surface and provide stability. Hold the ruler firmly in place and run the rotary cutter along the edge of the ruler, applying consistent pressure. Take your time and be mindful of safety precautions.
It’s crucial to cut your fabric pieces with accuracy and consistency. If your pattern calls for multiple pieces of the same size, consider using templates or a cutting guide to ensure uniformity. This will help with piecing the quilt top later on.
If you are cutting strips of fabric, such as for borders or binding, make sure they are cut on the straight grain of the fabric. This will help prevent distortion and ensure the strips are stable and easy to work with.
As you cut your fabric, organize and label your pieces to avoid confusion later on. Use post-it notes, fabric markers, or labels to indicate the size, purpose, and placement of each fabric piece. This will make the assembly process much smoother.
If you are using directional prints, pay attention to the orientation of the fabric as you cut. Make sure the print is facing the correct way for each fabric piece to maintain the integrity of the design.
Don’t rush the measuring and cutting process. Take your time and double-check your measurements and cuts to minimize any mistakes. Remember, precision at this stage will ensure that your piecing is accurate and your quilt comes together beautifully.
After you have finished measuring and cutting, organize your fabric pieces and double-check that everything is in order before proceeding to the next step. Store your fabric pieces in a safe place or use a design wall to keep them visible and easily accessible.
Measuring and cutting can feel daunting, especially if you’re a beginner. However, with practice and attention to detail, you will become more comfortable and confident in this essential quilting skill. So, take your time, be precise, and enjoy the process of preparing your fabric pieces for your beautiful quilt.
Read more: How To Quilt A Jelly Roll Race Quilt
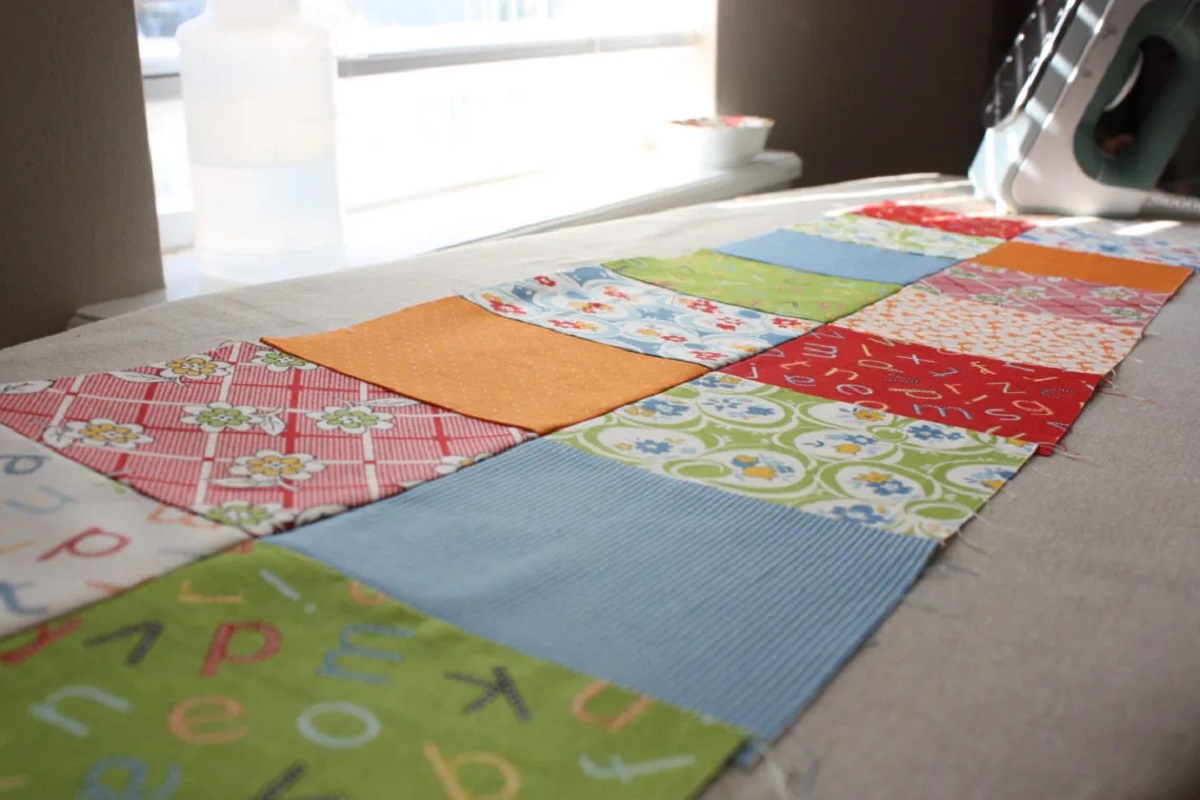
Piecing the Quilt Top
Now that you have measured and cut your fabric pieces, it’s time to piece them together to create the quilt top. Piecing is the process of sewing individual fabric pieces together to form blocks or rows that will eventually be joined to create the complete quilt top. Let’s explore some tips to help you successfully piece your quilt top.
Start by referring to your quilt design or pattern, and lay out your fabric pieces in the desired arrangement. This will give you a visual guide and help you ensure that everything is aligned correctly before sewing.
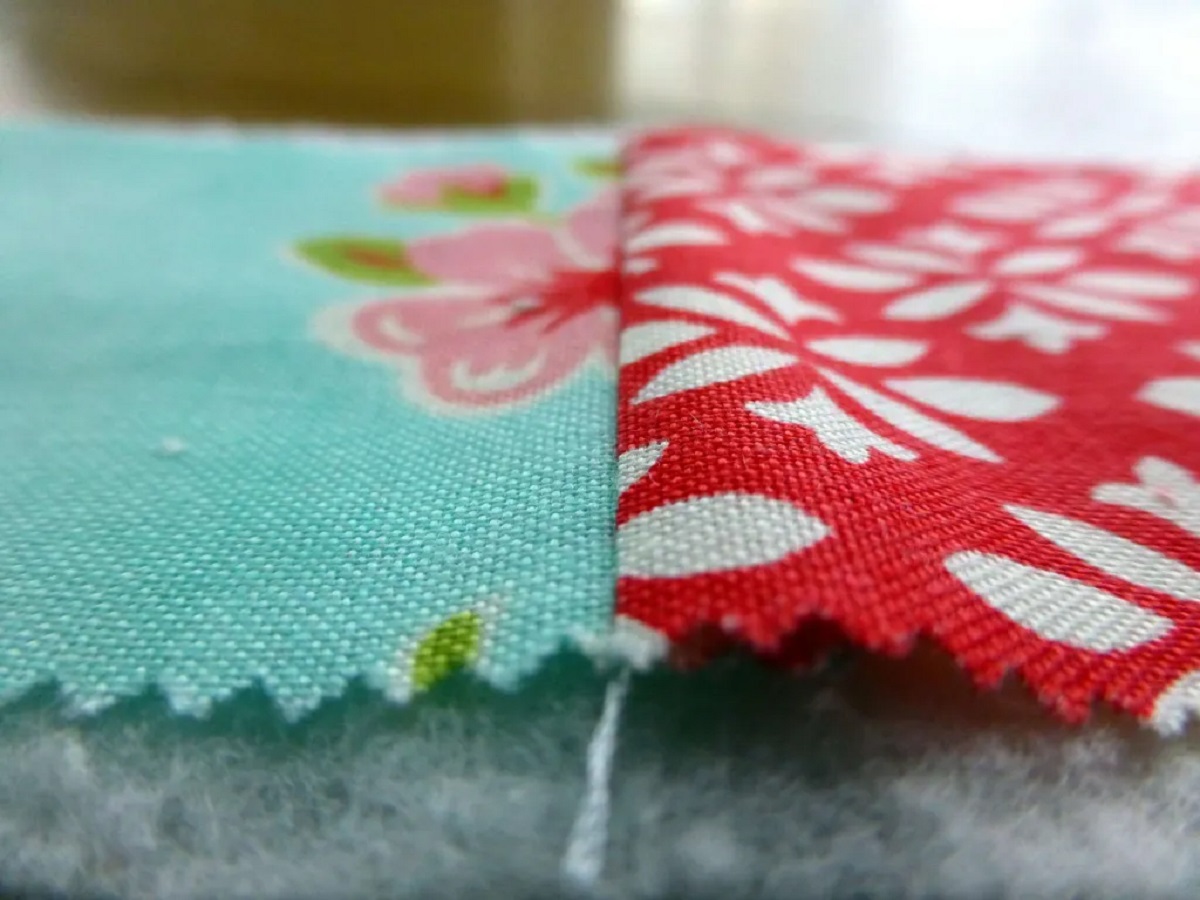
Ensure that you have a 1/4 inch seam allowance, as this is the standard in quilting. Sewing with a consistent seam allowance is crucial for achieving accurate piecing. Consider using a 1/4 inch sewing foot or marking the seam allowance on your sewing machine to help guide your stitching.
Before sewing your fabric pieces together, it’s a good idea to press them using an iron. Pressing the fabric creates crisp and flat seams, allowing for more accurate piecing. Use a dry iron on the appropriate fabric setting and press gently, being careful not to stretch the fabric.
When sewing fabric pieces together, use pins or clips to hold them in place. This helps maintain alignment and prevents shifting during sewing. Place the pieces right sides together, aligning the edges. Sew along the designated seam line, backstitching at the beginning and end to secure the stitches.
As you sew, be mindful of matching seams and corners. Take your time to align the edges accurately to ensure that the seams match up when the quilt top is complete. Pin or mark the matching points to help with alignment as you sew.
After sewing each seam, press the seam allowance to one side. This helps the seams lay flat and reduces bulk. Press the seam towards the darker fabric or according to the pattern instructions to maintain consistency.
Repeat the piecing process, joining more fabric pieces together to form blocks or rows. As you complete each section, check for accuracy and make any necessary adjustments before moving on to the next step. Taking the time to check your work as you go can save you from major frustrations down the line.
Once your blocks or rows are complete, join them together to form the full quilt top. Align the edges of the blocks or rows, matching seams and corners. Pin or clip the pieces together to hold them in place. Sew the pieces together, being careful to maintain accurate alignment. Press the seams as you go.
If your quilt design includes borders, add them after piecing the quilt top. Measure and cut the border strips according to your desired dimensions. Align the border strips with the edges of the quilt top, right sides together, and sew them in place. Press the seams towards the border.
As you complete the piecing process, admire your work and take pride in each accurately aligned seam. A well-pieced quilt top sets the foundation for a beautiful finished quilt.
It’s important to note that piecing can be time-consuming and may require practice to achieve consistent results. Be patient with yourself and allow room for learning and improvement. Each quilt you make will help you refine your piecing skills and develop your own unique style.
With careful attention to detail and a focus on accuracy, you’ll successfully piece your quilt top. So, embrace the process, enjoy the rhythm of sewing, and watch as your individual fabric pieces come together, creating a stunning quilt top.
When designing a quilt, consider the color scheme and fabric patterns to create a cohesive and visually appealing design. Experiment with different layouts and block arrangements to find the best composition for your quilt.
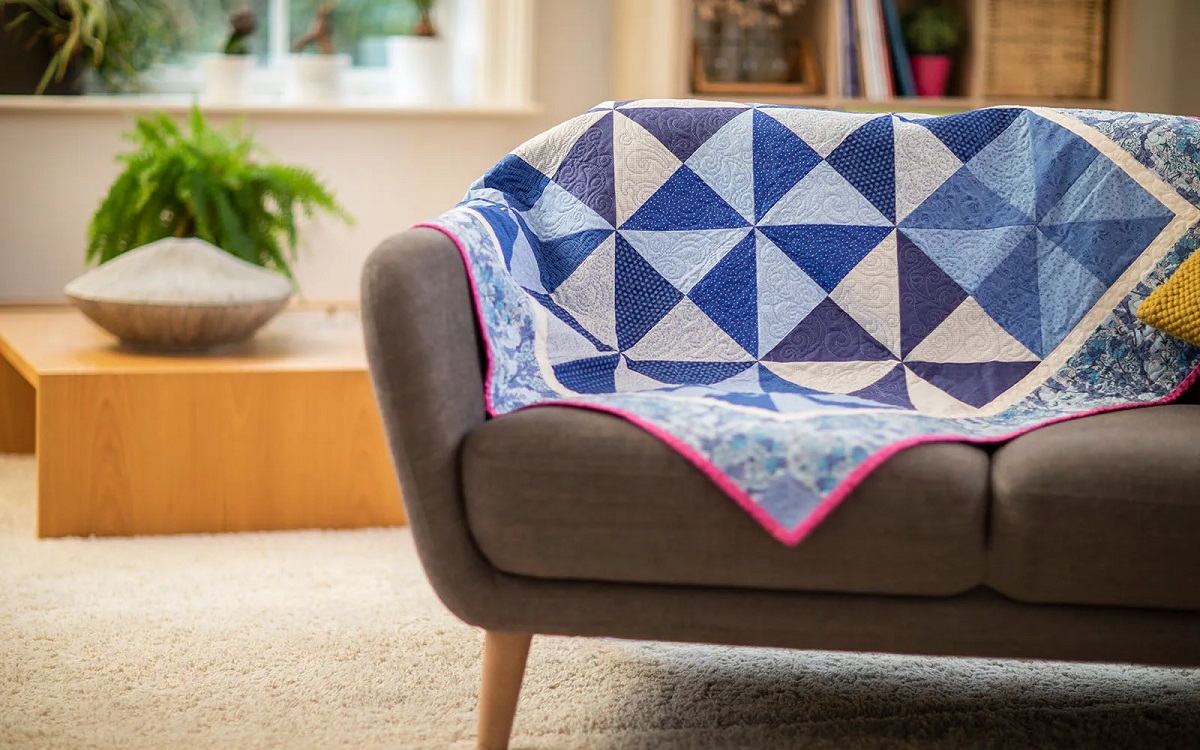
Adding Borders and Borders
Adding borders and borders to your quilt top is an optional but often essential step to enhance the overall design and give your quilt a finished look. Borders can frame the quilt, add visual interest, and provide an opportunity to incorporate complementary fabrics or additional design elements. Let’s dive into some tips to help you successfully add borders and borders to your quilt top.
Before adding borders, ensure that your quilt top is flat and squared off. Trim any excess fabric, making sure all corners are 90-degree angles and all sides are straight and even. This will ensure that your borders lie flat and align properly with your quilt top.
When selecting border fabrics, consider the overall color scheme and design of your quilt. Borders can be made from the same fabrics as your quilt top for a cohesive look, or you can choose contrasting fabrics to add a pop of color or create visual interest. Look for fabrics that complement the colors and patterns in your quilt top.
To determine the dimensions of your borders, measure the length and width of your quilt top. Borders can be as narrow or wide as you desire, but a common width is 2 to 6 inches. Consider the size and style of your quilt top when deciding on the width of your borders.
Measure and cut your border fabric strips to the desired width and the length of your quilt top’s sides. It’s a good practice to measure the quilt top in multiple places to ensure accurate measurements, as quilt tops can sometimes vary slightly in size. Cut four border strips for the sides of your quilt top.
When sewing the border strips to your quilt top, start by aligning the edges of the quilt top and the border fabric, right sides together. Pin or clip the fabric in place, ensuring that the edges are aligned. Sew with a 1/4 inch seam allowance, backstitching at the beginning and end to secure the stitches.
After sewing each border strip, press the seam allowance away from the quilt top. This helps to flatten the seam and creates a neat and professional-looking finish. Use an iron on an appropriate fabric setting and press gently, being careful not to distort the fabrics.
Repeat the process for the remaining three sides, carefully aligning the edges and sewing with a consistent seam allowance. After adding all the side borders, measure and cut the top and bottom borders to the appropriate length. Sew them in place using the same method as before.
Once the borders are attached, press the border seam allowances away from the quilt top. This will help the borders lay flat and ensure a smooth, even appearance. Take the time to press each seam and the entire quilt top to give it a finished look.
If desired, you can add multiple borders to your quilt top for added depth and visual appeal. Repeat the steps outlined above for each additional border, adjusting the dimensions and fabrics as needed.
When adding a border, consider incorporating additional design elements such as cornerstones or piecing within the border itself. Cornerstones are small squares of fabric placed at the intersections of the borders and quilt top sides, adding a decorative touch. You can also create an inner border with a different fabric to separate the quilt top from the outer border.
Adding borders and borders is a creative opportunity to enhance your quilt top and give it a polished finish. Take your time, measure accurately, and enjoy the process of transforming your quilt top into a complete quilt. With attention to detail and careful sewing, the addition of borders and borders will elevate your quilt to a new level of beauty.
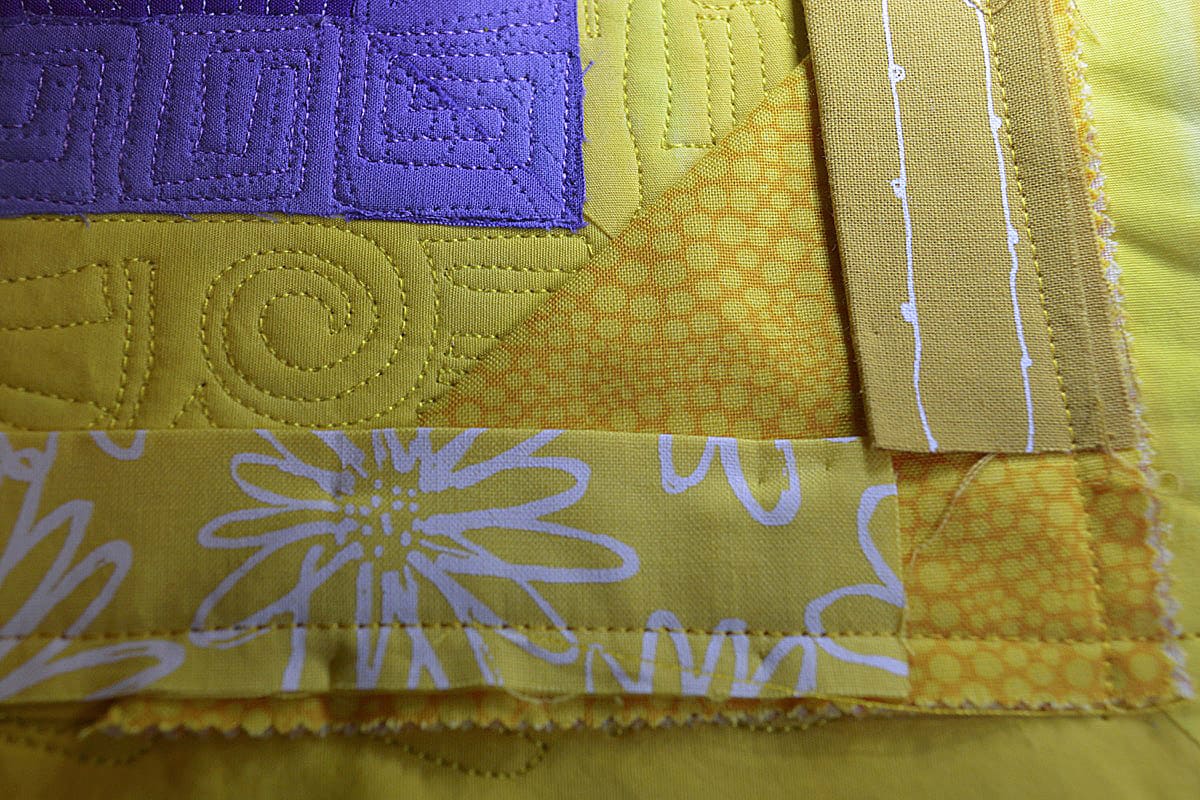
Quilting Techniques
The quilting process involves stitching layers of fabric together to create a cohesive and durable quilt. Quilting not only secures the layers but also adds texture and visual interest to your quilt. There are various quilting techniques to choose from, each offering a unique look and feel. Let’s explore some popular quilting techniques to help you create a quilt that is both beautiful and functional.
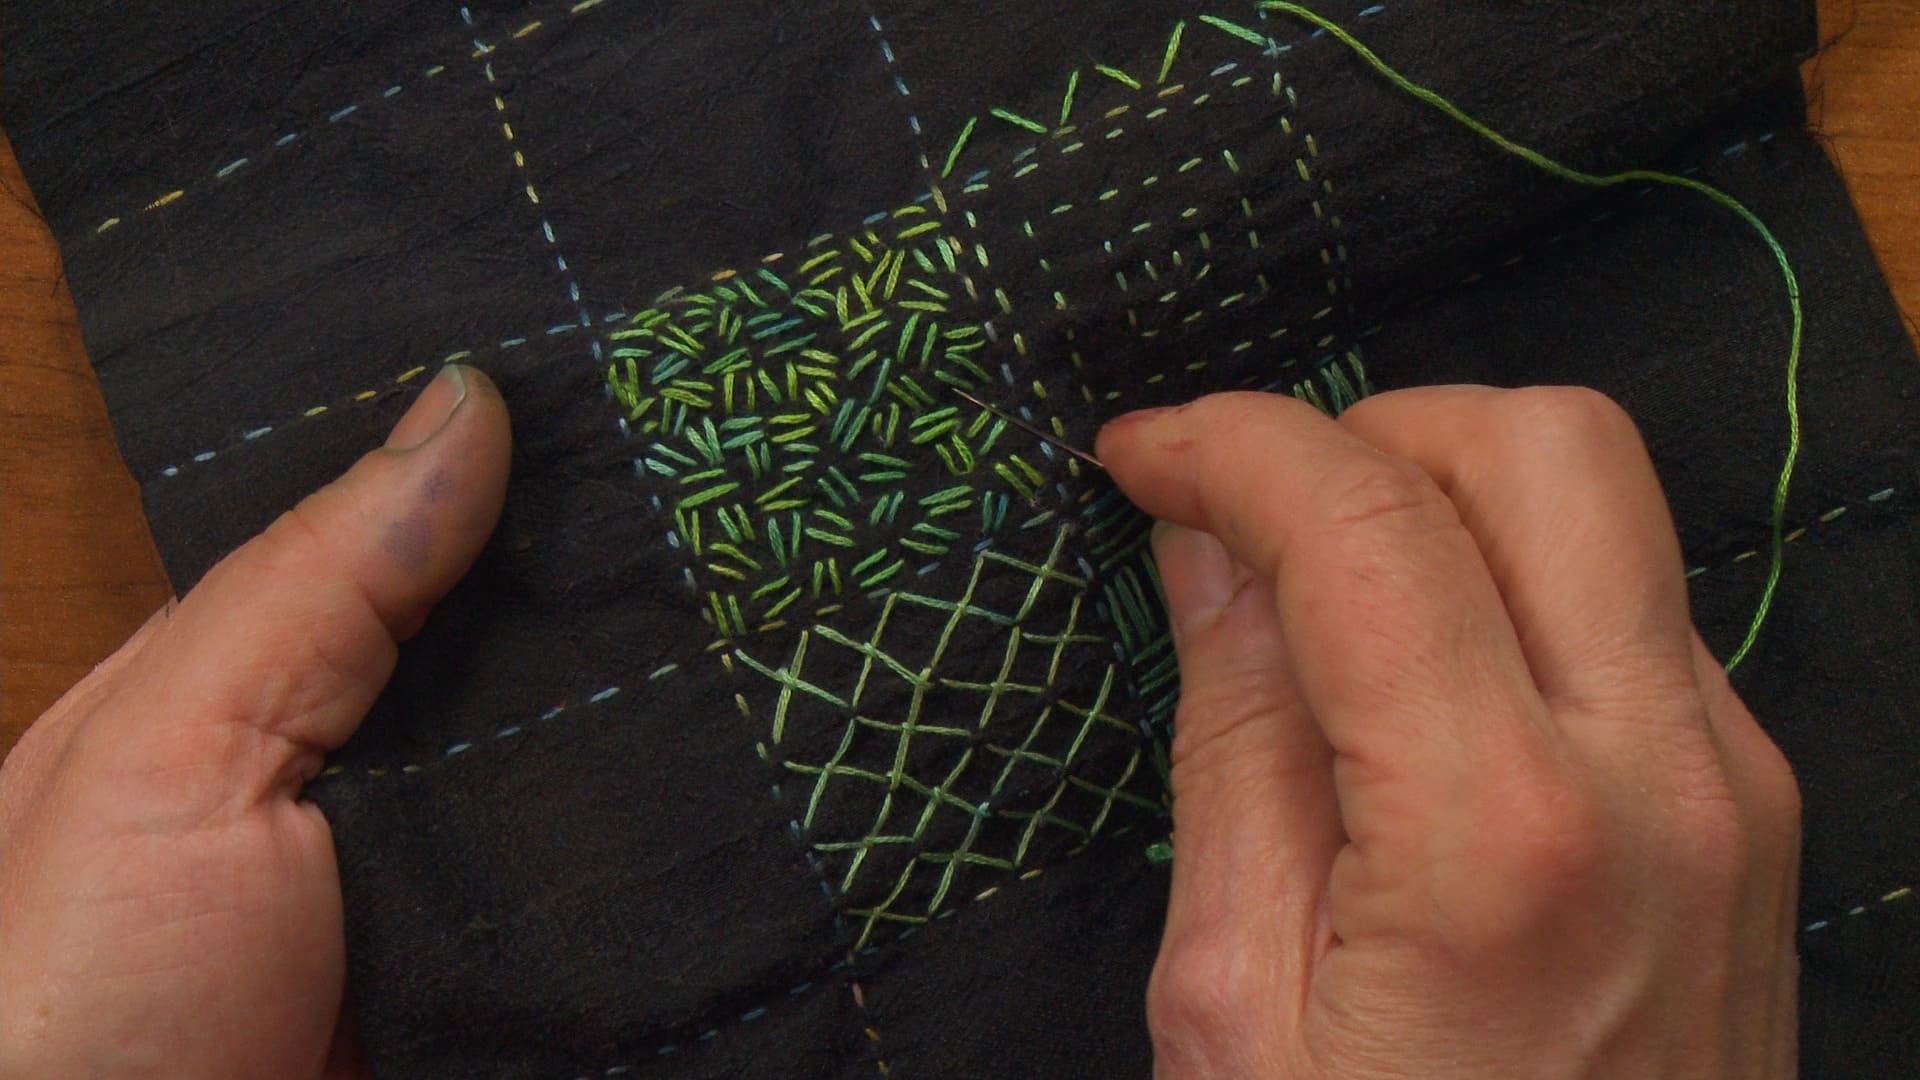
1. Hand Quilting: Hand quilting is a traditional quilting technique that involves stitching through the layers of fabric with a needle and thread. This technique gives your quilt a distinctive handmade look and allows for intricate and detailed stitching. Hand quilting is a time-consuming process but can be incredibly rewarding if you enjoy the slow and meditative nature of this technique.
2. Machine Quilting: Machine quilting involves using a sewing machine to stitch the layers of fabric together. This technique is faster than hand quilting and allows for more precise and consistent stitches. Machine quilting offers a wide range of possibilities, from simple straight-line quilting to intricate free-motion quilting. It is important to have a sewing machine with a large enough throat space to accommodate the bulk of the quilt.
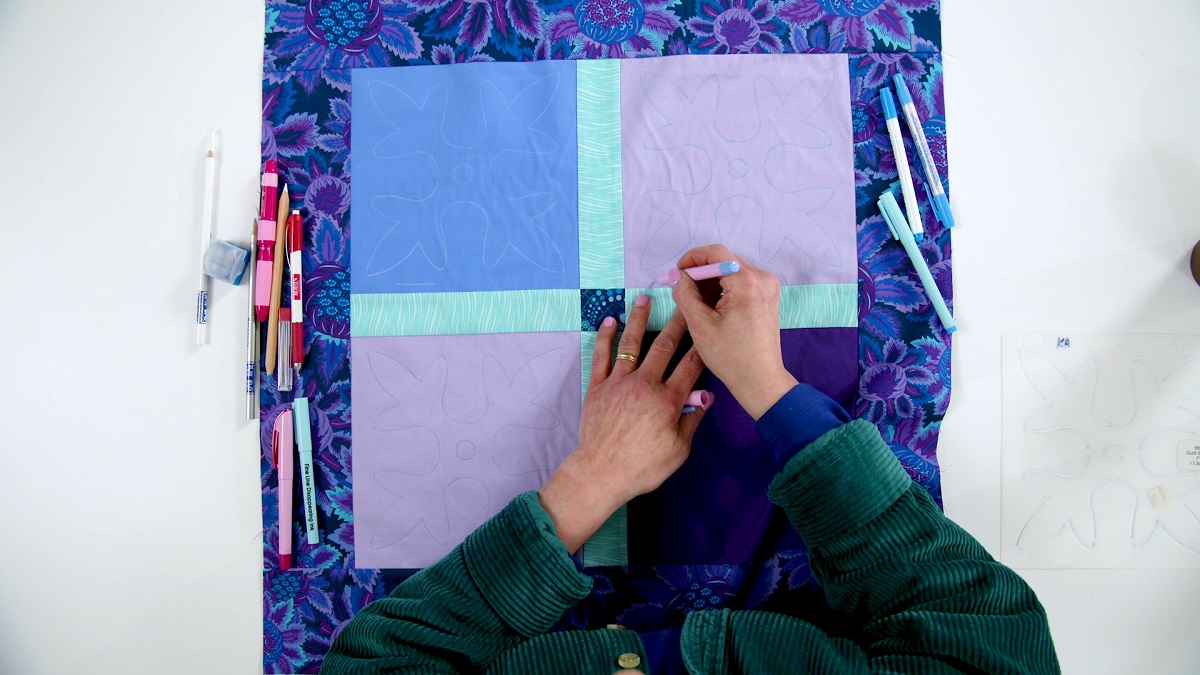
3. Free-Motion Quilting: Free-motion quilting is a technique where you move the quilt sandwich freely under the sewing machine needle, allowing for unlimited creativity and design possibilities. With this technique, you can create intricate patterns, swirls, loops, or any other design that you can imagine. It requires practice and control to achieve smooth and even stitches, but the result is a beautifully quilted design that adds texture and dimension to your quilt top.
4. Straight-Line Quilting: Straight-line quilting involves stitching parallel lines across the quilt top. This technique adds a clean and modern look to your quilt and is suitable for both traditional and contemporary designs. Straight-line quilting can be done using the walking foot on your sewing machine or by using a quilting ruler to guide your stitches.
5. Echo Quilting: Echo quilting involves stitching parallel lines around a design or motif, creating a quilted outline that highlights the shape. This technique adds dimension and emphasizes the focal point of your quilt top. You can choose to echo quilt around appliqué pieces, borders, or any other element you want to accentuate.
6. Strip Quilting: Strip quilting is a technique where you sew fabric strips together to create blocks or a quilt top. This method is quick and efficient, as it eliminates the need for precise cutting and piecing. You can use pre-cut fabric strips or cut your own to create a strip quilt with different widths and colors.
7. Quilt-As-You-Go: Quilt-as-you-go is a technique where you quilt individual blocks or sections of the quilt top as you piece them together. This technique eliminates the need for quilting a large quilt top all at once, making it more manageable and less daunting. Quilt-as-you-go also allows for more creativity in the quilting design of each block or section.
Select the quilting technique that best suits your quilting style, preference, and the design of your quilt top. Experiment with different techniques to add depth, texture, and visual interest to your quilt. Remember that practice and patience are key to mastering any quilting technique, so keep quilting and enjoy the journey of creating a beautiful quilt!
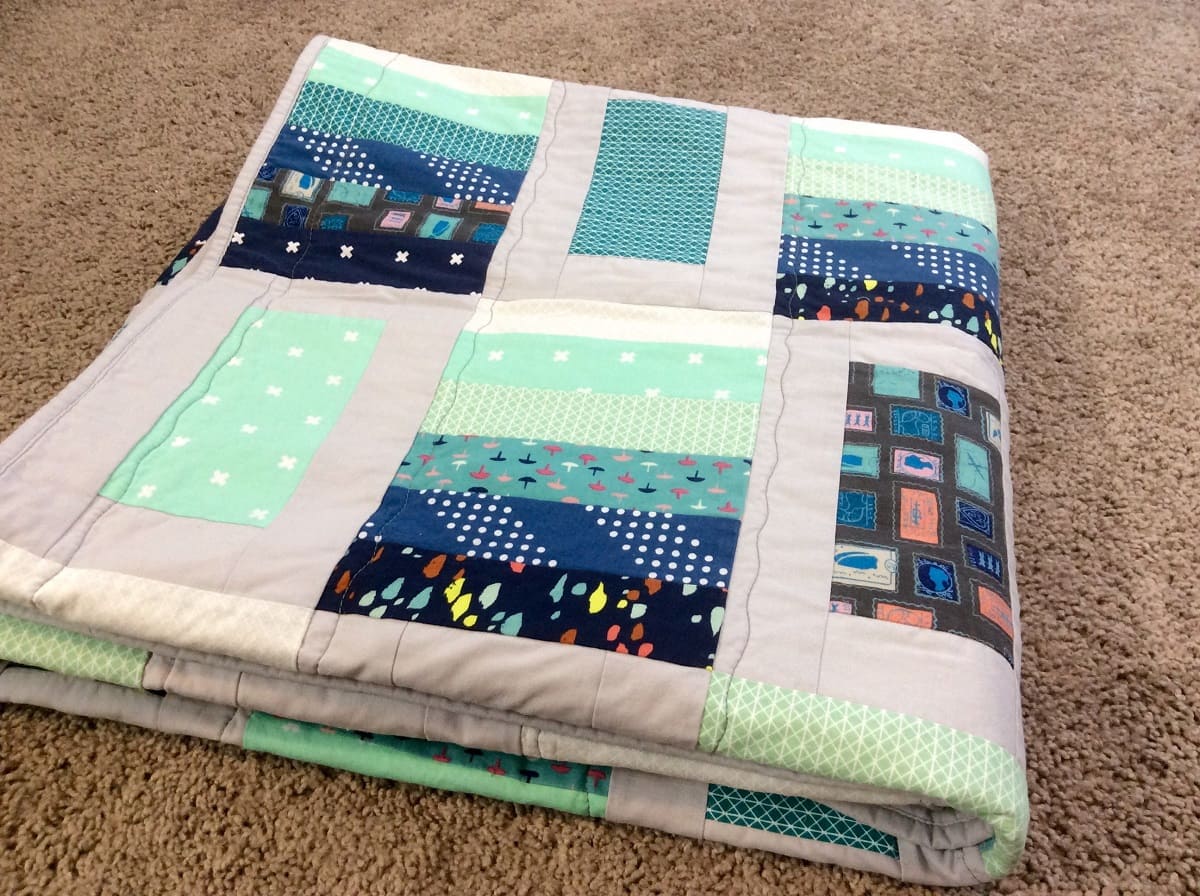
Adding Binding
Adding binding is the final step in completing your quilt. Binding not only gives your quilt a polished and finished look but also serves as a protective edge for the raw edges of the quilt layers. It’s an opportunity to add another element of design and color to your quilt. Let’s explore the process of adding binding to your quilt.
1. Fabric Selection: Select a fabric for your binding that complements the colors and design of your quilt top. You can choose a fabric that matches one of the colors in your quilt or opt for a contrasting color to make a bold statement. Consider the width of your binding as well, typically ranging from 2 to 2.5 inches when finished.
2. Calculating the Binding Length: Measure the perimeter of your quilt to determine the length of binding needed. Add up the lengths of all sides, and add a few extra inches to account for joining the ends of the binding and overlapping for a neat finish. If your quilt has rounded corners, add a little extra length to accommodate the curve.
3. Cutting the Binding Strips: Cut enough fabric strips from your chosen fabric to achieve the desired length. The width of the strips should match the width of your binding. Sew the strips together end-to-end using a diagonal seam to create one continuous strip. Trim the excess fabric and press the seam open for a smooth finish.
4. Preparing the Binding: Fold the binding strip in half lengthwise, wrong sides together, and press it with an iron. This creates a crease down the center of the strip. Open up the strip and fold each long edge towards the center crease, meeting at the fold line. Press these folds in place. Then, fold the strip in half again along the original center crease, enclosing the raw edges inside. Press the binding strip to set the folds.
5. Attaching the Binding: Starting in the middle of one side of your quilt, align the raw edges of the unfolded binding strip with the raw edge of the quilt top. Pin or clip in place, leaving a few inches of extra binding at the beginning. Sew the binding to the quilt using a 1/4 inch seam allowance, stopping 1/4 inch away from the corner. Backstitch and remove the quilt from the sewing machine. Repeat this process for all sides, being careful not to stretch or pucker the fabric as you sew.
6. Mitering the Corners: When you approach a corner, stop sewing 1/4 inch away from the edge. Lift the presser foot and pivot the quilt 45 degrees to create a neat mitered corner. Fold the binding strip up, aligning it with the next edge of the quilt. Then, fold it back down across the corner, aligning it with the next side. Pin or clip in place and resume sewing from the folded edge, continuing around the quilt.
7. Joining the Ends of the Binding: When you reach the starting point, leave a few inches of excess binding. Trim the excess binding to match the beginning of the strip. Open up both ends of the binding and place them right sides together. Sew along the diagonal line that connects the two ends, creating a diagonal seam. Trim the excess fabric, and press the seam open. Fold the binding back in half, and finish sewing it to the quilt.
8. Finishing the Binding: With the binding sewn to the quilt, it’s time to finish it by hand or machine. If you prefer hand finishing, fold the binding over the raw edges of the quilt and slip-stitch it in place using a blind stitch. If you prefer machine finishing, fold the binding to the back of the quilt, encasing the raw edges. Topstitch along the edge of the binding, ensuring that the stitches catch the binding on the back of the quilt.
With the binding attached and finished, your quilt is now complete! Take a moment to admire your handiwork and celebrate the journey you’ve taken to create a beautiful and functional quilt. Binding adds the final touch, giving your quilt a professional and polished appearance.
Remember, practice makes perfect when it comes to binding. As with any quilting skill, the more you do it, the more confident you become. So, take your time, enjoy the process of adding binding, and revel in the satisfaction of completing your quilt.
Read more: How To Quilt Placemats
Finishing Touches
Now that your quilt is pieced together, quilted, and bound, it’s time to add the finishing touches that will make your quilt truly special. These final details contribute to the overall look and feel of your quilt and provide an opportunity to add personalization and a professional touch. Let’s explore some ideas for adding those finishing touches.
1. Labeling: Adding a label to your quilt is a thoughtful way to document its creation and leave a lasting legacy. A label can include your name, the date the quilt was made, the purpose of the quilt, and any other relevant details. You can hand embroider or print the information on fabric and attach it to the back of the quilt.
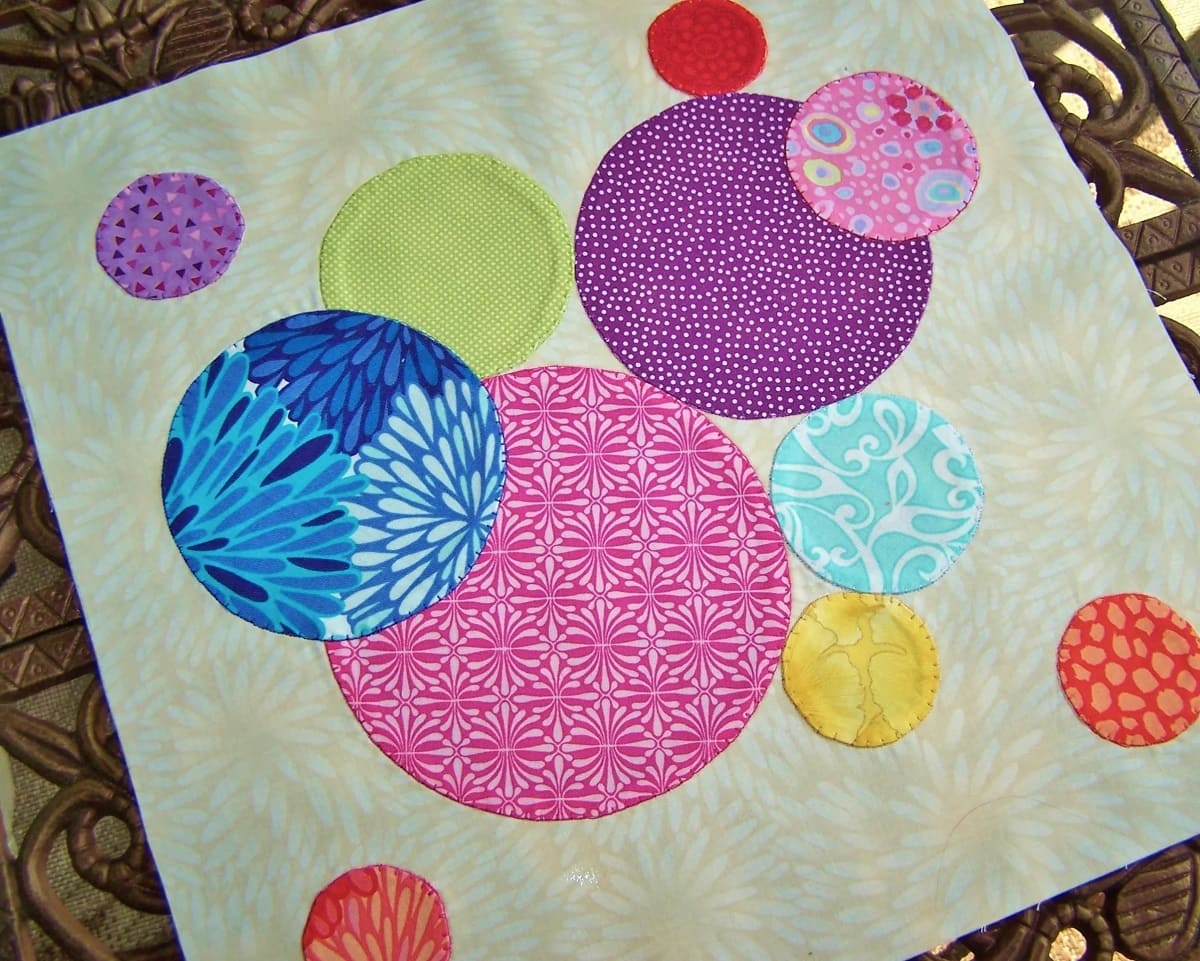
2. Embroidery and Appliqué: Consider adding embroidery or appliqué to your quilt for a unique and personalized touch. Embroider initials, names, or meaningful quotes onto a solid fabric block, or appliqué fabric shapes or motifs that hold significance to you or the recipient of the quilt.
3. Quilt Care Instructions: Including quilt care instructions is important to help the recipient care for and preserve the quilt for years to come. Provide information on how to clean, store, and maintain the quilt to ensure its longevity. You can print or embroider these instructions on a fabric tag and attach it to the quilt.
4. Additional Embellishments: Consider adding special embellishments to your quilt, such as buttons, beads, or ribbons. These decorative elements can add texture and visual interest to your quilt. Just ensure they are securely attached and will not snag or damage the fabric over time.
5. Quilting Stitches: If you have used machine quilting, you can add extra decorative stitches to certain areas of the quilt top. This can include stippling, meandering, or specialty stitches that complement the overall design of the quilt.
6. Borders: If your quilt design allows for it, consider adding a contrasting border around the quilt to frame it and add a pop of color or design. A border can help bring the entire quilt together and adds a finishing touch to the overall look.
7. Blocking and Pressing: Once the quilt is complete, lay it flat and block it to ensure the seams and corners lie flat and the quilt is square. This involves misting the quilt top with water and gently stretching and pinning it to the desired dimensions. Once the quilt is dry, carefully remove the pins. Finish by giving the quilt a final press with an iron to remove any wrinkles and create a crisp, finished appearance.
Remember, the finishing touches you add are an opportunity to showcase your creativity and make your quilt truly unique. They contribute to the story and meaning behind your quilt, making it a cherished keepsake or a thoughtful gift for someone special.
Take the time to consider which finishing touches resonate with you and the quilt’s purpose. Reflect on the recipient’s tastes and preferences if you are giving the quilt as a gift. Embrace your creativity and have fun adding those final details that will make your quilt shine.
With the finishing touches complete, step back and admire your beautiful quilt. Celebrate the journey you’ve taken, from gathering inspiration to piecing and quilting, and relish in the joy of creating something truly special. Your quilt is now ready to be enjoyed and cherished for years to come.
Conclusion
Congratulations! You have reached the end of your quilting journey, from gathering inspiration and choosing fabrics to piecing, quilting, and adding the finishing touches to your quilt. The process of designing and creating a quilt is a labor of love, requiring time, patience, and attention to detail. But the result is a beautiful and unique piece of textile art that you can proudly call your own.
Through this journey, you have learned about the importance of gathering inspiration from various sources and letting your imagination run wild. You have discovered the significance of choosing the right fabrics to bring your vision to life and how to measure and cut your fabric pieces with precision. You have honed your skills in piecing the quilt top, adding borders and borders to enhance the design, and exploring a range of quilting techniques to add texture and depth.
You have immersed yourself in the world of quilting, whether it’s through the traditional technique of hand quilting, the versatility of machine quilting, or the freedom of free-motion quilting. You have embraced the beauty of straight-line quilting, echo quilting, and strip quilting. You’ve learned to appreciate the convenience of quilt-as-you-go and the joy of discovering new design possibilities.
As you added the binding and the finishing touches to your quilt, you made it truly your own, incorporating labels, embroidery, appliqué, or other embellishments. Your quilt is a reflection of your creativity and personal style, a work of art infused with your dedication and passion.
But beyond the technical aspects, quilting is an opportunity for self-expression, a means to relax, and a way to connect with a rich and vibrant community of quilters. It is a timeless tradition that spans generations, cultures, and styles. It brings warmth, comfort, and beauty into our lives.
As you wrap yourself in the comforting embrace of your finished quilt, take pride in what you have accomplished. Share your quilt with others, whether it’s through displaying it on a wall, using it as a cozy blanket, or gifting it to loved ones on special occasions. Your quilt is not only a tangible creation but also a testament to your creativity and the countless hours you spent bringing it to life.
Remember, quilting is a never-ending journey of learning, exploring, and stretching your creativity. There are always new designs to try, new techniques to master, and new fabrics to play with. So keep creating, keep experimenting, and keep sharing your love for quilting with others.
Enjoy the artistry of quilting, embrace the joy it brings, and may your quilting journey continue to inspire and bring beauty into your life and the lives of those around you. Happy quilting!
Frequently Asked Questions about How To Design A Quilt
Was this page helpful?
At Storables.com, we guarantee accurate and reliable information. Our content, validated by Expert Board Contributors, is crafted following stringent Editorial Policies. We're committed to providing you with well-researched, expert-backed insights for all your informational needs.


0 thoughts on “How To Design A Quilt”