Articles
How To Make A Sink
Modified: August 28, 2024
Learn how to make a sink from scratch with our informative and detailed articles. Find step-by-step instructions, tips, and tricks to create the perfect sink for your DIY project.
(Many of the links in this article redirect to a specific reviewed product. Your purchase of these products through affiliate links helps to generate commission for Storables.com, at no extra cost. Learn more)
Introduction
Welcome to the world of DIY projects! If you’re looking to upgrade your kitchen or bathroom and want to add a personal touch, making your own sink can be a rewarding and budget-friendly option. In this article, we’ll guide you through the steps of creating your own sink, from planning and measuring to installation and finishing touches.
Before we dive into the details, let’s talk about the benefits of making your own sink. First and foremost, it allows you to customize the design to suit your style and preferences. You can choose the shape, size, and material that best fits your needs and complements your overall decor. Additionally, making your own sink can save you money compared to purchasing a ready-made one.
To get started, you’ll need a few materials and tools. Here’s a list of what you’ll need:
- Countertop material (such as granite, marble, or wood)
- Sink template or dimensions
- Tape measure
- Safety goggles and gloves
- Router with a flush-trim bit or jigsaw
- Drill with hole saw bits
- Sink basin and mounting hardware
- P-trap and plumbing pipes
- Silicone caulk and adhesive
- Plumber’s putty
- Screwdriver and wrench
Now that you have everything you need, let’s get started! The first step is planning and measuring your sink.
Key Takeaways:
- Personalize your space and save money by making your own sink. From planning and measuring to installation and finishing, DIY sinks offer freedom of design and a rewarding sense of accomplishment.
- Enjoy the satisfaction of creating a functional and stylish sink that reflects your unique style. Regular maintenance will keep your DIY sink in top condition for years to come.
Read more: How To Make A Portable Sink
Materials Needed
Before we proceed, let’s gather all the materials and tools you’ll need to make your own sink. Having everything ready will ensure a smooth and efficient process. Here’s a list of the essential items:
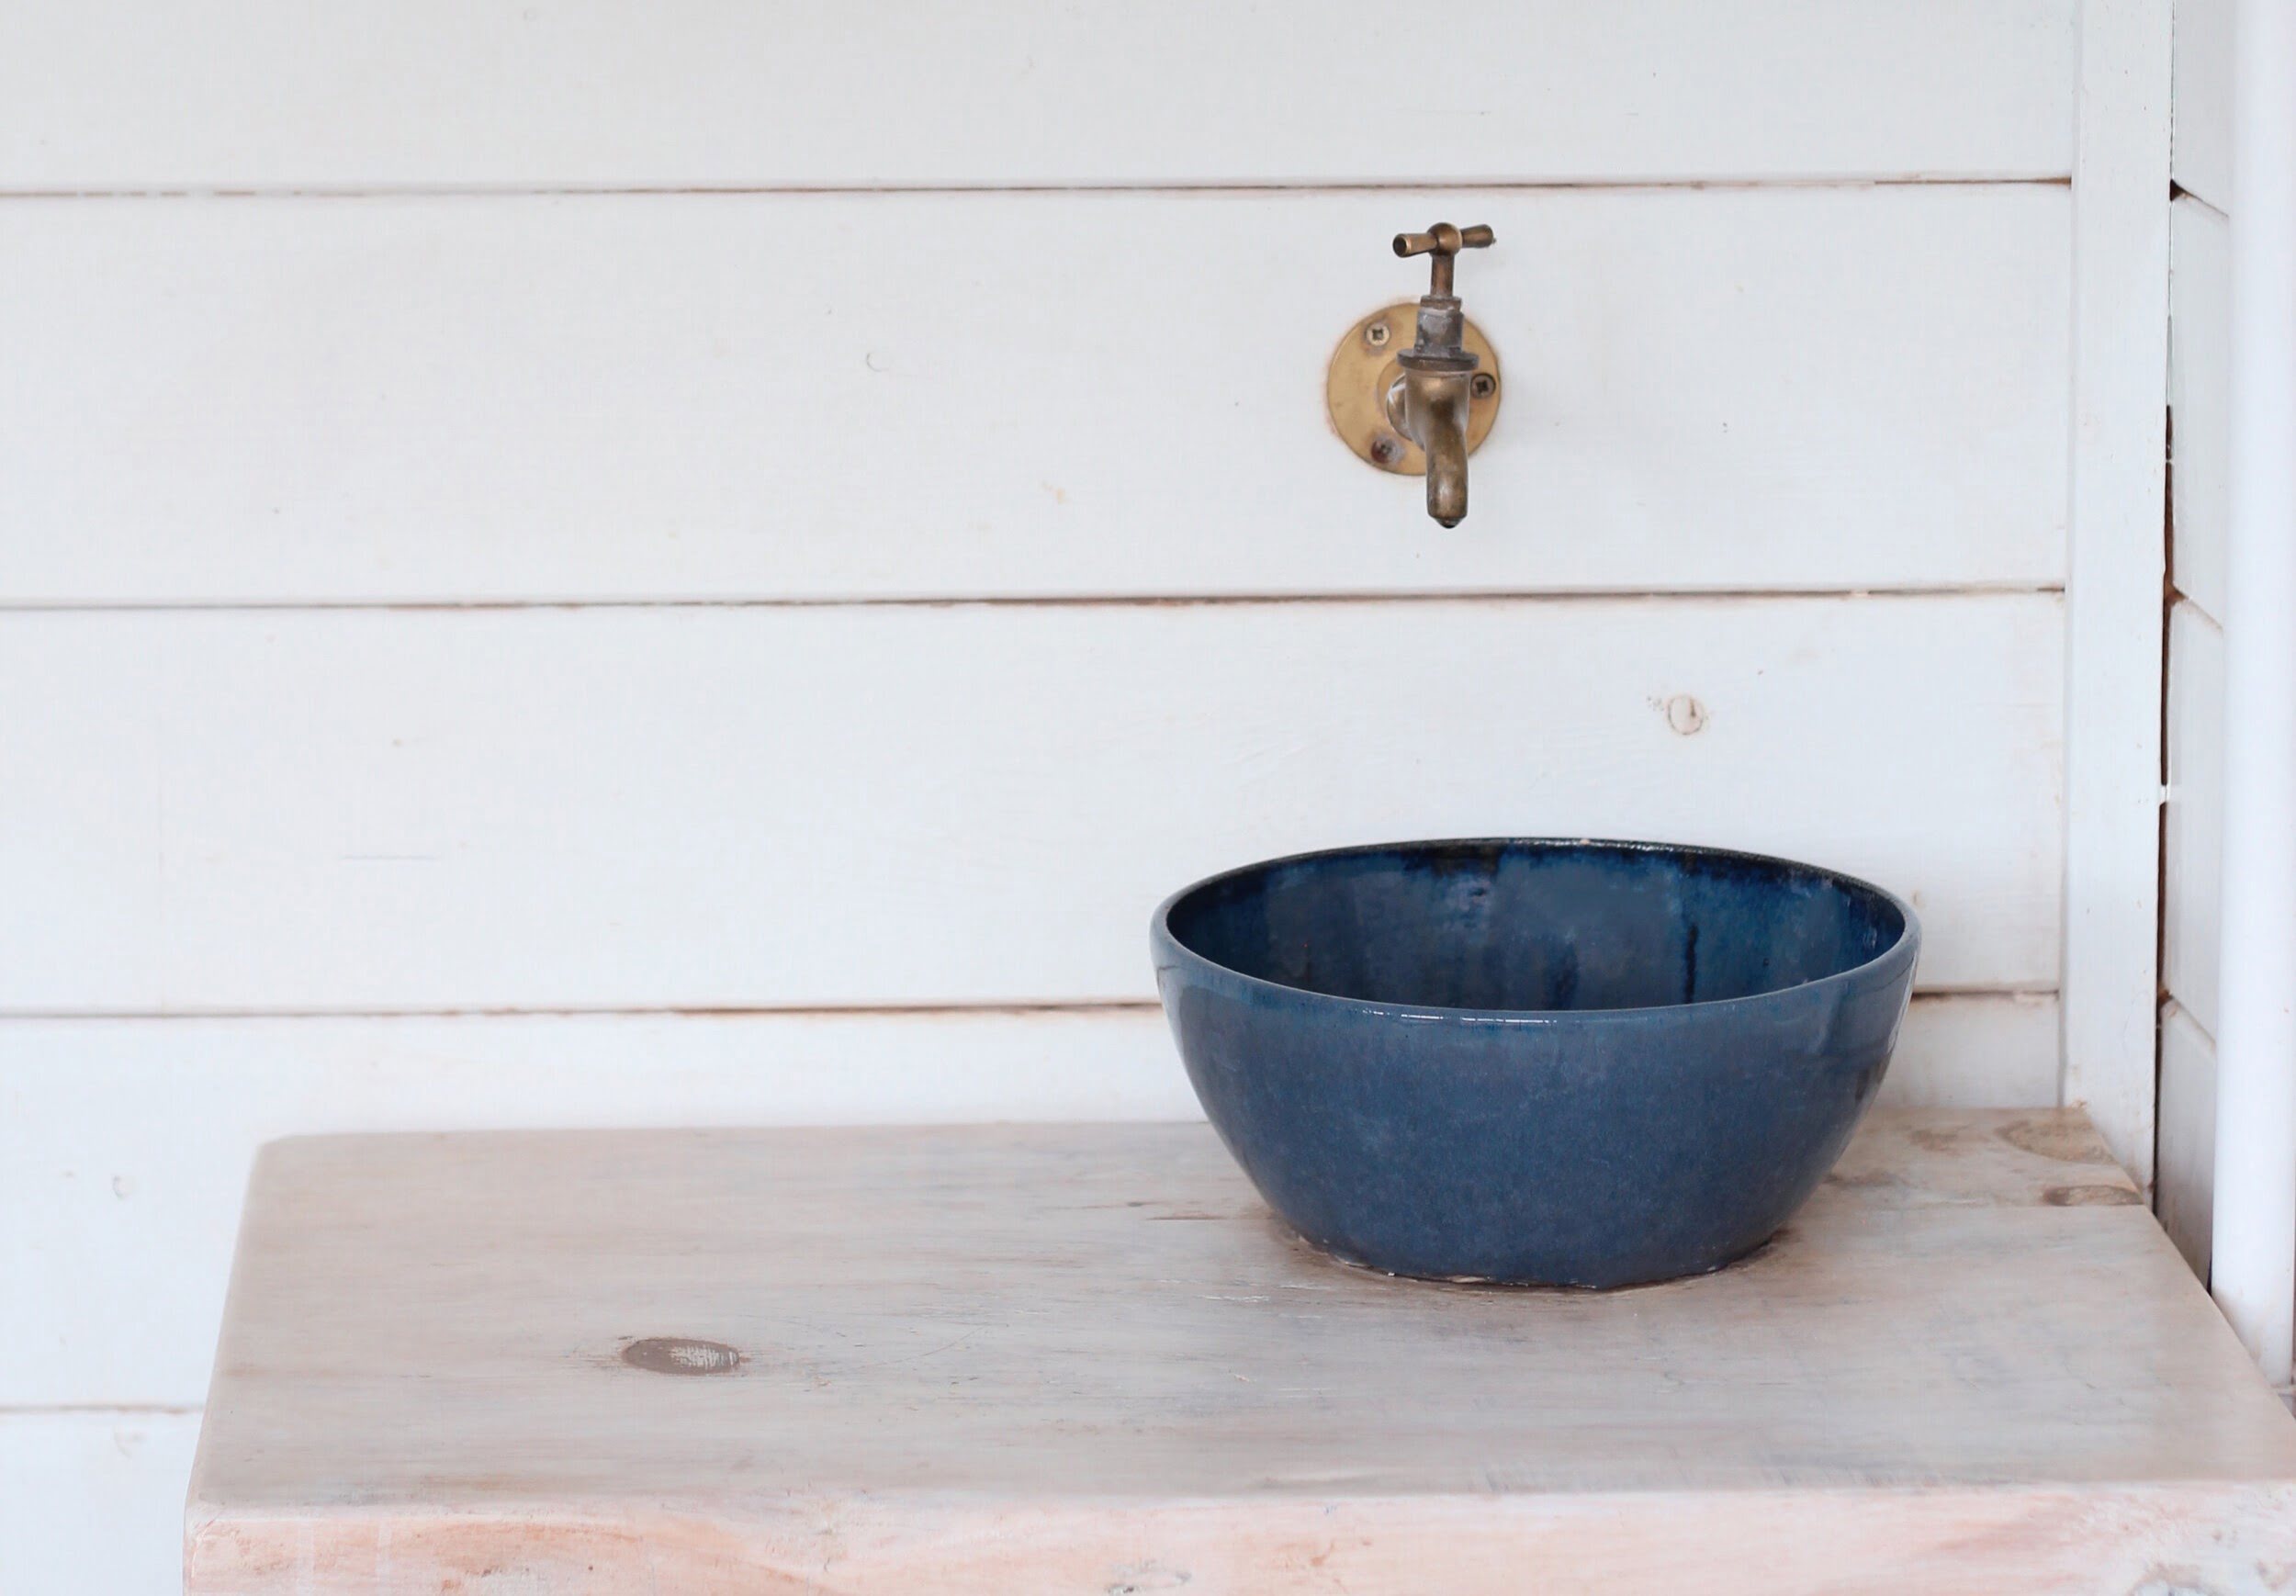
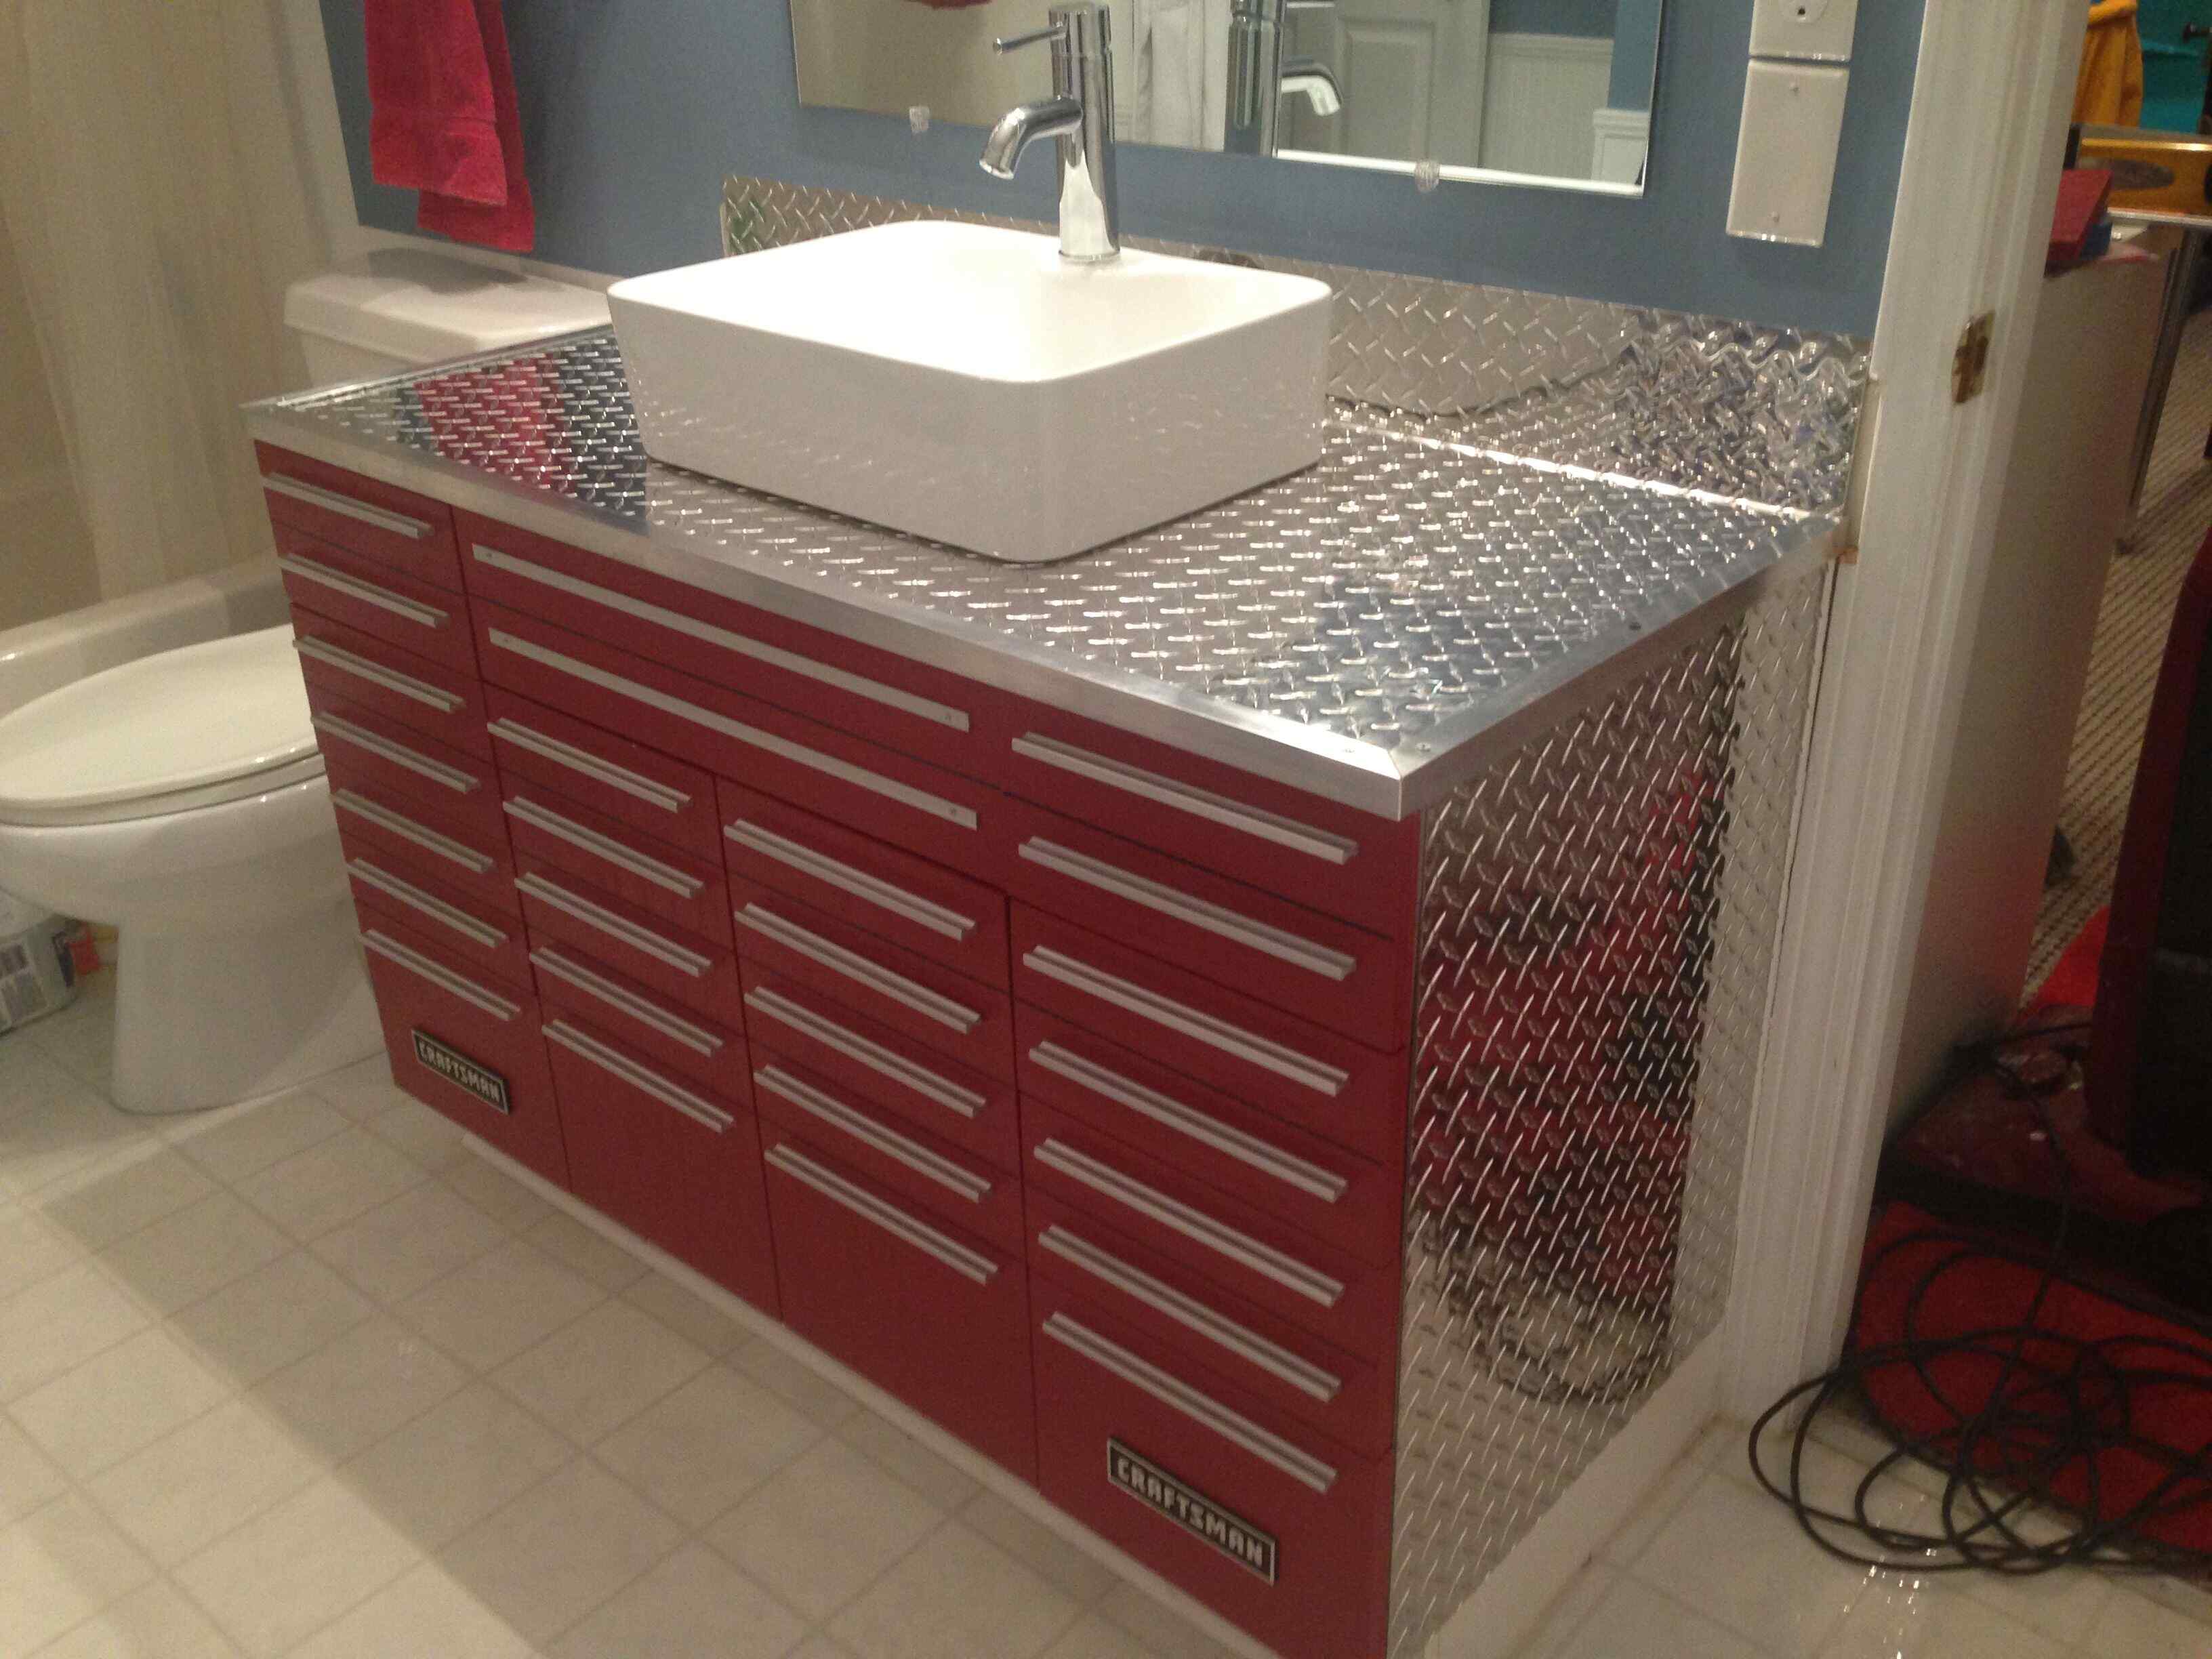
- Countertop material: Choose a durable and waterproof material like granite, marble, or wood for your sink. Make sure it’s of sufficient size to accommodate your desired sink size.
- Sink template or dimensions: You’ll need a template or accurate measurements of the sink you want to install. This will guide you in cutting the sink hole in the countertop.
- Tape measure: Accurate measurements are crucial, so make sure to have a reliable tape measure on hand.
- Safety goggles and gloves: Protect your eyes and hands while working with power tools and sharp objects.
- Router with a flush-trim bit or jigsaw: To cut the sink hole in the countertop, you’ll need a router with a flush-trim bit or a jigsaw. These tools will help you achieve precise and clean cuts.
- Drill with hole saw bits: You’ll need a drill equipped with hole saw bits to create openings for the faucet and drain.
- Sink basin and mounting hardware: Choose a sink basin that fits your design and functional needs. Ensure you have the necessary mounting hardware, such as clips or brackets, to secure the sink to the countertop.
- P-trap and plumbing pipes: To connect the sink to the drain, you’ll need a P-trap and the appropriate plumbing pipes. Make sure to choose the right size and material for your plumbing system.
- Silicone caulk and adhesive: These materials will help seal and secure the sink and plumbing connections. Choose a high-quality silicone caulk that is resistant to water and mildew.
- Plumber’s putty: Plumber’s putty is used to create a watertight seal around the faucet and drain connections.
- Screwdriver and wrench: These basic tools will be needed for various installation tasks, such as tightening screws and bolts.
Having these materials and tools at your disposal will ensure that you can complete the sink-making process without any hiccups. Now that we have everything we need, let’s move on to the next step: planning and measuring.
Step 1: Planning and Measuring
Before you start cutting into your countertop, it’s essential to plan and measure carefully to ensure the sink fits perfectly and aligns with your vision. Here’s a step-by-step guide on how to plan and measure for your DIY sink:
- Choose the location: Decide where you want to install the sink on your countertop. Consider factors such as convenience, functionality, and aesthetic appeal.
- Measure the sink dimensions: If you have a sink template, place it on the countertop and trace its outline. If not, measure the dimensions of the sink basin accurately.
- Mark the cutting area: Use a pencil or masking tape to mark the sink hole’s position on the countertop. Make sure the markings are precise and symmetrical.
- Allow enough clearance: Take into account the sink’s size and the space needed for faucet installation. Leave sufficient clearance between the sink and any adjacent walls or cabinets.
- Check for plumbing connections: Ensure that there is adequate space beneath the countertop for the plumbing connections and that they align properly with the sink hole.
Once you’ve completed these steps, you’ll have a clear plan in place and accurate measurements for cutting the sink hole. Planning and measuring are crucial to avoid any costly mistakes or rework later on. With this preparation complete, it’s time to move on to the next step: cutting the sink hole.
Step 2: Cutting the Sink Hole
Now that you have your sink dimensions and the precise location marked on the countertop, it’s time to cut the sink hole. This step requires precision and caution to ensure a clean and accurate cut. Follow these steps to cut the sink hole:
- Put on your safety goggles and gloves: Protect your eyes and hands before you start working with power tools.
- Choose the appropriate tool: Depending on the material of your countertop, use either a router with a flush-trim bit or a jigsaw. For solid surfaces like granite or marble, a router is generally recommended for more precise cuts. For wooden countertops, a jigsaw can work well.
- Attach the appropriate bit: If using a router, attach a flush-trim bit of the appropriate size. If using a jigsaw, choose a blade suitable for cutting through your countertop material.
- Start cutting: Begin cutting along the marked outline of the sink hole. If using a router, move the tool steadily and maintain a consistent speed to ensure a smooth cut. If using a jigsaw, carefully follow the marked line, using gentle, smooth motions.
- Make relief cuts if necessary: If you encounter any corners or tight curves, it may be beneficial to make relief cuts to ensure precise and clean corners.
- Check your progress: Periodically check your work to make sure you’re on track and the sink hole is gradually taking shape. Avoid rushing and take your time to achieve the desired result.
- Remove the cutout section: Once the sink hole is complete, carefully remove the cutout section, ensuring not to damage the surrounding countertop.
- Clean the edges: Use sandpaper or a file to smooth and clean the edges of the sink hole. This will ensure a perfect fit for the sink basin.
Remember, cutting a sink hole requires precise measurements and steady hands. Take your time, follow the steps carefully, and double-check your work. With the sink hole cut, you’re now ready to move on to the next step: installing the sink.
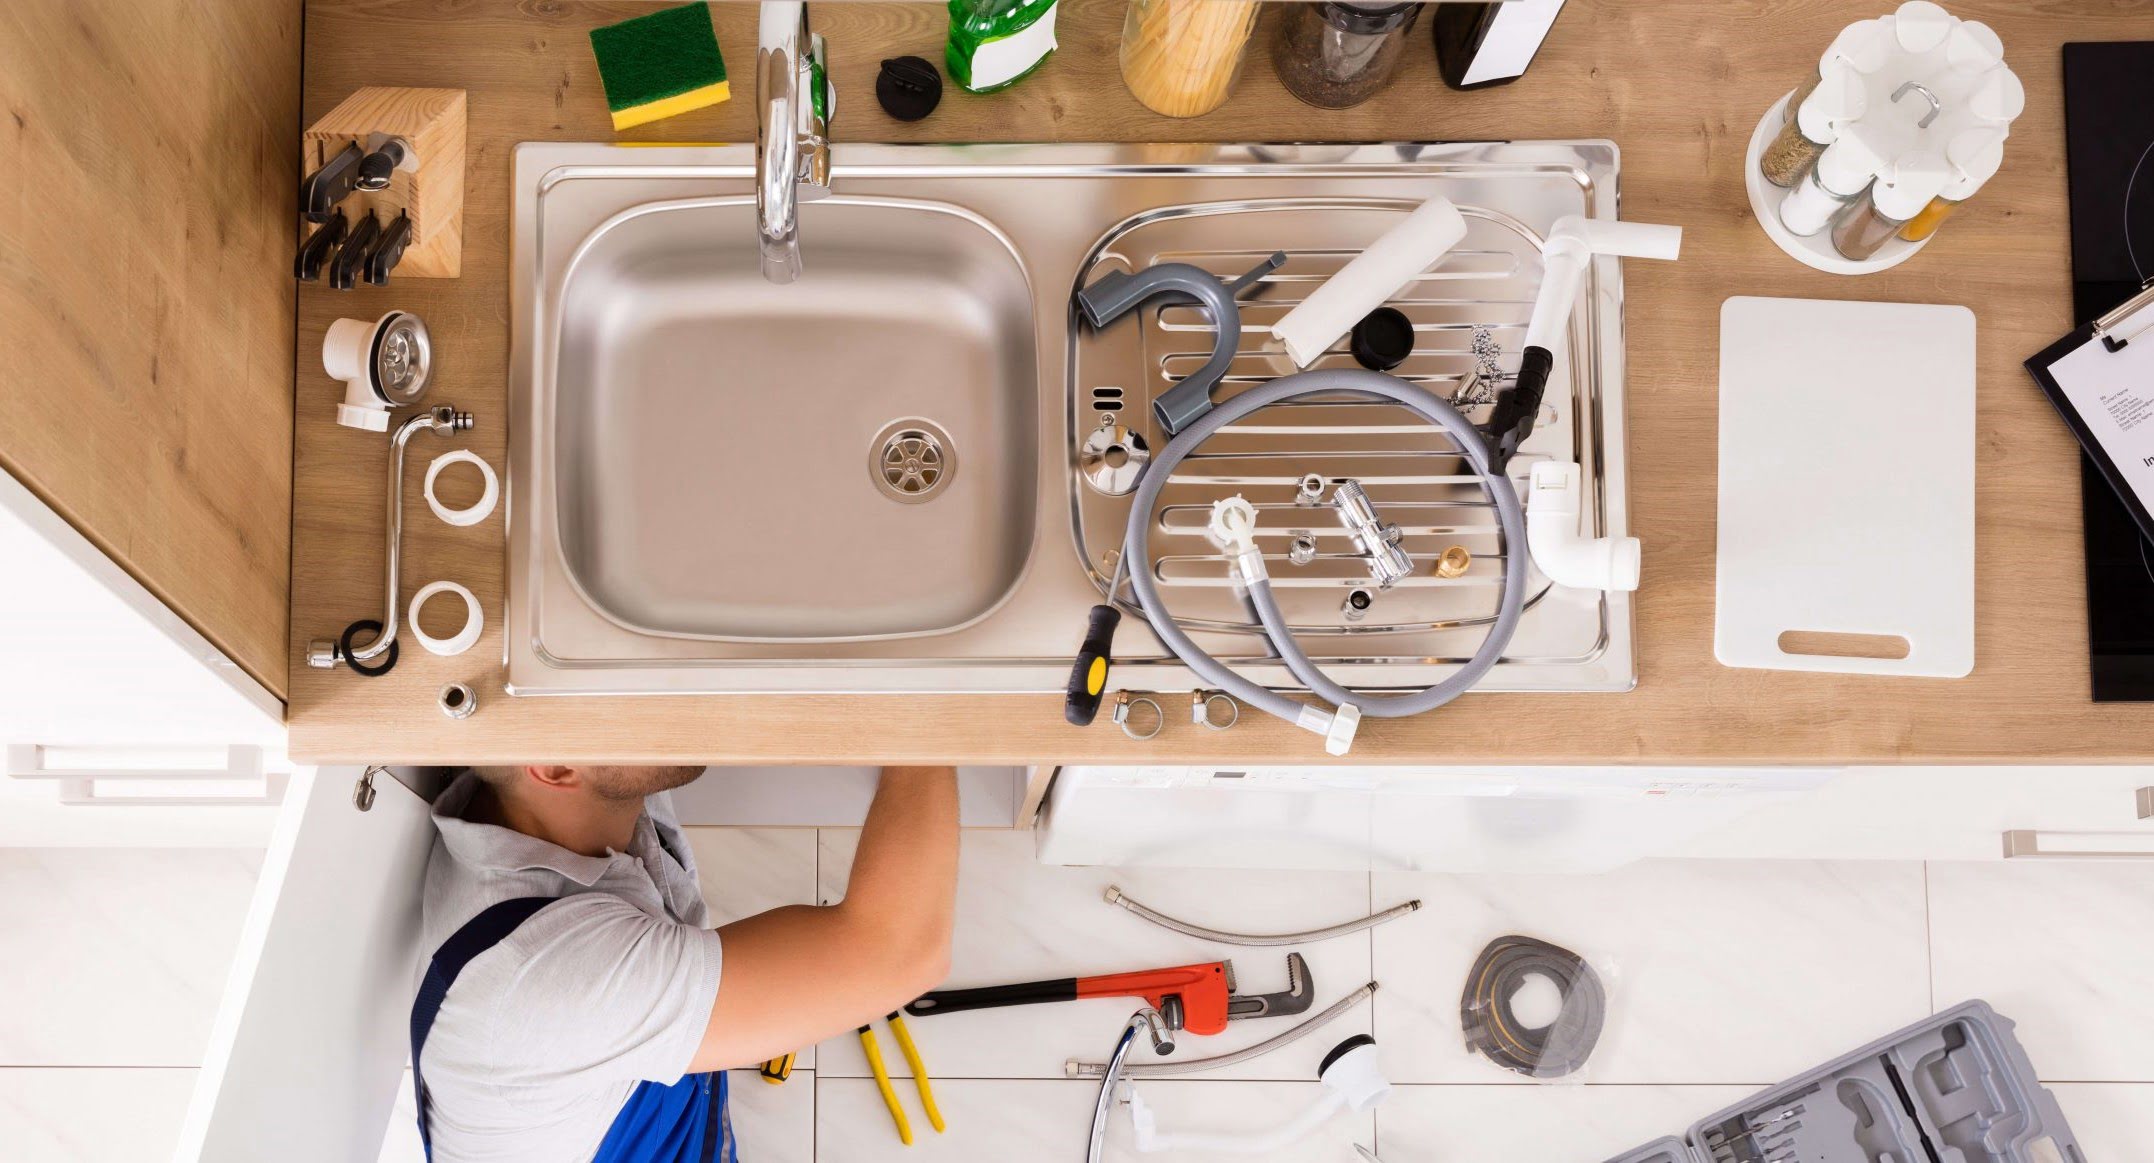
Step 3: Installing the Sink
With the sink hole cut out, it’s time to install your sink basin. This step will require careful handling and attention to detail to ensure a secure and functional installation. Follow these steps to install your sink:
- Prepare the sink: Before placing the sink into the cutout, inspect it for any damage or defects. Clean the sink thoroughly to remove any dirt or debris.
- Apply adhesive or silicone caulk: Depending on the instructions provided with your sink, apply a thin layer of adhesive or silicone caulk around the edges of the sink hole. This will help create a watertight seal and secure the sink in place.
- Lower the sink into the hole: Carefully lower the sink basin into the sink hole, ensuring it aligns perfectly with the cutout. Press down firmly to ensure it adheres to the adhesive or silicone caulk.
- Secure the sink: If your sink comes with mounting hardware, such as clips or brackets, follow the manufacturer’s instructions to secure it to the underside of the countertop. This will provide additional stability and support.
- Check for levelness: Use a level to ensure the sink is properly leveled in all directions. Make any necessary adjustments to ensure a balanced and even installation.
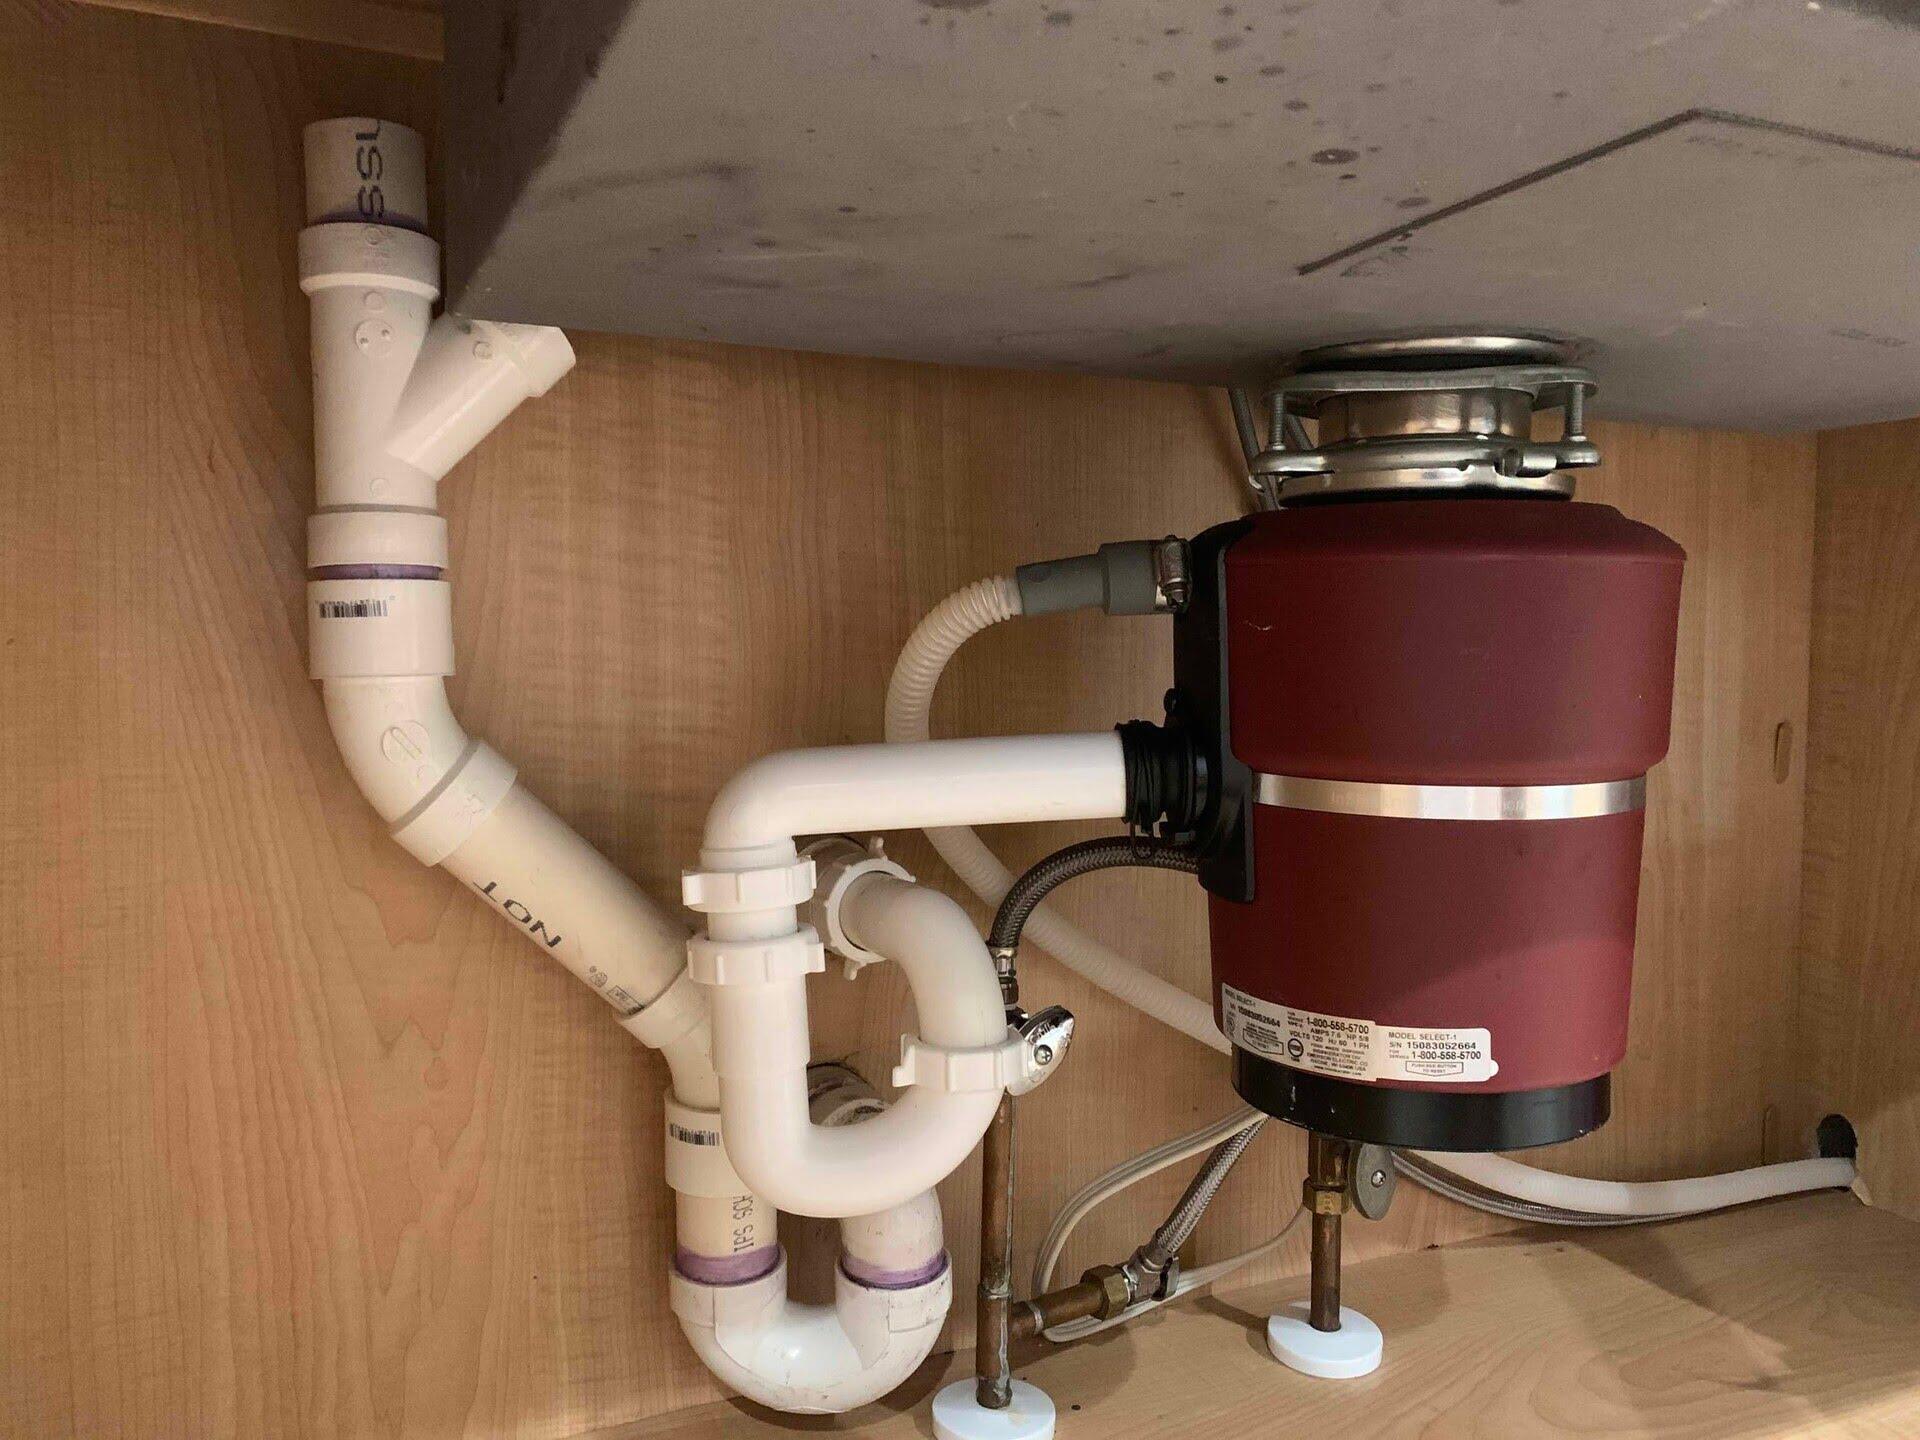
- Connect the sink drain: Depending on your plumbing system, connect the sink’s drain assembly to the P-trap and plumbing pipes. Follow the manufacturer’s instructions or consult a professional if you’re unsure about the process.
- Check for leaks: Once the sink is installed and the plumbing connections are made, turn on the water and check for any leaks. Tighten any loose connections and make adjustments as needed.
With the sink installed and properly secured, you’ve successfully completed the installation process. Now, let’s move on to the next step: connecting the plumbing.
When making a sink, ensure that the drain hole is properly positioned and sealed to prevent leaks. Use a waterproof sealant around the edges for added protection.
Read more: How To Make A Vanity Around A Pedestal Sink
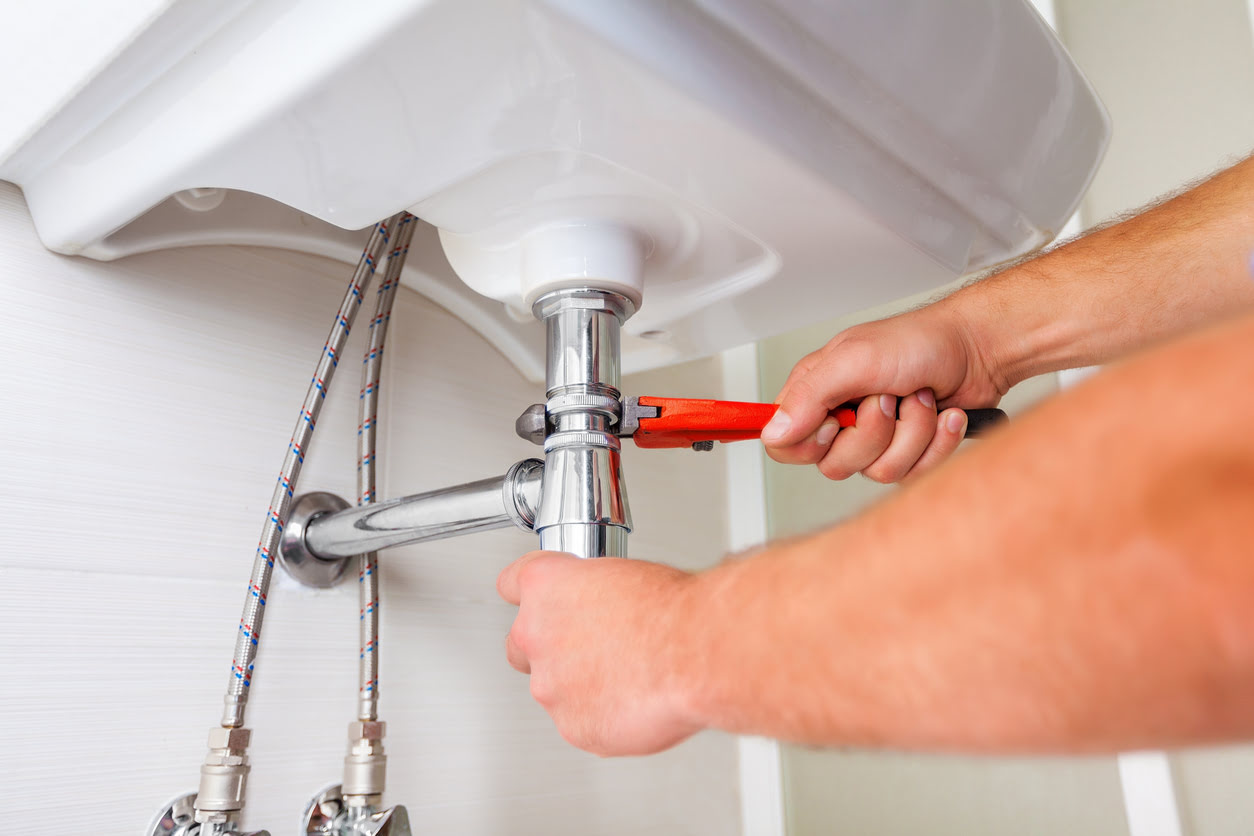
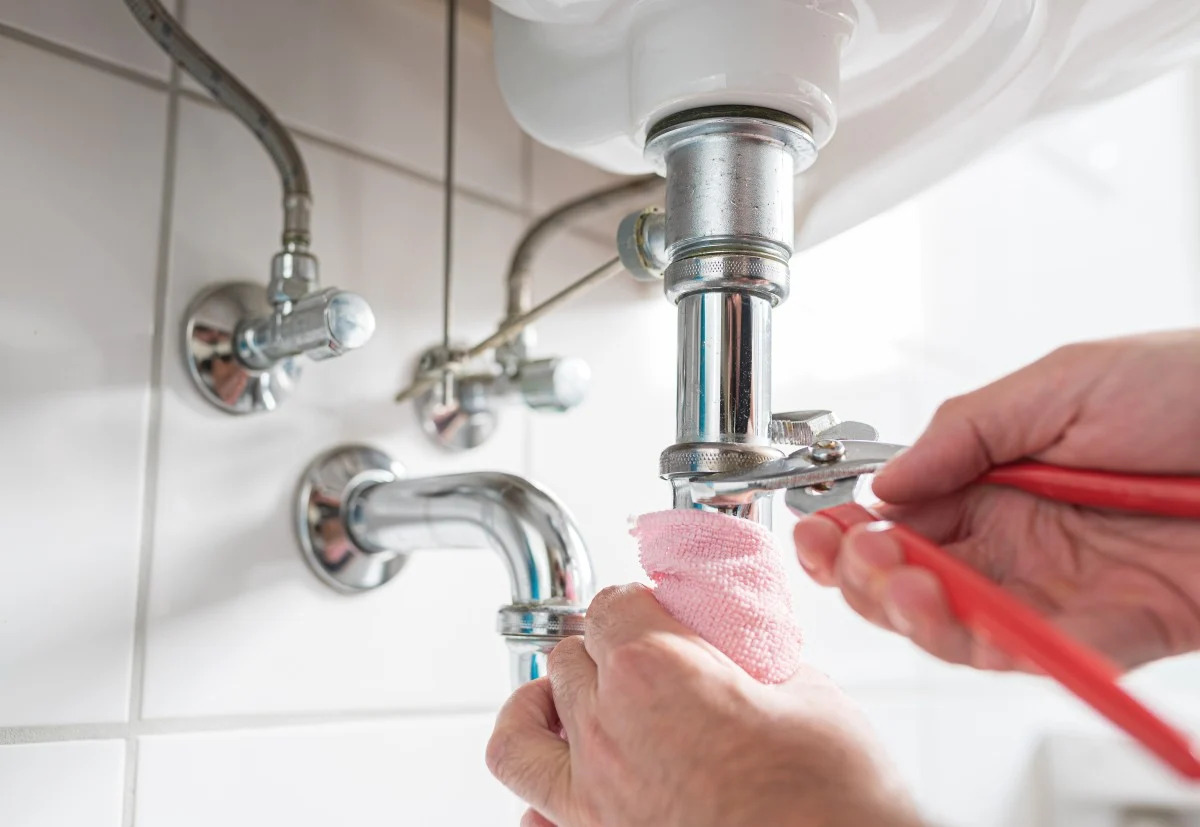
Step 4: Connecting the Plumbing
Connecting the plumbing is an essential step in making your own sink fully functional. This involves connecting the sink drain to the P-trap and the plumbing pipes, ensuring proper water flow and preventing any leaks. Follow these steps to connect the plumbing:
- Gather the necessary materials: You’ll need a P-trap, plumbing pipes, plumber’s putty, a wrench, and a screwdriver for this step.
- Apply plumber’s putty: Roll a small amount of plumber’s putty into a thin rope and place it around the base of the sink drain. This helps create a watertight seal.
- Insert the sink drain: Insert the sink drain into the designated opening in the sink basin. Apply gentle pressure and twist it clockwise to secure it in place.
- Connect the P-trap: Install the P-trap by connecting it to the sink drain and the downstream plumbing pipe. Use the provided couplings or compression fittings to securely attach the pipes together.
- Tighten the connections: Use a wrench or a pair of pliers to ensure all connections are tight and secure. Be cautious not to overtighten and cause damage.
- Check for leaks: Once the plumbing connections are made, turn on the water and check for any leaks. Inspect all joints and connections carefully. If you notice any leaks, tighten the connections as necessary.
- Make any necessary adjustments: If the sink drain isn’t aligned properly or if there are any issues with the water flow, make the necessary adjustments to ensure everything functions correctly.
Properly connecting the plumbing is crucial for the functionality of your sink. Take your time to ensure all connections are secure and leak-free. Once you’ve successfully connected the plumbing, you’re ready to move on to the next step: securing the sink in place.
Step 5: Securing the Sink in Place
Securing the sink in place is an important step to ensure stability and prevent any unwanted movements or damage. By properly securing the sink, you can enjoy a long-lasting and functional addition to your kitchen or bathroom. Follow these steps to secure the sink:
- Access the underside of the countertop: Depending on your countertop design, you may need to access the underside to secure the sink properly. This may involve removing cabinet doors or drawers.
- Locate mounting points: Most sink basins come with mounting points or brackets. Identify these points and make sure they align with the corresponding locations on the countertop.
- Attach mounting hardware: Using screws or bolts, attach the mounting hardware to the underside of the countertop. Make sure they are secure but not overly tightened.
- Align the sink: Carefully lift the sink basin, aligning it with the mounting points on the countertop. Have a helper assist you to ensure proper alignment.
- Secure the sink: With the sink in place, use a screwdriver or wrench to tighten the screws or bolts on the mounting hardware. Make sure the sink is securely fastened but avoid overtightening, as it may lead to damage.
- Check for stability: Give the sink a gentle test to ensure it is properly secured and doesn’t wobble or move. If there is any instability, check the mounting hardware and make adjustments as necessary.
- Reinstall cabinet doors or drawers: Once the sink is securely in place, reinstall any cabinet doors or drawers that were removed to access the underside of the countertop. This will give your sink area a finished look.
By following these steps, you’ll ensure that your sink is firmly and securely attached to the countertop. This will provide stability and longevity, making it ready for everyday use. Now, let’s move on to the final step: sealing and adding the finishing touches to your DIY sink.
Step 6: Sealing and Finishing Touches
Sealing and adding finishing touches to your DIY sink will not only enhance its appearance but also protect it from moisture and potential damage. This step involves sealing the sink edges, installing the faucet, and adding any additional decorative elements. Follow these steps to complete the sealing and finishing touches:
- Seal the sink edges: Use a high-quality silicone caulk to seal the edges of the sink where it meets the countertop. Apply a thin and even bead of caulk around the perimeter, ensuring there are no gaps. Smooth out the caulk with your finger or a caulking tool for a neat finish.
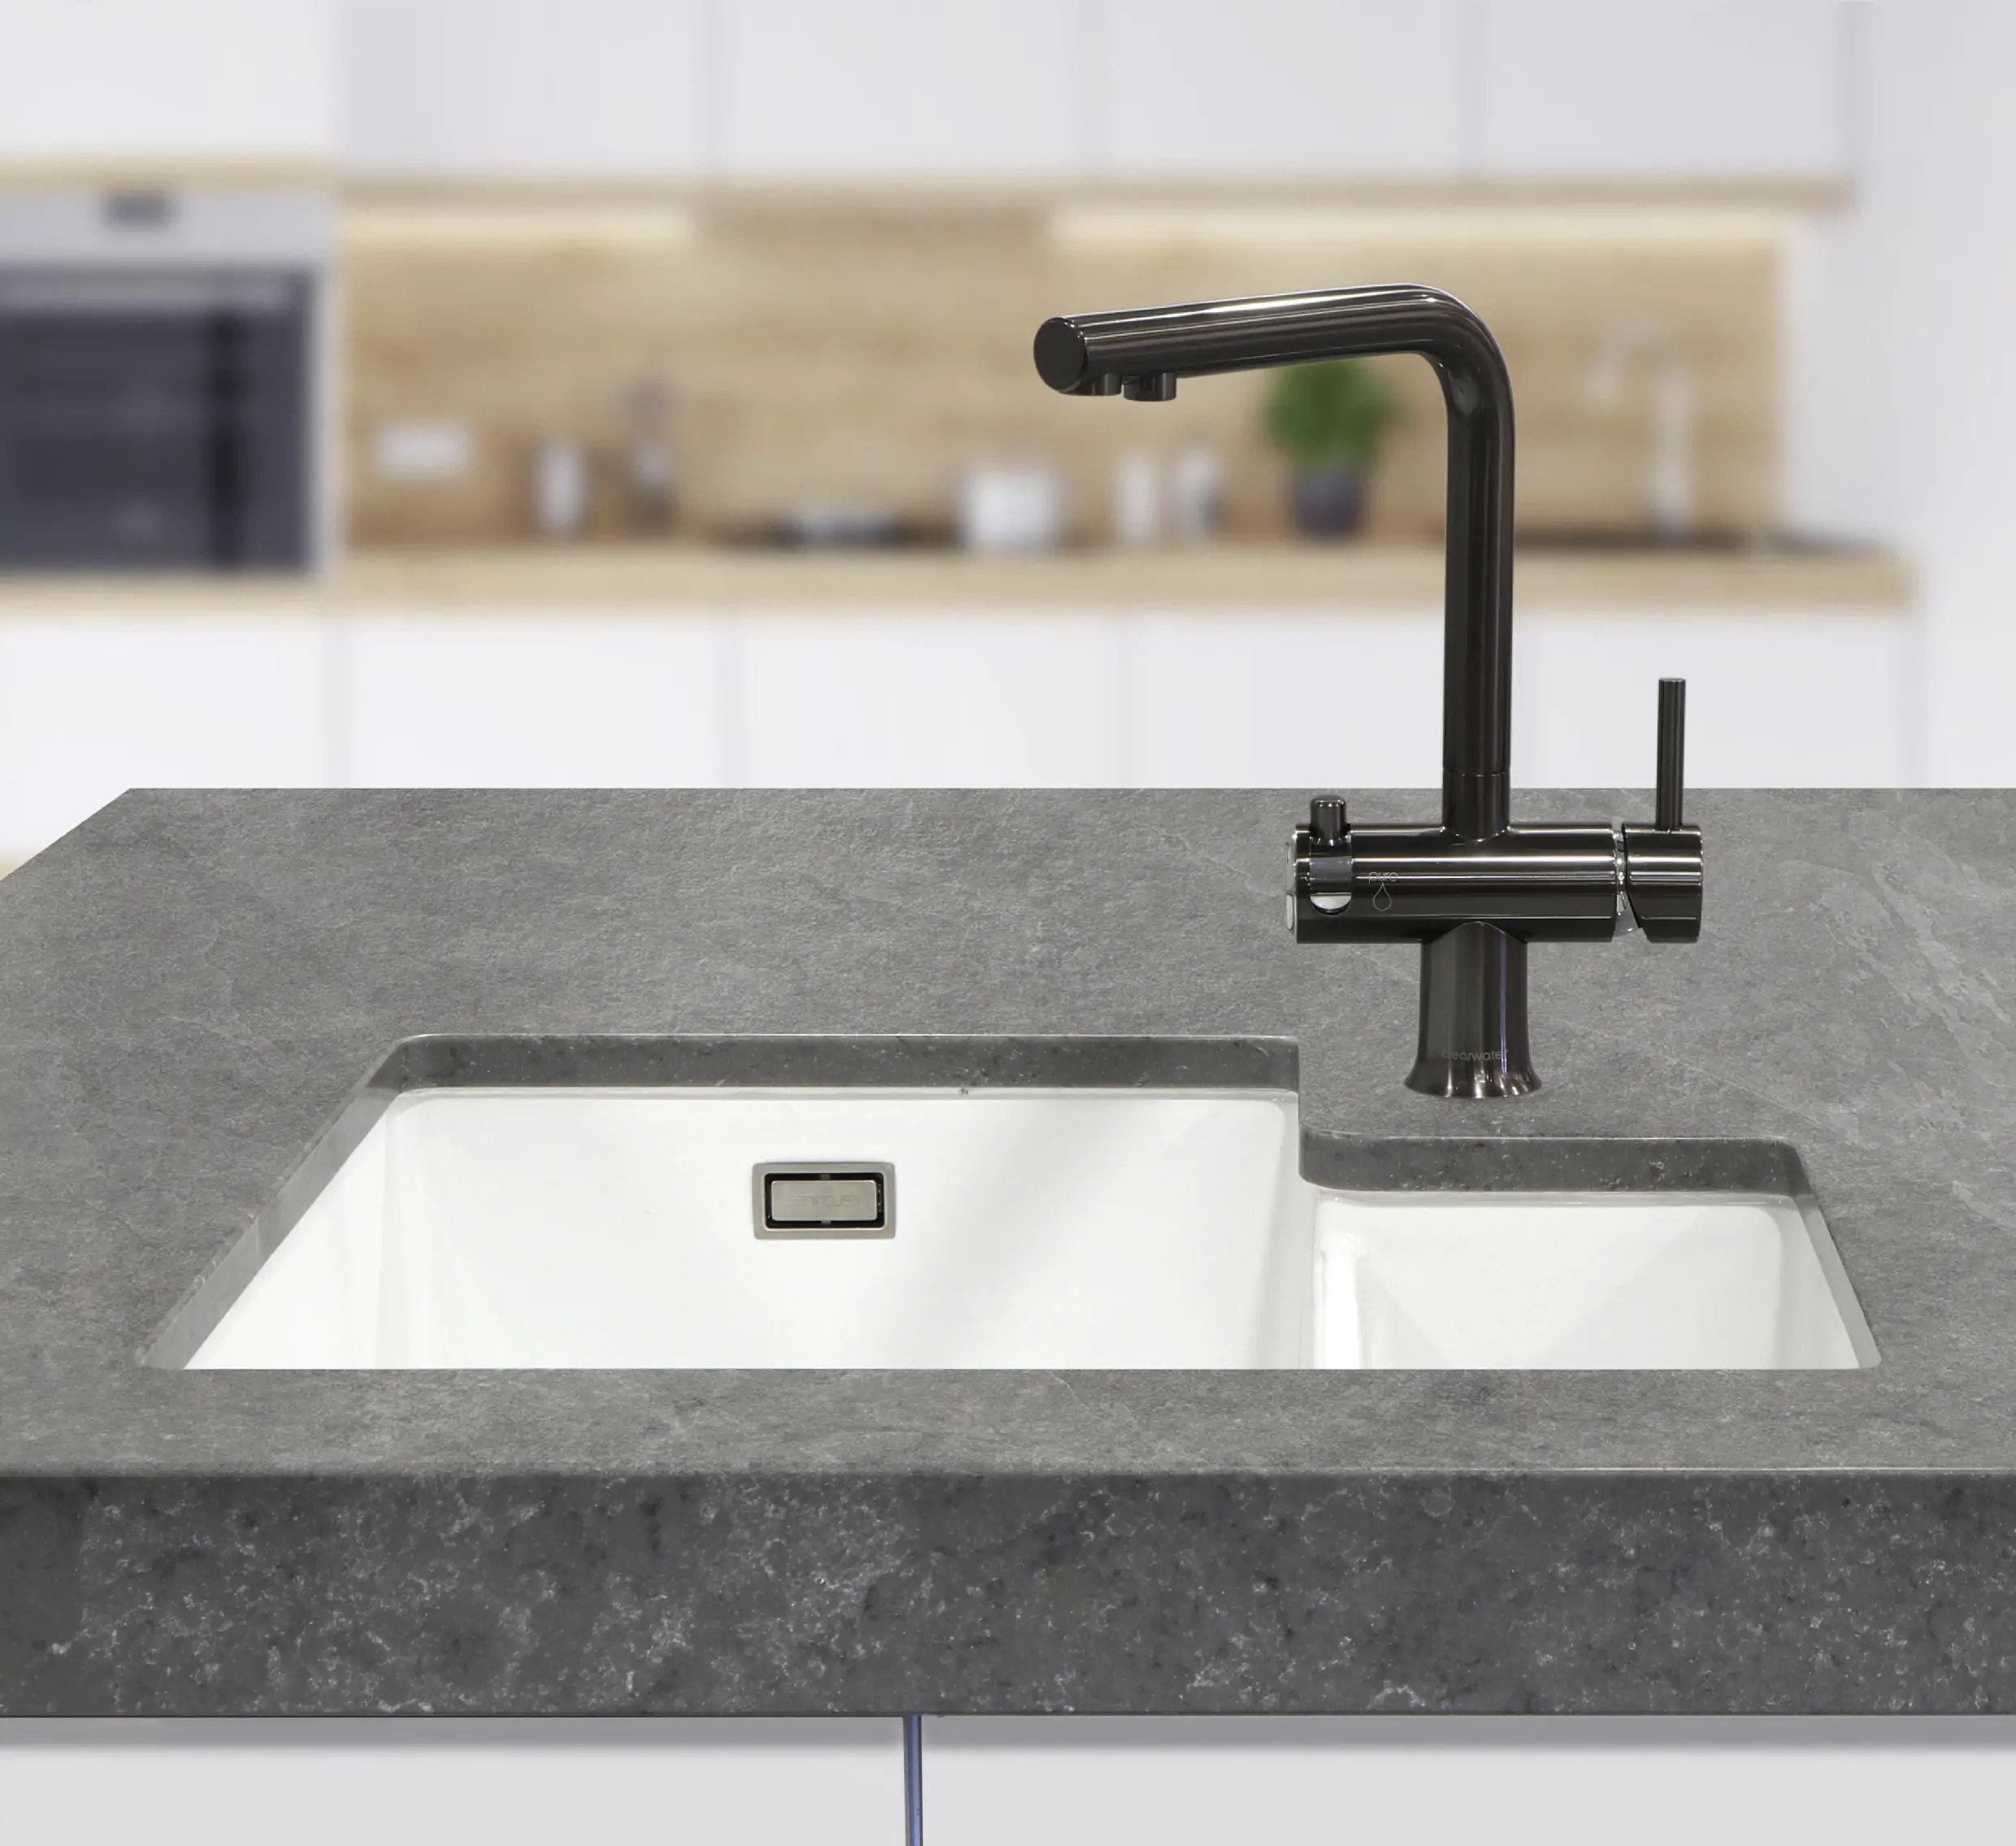
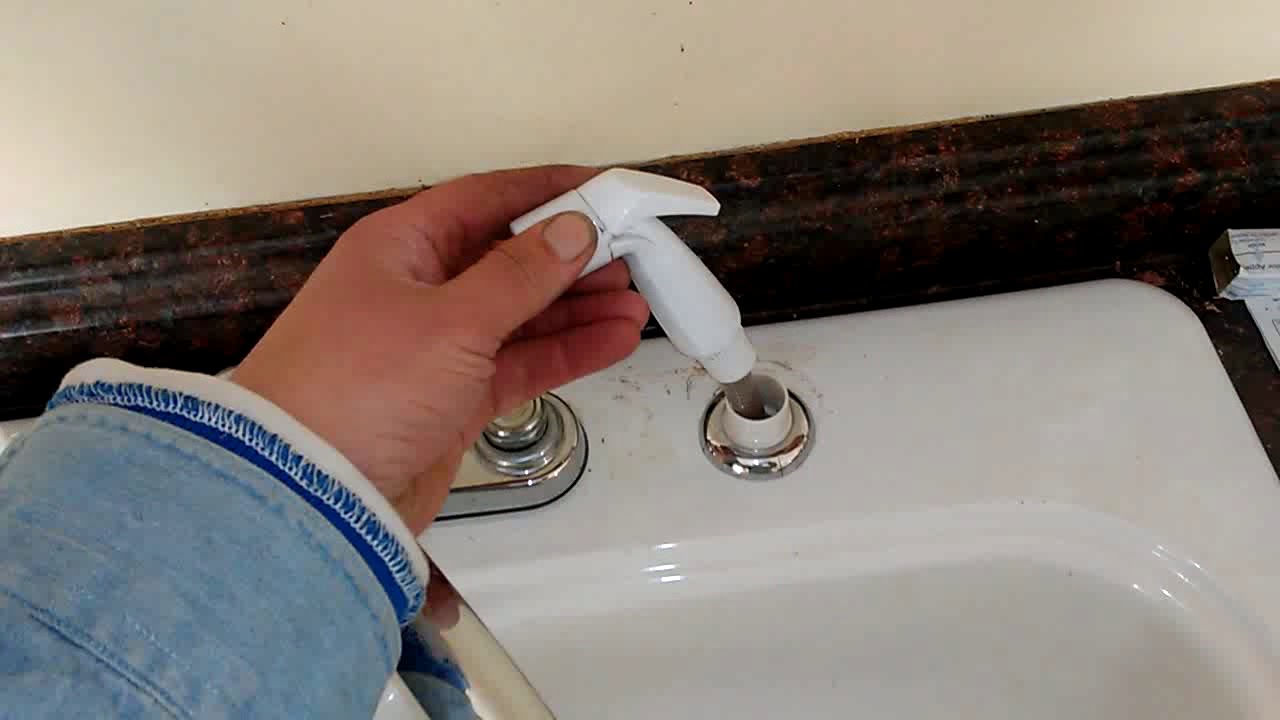
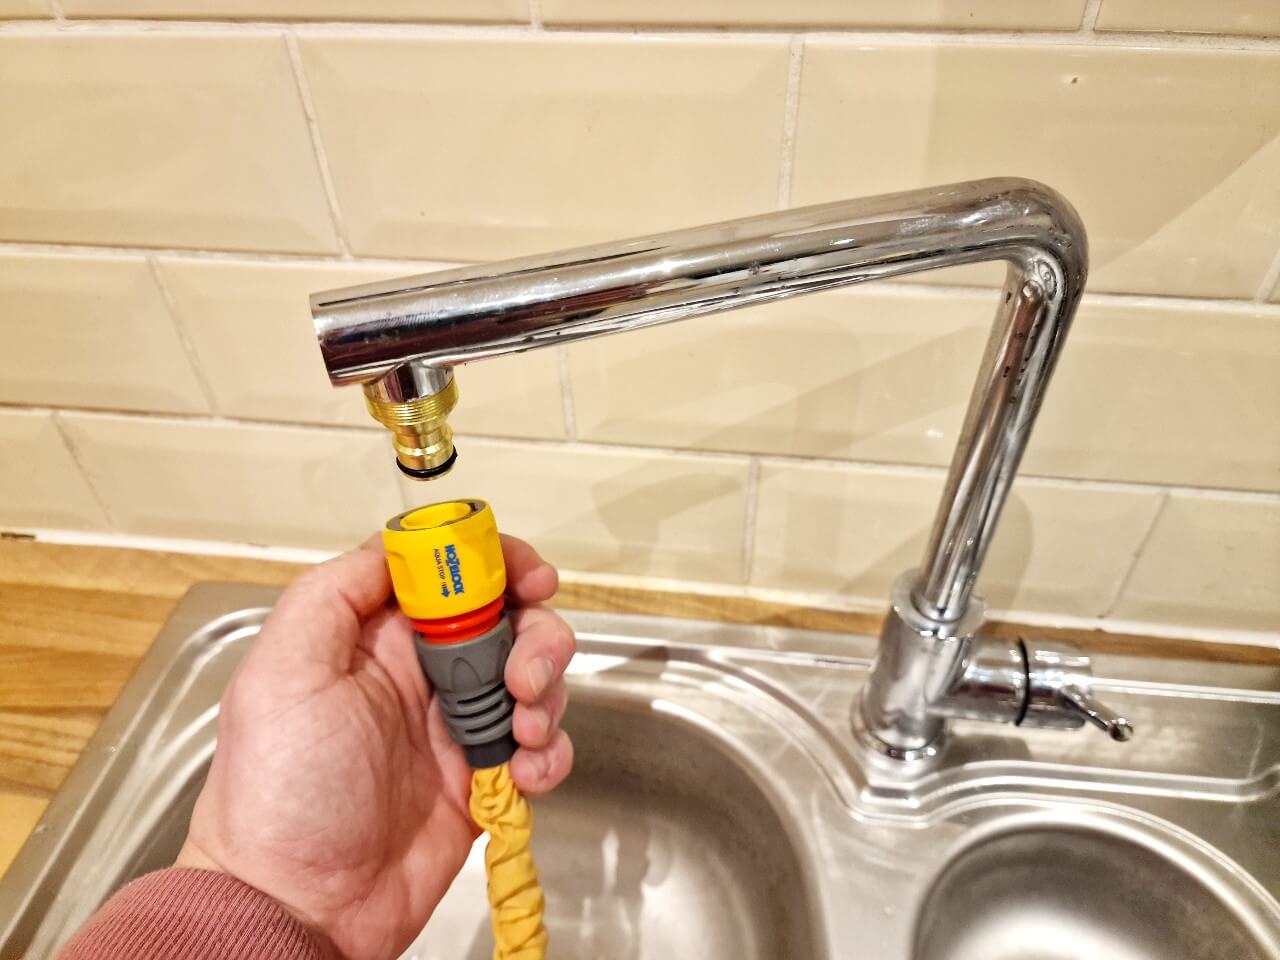
- Install the faucet: Follow the manufacturer’s instructions to install your chosen faucet. This typically involves attaching the faucet to the sink deck or countertop using mounting hardware. Make sure all connections are tight and secure.
- Connect the water supply lines: Depending on your faucet and plumbing system, connect the water supply lines to the faucet. Use a wrench to tighten the connections, ensuring there are no leaks.
- Add decorative elements: If desired, add any decorative elements to enhance the aesthetics of your sink. This could include installing backsplash tiles, applying a decorative border around the sink, or adding a stylish soap dispenser or towel holder.
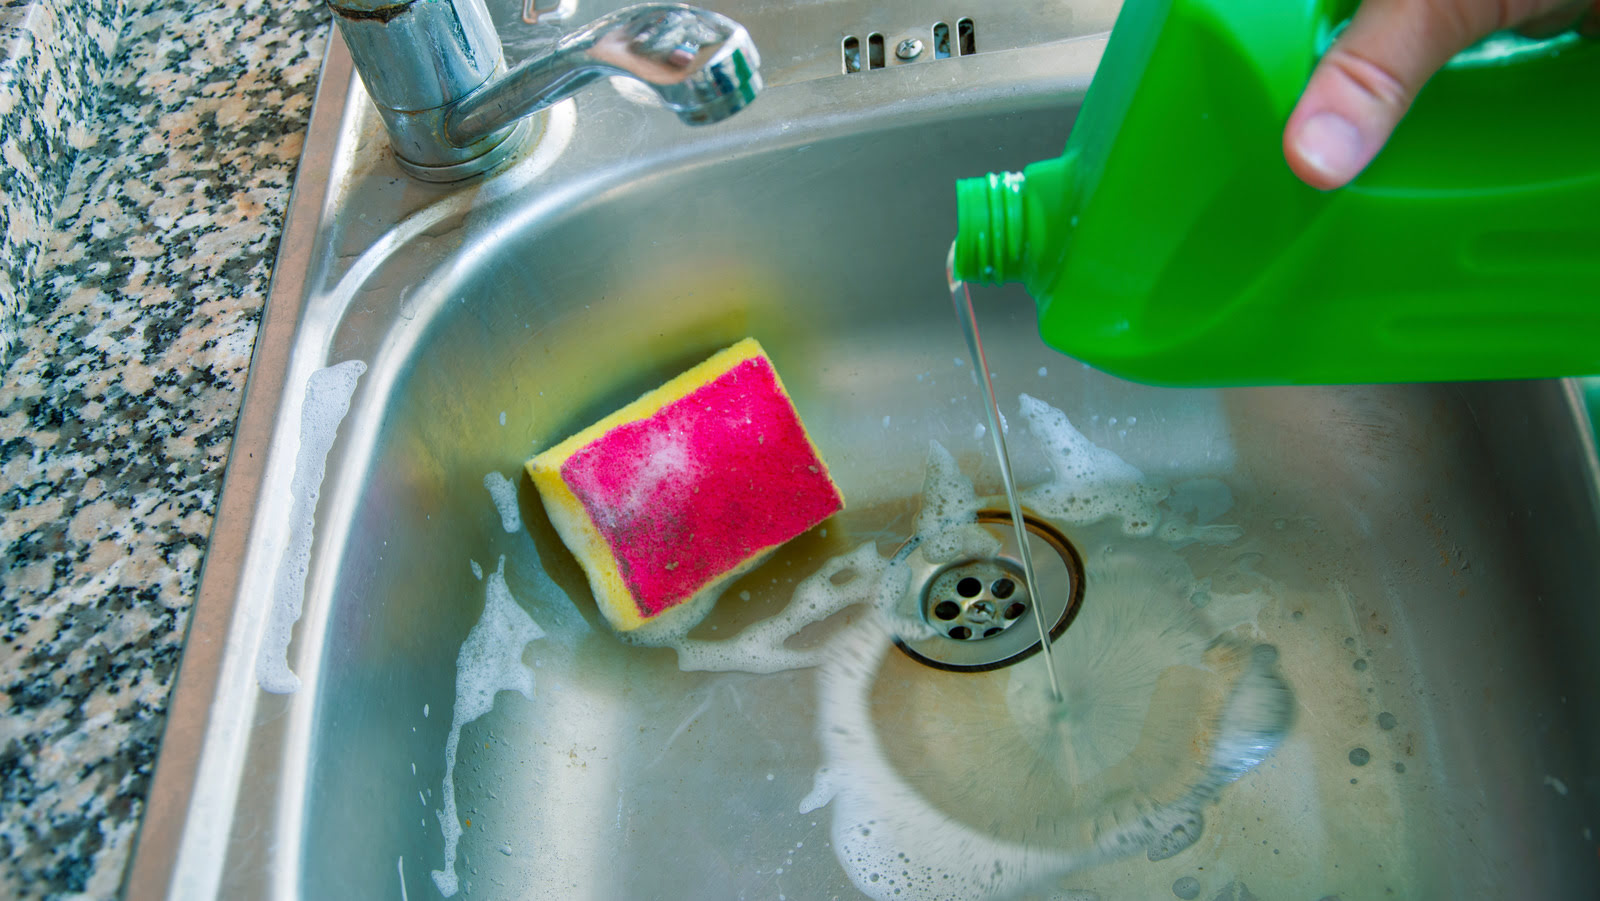
- Clean and inspect: Give your sink a thorough cleaning, removing any adhesive residue or caulk smudges. Inspect all connections and joints to ensure there are no leaks or loose fittings.
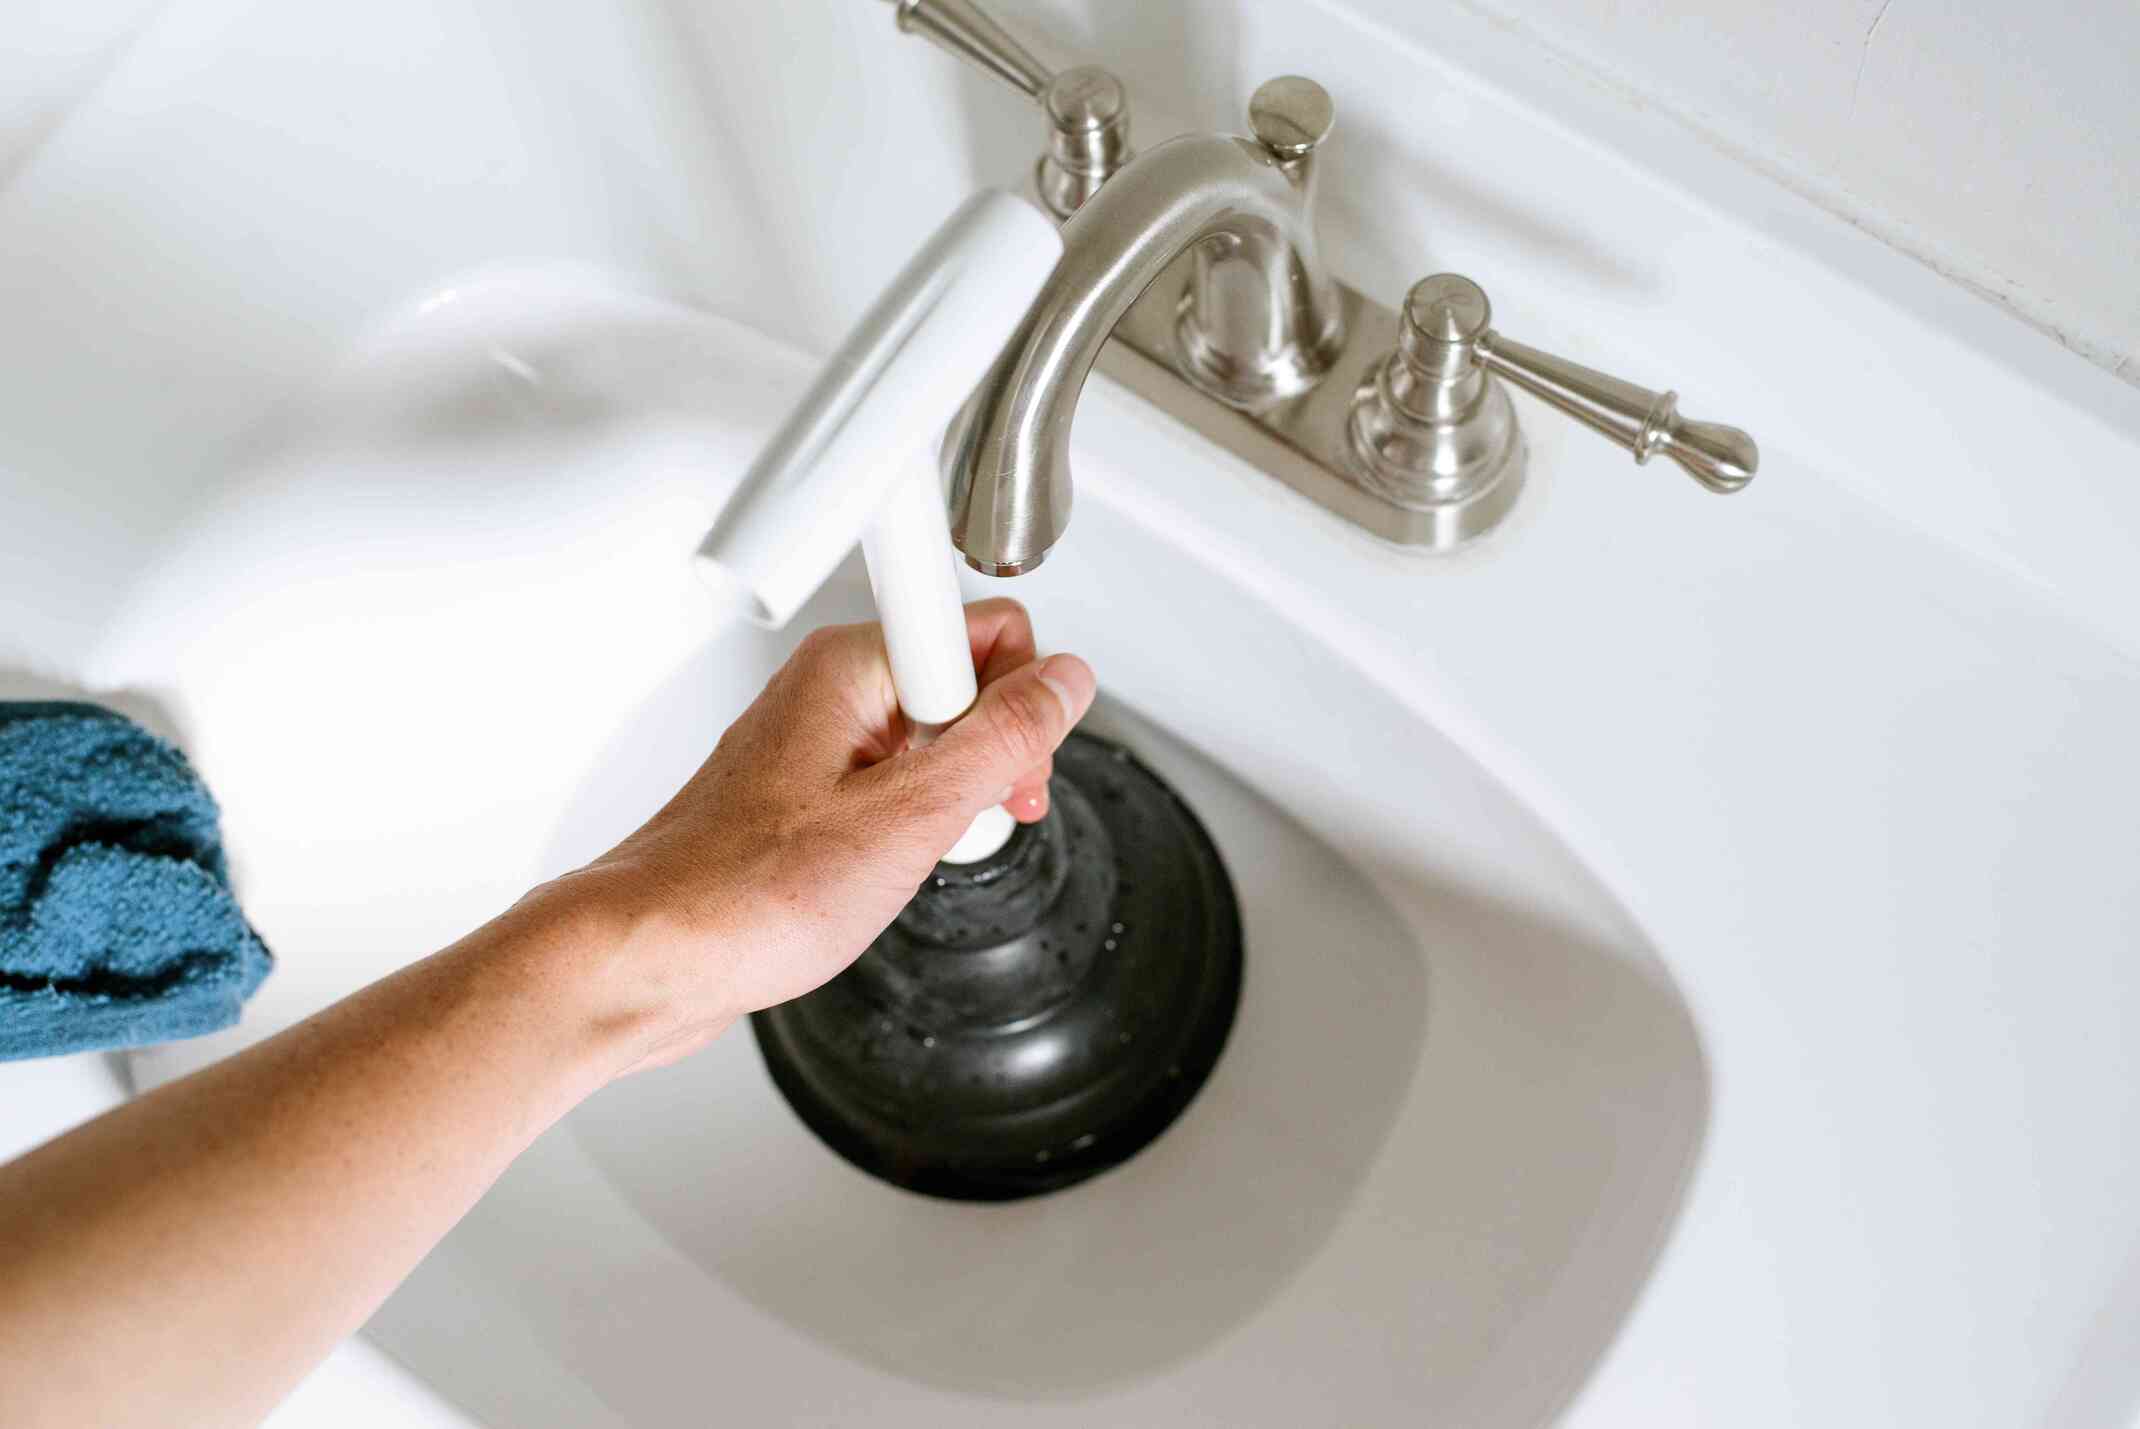
- Test the sink: Now that your sink is fully installed and sealed, turn on the water and test the function of the faucet, drain, and any additional features. Check for leaks or any other issues, making any necessary adjustments.
By sealing the sink edges, installing the faucet, and adding those finishing touches, you’re completing the process of making your own sink. Enjoy the satisfaction of a job well done as you admire your newly created sink.
Remember, proper maintenance and regular cleaning will help keep your DIY sink in top condition. Stay on top of any repairs or adjustments, and your homemade sink will serve you well for years to come.
With the completion of Step 6, you have successfully made and installed your own customized sink. Congratulations on your DIY achievement!
Remember, each step in this process requires patience, attention to detail, and proper safety precautions. Enjoy the process, and may your DIY sink bring both beauty and functionality to your kitchen or bathroom.
Conclusion
Congratulations on successfully completing your DIY sink project! By taking the time and effort to make your own sink, you’ve not only added a touch of personalization to your space but also saved money in the process. Throughout the steps of planning, measuring, cutting, installing, connecting, securing, and finishing, you’ve transformed a basic countertop into a functional and stylish sink that suits your needs.
Creating your own sink gives you the freedom to choose the materials, design, and size that align with your unique taste and preferences. Whether it’s a sleek and modern look or a rustic and cozy vibe, your DIY sink reflects your individual style and adds a personal touch to your kitchen or bathroom.
Remember to maintain your sink by regularly cleaning and inspecting it to prevent any issues or damage. Checking for leaks, tightening connections, and addressing any repairs or adjustments promptly will keep your sink in great condition for years to come.
Don’t forget to take pride in your accomplishment. DIY projects like making a sink not only save you money but also provide a sense of fulfillment and satisfaction. It’s truly rewarding to see your vision come to life and know that you’ve created something functional and beautiful with your own hands.
Thank you for joining us on this DIY sink-making journey. We hope this guide has been helpful and inspiring as you embarked on this creative endeavor. Now, enjoy the fruits of your labor and the satisfaction of having a unique and personalized sink that enhances your home’s aesthetics and functionality. Happy DIYing!
Frequently Asked Questions about How To Make A Sink
Was this page helpful?
At Storables.com, we guarantee accurate and reliable information. Our content, validated by Expert Board Contributors, is crafted following stringent Editorial Policies. We're committed to providing you with well-researched, expert-backed insights for all your informational needs.


0 thoughts on “How To Make A Sink”