Home>Furniture & Design>Outdoor Furniture>How To Make Outdoor Stone Steps
Outdoor Furniture
How To Make Outdoor Stone Steps
Modified: August 28, 2024
Learn how to create beautiful and functional outdoor stone steps with our expert tips and ideas. Enhance your outdoor space with our outdoor furniture and design inspiration.
(Many of the links in this article redirect to a specific reviewed product. Your purchase of these products through affiliate links helps to generate commission for Storables.com, at no extra cost. Learn more)
Introduction
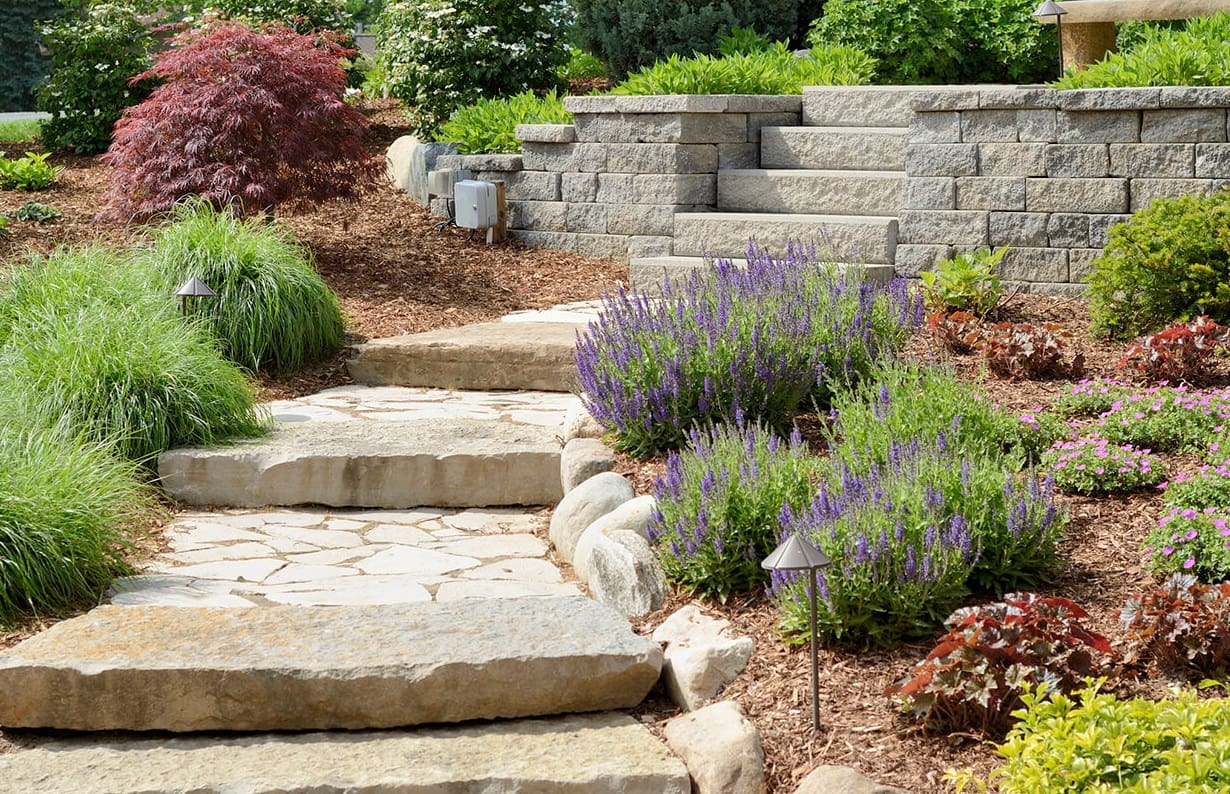
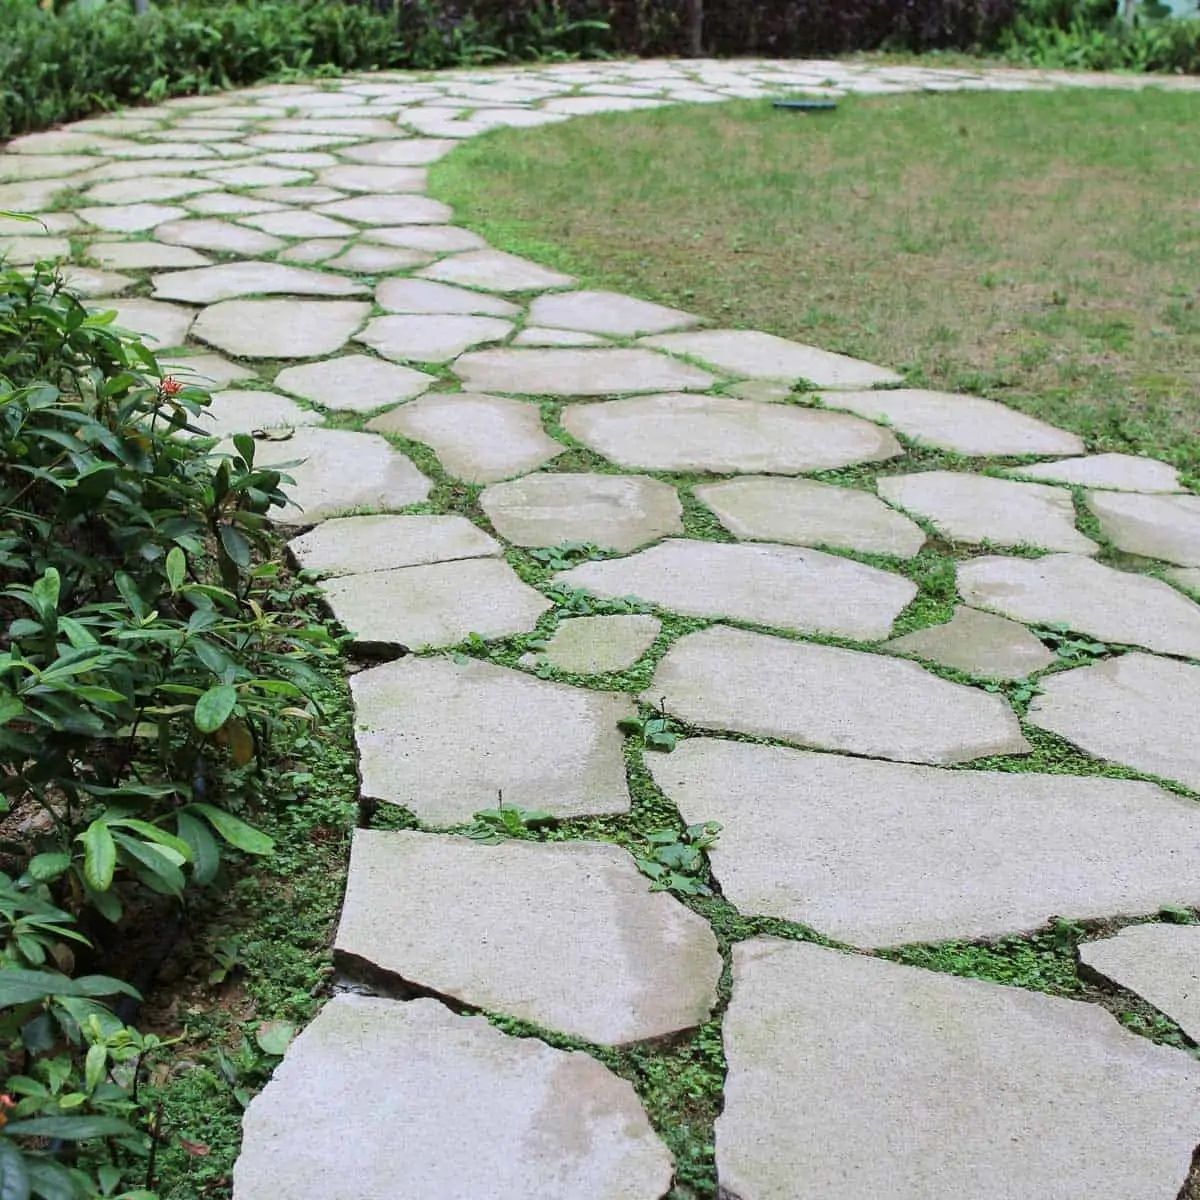
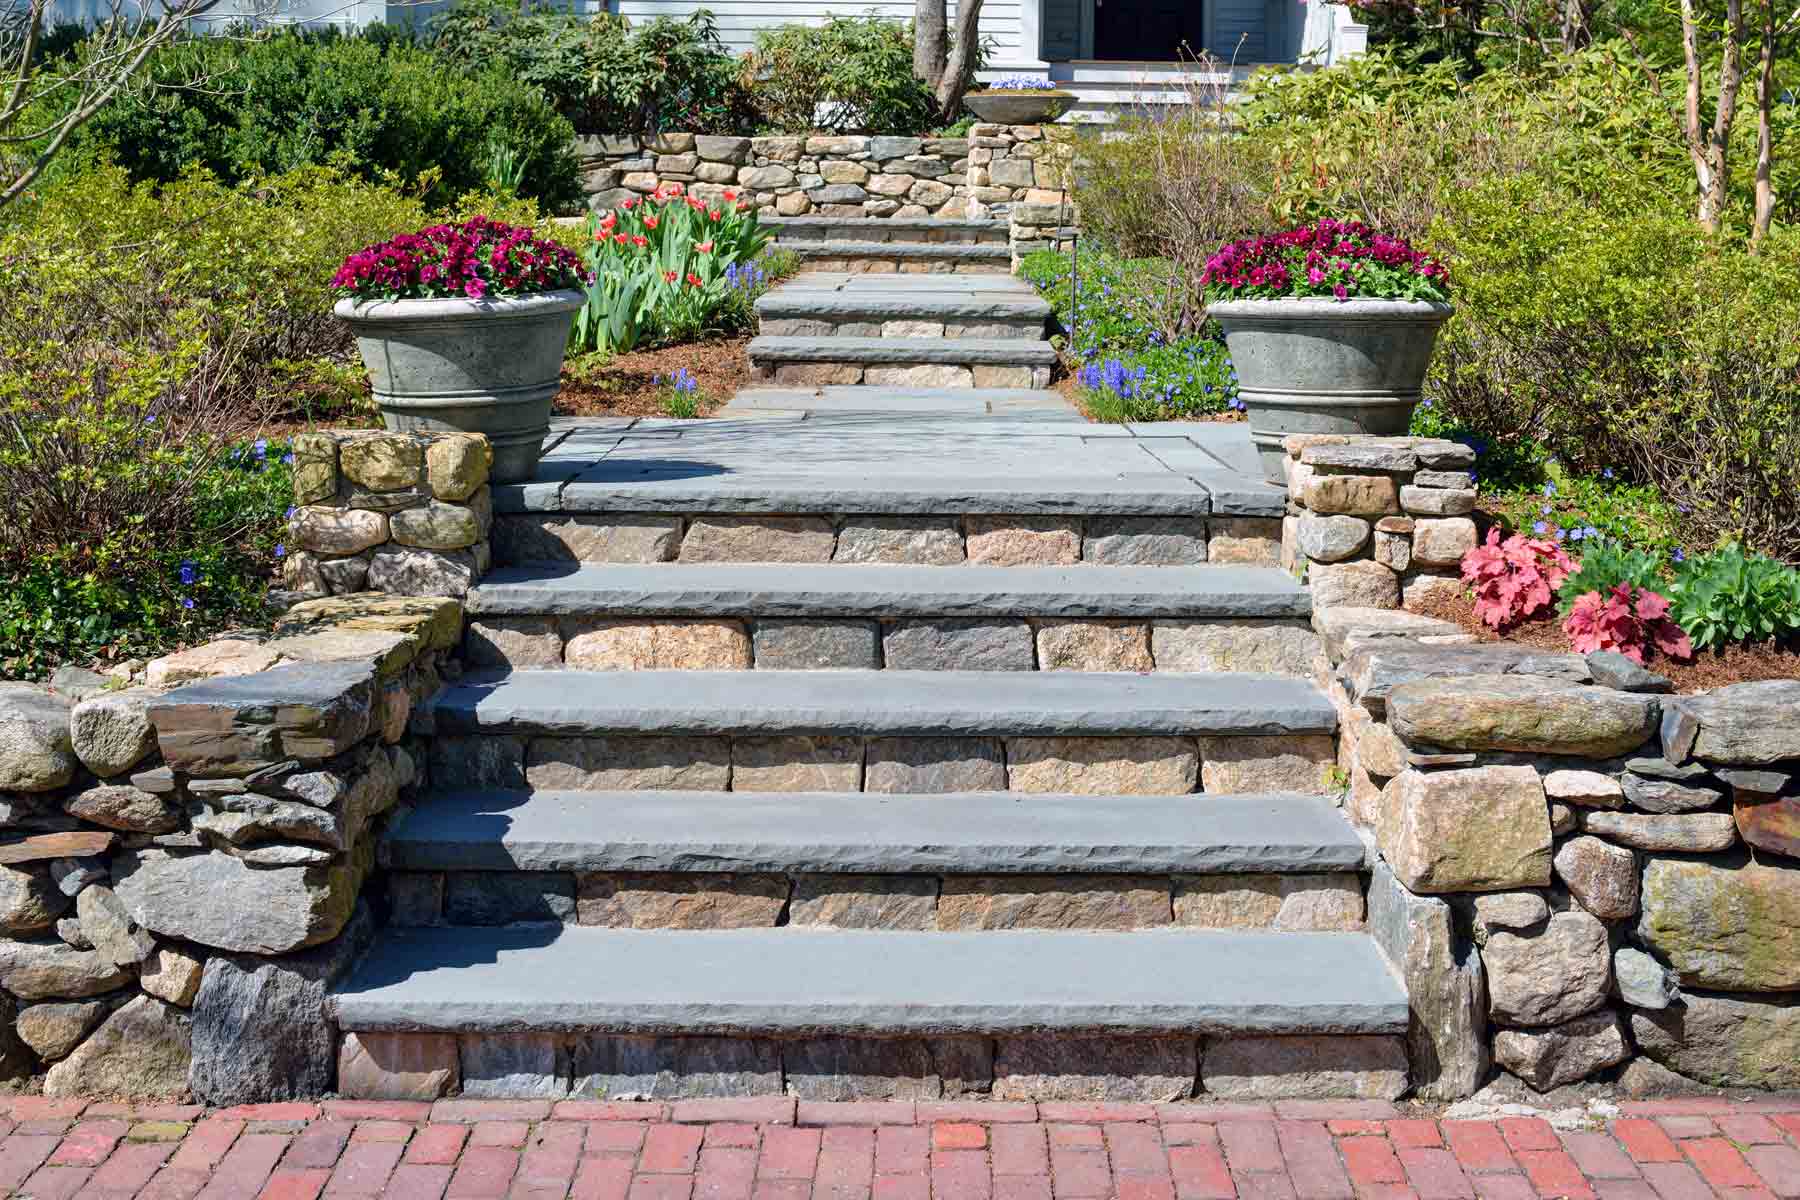
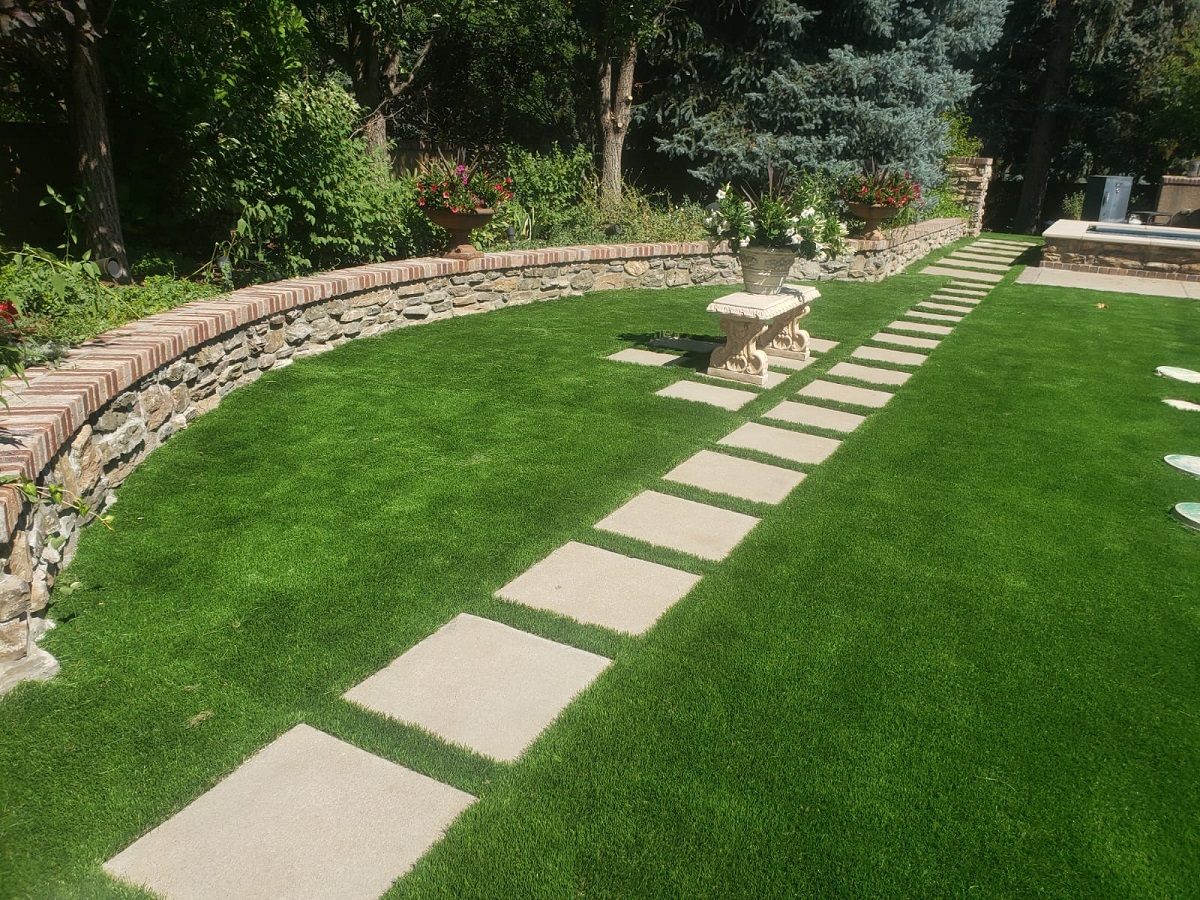
Welcome to the world of outdoor design and landscaping! If you're looking to elevate the aesthetic and functionality of your outdoor space, then crafting stone steps could be the perfect project for you. Stone steps not only add a touch of natural beauty to your landscape but also serve a practical purpose by providing a safe and stable pathway in your garden or yard.
In this comprehensive guide, we will walk you through the step-by-step process of creating stunning outdoor stone steps. Whether you're an experienced DIY enthusiast or a novice looking to embark on your first outdoor project, this guide will equip you with the knowledge and confidence to bring your vision to life.
From the initial planning and preparation to the final placement of stones, we will cover everything you need to know to ensure that your outdoor stone steps are not only visually appealing but also durable and long-lasting. So, roll up your sleeves, gather your materials, and let's dive into the art of crafting beautiful and functional stone steps for your outdoor space.
Key Takeaways:
- Elevate your outdoor space with stunning stone steps that add natural beauty and practical functionality to your landscape. Follow the comprehensive guide for a successful DIY project.
- Transform your outdoor environment with carefully crafted stone steps, blending timeless elegance with functional design. Enjoy the artistry and lasting impact of this creative expression.
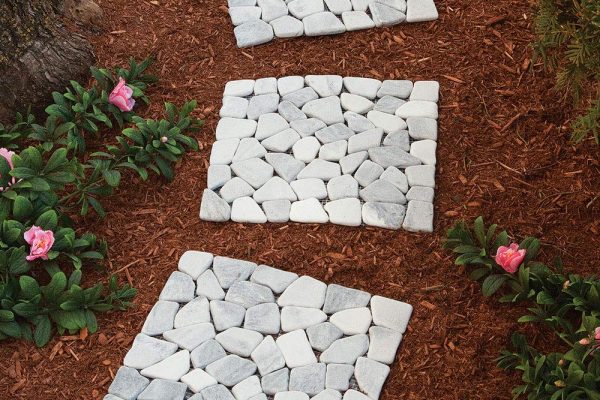
Read more: How To Make A Stepping Stone Path
Materials Needed
Before you begin constructing your outdoor stone steps, it’s essential to gather all the necessary materials and tools. Here’s a comprehensive list of what you’ll need:
- Measuring tape
- Shovel
- Level
- String and stakes
- Gravel
- Crushed stone
- Landscape fabric
- Hand tamper or plate compactor
- Landscape edging
- Stone slabs or pavers
- Masonry sand
- Protective gloves
- Safety goggles
- Work gloves
- Wheelbarrow
- Broom
- Masonry saw (if cutting stones is necessary)
- Concrete mix (if needed for the base)
- Water source (for mixing concrete, if applicable)
- Jointing sand
- Sealant (optional, for added protection and longevity)
Ensuring that you have all the required materials and tools at the outset will streamline the construction process and minimize interruptions. Additionally, it’s important to prioritize safety by wearing protective gear, especially when handling heavy materials and using power tools.
With these materials in hand, you’re ready to move on to the next phase: planning and preparation.
Planning and Preparation
Before diving into the physical labor of building outdoor stone steps, meticulous planning and preparation are crucial for a successful outcome. Here are the key steps to take during this phase:
1. Assess the Site: Begin by evaluating the area where the stone steps will be installed. Take note of the natural slope, existing landscaping features, and any potential obstacles. Understanding the terrain will help you determine the most suitable design and ensure proper drainage.
2. Determine the Dimensions: Measure the length, width, and height of the intended step area. This will guide the quantity of materials needed and the layout of the steps. Consider the standard dimensions for comfortable and safe steps, ensuring that each riser height and tread depth adheres to local building codes.
3. Sketch the Design: Create a rough sketch or use design software to visualize the layout of the stone steps. This will allow you to experiment with different configurations and patterns, ensuring that the final design harmonizes with the surrounding landscape.
4. Obtain Necessary Permits: Depending on your location and the scale of the project, you may need to acquire permits or adhere to specific regulations. Check with local authorities to ensure compliance with building codes and zoning requirements.
5. Gather Materials and Tools: Refer to the comprehensive list of materials provided earlier and procure all necessary items. This includes ensuring that you have the appropriate safety gear for the construction phase.
6. Clear the Area: Remove any vegetation, rocks, or debris from the designated step area. This will provide a clean canvas for the construction process and prevent uneven settling of the steps over time.
By meticulously planning and preparing the groundwork, you’ll set the stage for a smooth and efficient construction process. With the site assessed, dimensions determined, design sketched, permits obtained, and materials gathered, you’re now ready to embark on the next phase: excavating the area.
Excavating the Area
Excavation marks the commencement of physically transforming the landscape to accommodate the stone steps. This phase involves careful digging and shaping of the terrain to create a stable foundation. Here’s how to approach the excavation process:
1. Mark the Layout: Use stakes and string to outline the exact placement and shape of the steps. This visual guide will ensure precision during excavation and prevent unnecessary disturbance to the surrounding area.
2. Start Digging: With the layout marked, begin digging out the soil within the defined boundaries. The depth of excavation will depend on the desired height of the steps and the thickness of the base material. Aim to create a level and uniform surface for the base layer.
3. Check for Consistency: Use a level and measuring tape to verify that the excavated area maintains uniform depth and slope. Consistency is key to achieving balanced and structurally sound stone steps.
4. Install Landscape Fabric: Once the excavation is complete, lay down a layer of landscape fabric to inhibit weed growth and prevent the migration of underlying materials. This step is especially important for long-term maintenance and stability.
5. Add Base Materials: Introduce a layer of gravel followed by crushed stone to create a stable and well-draining base for the stone steps. Compact the materials using a hand tamper or plate compactor to ensure a firm foundation.
By meticulously following these steps, you’ll establish a solid groundwork for the subsequent construction phases. The excavation process sets the stage for building a durable and resilient foundation for your outdoor stone steps. With the area excavated and the base materials in place, you’re now ready to progress to the next phase: building the base.
When building outdoor stone steps, make sure to use a sturdy base of compacted gravel and sand to prevent shifting. This will ensure a stable and durable set of steps.
Building the Base
Creating a sturdy and level base is essential for the structural integrity and longevity of your outdoor stone steps. The base serves as the fundamental support system, distributing weight evenly and preventing settling or shifting. Here’s a detailed guide on how to build a reliable base for your stone steps:
1. Establish the First Step: Begin by placing the first stone or paver at the lowest point of the steps. Ensure that it is level and securely positioned. This initial step will dictate the alignment and elevation of the entire staircase.
2. Lay the Foundation: Using a combination of gravel and crushed stone, build up the base beneath the first step. Tamp down the materials at each layer to create a compact and stable foundation. Verify the levelness of the step as you add and compact the base materials.
3. Check for Consistency: Throughout the construction of the base, regularly assess the levelness and alignment of the steps. Adjust the base materials as needed to maintain uniformity and stability across the entire staircase.
4. Incorporate Landscape Edging: Install landscape edging along the sides of the steps to contain the base materials and prevent lateral movement. This edging will contribute to the structural integrity and aesthetic appeal of the stone steps.
5. Verify Stability: Once the base is constructed, test the stability of the steps by gently applying pressure and ensuring that each stone or paver remains firmly in place. Address any areas of concern before proceeding to the next phase.
By meticulously following these steps, you’ll establish a solid and dependable base for your outdoor stone steps. The careful construction of the base sets the stage for the seamless placement of stones and the overall structural integrity of the staircase. With the base in place and the steps aligned, you’re now prepared to progress to the next phase: placing the stones.
Read more: How To Make Tile-Topped Stepping Stones
Placing the Stones
Placing the stones is where the vision of your outdoor stone steps begins to take shape. This phase involves arranging the individual stones or pavers to form the actual steps, creating a visually appealing and functional staircase. Here’s a step-by-step guide to effectively placing the stones:
1. Arrange the Stones: Start by arranging the stones or pavers on top of the prepared base, beginning with the bottom step and progressing upward. Take time to experiment with different layouts and orientations to achieve the desired aesthetic and functionality.
2. Ensure Levelness: As you position each stone, use a level to confirm that it sits evenly and securely on the base. Adjust the base materials as needed to maintain a consistent and level surface for each step.
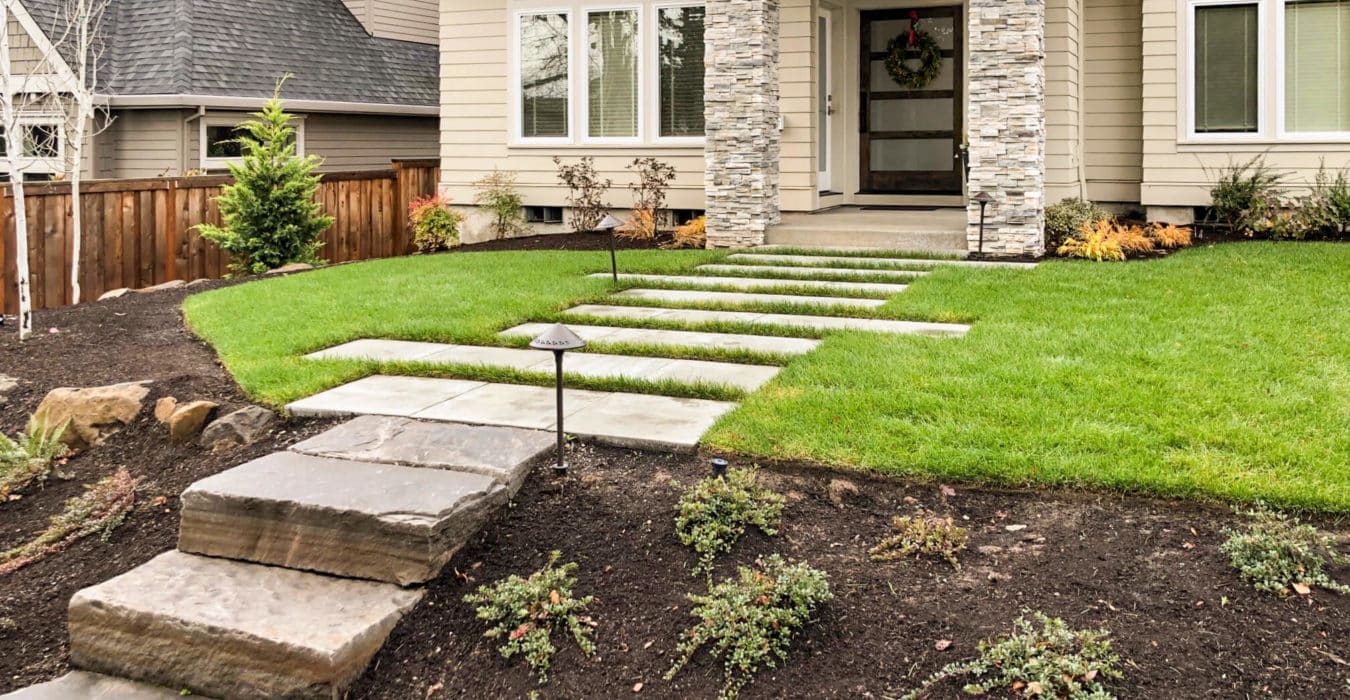
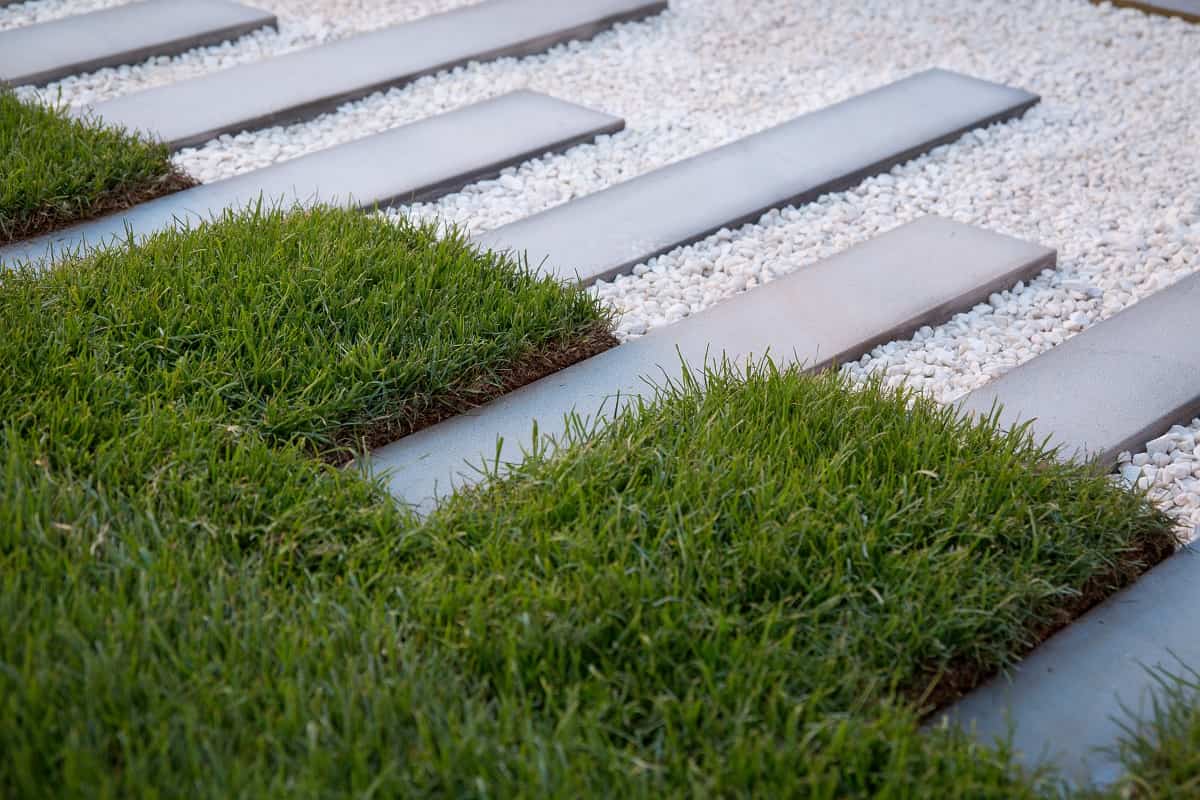
3. Maintain Uniformity: Pay attention to the spacing and alignment of the stones to ensure uniformity across the entire staircase. Consistent spacing and alignment contribute to both the visual appeal and safety of the steps.
4. Consider Tread and Riser Dimensions: Verify that the dimensions of each step’s tread (the flat surface) and riser (the vertical face) adhere to the predetermined measurements. Consistency in these dimensions is crucial for comfort and safety during use.
5. Secure the Stones: Once satisfied with the placement of the stones, ensure that they are securely set in place. Depending on the design and materials used, this may involve interlocking the stones, applying jointing sand, or utilizing adhesive for added stability.
6. Verify Structural Integrity: Test the stability and weight-bearing capacity of the steps by walking on them and applying moderate pressure. Confirm that each stone is firmly in place and that the entire staircase feels secure and balanced.
By meticulously following these steps, you’ll bring your outdoor stone steps to life, creating a visually striking and functional addition to your outdoor space. The careful placement of the stones is pivotal in achieving a durable and aesthetically pleasing staircase. With the stones in position and the steps aligned, you’re now ready to move on to the final phase: adding the finishing touches.
Finishing Touches
Adding the finishing touches to your outdoor stone steps is the crowning moment of the construction process. This phase involves refining the details and ensuring that the steps are not only structurally sound but also visually captivating. Here’s a comprehensive guide to perfecting your stone steps:
1. Clean the Surface: Begin by thoroughly cleaning the surface of the stone steps. Remove any debris, dirt, or construction residue to reveal the natural beauty of the stones. A broom or gentle pressure washing can be effective for this purpose.
2. Apply Jointing Sand: If your stone steps feature gaps between the stones, applying jointing sand can enhance the stability and visual appeal of the staircase. The sand fills the spaces, preventing shifting and promoting a cohesive appearance.
3. Consider Sealant (Optional): Depending on the type of stones used and your preference for long-term maintenance, applying a sealant may be beneficial. Sealants can protect the stones from weathering, staining, and erosion, prolonging the lifespan of the steps.
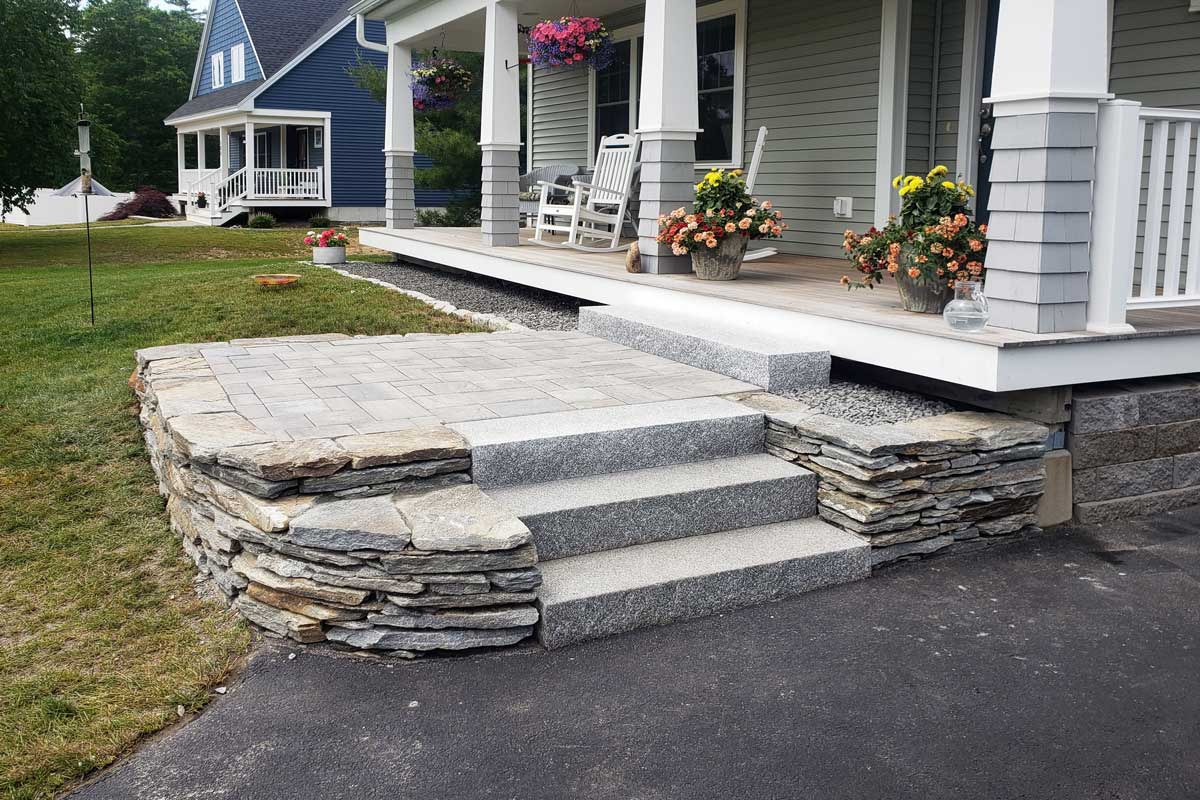
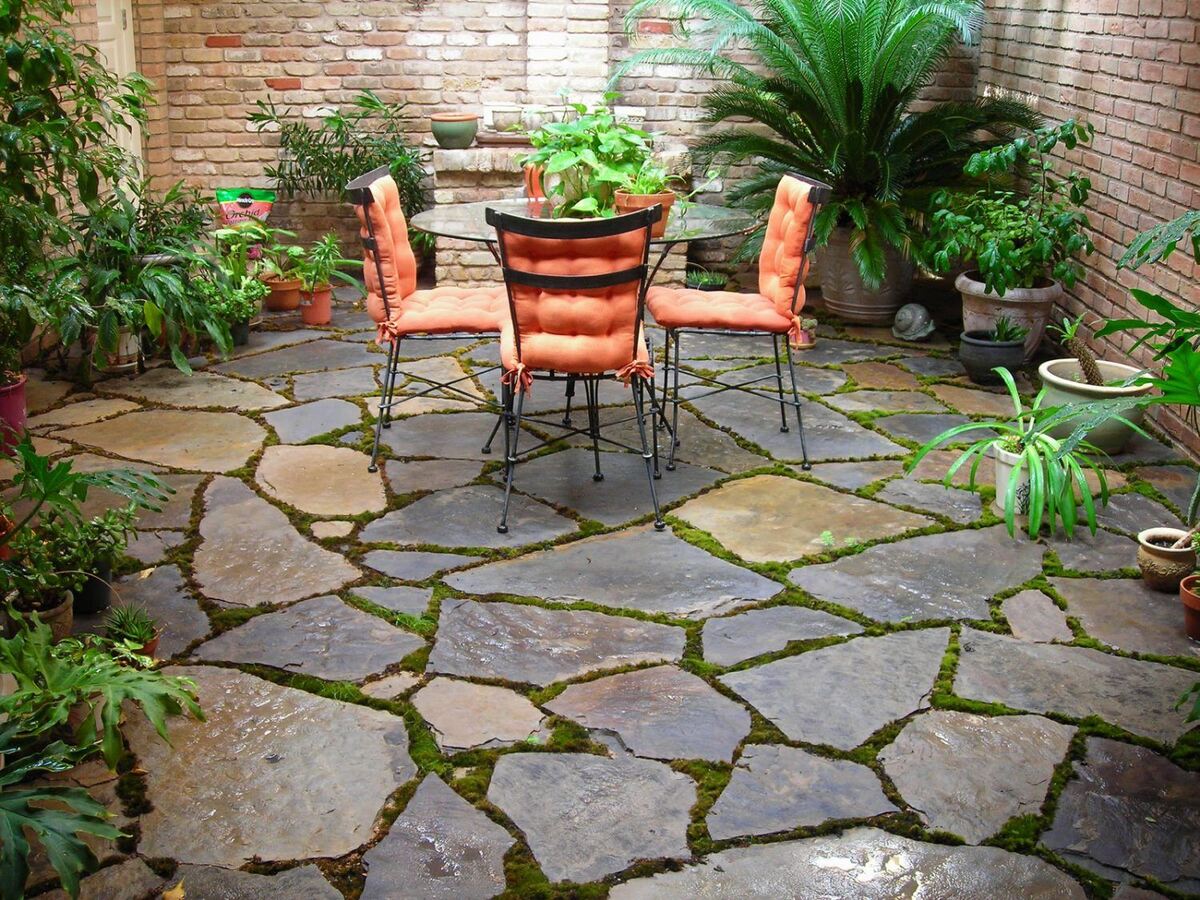
4. Add Decorative Elements: Consider incorporating decorative elements such as potted plants, lighting fixtures, or handrails to complement the aesthetic of the stone steps. These additions can infuse personality and functionality into the outdoor space.
5. Verify Safety Measures: Prioritize safety by ensuring that the steps are well-lit, free of tripping hazards, and equipped with any necessary handrails or grip-enhancing features, especially if the steps are frequently used or located in areas with varying terrain.
6. Step Back and Admire: Take a moment to step back and admire your handiwork. Appreciate the transformation of the landscape and the harmonious integration of the stone steps into the outdoor environment.
By meticulously attending to these finishing touches, you’ll elevate the visual appeal, functionality, and longevity of your outdoor stone steps. The attention to detail during this phase ensures that the steps not only serve their practical purpose but also contribute to the overall ambiance of your outdoor space. With the finishing touches in place, your stone steps are now ready to enrich and enliven your outdoor environment.
Conclusion
Congratulations on completing the journey of crafting stunning outdoor stone steps! Through meticulous planning, precise execution, and an eye for detail, you have transformed your outdoor space into a harmonious blend of natural beauty and functional design. As you reflect on the process and admire the finished result, it’s important to recognize the impact that these stone steps can have on your daily life and the ambiance of your surroundings.
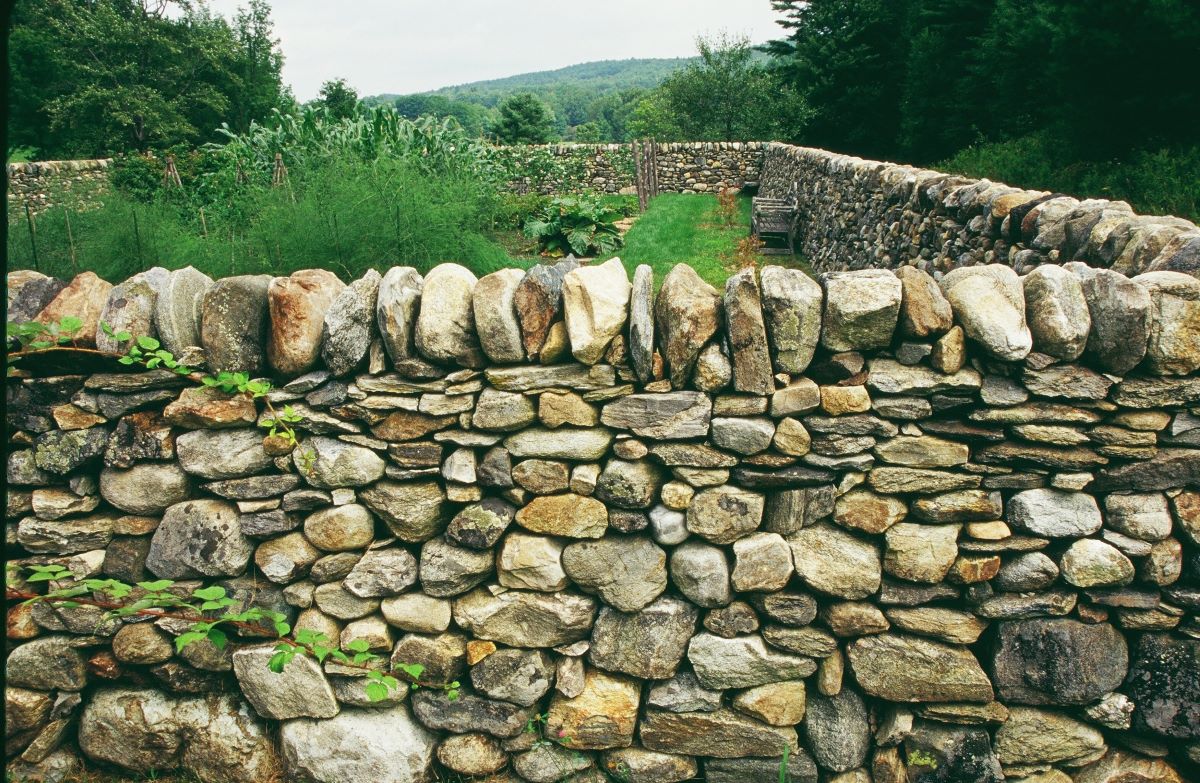
By integrating stone steps into your landscape, you’ve not only created a safe and accessible pathway but also added a touch of timeless elegance to your outdoor environment. The natural textures and earthy tones of the stones harmonize with the surrounding greenery, creating a seamless transition between man-made elements and the organic landscape.
Furthermore, the process of constructing the stone steps has likely provided you with a deeper appreciation for the craftsmanship and artistry involved in outdoor design. Each carefully placed stone represents a thoughtful decision and a commitment to creating a space that is both visually captivating and structurally sound.
As you enjoy the fruits of your labor, take pride in the fact that you’ve enhanced not only the physical aspects of your outdoor space but also the overall experience of spending time in nature. Whether it’s a leisurely stroll through the garden or a purposeful ascent to an elevated vantage point, the stone steps serve as a testament to your dedication to creating a welcoming and enchanting outdoor sanctuary.
Remember, the construction of stone steps is not merely a practical endeavor; it’s a creative expression that leaves a lasting imprint on your outdoor environment. As the seasons change and the landscape evolves, your stone steps will remain a steadfast and enduring feature, inviting you and others to traverse their timeless beauty.
So, as you bask in the satisfaction of completing this transformative project, take a moment to appreciate the artistry, functionality, and natural allure of your outdoor stone steps. Embrace the joy of seamlessly blending human craftsmanship with the splendor of the natural world, and relish in the countless moments that await you on this captivating pathway.
Now that you've mastered crafting outdoor stone steps, why not enhance your landscape further? Our guide on garden fence ideas offers creative and practical solutions to beautify and define your outdoor spaces. From simple designs to decorative barriers, find inspiration to transform your garden into a serene retreat or a vibrant haven.
Frequently Asked Questions about How To Make Outdoor Stone Steps
Was this page helpful?
At Storables.com, we guarantee accurate and reliable information. Our content, validated by Expert Board Contributors, is crafted following stringent Editorial Policies. We're committed to providing you with well-researched, expert-backed insights for all your informational needs.


0 thoughts on “How To Make Outdoor Stone Steps”