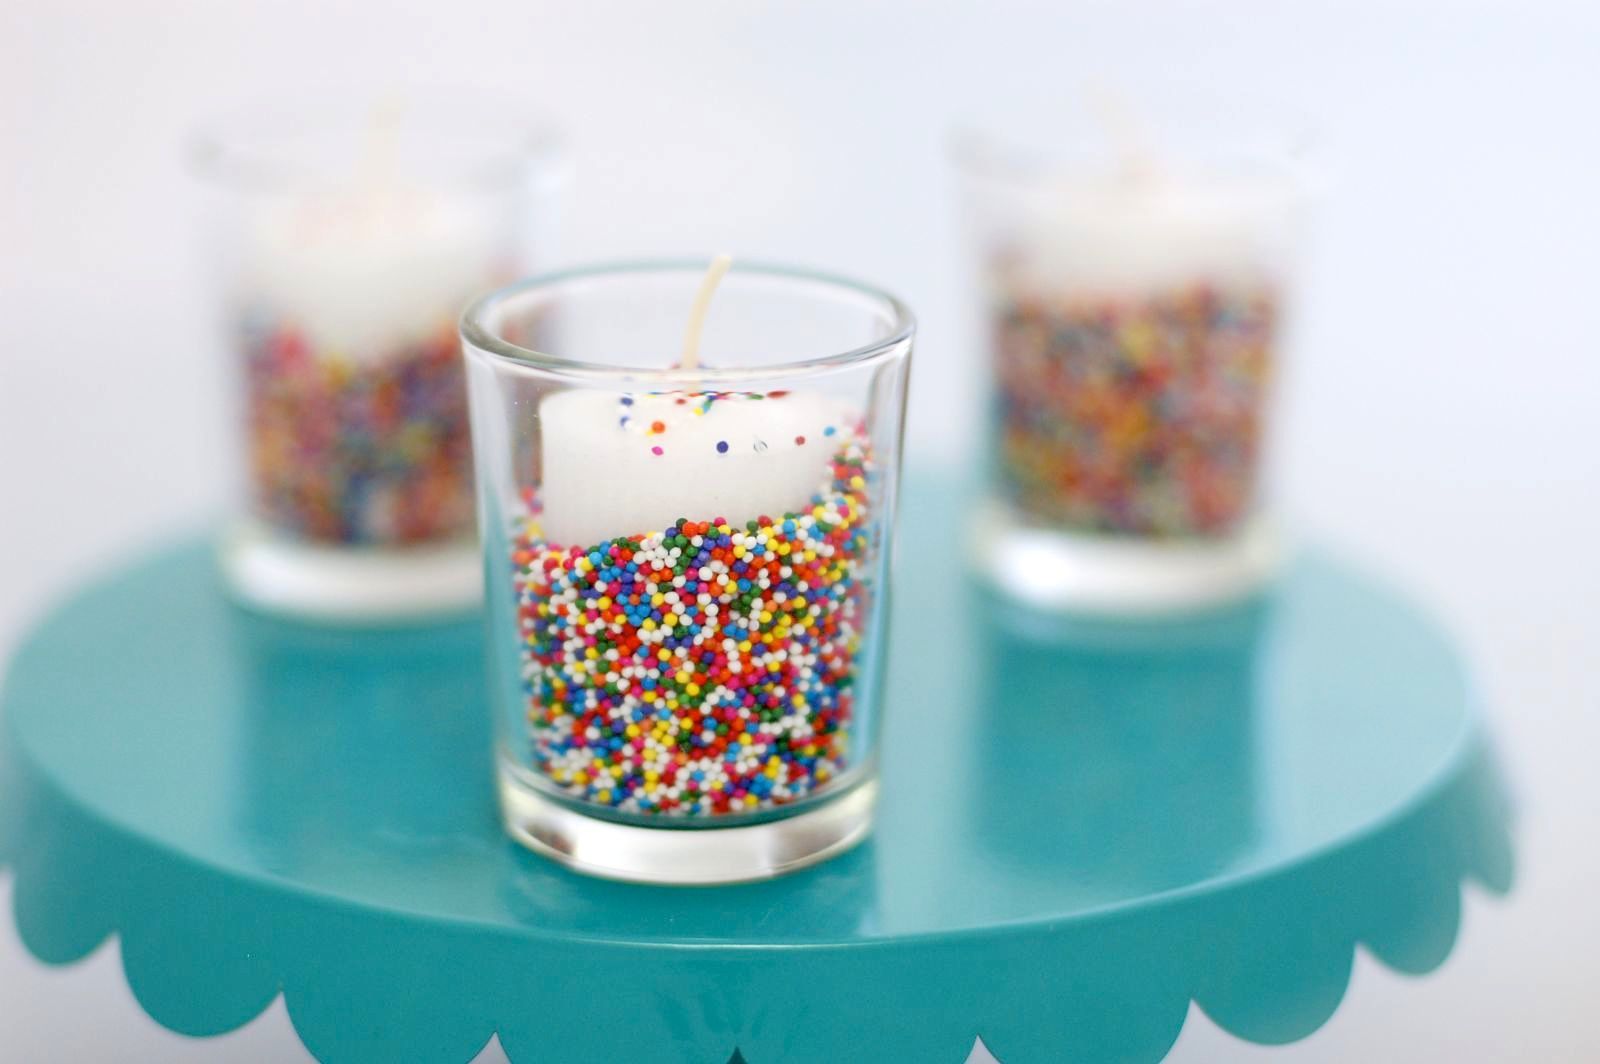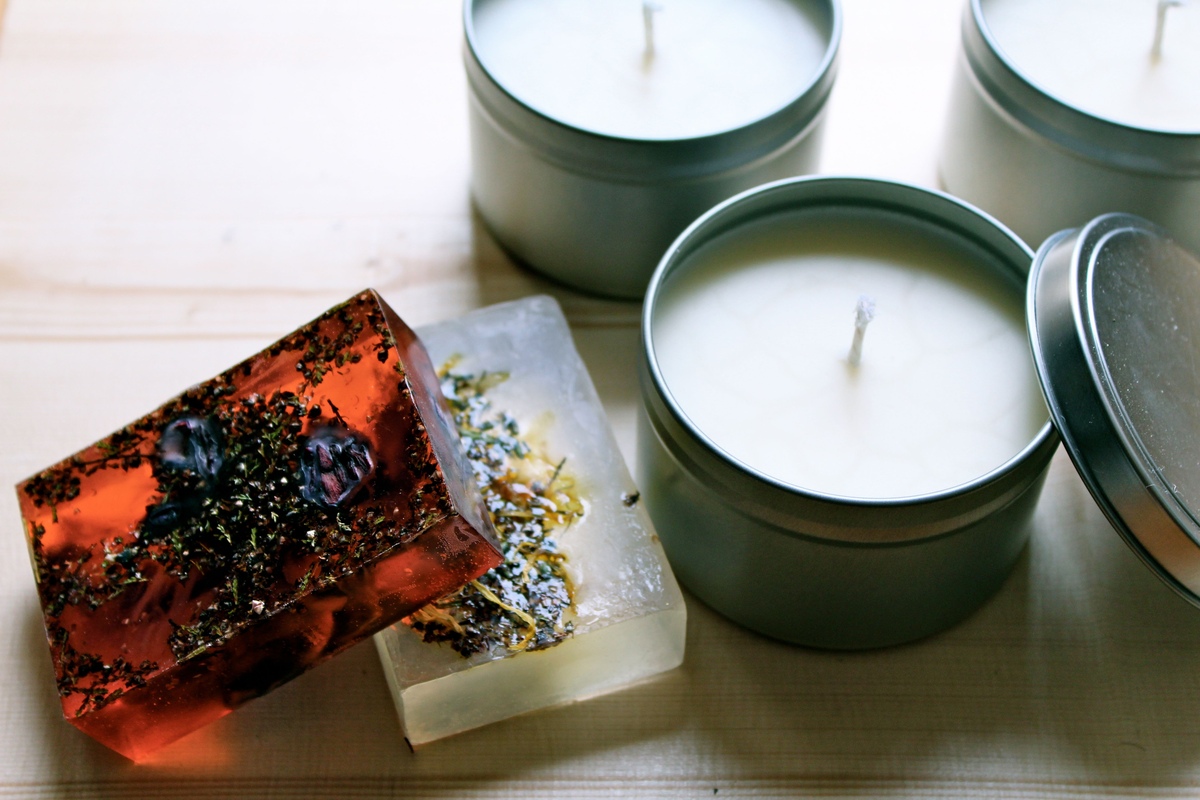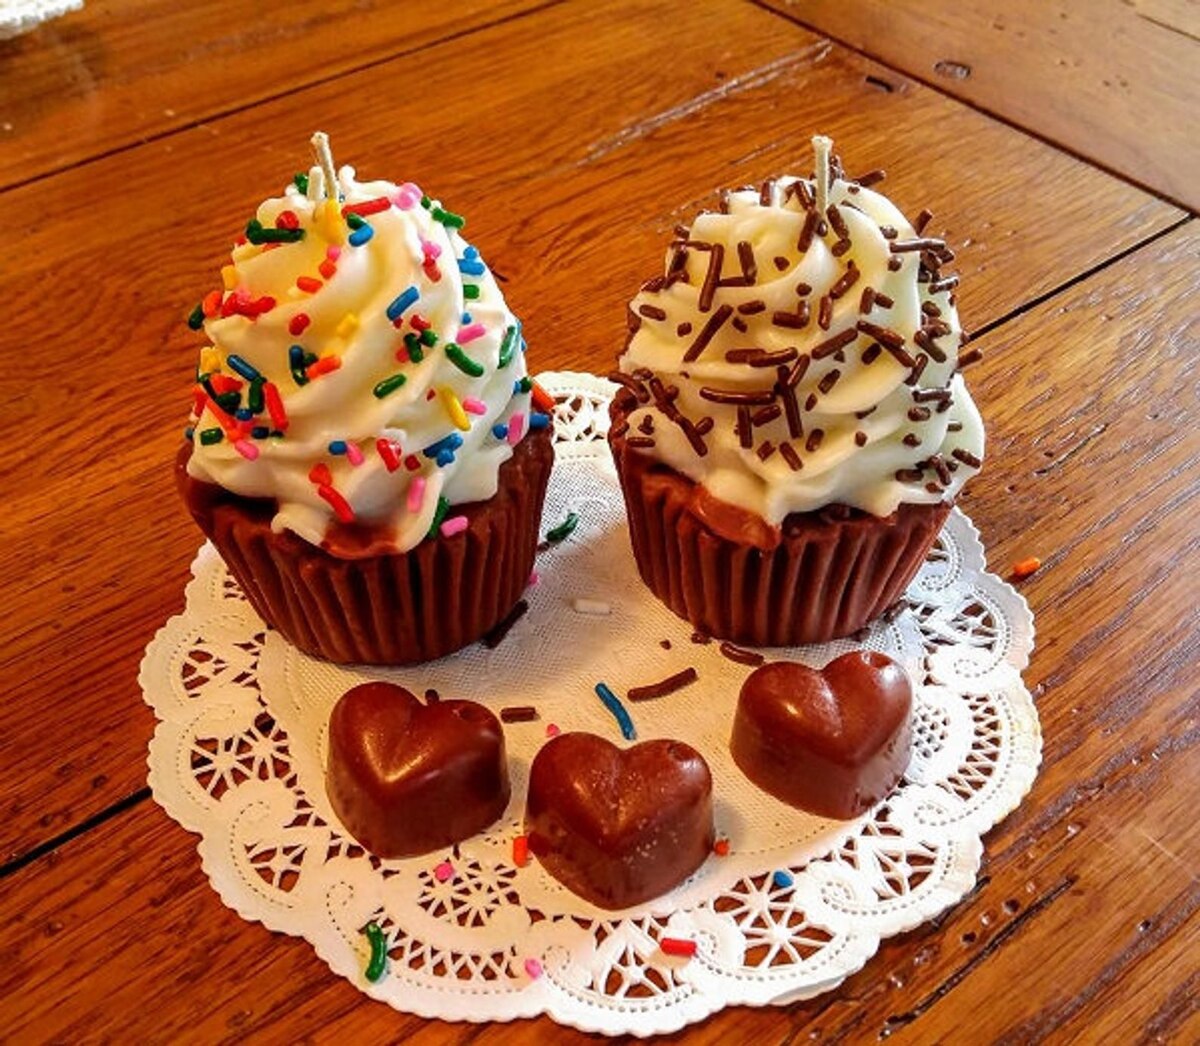

Articles
How To Make Cup Cake Candles
Modified: October 28, 2024
Learn how to make beautiful cupcake candles with our step-by-step articles. Perfect for adding a touch of sweetness to any occasion.
(Many of the links in this article redirect to a specific reviewed product. Your purchase of these products through affiliate links helps to generate commission for Storables.com, at no extra cost. Learn more)
Introduction
Have you ever wanted to create your own unique and decorative candles? If so, then making cupcake candles is the perfect craft for you! Cupcake candles are not only a delightful addition to your home decor, but they also make excellent gifts for friends and loved ones.
In this article, we will guide you through the step-by-step process of creating your very own cupcake candles. From gathering the necessary materials to adding the finishing touches, you’ll learn how to transform ordinary candles into adorable cupcake-shaped works of art!
Cupcake candles are not only fun to make, but they also add a touch of sweetness to any room. Whether you’re looking to enhance the ambiance of your living space or create a relaxing atmosphere in your bedroom, cupcake candles are sure to do the trick.
Not only are these cupcakes visually appealing, but they also emit a pleasant fragrance when burned. You can customize the scent of your cupcake candles to suit your preferences, using essential oils or scented candle wax. This allows you to create a personalized and aromatic experience each time you light your cupcake candle.
Not to mention, cupcake candles make fantastic gifts for birthdays, holidays, or special occasions. Handmade gifts are always appreciated, and a cupcake candle is a unique and thoughtful present that anyone would be thrilled to receive.
So, without further ado, let’s dive into the world of cupcake candle making and learn how to create these delightful and aromatic treasures!
Key Takeaways:
- Create delightful and aromatic cupcake candles using wax, wicks, molds, and decorations. Personalize scents and designs for a unique and thoughtful gift-giving experience.
- Master the art of making cupcake candles to add a touch of sweetness and warmth to any space. Express creativity through colors, scents, and decorations for a delightful visual and aromatic experience.
Read more: How To Make Grass For Cake
Materials Needed
Before you get started, it’s important to gather all the necessary materials. Here’s a list of what you’ll need to make your cupcake candles:
- Wax: Choose a wax suitable for candle making, such as soy wax or paraffin wax. You can find these at craft stores or online.
- Candle wicks: Select wicks that are appropriate for the size of your cupcake candles. Make sure they are long enough to reach the bottom of the candle.
- Cupcake molds: Look for silicone cupcake molds in various sizes and shapes. These will help create the cupcake appearance of your candles.
- Candle dye: If you want to add color to your cupcake candles, opt for candle dye. Choose colors that match your desired cupcake theme.
- Fragrance oils: To give your candles a pleasant scent, select fragrance oils that complement the colors and theme of your cupcakes.
- Double boiler or microwave-safe container: You’ll need a vessel for melting the wax. A double boiler setup or a microwave-safe container can both be used.
- Heat-resistant utensils: Have stirring spoons or chopsticks that can withstand high temperatures to mix the wax and other ingredients.
- Decorations: Get creative with cupcake decorations such as sprinkles, fake fruits, or mini cupcake toppers. These will make your cupcake candles even more visually appealing.
- Adhesive: To secure the wick in place, you’ll need a suitable adhesive such as hot glue or candle adhesive tabs.
- Scissors: Have a pair of scissors on hand to trim the wick to the appropriate length.
Once you have gathered all the required materials, you’re ready to begin the exciting process of making your very own cupcake candles!
Step 1: Gathering Ingredients
The first step in making cupcake candles is to gather all the necessary ingredients. Here’s what you’ll need:
- Wax: Choose a wax that is suitable for candle making, such as soy wax or paraffin wax. The amount of wax you’ll need will depend on the size and quantity of cupcake candles you plan to make.
- Candle wicks: Select wicks that are appropriate for the size of your cupcake candles. Make sure they are long enough to reach the bottom of the candle molds.
- Cupcake molds: Look for silicone cupcake molds in various sizes and shapes. These will help create the cupcake appearance of your candles.
- Candle dye: If you want to add color to your cupcake candles, opt for candle dye. Choose colors that match your desired cupcake theme.
- Fragrance oils: To give your candles a pleasant scent, select fragrance oils that complement the colors and theme of your cupcakes.
- Double boiler or microwave-safe container: You’ll need a vessel for melting the wax. A double boiler setup or a microwave-safe container can both be used.
- Heat-resistant utensils: Have stirring spoons or chopsticks that can withstand high temperatures to mix the wax and other ingredients.
- Decorations: Get creative with cupcake decorations such as sprinkles, fake fruits, or mini cupcake toppers. These will make your cupcake candles even more visually appealing.
- Adhesive: To secure the wick in place, you’ll need a suitable adhesive such as hot glue or candle adhesive tabs.
- Scissors: Have a pair of scissors on hand to trim the wick to the appropriate length.
Make sure to gather all the ingredients before you start the candle making process. This will ensure a smooth and efficient workflow, allowing you to focus on the creative aspects of making your cupcake candles.
Once you have everything ready, it’s time to move on to the next step: preparing the cupcake base!
Step 2: Preparing the Cupcake Base
Now that you have gathered all the necessary ingredients, it’s time to start preparing the cupcake base for your candles. Here’s how:
- Set up your workspace: Make sure you have a clean and flat surface to work on. Lay down some newspapers or a plastic tablecloth to protect your surface from any spills or wax drips.
- Prepare your cupcake molds: Place the silicone cupcake molds on a baking tray or any flat surface that can easily be moved without disturbing the candles. This will provide stability and make it easier to transfer the molds once the wax is poured.
- Melt the wax: Depending on the type of wax you’re using, you can either melt it using a double boiler or by following the microwave instructions provided. Be sure to follow the recommended melting temperature and guidelines for your specific wax.
- Add color and fragrance: Once the wax is melted, you can add candle dye and fragrance oils to enhance the appearance and scent of your cupcake candles. Mix well to ensure an even distribution of color and fragrance.
- Pour the wax into the molds: Carefully pour the melted wax into the prepared cupcake molds, leaving a small gap at the top to allow for any decorations or toppings.
- Insert the wicks: While the wax is still partially liquid, carefully place one end of the wick into the center of each cupcake mold. Use a toothpick or a small wooden stick to help secure the wick in place and keep it centered.
- Let the wax harden: Allow the cupcake candles to cool and harden completely. This process may take a few hours, depending on the size of your candles and the type of wax used. Avoid moving or disturbing the molds until the wax has solidified.
Once the cupcake base is hardened, you’ve successfully completed the second step in making your cupcake candles! Now it’s time to move on to the next step, where we’ll create the candle wick.
Step 3: Creating the Candle Wick
Now that your cupcake bases are ready, it’s time to move on to creating the candle wick. Follow these steps to ensure a secure and functional wick:
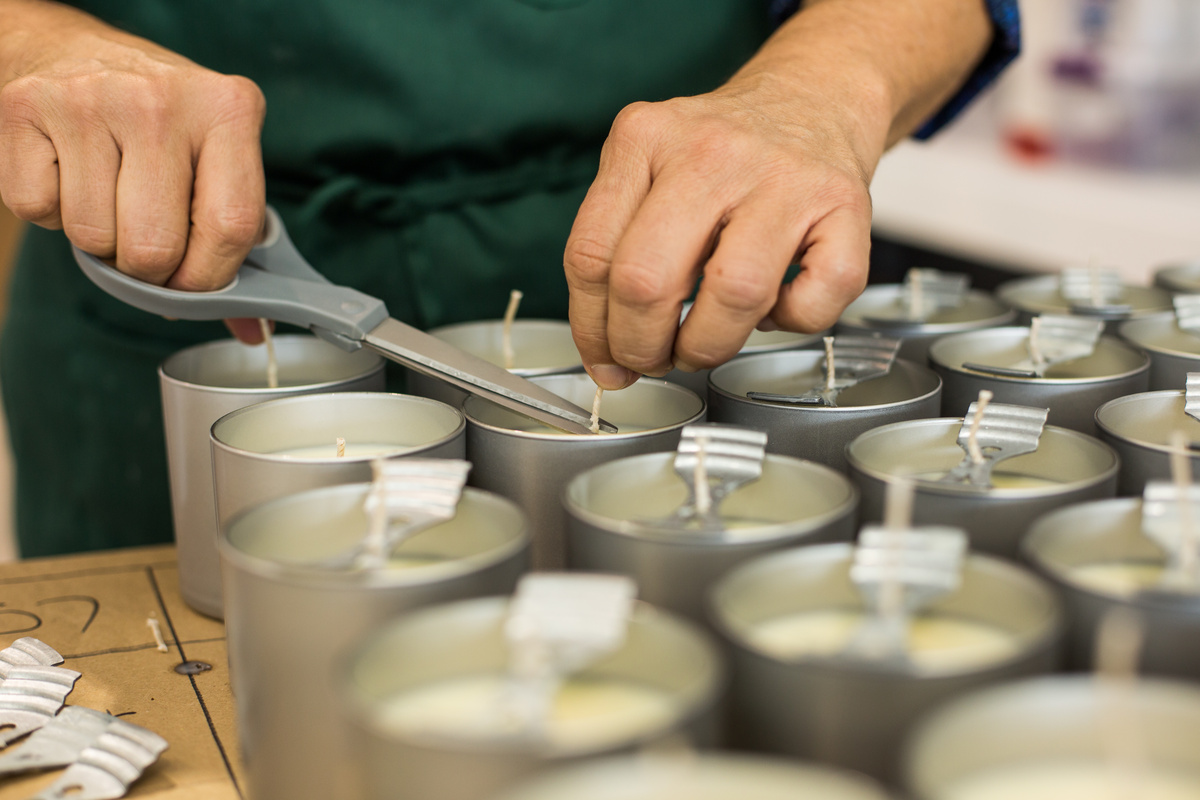
- Trim the wicks: Use a pair of scissors to trim the wicks to the desired length. Leave enough length so that the wicks can reach the bottom of the candle but not so long that they protrude excessively from the cupcake.
- Prepare the adhesive: Depending on the type of adhesive you’re using, whether it’s hot glue or candle adhesive tabs, heat it up or have it ready for application.
- Secure the wick: Apply a small amount of adhesive to the metal tab or wooden base of the wick and press it firmly onto the bottom center of the cupcake base. Hold it in place for a few seconds to ensure it adheres properly.
- Center the wick: Use a toothpick or a small wooden stick to center the wick and ensure it is straight. This will help the candle burn evenly and avoid any lopsided melting.
Creating a sturdy and centered wick is crucial for the optimal burning performance of your cupcake candles. Take your time and ensure that the wicks are securely attached to the base.
With the wicks in place, you’re now ready to move on to the next step: pouring the wax and giving your cupcake candles their final shape.
When making cupcake candles, be sure to use a high-quality, heat-resistant container for the wax and always follow safety guidelines for handling hot wax and open flames.
Read more: How To Make Cake On A Waffle Iron
Step 4: Pouring the Wax
With the cupcake bases prepared and the wicks securely in place, it’s time to pour the wax and give your cupcake candles their final shape. Here’s how to do it:
- Melt the wax: If the wax has solidified since you prepared the cupcake bases, gently reheat it using the double boiler or microwave method. Make sure the wax is fully melted and at the recommended pouring temperature before proceeding.
- Prepare the cupcake molds: Arrange the cupcake molds on a stable surface to avoid any spills or accidents. Ensure that they are positioned so that the wicks remain in the center of each mold.
- Pour the wax into the molds: Slowly and carefully pour the melted wax into the cupcake molds, filling them to the desired level. Be mindful not to overflow the molds, as this may cause difficulty in removing the candles later on.
- Allow the wax to set: Give the wax enough time to cool and solidify completely. This can take several hours or overnight. Avoid moving or disturbing the molds during this time to prevent any imbalances or defects in the final shape of your cupcake candles.
While pouring the wax, it’s essential to exercise caution and maintain a steady hand. Take your time to ensure that each cupcake mold is filled evenly and that the wicks remain centered.
Once the wax has hardened and set, your cupcake candles will take on their final form. You’re ready to move on to the next step: decorating the cupcake candles and adding your personal touch.
Step 5: Decorating the Cupcake Candle
Now that your cupcake candles have solidified, it’s time to unleash your creativity and decorate them to make them even more visually appealing. Follow these steps to decorate your cupcake candles:
- Remove the candles from the molds: Carefully remove the cupcake candles from the silicone molds. Gently push on the bottom of each mold to release the candles. If you encounter any resistance, you can chill the molds in the refrigerator for a short time to help loosen the wax.
- Trim the wicks: Use a pair of scissors to trim the wicks to a shorter length, leaving about a quarter-inch of wick above the candle’s surface. This will ensure a clean, even burn when you light the candles.
- Add decorative elements: Get creative with decorations such as sprinkles, fake fruits, or mini cupcake toppers. Apply a small amount of candle adhesive or hot glue to attach these elements to the top of each cupcake candle. This will give them a charming and realistic cupcake appearance.
- Experiment with colors: If you opted for plain wax, you can add an extra pop of color by using liquid candle dye to paint the tops of the cupcakes. Use a small brush or toothpick to carefully apply the dye and create fun and vibrant designs.
- Personalize with ribbons or labels: Consider tying a decorative ribbon around the base of each cupcake candle or attaching personalized labels with the fragrance name or a heartfelt message. This will add a personal touch and make your cupcake candles even more special.
Remember, there are no limits to how you can decorate your cupcake candles. Feel free to let your imagination run wild and experiment with different decorative elements and techniques to create unique and eye-catching designs.
Once you’ve finished decorating your cupcake candles, you’re almost done! The final step involves adding some finishing touches to make your candles ready for display or gifting.
Step 6: Finishing Touches
You’re in the final stretch of creating your beautiful cupcake candles! The last step is all about adding some finishing touches to make them truly special. Here’s what you can do:
- Clean the candles: Take a soft cloth or tissue, and gently wipe away any excess wax or debris from the surface of your cupcake candles. This will give them a polished and professional appearance.
- Give them a gift-ready look: If you plan to give your cupcake candles as gifts, consider packaging them in a decorative box or tying them together with a ribbon. This will add a touch of elegance and make them ready for presentation.
- Create a label or tag: Make your cupcake candles extra personal by creating custom labels or tags. You can include the fragrance name, a heartfelt message, or even the recipient’s name. Attach the labels or tags to the candles for a personalized touch.
- Test burn one candle: Before gifting or displaying your cupcake candles, it’s a good idea to test burn one to ensure a proper and even burn. Light the wick and let it burn for a couple of hours, observing the flame and wax pool to ensure everything is functioning as expected.
- Display your cupcake candles: Find a special spot in your home to showcase your cupcake candles. Consider placing them on a decorative tray, candle stands, or in a glass dome to create an eye-catching centerpiece or enhance the ambiance of any room.
By adding these finishing touches, you’ll elevate your cupcake candles from mere crafts to delightful pieces of home decor or thoughtful gifts that are sure to impress.
With that, you’ve reached the end of the cupcake candle making process! Enjoy the fruits of your labor and bask in the warm glow of your creative and aromatic cupcake candles.
Congratulations on mastering the art of making cupcake candles, and we hope you have a wonderful time creating more in the future!
Conclusion
Congratulations on completing your cupcake candle-making journey! You have learned the step-by-step process of transforming ordinary wax into delightful and aromatic cupcake candles. These charming creations not only add a touch of sweetness to any space but also make excellent gifts for any occasion.
Throughout this article, we discussed the materials needed, from wax and wicks to cupcake molds and decorations. We walked you through each step, from preparing the cupcake base to decorating the candles with your personal touch. Finally, we covered the finishing touches to make your cupcake candles ready for display or gifting.
Remember, making cupcake candles is not just a craft; it’s an art that allows you to express your creativity and personalize your space. You can experiment with different colors, scents, and decorations to create unique designs that reflect your style and preferences.
Whether you choose to light up your own home with these delightful cupcakes or share them as gifts, cupcake candles are sure to bring joy and warmth to anyone who receives them. The combination of their adorable appearance, pleasant fragrance, and the cozy ambiance they create makes them a truly special addition to any environment.
So, gather your materials, follow the steps outlined in this article, and let your imagination soar as you craft beautiful cupcake candles. Get ready to enjoy the flickering glow, soothing fragrance, and delightful visual appeal of your handmade creations.
Thank you for joining us on this cupcake candle-making journey. We hope you’ve found this guide informative and inspiring. Have fun creating your cupcake candles, and may they bring warmth and happiness to your life and those around you!
Frequently Asked Questions about How To Make Cup Cake Candles
Was this page helpful?
At Storables.com, we guarantee accurate and reliable information. Our content, validated by Expert Board Contributors, is crafted following stringent Editorial Policies. We're committed to providing you with well-researched, expert-backed insights for all your informational needs.
