
Articles
How To Make Drip Candles
Modified: October 28, 2024
Learn how to make drip candles with our step-by-step guide. Our articles provide all the information you need to create unique and vibrant candles that will enhance any ambiance.
(Many of the links in this article redirect to a specific reviewed product. Your purchase of these products through affiliate links helps to generate commission for Storables.com, at no extra cost. Learn more)
Introduction
Welcome to the exciting world of drip candles! Drip candles are a unique and mesmerizing form of candle art that adds a beautiful and whimsical touch to any space. Whether you’re looking to create a romantic ambiance, an eerie atmosphere for Halloween, or simply want to explore your creative side, learning how to make drip candles is a fun and rewarding craft.
In this article, we will guide you through the step-by-step process of making your own drip candles. We will cover everything you need to know, from choosing the right materials to mastering the technique of creating intricate drips. So grab your apron and let’s get started!
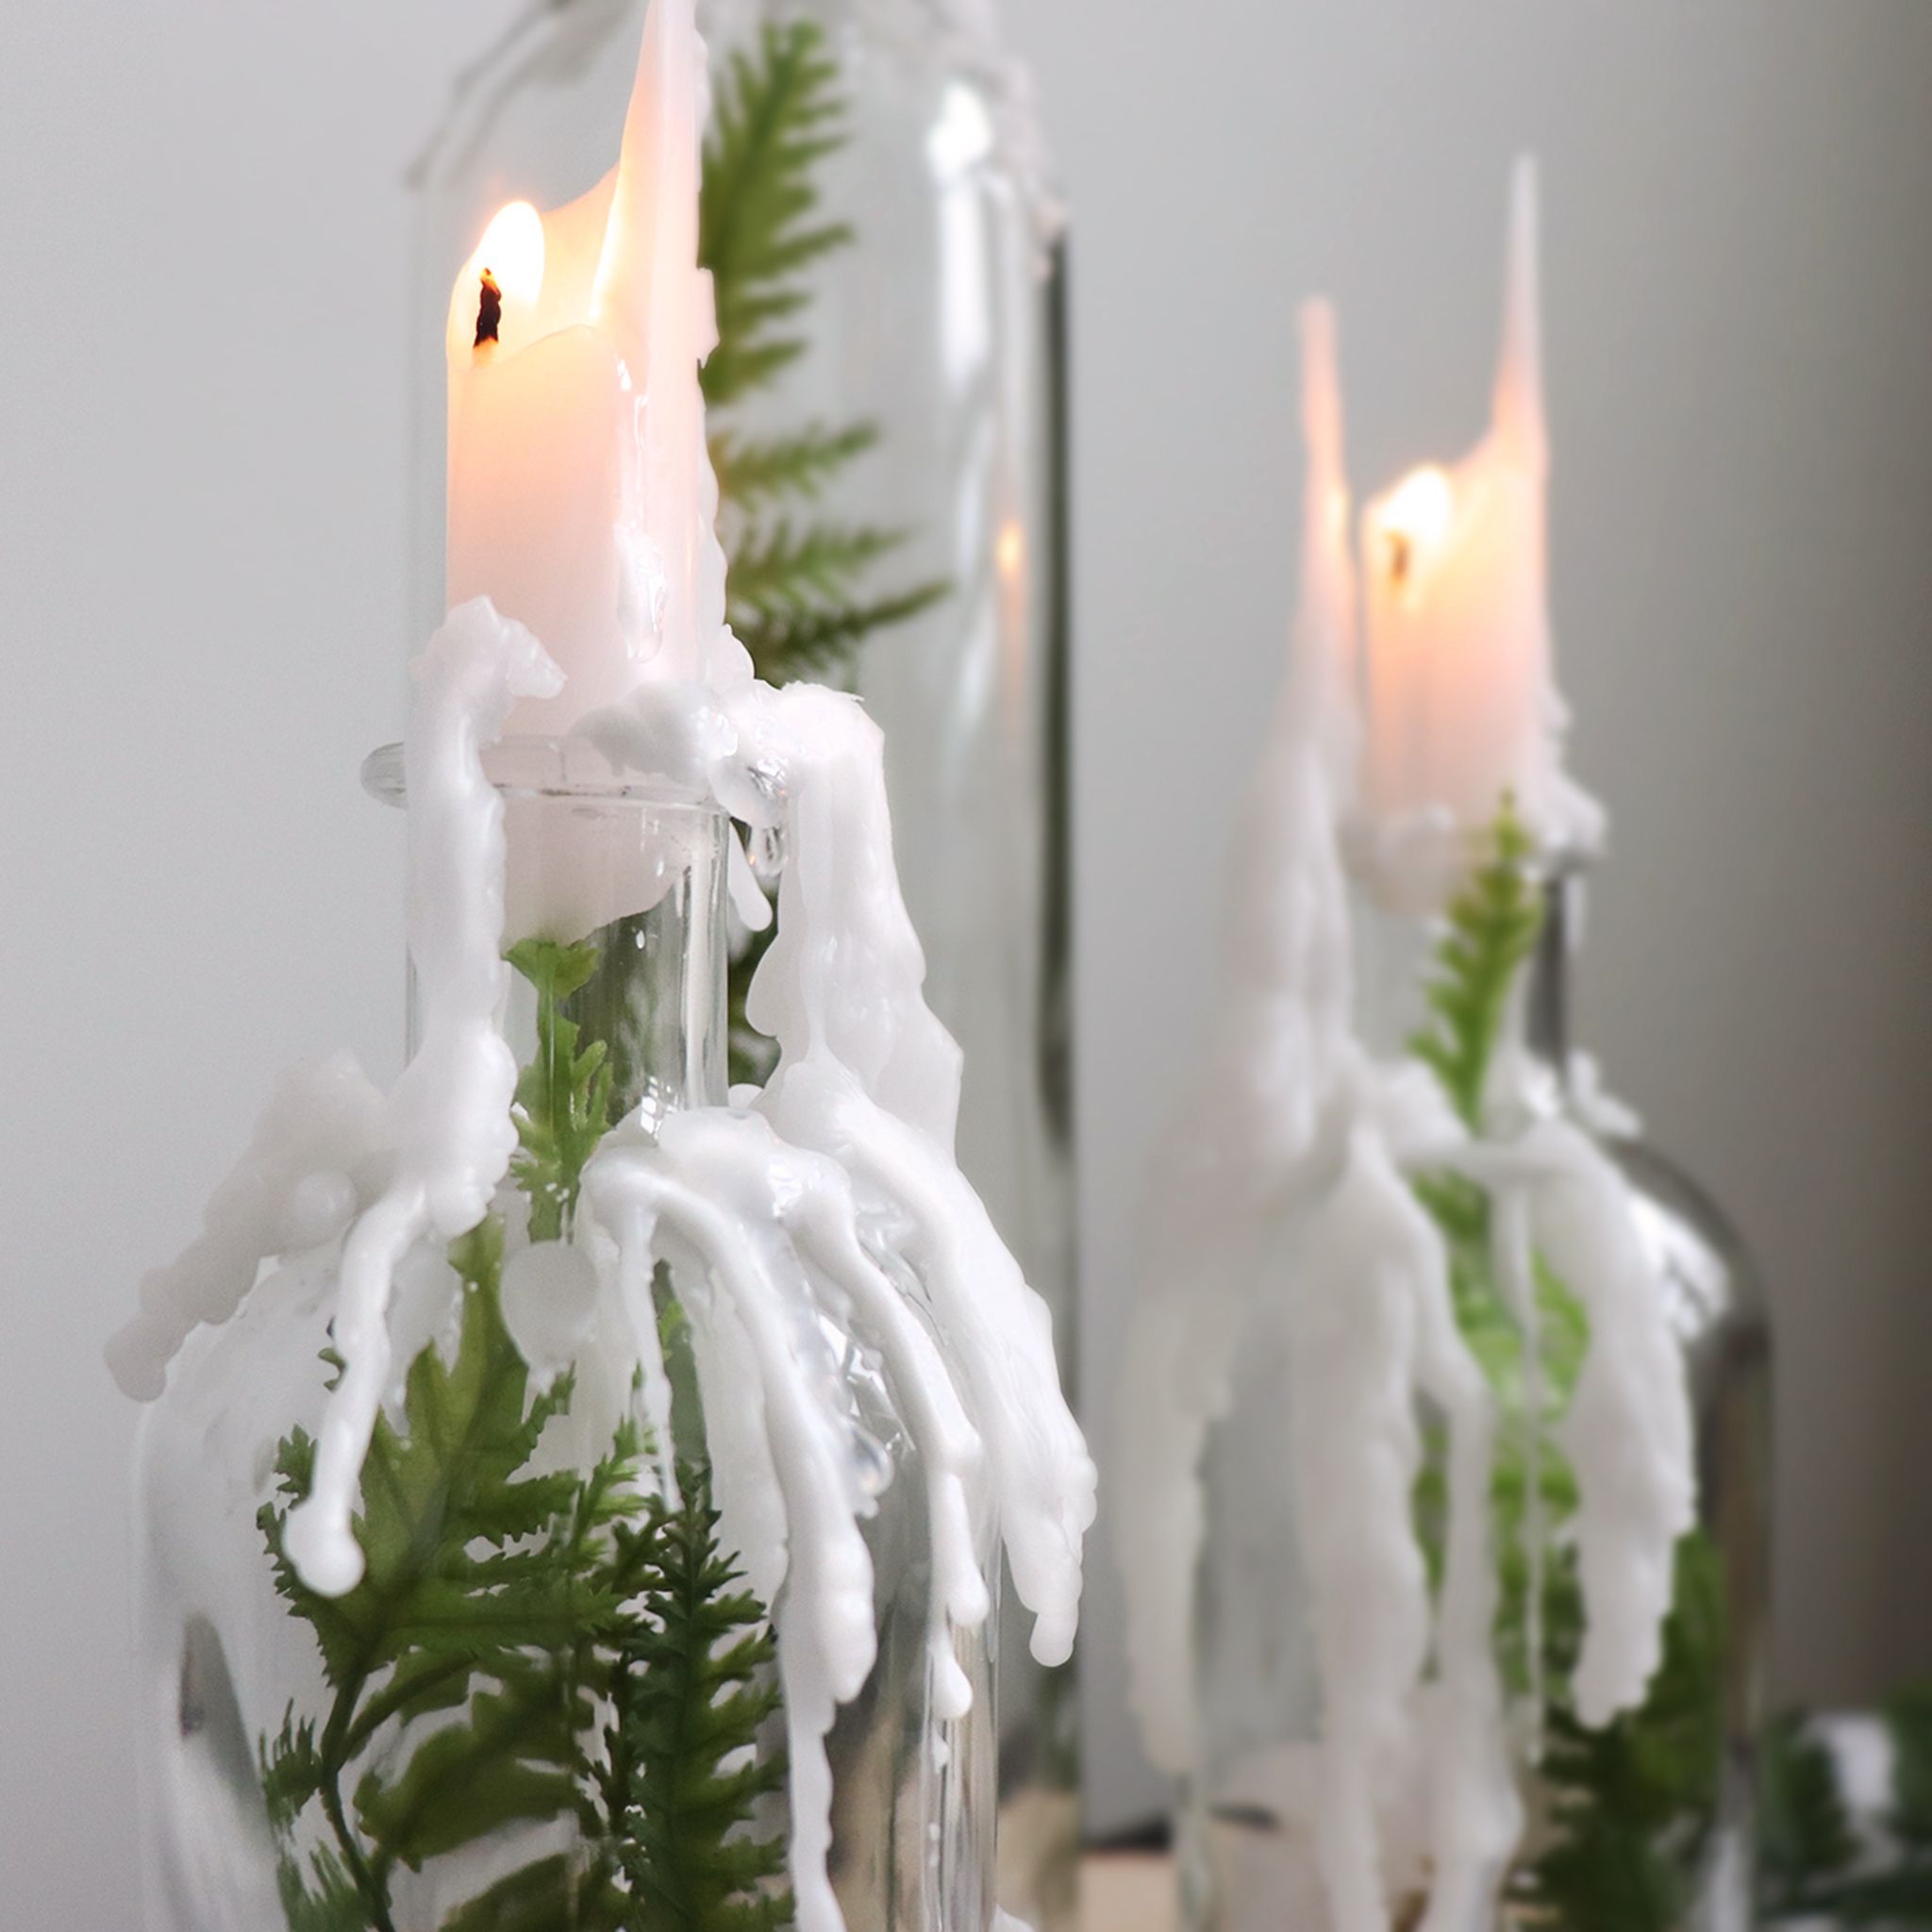
Before we dive into the details, let’s talk about what exactly drip candles are. Drip candles are regular candles that are melted in such a way that the wax drips down the sides, forming unique and mesmerizing patterns. These candles are commonly used for decorative purposes, as their cascading wax creates a visually stunning effect.
Now that you have an idea of what drip candles are, let’s gather the materials you’ll need to bring this craft to life.
Key Takeaways:
- Dive into the world of drip candles and unleash your creativity by transforming plain candles into stunning works of art with mesmerizing drip effects. Experiment with colors, techniques, and decorative elements to craft unique and captivating designs.
- Embrace the enchanting craft of making drip candles and create a whimsical ambiance in any space. From setting up a drip station to refining the drips, enjoy the process of crafting personalized and charming candles that showcase your artistic vision.
Read more: How To Make A Heater With Candles
Materials Needed
Before you begin making your drip candles, it’s important to gather all the necessary materials. Here’s a list of what you’ll need:
- Candle wax: You can use paraffin wax or soy wax. Paraffin wax is more commonly available and affordable, while soy wax is a great option for those looking for a natural and eco-friendly alternative.
- Candle wicks: Choose wicks that are appropriate for the size of your candles. You can find pre-waxed wicks or plain wicks that need to be dipped in wax.
- Candle dye or crayons: If you want to add color to your drip candles, you’ll need candle dye or old crayons. Using crayons is a budget-friendly option and allows you to experiment with different colors.
- Candle fragrance (optional): If you prefer scented candles, you can add fragrance oils to your wax. There are a variety of scents available, from calming lavender to festive cinnamon.
- Double boiler or microwave-safe container: To melt your wax, you’ll need a double boiler or a microwave-safe container. If using a microwave, make sure it’s heat-resistant and suitable for candle-making.
- Heat-resistant gloves: Protect your hands from the hot wax with heat-resistant gloves. This will ensure your safety during the crafting process.
- Drip tray or old newspapers: Drip candles can get messy, so it’s important to have a drip tray or old newspapers to catch any wax drips and prevent damage to your work surface.
- Heat source: You’ll need a heat source to melt your wax. This could be a stovetop or a heating plate specifically designed for candle-making.
- Candle molds or existing candles: Depending on your preference, you can either use candle molds to create custom shapes or repurpose old candles by melting them down.
- Decorative elements (optional): If you want to add some extra flair to your drip candles, consider adding decorative elements like glitter, dried flowers, or beads.
Make sure to gather all these materials before you start making your drip candles. Once you have everything ready, you’re all set to begin the creative process of making your own beautiful drip candles!
Step 1: Prepare the Candles
Now that you have all your materials ready, it’s time to prepare the candles for the drip effect. Follow these steps to get started:
- Choose the candles: Decide on the candles you want to use for your drip effect. You can either use plain, unscented candles or repurpose old candles by melting them down in a double boiler or microwave-safe container.
- Trim the wicks: If using pre-made candles, start by trimming the wicks to a proper length. They should be around 1/4 inch in height to ensure a clean and consistent burn.
- Secure the wicks: If you’re using plain wicks, dip them in the melted wax and place them in the center of the candle mold or the base of your repurposed candle. Make sure they are secured in place before proceeding.
- Prepare the work area: Place a drip tray or old newspapers on your work surface to catch any wax drips. This will make cleanup much easier and protect your workspace. Ensure proper ventilation in the area to avoid the accumulation of fumes.
Once you have completed these steps, your candles are now ready to be transformed into stunning drip candles. Let’s move on to the next step to set up a drip station.
Step 2: Set Up a Drip Station
Setting up a drip station is essential for creating the perfect drip effect on your candles. Follow these steps to create a designated area for your drip candles:
- Select a suitable surface: Choose a sturdy and heat-resistant surface for your drip station. A table or countertop covered with a protective layer, such as aluminum foil or a plastic sheet, works well.
- Secure the candles: Place your prepared candles on the drip station, making sure they are stable and won’t tip over during the dripping process.
- Prepare your workspace: Clear any clutter from your workspace to ensure a clean and organized area. Have your wax and other materials nearby for easy access.
- Protect surrounding areas: Use masking tape or painter’s tape to protect the surrounding surfaces that you don’t want to get wax drips on.
Now that your drip station is set up, you’re ready to create the mesmerizing drip effect on your candles. In the next step, we’ll explore the technique of creating beautiful drip patterns.
Step 3: Create the Drip Effect
Creating the drip effect on your candles is where the magic happens. Follow these steps to achieve beautiful and intricate drip patterns:
- Melt the wax: If you’re using candle wax in a solid form, melt it down in a double boiler or a microwave-safe container. Follow the instructions provided by the manufacturer for melting temperatures and times.
- Add color (optional): If you want to color your drip candles, now is the time to add candle dye or old crayons to the melted wax. Stir well to ensure the color is evenly distributed.
- Controlled drips: Hold the melted wax above the candle and slowly pour it onto the candles. Start with a small amount and observe how the wax drips down and forms patterns.
- Experiment with angles: To create different drip effects, try pouring the melted wax from different angles. tilt the candle in different directions to encourage the wax to flow and drip in various directions.
- Build up layers: For a more dramatic effect, allow each layer of wax to dry partially before adding another layer. This will create a textured and unique look.
- Be patient: Drip candles can take some time to achieve the desired effect. Remember to take breaks and let the wax set in between drips to avoid smudging or ruining the patterns.
Feel free to get creative and experiment with different techniques and pouring styles to achieve your desired drip effect. Once you are satisfied with the look, it’s time to move on to the next step.
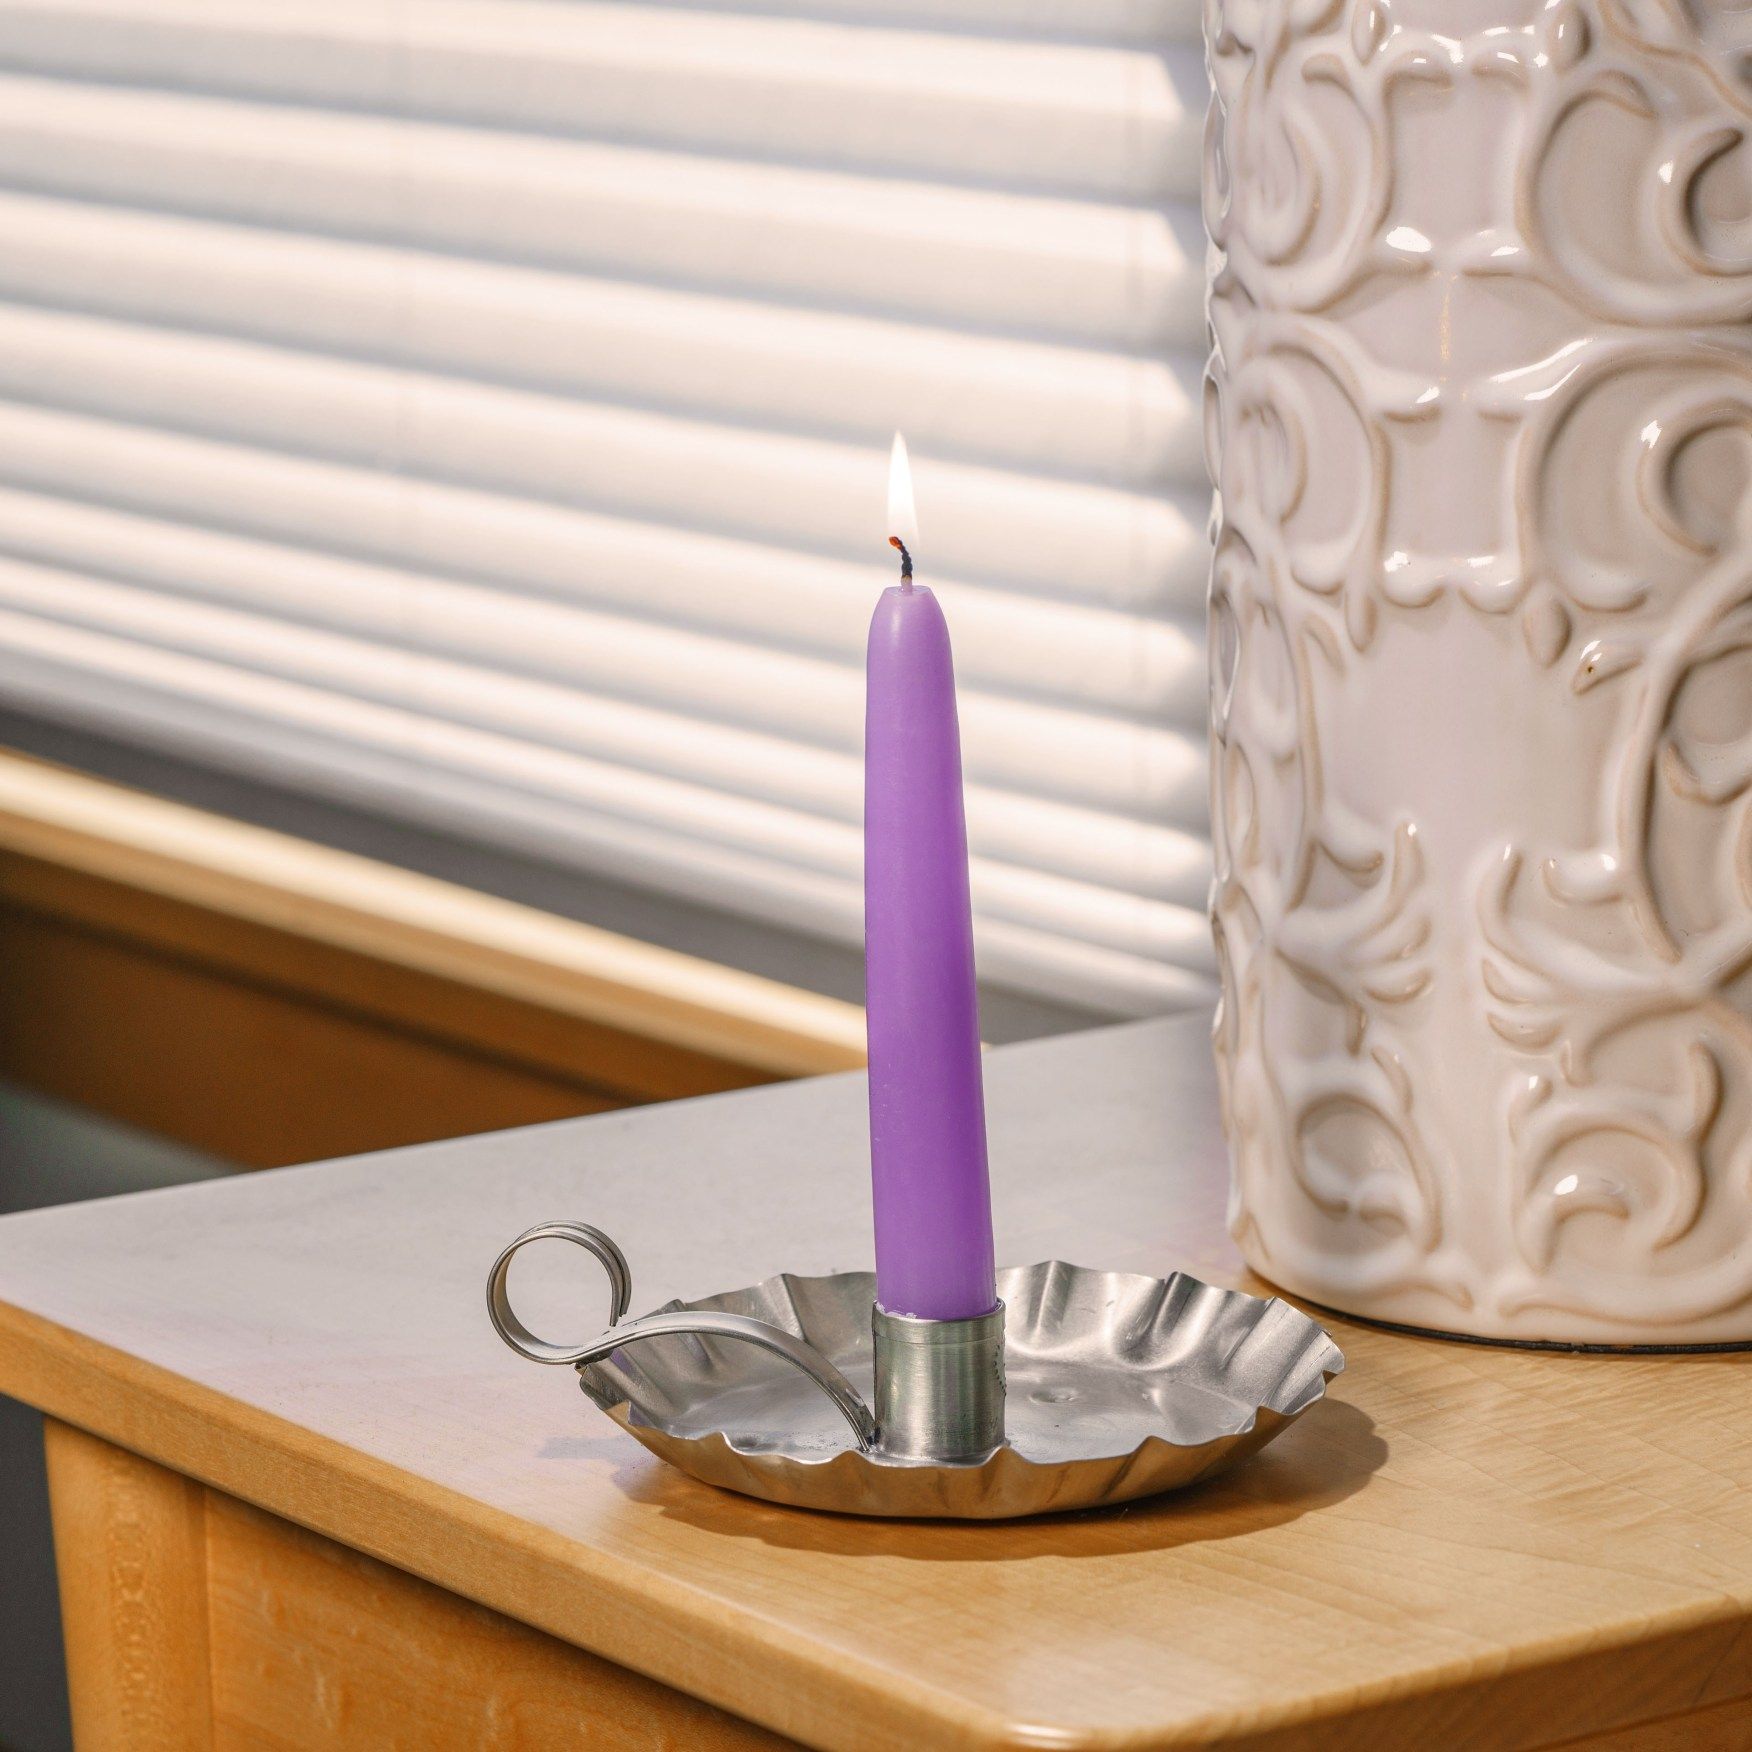
To make drip candles, use tall, narrow candles and place them on a heat-resistant surface. Light the candles and let the wax drip down the sides. Rotate the candles to create unique patterns.
Read more: How To Make Candles With Herbs
Step 4: Alternate Colors or Techniques (optional)
In this step, you have the opportunity to further enhance the beauty of your drip candles by alternating colors or experimenting with different techniques. While this step is optional, it can add extra flair and creativity to your candles. Here are a few ideas to consider:
- Color blending: If you want to create a multicolored drip effect, alternate between different colored waxes or mix them together to create new shades. Pour the melted wax in layers or use a dropper to carefully apply different colors in specific areas.
- Dip and drip: For a more intricate look, try dipping your candles in melted wax of a different color before creating the drip effect. This technique adds texture and depth to the overall design of your candles.
- Decorative elements: While the wax is still warm, you can add decorative elements to the surface of your drip candles. Sprinkle glitter, press dried flowers or herbs, or embed small beads into the wax to create a personalized and unique look.
- Experiment with techniques: Don’t be afraid to try different techniques to achieve various drip effects. For example, you can gently blow on the freshly poured wax to create a flowing or feathered look. You can also use a toothpick or a fine brush to manipulate the wax into specific patterns or shapes.
Remember, this step is all about exploring your creativity and adding your personal touch to the drip candles. Have fun and enjoy the process of creating unique and beautiful designs!
Step 5: Allow the Candles to Dry
After you’ve finished creating your desired drip effect and experimenting with different colors and techniques, it’s time to let the candles dry. This step is crucial to ensure that the wax sets properly and retains its shape. Follow these steps to allow your drip candles to dry:
- Find a well-ventilated area: Move your drip candles to a well-ventilated room or outdoor space, away from any drafts or direct sunlight.
- Leave the candles undisturbed: Avoid touching or moving the candles while they are drying. This will prevent any accidental smudging or disturbances to the beautiful patterns you’ve created.
- Allow sufficient drying time: The drying time will vary depending on the size and thickness of your drip candles. Generally, it can take anywhere from a few hours to overnight for the wax to fully harden.
- Check for stability: Once the candles are completely dry, gently touch the wax to ensure it feels firm and solid. If there are any areas that feel soft or pliable, let them dry for a little longer.
It’s important to exercise patience during this step. Rushing the drying process can lead to deformities or smudges, so take your time and wait until the candles are fully dry before handling or displaying them.
Once your drip candles have dried and are stable, you can move on to the final optional step of trimming the drips.
Step 6: Trim the Drips (optional)
In this optional step, you have the choice to trim and refine the drips on your candles to create a more polished and clean look. Trimming the drips can give your candles a neater appearance and remove any excess or uneven wax. Here’s how you can trim the drips:
- Inspect the drips: Take a close look at the drips on your candles and identify any areas that may need trimming or reshaping.
- Use sharp scissors or a knife: Carefully use sharp scissors or a small, sharp knife to trim the drips. Start by removing any long or uneven sections of wax.
- Create desired shapes: If you want to create specific shapes or angles, carefully carve the wax to achieve your desired look. Take your time and be cautious not to cut too much or damage the main body of the candle.
- Smooth rough edges: After trimming the drips, you may notice rough or jagged edges. Use a butter knife or a heat gun (on low setting) to gently melt and smooth out any rough areas.
- Wipe away excess wax: Use a clean cloth or paper towel to wipe away any excess wax residue from the trimming process. This will result in a cleaner and more refined appearance of your drip candles.
Remember, this step is optional and depends on your personal preference. Some prefer the natural and rustic look of untrimmed drips, while others opt for a more precise and polished finish. Choose what appeals to you and aligns with the overall aesthetic you are aiming for.
Now that your drip candles are complete, it’s time to showcase your beautiful creations in your space or share them as unique handmade gifts!
Conclusion
Congratulations! You’ve learned how to make drip candles, a fascinating and creative craft that adds charm and ambiance to any setting. By following the steps outlined in this guide, you’re now equipped to transform plain candles into stunning works of art with beautiful drip effects. Let’s recap what we’ve covered:
We began by introducing the concept of drip candles and the materials needed to embark on this DIY project. From candle wax and wicks to color additives and protective gear, we ensured that you have everything required for a successful candle-making experience.
In Step 1, we walked you through the process of preparing the candles by trimming the wicks and securing them in place. Step 2 involved setting up a drip station, creating a dedicated workspace for your drip candles that allows for easy pouring and minimal mess.
Step 3 was all about bringing the drip effect to life. With controlled pouring and experimenting with different angles, you learned how to achieve captivating patterns and cascading wax on your candles. We encouraged you to be patient and take breaks when necessary, allowing the wonderful drip patterns to develop.
In Step 4, we explored optional techniques such as color blending, dipping, and incorporating decorative elements. These techniques enable you to infuse even more creativity and personalization into your drip candles, making them truly unique.
Step 5 focused on the importance of allowing the candles to dry thoroughly. Finding a well-ventilated area and giving the wax sufficient time to harden ensures a stable and long-lasting finished product.
Step 6, although optional, offered the opportunity to refine your drip candles by trimming and shaping the drips. By carefully sculpting and smoothing the wax, you have the power to create your desired aesthetic.
In conclusion, making drip candles is an enjoyable and versatile craft that allows you to unleash your creativity. Whether you’re looking to decorate your home, create a captivating centerpiece, or share handmade gifts with loved ones, drip candles are sure to impress.
Now that you have a thorough understanding of the process, it’s your turn to dive into the world of drip candles. So gather your materials, set up your drip station, and let your artistic vision come to life. Get ready to experience the mesmerizing beauty and ambiance of your handmade drip candles!
Frequently Asked Questions about How To Make Drip Candles
Was this page helpful?
At Storables.com, we guarantee accurate and reliable information. Our content, validated by Expert Board Contributors, is crafted following stringent Editorial Policies. We're committed to providing you with well-researched, expert-backed insights for all your informational needs.
