Articles
How To Make Gypsy Rag Curtains
Modified: October 20, 2024
Learn how to make your own gypsy rag curtains with our informative articles. Discover creative techniques and design ideas for a unique and colorful window treatment.
(Many of the links in this article redirect to a specific reviewed product. Your purchase of these products through affiliate links helps to generate commission for Storables.com, at no extra cost. Learn more)
Introduction
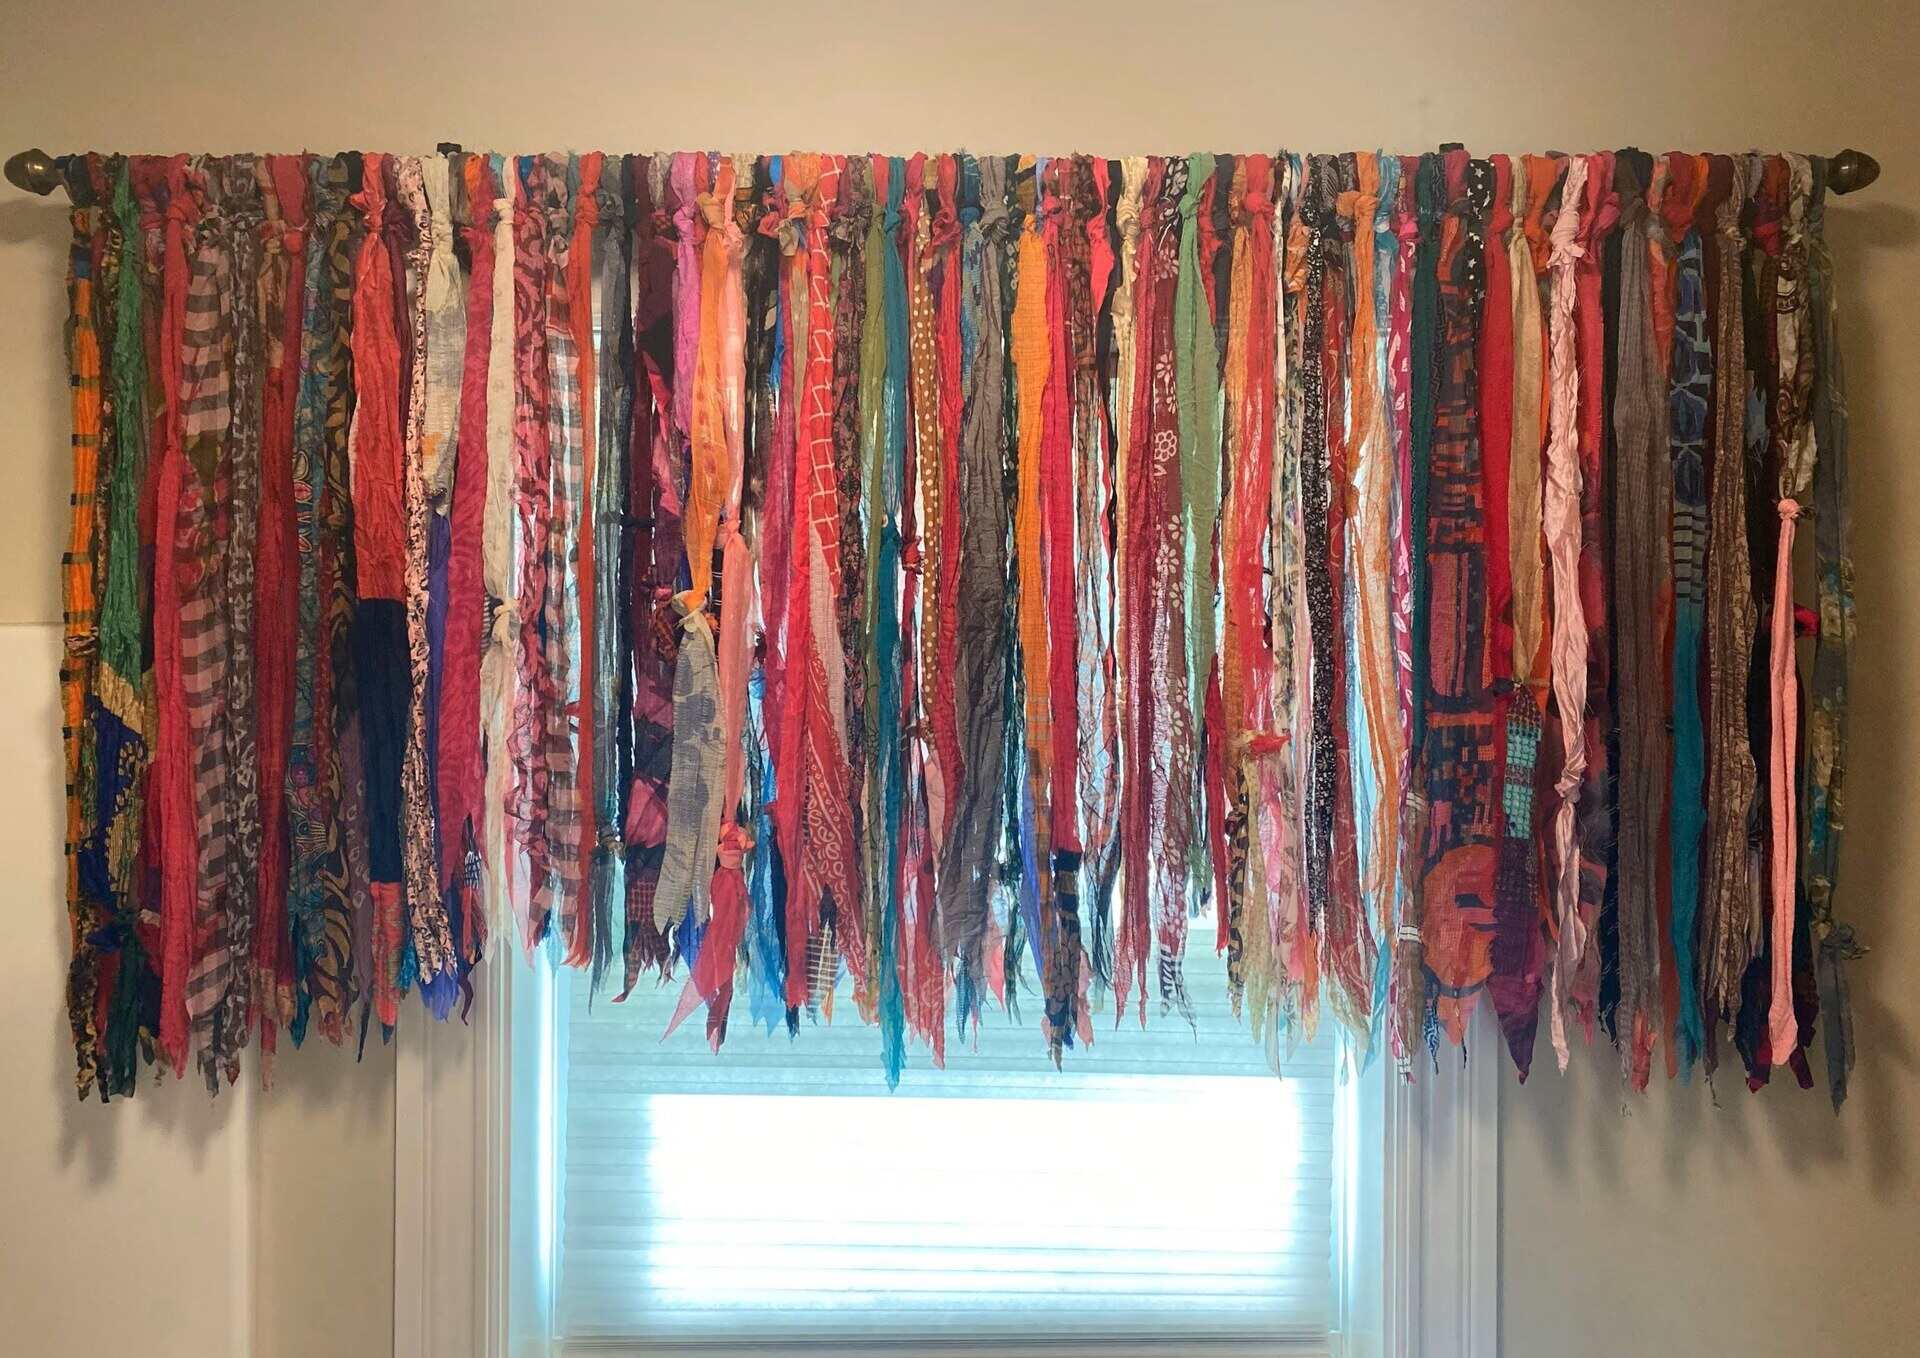
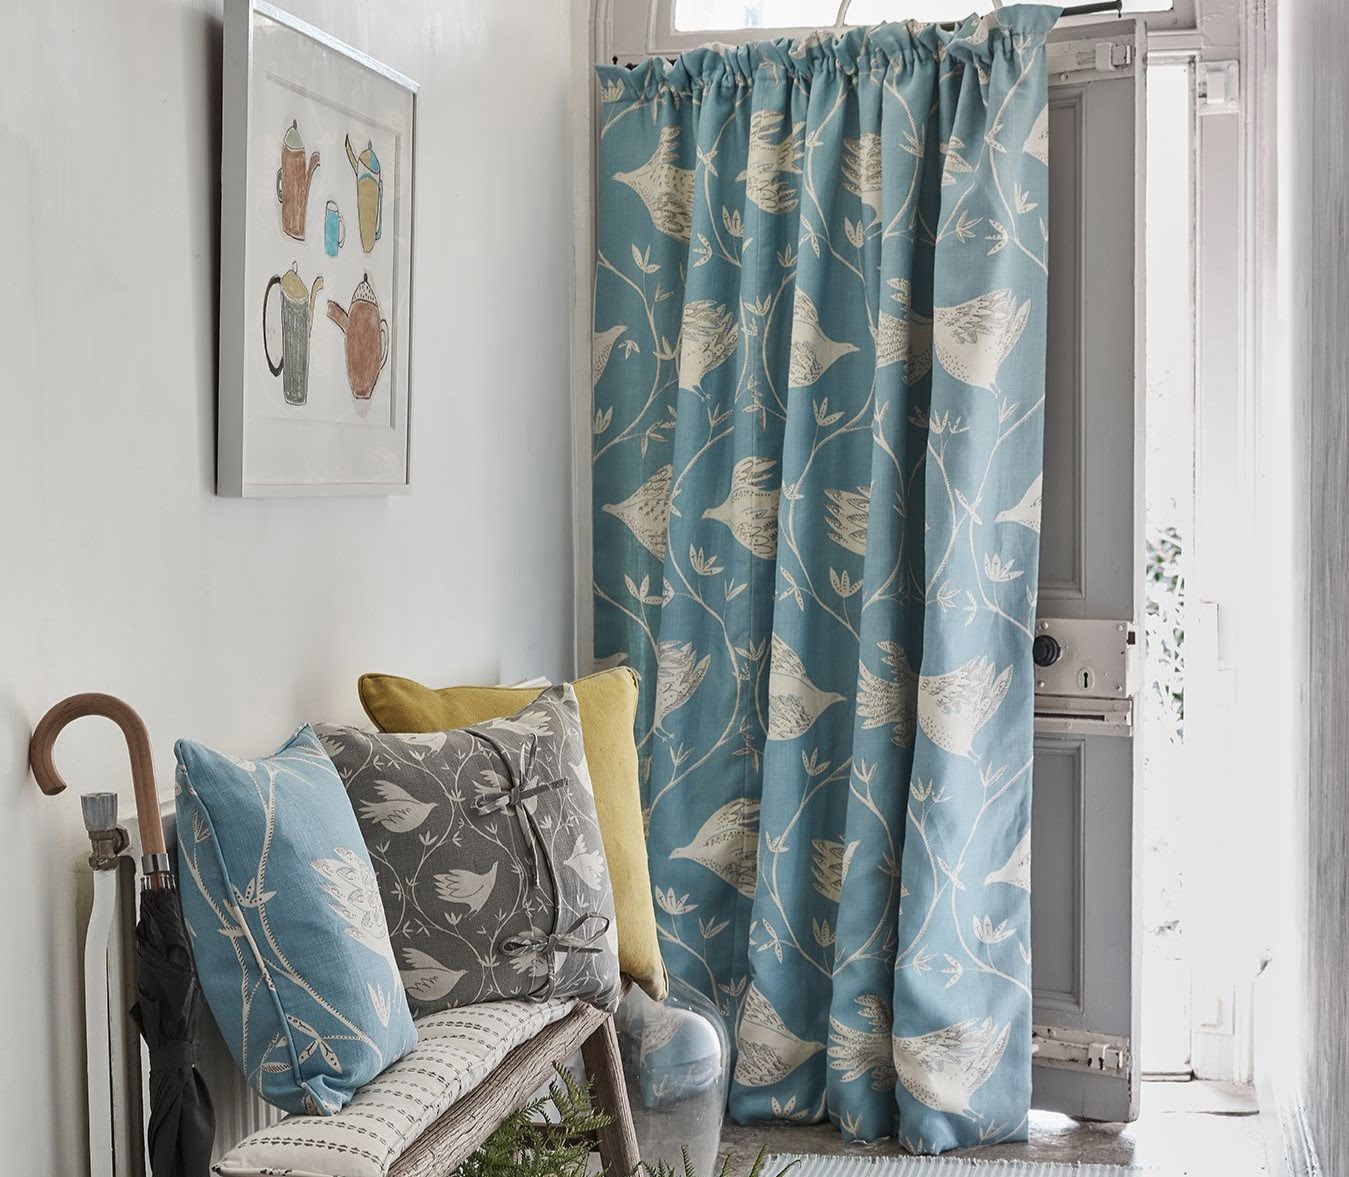
Welcome to the world of gypsy rag curtains! In this article, we will guide you through the process of creating beautiful and unique curtains that will add a touch of bohemian charm to your space. Gypsy rag curtains are known for their colorful and eclectic look, made from strips of fabric sewn together in a patchwork style. They are a fantastic DIY project that allows you to unleash your creativity and transform any room into a cozy, whimsical retreat.
If you’re tired of traditional curtains and looking for a more unconventional and unconventional look, gypsy rag curtains are the perfect solution. Not only are they visually striking, but they also provide a level of privacy while still allowing natural light to filter through. The best part is, you can customize them to fit your personal style and decor preferences.
To get started on this exciting project, there are a few materials you’ll need to gather. Don’t worry, these are items that can easily be found at your local craft store or even repurposed from items you may already have at home. So let’s dive in and discover the materials needed to create your very own gypsy rag curtains.
Key Takeaways:
- Embrace your creativity and transform any space with vibrant and eclectic gypsy rag curtains made from repurposed fabric, adding a touch of bohemian charm and whimsical ambiance.
- Infuse your personal style into DIY gypsy rag curtains, from fabric selection to decorative elements, and enjoy the fulfillment of creating a truly unique and captivating window treatment.
Read more: How To Make A Rag Quilt
Materials Needed
Before you embark on your gypsy rag curtain journey, make sure you have the following materials:
- Fabric: Choose a variety of fabrics in different colors, patterns, and textures. You can use old clothing, bedsheets, or purchase fabric remnants from a fabric store. Aim for a mix of lightweight and medium-weight fabrics for a balanced look.
- Scissors: A good pair of fabric scissors is essential for cutting the fabric into strips. Make sure they are sharp and comfortable to use.
- Sewing Machine: While it is possible to sew the curtains by hand, a sewing machine will save you time and effort. If you don’t own one, consider borrowing or renting one.
- Thread: Select a thread color that complements the fabric. It’s always a good idea to have extra thread on hand in case you run out.
- Curtain Rod or Dowel: Choose a rod or dowel that fits the width of your window. You can opt for a basic rod or get creative with a repurposed branch or driftwood.
- Ribbon or Trim (optional): Adding ribbon or trim can give your curtains an extra decorative touch. Choose something that matches or complements the colors in your fabric selection.
- Measuring Tape: This will come in handy when determining the length of your fabric strips and measuring the width of your window.
- Pins: Use sewing pins to hold the fabric strips in place while you sew them together.
- Iron and Ironing Board: Pressing your fabric strips before sewing will result in neater and more professional-looking curtains.
Once you have gathered all the necessary materials, you’re ready to embark on your gypsy rag curtain journey. Remember, this project is all about embracing your creativity and making something truly unique. So, let your imagination run wild as you choose the fabrics and design your one-of-a-kind curtains.
Step 1: Gathering Fabric and Supplies
The first step in creating your gypsy rag curtains is to gather the fabric and supplies you will need for the project. This step is crucial in setting the foundation for your curtains and ensuring you have everything you need to bring your vision to life.
Start by selecting a variety of fabrics in different colors, patterns, and textures. Look through your wardrobe or storage for clothing items that you no longer wear but have interesting fabrics. Old bedsheets, tablecloths, or even fabric remnants from a craft store are also great options. The key is to have a mix of lightweight and medium-weight fabrics to achieve a balanced and visually appealing look.
Once you have your fabric selection, it’s time to gather the necessary supplies. Make sure you have a sharp pair of fabric scissors for cutting the fabric into strips. Having a sewing machine will make the sewing process faster and more efficient, but if you don’t have one, don’t worry. You can still sew the curtains by hand, although it may take a bit more time and effort.
Don’t forget to stock up on thread in a color that complements your fabric choices. It’s always a good idea to have extra thread on hand, just in case. You’ll also need a curtain rod or dowel that fits the width of your window. If you want to add an extra decorative touch, consider getting some ribbon or trim that matches or complements the colors in your fabric selection.
Lastly, gather other essential tools such as a measuring tape for measuring the length of your fabric strips and the width of your window, sewing pins to hold the fabric in place while you sew, and an iron and ironing board for pressing the fabric before sewing to achieve neat and professional-looking curtains.
Now that you have all your fabric and supplies ready, you’re one step closer to creating your stunning gypsy rag curtains. In the next step, we’ll dive into the process of cutting the fabric into strips, so get your scissors and fabric ready!
Step 2: Cutting the Fabric into Strips
Now that you have gathered all the necessary fabric and supplies, it’s time to move on to the next step: cutting the fabric into strips. This step is crucial in creating the patchwork effect that defines gypsy rag curtains. Follow these instructions to ensure your fabric strips are cut accurately and ready for sewing.
1. Prepare your work area: Find a clean and spacious surface to lay out your fabric. Make sure you have enough room to spread out the fabric and work comfortably with your scissors.
2. Decide on the width of your fabric strips: Determine how wide you want your fabric strips to be. Keep in mind that wider strips will create a bolder and more eclectic look, while narrower strips will result in a more delicate and intricate design.
3. Measure and mark your fabric: Use a measuring tape to measure out the desired width for your fabric strips. Mark the measurement at regular intervals along the edge of the fabric using fabric chalk or a washable pen. These markings will serve as your cutting guide.
4. Cut the fabric: Carefully cut along the marked lines, creating your fabric strips. Use sharp fabric scissors to ensure clean and straight cuts. Take your time and work slowly to maintain accuracy.
5. Repeat for all fabrics: If you are using multiple fabrics, repeat the process of measuring and cutting for each one. This will allow for a varied and dynamic mix of colors and patterns in your gypsy rag curtains.
6. Check and adjust: Once you have cut all your fabric strips, take a moment to check their length and make any necessary adjustments. Trim them to your desired length, ensuring they are all relatively even.
By the end of this step, you should have a pile of fabric strips ready to be transformed into beautiful gypsy rag curtains. In the next step, we’ll delve into the process of sewing these strips together to create the patchwork effect. Get your sewing machine (or needle and thread) ready, as we explore the exciting world of fabric assembly.
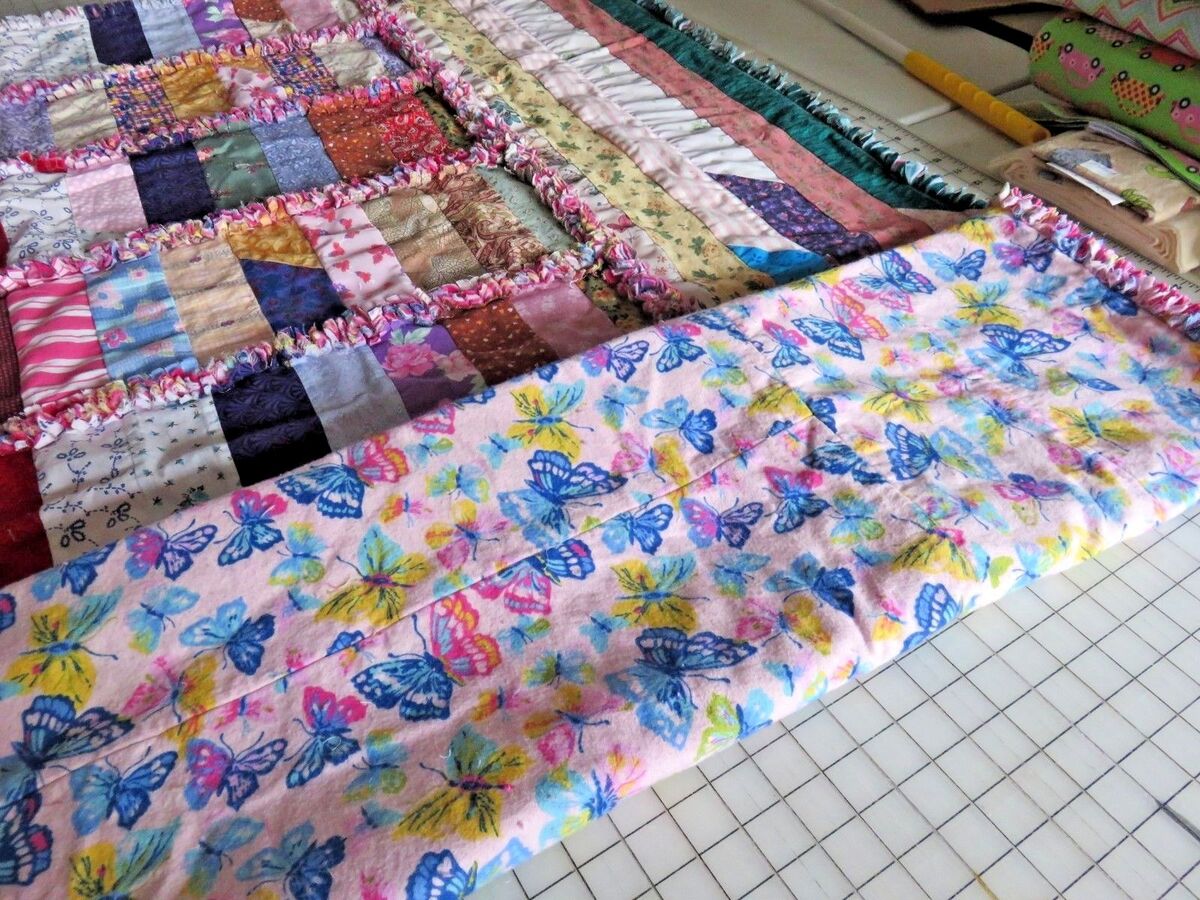
Step 3: Sewing the Strips Together
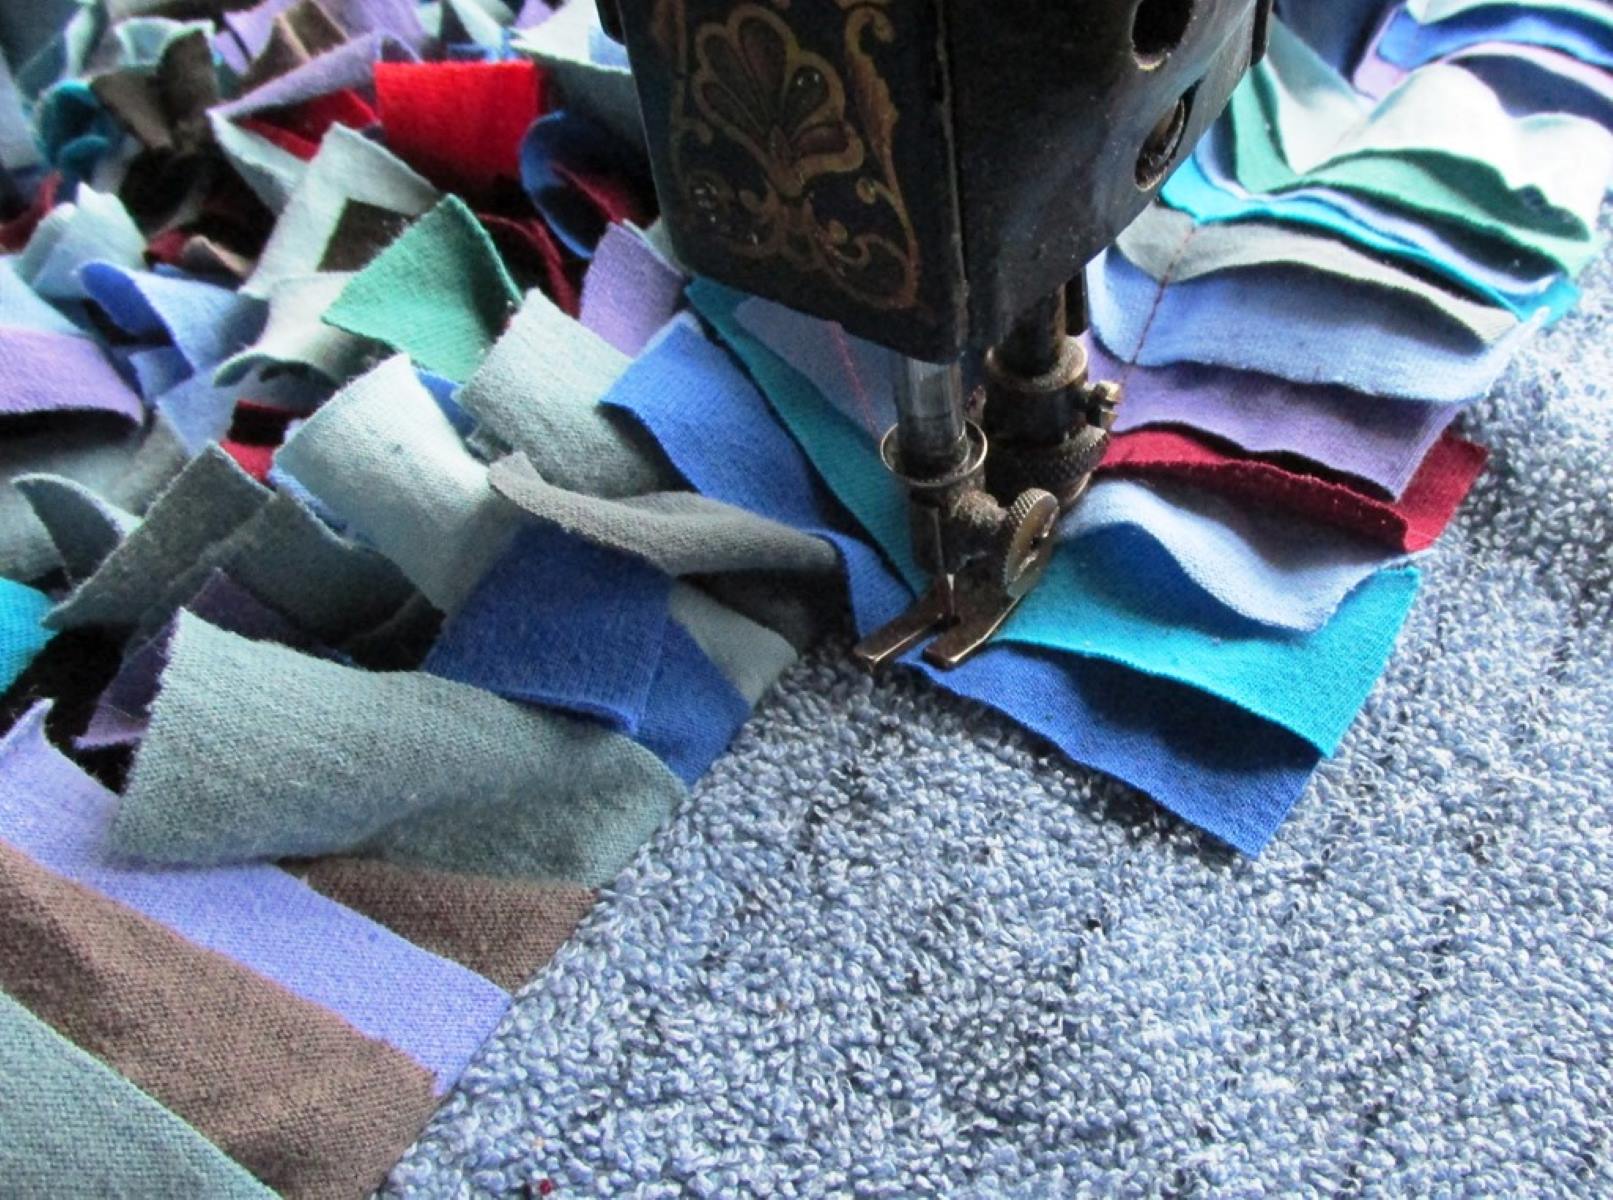
Now that you have your fabric strips cut and ready, it’s time to bring them together by sewing them to create the patchwork effect. This step will require a sewing machine, but if you’re sewing by hand, don’t worry – the process is similar and equally charming. Let’s dive into the art of fabric assembly and create the foundation for your gypsy rag curtains.
1. Set up your sewing machine: If you’re using a sewing machine, make sure it’s set up and in good working condition. Thread the machine with a color that complements your fabric, and test a few stitches on a scrap piece of fabric to ensure everything is running smoothly.
2. Prepare the fabric strips: Take a moment to organize your fabric strips in a way that makes it easy for you to select and sew them together. You can lay them out side by side or stack them in a specific order. This step will help you visualize the final design and make it easier to select the next strip to sew.
3. Select and sew the strips: Choose two fabric strips that you want to sew together. Align the edges and secure them in place with sewing pins. With the right sides together, sew a straight stitch along the length of the fabric, joining the strips together. Remove the pins as you go and carefully guide the fabric under the sewing machine’s presser foot.
4. Continue to add more strips: Once the first two strips are sewn together, repeat the process by adding another strip to the sewn piece. Align the edges, pin them in place, and sew them together. Repeat this step until all your fabric strips are sewn together, forming a cohesive patchwork design.
5. Press and trim the seams: After sewing each strip, press the seams with an iron to flatten them and give the fabric a neater appearance. Trim any excess fabric or threads to ensure the edges are clean and tidy.
6. Check for consistency: Occasionally step back and take a look at your work to ensure the seams are straight and the overall pattern is visually appealing. Adjust as necessary by resewing any sections that may need to be corrected.
By the end of this step, you will have a beautiful patchwork fabric panel that will serve as the foundation for your gypsy rag curtains. In the next step, we’ll explore how to create a rod pocket to hang your curtains. Stay tuned!
When making gypsy rag curtains, be sure to use a variety of colorful and textured fabrics to create a vibrant and eclectic look. This will add visual interest and personality to your curtains.
Read more: How To Make A Denim Rag Quilt
Step 4: Creating the Rod Pocket
Now that you have your fabric strips sewn together into a cohesive patchwork design, it’s time to create the rod pocket. The rod pocket is where you will insert the curtain rod or dowel to hang your gypsy rag curtains. Follow these steps to ensure your rod pocket is properly sized and securely attached to the curtains.
1. Measure the width of your curtain panel: Start by measuring the width of your sewn fabric panel. This will determine the width of your rod pocket. Add an extra inch or two to allow for ease when inserting the rod.
2. Fold the fabric: Fold down the top edge of the curtain panel to create the rod pocket. The width of the fold should be slightly wider than the width of your rod. Use pins to hold the fold in place.
3. Sew the rod pocket: Using your sewing machine or needle and thread, sew a straight stitch along the bottom edge of the fold, creating a secure hem. Make sure the stitching is strong and reinforced at both ends.
4. Test the fit: Once the rod pocket is sewn, double-check that your curtain rod or dowel can easily slide through it. If necessary, make any adjustments to ensure a smooth fit.
5. Optional: Add reinforcements (if needed): If your fabric is heavy or you anticipate the curtains will be opened and closed frequently, you may want to add additional reinforcements to the rod pocket. This can be done by sewing another line of stitching parallel to the first, or by inserting a strip of interfacing or sturdy fabric inside the fold before sewing.
By the end of this step, you should have a sturdy and well-sized rod pocket ready to accommodate your curtain rod or dowel. In the next step, we’ll explore how to add decorative elements to enhance the visual appeal of your gypsy rag curtains. Get ready to add a touch of creativity to your project!
Step 5: Adding Decorative Elements
Now that you have created the foundation of your gypsy rag curtains, it’s time to add some decorative elements to make them truly unique and visually appealing. This step allows you to infuse your personal style and creative flair into the curtains. Follow these steps to add those extra touches that will make your curtains stand out.
1. Consider adding ribbons or trims: Take a look at your fabric selection and choose ribbons or trims that complement the colors and patterns. You can sew them along the edges of the curtain panel or at strategic points within the patchwork design. Play around with different placement options to achieve the desired effect.
2. Create fabric accents: Cut smaller pieces of fabric in interesting shapes, such as flowers or leaves. Sew these fabric accents onto the curtain panel to add dimension and texture. You can either hand-sew them or use a sewing machine for a more secure attachment.
3. Embellish with buttons or beads: Adding buttons or beads can bring a whimsical and bohemian touch to your curtains. Sew them onto the fabric in a random or patterned arrangement. Mix and match colors and sizes to create a playful and eye-catching effect.
4. Explore embroidery or appliqué: If you enjoy handcrafts, consider adding embroidery or appliqué details to your curtains. This can be in the form of intricate stitching, patterns, or even personalized designs. Let your creativity shine as you add these artistic elements.
5. Mix and match fabric textures: Experiment with different fabric textures within your patchwork design. Combine smooth fabrics with more textured ones to create visual interest and depth. Play with contrasting materials, such as satin and velvet, to add a luxurious and eclectic touch to your curtains.
Remember, this step is all about adding your personal touch to the curtains. Don’t be afraid to get creative and try different techniques. The goal is to make your gypsy rag curtains uniquely yours!
Once you have added all the desired decorative elements, take a step back and admire your handiwork. Your curtains are now bursting with personality and charm. In the next step, we’ll explore how to hang your gypsy rag curtains and bring them to life in your space. Get ready to see the finished result!
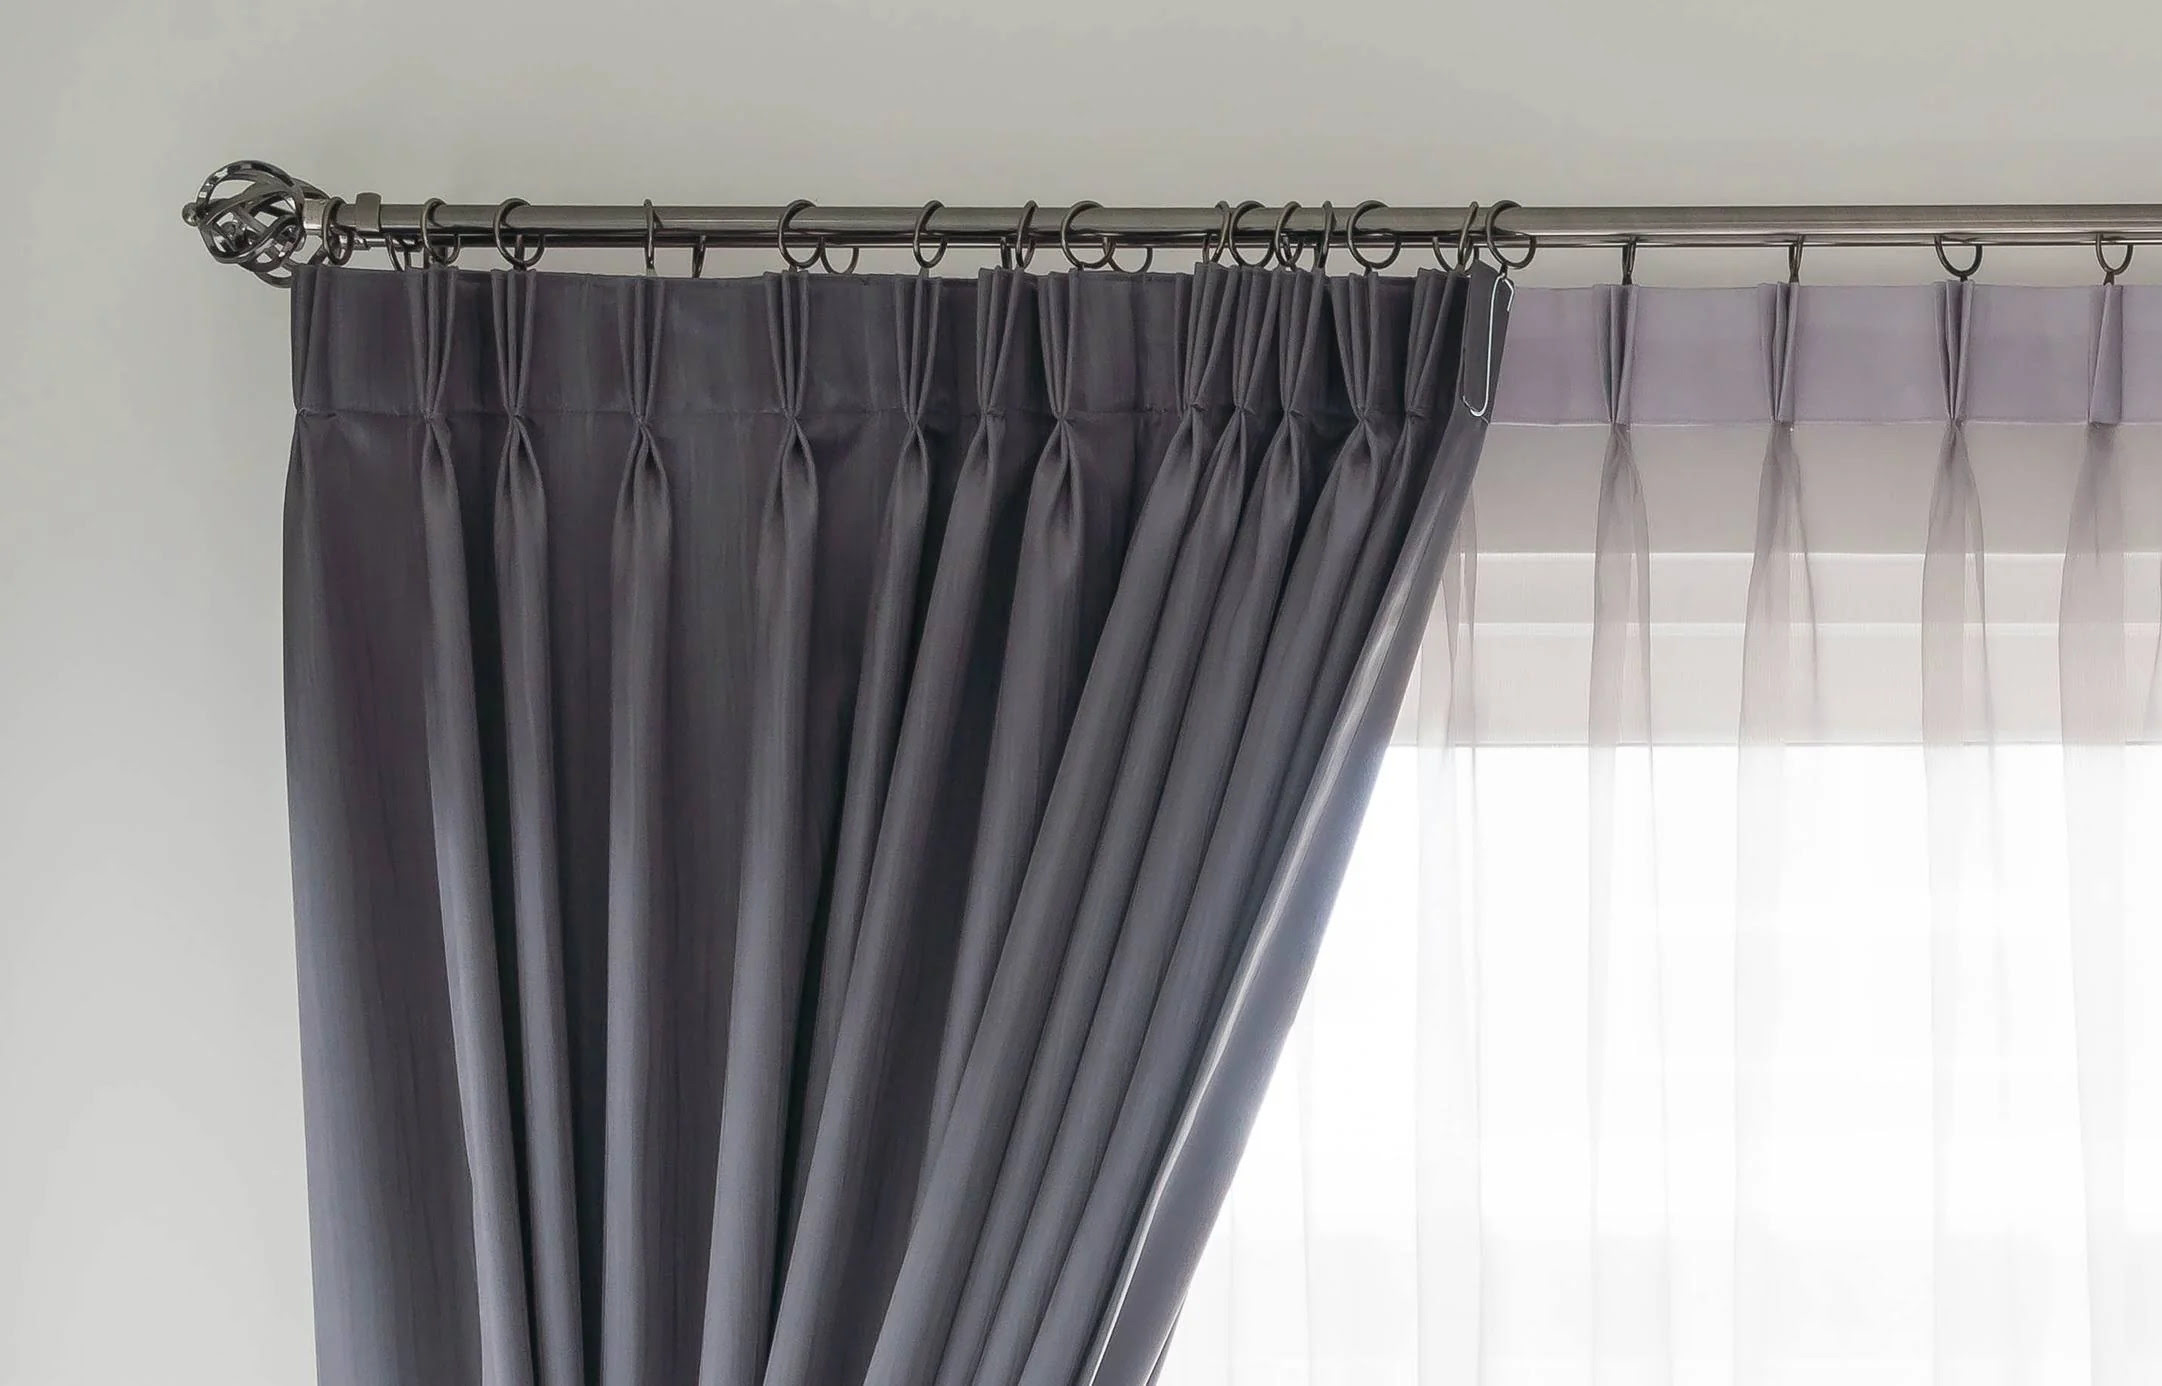
Step 6: Hanging the Curtains
Congratulations! You have reached the final step of creating your gypsy rag curtains. Now it’s time to hang them and bring a touch of bohemian charm to your space. Follow these simple steps to ensure your curtains are hung securely and beautifully.
1. Choose the right curtain rod: Select a curtain rod or dowel that complements your curtains and fits the width of your window. You can opt for a basic rod or get creative with a repurposed branch, driftwood, or decorative metal rod.
2. Measure and mark the height: Use a measuring tape to determine how high you want your curtains to hang. Mark this measurement on both sides of the window frame or wall with a pencil or removable tape. Make sure the marks are level to ensure your curtains hang straight.
3. Install the brackets or hooks: Depending on the type of curtain rod you are using, install the appropriate brackets or hooks. Follow the manufacturer’s instructions for proper installation. Ensure that the brackets or hooks are securely attached to the wall or window frame.
4. Slide the curtains onto the rod: Take your gypsy rag curtains and carefully slide them onto the curtain rod through the rod pocket you created in Step 4. For a neat appearance, evenly distribute the fabric along the rod.
5. Hang the curtains: Once the curtains are on the rod, position the rod on the installed brackets or hooks. Double-check that the curtains are hanging evenly and adjust if necessary. Step back and admire the beautiful draping of your gypsy rag curtains.
6. Final adjustments: Take a moment to make any final adjustments to the curtains’ positioning and appearance. Ensure that the bottom edges of the curtains are level and touching the floor or skimming the window sill, depending on your desired look.
With your gypsy rag curtains now hung, you can step back and enjoy the bohemian ambiance they bring to your space. Take the time to appreciate the unique colors, patterns, and textures that make your curtains truly one-of-a-kind.
Congratulations again on completing your gypsy rag curtain project! You have transformed ordinary fabric into a whimsical and captivating window treatment. Now, sit back, relax, and bask in the cozy and enchanting atmosphere that your gypsy rag curtains have created.
Conclusion
Congratulations on completing your journey to create beautiful gypsy rag curtains! You have successfully transformed fabric remnants into a stunning window treatment that adds a touch of bohemian charm to any space. By following the steps outlined in this guide, you have learned how to gather fabric and supplies, cut the fabric into strips, sew them together, create a rod pocket, add decorative elements, and hang the curtains with finesse.
Gypsy rag curtains are not only a DIY project; they are a creative expression of your personal style and a way to infuse your space with a cozy and whimsical atmosphere. The patchwork design, vibrant colors, and unique textures make these curtains a standout feature in any room. Whether you choose to hang them in a bedroom, living room, or even a bohemian-inspired nook, these curtains will instantly become a focal point.
As you embarked on this creative journey, you have likely discovered the joy and fulfillment that comes from transforming fabric into a work of art. You have honed your sewing skills, explored different fabric combinations, and added your personal touch through decorative elements. The end result is a truly one-of-a-kind window treatment that reflects your individuality and creative spirit.
Now, take a moment to revel in the beauty of your newly hung gypsy rag curtains. Admire the vibrant patterns, feel the textures, and appreciate the atmosphere they infuse into your space. Embrace the bohemian spirit and cozy charm that these curtains provide.
Remember, gypsy rag curtains can be an ongoing project. You can always add or change elements to refresh the look. Play with different fabric combinations, experiment with new decorative details, or even swap out the curtains for different seasons or occasions.
Thank you for joining us on this gypsy rag curtain journey. We hope you have enjoyed the creative process and found fulfillment in bringing your vision to life. Now it’s time to enjoy the fruits of your labor and embrace the unique atmosphere created by your gypsy rag curtains.
Frequently Asked Questions about How To Make Gypsy Rag Curtains
Was this page helpful?
At Storables.com, we guarantee accurate and reliable information. Our content, validated by Expert Board Contributors, is crafted following stringent Editorial Policies. We're committed to providing you with well-researched, expert-backed insights for all your informational needs.


0 thoughts on “How To Make Gypsy Rag Curtains”