
Articles
How To Make Jam In A Bread Machine
Modified: August 17, 2024
Learn how to make delicious jam in your bread machine with these easy-to-follow articles. Whether you're a beginner or a seasoned jam maker, these articles will help you create the perfect spread.
(Many of the links in this article redirect to a specific reviewed product. Your purchase of these products through affiliate links helps to generate commission for Storables.com, at no extra cost. Learn more)
Introduction
Making jam from scratch is a delightful way to savor the delicious flavors of fresh fruits throughout the year. And what better way to make jam than with the help of a bread machine? In this article, we will guide you through the process of making jam in a bread machine, from selecting the ingredients to enjoying the finished product.
Using a bread machine to make jam offers several advantages. First, it simplifies the process by automating the stirring and cooking stages, ensuring consistent results every time. Second, it saves you time and effort compared to traditional stovetop methods. Lastly, it allows you to create custom flavors by combining different fruits and spices to suit your taste preferences.
So, let’s dive into the world of homemade jam and discover how you can create delectable and vibrant spreads using your trusty bread machine!
Key Takeaways:
- Enjoy the convenience and consistency of making delicious homemade jam in a bread machine. Save time and effort while experimenting with custom flavors to suit your taste preferences.
- Embrace the creative freedom of making jam in a bread machine. Experiment with different fruits, adjust sweetness, and add unique spices and herbs to create your own signature jam recipes.
Read more: How To Make Dough In Bread Machine
Ingredients and Equipment
Before you embark on your jam-making adventure, gather the following ingredients and equipment:
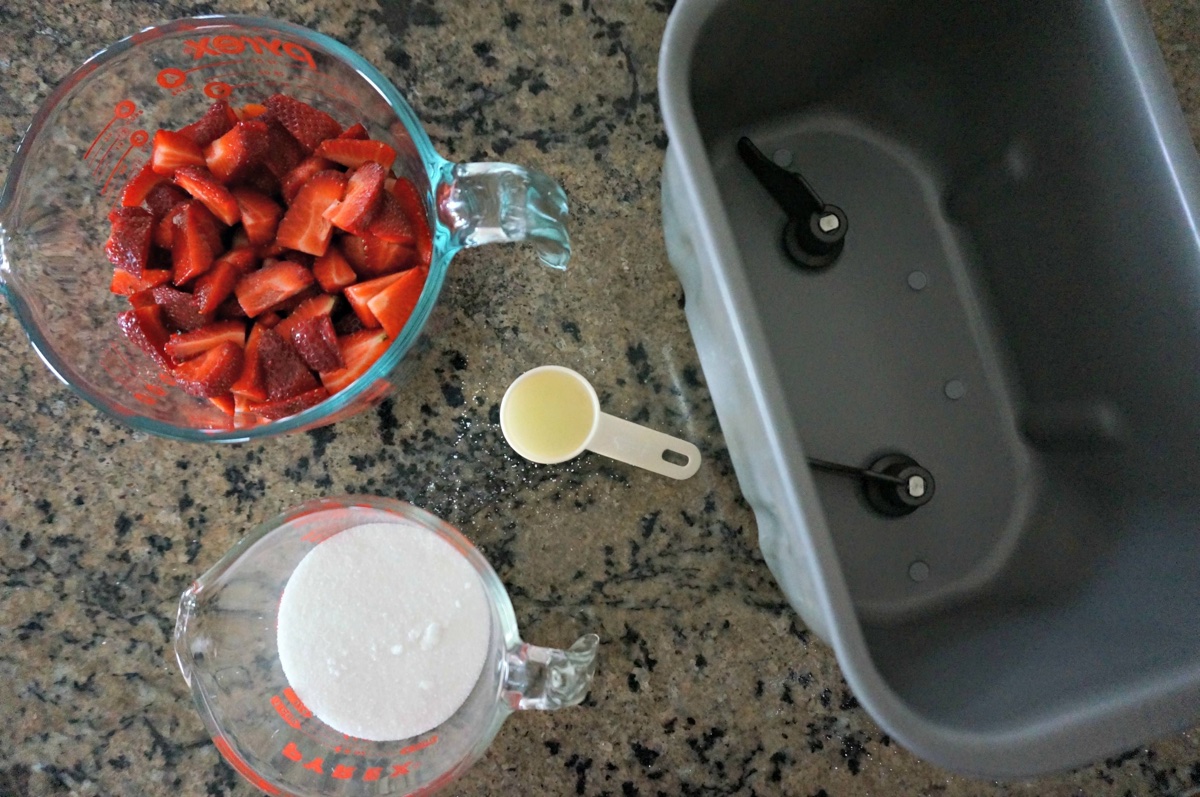
- Fresh fruits: Choose ripe and flavorful fruits for the best results. Popular options include strawberries, raspberries, blueberries, peaches, and plums. You will need approximately 4 cups of fruit.
- Sugar: Granulated sugar acts as a natural preservative and sweetener. The general rule of thumb is to use an equal amount of sugar to fruit, so you’ll need 4 cups of sugar.
- Lemon juice: Lemon juice adds a tangy flavor and helps with the setting process. Squeeze the juice of one lemon for this recipe.
- Pectin: Pectin is a natural thickening agent found in fruits. It helps give the jam its desired consistency. Check the specific pectin packaging for the recommended amount.
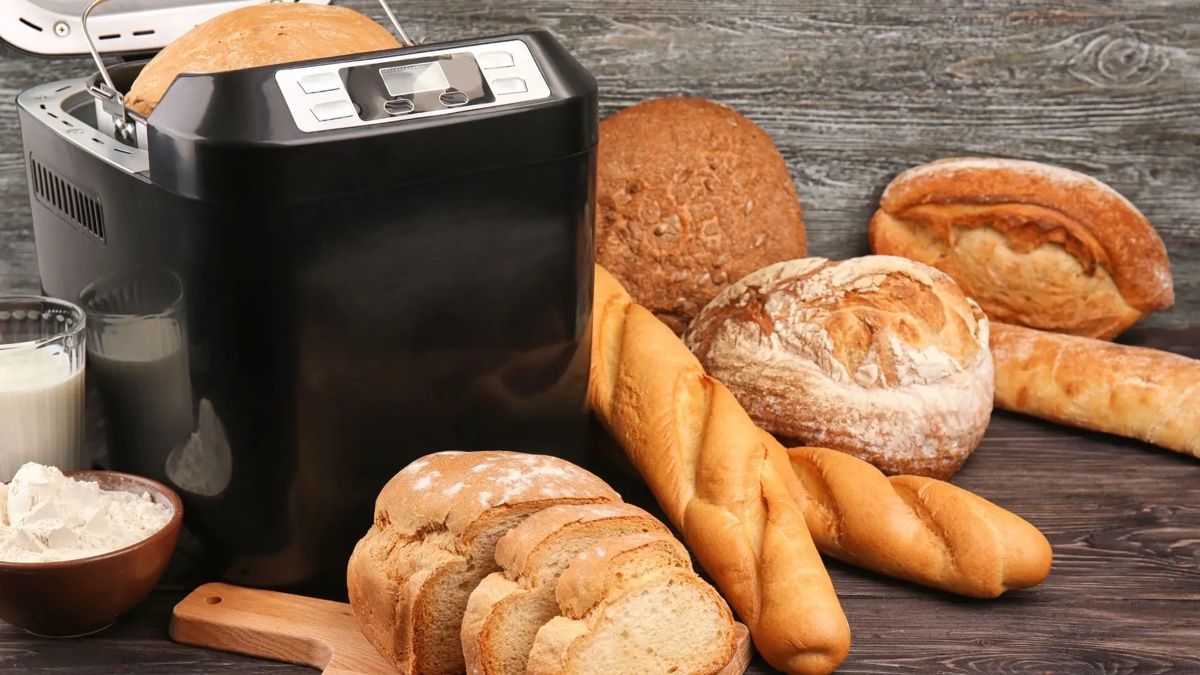
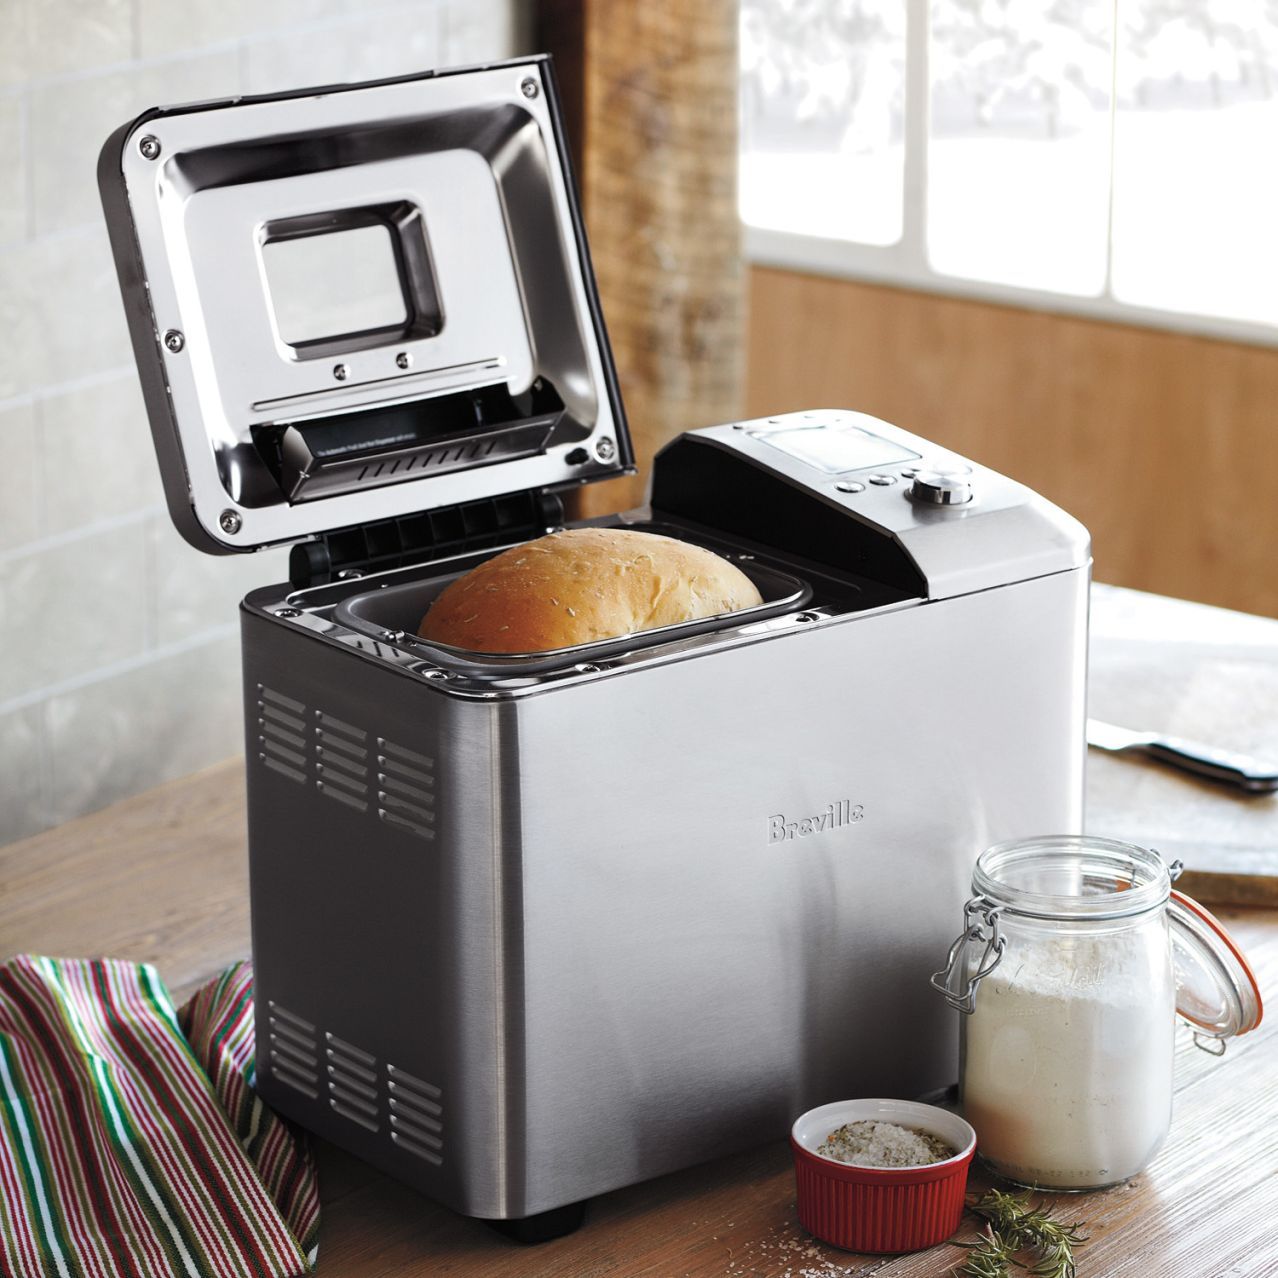
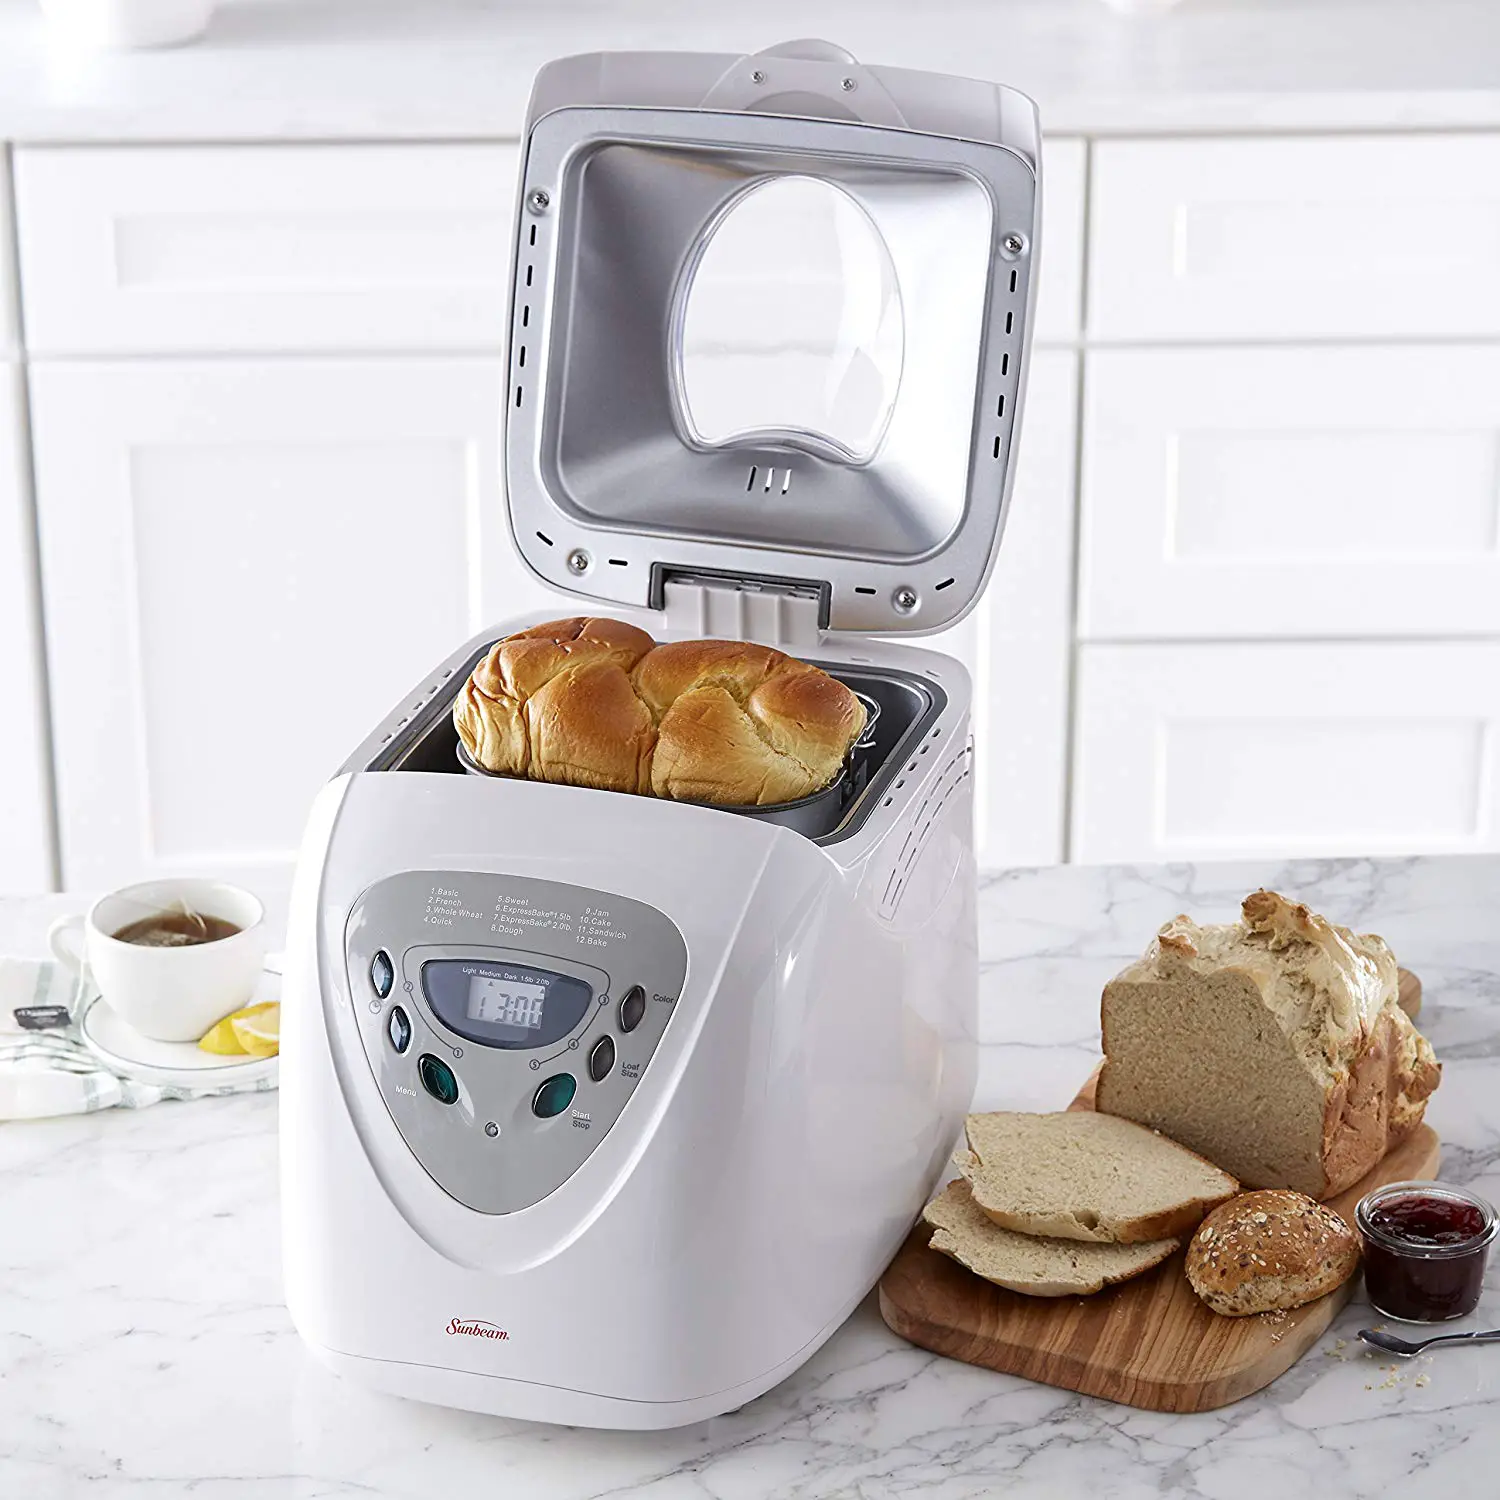
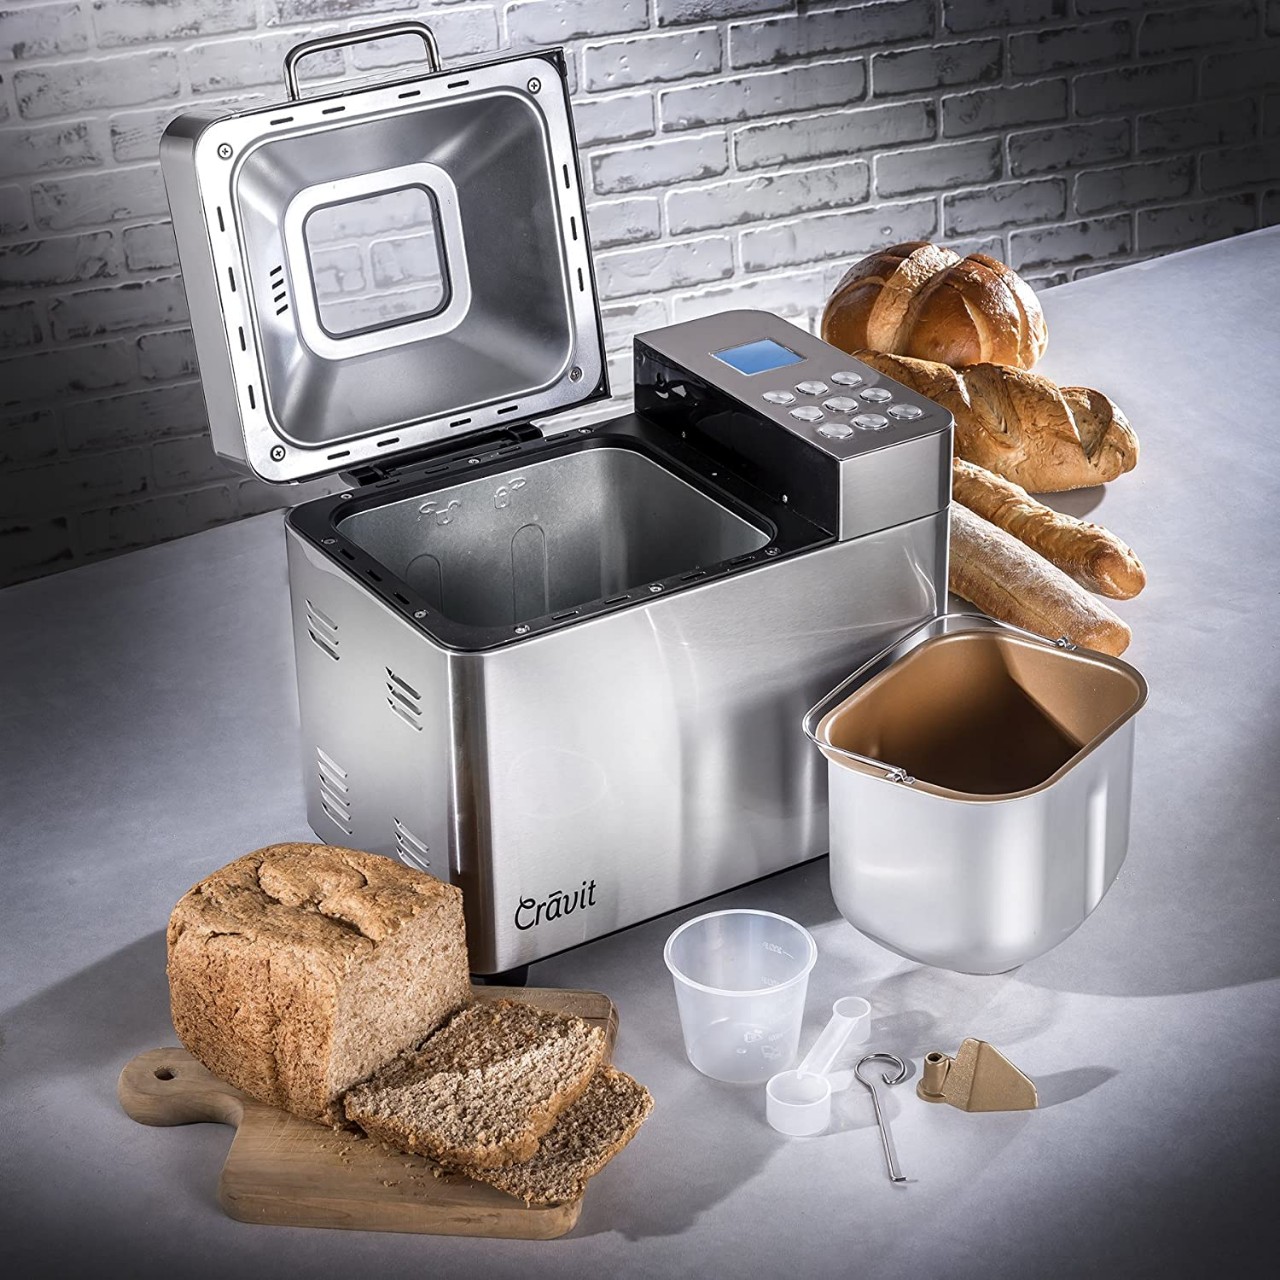
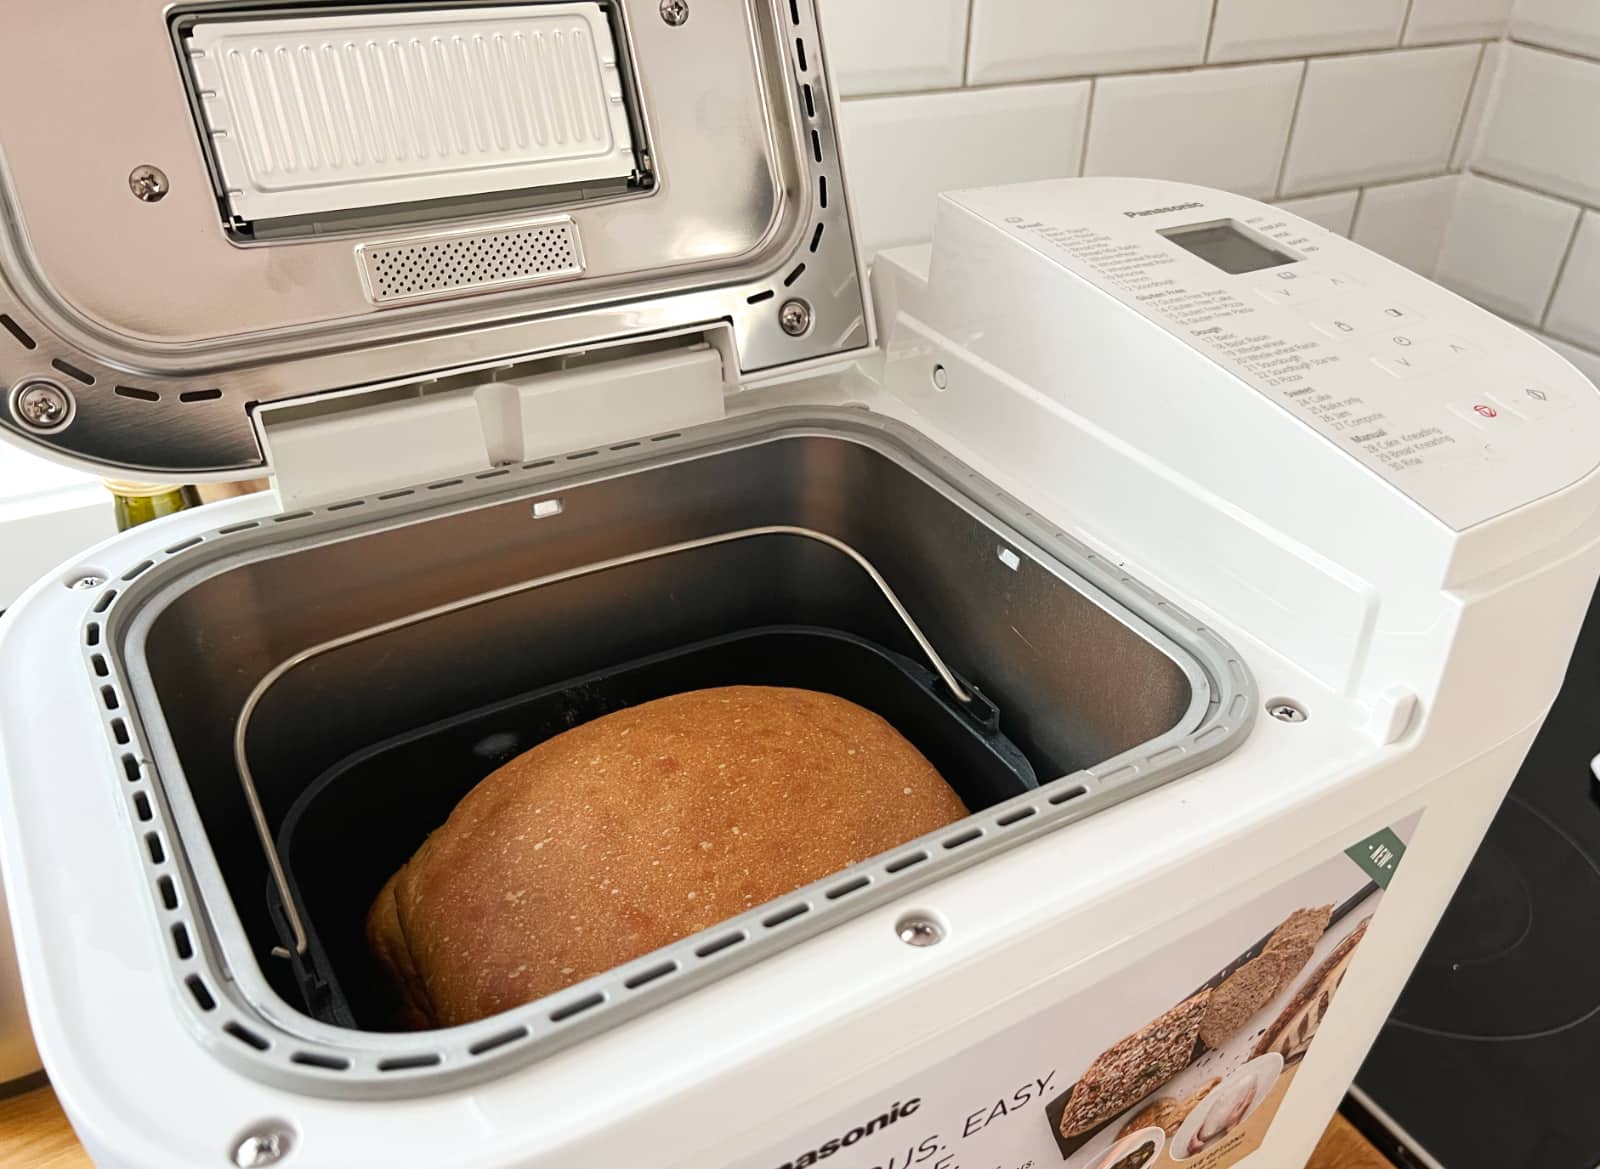
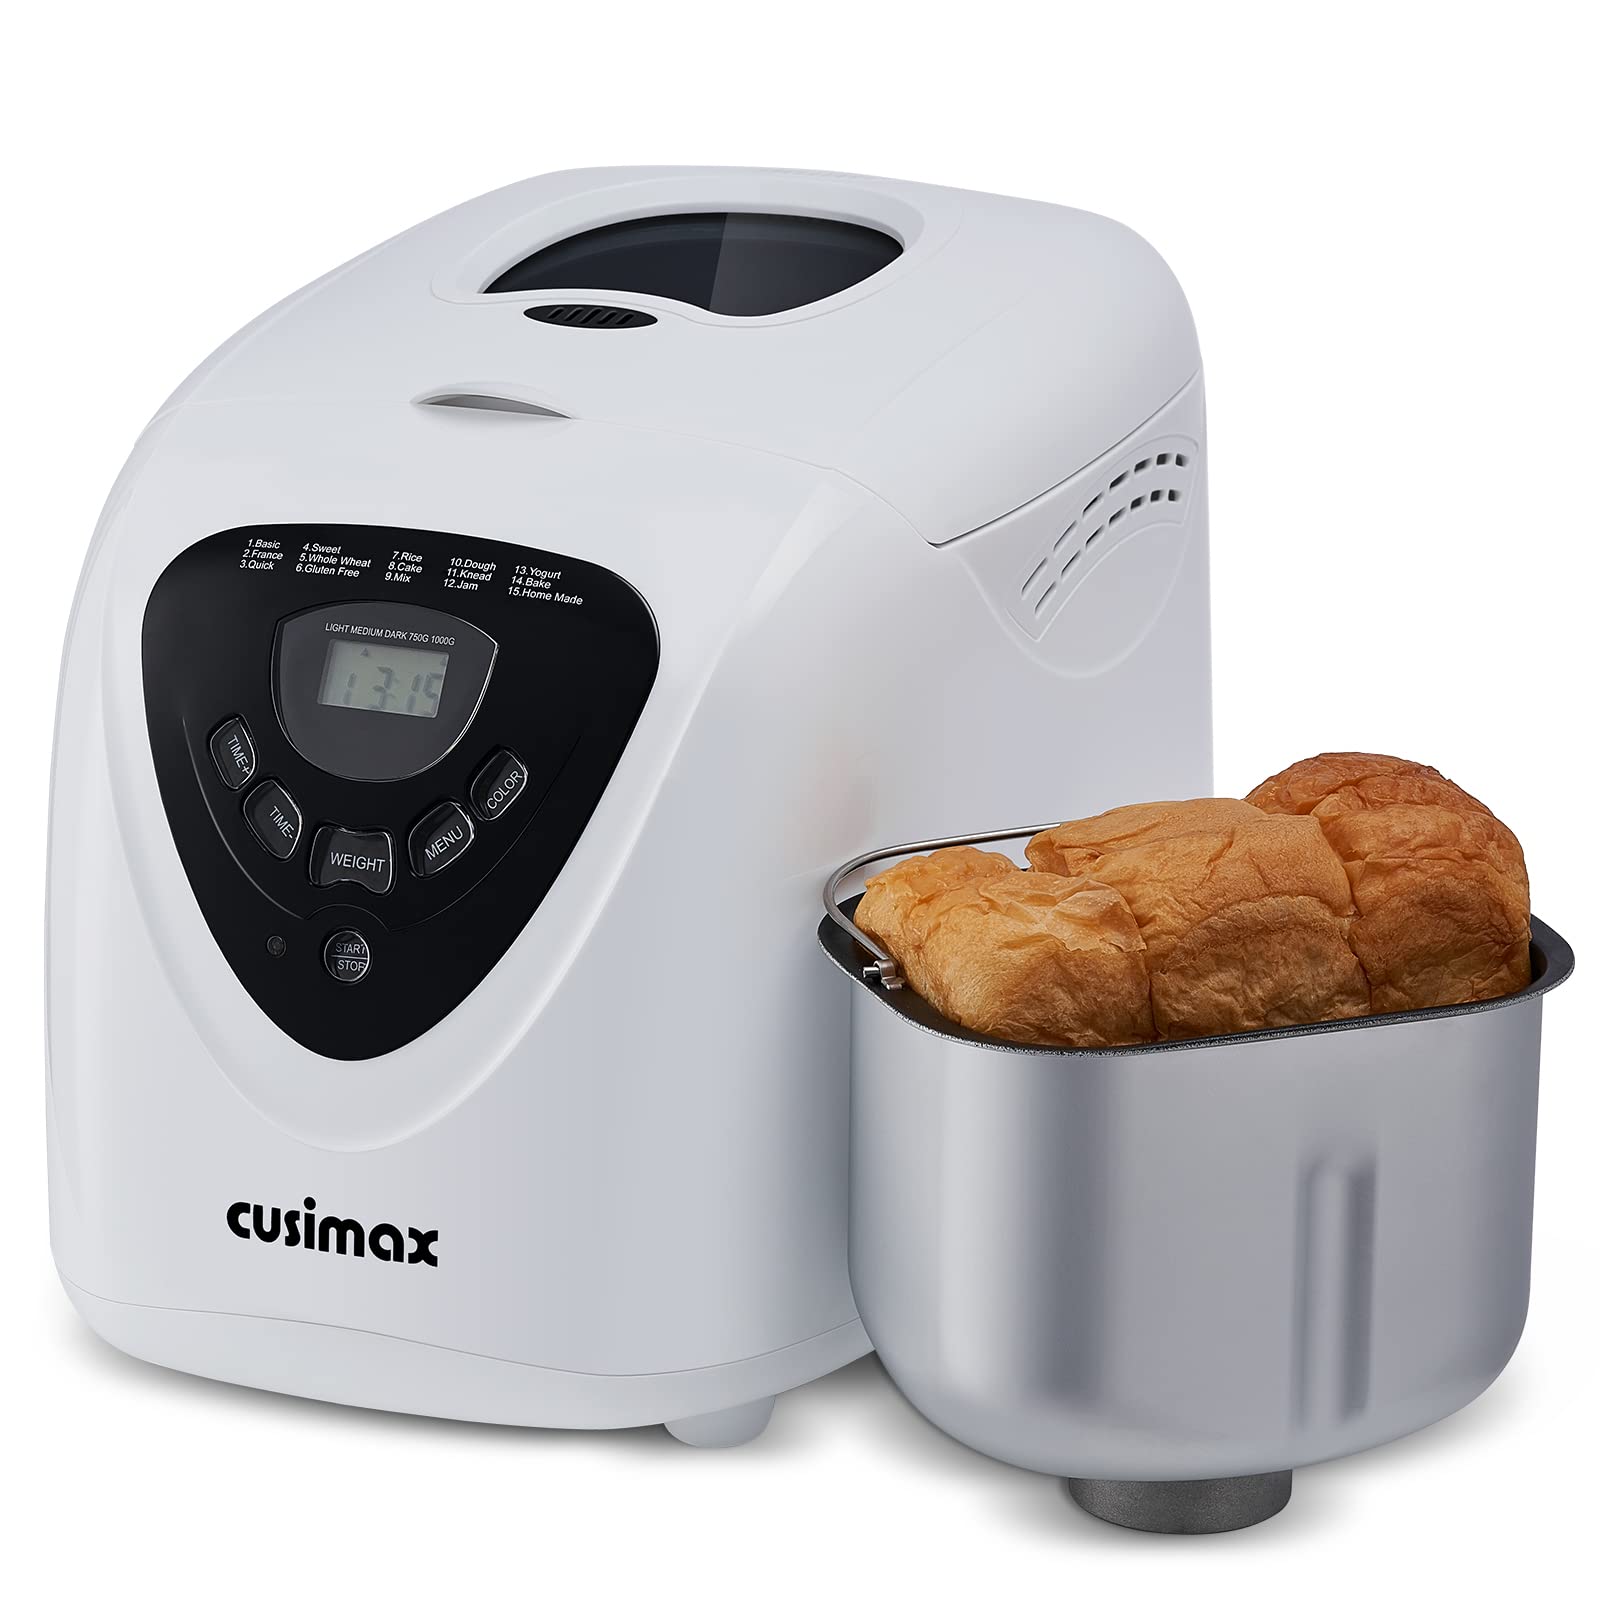
- Bread machine: Make sure your bread machine has a “Jam” or “Jam setting” option, as not all models have this feature. You will be using this setting to cook and stir the jam.
- Jam jars: Prepare clean and sterilized jam jars with lids to store your homemade jam.
With these ingredients and equipment ready, you’re all set to start making delicious jam right at home!
Steps for Making Jam in a Bread Machine
Now let’s get to the exciting part – making jam in your bread machine! Follow these simple steps:
- Prepare the fruits: Wash the fruits thoroughly and remove any stems or seeds. Chop them into smaller pieces if necessary.
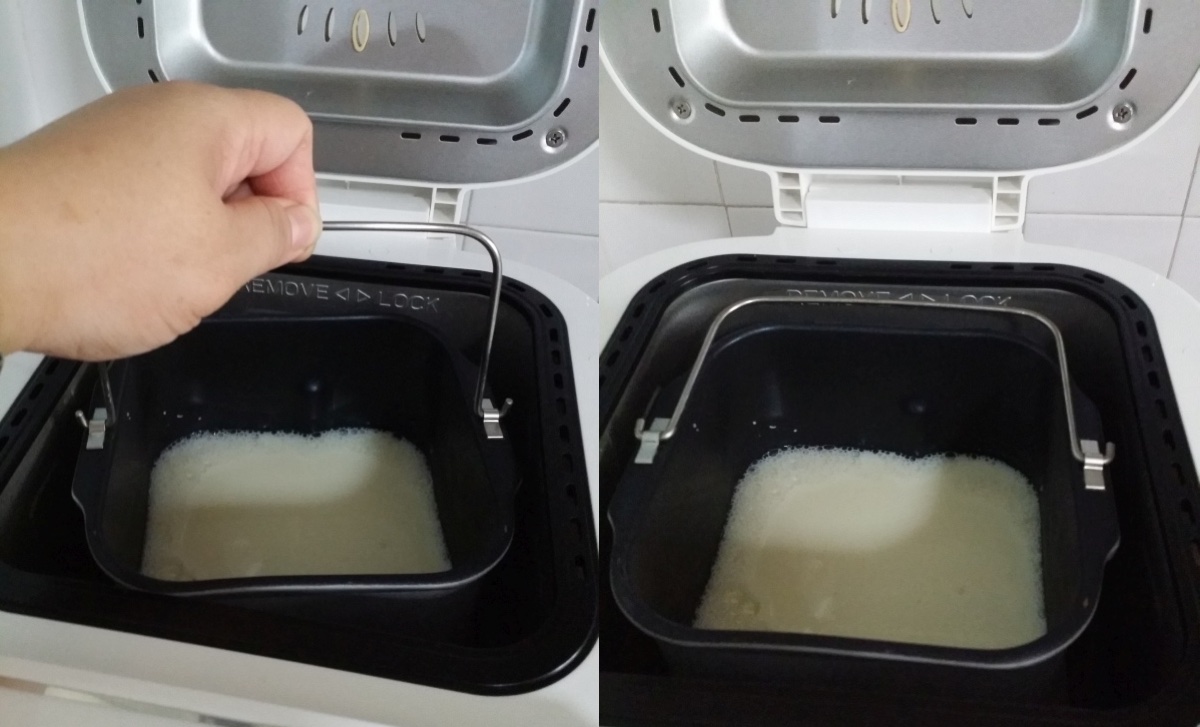
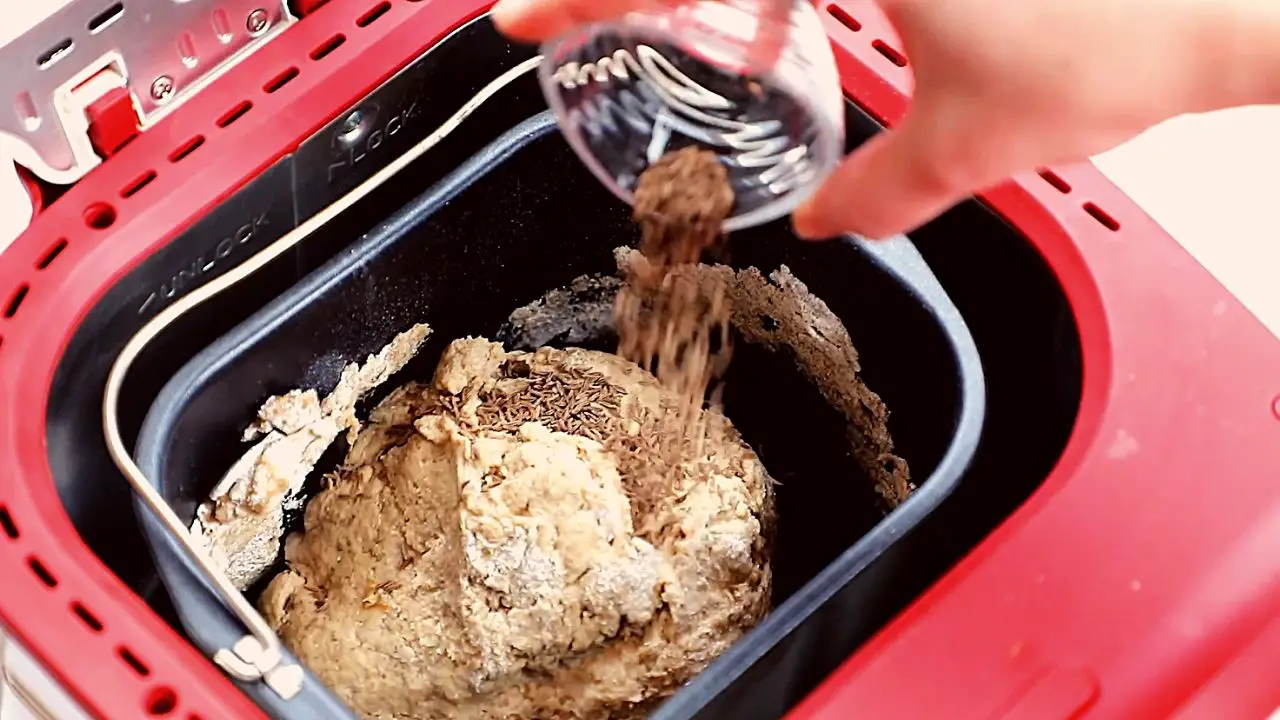
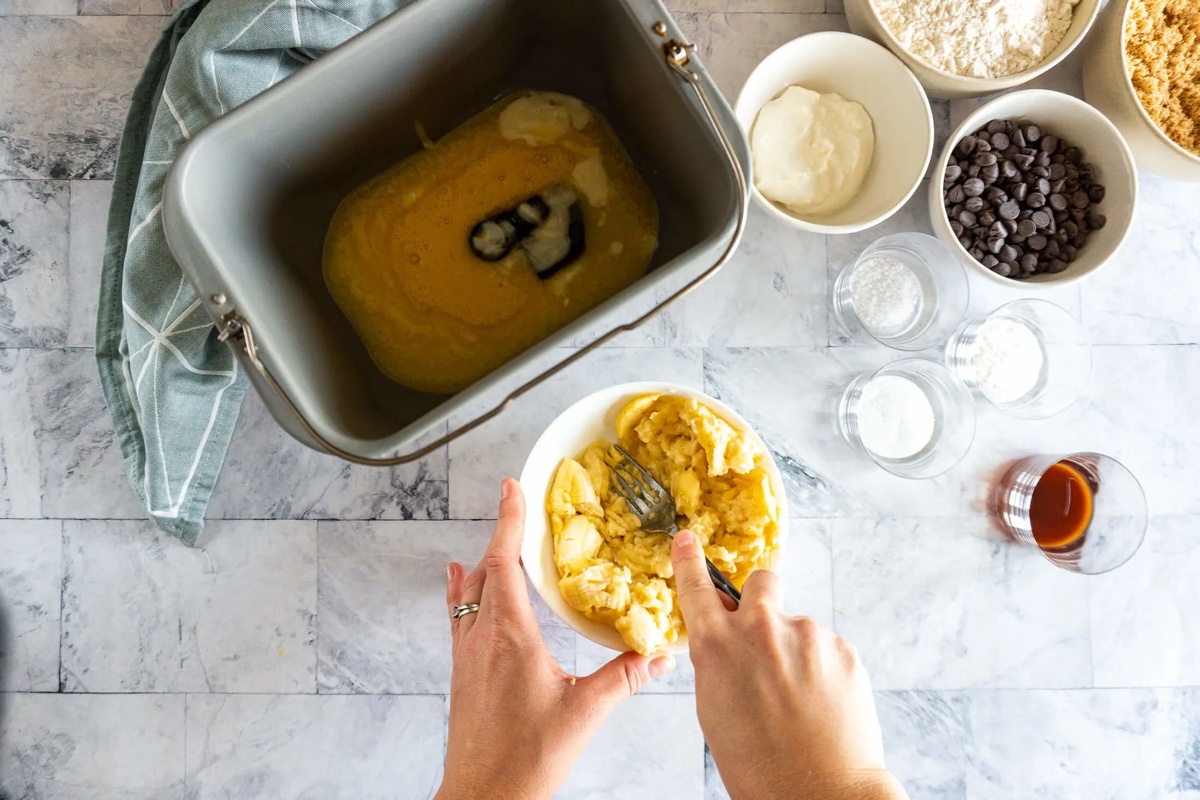
- Add the ingredients: In the bread machine pan, combine the chopped fruits, sugar, lemon juice, and pectin. Mix everything well to ensure the sugar and pectin are evenly distributed.
- Select the jam setting: Set your bread machine to the “Jam” or “Jam setting” option. This setting will allow the machine to cook and stir the jam at the right temperature and time.
- Start the cycle: Close the lid of the bread machine and press the start button to begin the jam-making process. The machine will start heating and stirring the ingredients.
- Monitor the jam: During the cooking process, keep an eye on the jam. Occasionally check to ensure it is cooking evenly and not overflowing. If needed, use a spatula to gently stir the mixture to prevent sticking at the sides.
- Check the consistency: After a while, the jam will start to thicken. To check if it has reached the desired consistency, take a small amount of the jam and place it on a chilled plate. If it sets and doesn’t spread too much, it is ready. If it is still too runny, continue cooking for a bit longer.
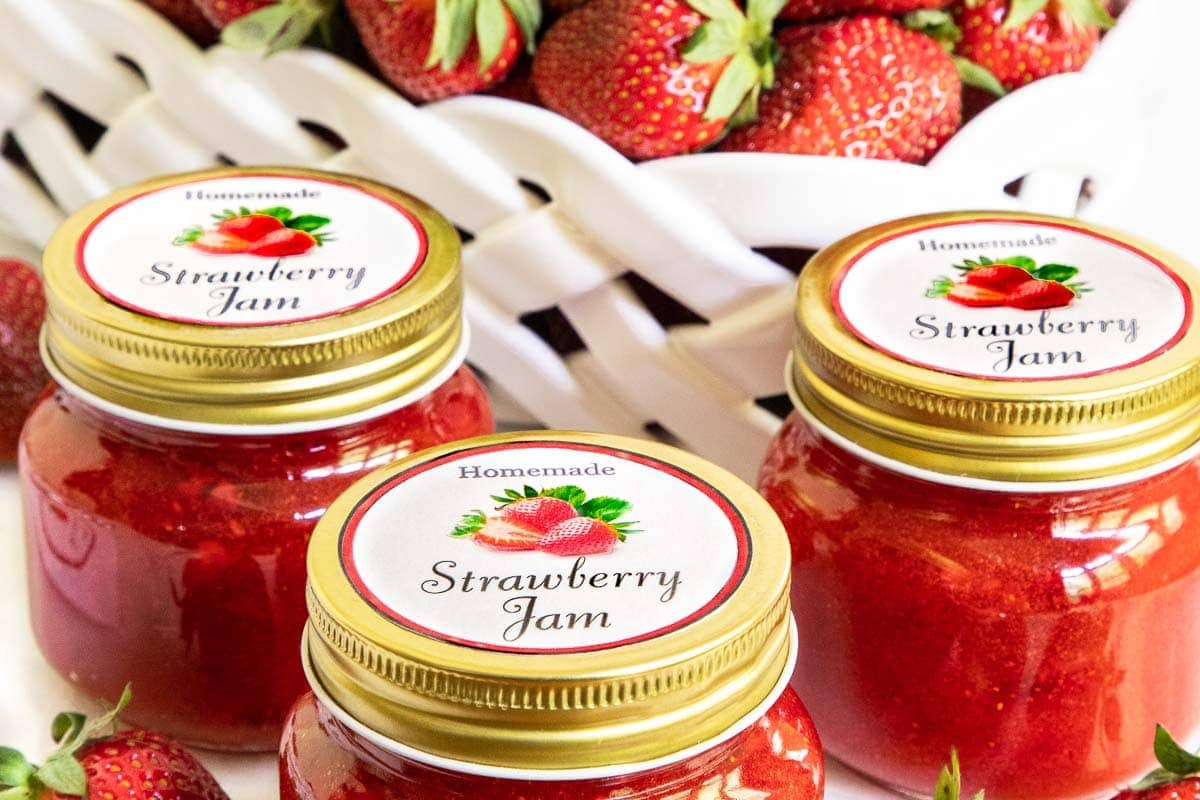
- Transfer the jam: Once the jam has reached the desired consistency, carefully transfer it to clean and sterilized jam jars. Leave a small gap at the top of each jar to allow for expansion during storage. Secure the lids tightly.
- Cool and store: Allow the jam to cool completely at room temperature before storing it in the refrigerator. The jam will continue to thicken as it cools. Properly stored, homemade jam can last for several weeks.
Congratulations! You have successfully made jam in your bread machine. Now it’s time to enjoy the delightful flavors of your homemade creation.
When making jam in a bread machine, be sure to use pectin to help thicken the jam. Also, add the sugar and fruit in the correct order to ensure proper mixing.
Additional Tips and Variations
While the basic process of making jam in a bread machine remains the same, there are a few additional tips and variations you can try to enhance your homemade jam:
- Experiment with different fruits: Don’t limit yourself to just one type of fruit. You can mix and match different fruits to create unique flavor combinations. For example, try a strawberry-raspberry jam or a peach-plum jam.
- Adjust the sweetness: If you prefer less sweet jam, you can reduce the amount of sugar used. Keep in mind that the sugar helps with the setting process and acts as a natural preservative, so be cautious when making adjustments.
- Add spices and herbs: To add an extra burst of flavor, consider incorporating spices like cinnamon, nutmeg, or cardamom into your jam. You can also experiment with fresh herbs such as mint or basil.
- Add a splash of liquor: For an adult twist, you can add a small amount of your favorite liquor, such as Grand Marnier or Amaretto. This can add depth and complexity to the flavor of your jam.
- Include citrus zest: To enhance the citrus notes in your jam, add some grated lemon or orange zest. This will add a refreshing and aromatic touch.
- Label and date your jars: Once you have filled your jam jars, don’t forget to label them with the type of jam and the date it was made. This will help you keep track of your collection and ensure you use them within a reasonable timeframe.
With these tips and variations, you can customize your homemade jam to suit your taste preferences and get creative in the kitchen.
Conclusion
Making jam in a bread machine is a fun and rewarding culinary adventure. With the simple steps outlined in this article, you can create delicious homemade jam that will impress your family and friends.
The bread machine offers a convenient and automated way to cook and stir the jam, ensuring consistent results every time. Plus, it saves you time and effort compared to traditional stovetop methods.
Remember to use fresh and ripe fruits, adjust the sweetness to your liking, and don’t be afraid to experiment with different flavors and ingredients. The possibilities are endless when it comes to creating your own unique jam recipes.
So, dust off that bread machine and start making jam today. Whether you spread it on toast, scones, or use it as a filling for pastries, your homemade jam will undoubtedly bring a burst of flavor to every bite. Happy jam-making!
Frequently Asked Questions about How To Make Jam In A Bread Machine
Was this page helpful?
At Storables.com, we guarantee accurate and reliable information. Our content, validated by Expert Board Contributors, is crafted following stringent Editorial Policies. We're committed to providing you with well-researched, expert-backed insights for all your informational needs.

0 thoughts on “How To Make Jam In A Bread Machine”