Articles
How To Make Ruffle Curtains
Modified: October 20, 2024
Learn how to make beautiful ruffle curtains with our step-by-step articles. Find tips, techniques, and inspiration to create stunning window treatments.
(Many of the links in this article redirect to a specific reviewed product. Your purchase of these products through affiliate links helps to generate commission for Storables.com, at no extra cost. Learn more)
Introduction
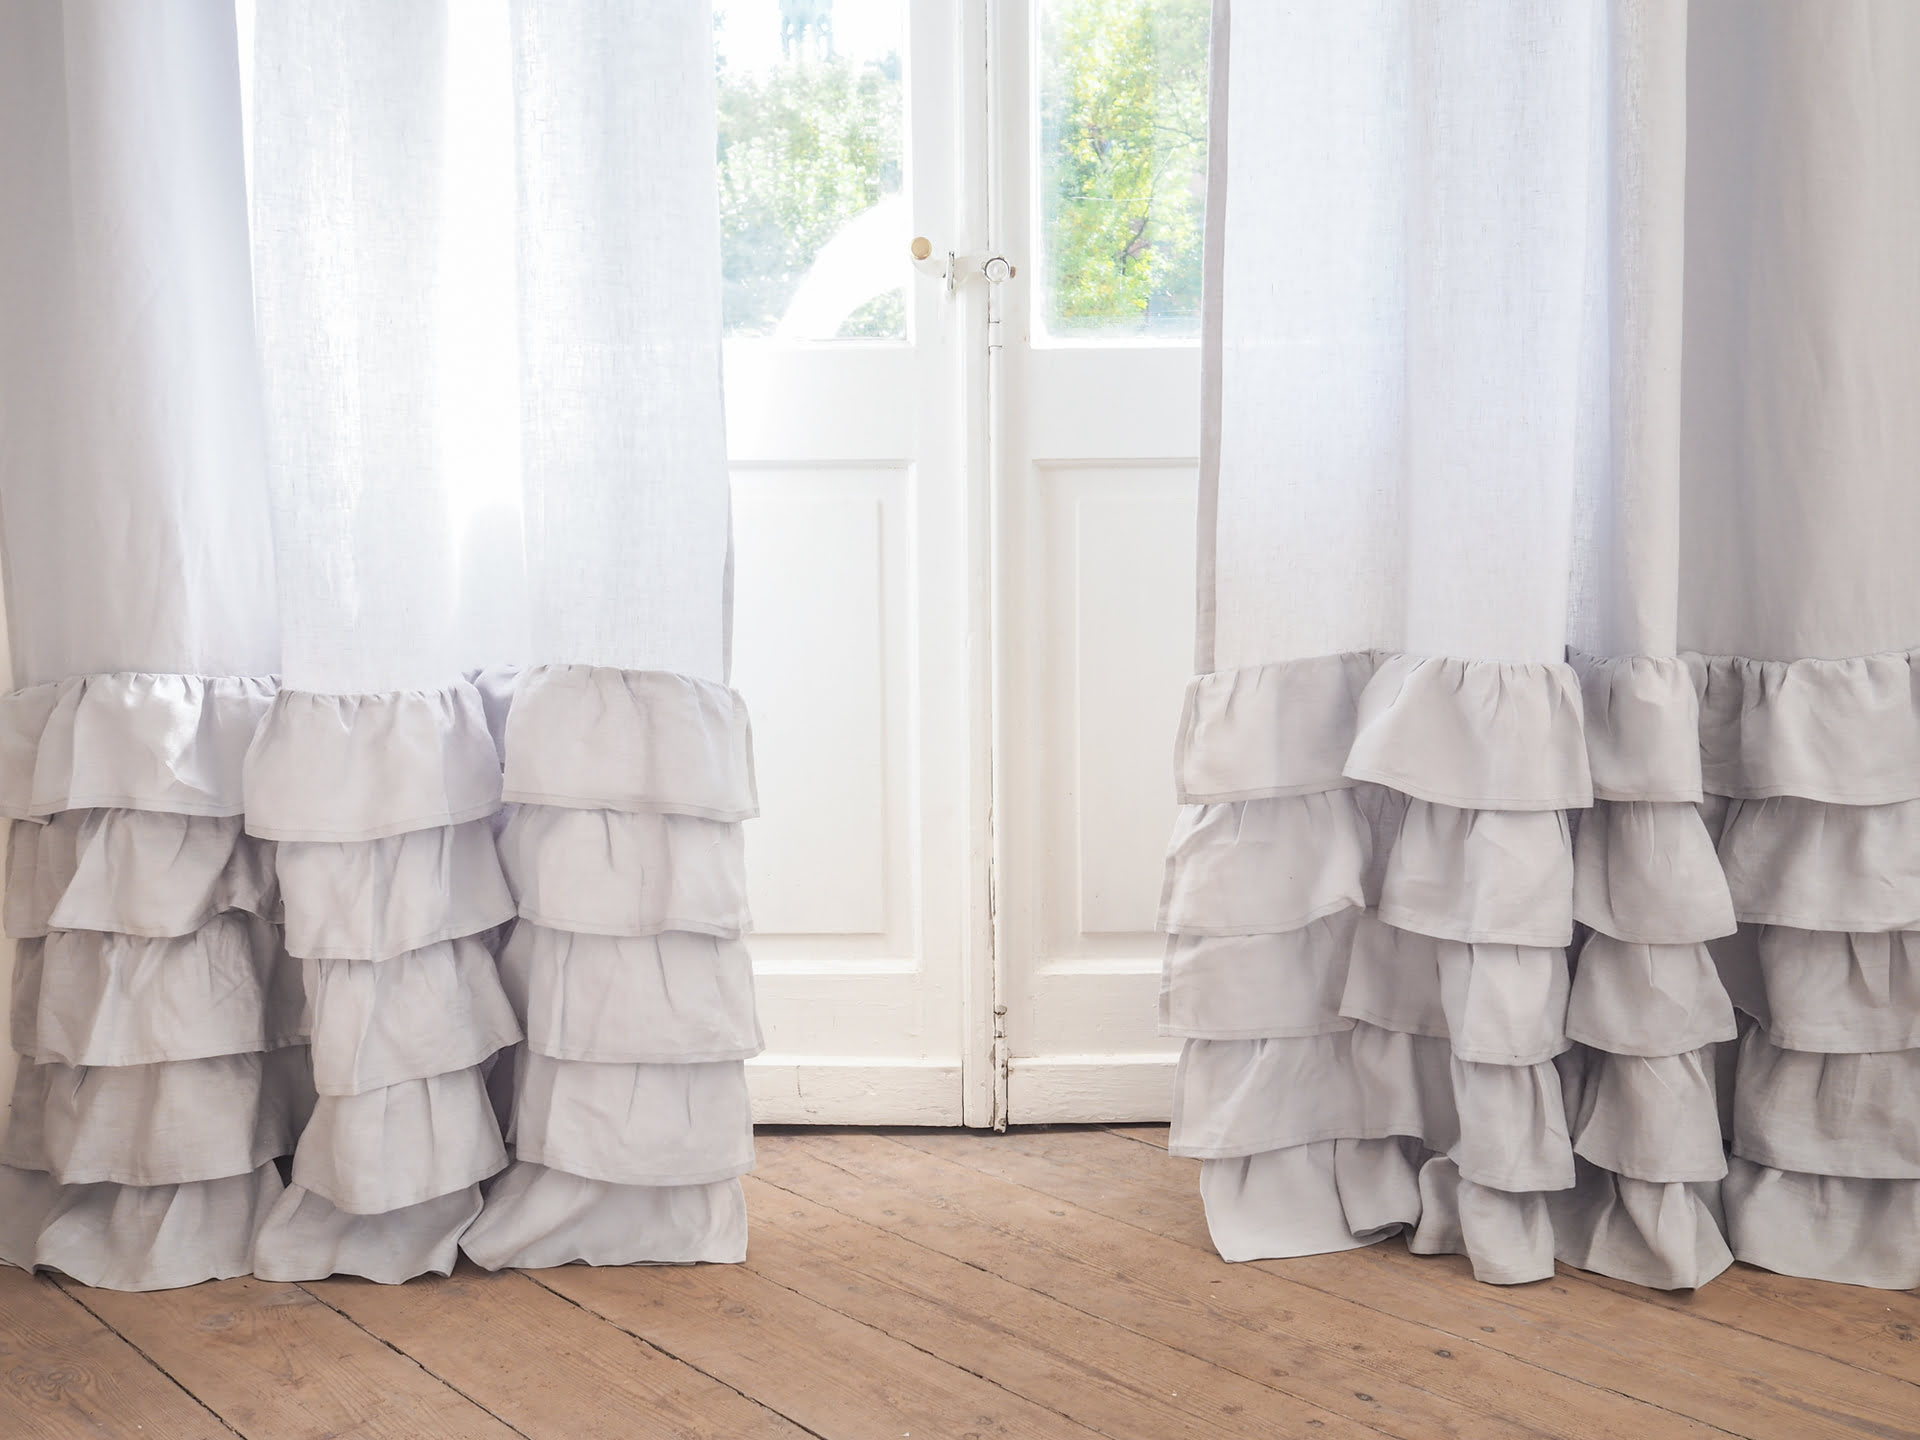
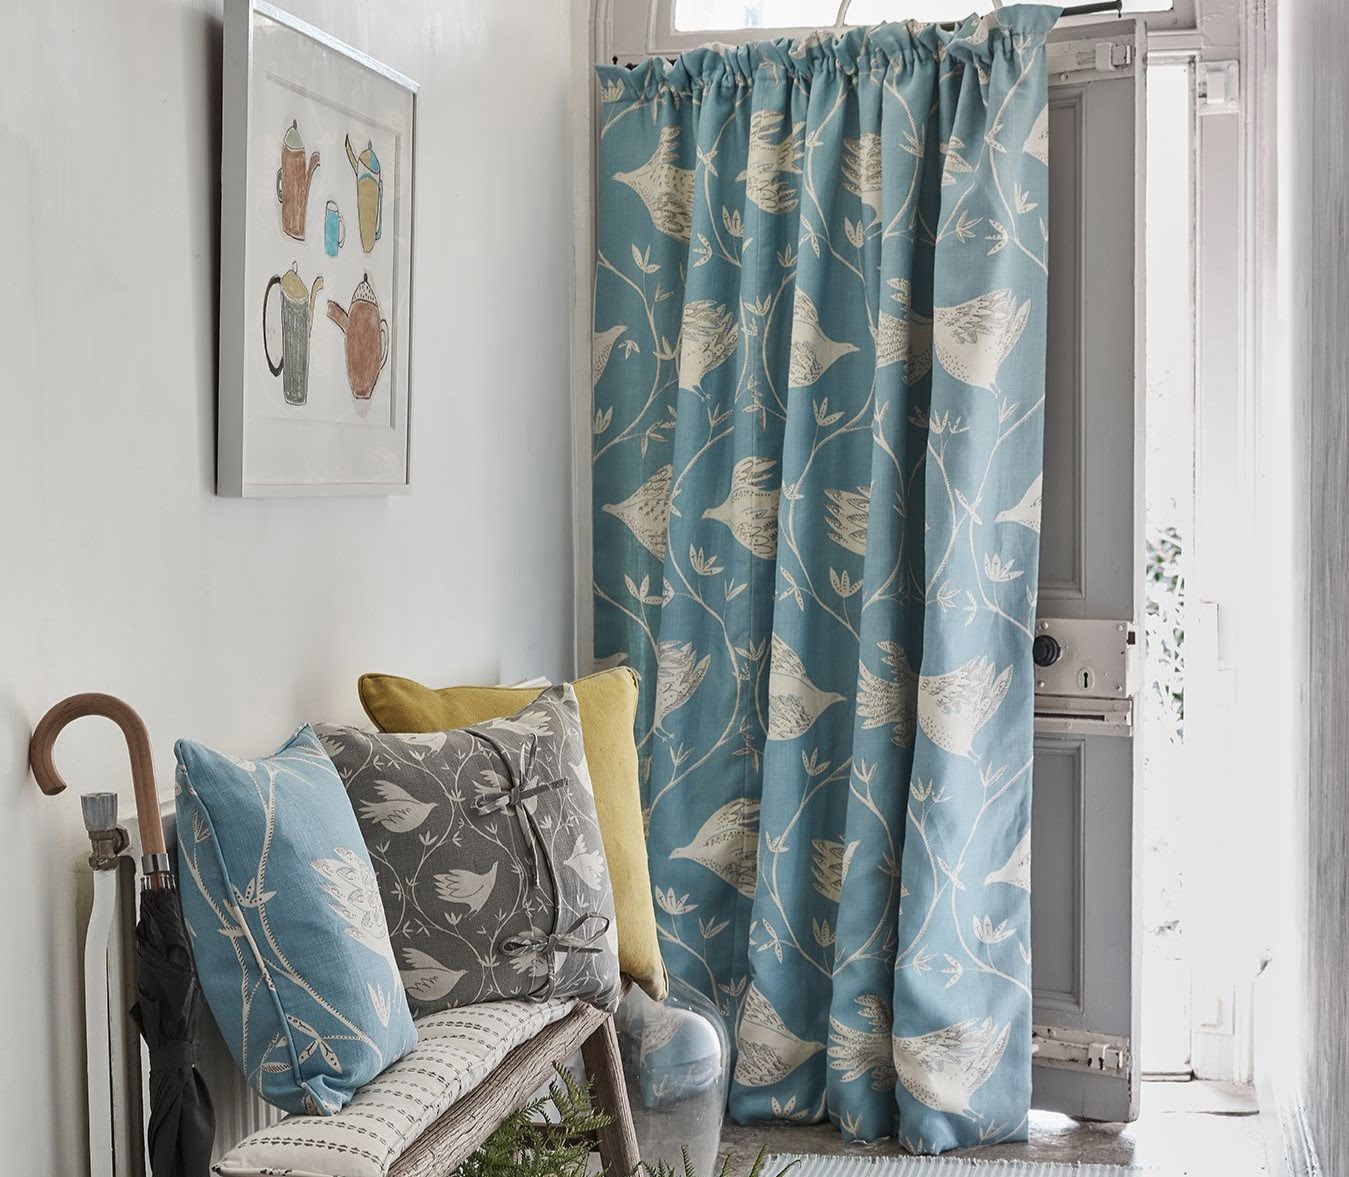
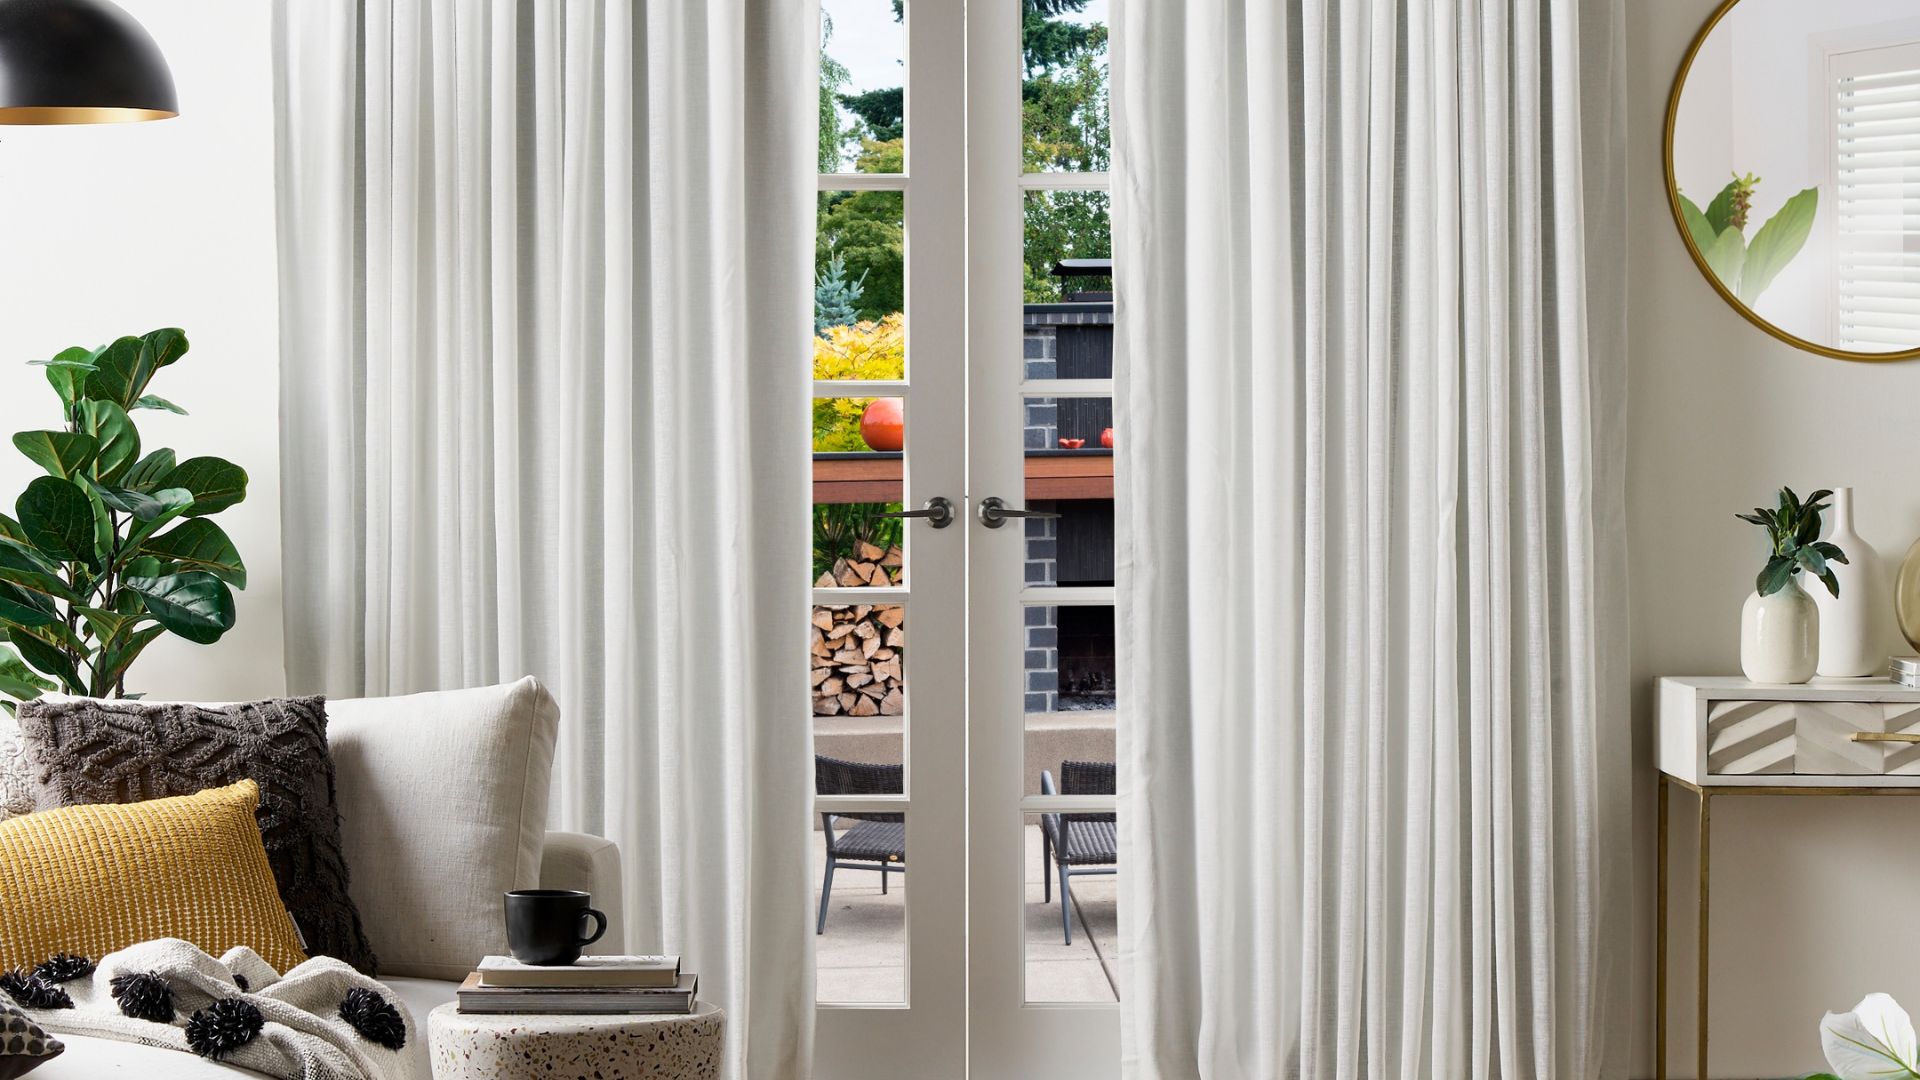
Adding ruffle curtains to your home decor can add a touch of elegance and whimsy to any room. These curtains, with their charming decorative ruffles, can instantly transform a plain window into a focal point of the space. Whether you want to create a romantic atmosphere in your bedroom or add a pop of color to your living room, ruffle curtains are a perfect choice.
In this article, we will guide you through the process of making your very own ruffle curtains. By following the steps below, you can customize the fabric, size, and shape of the ruffles to suit your personal style and decor.
Before you begin, make sure you have all the necessary materials on hand. This will ensure a smooth and seamless DIY project. Let’s gather our supplies and get started on creating beautiful ruffle curtains for your home!
Key Takeaways:
- Add a touch of elegance and whimsy to any room by creating your own custom ruffle curtains, tailored to your style and space, with the guidance provided in this article.
- Embrace the creative journey of making your own ruffle curtains, experiment with different fabrics and ruffle sizes, and enjoy the satisfaction of transforming your living space with a personalized touch.
Read more: How To Make A Ruffled Shower Curtain
Materials Needed
Before you start making your ruffle curtains, make sure you have the following materials:
- Fabric of your choice – Measure the length and width of your windows to determine how much fabric you’ll need.
- Thread – Choose a color that matches or complements your fabric.
- Scissors – Sharp scissors will make cutting the fabric easier.
- Pins – These will be used to hold the fabric in place while sewing.
- Sewing machine – While you can hand-sew the ruffles, a sewing machine will make the process faster and more efficient.
- Measuring tape – Use a measuring tape to accurately measure the fabric and ensure your ruffles are even.
- Iron – You’ll need an iron to press the fabric and give your curtains a neat and polished look.
- Curtain rod or track – Choose a curtain rod or track that is suitable for the weight of your curtains.
- Curtain rings or hooks – Depending on the type of curtain rod or track you’re using, you’ll need curtain rings or hooks to hang your curtains.
Once you have gathered all the necessary materials, you’re ready to move on to the next step: measuring the fabric for your ruffle curtains.
Step 1: Measuring
Before you begin cutting the fabric for your ruffle curtains, you need to accurately measure the dimensions of your windows. This will ensure that the curtains fit perfectly and hang beautifully once they’re hung.
Here are the steps to measure your windows:
- Start by measuring the width of your window. Use a measuring tape to measure the distance from one end of the window frame to the other. Note down this measurement.
- Next, measure the length or height of the window. Measure from the top of the window frame to where you want the curtains to end. Record this measurement as well.
- If you prefer your curtains to have a gathered or gathered look, you may want to double the width measurement. This will give your curtains a fuller appearance.
- Add any additional length or width you want to allow for hems and ruffles. This gives you flexibility when sewing and ensures the final length and width of the curtains will be as desired.
- Once you have all the measurements, you can calculate the amount of fabric you need. Keep in mind that ruffle curtains typically require more fabric due to the added volume of ruffles. You can consult a fabric chart or ask for assistance at the fabric store to determine the exact yardage needed.
Once you have completed these measurements, you’re ready to move on to the next step: cutting the fabric for your ruffle curtains.
Step 2: Cutting the Fabric
Now that you have measured the dimensions of your windows and calculated the amount of fabric needed for your ruffle curtains, it’s time to cut the fabric to the correct size.
Here are the steps to cut the fabric:
- Spread out your fabric on a large, flat surface such as a table or the floor. Make sure it is smooth and free from any wrinkles or creases.
- Using the measurements you took earlier, mark the dimensions of your curtains directly onto the fabric. You can use fabric chalk or pins to make the markings.
- Double-check your measurements to ensure accuracy before you start cutting.
- Carefully cut along the marked lines, making sure to follow a straight line. Use sharp scissors to achieve clean edges.
- Remember to cut two panels of fabric if you want a pair of curtains. Repeat the steps for each panel, ensuring they are identical in size.
By following these steps, you will have successfully cut the fabric for your ruffle curtains. Now, it’s time to move on to sewing the ruffles.
Step 3: Sewing the Ruffles
Now that the fabric is cut to size, it’s time to add the charming ruffles to your curtains. Sewing the ruffles requires some basic sewing skills, but with practice and patience, you can achieve beautiful results.
Here are the steps to sew the ruffles:
- Prepare your sewing machine by threading it with a thread color that matches or complements your fabric.
- Adjust the tension and stitch length settings on your sewing machine according to the fabric you’re using. Test on a scrap piece of fabric to ensure the settings are correct.
- Measure and mark the placement of the ruffles on the fabric. You can space them evenly or create a pattern of your choice.
- Cut strips of fabric for the ruffles. The width and length of the strips depend on your desired ruffle size. Generally, wider strips will result in fuller ruffles.
- Fold each strip in half lengthwise and press with an iron to create a crease.
- With the right sides together, stitch along the long edge of the strip, creating a long tube. Leave one end open.
- Turn the tube right-side out by pushing the closed end through the open end. Use a pencil or a chopstick to gently push out the corners for a neat finish.
- Press the tube flat with the seam running down the center.
- To create the ruffles, sew a basting stitch along one long edge of the tube. The basting stitch should be close to the edge and not backstitched at the beginning or end.
- Gently pull the thread on one end of the tube, gathering the fabric and forming ruffles. Distribute the ruffles evenly along the length of the tube.
- Secure the ruffles by stitching over the gathering stitches, about 1/4 inch away from the gathered edge. This will hold the ruffles in place.
- Repeat these steps for each strip of fabric, creating enough ruffles to cover the desired width of your curtains.
By following these steps, you will have successfully sewn the ruffles onto your curtain panels. Now, let’s move on to attaching the ruffles to the curtains.
When making ruffle curtains, be sure to gather the fabric evenly to create uniform ruffles. Use a sewing machine to stitch the gathered fabric in place for a professional finish.
Read more: How To Make A Fitted Ruffled Tablecloth
Step 4: Attaching the Ruffles
With the ruffles sewn and ready, it’s time to attach them to your curtain panels. The process of attaching the ruffles will vary depending on the style and design you want to achieve. Here are a few methods you can use:
- Pinning and sewing:
- Lay one curtain panel flat and position the ruffles on top, aligning them with the markings you made earlier.
- Pin the ruffles in place, ensuring they are evenly distributed and spaced according to your desired design.
- Using a sewing machine, stitch the ruffles onto the curtain panel, sewing along the top edge of the ruffles. Make sure to backstitch at the beginning and end for added security.
- Repeat this process for the remaining curtain panel, ensuring the ruffles are attached in the same position.
- Remove the pins and give the curtains a gentle press with an iron to smooth out any wrinkles or creases.
- Hand sewing:
- If you prefer a more delicate and intricate look, you can hand-sew the ruffles onto the curtain panels.
- Using a needle and thread that matches the ruffle fabric, carefully sew the ruffles onto the curtain panel, making small, discreet stitches along the top edge of the ruffles.
- Take care to ensure that the stitches are secure and that the ruffles are evenly distributed and spaced.
- Repeat this process for the remaining curtain panel, hand-sewing the ruffles in the same position.
- Gently press the curtains with an iron to give them a polished look.
Choose the method that fits your sewing skills and the style you want to achieve. Remember to take your time and sew accurately to ensure the ruffles are securely attached.
Now that the ruffles are attached, it’s time to move on to the next step: hemming the curtains.
Step 5: Hemming the Curtains
After attaching the ruffles, it’s time to give your curtains a polished finish by hemming the edges. Hemming not only adds a professional touch to the curtains but also prevents fraying and ensures durability.
Here are the steps to hem the curtains:
- Begin by folding over the raw edge of the fabric along the bottom of each curtain panel. The amount you fold depends on your preference, but a 1-inch hem is commonly used.
- Press the folded edge with an iron to create a crisp crease and hold it in place.
- Bring the folded edge up to meet the bottom edge of the ruffled section. Pin it in place to secure the fold.
- Repeat this process on both sides of each curtain panel, ensuring the hems are straight and even.
- Using a sewing machine or hand-sewing, stitch along the folded edge of the hem, securing it in place. Use a straight stitch or a decorative stitch, depending on your preference.
- Remove the pins and press the hems with an iron to give them a smooth finish.
- If desired, you can also hem the side edges of the curtain panels following the same steps. This will give your curtains a more finished look.
- Inspect the hems and make any necessary adjustments to ensure they are even and properly stitched.
By following these steps, you will have successfully hemmed the curtains, adding a clean and professional edge. Now, it’s time for the final step: hanging the curtains.
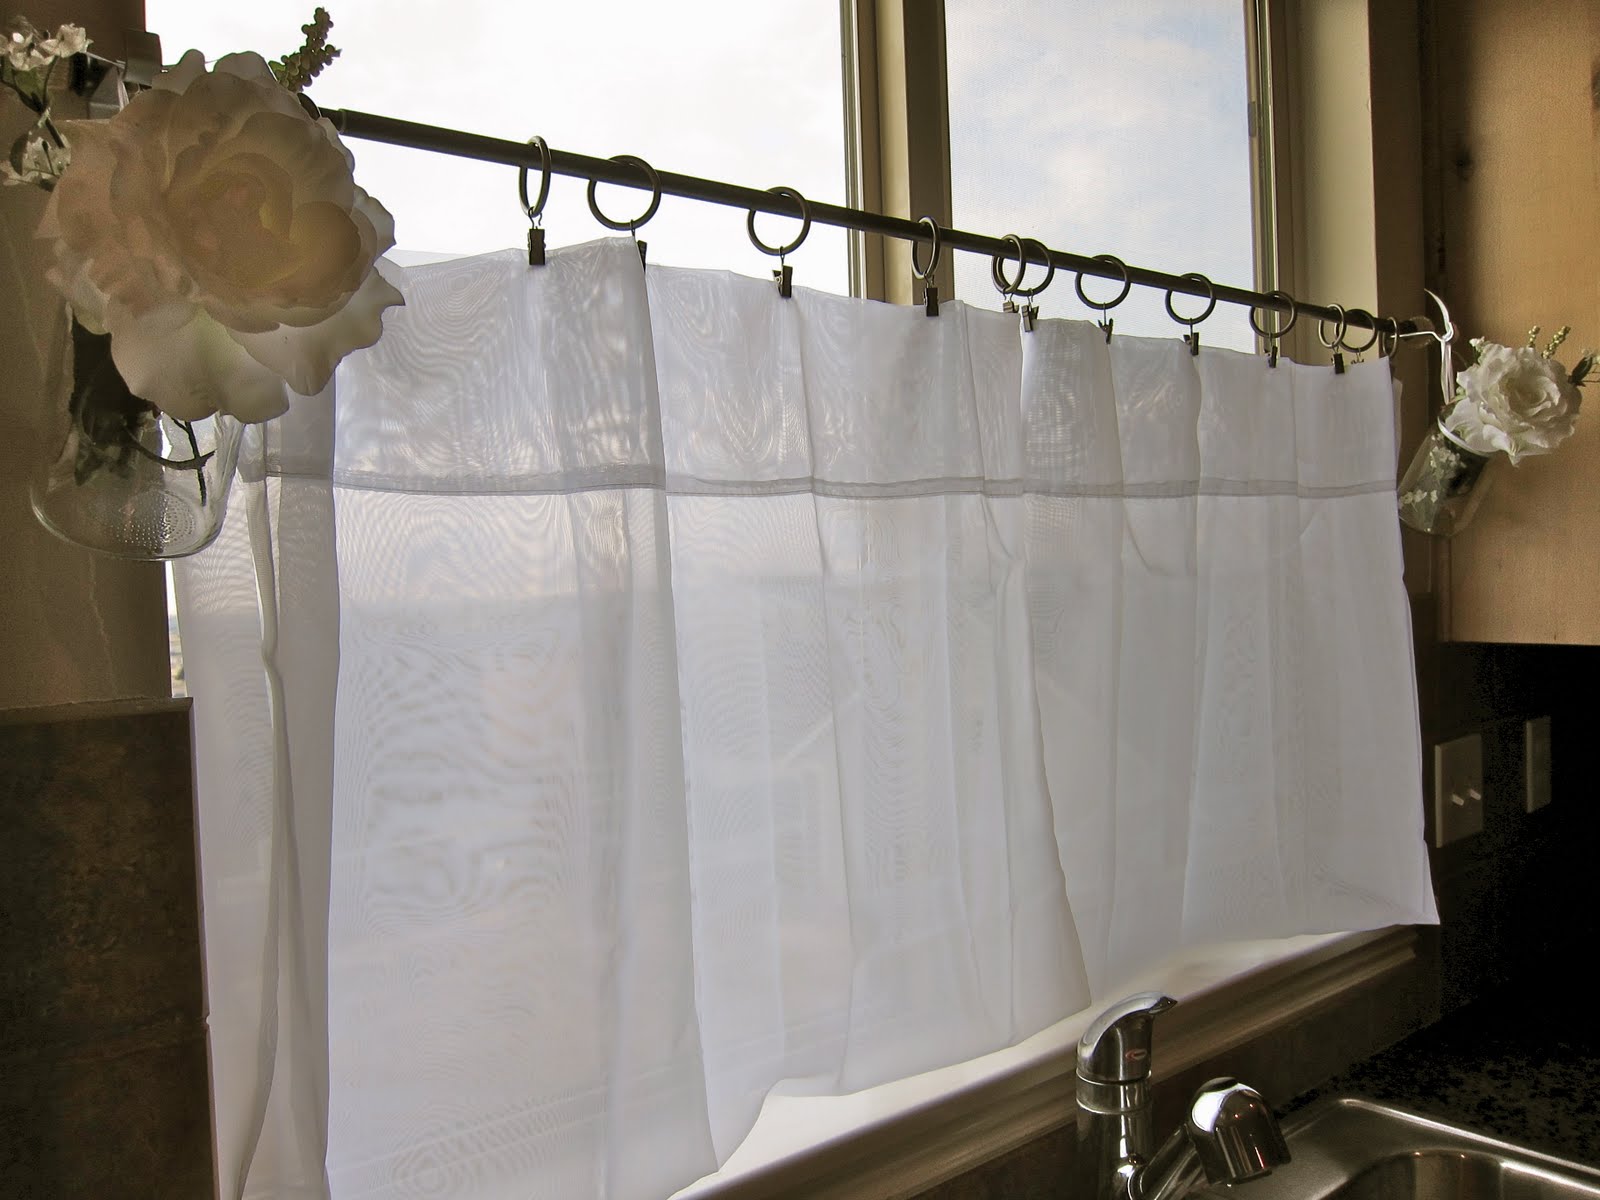
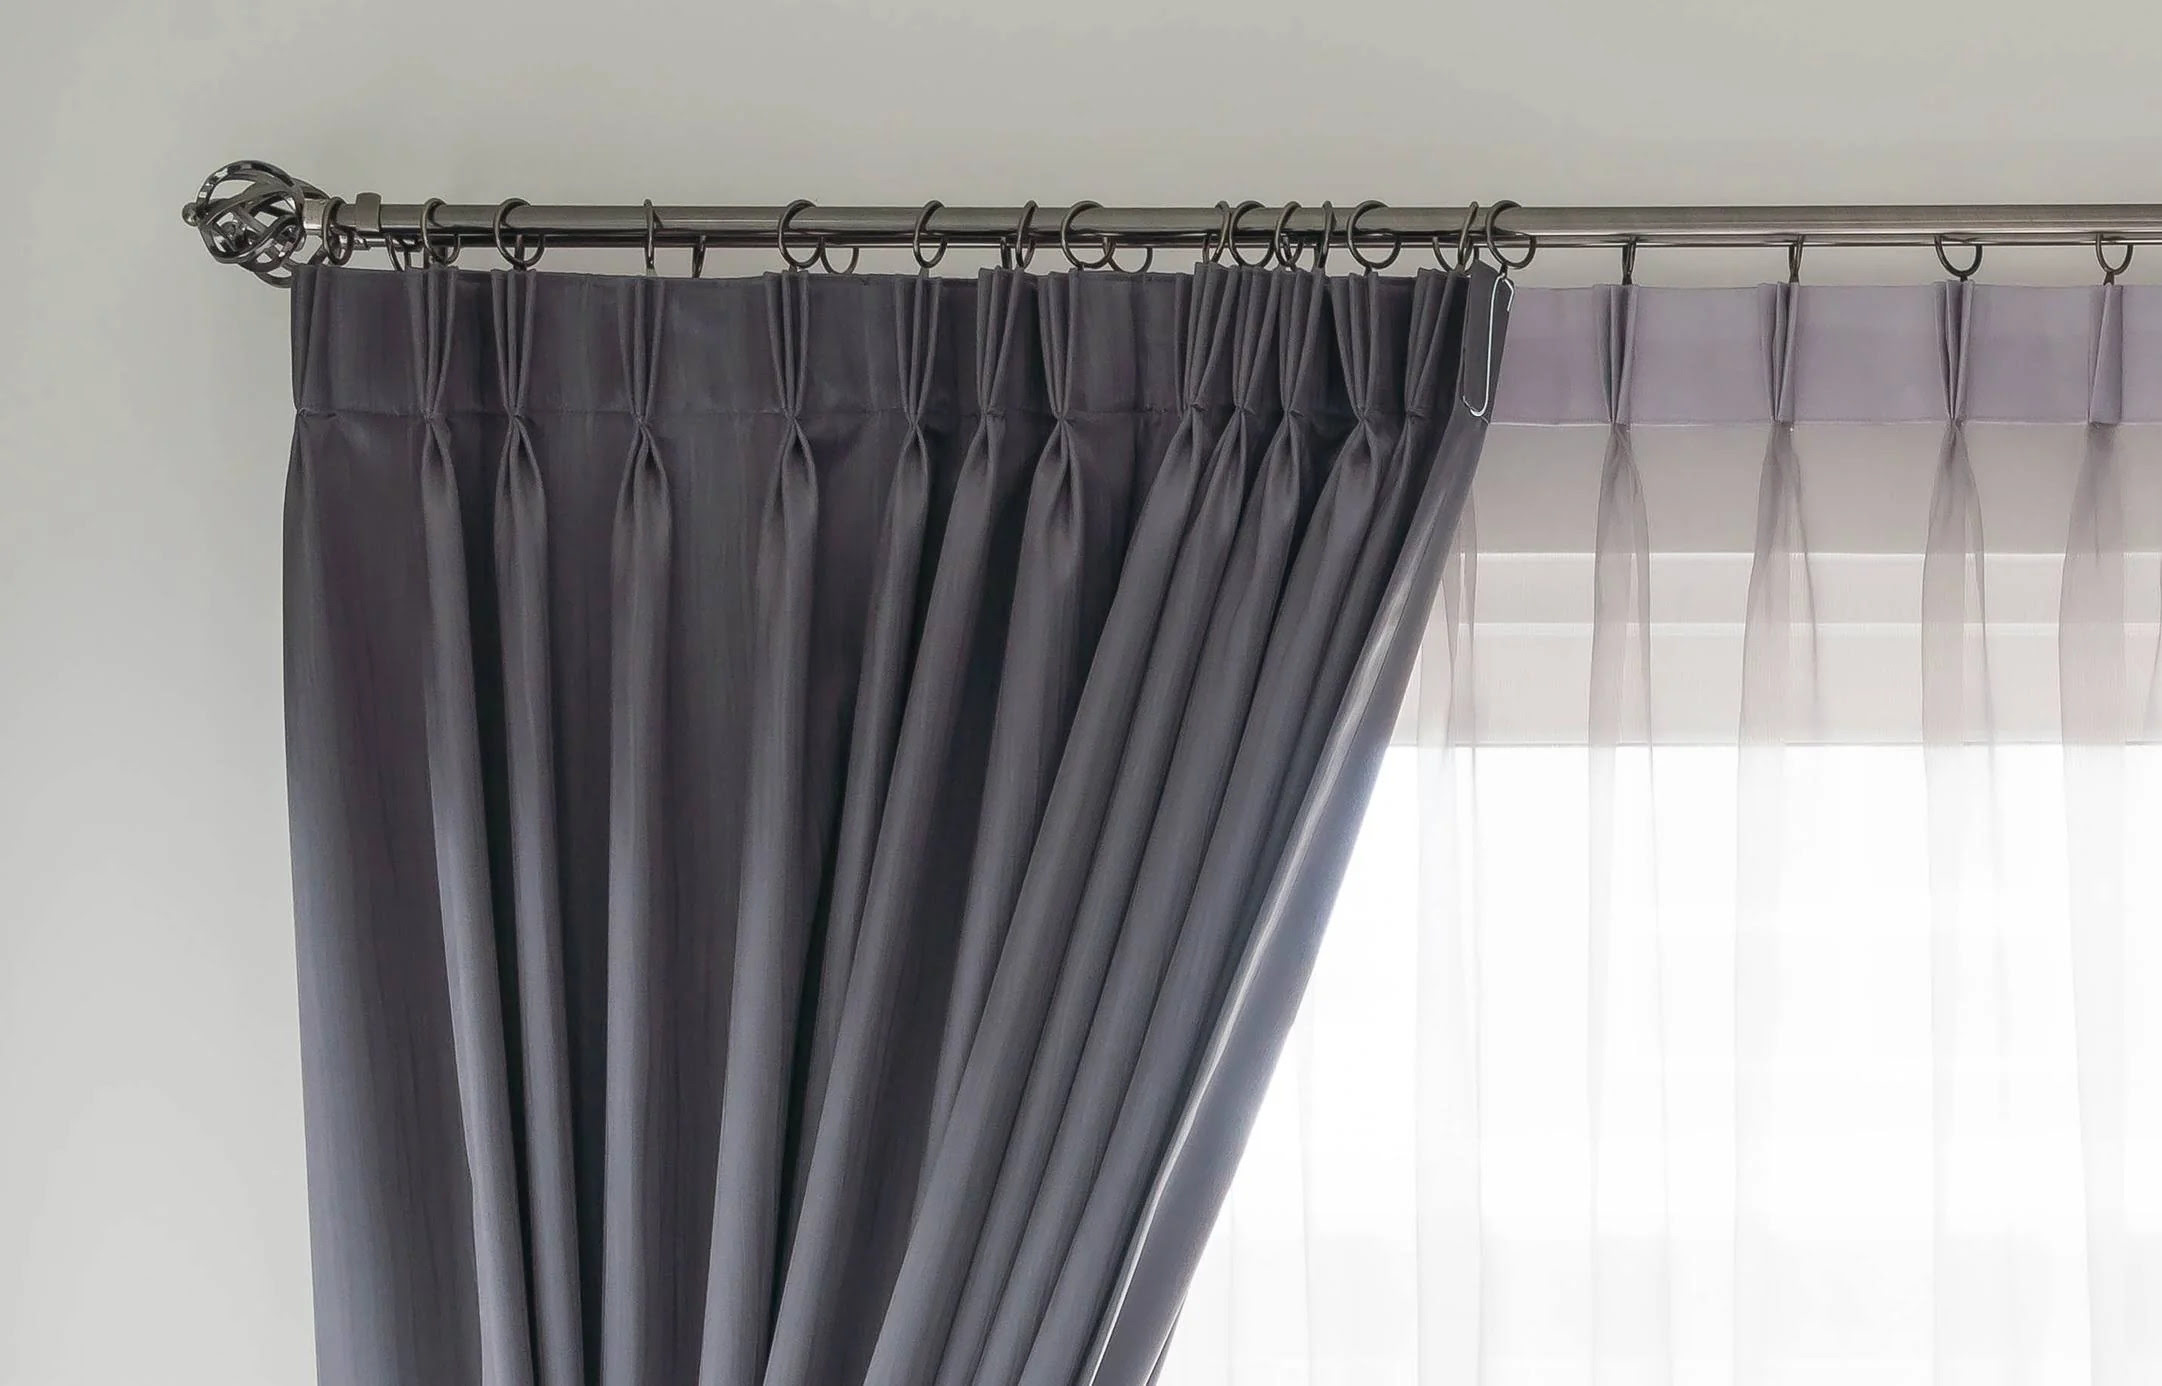
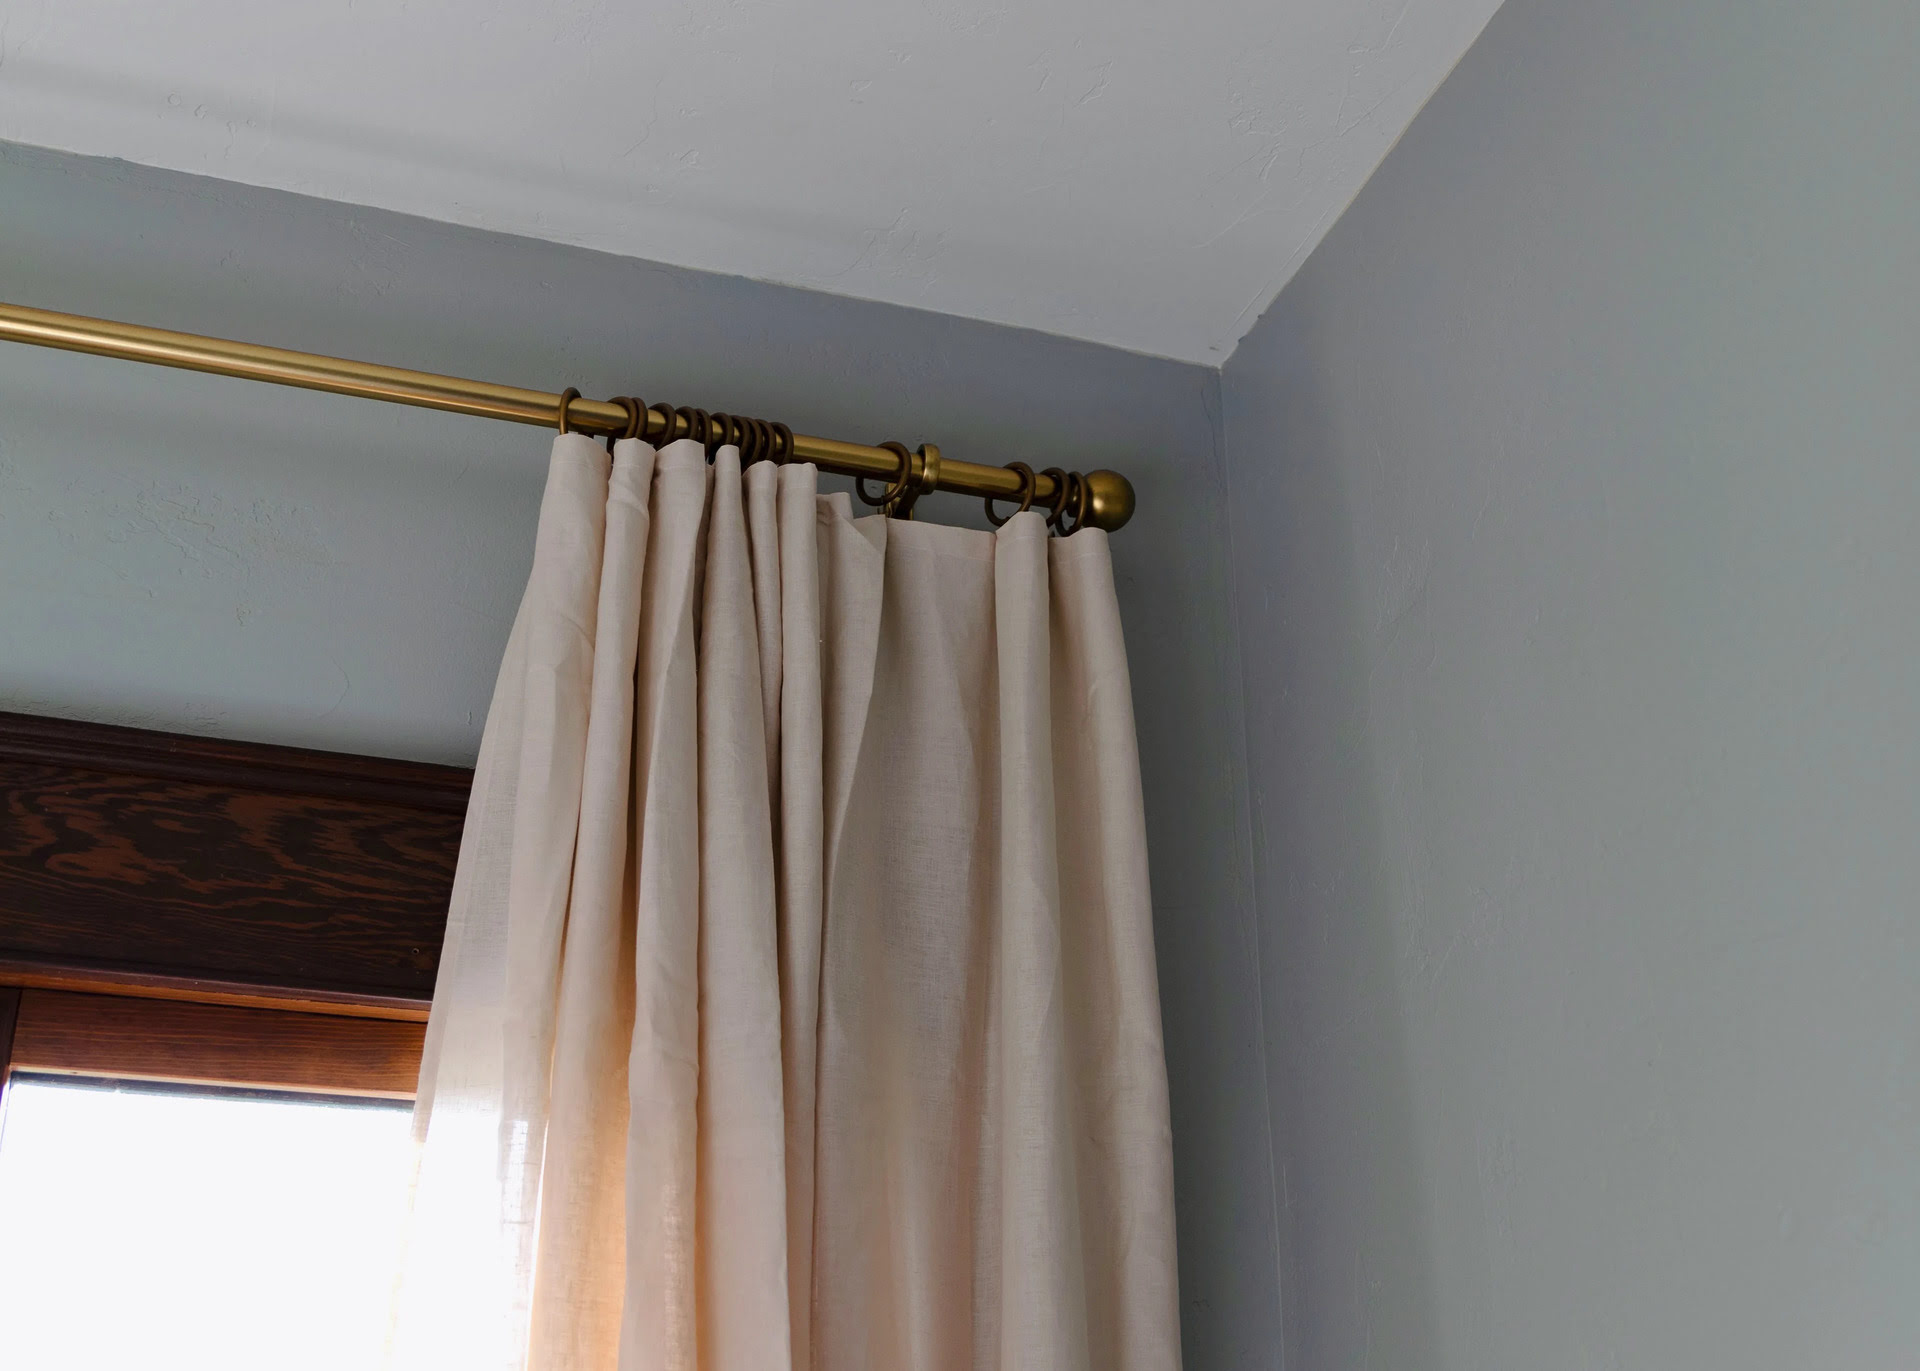
Step 6: Hanging the Curtains
Now that your ruffle curtains are complete, it’s time to hang them and bring a beautiful finishing touch to your room. Follow these steps to hang your curtains:
- Determine the type and style of curtain rod or track you will use. Ensure it can support the weight of your curtains.
- If using a curtain rod, install it according to the manufacturer’s instructions. If using a track, mount it securely on the wall or ceiling.
- Attach the curtain rings or hooks to your curtains, depending on the type of rod or track you are using. Make sure they are evenly spaced along the top edge of each curtain panel.
- Slide the curtain rings onto the rod or attach the hooks to the track, ensuring that the curtains hang evenly and smoothly.
- Adjust the position of the curtains by sliding the rings or hooks along the rod or track until you achieve the desired look and length.
- Step back and admire your beautifully hung ruffle curtains. Adjust the ruffles if necessary, ensuring they are evenly distributed and hanging in a pleasing manner.
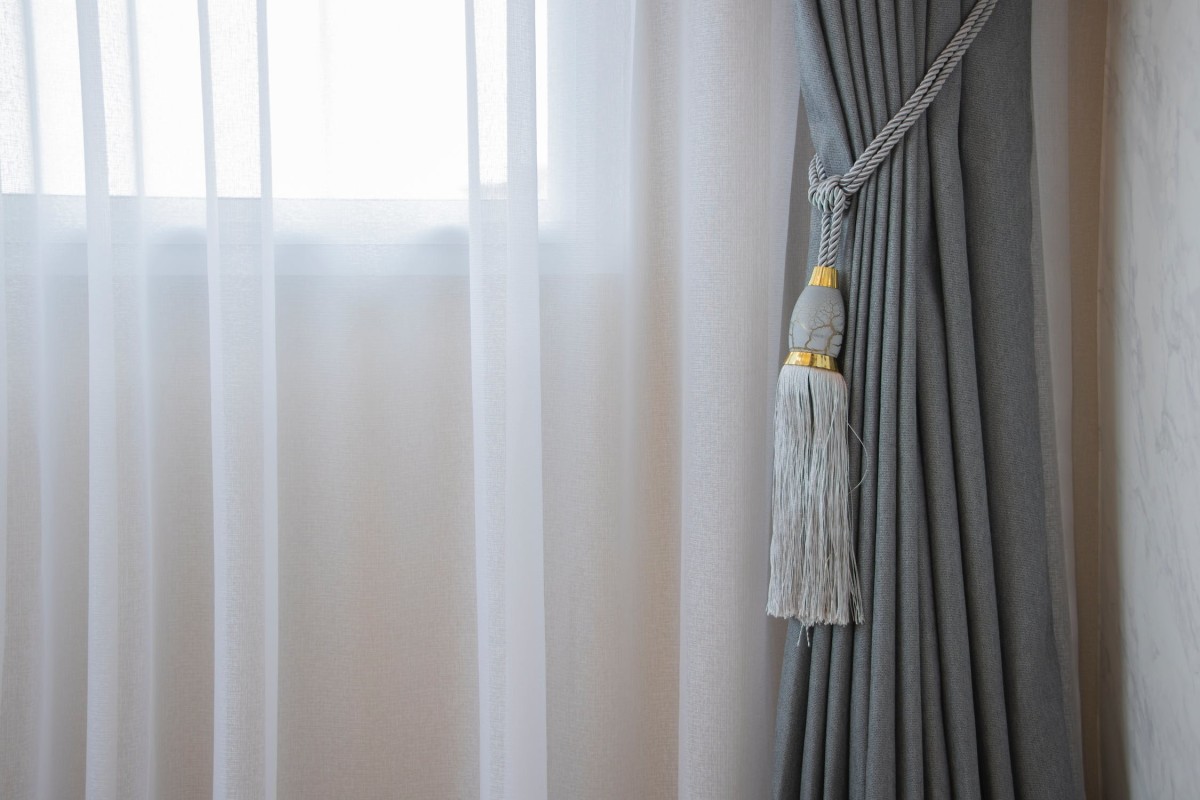
Once your curtains are hanging, give them a final touch by arranging and fluffing the ruffles. This will ensure they are displayed in their full beauty.
Now, step back and enjoy the transformation that the ruffle curtains bring to your space. The elegant and whimsical touch they add will enhance the overall atmosphere and style of your room.
Congratulations! You have successfully completed all the steps to make and hang your very own ruffle curtains. Enjoy the sense of accomplishment and the cozy ambiance they bring to your home!
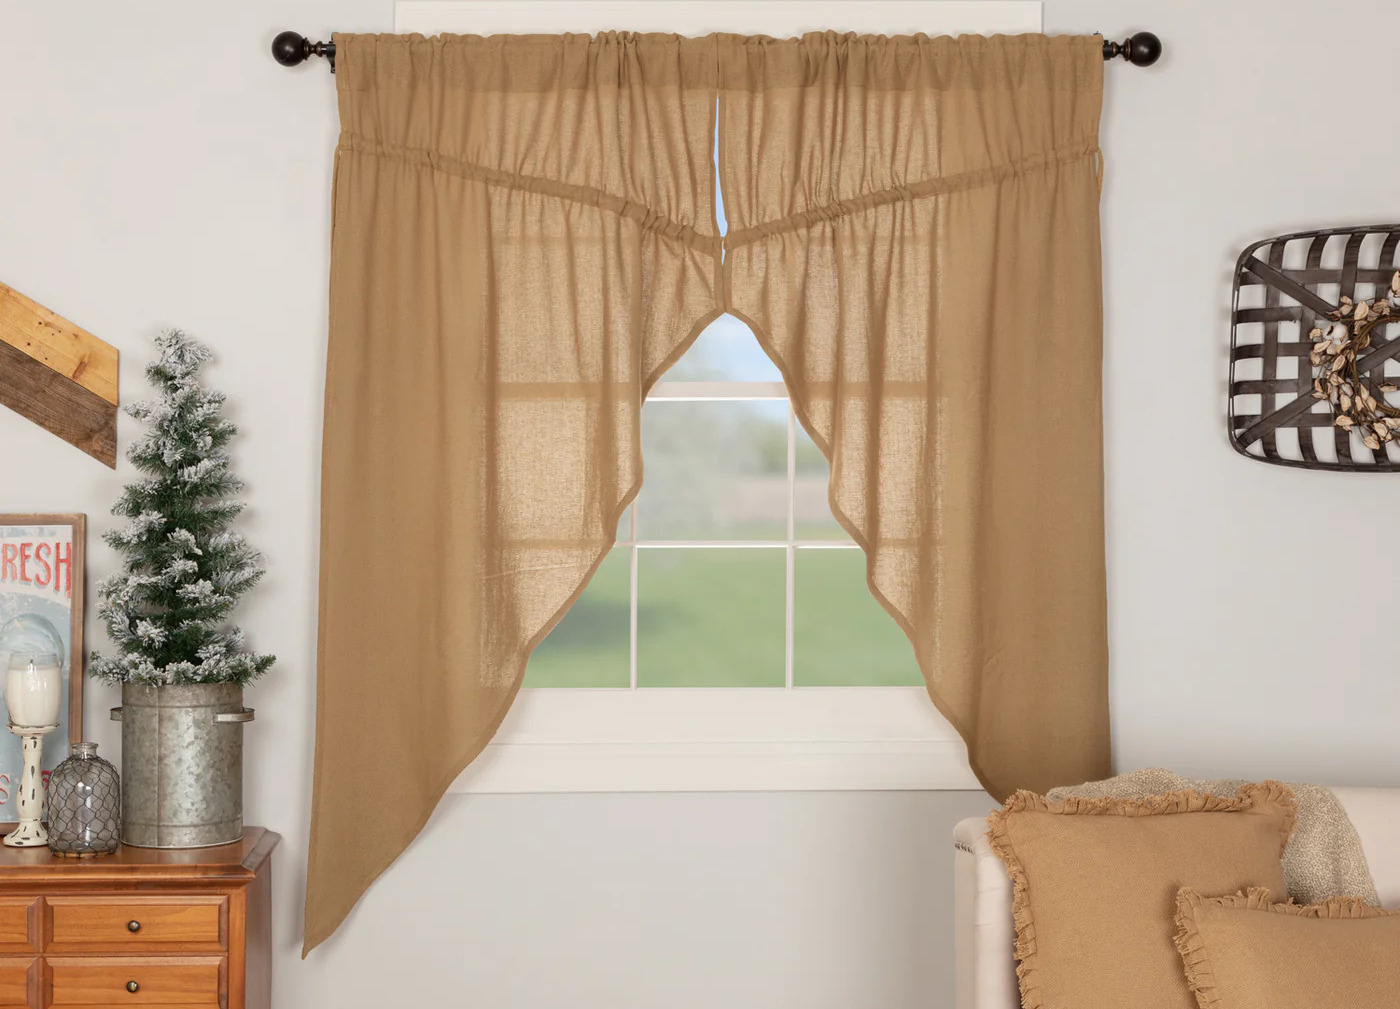
Remember, feel free to experiment with different fabrics, colors, and ruffle sizes to create curtains that truly reflect your personal style and complement your existing decor.
Happy curtain-making and decorating!
Conclusion
Creating your own ruffle curtains is a rewarding DIY project that allows you to add a touch of elegance and personality to your home decor. By following the steps outlined in this article, you can successfully make and hang your very own ruffle curtains that are customized to fit your style and space.
From measuring and cutting the fabric to sewing the ruffles and attaching them to the curtains, each step plays a crucial role in the final outcome. Taking your time, paying attention to detail, and using the right materials are key factors in achieving beautiful and professional-looking results.
With the guidance provided, you can experiment with different fabrics, ruffle sizes, and curtain lengths to create curtains that perfectly complement your existing decor and add a unique charm to any room.
Remember, practice makes perfect, so don’t be discouraged if your first attempt doesn’t turn out exactly as you envisioned. Embrace the learning process and enjoy the creative journey of making your own ruffle curtains.
Now, it’s time to put your newfound knowledge and skills into action. Gather your materials, measure your windows, cut the fabric, sew the ruffles, and hang your beautifully crafted ruffle curtains. Step back and admire the transformation they bring to your space.
Whether you’re adding a romantic touch to your bedroom, a pop of color to your living room, or a soft and feminine feel to your nursery, ruffle curtains will undoubtedly enhance the overall ambiance and style of your home.
Get started today and create curtains that reflect your unique personality and style. Enjoy the satisfaction of creating something beautiful with your own hands and the joy that comes from transforming your living space into a place you love to be.
Happy ruffle curtain making!
Frequently Asked Questions about How To Make Ruffle Curtains
Was this page helpful?
At Storables.com, we guarantee accurate and reliable information. Our content, validated by Expert Board Contributors, is crafted following stringent Editorial Policies. We're committed to providing you with well-researched, expert-backed insights for all your informational needs.


0 thoughts on “How To Make Ruffle Curtains”