
Articles
How To Make Twist Candles
Modified: February 28, 2024
Learn how to make twist candles with these informative articles. Step-by-step guides and creative tips for creating unique and eye-catching candles.
(Many of the links in this article redirect to a specific reviewed product. Your purchase of these products through affiliate links helps to generate commission for Storables.com, at no extra cost. Learn more)
Introduction
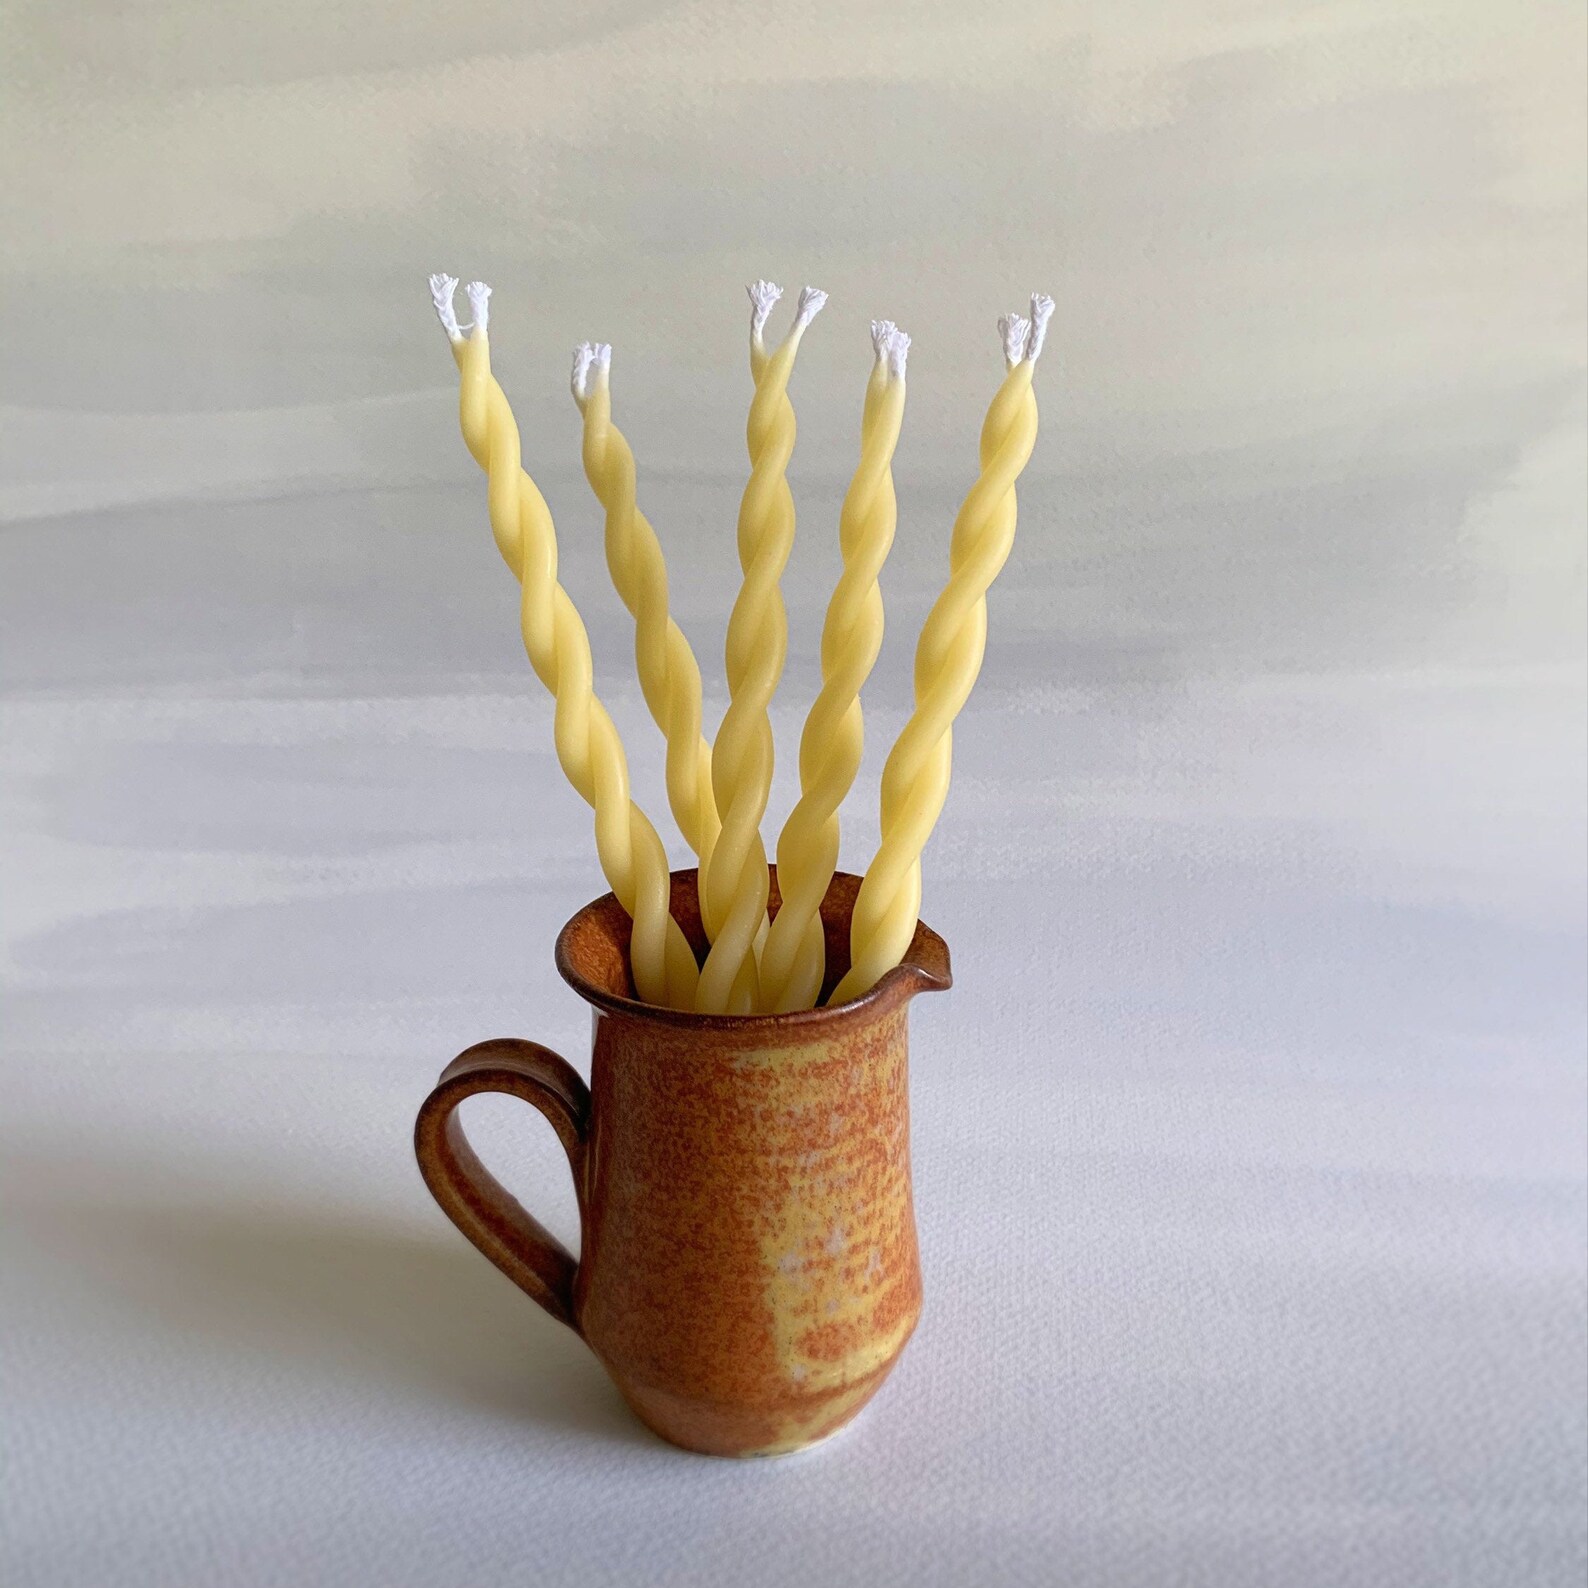
Welcome to the world of twist candles! If you’re looking to add a unique and eye-catching decoration to your home or create a memorable gift for someone special, twist candles are the perfect choice. These stunning candles feature beautifully twisted shapes and come in a variety of colors and sizes. Not only do they provide warm, ambient lighting, but they also add a touch of elegance and creativity to any space.
In this article, we will guide you through the process of making twist candles from scratch. Whether you’re a seasoned candle maker or a beginner, this step-by-step tutorial will help you create your very own twist candles that will impress everyone who sees them.
Before we delve into the details, let’s take a look at the materials you’ll need for this project.
Key Takeaways:
- Embrace your creativity and craft stunning twist candles to add a touch of elegance and warmth to any space. Follow the step-by-step tutorial to make unique and eye-catching candles that will impress everyone.
- Enjoy the art of making twist candles by gathering supplies, preparing wax, adding color and fragrance, creating the twisted design, and adding finishing touches. Let your imagination run wild and create captivating candles for yourself or as thoughtful gifts.
Read more: How to DIY TikTok-Inspired Twisted Candles
Materials Needed
To make twist candles, you’ll need a few essential materials. Don’t worry, most of them can be easily found at craft stores or ordered online. Here’s what you’ll need:
- Paraffin wax or soy wax: Choose a high-quality wax specifically designed for candle making.
- Candle wicks: Opt for pre-tabbed wicks that are appropriate for the size of your candles.
- Candle dye: Select candle dyes in the colors of your choice.
- Candle fragrance oil: Optional, but you can add a delightful scent to your candles.
- Candle mold: Look for twist candle molds, which are typically made of silicone or other heat-resistant materials.
- Melting pot or double boiler: This will be used to melt the wax.
- Thermometer: A thermometer is crucial to ensure the wax reaches the correct temperature.
- Stirring utensil: Use a heat-resistant spoon or spatula for mixing the wax.
- Heat-resistant gloves: These will protect your hands from hot wax.
- Wax adhesive: A glue stick or hot glue gun will be needed to secure the wicks in the mold.
- Wax paper or newspaper: To protect your work surface from wax spills and drips.
Once you have gathered all of these materials, you’re ready to begin your twist candle-making journey. Let’s move on to the first step: gathering supplies.
Step 1: Gathering Supplies
The first step in making twist candles is to gather all the necessary supplies. This ensures you have everything you need within reach as you progress through the candle-making process. Here’s how to gather your supplies:
- Prepare your workspace: Find a clean, well-ventilated area to work in. Lay down wax paper or newspaper to protect your surface from any wax spills or drips.
- Assemble the materials: Go through the list of materials needed for making twist candles and make sure you have everything on hand. This includes the wax, wicks, candle dye, fragrance oil, candle mold, melting pot, thermometer, stirring utensil, heat-resistant gloves, wax adhesive, and wax paper or newspaper.
- Organize your workspace: Arrange your supplies in an organized manner so that they are easily accessible. This will save you time and prevent any frustration during the candle-making process.
- Read the instructions: Before you begin, familiarize yourself with the instructions that came with your candle-making materials. Each product may have specific temperature and mixing requirements, so it’s important to understand them beforehand.
By taking the time to gather your supplies and set up your workspace properly, you’ll be prepared to create your twist candles without any interruptions or last-minute scrambling for missing items.
Now that you’ve gathered your supplies, let’s move on to the next step: preparing the wax.
Step 2: Preparing the Wax
Now that you have all your supplies ready, it’s time to prepare the wax for your twist candles. Follow these steps to ensure your wax is properly melted and prepared:
- Measure the wax: Start by measuring the amount of wax you’ll need for your candles. This will depend on the size of your candle molds and the desired thickness of your candles. Typically, you’ll need about double the volume of wax to fill the mold.
- Set up a double boiler: Fill a pot with a few inches of water and place it on the stove over medium heat. Place a heat-resistant container, such as a melting pot, inside the pot of water. This will create a double boiler setup, allowing the wax to melt gently and evenly.
- Add the wax to the container: Place the measured wax into the melting pot. As the water in the pot heats up, it will gradually melt the wax in the container.
- Monitor the temperature: Attach a thermometer to the side of the melting pot, ensuring that the tip is immersed in the wax but not touching the bottom of the pot. Monitor the temperature throughout the melting process. The ideal melting temperature will depend on the type of wax you’re using, so refer to the instructions that came with your wax.
- Gently stir the wax: As the wax melts, use a heat-resistant stirring utensil to gently stir it. This helps distribute heat evenly and ensures the wax melts uniformly without any clumps.
- Remove from heat: Once the wax has completely melted and reached the desired temperature, remove the melting pot from heat. Be cautious, as the pot will be hot.
By following these steps, you’ll have perfectly melted wax that is ready to be transformed into stunning twist candles. With the wax prepared, we can now move on to adding color and fragrance in the next step.
Step 3: Adding Color and Fragrance
Now that your wax is melted and ready, it’s time to add color and fragrance to your twist candles. This step allows you to customize your candles and give them a personal touch. Follow these steps to add color and fragrance:
- Add the candle dye: Using a dropper or toothpick, add a small amount of candle dye to the melted wax. Start with a small quantity and gradually add more until you achieve your desired color. Remember that a little goes a long way, so start with a conservative amount and adjust as needed. Stir the wax gently to distribute the color evenly.
- Include fragrance oil (optional): If you want to add a delightful scent to your twist candles, this is the time to do so. Choose a fragrance oil that is specifically designed for candle making. Add a few drops of the fragrance oil to the melted wax and stir to evenly distribute the scent. Be careful not to add too much, as an excessive amount of fragrance oil can affect the candle’s burn quality.
- Mix thoroughly: To ensure the color and fragrance are evenly distributed, continue stirring the wax for a few minutes. This prevents any clumps or separation that may occur during the adding process. Take your time and mix thoroughly until the wax has a uniform color and scent.
Adding color and fragrance to your twist candles allows you to create a visually appealing and pleasant-smelling end product. Once you have achieved the desired color and scent, we can move on to the next step: preparing the wicks.
When making twist candles, ensure that the wax is at the right temperature for twisting. If it’s too hot, the candle may lose its shape, and if it’s too cold, it may crack.
Read more: How To Make A Lemon & Thyme Twist
Step 4: Preparing the Wicks
With your colored and fragrant wax ready, it’s time to prepare the wicks for your twist candles. Properly preparing the wicks ensures that they are secure and will burn evenly throughout the candle’s lifespan. Follow these steps to prepare the wicks:
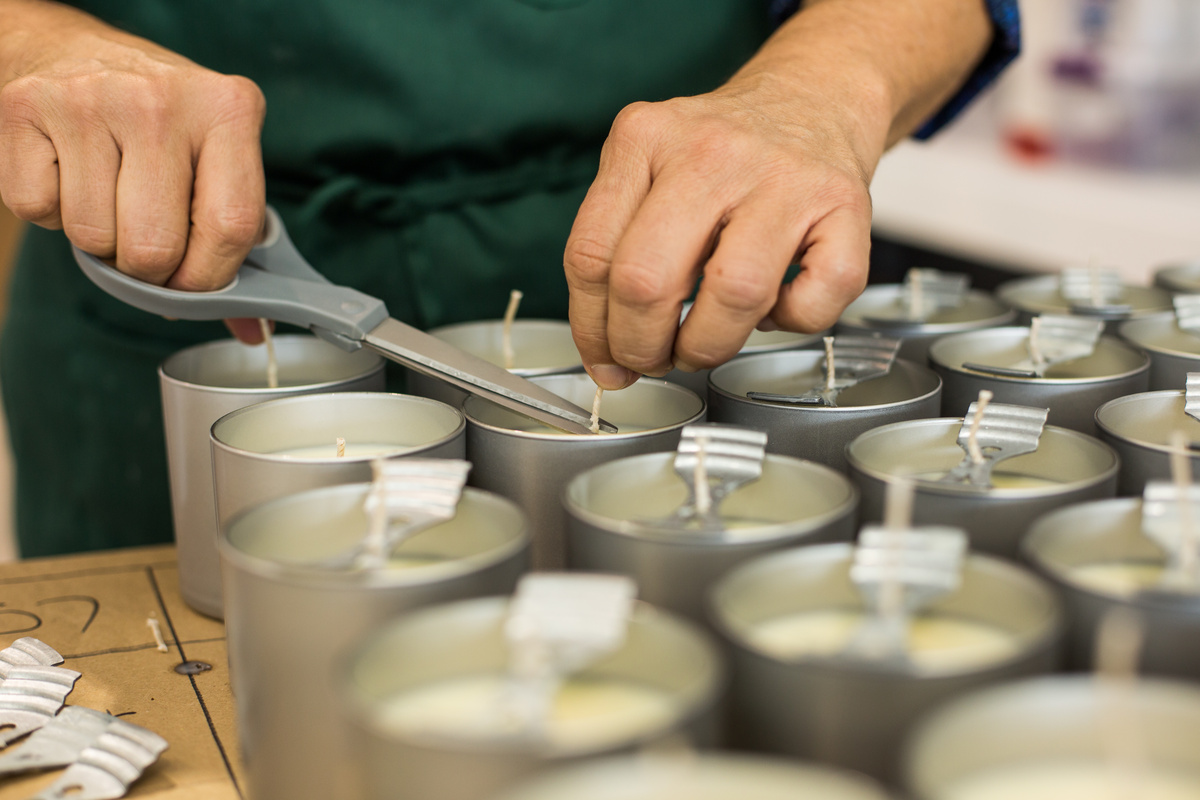
- Measure and cut the wicks: Determine the desired length of your wicks by measuring the height of your candle mold. Add a few extra inches to ensure the wicks are long enough to extend beyond the candle’s surface. Use a pair of scissors to cut the wicks to the appropriate length.
- Secure the wicks to the mold: Apply a small amount of wax adhesive, such as a glue stick or hot glue, to the metal tab of each wick. Press the adhesive-coated end firmly onto the bottom center of the candle mold. Ensure that the wicks are centered and straight. Allow the adhesive to dry and hold the wicks securely in place.
- Keep the wicks upright: To prevent the wicks from leaning or falling over during the pouring process, use a wick stabilizer or a simple solution like a pencil or clothespin. Position the stabilizer across the top of the mold and secure the wicks underneath it, ensuring they are held upright and taut.
By properly preparing the wicks, you ensure that they are securely attached to the mold and positioned in an upright manner. This allows for even burning and a consistent flame throughout your twist candles. Next, we’ll move on to the exciting part – creating the twisted design!
Step 5: Creating the Twisted Design
Now comes the fun part – creating the twisted design for your twist candles. This step involves pouring the colored and fragrant wax into the mold and creating the captivating twist pattern. Follow these steps to create the twisted design:
- Prepare the mold: Make sure your candle mold is clean and free from any debris or residue. This ensures that the final twist candle will have a smooth and flawless appearance.
- Hold the mold at an angle: Tilt the mold at a slight angle, ensuring that the opening is at the highest point, and the bottom is at the lowest point. Holding the mold at an angle will allow the wax to flow and create the twisted pattern more effectively.
- Pour the wax slowly: Begin pouring the melted wax into the mold, starting from the highest point and letting it flow down. As you pour, the wax will naturally twist and create mesmerizing patterns. Continue pouring until the mold is almost full, leaving a small space at the top to prevent overflow.
- Swirl the mold (optional): If you want to enhance the twisted effect, gently swirl the mold in a circular motion. This will further mix the colors and create a more intricate pattern.
Remember to work quickly while pouring the wax, as it may begin to solidify and harden. Be mindful of any potential drips or spills and clean them promptly to maintain a neat workspace.
Now that the wax is poured and the twisted design has been created, it’s time to move on to the next step: pouring the remaining wax and allowing the candles to cool.
Step 6: Pouring the Wax
After creating the twisted design in the previous step, it’s time to add the remaining wax and complete the filling of your twist candles. This step involves pouring the remaining melted wax into the mold and ensuring that the candles are properly filled. Follow these steps to pour the wax:
- Reheat the remaining wax: If the remaining wax in your melting pot has started to solidify, gently reheat it until it reaches a pourable consistency. Be careful not to overheat the wax, as this can affect the quality and appearance of your twist candles.
- Pour the rest of the wax: Slowly pour the remaining wax into the mold, filling it to the top. Ensure that the wax covers the twisted design you created earlier and fills any gaps or cavities in the mold.
- Tap and gently shake the mold: To remove any air bubbles trapped in the wax, tap the mold gently on a flat surface and give it a gentle shake. This will help the wax settle and level itself out.
- Allow the wax to cool: Place the mold in a cool, undisturbed area and allow the wax to cool and solidify completely. The cooling time will vary depending on the size and thickness of your candles. Avoid moving or disturbing the mold during this time to ensure the candles set properly.
While waiting for the candles to cool, resist the temptation to touch or remove them from the mold prematurely. It’s important to allow them ample time to solidify and take on their final shape. Once the wax has completely cooled, you can proceed to the final step: cooling and finishing touches.
Step 7: Cooling and Finishing Touches
After pouring the wax, it’s time to let your twist candles cool and add the finishing touches to make them truly exceptional. This final step ensures that your candles are fully set and ready to be admired and enjoyed. Follow these steps for the cooling and finishing touches:
- Cool the candles: Allow the candles to cool completely in the mold. This may take several hours depending on the size and thickness of your candles. Avoid touching or moving the candles until they have completely hardened and cooled.
- Remove the candles from the mold: Once the candles have cooled and solidified, gently remove them from the mold. Carefully peel back the silicone or any other material surrounding the candles and gently push them out from the bottom. If the candles are stubborn, placing the mold in the refrigerator for a few minutes may help loosen the wax.
- Trim the wicks: Use a pair of scissors to trim the wicks to a desired length, leaving about ¼ inch remaining above the surface of the candles. This will ensure a clean and even burn when you light the candles.
- Inspect and clean the candles (optional): Take a moment to inspect your twist candles for any imperfections or rough edges. If you notice any irregularities, you can gently smooth them out with a heat gun or by carefully melting the surface with a lit candle. Lastly, wipe down the candles with a soft cloth or tissue to remove any dust or fingerprints.
- Display and enjoy: Your twist candles are now complete and ready to be displayed and admired. Place them in candle holders or on a decorative tray to showcase their stunning twisted design. When you’re ready to enjoy the comforting glow, simply light the trimmed wick and let the warm ambiance fill the room.
Congratulations! You have successfully made your own twist candles. The unique and artistic design of these candles will surely make them a standout feature in any space or a thoughtful gift for your loved ones.
Remember to exercise caution when using candles. Always place them on heat-resistant surfaces and never leave them unattended while lit. Enjoy the beauty and ambiance of your twist candles responsibly.
Concluding our tutorial, we hope you had fun and found it informative. Happy candle making!
Read more: How To Make A Heater With Candles
Conclusion
Creating twist candles is a rewarding and creative endeavor that allows you to add a unique touch to your home decor or give a personalized gift to someone special. Through this step-by-step tutorial, you have learned how to make twist candles from scratch, from gathering the necessary supplies to adding color and fragrance, creating the twist design, and finally cooling and adding finishing touches.
By following the outlined steps and using your creativity, you can produce beautiful twist candles that showcase your personal style and artistic flair. These captivating candles not only provide warm and ambient lighting but also serve as eye-catching decor pieces that can enhance any space.
Remember to exercise caution throughout the candle-making process. Working with hot wax requires attention and proper safety measures. Ensure you have a clean and organized workspace, use appropriate tools and protective gear, and follow the instructions provided with your materials.
Now that you have the knowledge and skills to make twist candles, don’t hesitate to explore different color combinations, experiment with fragrances, and create your own unique designs. Let your imagination run wild!
Whether you’re crafting twist candles for yourself or as gifts, they are sure to impress with their intricate twists and elegant appearance. So, gather your materials, let your creativity flow, and enjoy the art of making twist candles.
Thank you for following along with this tutorial. We hope you have enjoyed the process and are now ready to embark on your twist candle-making journey. Have fun, be creative, and may your twist candles bring warmth and beauty to your life and those around you!
Frequently Asked Questions about How To Make Twist Candles
Was this page helpful?
At Storables.com, we guarantee accurate and reliable information. Our content, validated by Expert Board Contributors, is crafted following stringent Editorial Policies. We're committed to providing you with well-researched, expert-backed insights for all your informational needs.
