
Articles
How To Make Wood Kitchen Countertops
Modified: January 6, 2024
Learn how to make beautiful wood kitchen countertops with our informative articles. Upgrade your kitchen with a natural and unique touch.
(Many of the links in this article redirect to a specific reviewed product. Your purchase of these products through affiliate links helps to generate commission for Storables.com, at no extra cost. Learn more)
Introduction
Welcome to the ultimate guide on how to make wood kitchen countertops. If you’re looking to upgrade your kitchen with a touch of natural beauty and warmth, then wooden countertops are a fantastic choice. They add a timeless and rustic charm to any kitchen, while also offering durability and functionality.
Whether you’re a seasoned DIY enthusiast or a beginner, this comprehensive guide will walk you through the steps of creating your own wood kitchen countertops. From choosing the right type of wood to final installation and maintenance, we’ve got you covered!
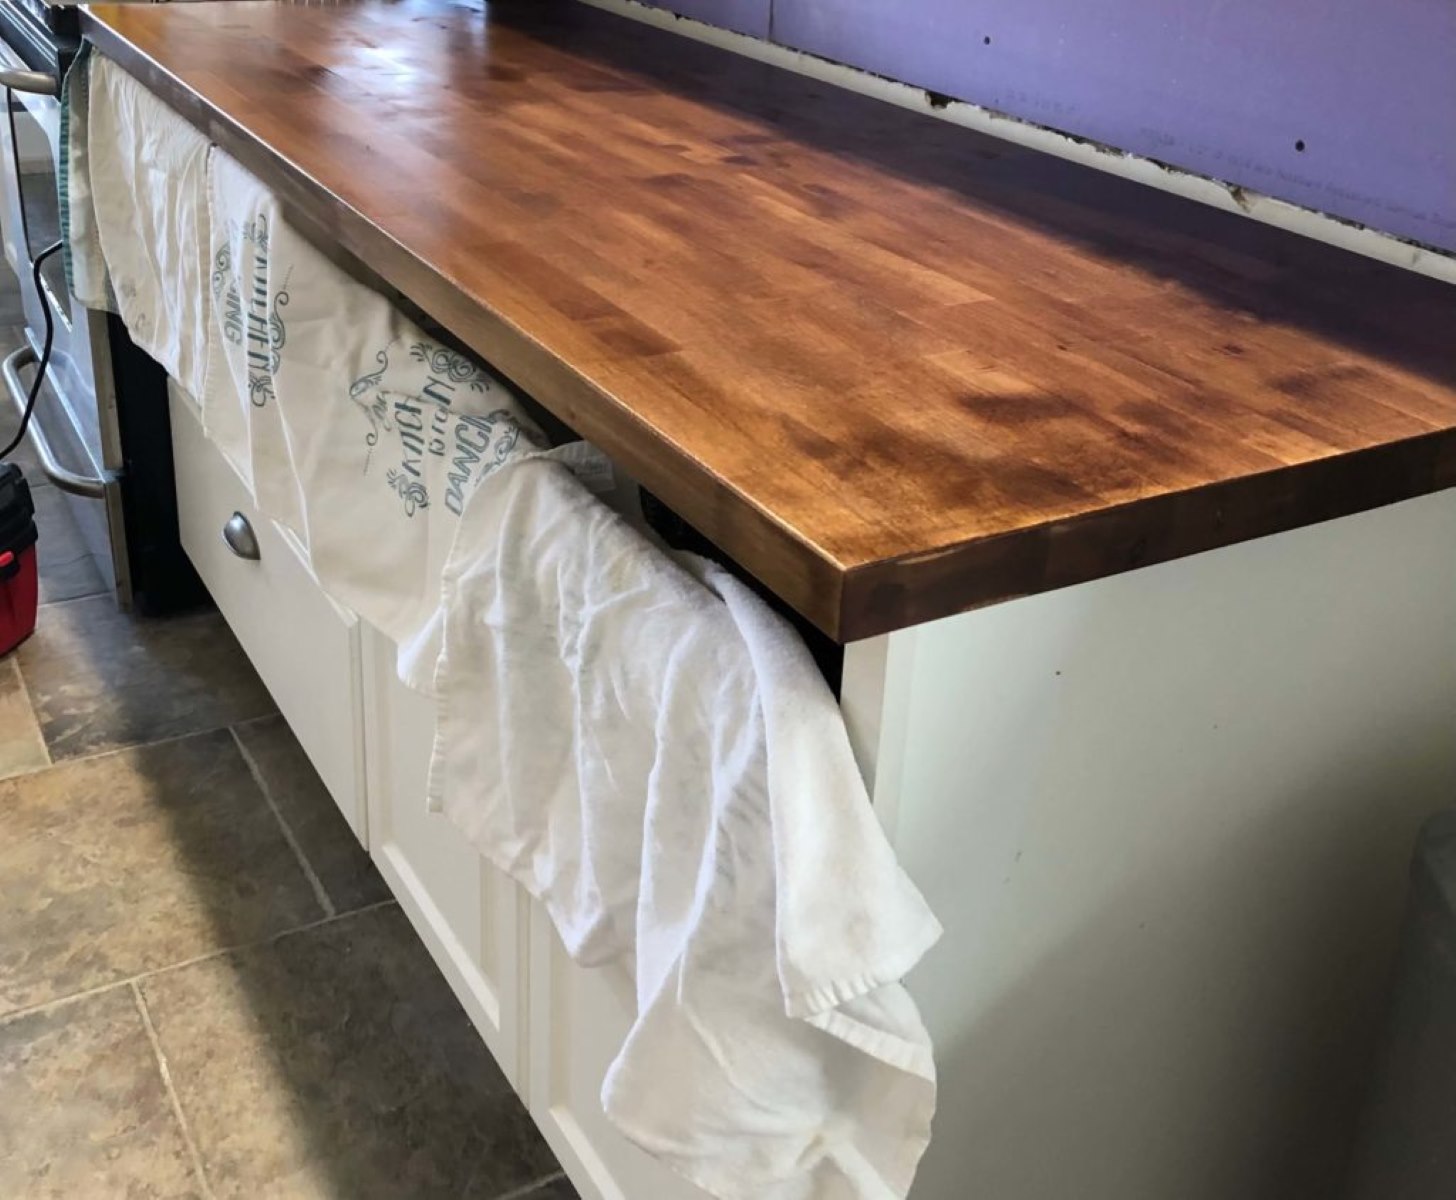
Before we dive into the process, let’s take a look at some of the benefits of using wood for kitchen countertops. Wood offers a unique combination of aesthetics and functionality. It brings a natural element into your kitchen, creating a warm and inviting atmosphere. Wood is also a highly durable material when properly sealed and maintained, making it resistant to daily wear and tear.
Furthermore, wood is a versatile material that can be customized to suit your style preferences. Whether you prefer a sleek and modern look or a rustic farmhouse vibe, there’s a wood type and finish that will perfectly complement your kitchen design.
While wood countertops do require some maintenance, they can be easily repaired and refinished if they get scratched or damaged. With proper care, your wooden countertops can last for many years, adding timeless beauty and value to your home.
Now that we understand the benefits of wood countertops, let’s move on to the first step – choosing the right type of wood.
Key Takeaways:
- Choosing the right wood species, precise measuring, and meticulous planning are crucial for creating custom wood kitchen countertops that perfectly complement your kitchen’s style and meet your functional needs.
- Proper wood preparation, precise cutting and joining, meticulous sanding and finishing, and careful installation and maintenance are essential for ensuring the longevity, beauty, and functionality of your custom wood kitchen countertops.
Read more: How Much Are Wood Countertops
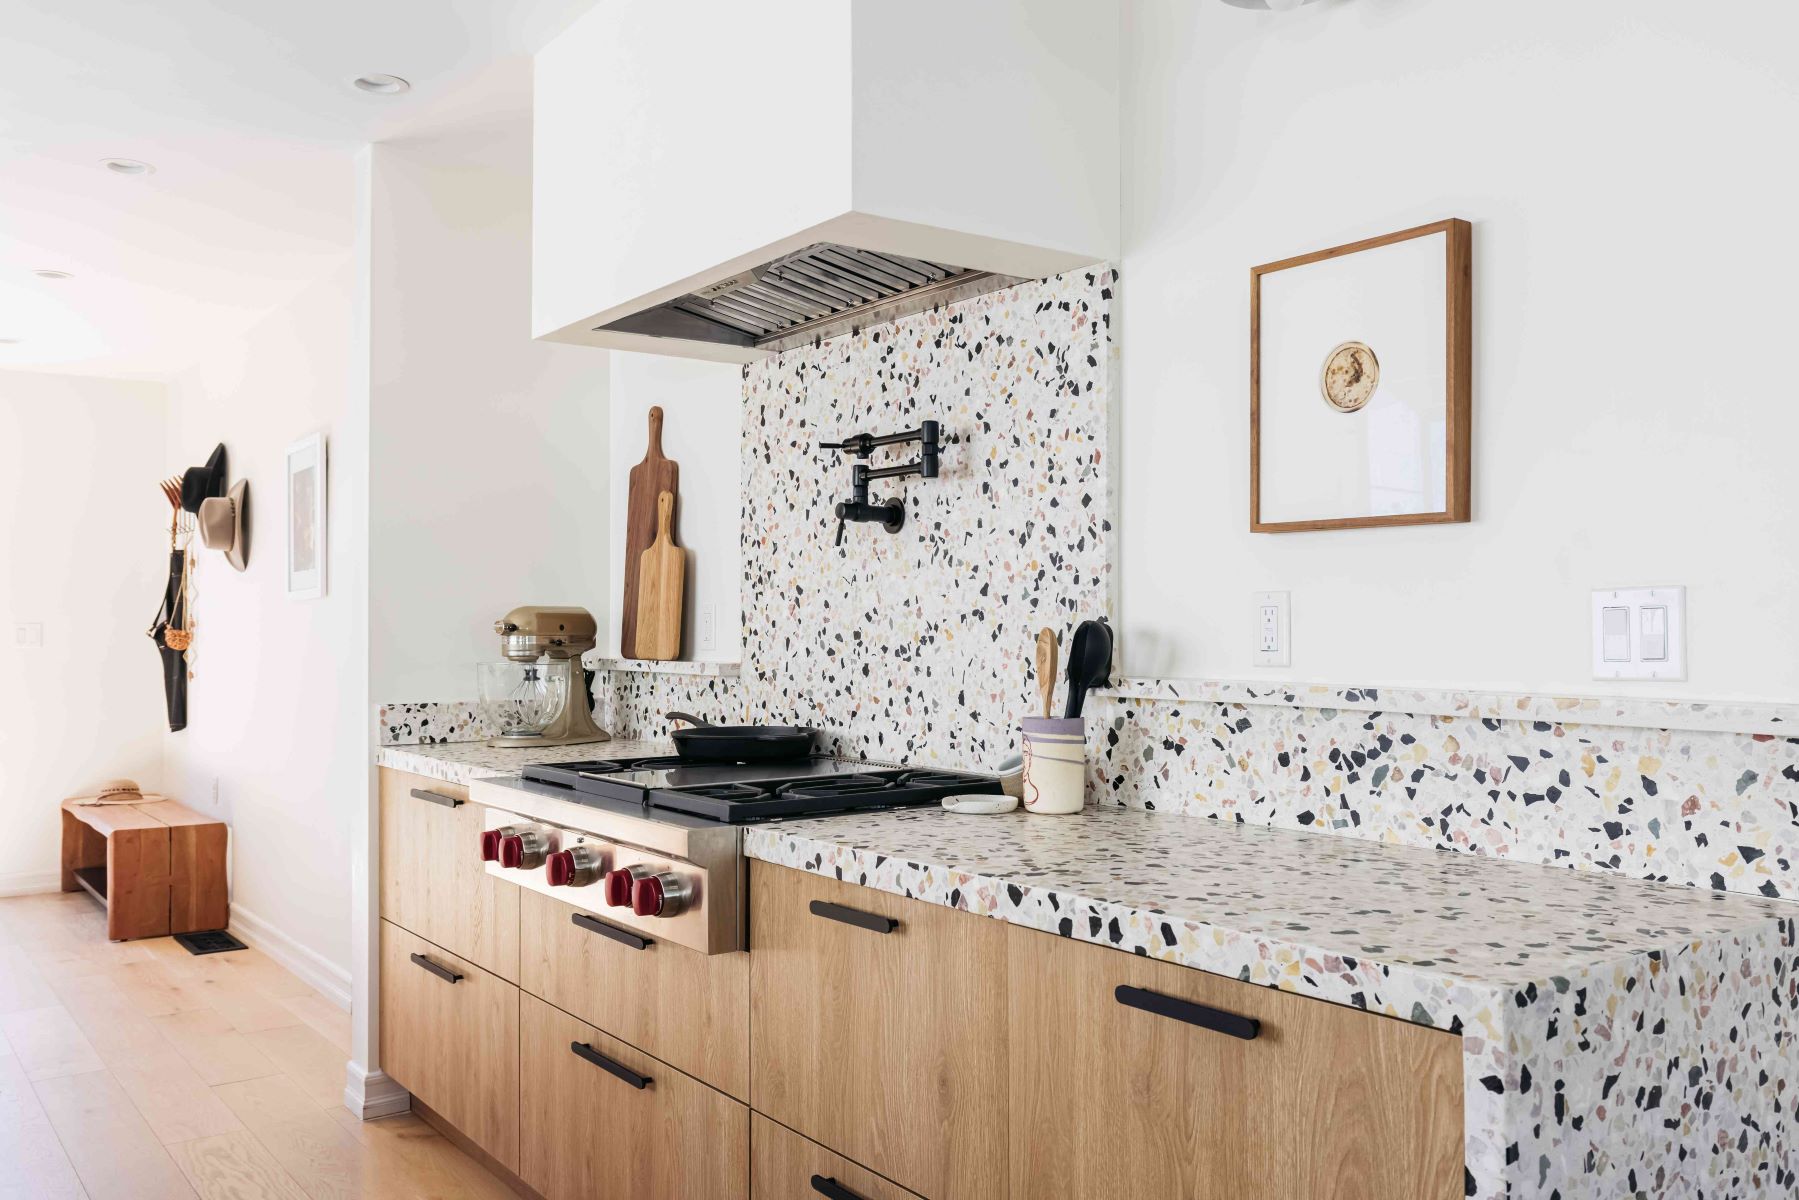
Choosing the Right Type of Wood
When it comes to selecting the right type of wood for your kitchen countertops, there are a few factors to consider. These include the wood species, color, grain pattern, and hardness.
1.1 Wood Species:
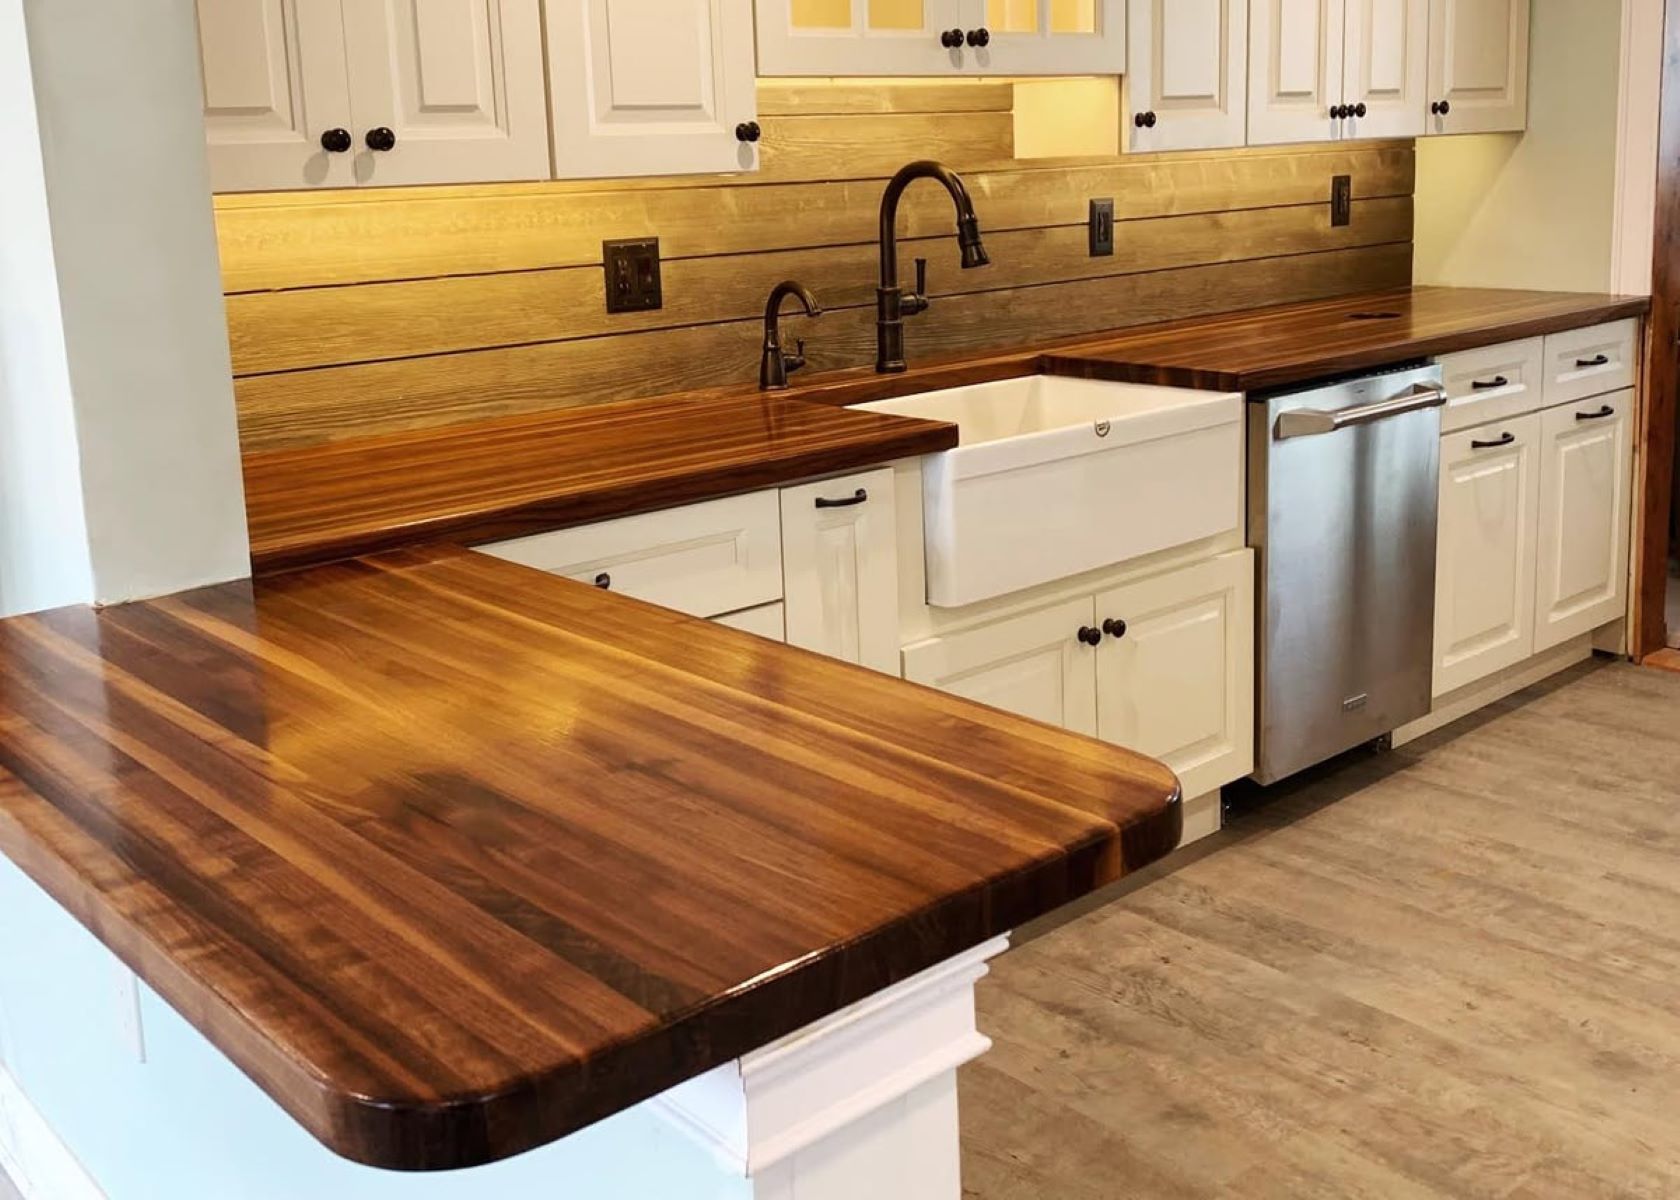
There are various wood species to choose from, each with its own unique characteristics and aesthetic appeal. Common choices for kitchen countertops include maple, oak, cherry, walnut, and teak. Maple is known for its light color and uniform grain, while oak offers a traditional and rustic look. Cherry has a warm reddish hue, walnut boasts a rich and dark color, and teak provides a luxurious and exotic feel.
1.2 Color and Grain Pattern:
The color and grain pattern of the wood you choose can significantly impact the overall look of your kitchen. Lighter woods like maple and oak tend to create a brighter and more airy ambiance, while darker woods like cherry and walnut can add depth and richness to the space. Consider the existing color scheme and style of your kitchen to find a wood species that will complement it seamlessly.
1.3 Hardness:
The hardness of the wood is an essential consideration, as kitchen countertops are prone to scratches and dents from knives and other sharp objects. Harder woods, such as maple and oak, offer better resistance to these types of damages. Softer woods, like walnut and cherry, may require more maintenance and care to keep them looking their best.
It’s also worth mentioning that reclaimed wood is another popular option for kitchen countertops. Reclaimed wood not only adds a unique and eco-friendly element to your kitchen but also offers a charming and aged appearance.
Once you have an idea of the wood species you prefer, visit a local lumberyard or supplier to see the different options in person. This will allow you to feel the texture, see the color variations, and make a more informed decision based on your personal preferences.
Now that we’ve covered the first step of choosing the right wood, let’s move on to measuring and planning.
Measuring and Planning
Before you start cutting and shaping your chosen wood, it’s crucial to take accurate measurements and plan out your countertop design. This step will ensure that your countertops fit perfectly and minimize any potential issues during installation.
2.1 Assess your Existing Space:
Start by carefully measuring the dimensions of your kitchen space where the countertops will be installed. Take note of any unique features such as corners, sinks, or appliances that will affect the shape and size of your countertops.
2.2 Determine the Thickness:
The thickness of your wooden countertops will depend on your personal preference and the style of your kitchen. Standard thickness ranges from 1.5 inches to 2.5 inches. Thicker countertops can provide a more substantial and robust look, while thinner ones can create a sleeker and more modern appearance.
2.3 Plan for Overhangs:
Consider whether you want your countertops to have any overhangs, which can provide extra workspace or accommodate seating. Typically, an overhang of around 12 inches is recommended for comfortable seating.
2.4 Sketch Your Design:
Use graph paper or a design software to create a detailed sketch of your countertop layout. Include accurate measurements, corners, cutouts for sinks or cooktops, and any desired overhangs. This will serve as your blueprint and guide throughout the construction process.
2.5 Consider Joinery and Edge Profiles:
Take some time to think about the joinery and edge profiles you want for your countertops. Joinery refers to how multiple pieces of wood will be connected and secured together. Common joinery options include butt joints, edge joints, or using dowels or biscuits. Edge profiles determine the shape and style of the edges of your countertops. Choices may include square, beveled, rounded, or decorative profiles.
Once you have completed the measuring and planning phase, you’ll have a clear vision of how your wood kitchen countertops will come together. The next step is to gather the necessary materials and prepare the wood for construction.
Preparing the Wood
Preparing the wood is a crucial step in ensuring the longevity and stability of your kitchen countertops. Proper preparation helps to minimize the risk of warping, shrinking, or expanding over time. Here are the steps to prepare the wood for your countertops:
3.1 Acclimate the Wood:
Wood needs to acclimate to the environment of your kitchen before installation. This process allows the wood to adjust to the temperature and humidity levels, which helps prevent potential issues in the future. Place the wood in the kitchen and let it sit for at least 48-72 hours. Ensure that the wood is stored in a well-ventilated area and away from direct sunlight or moisture.
3.2 Mill and Plane the Wood:
You may need to mill and plane the wood to create a smooth and even surface. Use a jointer and thickness planer to remove any unevenness, rough spots, or imperfections in the wood. This step will ensure that your countertops have a uniform thickness and a flat surface for easier installation.
3.3 Seal the Wood:
Applying a sealant to the wood is essential to protect it from moisture, stains, and potential damage. There are various options for sealants, including oils, waxes, and polyurethane finishes. Research and choose a sealant that is food-safe and suitable for kitchen use. Apply multiple coats of the sealant, following the manufacturer’s instructions, and allow sufficient drying time between each coat.
3.4 Fill Knots and Cracks:
If your chosen wood has visible knots or cracks, consider filling them with wood filler or epoxy. This step adds stability and enhances the overall appearance of your countertops. Sand down any excess filler or epoxy to create a smooth and seamless surface.
3.5 Sand the Wood:
After sealing and filling, sand the wood surfaces to create a smooth and polished finish. Start with a coarse-grit sandpaper and gradually work your way up to finer grits for a flawless result. Remember to sand in the direction of the wood grain to avoid scratches and maintain its natural beauty.
By following these preparation steps, you’ll ensure that your wood is ready for construction and will withstand the demands of your kitchen. Now, let’s move on to cutting and joining the wood pieces to form your countertops.
When making wood kitchen countertops, be sure to choose a hardwood like maple, oak, or cherry for durability. Seal the wood with a food-safe finish to protect it from moisture and stains. Sand and reseal the countertop every few years to maintain its beauty and functionality.
Cutting and Joining the Pieces
Now that you have prepared the wood, it’s time to cut and join the pieces together to create your kitchen countertops. This step requires precision and careful execution to ensure a seamless and sturdy construction.
4.1 Measure and Mark:
Using your previously sketched design as a guide, measure and mark the wood pieces according to the dimensions and layout of your countertops. Double-check your measurements to ensure accuracy before making any cuts.
4.2 Cut the Wood:
Using a table saw or circular saw with a fine-toothed blade, carefully cut the wood pieces according to your marked measurements. Take your time, follow safety precautions, and ensure clean and straight cuts.
4.3 Join the Pieces:
There are various methods to join the wood pieces together. Depending on your skill level and desired aesthetic, you can use techniques such as butt joining, edge joining, or creating biscuit or dowel joints. Choose a method that suits your abilities and provides the necessary strength and stability for your countertops.
4.4 Apply Glue and Clamping:
If you are using glue for your joinery, apply a high-quality wood adhesive to the mating surfaces of the wood pieces. Align the pieces and use clamps to secure them tightly together. Follow the manufacturer’s instructions for drying time and ensure that the joints are level and flush.
4.5 Allow for Expansion Gaps:
Wood is a natural material that expands and contracts with changes in temperature and humidity. To account for this movement, make sure to leave small gaps between the wood pieces. These expansion gaps will prevent warping or cracking of your countertops over time.
4.6 Trim and Sand the Edges:
After the wood pieces have been joined together, trim any excess overhangs or uneven edges using a router or trim saw. Sand the edges to create a smooth and uniform surface, ensuring a seamless transition between the wood pieces.
By following these steps for cutting and joining the wood pieces, you’re well on your way to creating your own custom-made wood kitchen countertops. The next step is to sand and finish the surfaces to achieve the desired look and protection.
Read more: How To Finish Wood Countertops
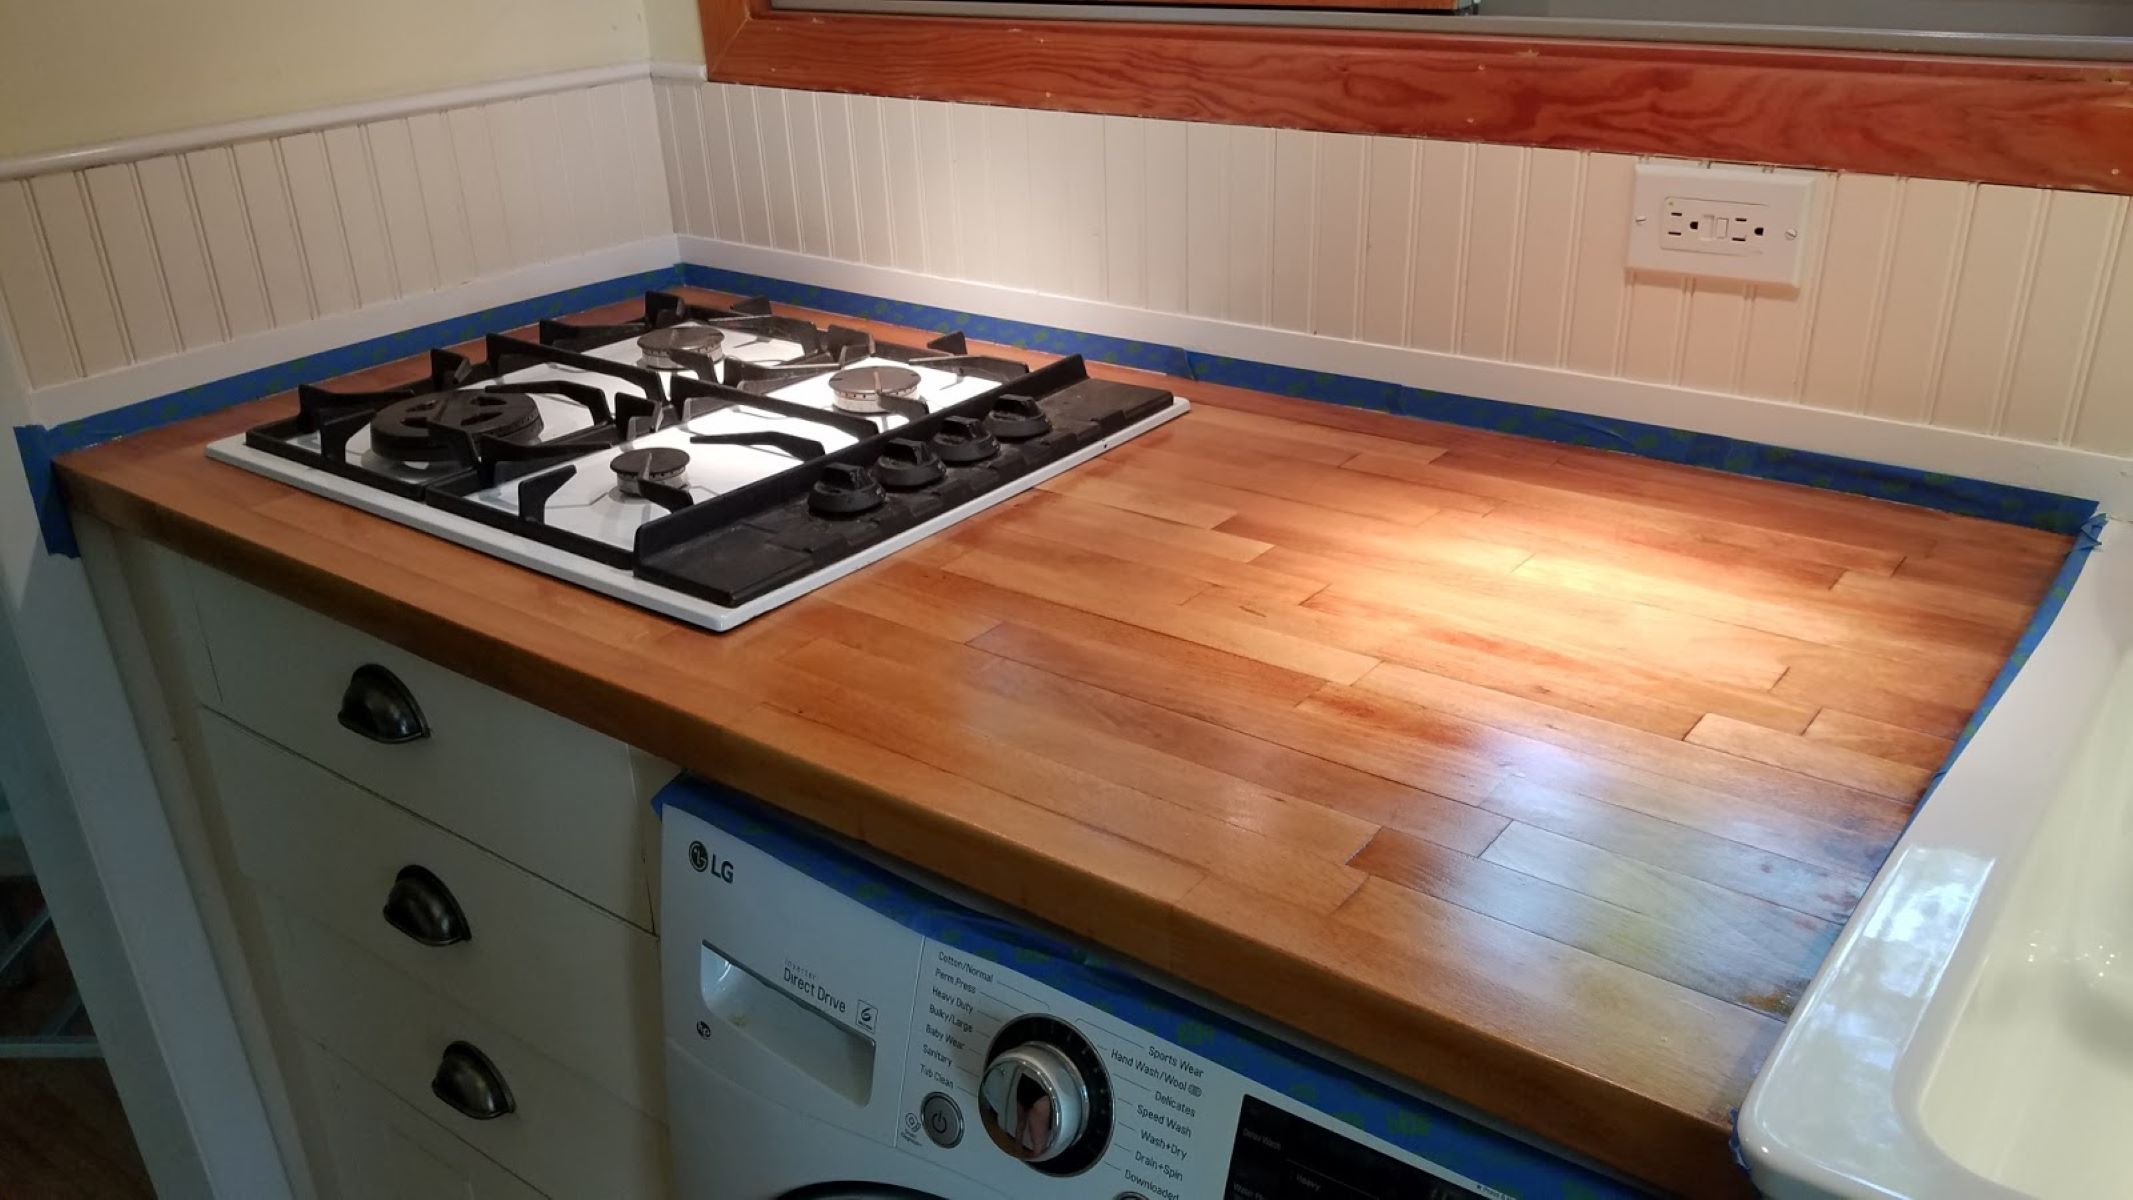
Sanding and Finishing
After cutting and joining the wood pieces for your kitchen countertops, it’s time to sand and finish the surfaces. Sanding is crucial for achieving a smooth and polished finish, while finishing helps protect the wood and enhance its natural beauty. Follow these steps to ensure a professional-looking result:
5.1 Start with Coarse Grit Sandpaper:
Begin sanding the surfaces of your countertops using coarse grit sandpaper. This helps remove any rough spots, imperfections, or unevenness in the wood. Sand in the direction of the grain, applying even pressure to create a consistent surface.
5.2 Progress to Finer Grits:
Gradually work your way up to finer grit sandpaper, switching to medium grit and then fine grit. Each successive sanding should smooth out the previous marks and scratches, resulting in a silky and flawless finish. Remember to sand in the same direction as the grain to maintain the wood’s natural beauty.
5.3 Pay Attention to Edges and Corners:
Ensure that you sand the edges and corners of your countertops thoroughly. Use sandpaper or sanding blocks to reach these areas and create a uniform finish. Be careful not to round the corners too much, as you want to maintain the defined edges of your countertops.
5.4 Clean the Surfaces:
Once you have completed sanding, take the time to clean the surfaces of any dust or debris. Use a brush or vacuum to remove any loose particles, and then wipe down the countertops with a damp cloth to ensure they are completely clean and ready for finishing.
5.5 Choose Your Finish:
There are various finishes available for wood countertops, including oils, waxes, varnishes, and polyurethane. Each has its own unique properties and application methods. Research the best finish for your chosen wood species and desired aesthetic, ensuring it is food-safe and suitable for kitchen use.
5.6 Apply the Finish:
Follow the manufacturer’s instructions to apply the chosen finish to your countertops. Use a brush, roller, or applicator pad to evenly spread the finish over the wood surfaces. Apply multiple coats if necessary, allowing proper drying time between each coat. Lightly sand between coats to achieve a smooth and glossy finish.
By properly sanding and finishing your wood kitchen countertops, you not only protect the wood from moisture, stains, and daily wear but also enhance the natural beauty and characteristics of the chosen wood species. With the surfaces prepared and finished, it’s time to move on to installation and maintenance tips.
Installation and Maintenance Tips
As you near the final stages of creating your wood kitchen countertops, it’s essential to consider the installation process and ongoing maintenance to ensure their longevity and beauty. Here are some tips to guide you:
6.1 Installation:
- Ensure that your cabinets and support structures are sturdy and can adequately bear the weight of the countertops.
- Double-check the measurements and fit of your countertops before final installation, making any necessary adjustments.
- Use appropriate screws or brackets to secure the countertops to the cabinet base, providing stability and preventing movement.
- Apply a bead of silicone caulk around the edges of the countertops to create a waterproof seal, preventing water from seeping between the wood and the cabinets.
- Follow any specific installation instructions provided by the manufacturer of your chosen finish to ensure proper curing and protection.
6.2 Maintenance:
- Regularly clean the countertops with gentle soap and warm water, using a non-abrasive sponge or cloth.
- Avoid using harsh chemicals, abrasive cleaners, or scouring pads that can damage the wood or affect the finish.
- Immediately wipe up any spills that occur to prevent staining or water damage to the wood surface.
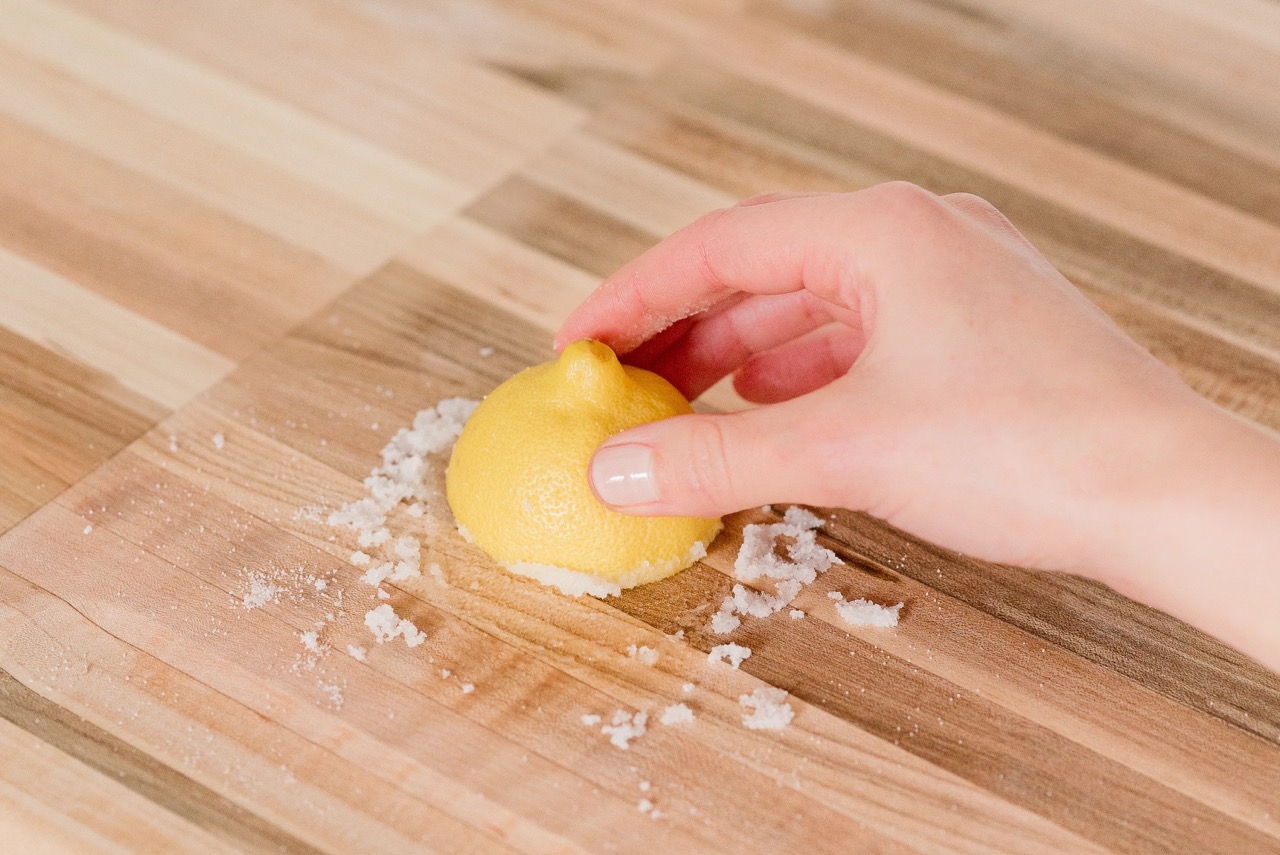
- Use cutting boards and trivets to protect the wood from heat, scratches, and excessive wear from sharp objects.
- Reapply a protective finish or oil treatment as recommended by the manufacturer to maintain the beauty and integrity of the wood over time.
Additionally, be mindful of the following maintenance tips:
- Avoid dragging heavy objects or using excessive force on the countertop surface to prevent scratches or dents.
- Regularly inspect the wood for any signs of wear, damage, or changes in its appearance, and address issues promptly to prevent further deterioration.
- Consider using cutting board oil or beeswax periodically to rejuvenate the wood and maintain its luster.
- Be cautious with exposure to direct sunlight, as it can cause fading or discoloration of the wood over time. Utilize blinds or curtains to limit exposure.
By following these installation and maintenance tips, you can ensure that your wood kitchen countertops remain in pristine condition for years to come.
Congratulations on completing your journey of creating beautiful and functional wood kitchen countertops! Not only have you added a stunning focal point to your kitchen, but you have also crafted a piece that will withstand the test of time.
Enjoy your new wood countertops and the warmth and charm they bring to your culinary space!
Should you have any further questions or need additional assistance, don’t hesitate to reach out. Happy cooking and entertaining in your revamped kitchen!
Conclusion
In conclusion, creating your own wood kitchen countertops is a rewarding and fulfilling project that allows you to add a touch of natural beauty and warmth to your kitchen. Throughout this comprehensive guide, we have covered the essential steps in making wood countertops, from choosing the right wood species to installation and maintenance.
By carefully selecting the appropriate wood species, considering factors such as color, grain pattern, and hardness, you can achieve a countertop that complements your kitchen’s style and meets your functional needs. Taking accurate measurements and planning the design layout ensures a precise fit and minimizes any installation issues.
Preparing the wood through acclimation, milling, sealing, and sanding is crucial for ensuring stability and longevity. The process of cutting and joining the wood pieces requires precision and attention to detail, resulting in a seamless and sturdy construction.
Finishing the countertops with the appropriate sealant enhances their natural beauty and provides protection against moisture, stains, and daily wear. Finally, installing the countertops with proper techniques and performing regular maintenance helps to ensure their longevity and maintain their aesthetic appeal.
Now that you have completed this comprehensive guide, you have the knowledge and skills to embark on your wood kitchen countertop project confidently. Whether you’re a seasoned DIY enthusiast or a beginner, this guide has provided you with the necessary steps to create stunning, durable, and functional wood countertops for your kitchen.
Remember to plan carefully, choose the right materials, and follow the recommended installation and maintenance practices to enjoy the beauty and functionality of your wood countertops for many years to come.
Good luck with your project, and enjoy the transformation of your kitchen into a space that exudes warmth, charm, and natural elegance!
Frequently Asked Questions about How To Make Wood Kitchen Countertops
Was this page helpful?
At Storables.com, we guarantee accurate and reliable information. Our content, validated by Expert Board Contributors, is crafted following stringent Editorial Policies. We're committed to providing you with well-researched, expert-backed insights for all your informational needs.


0 thoughts on “How To Make Wood Kitchen Countertops”