
Articles
How To Mount A Woodworking Vise
Modified: May 6, 2024
Learn how to properly mount a woodworking vise with step-by-step instructions and tips in this comprehensive article.
(Many of the links in this article redirect to a specific reviewed product. Your purchase of these products through affiliate links helps to generate commission for Storables.com, at no extra cost. Learn more)
Introduction
Mounting a woodworking vise is a crucial step in setting up a well-equipped workshop. A woodworking vise is a must-have tool that provides stability and clamping capabilities for a variety of woodworking projects. Whether you are a DIY enthusiast or a professional woodworker, having a properly mounted vise can greatly enhance the efficiency and precision of your work.
In this article, we will guide you through the process of mounting a woodworking vise. We will cover everything from gathering the necessary materials and tools to adjusting and testing the vise. By following these steps, you will be able to securely mount your vise and ensure it functions optimally for all your woodworking needs.
Before we dive into the step-by-step instructions, let’s briefly discuss the importance of choosing the right location for mounting your woodworking vise.
When selecting a location for your vise, it is essential to consider factors such as the size of your workbench, the type of projects you typically work on, and the space available in your workshop. The vise should be mounted in a position that provides maximum accessibility and support during woodworking tasks.
Now, let’s move on to the first step: gathering the materials and tools required for mounting your woodworking vise.
Key Takeaways:
- Properly mounting a woodworking vise is essential for stability and precision in woodworking projects. Consider location, gather materials, prepare the surface, and test functionality for optimal results.
- Choosing the right location, accurately marking and drilling holes, and testing the vise’s functionality are crucial steps in mounting a woodworking vise. Follow these steps for a secure and efficient setup.
Read also: 9 Amazing Woodworking Vise for 2025
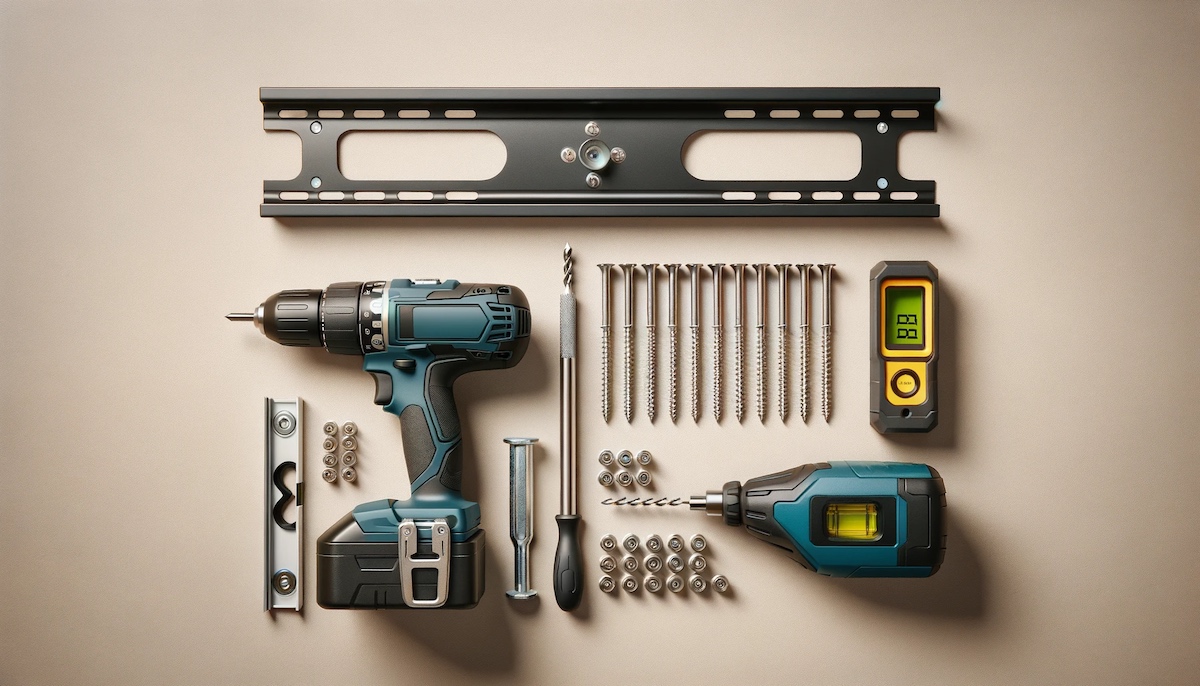
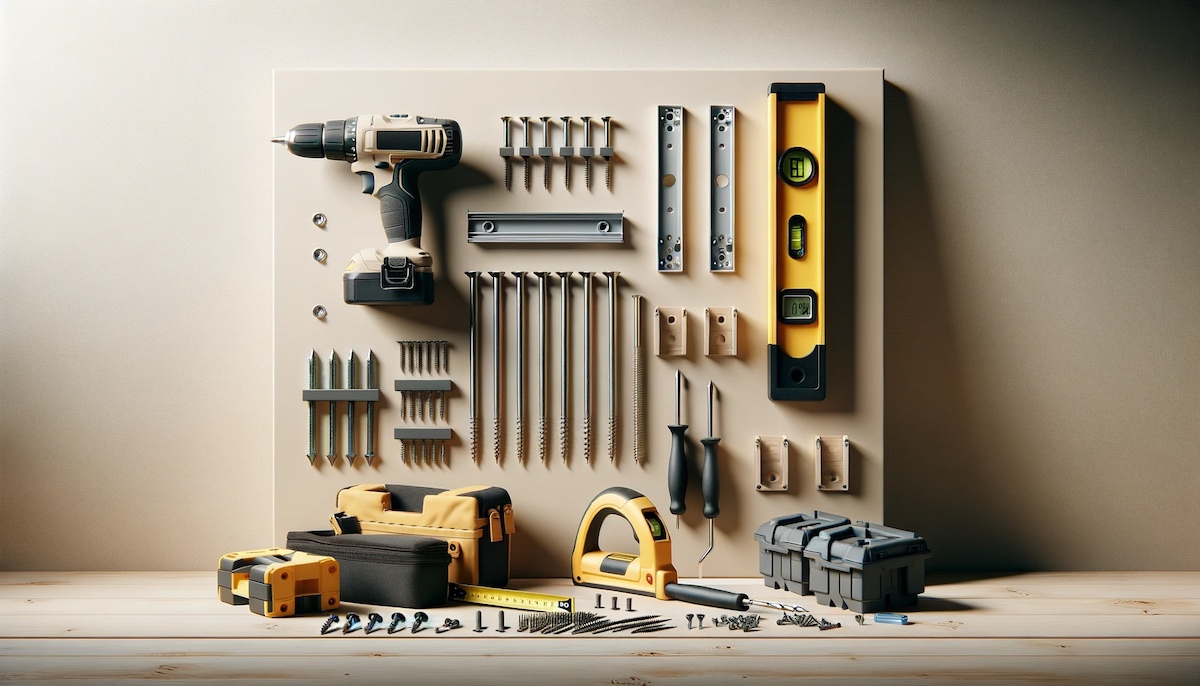
Step 1: Gathering Materials and Tools
Before you begin the process of mounting your woodworking vise, it’s essential to gather all the necessary materials and tools. Having everything prepared beforehand will make the installation process smoother and more efficient. Here’s a list of the materials and tools you’ll need:
Materials:
- Woodworking vise
- Vise mounting hardware (screws, washers, and nuts)
- Wood screws
- Wooden blocks or spacers
- Wood glue
- Sanding paper
Tools:
- Drill
- Drill bits
- Screwdriver
- Wrench or spanner
- Clamps
- Measuring tape
- Pencil or marker
Make sure you have all the materials and tools listed above readily available before you proceed to the next step. This will save you time and ensure a smooth installation process.
Once you have gathered all the necessary materials and tools, you are ready to move on to the next step: choosing the right location for mounting your woodworking vise.
Step 2: Choosing the Right Location for Mounting
When it comes to mounting a woodworking vise, choosing the right location is crucial for optimal functionality and ease of use. Consider the following factors when deciding where to mount your vise:
1. Workbench Structure:
Examine your workbench and identify a suitable area where the vise can be securely mounted. Look for a sturdy and level surface that can withstand the clamping pressure and provide stability during woodworking tasks. Avoid mounting the vise in a location where it may interfere with other tools or hinder your movement.
2. Height and Accessibility:
Consider the height that is comfortable for you to work at. The vise should be mounted at a height that allows you to exert sufficient force while maintaining a natural and ergonomic posture. Additionally, ensure that the vise is easily accessible from all sides to facilitate versatile clamping options.
3. Workspace and Project Size:
Depending on the size of your projects, you may want to position the vise in an area that provides ample space for maneuvering larger pieces of wood. This will allow you to work on projects of varying sizes without any limitations caused by the proximity of the vise.
4. Lighting and Ventilation:
Consider the lighting and ventilation conditions of your workshop when choosing the vise location. Mounting the vise near a natural light source or providing adequate artificial lighting will improve visibility and reduce eye strain. Additionally, ensure that there is proper ventilation in the area to maintain a comfortable working environment.
5. Personal Preference:
Lastly, consider your personal preference and the type of woodworking projects you frequently undertake. Take into account any specific requirements or preferences you may have, such as mounting the vise closer to one side of the workbench or positioning it at a specific angle.
Once you have considered these factors, mark the chosen location using a pencil or marker. This will serve as a guide when preparing the mounting surface in the next step. With the location decided, you are now ready to move on to the next step: preparing the mounting surface.
Step 3: Preparing the Mounting Surface
Preparing the mounting surface is an essential step in ensuring a secure and stable installation of your woodworking vise. Follow these steps to properly prepare the surface:
1. Clear the Workbench:
Begin by removing any clutter, tools, or materials from the workbench. This will provide a clear and clean space for attaching the vise.
2. Clean the Surface:
Use a damp cloth or mild cleaning solution to clean the surface of the workbench. Remove any dust, debris, or residue that may interfere with the adhesion of the vise or affect its stability.
3. Sand the Surface:
If the workbench surface is rough or uneven, use sandpaper to smooth it out. This will ensure a flush and tight fit between the vise and the workbench, preventing any wobbling or movement during use.
4. Add Wooden Blocks or Spacers (Optional):
In some cases, it may be necessary to elevate the vise slightly to align it with the desired workbench height. To achieve this, you can attach wooden blocks or spacers to the underside of the vise before mounting it. Ensure that the blocks or spacers are securely attached and level with the workbench surface.
5. Apply Wood Glue (Optional):
If you want to enhance the stability and strength of the vise mounting, you can apply wood glue to the mounting surface. This will create a strong bond between the vise and the workbench, reducing the risk of any future loosening or shifting.
Once the surface is clean, smooth, and prepared, you are now ready to move on to the next step: marking the mounting holes for the vise.
Step 4: Marking the Mounting Holes
Marking the mounting holes is a crucial step in ensuring accurate placement and alignment of the woodworking vise. Here’s how to mark the holes:
1. Position the Vise:
Place the woodworking vise in the desired location on the prepared mounting surface. Align it according to the markings you made earlier, ensuring that it is centered and level with the workbench.
2. Align the Mounting Holes:
Once the vise is properly positioned, align the mounting holes in the vise base with the mounting surface. Use a pencil or marker to mark the location of the holes on the workbench. Make sure to mark all the holes accurately.
3. Indicate Depth and Width:
In addition to marking the hole locations, you can also indicate the depth and width of the holes. This can be done by using an appropriately sized drill bit to create shallow pilot holes or by drawing circles around the hole marks to represent their size.
4. Double-Check the Alignment:
Before moving on to the drilling process, double-check the alignment of the vise and the marked holes. Ensure that the vise is still centered and level, and the holes are accurately marked. This will prevent any discrepancies or misalignments during the final mounting stage.
With the mounting holes properly marked, you are now ready to move on to the next step: drilling the holes.
When mounting a woodworking vise, be sure to securely attach it to a sturdy workbench or table to prevent movement or wobbling during use. Use heavy-duty screws or bolts for a strong and stable attachment.
Read more: How To Learn Woodworking
Step 5: Drilling the Holes
Drilling the mounting holes is a crucial step in securely attaching the woodworking vise to the workbench. Follow these steps to drill the holes accurately and efficiently:
1. Select the Drill Bit:
Choose a drill bit that matches the size and specifications of the mounting hardware provided with the vise. It’s important to use the correct size bit to ensure a snug fit and prevent any wobbling or shifting of the vise.
2. Secure the Workbench:
Before drilling, securely clamp the workbench to a stable surface or use a workbench vice to prevent any movement or vibration during the drilling process. This will ensure precise and clean holes.
3. Start with Pilot Holes:
To facilitate drilling, start by creating pilot holes at the marked locations. Use a smaller drill bit (about 1/8 inch) to create these initial holes. This will help guide the larger drill bit and prevent any splitting or splintering of the workbench.
4. Drill the Mounting Holes:
Using the larger drill bit, carefully drill the mounting holes at the marked locations. Apply consistent pressure and make sure to drill straight and perpendicular to the workbench surface. Take your time and let the drill do the work to avoid any damage or accidents.
5. Clean the Holes:
After drilling, use a brush or a cloth to clean the holes and remove any wood chips or debris. This will ensure a clean surface for inserting the mounting hardware and provide a better fit.
Once you have drilled the mounting holes, you can proceed to the next step: mounting the vise base.
Step 6: Mounting the Vise Base
Mounting the vise base is a crucial step that ensures the stability and functionality of the woodworking vise. Follow these steps to securely attach the vise base to the workbench:
1. Insert the Mounting Hardware:
Insert the appropriate screws, washers, and nuts through the mounting holes in the vise base. Ensure that the hardware is inserted from the bottom side of the workbench, with the heads of the screws on the top side.
2. Align the Vise Base:
Align the vise base with the mounting holes on the workbench, making sure that the holes in the base line up perfectly with the holes in the workbench. Check for proper alignment and adjust as necessary.
3. Tighten the Mounting Hardware:
Using a screwdriver or a wrench, tighten the mounting hardware securely. Alternate between the screws to ensure even tightening and prevent any imbalance. Be careful not to overtighten, as this can damage the vise or the workbench.
4. Check for Level and Stability:
After securing the vise base, check for levelness and stability. Ensure that the vise is firmly attached to the workbench and doesn’t wobble or shift. If needed, make minor adjustments to achieve a level and stable mounting.
5. Test the Vise Functionality:
Now that the vise base is mounted, it’s time to test the functionality of the vise. Open and close the vise to ensure smooth movement and proper clamping action. Check if the vise jaws align perfectly and apply consistent pressure when clamping.
Once you are satisfied with the mounting and functionality of the vise base, you can proceed to the next step: securing the vise screw.
Step 7: Securing the Vise Screw
Securing the vise screw is an important step in ensuring the proper functioning and stability of your woodworking vise. Follow these steps to securely attach the vise screw:
1. Align the Vise Screw:
Place the vise screw into the corresponding slot or hole on the vise base. Ensure that the screw aligns properly and fits securely within the base. The screw should move smoothly without any obstructions.
2. Attach the Handle:
If your vise screw requires a handle, attach it to the end of the screw. Make sure it is securely fastened, so you can easily rotate the screw to open and close the vise jaws.
3. Apply Lubrication:
To ensure smooth operation and minimize friction, apply lubrication to the vise screw. This will make it easier to rotate and tighten the vise jaws. Use a suitable lubricant, such as a light machine oil or silicone-based lubricant.
4. Test the Vise Functionality:
After securing the vise screw, test the functionality of the vise. Rotate the screw to open and close the vise jaws, checking for smooth movement and proper gripping. Verify that the vise securely holds the workpiece in place without any slipping or loosening.
5. Fine-Tune the Alignment:
If necessary, fine-tune the alignment of the vise jaws by adjusting the vise screw. Ensure that the jaws align perfectly and exert equal pressure along the entire length of the workpiece when clamped.
Once the vise screw is securely attached and the vise functions smoothly, you have successfully completed the step of securing the vise screw. Now you can proceed to the final step: adjusting and testing the vise.
Step 8: Adjusting and Testing the Vise
The final step in mounting your woodworking vise is to adjust and test its functionality. Follow these steps to ensure that the vise is properly adjusted and ready for use:
1. Check for Squareness:
Check if the vise jaws are square to the workbench surface by aligning a square against the jaws. If adjustments are needed, use a wrench or a socket to loosen the mounting hardware and slightly adjust the vise position until it is square.
2. Test the Clamping Action:
Place a scrap piece of wood between the vise jaws and tighten the vise screw. Test the clamping action by applying pressure and checking if the wood piece is securely held in place. Make sure there is enough grip without excessive force.
3. Adjust Jaw Alignment:
If the vise jaws are not parallel or evenly aligned, adjust them by loosening the mounting hardware. Gently tap the jaws into the desired position using a mallet or a wooden block. Once aligned, tighten the hardware securely.
4. Check for Smooth Operation:
Open and close the vise multiple times to ensure smooth operation. The vise should move freely without any sticking or binding. If there is any resistance, check for any obstructions or misalignment and make necessary adjustments.
5. Test the Holding Power:
To test the holding power of the vise, clamp different thicknesses and sizes of wood securely. Apply pressure and check if the vise holds the workpiece firmly without any slipping or movement. Adjust the clamping pressure as needed.
6. Verify Stability:
Ensure that the vise is stable during use by applying side pressure or hammering on the workpiece. The vise should remain securely mounted to the workbench without any wobbling or shifting.
Once you have adjusted and tested the vise to your satisfaction, congratulations! You have successfully mounted and set up your woodworking vise. Now you can begin using it to enhance your woodworking projects with improved stability, clamping capabilities, and precision.
Remember to periodically check and maintain your vise, tightening any loose hardware and lubricating the moving parts, to keep it in optimal working condition.
Happy woodworking!
Read more: How To Mount Wood To Brick
Conclusion
Mounting a woodworking vise is an essential step in setting up a functional and efficient workshop. Having a secure and properly mounted vise provides stability, clamping capabilities, and improved precision for all your woodworking projects. By following the step-by-step guide outlined in this article, you can successfully mount your woodworking vise with ease.
We began by discussing the importance of choosing the right location for mounting the vise, considering factors such as workbench structure, height and accessibility, workspace size, lighting, and personal preference. Next, we covered the necessary materials and tools you’ll need, ensuring you have everything at hand before starting the installation process.
We then moved on to preparing the mounting surface, which involved clearing and cleaning the workbench, sanding to create a smooth surface, and optionally adding wooden blocks or applying wood glue for added stability. The subsequent step involved marking the mounting holes accurately to ensure proper alignment and drilling the holes meticulously to avoid any damage to the workbench.
With the holes drilled, we proceeded to mount the vise base securely to the workbench, tightening the mounting hardware evenly and checking for levelness and stability. We then moved on to securing the vise screw, aligning it properly and adding lubrication for smooth functionality.
Lastly, we adjusted and tested the vise, checking for squareness, evaluating the clamping action, aligning the jaws if necessary, and verifying smooth operation and holding power. It is important to ensure that the vise is properly adjusted and tested to ensure its optimal performance.
By following these steps, you can confidently mount a woodworking vise and improve the efficiency and accuracy of your woodworking tasks. Remember to regularly check and maintain your vise to ensure its continued functionality.
Now, armed with the knowledge and skills to mount a woodworking vise, you can embark on your woodworking projects with ease and enjoy the benefits of a securely clamped workpiece. Happy woodworking!
Excited about your newly mounted woodworking vise? Why stop there? Dive into our latest roundup of top picks for woodworkers and discover tools that'll make projects smoother and more efficient. From chisels to power saws, find everything needed for next year's creations. For enthusiasts who love getting hands-on, our article on the perks of DIY projects offers insights on crafting unique items at home. Uncover how DIY efforts not only save money but also personalize your living space. Ready to enhance your skills and home? Check out these reads!
Frequently Asked Questions about How To Mount A Woodworking Vise
Was this page helpful?
At Storables.com, we guarantee accurate and reliable information. Our content, validated by Expert Board Contributors, is crafted following stringent Editorial Policies. We're committed to providing you with well-researched, expert-backed insights for all your informational needs.


0 thoughts on “How To Mount A Woodworking Vise”