
Articles
How To Measure Undermount Sink
Modified: October 20, 2024
Learn how to accurately measure for an undermount sink with our informative articles. Achieve a seamless and professional installation with our expert tips and guidance.
(Many of the links in this article redirect to a specific reviewed product. Your purchase of these products through affiliate links helps to generate commission for Storables.com, at no extra cost. Learn more)
Introduction
Welcome to this comprehensive guide on how to measure an undermount sink. Undermount sinks have become increasingly popular in modern kitchens and bathrooms due to their sleek and seamless design. Whether you’re replacing an old sink or installing a new one, accurate measurements are crucial to ensure a perfect fit.
Measuring an undermount sink may seem like a daunting task, but with the right tools and techniques, it can be a straightforward process. In this article, we will walk you through the steps involved in measuring an undermount sink, including measuring the sink cutout, cabinet opening, determining the sink position, marking the sink’s mounting points, and verifying the measurements.
By following these steps, you will be able to obtain precise measurements that will help you choose the right size undermount sink for your space and ensure a seamless installation.
So, let’s dive in and learn how to measure an undermount sink!
Key Takeaways:
- Accurate measurements are crucial for a seamless undermount sink installation. Follow the step-by-step process to measure the sink cutout, cabinet opening, and mounting points to ensure a perfect fit.
- Undermount sinks offer a sleek, modern look and easy cleaning. Take your time, gather the right tools, and verify measurements for a successful installation.
Read more: What Is Undermount Sink
Understanding Undermount Sinks
Before we begin measuring an undermount sink, it’s important to understand what it is and how it differs from other types of sinks.
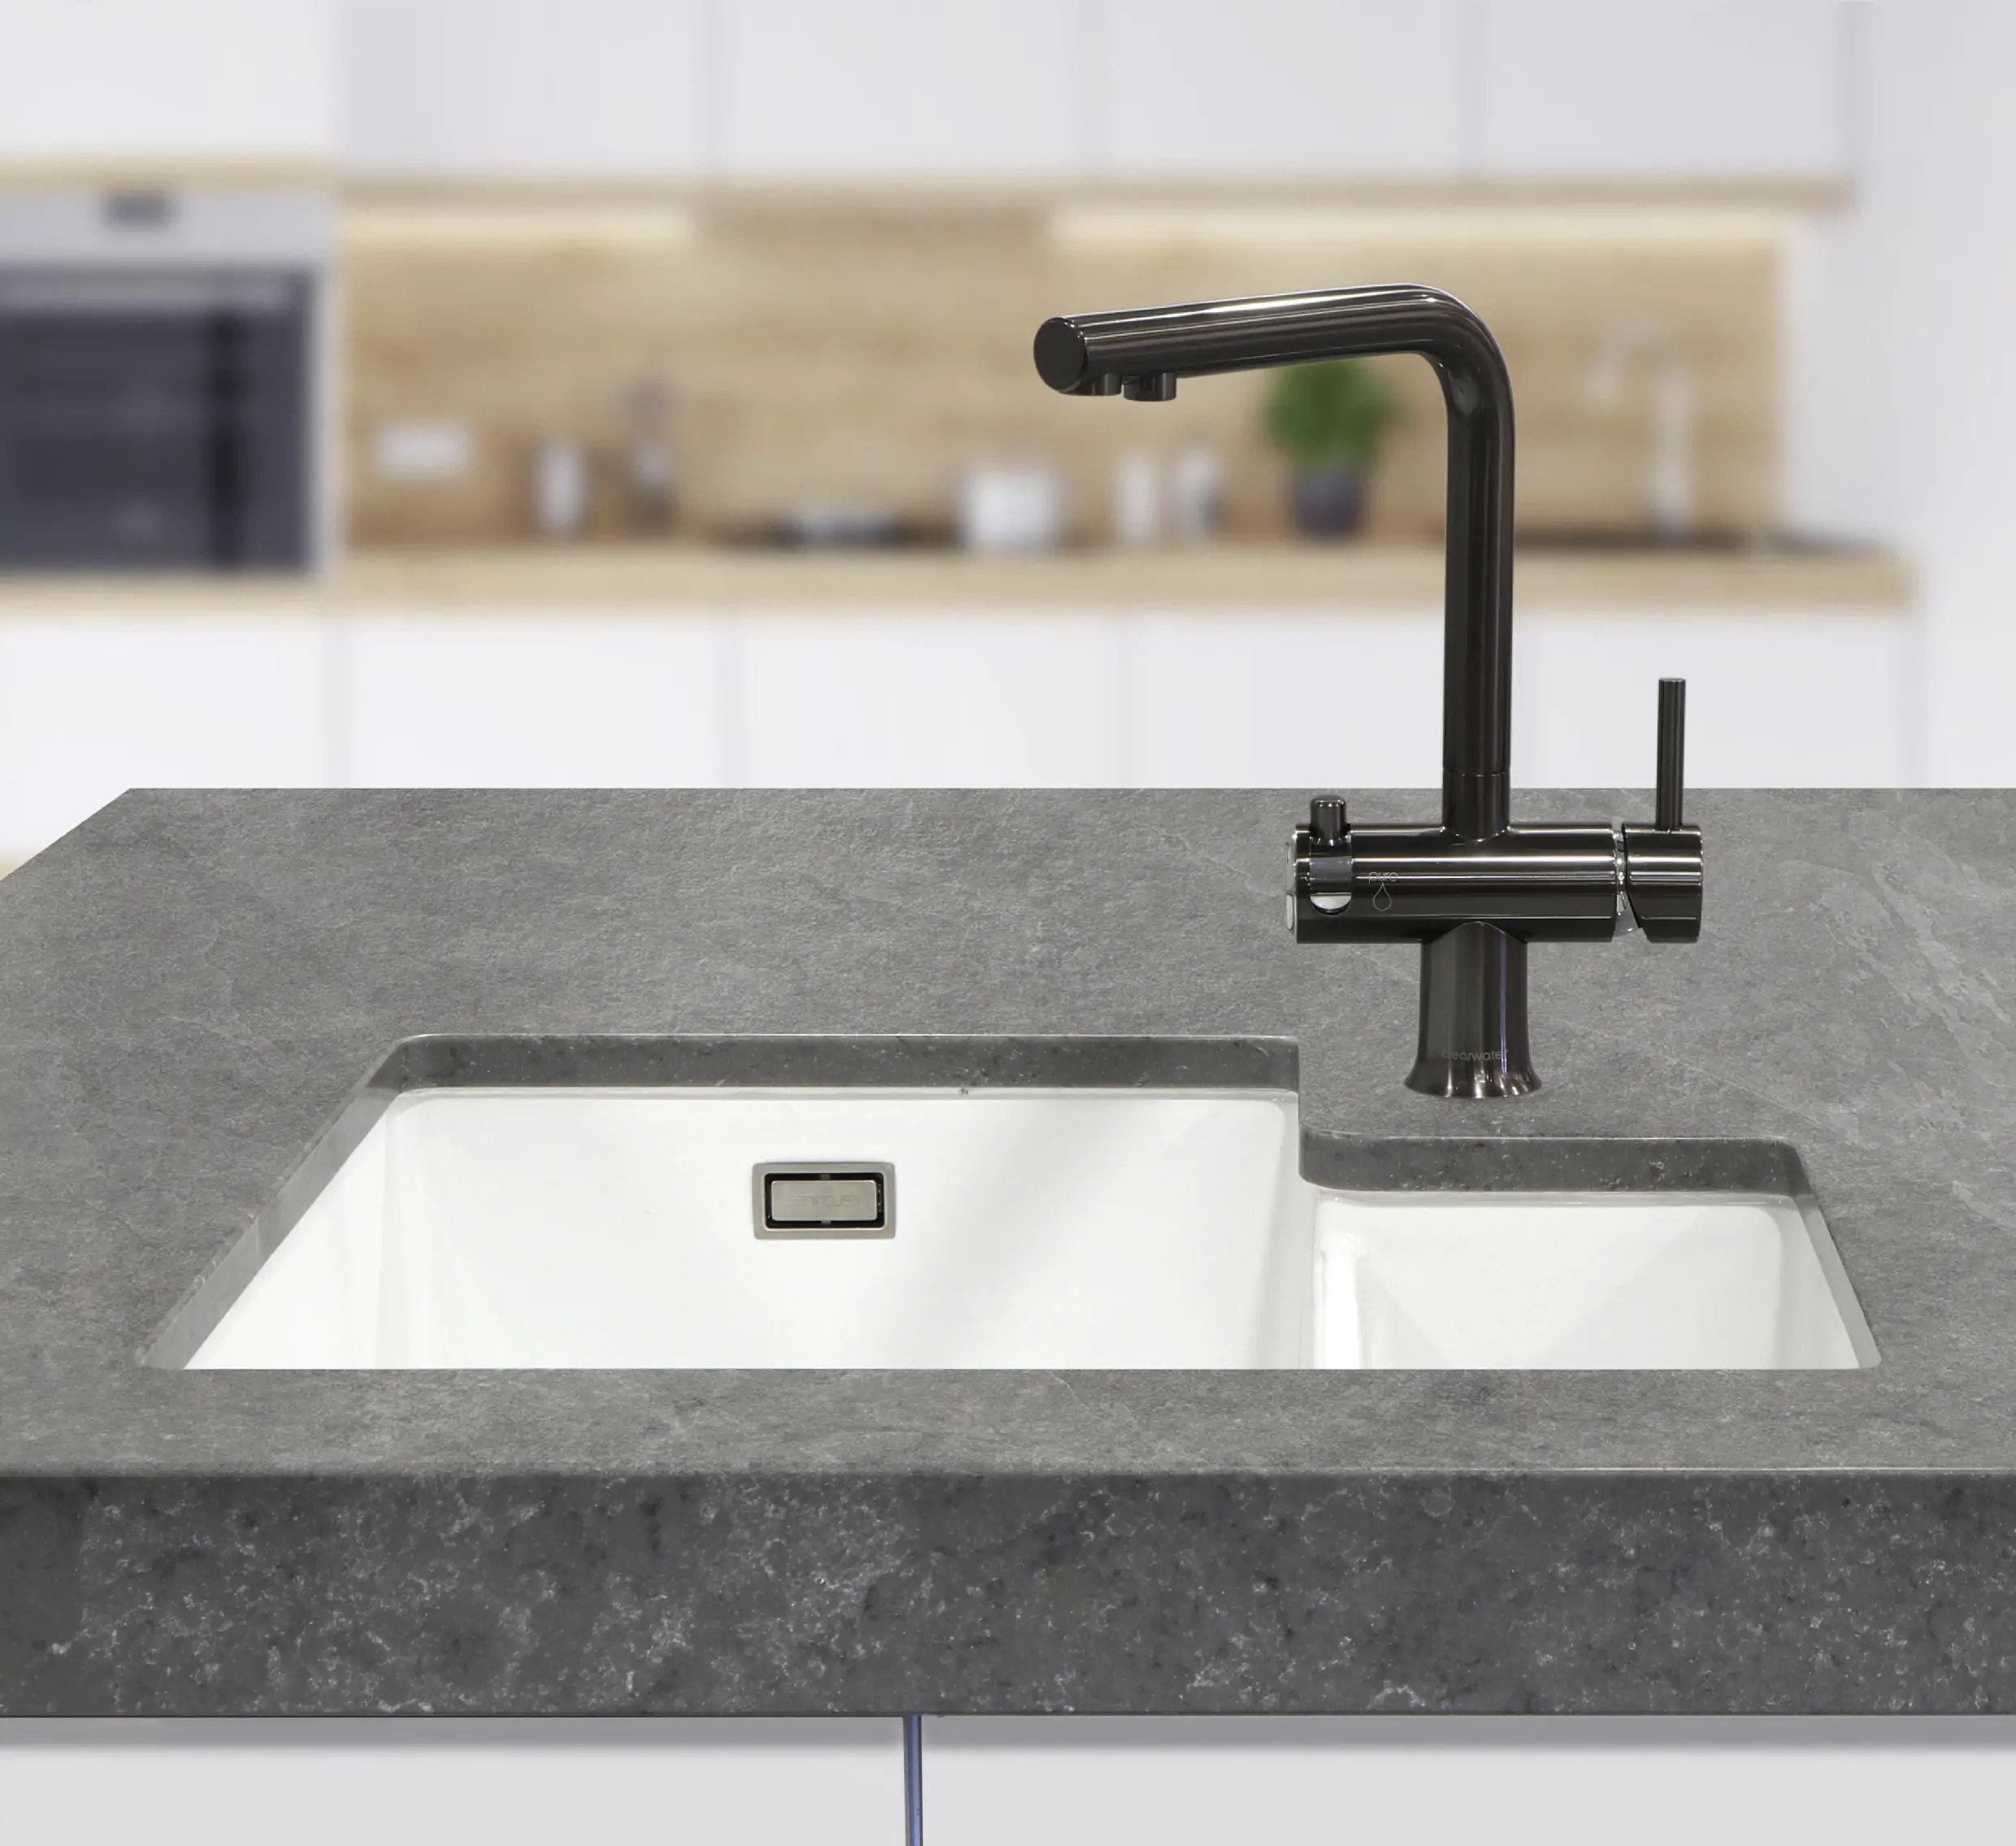
An undermount sink is a type of sink that is installed underneath the countertop, creating a smooth and seamless look. Unlike top-mounted sinks, undermount sinks are not visible from the top of the countertop, which offers a more minimalist and modern aesthetic.
Undermount sinks are typically made of materials such as stainless steel, porcelain, or composite materials like granite or quartz. They come in various shapes and sizes, ranging from single basin to double basin, and can be found in different styles to match your kitchen or bathroom décor.
One of the main advantages of undermount sinks is the ease of cleaning. Since there is no rim or edge that overlaps the countertop, you can easily wipe debris and water directly into the sink without any obstructions. This makes undermount sinks a popular choice for those who value both aesthetics and functionality.
Additionally, undermount sinks provide more usable space on the countertop compared to top-mounted sinks. With the sink being installed below the countertop, you have more surface area to work with, making it easier to perform tasks like food preparation or washing dishes.
However, it’s important to note that undermount sinks require professional installation and proper support to ensure they are securely attached to the countertop. It’s recommended to consult with a professional or follow the manufacturer’s instructions for installation.
Now that we have a clear understanding of what undermount sinks are, let’s move on to the tools and materials you will need to measure your undermount sink accurately.
Tools and Materials Needed
Before you begin measuring your undermount sink, gather the following tools and materials to ensure a smooth and accurate process:
- Tape measure: A reliable tape measure is essential for taking precise measurements of the sink cutout and cabinet opening.
- Pencil or marker: You will need a pencil or marker to mark the measurements on your countertop and cabinet.
- Paper or notepad: Keep a notepad or paper handy to record the measurements as you go.
- Safety glasses: It’s always a good idea to wear safety glasses when working with tools to protect your eyes from any potential hazards.
- Level: A level will help you ensure that the sink is level during installation. It’s an important tool for achieving a professional-looking result.
- Masking tape: Using masking tape can help you create clean and precise lines when marking the sink’s mounting points.
- Screwdriver or drill: Depending on the type of sink and mounting system, you may need a screwdriver or drill to attach the sink securely.
- Helper: While not a tool or material, having an extra set of hands can be extremely helpful during the measuring and installation process. They can assist in holding the sink in place or double-checking measurements.
By having these tools and materials prepared, you will be well-equipped to measure your undermount sink accurately and efficiently. Now that we have everything we need, let’s move on to the step-by-step process of measuring an undermount sink.
Step 1: Measuring the Sink Cutout
The first step in measuring an undermount sink is to determine the dimensions of the cutout that will be made on the countertop to accommodate the sink. Follow these steps to measure the sink cutout accurately:
- Clear the countertop: Make sure the countertop is free from any objects or obstructions to allow an unobstructed measurement process.
- Place the sink upside down: Turn the sink upside down and position it on the countertop where it will be installed. Ensure that it is aligned and centered properly.
- Measure the width: Starting from the left, use a tape measure to measure the width of the sink from one side to the other. Note this measurement down.
- Measure the length: Next, measure the length of the sink from the front edge to the back edge. Note this measurement down as well.
- Measure the corners: To ensure a precise fit, measure the corner radii of the sink. This refers to the curvature of the corners. Use a tape measure to measure from the starting point of the curve to the ending point on both sides. Note these measurements down as well.
Once you have gathered these measurements, you will have the dimensions of the sink cutout. It’s important to record these measurements accurately as they will determine the size of the opening on the countertop.
If you are unsure about making the cutout yourself, it is recommended to consult with a professional or follow the manufacturer’s instructions. They can provide guidance on how to accurately create the cutout for your specific sink model.
Now that we have measured the sink cutout, let’s move on to measuring the cabinet opening in the next step.
Step 2: Measuring the Cabinet Opening
After measuring the sink cutout on the countertop, the next step is to measure the cabinet opening where the sink will be installed. Follow these steps to measure the cabinet opening accurately:
- Remove the existing sink (if applicable): If you are replacing an old sink, remove it from the cabinet to expose the opening.
- Clean the cabinet area: Ensure that the cabinet area is clean and free from any debris or obstacles that might affect the measurements.
- Measure the width: Using a tape measure, measure the width of the cabinet opening from one side to the other. Note down this measurement.
- Measure the depth: Next, measure the depth of the cabinet opening from the back wall to the front edge. Note down this measurement as well.
- Measure the height: If your undermount sink has a height dimension, measure the height of the cabinet opening. This will determine if the sink will fit comfortably within the cabinet space.
These measurements will help you determine the size of the cabinet opening where the sink will be placed. It’s important to record these measurements accurately to ensure a proper fit for the sink.
Remember, if you are uncertain about any of the measurements or installation process, it’s recommended to consult with a professional or follow the manufacturer’s instructions for your specific sink model.
Now that we have measured the sink cutout and cabinet opening, let’s continue to the next step: determining the sink position.
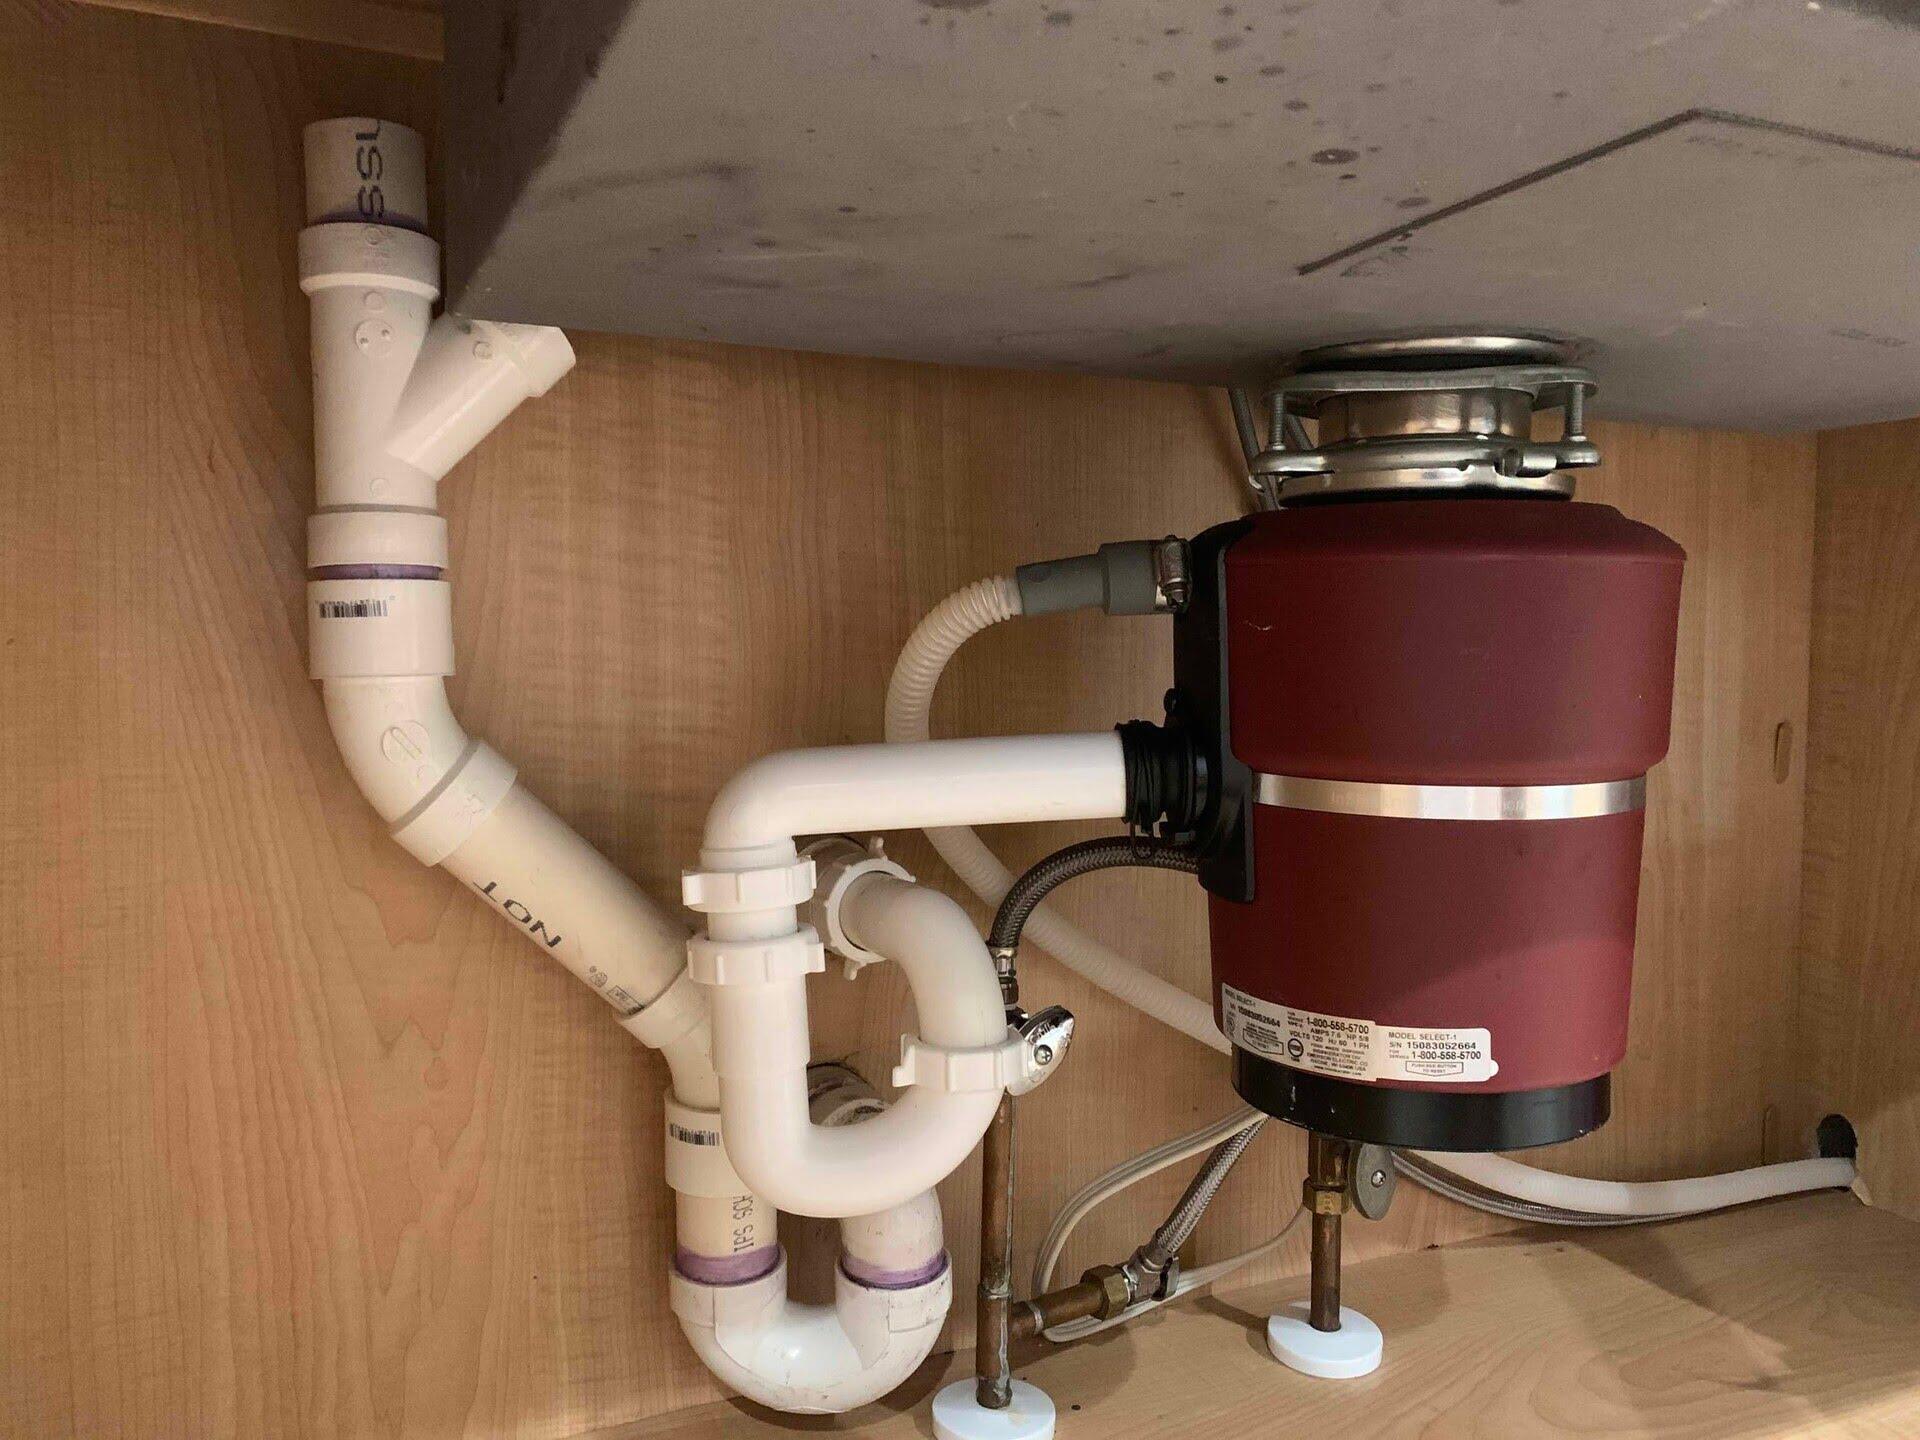
When measuring for an undermount sink, be sure to measure the width, depth, and height of the cabinet opening to ensure the sink will fit properly. Take into account any obstructions such as plumbing or supports.
Read more: How To Install Undermount Kitchen Sink
Step 3: Determining the Sink Position
After measuring the sink cutout and cabinet opening, the next step is to determine the position of the undermount sink within the cabinet. This step is important to ensure that the sink is centered properly and aligned with other fixtures. Follow these steps to determine the sink position:
- Place the sink template: Most undermount sinks come with a template that can be used to outline the position of the sink. Place the template on the countertop within the sink cutout and align it properly.
- Align the sink template with the cabinet opening: Make sure that the template is also aligned with the cabinet opening. This will help you visualize the position of the sink within the cabinet.
- Consider other fixtures: Take into account any nearby fixtures, such as faucets or backsplashes, and ensure that the sink is positioned in a way that allows for proper installation and functionality.
- Adjust the sink position if necessary: If you find that the initial placement of the sink template does not align well with the cabinet opening or other fixtures, make adjustments as needed to achieve the desired position.
By determining the sink position beforehand, you can ensure that the sink will be centered correctly within the cabinet and aligned with other fixtures. It’s important to take your time during this step and make any necessary adjustments to achieve the desired positioning.
Now that we have determined the sink position, let’s move on to the next step: marking the sink’s mounting points.
Step 4: Marking the Sink’s Mounting Points
After determining the position of the undermount sink within the cabinet, the next step is to mark the mounting points on the countertop. These points will indicate where the sink will be attached to ensure a secure and stable installation. Follow these steps to mark the sink’s mounting points:
- Place the sink template on the countertop: Position the sink template back onto the countertop within the sink cutout, aligning it with the determined sink position.
- Align the template with the cabinet opening: Ensure that the template is also aligned with the cabinet opening, maintaining the previously determined sink position.
- Use masking tape to mark the mounting points: Take a roll of masking tape and place it along the edges of the sink template, creating an outline of the sink’s shape.
- Mark the mounting holes: Use a pencil or marker to mark the exact locations of the sink’s mounting holes on the masking tape. These holes will indicate where the sink will be attached to the countertop.
It’s essential to mark the mounting points accurately to ensure that the sink will be securely installed. Take your time during this step and double-check the positioning of the template before marking the mounting holes.
Once you have marked the sink’s mounting points, you can proceed to the final step: verifying the measurements.
Step 5: Verifying the Measurements
After completing the previous steps of measuring the sink cutout, cabinet opening, determining the sink position, and marking the sink’s mounting points, it’s crucial to verify the measurements one last time. This step ensures that all the measurements are accurate and that the undermount sink will fit perfectly. Follow these steps to verify the measurements:
- Double-check the sink cutout measurements: Review the measurements you recorded for the width, length, and corner radii of the sink cutout. Compare them to the manufacturer’s specifications to confirm that they align.
- Confirm the cabinet opening measurements: Refer back to the measurements taken for the width, depth, and height of the cabinet opening. Ensure that they coincide with the requirements of the sink and that there is sufficient space for installation.
- Ensure the sink position is correct: Take a final look at the determined sink position and consider it in relation to the cabinet opening and surrounding fixtures. Verify that it is centered properly and aligns well with other elements.
- Check the accuracy of the marked mounting points: Review the marked mounting holes on the masking tape. Make sure they align accurately with the sink’s actual mounting holes. This will ensure a proper and secure attachment of the sink to the countertop.
By verifying the measurements, you can avoid any potential issues during the installation process. Ensuring that everything aligns correctly will help you achieve a seamless and professional result when installing your undermount sink.
Now that you have completed all the steps and confirmed the accuracy of the measurements, you are ready to move forward with the installation process. If you have any doubts or concerns, do not hesitate to seek guidance from a professional or refer to the manufacturer’s instructions for your specific sink model.
With precise measurements and careful installation, your undermount sink will seamlessly integrate into your kitchen or bathroom, enhancing both the functionality and aesthetics of the space.
Good luck with your undermount sink installation!
Conclusion
Measuring an undermount sink is a crucial step in ensuring a successful installation. By accurately measuring the sink cutout, cabinet opening, determining the sink position, marking the sink’s mounting points, and verifying the measurements, you can achieve a seamless and secure fit for your undermount sink.
Throughout this comprehensive guide, we have walked you through each step of the measuring process, providing valuable insights and tips to help you achieve accurate measurements. Remember to gather the necessary tools and materials before starting the measurement process.
An undermount sink offers a sleek and modern appearance while providing convenience and functionality in your kitchen or bathroom. With its seamless design and easy-to-clean features, an undermount sink is a popular choice for many homeowners.
It’s important to take your time during the measuring process to ensure that every measurement is precise. Double-checking and verifying the measurements will help you avoid any potential issues during the installation process.
If you are unsure or uncomfortable with any part of the measurement or installation process, it is always advisable to consult with a professional or follow the manufacturer’s instructions for your specific sink model.
With accurate measurements and proper installation, your undermount sink will seamlessly integrate into your space, enhancing its functionality and aesthetic appeal.
We hope this guide has provided you with the knowledge and confidence to measure your undermount sink accurately. Now, it’s time to bring your vision to life and enjoy your new undermount sink!
Frequently Asked Questions about How To Measure Undermount Sink
Was this page helpful?
At Storables.com, we guarantee accurate and reliable information. Our content, validated by Expert Board Contributors, is crafted following stringent Editorial Policies. We're committed to providing you with well-researched, expert-backed insights for all your informational needs.


0 thoughts on “How To Measure Undermount Sink”