Articles
How To Tell If Your House Water Pump Is Bad
Modified: August 26, 2024
Learn how to identify if your house water pump is malfunctioning with this informative article. Ensure your water system is working properly.
(Many of the links in this article redirect to a specific reviewed product. Your purchase of these products through affiliate links helps to generate commission for Storables.com, at no extra cost. Learn more)
Introduction
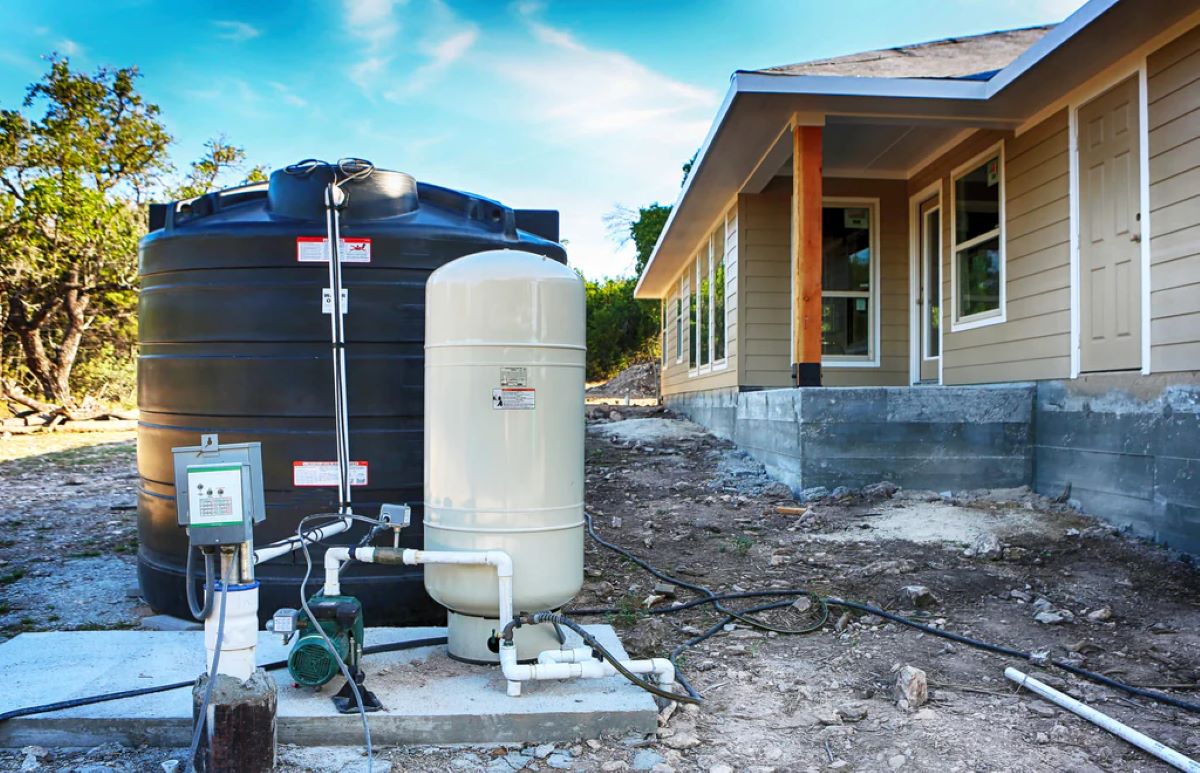
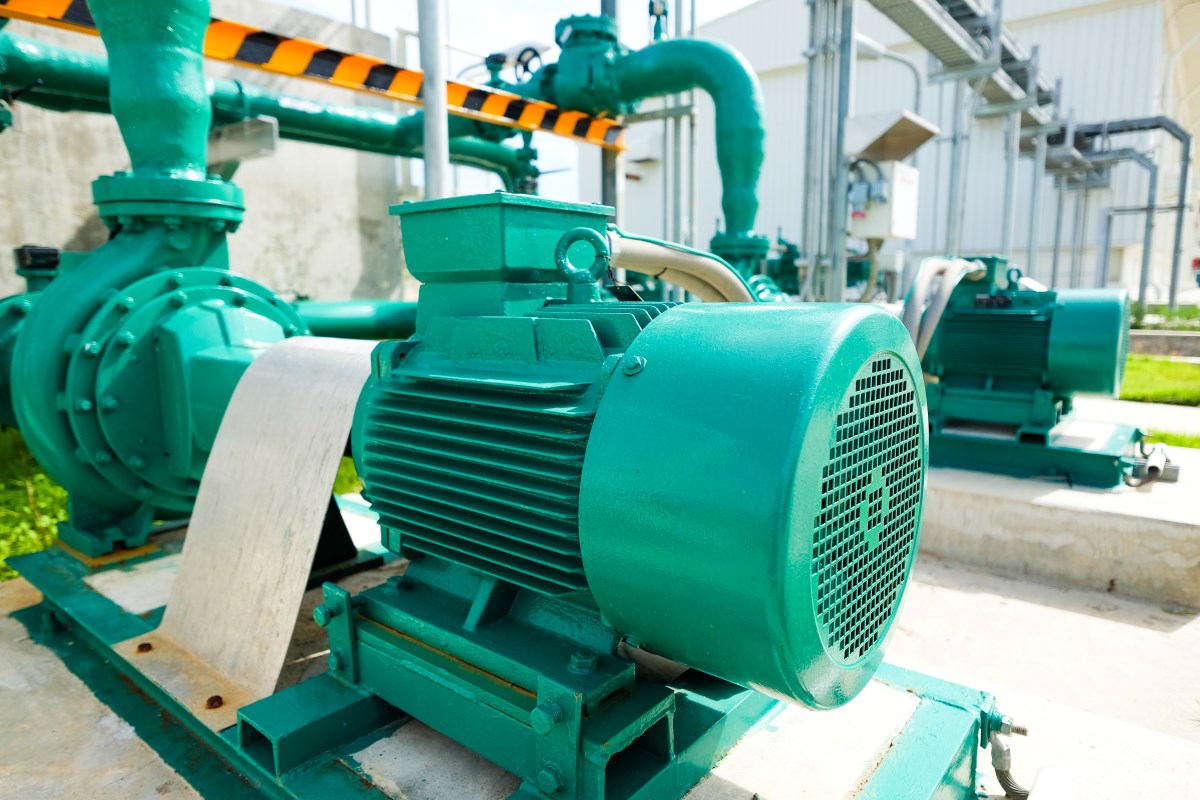
Having a reliable and efficient house water pump is essential for a steady supply of clean water in your home. It ensures that water flows smoothly through the plumbing system, enabling you to carry out everyday tasks such as showering, doing laundry, and washing dishes. However, like any mechanical equipment, water pumps can go bad over time, leading to various issues that can disrupt your daily routine.
In this article, we will explore the common symptoms of a bad house water pump and provide you with insights on how to identify and address these problems. By understanding these signs, you’ll be able to take the necessary steps to ensure the continuous functioning of your water pump and maintain a smooth water supply in your home.
Key Takeaways:
- Regularly inspect, clean, and test your house water pump to identify and address issues early, ensuring a steady water supply, reducing repair costs, and promoting water conservation.
- Consult licensed professionals for complex water pump issues, follow manufacturer’s guidelines, and prioritize safety to maintain optimal pump performance and extend its lifespan.
Common symptoms of a bad house water pump
A house water pump may exhibit several symptoms when it starts to fail or malfunction. Identifying these signs early on can help you prevent major problems and avoid costly repairs or replacements. Here are some common symptoms to look out for:
- Low water pressure: One of the first signs of a failing water pump is a decrease in water pressure. If you notice that the water flow from your faucets or showerheads has become weak or inconsistent, it could indicate a problem with your pump. Low water pressure may be a result of worn-out or damaged pump components, clogged pipes, or an issue with your well or water source.
- No water flow: If there is absolutely no water flow coming from your faucets, it is a clear indication that something is wrong with your water pump. This could be due to a malfunctioning pump motor, a broken impeller, or a clogged intake pipe. In such cases, it is important to address the issue promptly to avoid further damage.
- Frequent pump cycling: A well-functioning water pump should run smoothly without frequent starting and stopping. However, if you notice that your pump is cycling on and off frequently, it may be a sign of a malfunctioning pressure switch or a waterlogged pressure tank. This can lead to increased wear and tear on the pump and may require professional assistance to rectify.
- Strange noises: Unusual noises coming from your water pump can be an indication that something is not right. Rattling, grinding, or squealing noises could be a result of loose or damaged components, worn-out bearings, or a failing motor. Ignoring these noises can lead to further damage and may require costly repairs or replacements.
- Signs of water leakage: Any visible signs of water leakage around the area where your water pump is located should not be taken lightly. Leaks can occur in various parts of the pump, such as the seals, pipes, or fittings. Not only can leaks result in water wastage, but they can also lead to damage to the pump and surrounding areas if left unaddressed.
If you notice any of these symptoms or suspect that your water pump is not functioning properly, it is important to take immediate action to diagnose and fix the issue. Ignoring these signs can result in further damage to the pump and may disrupt your household’s water supply.
Low water pressure
Low water pressure is a common symptom of a bad house water pump and can significantly affect the functioning of your plumbing system. When the water pressure in your home drops, it can make everyday tasks such as showering, washing dishes, and doing laundry frustrating and time-consuming.
There are several reasons why your water pump may be causing low water pressure:
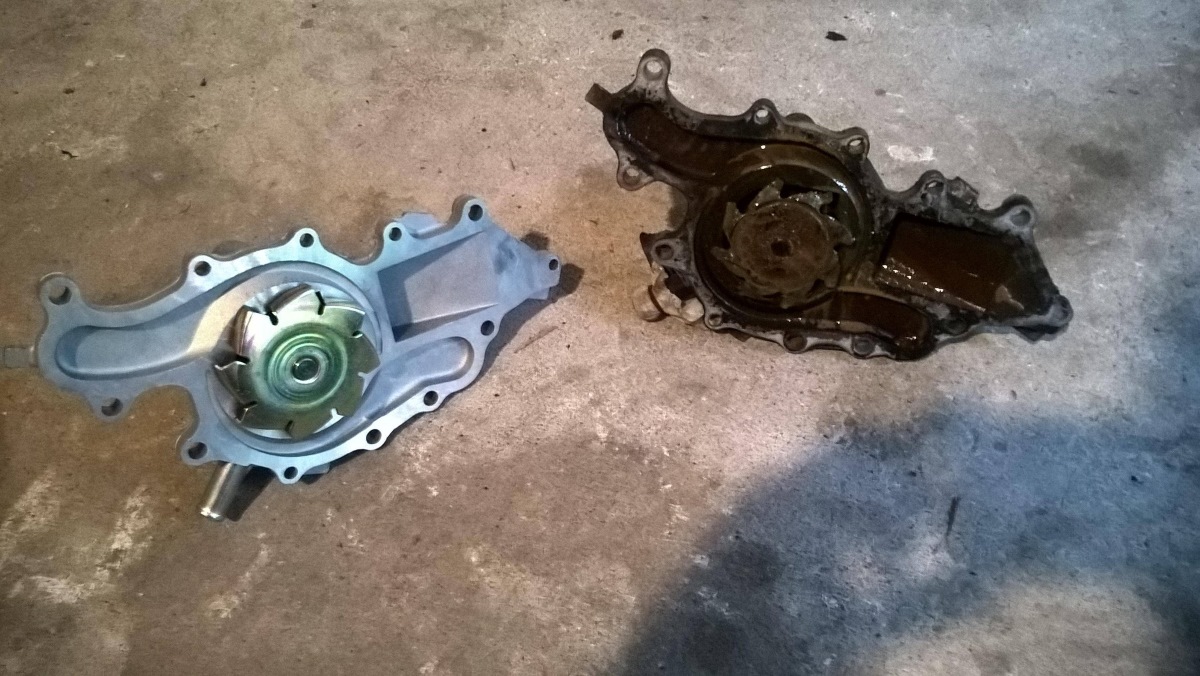
- Worn-out or damaged pump components: Over time, the internal components of a water pump can wear out or become damaged. This can lead to decreased water pressure as the pump struggles to deliver water efficiently. Common culprits include a worn-out impeller or worn-out seals, which can hinder the proper flow of water.
- Clogged pipes: Another cause of low water pressure is the buildup of debris, sediment, or mineral deposits inside the pipes. This can obstruct the flow of water and result in decreased pressure. Regular maintenance, such as flushing the pipes or using water softeners, can help prevent clogs and maintain optimal water pressure.
- Problems with the well or water source: If your home relies on a well for water supply, issues with the well itself can also contribute to low water pressure. A malfunctioning well pump or a low water table can result in reduced water pressure in your home. In such cases, it may be necessary to consult a professional to inspect and address the issue.
To determine if your water pump is the cause of low water pressure, it is important to rule out other possible causes such as clogged filters, faucet aerators, or water supply valves. If these components are not causing the issue, it is advisable to call a professional plumber or water pump technician to inspect your pump and diagnose the problem.
Addressing low water pressure due to a bad water pump will often require repairing or replacing the faulty components. Skilled technicians can identify the specific issues affecting your water pump and provide the necessary solutions. This may involve replacing worn-out parts, cleaning out clogged pipes, or even installing a new water pump if the existing one is beyond repair.
By addressing low water pressure promptly, you can restore the normal functioning of your plumbing system and enjoy a steady and consistent water supply in your home. Regular maintenance and timely repairs of your water pump can also prevent further issues and extend the lifespan of the equipment.
No water flow
If you turn on your faucet and discover that there is absolutely no water flow, it can be a frustrating and alarming situation. This lack of water flow is a clear indication that there is a problem with your house water pump.
Several issues can cause a complete absence of water flow, including:
- Malfunctioning pump motor: One of the main culprits for no water flow is a malfunctioning pump motor. The pump motor is responsible for creating the necessary pressure to move the water through your plumbing system. If the motor fails or stops working, it will hinder the water flow and result in no water coming out of your faucets.
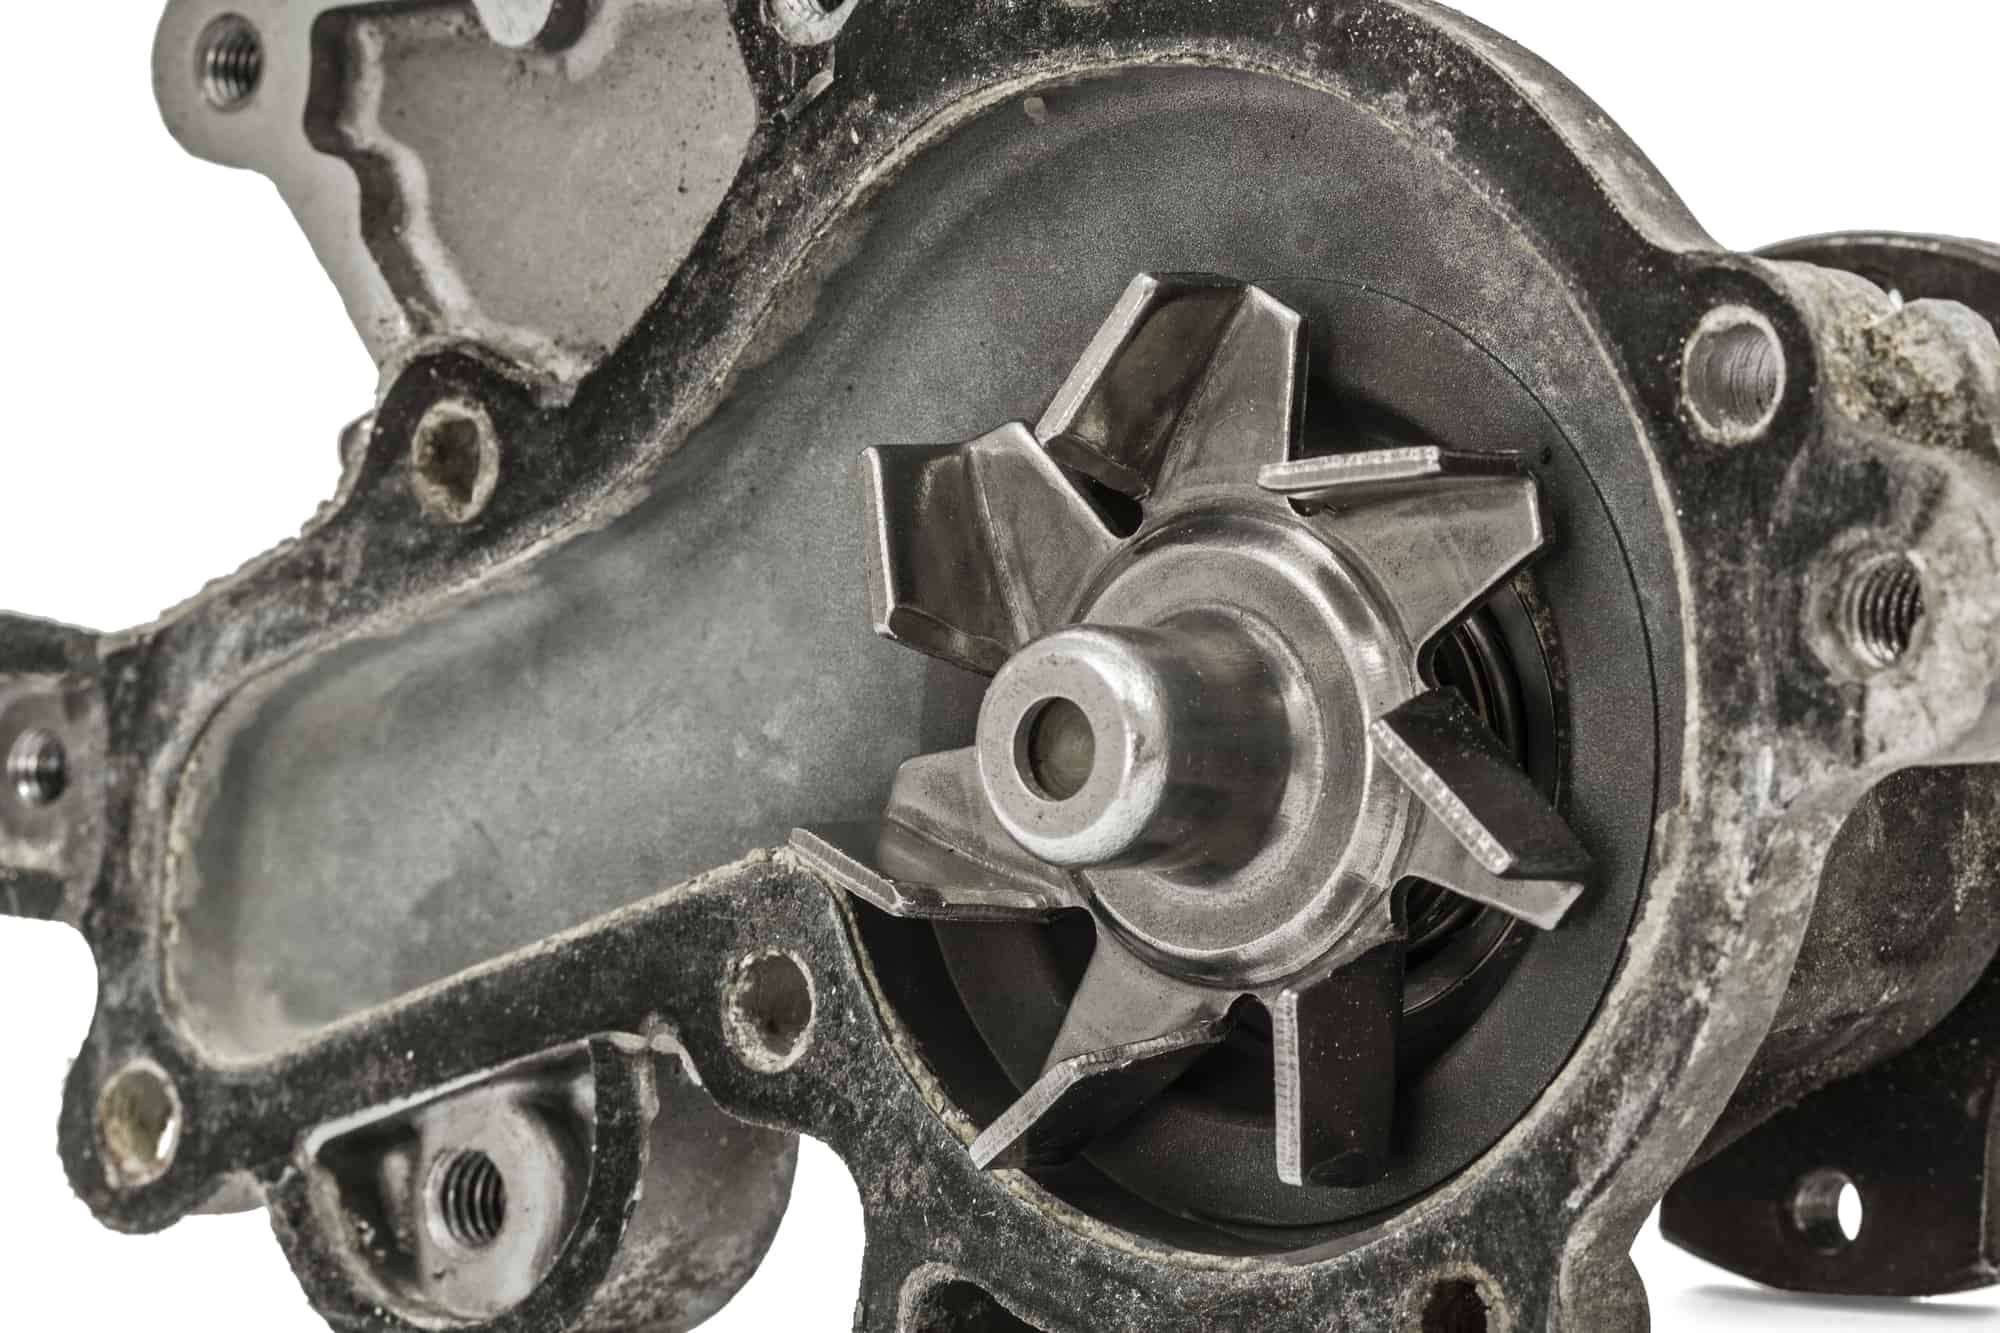
- Broken impeller: The impeller is a crucial component of the water pump that helps to create the necessary suction and pressure to move the water. If the impeller becomes broken or damaged, it will prevent the pump from effectively drawing in and pushing out the water, leading to a complete lack of water flow.
- Clogged intake pipe: A clogged intake pipe can also cause no water flow. Over time, debris, sediment, or mineral deposits can accumulate in the intake pipe, blocking the flow of water into the pump. This obstruction can prevent the pump from drawing in water and result in no water flow throughout your plumbing system.
If you experience a lack of water flow, there are a few steps you can take to determine if the issue lies with your water pump:
- Check other faucets: First, check if the lack of water flow is isolated to a specific faucet or if it occurs throughout your entire house. If only one faucet is affected, it could indicate a separate plumbing problem. However, if all faucets have no water flow, it is likely related to the water pump.
- Inspect the pump: Locate the water pump in your home, which is typically found in the basement, crawl space, or utility room. Check for any visible signs of damage or leaks. A broken or damaged pump motor or a visibly broken impeller may indicate the cause of the problem.
Dealing with no water flow requires professional assistance. It is recommended to contact a licensed plumber or water pump technician to inspect and diagnose the issue. They will be able to determine the exact cause of the problem and provide the necessary repairs or replacements.
Remember, attempting to fix the problem yourself without the proper knowledge and expertise can lead to further damage or personal injury. It is always best to rely on qualified professionals to address issues with your water pump and ensure the restoration of water flow throughout your home.
Frequent pump cycling
If you notice that your house water pump is cycling on and off frequently, it is a sign that something is amiss. Pump cycling refers to the repeated starting and stopping of the pump within a short period of time. This behavior can indicate an underlying issue with your water pump that needs attention.
Several factors can contribute to frequent pump cycling:
- Malfunctioning pressure switch: The pressure switch is a vital component of the water pump system that controls when the pump turns on and off. If the pressure switch is faulty or not adjusted properly, it can cause the pump to cycle unnecessarily. This can be due to a malfunctioning switch mechanism or incorrect pressure settings.
- Waterlogged pressure tank: Another reason for frequent pump cycling is a waterlogged pressure tank. The pressure tank stores a reserve of water and helps regulate the pressure in the water system. Over time, the pressure tank can become waterlogged, meaning that it is filled with water instead of air. This imbalance in the tank can cause the pump to cycle more frequently as it tries to maintain the desired pressure.
Excessive pump cycling can lead to increased wear and tear on the pump components, resulting in reduced efficiency and potential damage. It can also cause higher energy consumption and utility costs.
To address frequent pump cycling, follow these steps:
- Check the pressure switch: Inspect the pressure switch to ensure it is functioning correctly. Make sure the switch is set to the appropriate pressure range for your system. If the switch is damaged or not working properly, it may need to be replaced by a professional.
- Inspect the pressure tank: Check the pressure tank for any signs of waterlogging. Normally, the tank should have a certain amount of air pressure to balance the water pressure. If the tank is waterlogged, it may need to be drained, or the bladder inside the tank may need to be replaced.
- Adjust the pressure settings: If the pressure switch and pressure tank are in good condition, but the pump is still cycling frequently, it may be necessary to adjust the pressure settings. Consult the pump’s instruction manual or seek the assistance of a professional to make the appropriate adjustments.
If you continue to experience frequent pump cycling despite these steps, it is advisable to contact a licensed plumber or water pump technician. They have the expertise and knowledge to diagnose the issue accurately and provide the necessary repairs or replacements.
Regular maintenance of your water pump, including checking and adjusting the pressure settings, can help prevent frequent pump cycling. Additionally, monitoring the pump’s cycling behavior and addressing any issues promptly can extend the lifespan of the pump and ensure the efficient functioning of your water system.
Strange noises
If you notice strange noises coming from your house water pump, it is a clear indication that something is not right. Unusual sounds can be an early warning sign of a potential problem with your water pump and should not be ignored.
Here are some common types of noises associated with a bad water pump:
- Rattling: If you hear rattling or vibrating noises coming from your water pump, it could indicate loose or worn-out components. Loose screws, bolts, or fittings can cause vibrations in the pump, resulting in rattling sounds. Additionally, worn-out bearings can also produce rattling noises as the pump operates.
- Grinding: Grinding or scraping noises usually indicate that there is a problem with the pump’s internal mechanisms. These noises can be a result of components rubbing against each other or a damaged impeller. Ignoring grinding noises can lead to further damage to the pump and may require more extensive repairs.
- Squealing: Squealing noises are often indicative of issues with the pump motor or its bearings. If the motor bearings become worn or damaged, they can produce high-pitched squealing sounds. Continued operation of the pump in this condition can cause further damage and potentially lead to motor failure.
When you hear strange noises coming from your water pump, it is important to take the following steps:
- Investigate the source: Try to locate and identify the source of the noise by listening carefully near the pump. Check for any visible signs of loose or damaged components.
- Turn off the pump: If you suspect a problem with the pump, it is advisable to turn off the power supply to the pump. This can prevent further damage and mitigate the risk of electrical hazards.
- Engage professional help: Contact a licensed plumber or water pump technician who specializes in pump repairs. They will have the expertise and tools to diagnose the issue and provide the necessary repairs or replacements.
Ignoring strange noises from your water pump can lead to more severe damage and potential system failure. Taking prompt action can help prevent further complications, reduce repair costs, and extend the lifespan of the pump.
Regular maintenance and inspections of your water pump can help identify and address issues before they escalate into more significant problems. It is also recommended to follow the manufacturer’s guidelines for maintenance and servicing of your specific pump model.
By addressing strange noises promptly, you can ensure the continued functionality of your water pump and maintain a reliable water supply in your home.
If your house water pump is making unusual noises, experiencing low water pressure, or frequently cycling on and off, it may be a sign that the pump is going bad. It’s important to have it inspected and repaired by a professional to avoid further damage.
Signs of water leakage
Water leakage is a concerning issue that can occur in various parts of your house water pump system. It is important to be vigilant and look out for signs of water leakage to prevent further damage and avoid wastage of water. Here are some common indicators of water leakage:
- Puddles or wet spots: One of the most obvious signs of water leakage is the presence of puddles or wet spots around the water pump or its surrounding area. If you notice water collecting or seeping from the pump, it is a clear indication of a leak. Pay attention to any consistent dampness or moisture buildup in the vicinity of the pump.
- Water stains or discoloration: Look for any water stains or discoloration on the walls, ceilings, or floors near the pump. These marks can indicate that water has been seeping through and penetrating the surrounding structures. Brown or rust-colored stains may also suggest the presence of corroded pipes or fittings.
- Dripping sounds or dripping faucets: If you hear dripping sounds coming from the pump or notice dripping faucets when the water pump is running, it is a sign of a leak in the system. The sound of dripping water may indicate a failure in the pump’s seals, pipes, or fittings, allowing water to escape and result in wastage.
- Increase in water bills: Keep an eye on your water bills for any unexplained increases in usage. A sudden spike in water consumption could be a result of a hidden leak in the pump system. Comparing your current bill with previous months can help identify any unusual patterns and alert you to a potential leak.
When you notice signs of water leakage, it is important to take action promptly:
- Inspect the pump and surrounding area: Examine the water pump and its components for any visible signs of leaks, such as wet spots, dripping water, or damaged fittings. If you can identify the source of the leakage, determine the severity of the issue.
- Shut off the water supply: To prevent further water leakage and minimize potential damage, turn off the water supply to the pump. This will help avoid additional water wastage and reduce the risk of flooding.
- Contact a professional plumber: It is advisable to seek the expertise of a licensed plumber or water pump technician to assess and repair the leakage. They have the knowledge and equipment to identify the root cause of the problem and provide the necessary repairs or replacements.
Regular inspections and maintenance of your water pump system can help detect and resolve potential leaks before they escalate. It is also essential to address leaks promptly to prevent further damage to the pump, plumbing system, and surrounding structures.
By being observant and proactive, you can minimize the impact of water leakage, conserve water, and ensure the efficient operation of your house water pump.
Testing the water pump
Testing your house water pump is an essential part of routine maintenance to ensure its proper functioning and identify any potential issues. Performing regular tests can help you catch problems early on and prevent costly repairs or replacements. Here are some steps to help you test your water pump:
- Turn off all water sources: Before testing the pump, make sure to turn off all faucets, showers, and any other water sources in your home. This will ensure an accurate assessment of the pump’s performance.
- Locate the pressure tank: The pressure tank is a vital component of the water pump system and is typically located near the pump itself. Take note of its location for the testing process.
- Inspect the pressure switch: The pressure switch controls the pump’s operation based on the water pressure in the system. It is important to ensure that the pressure switch is in good condition and properly adjusted. Examine the switch for any signs of damage or wear, and make any necessary adjustments according to the manufacturer’s instructions.
- Start the pump: To test the pump, switch the power supply on and allow the pump to start. Listen for any unusual noises, vibrations, or fluctuations in the pump’s operation.
- Check the pressure: As the pump runs, observe the pressure gauge on the pressure tank. It should indicate a stable and steady pressure reading. Note the pressure range that is considered normal for your system, as this can vary depending on factors such as well depth and household water demand.
- Monitor the pump cycling: Watch for pump cycling, which is the pump starting and stopping in response to pressure changes. The cycling should be minimal and within the normal range. Frequent or rapid cycling can indicate issues with the pressure switch, pressure tank, or other components of the water pump system.
- Check for leaks: While the pump is running, inspect the pump and the surrounding area for any signs of water leakage. Look for puddles, wet spots, or dripping water, as these can indicate problems with the pump’s seals, pipes, or fittings.
If you notice any abnormalities during the testing process or if the pump does not pass the test, it is advisable to consult a licensed plumber or water pump technician. They have the expertise to diagnose any issues and provide the necessary repairs or replacements.
Regular testing of your water pump is crucial to ensure its reliability and efficiency. It is recommended to set up a schedule for testing, depending on factors such as the age of the pump and the specific requirements of your system. Additionally, following the manufacturer’s guidelines for maintenance and servicing can help prolong the lifespan of your water pump.
By regularly testing your water pump and addressing any identified issues promptly, you can maintain a consistent water supply in your home and prevent more significant problems from occurring in the future.
Checking the pressure switch
The pressure switch plays a vital role in the operation of your house water pump, as it is responsible for monitoring and controlling the water pressure in the system. Checking and ensuring the proper functioning of the pressure switch is crucial to maintain the performance and efficiency of your water pump. Here are the steps to follow when checking the pressure switch:
- Safety first: Before starting any work on your water pump, ensure that the power supply to the pump is switched off to prevent electrical accidents.
- Locate the pressure switch: The pressure switch is typically located near the water pump or on the pressure tank. Identify the pressure switch’s location and familiarize yourself with its components.
- Inspect the pressure switch: Visually inspect the pressure switch for any signs of damage or wear. Check for loose or corroded connections, as these can affect the switch’s performance. If you notice any issues, it may be necessary to replace the pressure switch.
- Check the pressure settings: The pressure switch is equipped with adjustable pressure settings. Consult the manufacturer’s instructions or the pressure switch’s documentation to determine the appropriate pressure range for your system. Ensure that the pressure switch is set within the recommended range.
- Test the pressure switch: With the power supply to the pump still turned off, use a multimeter to test the pressure switch’s functionality. Set the multimeter to the continuity or ohm setting. Connect the multimeter probes to the terminals of the pressure switch and check for continuity. A properly functioning pressure switch should have continuity when the pressure is below the set point and lose continuity when the pressure exceeds the set point.
- Adjust the pressure switch: If the pressure switch is not operating within the desired range, it may need adjustment. Refer to the manufacturer’s instructions on how to make adjustments to the pressure switch. Take caution not to make any drastic changes to the settings, as it can affect the pump’s performance and potentially damage the system.
- Observe the pump operation: With the pressure switch adjusted or replaced if necessary, restore power to the pump and observe its operation. Ensure that the pump starts and stops at the appropriate pressure levels according to the adjusted settings. Listen for any unusual noises or vibrations that may indicate issues with the pressure switch.
If you encounter any difficulties or are unsure about checking or adjusting the pressure switch, it is recommended to seek assistance from a licensed plumber or water pump technician. They have the expertise and knowledge to handle pressure switch-related tasks safely and effectively.
Regularly checking the pressure switch helps maintain the proper functioning of your water pump while preventing issues such as pump cycling or erratic pressure. By ensuring the pressure switch is in good condition and correctly adjusted, you can optimize the performance and efficiency of your house water pump.
Read more: How To Tell If Your Mattress Is Bad
Inspecting the pressure tank
The pressure tank is an integral component of your house water pump system that helps maintain a steady and consistent water pressure throughout your home. Inspecting the pressure tank regularly is crucial to ensure its proper functioning and avoid potential issues. Follow these steps to inspect the pressure tank:
- Turn off the power supply: Before inspecting the pressure tank, make sure to turn off the power supply to the water pump. This will prevent any unexpected operation of the pump while you perform the inspection.
- Locate the pressure tank: Identify the location of the pressure tank in your water pump system. Typically, it is situated near the water pump or in close proximity to it.
- Check for any external damage: Visually inspect the exterior of the pressure tank for any signs of damage, such as dents, cracks, or corrosion. Ensure that the tank is securely mounted and there are no loose or broken fittings. Any external damage could compromise the tank’s integrity and performance.
- Inspect the air valve: The pressure tank is designed to have a certain amount of air pressure to balance the water pressure. Locate the air valve on the top of the tank and check if it is in good condition. Ensure that the valve cap is tightly sealed to maintain the air pressure inside the tank.
- Check for waterlogging: Waterlogging is a common issue that can occur in pressure tanks over time. It happens when the tank’s air bladder becomes waterlogged, meaning it is filled with water instead of air. This can affect the tank’s ability to maintain proper pressure. To check for waterlogging, use a tire pressure gauge or a pressure gauge specifically designed for water tanks. Follow the manufacturer’s instructions on how to measure the air pressure inside the tank. Compare the reading to the recommended pressure range for your system. If the pressure is significantly lower than it should be, it may indicate waterlogging.
- Inspect the tank’s bladder: If your pressure tank is equipped with an air bladder, examine it for any signs of damage or deterioration. Look for bulges, tears, or leaks in the bladder. Damaged bladders will affect the performance of the pressure tank and may need to be replaced.
- Make necessary adjustments or repairs: Based on the findings of your inspection, determine if any adjustments or repairs are required. If the tank shows signs of damage or waterlogging, it is advisable to consult a licensed plumber or water pump technician. They can provide the necessary expertise and assistance to resolve the issue.
Regular inspection of the pressure tank helps ensure optimal performance and longevity of the water pump system. By identifying any potential issues early on, you can mitigate the risk of system failure and maintain a consistent water pressure throughout your home.
Remember to always follow the manufacturer’s guidelines for maintenance and servicing of your specific pressure tank model. This will help you establish a routine inspection schedule and ensure the proper operation of your house water pump system.
Maintaining your house water pumpMaintaining your house water pump is essential to ensure its longevity, efficiency, and smooth operation. Regular maintenance can help prevent costly repairs, reduce the risk of breakdowns, and maintain a consistent water supply in your home. Here are some key maintenance practices to keep your water pump in optimal condition:
- Regularly inspect the pump: Perform visual inspections of the water pump and its components. Look for any signs of damage, leaks, or worn-out parts. Check the power cord and connections to ensure they are secure and undamaged. Regular inspections can help identify issues early on and prevent them from escalating.
- Clean the pump intake: Over time, debris, sediment, or mineral deposits may accumulate in the pump intake, obstructing water flow and affecting the pump’s performance. Regularly clean the intake to remove any buildup and maintain optimal water flow. Follow the manufacturer’s instructions for cleaning or consult a professional if necessary.
- Check and clean the filters: If your water pump is equipped with filters, make sure to check and clean them regularly. Dirty filters can restrict water flow and strain the pump, leading to decreased efficiency. Clean or replace the filters as recommended by the manufacturer or when they become visibly dirty.
- Test the pressure switch: Periodically test the pressure switch to ensure it is functioning correctly. Use a multimeter to check for proper continuity and adjust the pressure settings if necessary. A malfunctioning pressure switch can affect the pump’s operation and lead to issues such as frequent cycling or inadequate pressure.
- Maintain the pressure tank: Regularly inspect the pressure tank for any signs of damage or waterlogging. Ensure the tank’s air valve is tightly sealed, and the tank’s air pressure is within the recommended range. If the tank shows signs of damage or waterlogging, consult a professional to perform repairs or replace the tank if necessary.
- Prevent freezing during winter: If you live in an area with freezing temperatures, take the necessary precautions during winter months to prevent the water pump and plumbing from freezing. Insulate exposed pipes and consider using a heat tape or heater to protect the pump and its components from freezing.
- Follow maintenance schedule: Refer to the manufacturer’s guidelines for a recommended maintenance schedule. This may include tasks such as lubricating motor bearings, checking electrical connections, or cleaning specific components. Adhering to the maintenance schedule will help ensure your water pump operates at its best.
- Consult professionals: If you are unsure about any maintenance tasks or encounter complex issues, it is best to seek the expertise of licensed plumbers or water pump technicians. They have the knowledge and experience to perform more in-depth maintenance, repairs, or replacements as needed.
By following these maintenance practices, you can extend the lifespan of your house water pump and ensure its optimal performance. Regular maintenance also helps you detect and address potential issues before they become major problems. It is advisable to keep a record of maintenance tasks performed, including dates and any repairs or replacements made.
Remember, safety should always be a priority. Before performing any maintenance on your water pump, make sure to turn off the power supply and take necessary precautions to avoid any accidents or injuries. If you are unsure about any maintenance tasks, it is best to consult a professional for guidance and assistance.
Conclusion
Maintaining a healthy and efficient house water pump is crucial for a steady and consistent water supply in your home. By staying vigilant and addressing any issues promptly, you can prevent major problems and ensure the longevity of your water pump system.
In this article, we explored the common signs of a bad house water pump, including low water pressure, no water flow, frequent pump cycling, strange noises, and signs of water leakage. We also provided guidance on how to test the water pump, check the pressure switch, inspect the pressure tank, and perform regular maintenance.
Remember, regular inspection, cleaning, and testing of the water pump and its components can help identify and address problems early on. Consulting with licensed plumbers or water pump technicians for more complex issues ensures the proper diagnosis and resolution of any concerns.
By investing time and effort into maintaining your house water pump, you can enjoy a steady and reliable water supply, minimize repair costs, and prolong the life of your water pump system. Furthermore, regular maintenance promotes water conservation, reduces energy consumption, and contributes to a more sustainable household.
Lastly, keep in mind that following the manufacturer’s guidelines and recommendations for your specific water pump model is essential. Every system may have unique requirements, and expertise from professionals in the field can support you in maintaining optimal pump performance.
With regular maintenance, you can rest assured that your house water pump will continue to provide you with the water you need for your daily activities, ensuring convenience, comfort, and peace of mind.
Frequently Asked Questions about How To Tell If Your House Water Pump Is Bad
Was this page helpful?
At Storables.com, we guarantee accurate and reliable information. Our content, validated by Expert Board Contributors, is crafted following stringent Editorial Policies. We're committed to providing you with well-researched, expert-backed insights for all your informational needs.

0 thoughts on “How To Tell If Your House Water Pump Is Bad”