Home>Interior Design>How To Caulk Baseboards: Get A Flawless Finish, Fast
Interior Design
How To Caulk Baseboards: Get A Flawless Finish, Fast
Modified: August 28, 2024
Learn how to caulk baseboards for a flawless finish in your interior design projects. Get fast and professional results with our step-by-step guide.
(Many of the links in this article redirect to a specific reviewed product. Your purchase of these products through affiliate links helps to generate commission for Storables.com, at no extra cost. Learn more)
Introduction
Welcome to the world of interior design! Whether you’re a homeowner looking to freshen up your space or a professional designer seeking to create the perfect ambiance for your clients, one important aspect of any interior design project is caulking the baseboards. Caulking not only enhances the overall look of a room but also helps to create a seamless transition between the baseboards and the walls or floors.
In this comprehensive guide, we will take you through the step-by-step process of caulking baseboards to achieve a flawless finish in no time. We’ll cover everything from choosing the right caulk for the job to preparing the baseboards and smoothing the caulk for a professional look.
It’s important to note that caulking baseboards is not only about aesthetics; it also serves a functional purpose. Properly sealed baseboards help prevent drafts, minimize dust and debris from collecting in gaps, and provide an additional barrier against moisture, mold, and insects.
So, strap on your DIY tool belt and let’s dive into the world of caulk and baseboards!
Key Takeaways:
- Achieve a flawless finish by choosing the right caulk, preparing the baseboards, and applying and smoothing the caulk with precision. Proper preparation and attention to detail are key to professional-looking results.
- Enhance the aesthetic appeal and functionality of your space by mastering the art of caulking baseboards. With the right materials, technique, and patience, you can elevate your interior design projects to the next level.
Materials needed
Before you start caulking your baseboards, it’s important to gather all the necessary materials. Having everything on hand will ensure a smooth and efficient process. Here are the materials you’ll need:
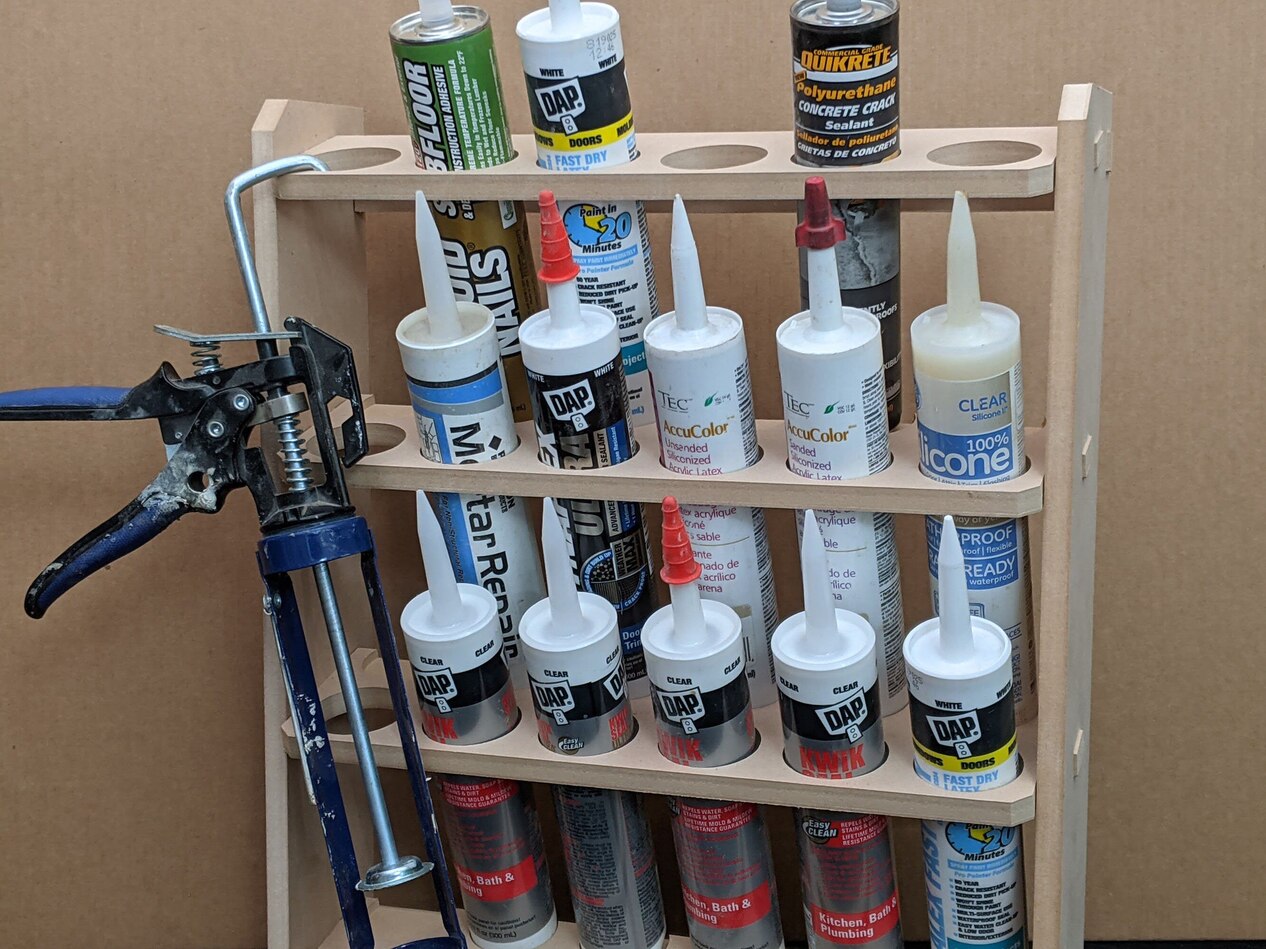
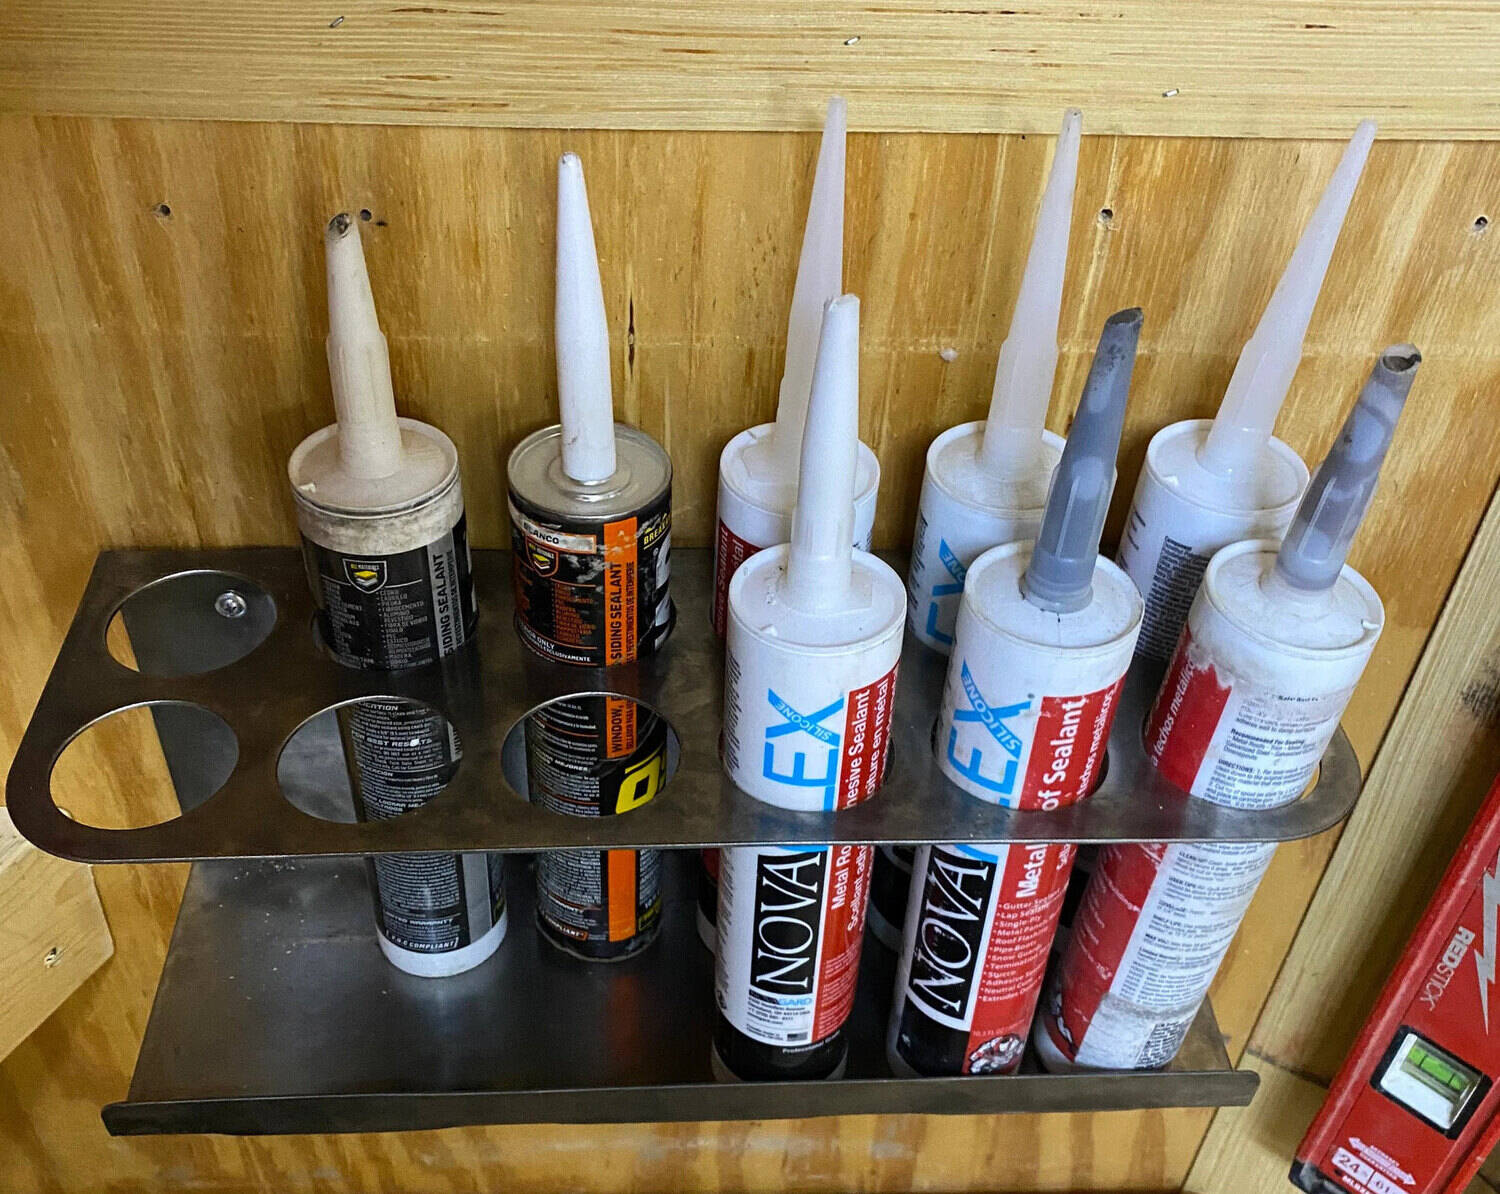
- Caulk: Choose a high-quality caulk that is suitable for use on baseboards. Look for a paintable acrylic latex caulk or a silicone-based caulk. Make sure the caulk is compatible with the materials of your baseboards and the surfaces you’ll be caulking.
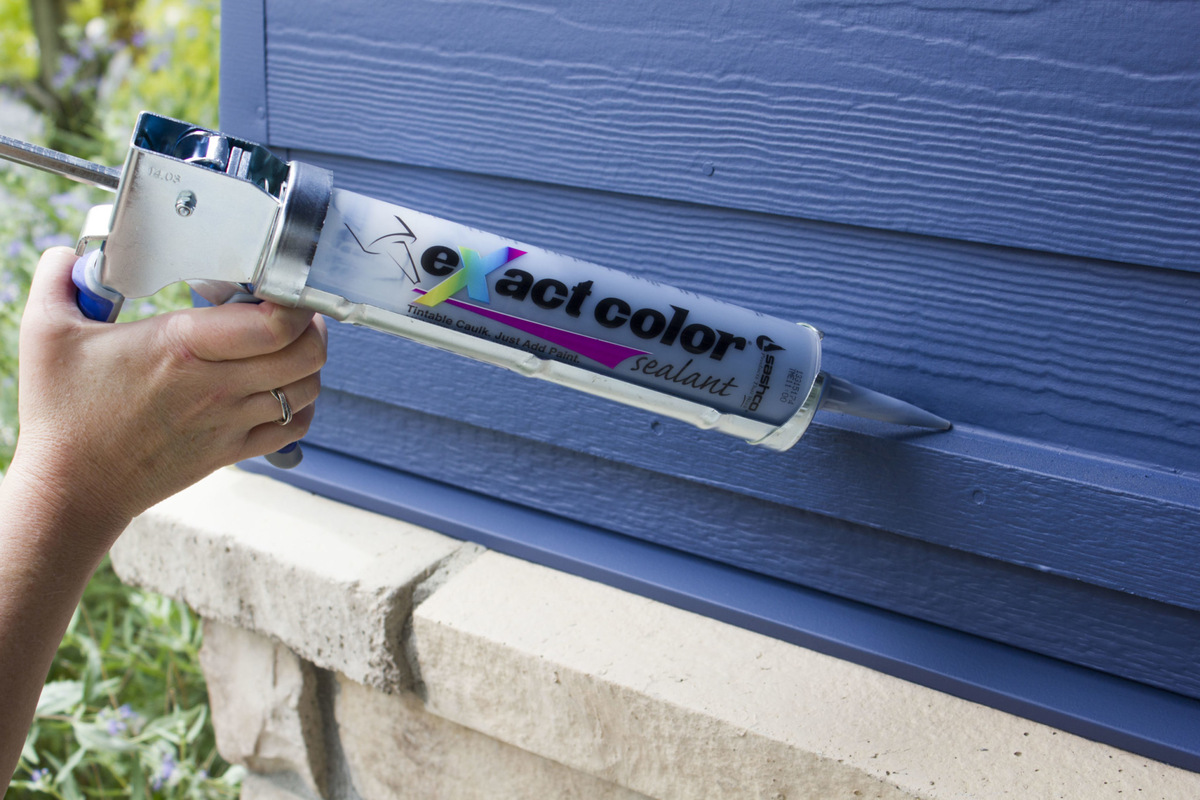
- Caulk gun: You’ll need a caulk gun to dispense the caulk evenly. Opt for a gun with a smooth, continuous flow and good control over the amount of caulk being dispensed.
- Caulk smoothing tool: This tool, often called a caulk smoother or finishing tool, is essential for achieving a professional-looking finish. It helps shape and smooth the caulk to create clean, crisp lines.
- Painter’s tape: Painter’s tape can be used to mask off the areas adjacent to the baseboards, such as walls or floors. It helps keep the caulk line straight and prevents any accidental smudges or smears.
- Caulk remover: In case you make any mistakes or need to remove old caulk, having a caulk remover tool or solution can be handy. It helps soften the caulk, making it easier to scrape away.
- Clean cloth or sponge: Keep a clean cloth or sponge nearby to wipe away any excess caulk or smooth out the caulk lines as needed.
- Safety equipment: Always ensure you have necessary safety equipment, such as gloves and safety goggles, to protect yourself during the caulking process.
By gathering these materials before you begin, you’ll have everything you need to tackle your baseboard caulking project with ease.
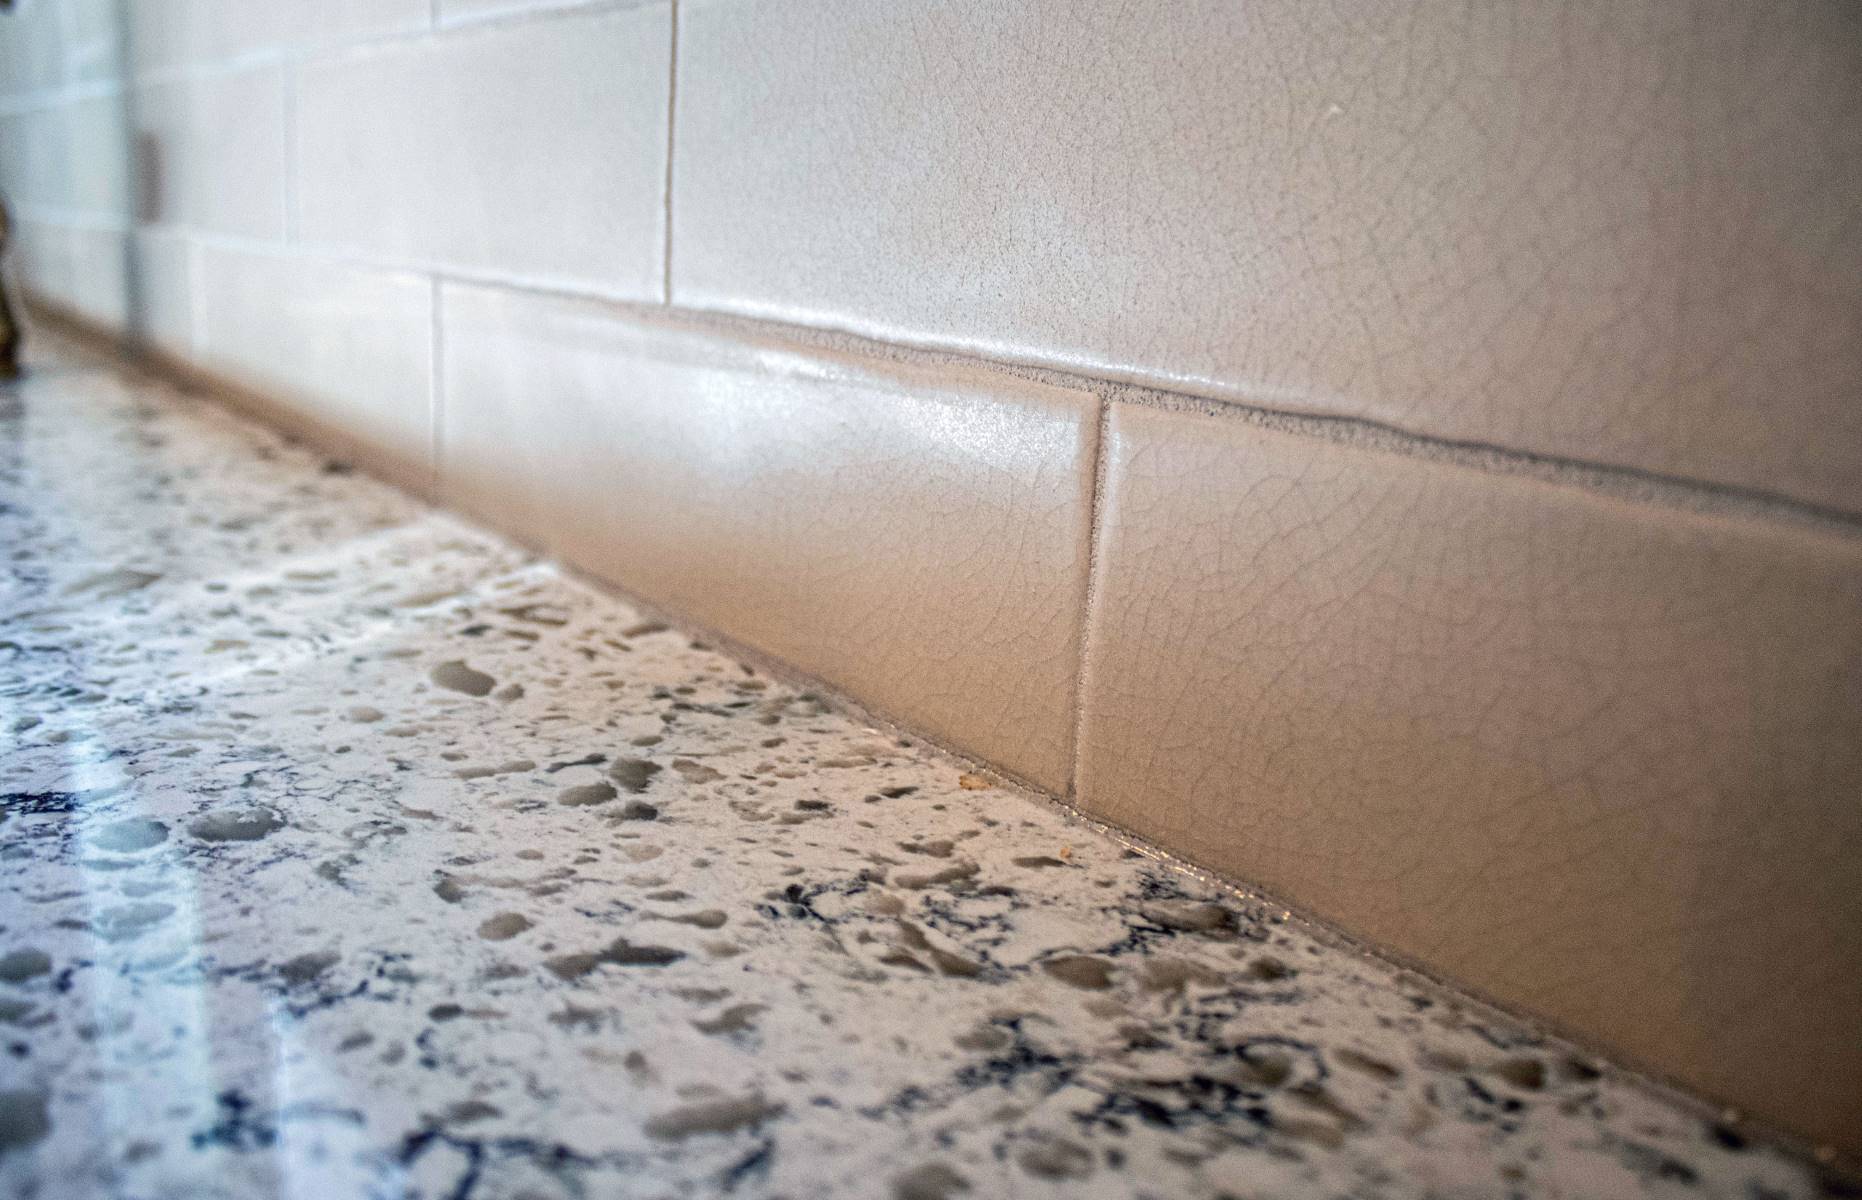
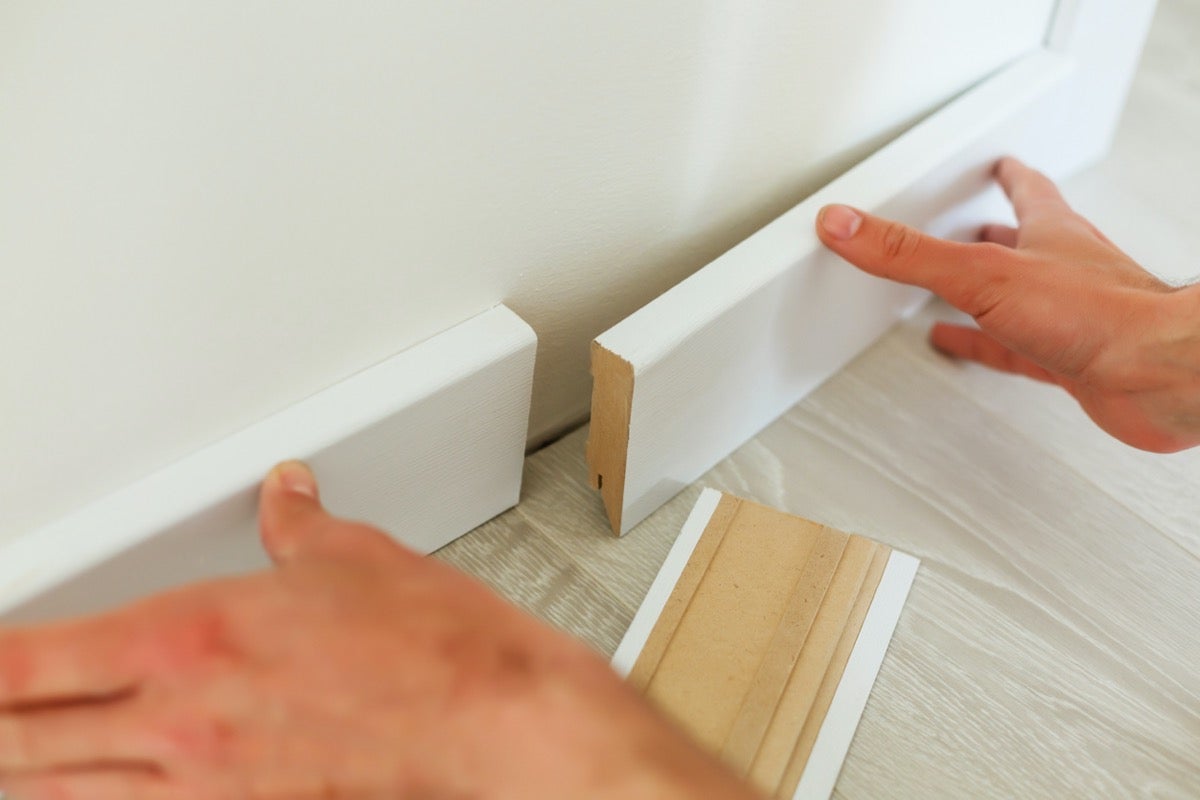
Preparing the baseboards
Before applying caulk to your baseboards, it’s essential to prepare the surface properly. This ensures that the caulk adheres securely and provides a long-lasting finish. Follow these steps to prepare your baseboards:
- Clean the surface: Start by cleaning the baseboards thoroughly. Remove any dust, dirt, or grime using a damp cloth or sponge. This will help the caulk adhere better and give a cleaner finish.
- Sand the baseboards: If there are any rough or uneven areas on the baseboards, lightly sand them using fine-grit sandpaper. Sanding helps create a smoother surface for the caulk to adhere to and ensures a more uniform finish.
- Fill any gaps: Inspect the baseboards for any noticeable gaps or cracks. Use a suitable wood filler or putty to fill in these gaps. Allow the filler to dry completely and then sand it down until it is flush with the baseboards.
- Remove existing caulk: If there is old caulk present, it’s crucial to remove it before applying a new layer. Use a caulk remover tool or solution as directed to soften and scrape away the old caulk. Ensure the surface is clean and free from any remnants of the old caulk.
- Mask off adjacent surfaces: To keep the caulk line clean and prevent any accidental smudges or smears on the adjacent surfaces, use painter’s tape to mask off the walls, floors, or any other areas that are adjacent to the baseboards.
By taking the time to properly prepare your baseboards, you’ll create a clean and seamless foundation for your caulking project. This will result in a professional-looking finish and ensure the longevity of the caulk.
Choosing the right caulk
Choosing the right caulk is crucial for a successful baseboard caulking project. The type of caulk you use will depend on various factors, including the material of your baseboards, the surfaces you’ll be caulking, and the desired finish. Here are some factors to consider when selecting the appropriate caulk:
- Material compatibility: Determine the material of your baseboards and select a caulk that is compatible with them. For example, if you have wooden baseboards, opt for a caulk that adheres well to wood surfaces. If you have vinyl baseboards, choose a caulk suitable for vinyl materials.
- Flexibility: Consider the flexibility of the caulk. Baseboards can expand and contract with changes in temperature and humidity, so it’s important to choose a caulk that can accommodate this movement without cracking or separating.
- Purpose: Determine the purpose of the caulk. Are you looking for a caulk that provides a waterproof seal, or do you simply want to fill in small gaps and cracks? Select a caulk that suits your specific needs.
- Paintability: If you plan on painting the baseboards after caulking, choose a caulk that is paintable. Look for paintable acrylic latex caulk, as it can be easily painted over to match the color of your baseboards or walls.
- Drying time: Consider the drying time of the caulk. Some caulk products require longer drying times, which may extend the duration of your project. Others may dry quickly, allowing you to proceed with other tasks sooner.
- Quality: Invest in a high-quality caulk to ensure a long-lasting finish. Cheaper caulks may deteriorate over time, leading to cracks, shrinkage, or discoloration.
Consult with professionals at your local hardware store or read product labels to find caulk that fits your specific requirements. Remember, choosing the right caulk is essential for achieving a durable and aesthetically pleasing finish for your baseboards.
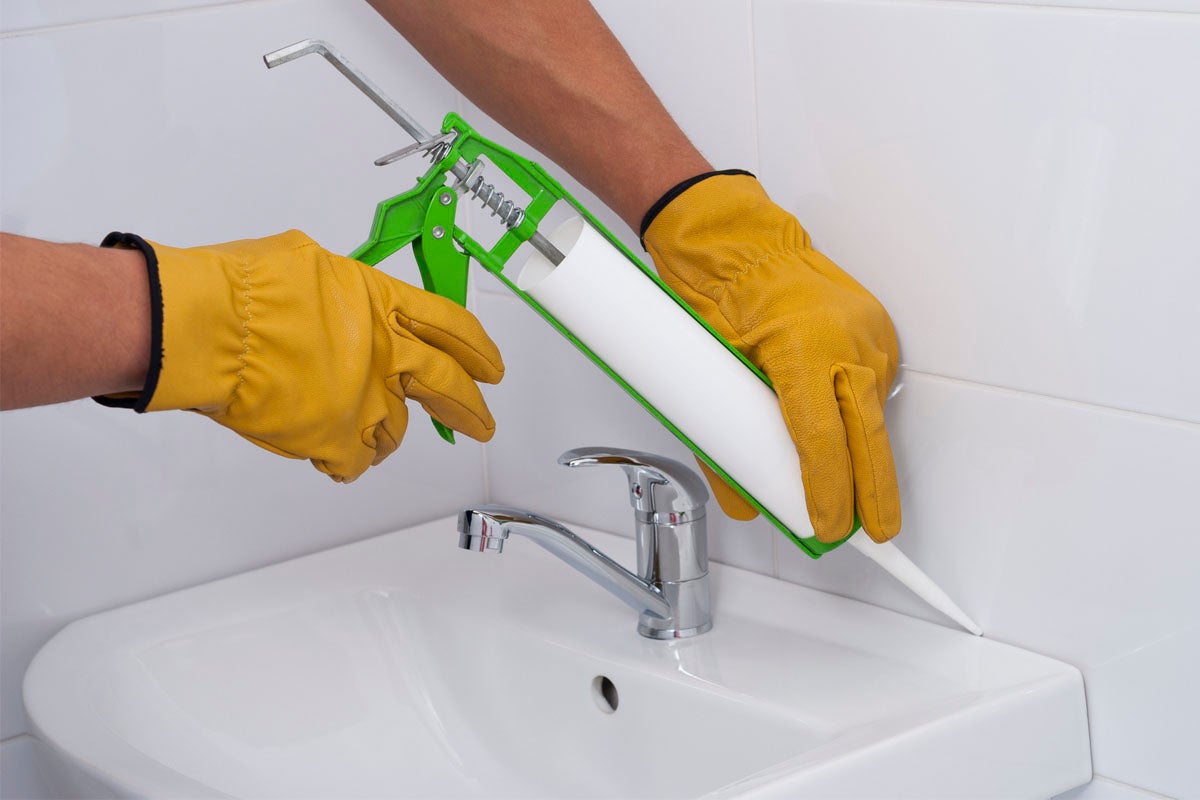
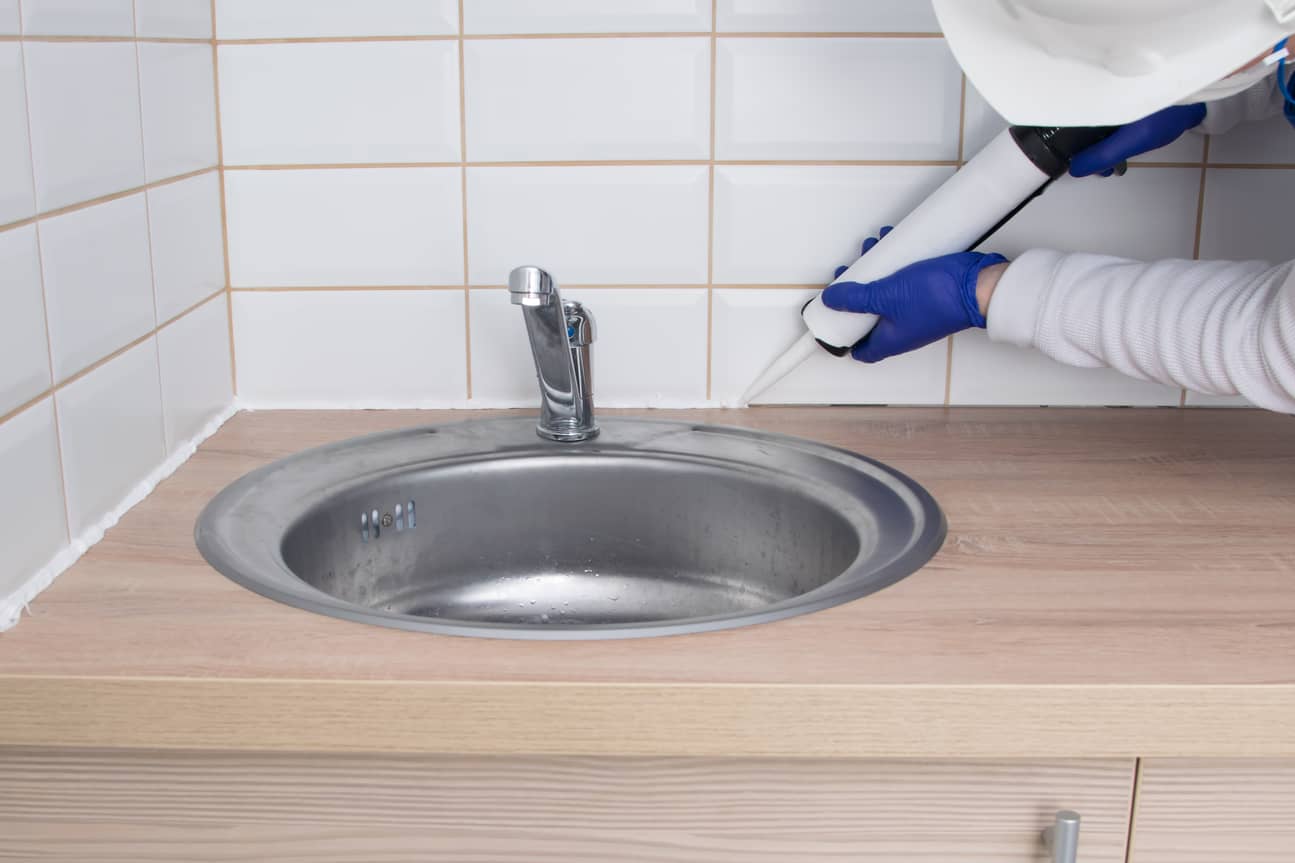
Preparing the caulk gun
Before you can begin applying caulk to your baseboards, you’ll need to prepare the caulk gun. Properly preparing the caulk gun ensures smooth and controlled application of the caulk. Follow these steps to prepare your caulk gun:
- Load the caulk tube: Start by removing the cap from the caulk tube. Insert the caulk tube into the caulk gun, ensuring that the nozzle end is facing away from the trigger. Gently pull back the metal rod on the caulk gun and insert it into the back of the caulk tube.
- Cut the tip of the caulk tube: Use a utility knife or caulk gun cutter to cut the tip of the caulk tube at a 45-degree angle. The size of the cut will depend on the width of the caulk bead you want to apply. Start with a small cut and gradually increase the size if necessary.
- Puncture the inner seal: Most caulk tubes have an inner seal that needs to be punctured before the caulk can flow. Use a long nail or a puncturing tool on the caulk gun to puncture the seal. Insert the puncturing tool into the tip of the caulk tube and push it through the seal.
- Prime the caulk gun: Pull the trigger of the caulk gun gently to prime it. This will allow the caulk to flow smoothly when you start applying it to the baseboards. Keep a disposable container or paper towel handy to catch any excess caulk that is initially dispensed.
- Test the flow: Before you start caulking the baseboards, test the flow of the caulk by squeezing the trigger in a controlled manner. Ensure that the caulk is coming out smoothly and at a consistent rate. Adjust the tension on the caulk gun if necessary.
By properly preparing the caulk gun, you’ll be ready to apply the caulk to your baseboards with ease and precision. Remember to always follow the manufacturer’s instructions for your specific caulk gun model.
Use a high-quality caulk and a caulking gun for better control. Apply a smooth, continuous bead along the baseboard, then use a damp cloth to wipe away excess caulk for a flawless finish.
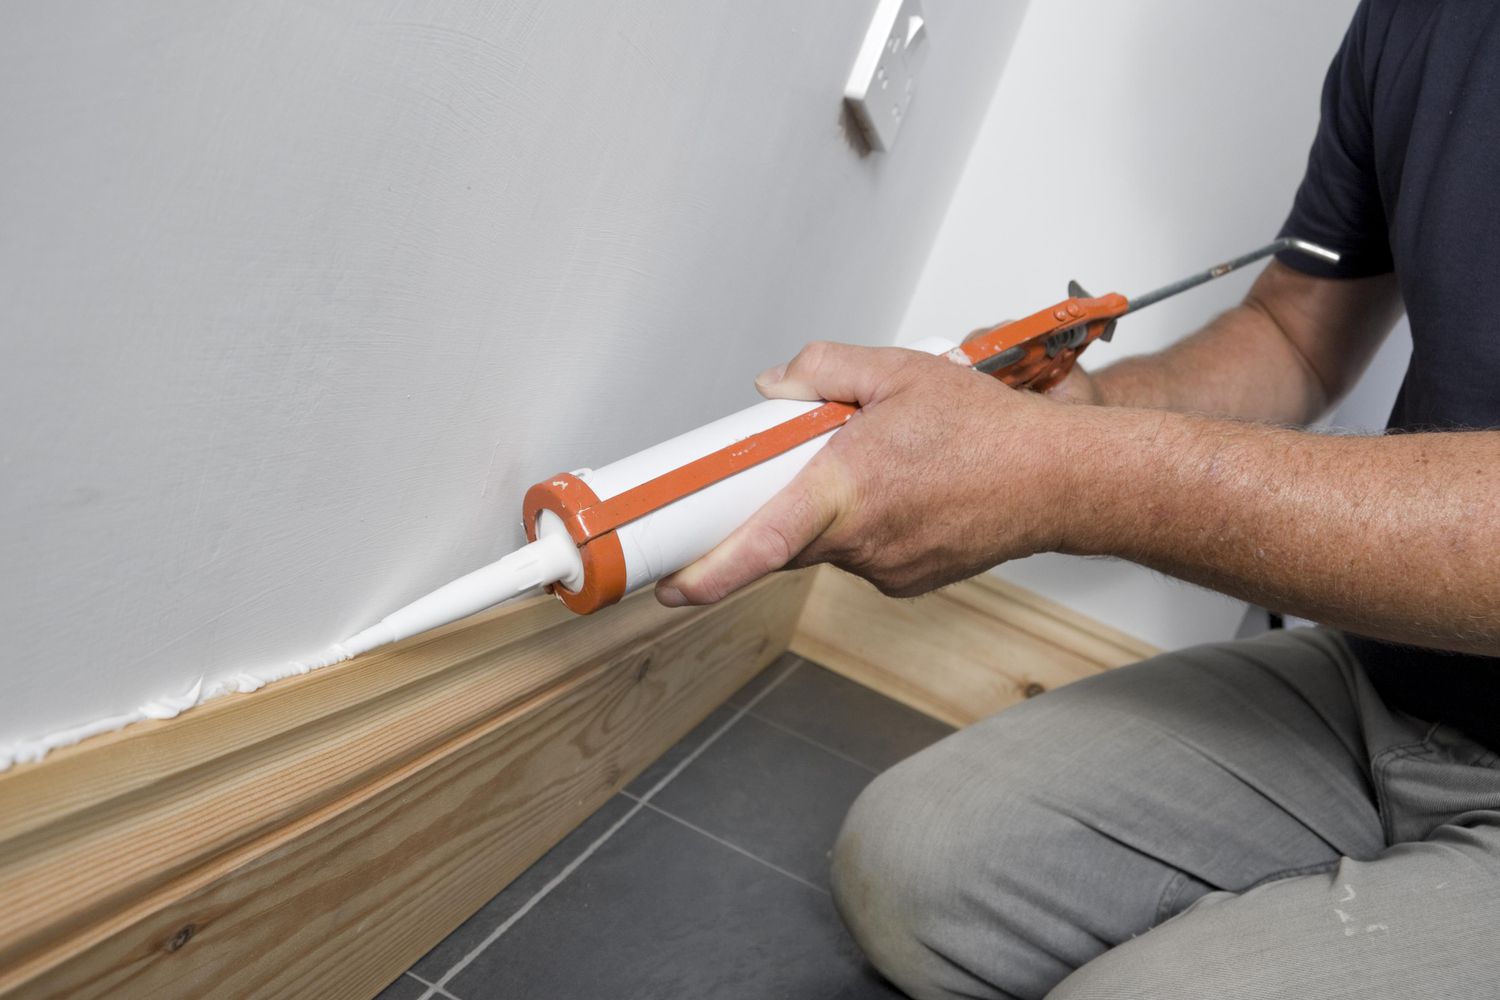
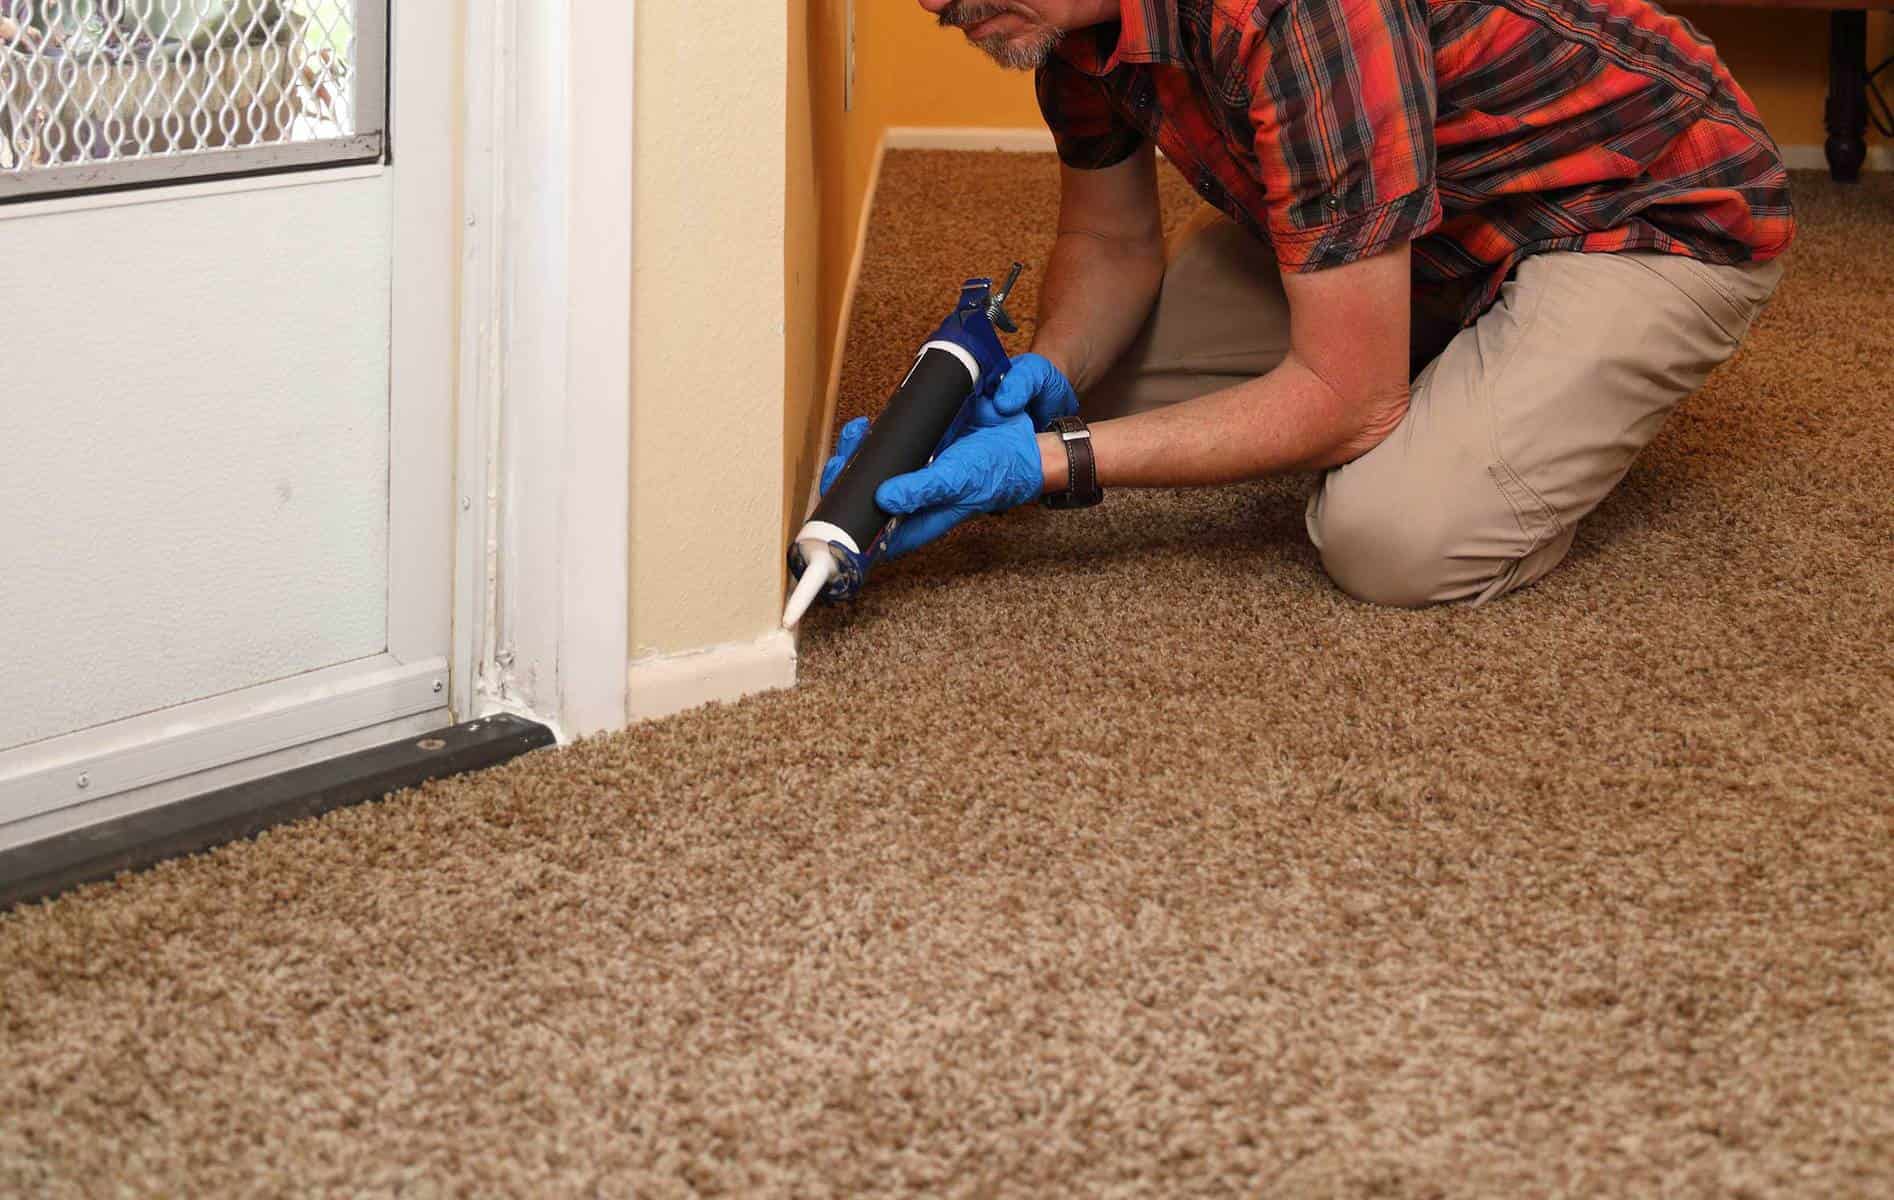
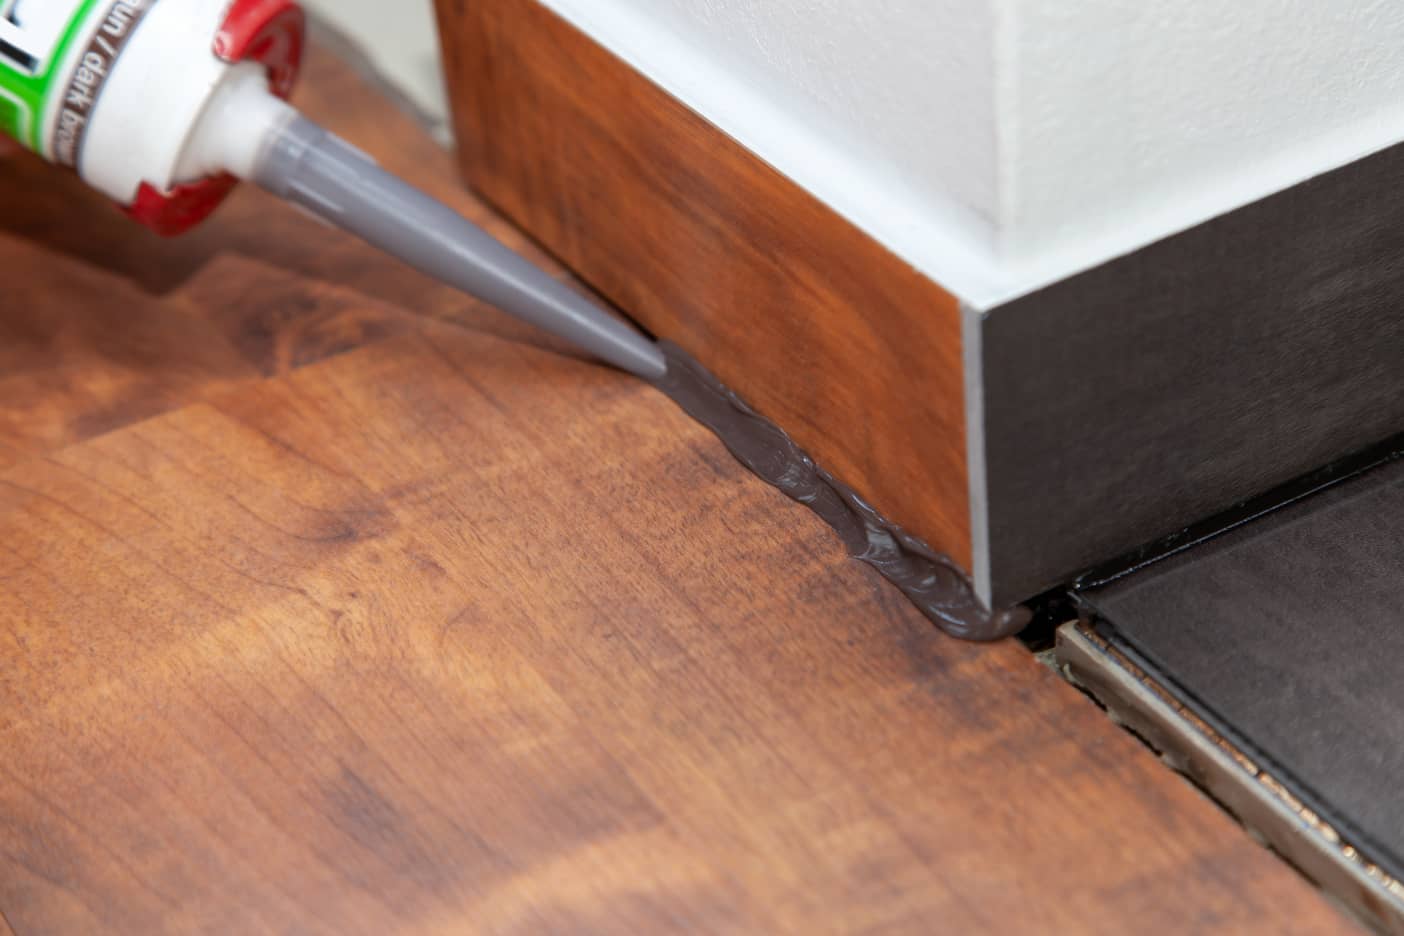
Applying the caulk
Now that you have prepared your baseboards and caulk gun, it’s time to apply the caulk. Follow these steps to ensure a smooth and even application:
- Hold the caulk gun at a 45-degree angle: Hold the caulk gun at a 45-degree angle to the baseboard, positioning the caulk nozzle at the point where the baseboard meets the wall or floor. This angle helps the caulk flow smoothly and ensures better adhesion.
- Apply consistent pressure to the trigger: Squeeze the trigger of the caulk gun with steady and even pressure. As you move the caulk gun along the baseboard, a steady stream of caulk should be dispensed from the nozzle. Aim for a continuous line of caulk, filling any gaps or cracks as you go.
- Maintain a continuous motion: Keep a steady and continuous motion as you apply the caulk. Avoid starting and stopping, as this can result in uneven lines or excess caulk in certain areas. Move the caulk gun smoothly along the baseboard, maintaining a consistent speed.
- Overlap the caulk slightly: As you move along the baseboard, overlap the caulk slightly from one section to the next. This ensures a seamless transition and prevents any gaps or breaks in the caulk line.
- Work in manageable sections: It’s best to work in small, manageable sections rather than trying to caulk the entire baseboard at once. This allows you to maintain control over the caulk application and achieve a neater and more precise finish.
Keep in mind that practice makes perfect, so don’t worry if your first attempts aren’t flawless. With a bit of practice, you’ll soon become comfortable and confident with the caulk gun and achieve a professional-looking caulk line.
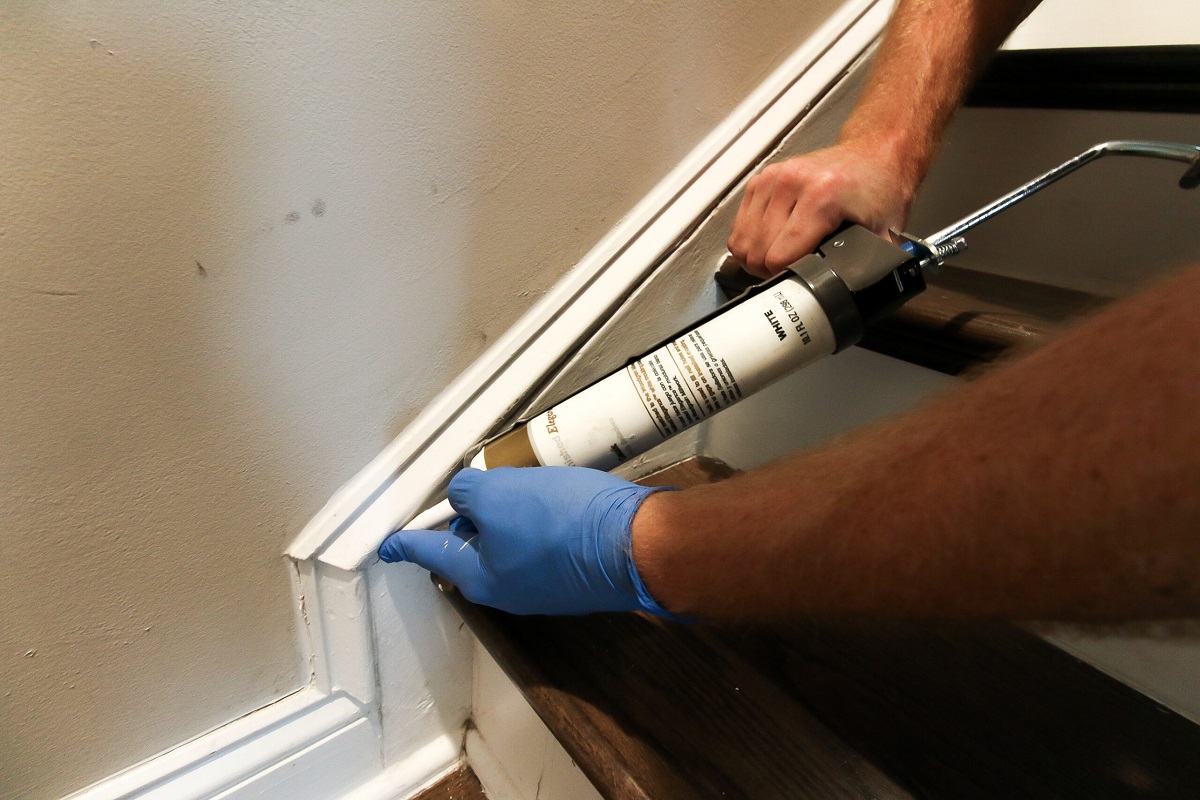
Smoothing the caulk
After applying the caulk to your baseboards, it’s important to smooth it out for a professional finish. Smoothing the caulk helps create a clean and seamless line, enhancing the overall appearance. Follow these steps to smooth the caulk:
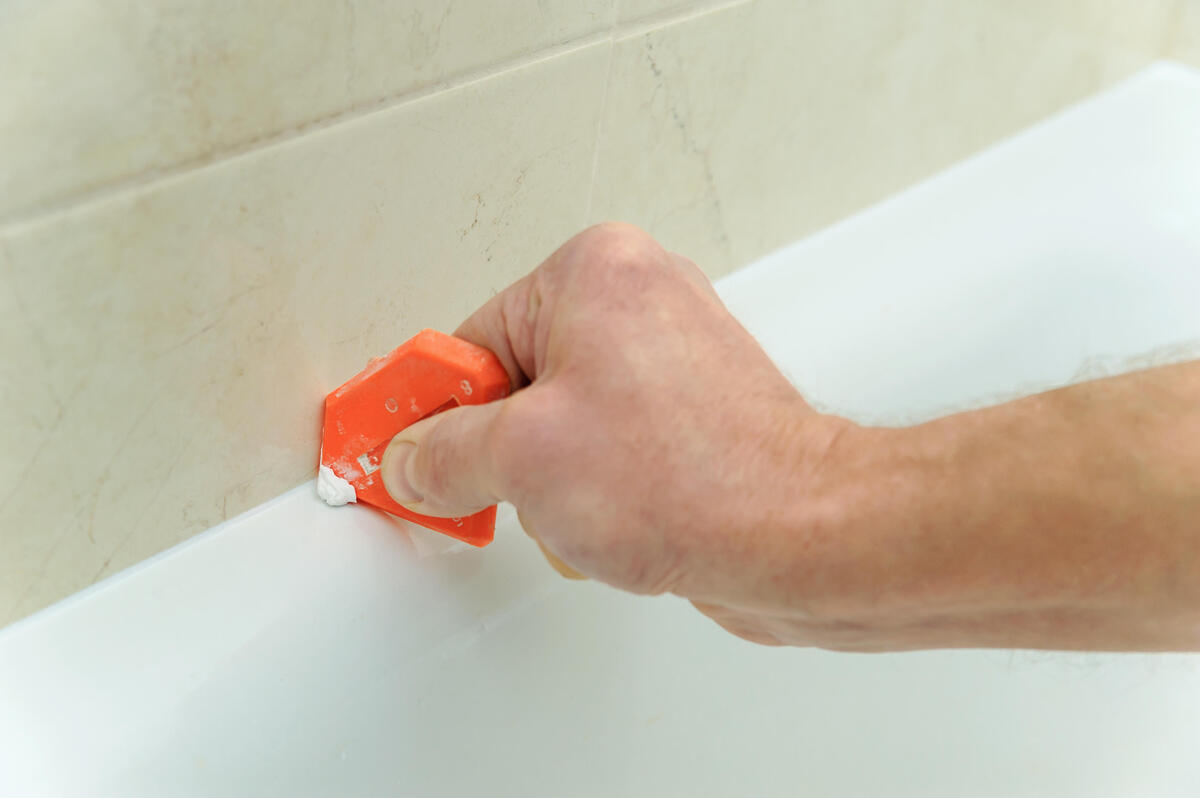
- Dampen your finger or a caulk smoothing tool: Wet your finger slightly with water or dampen a caulk smoothing tool. This will prevent the caulk from sticking to your finger or the tool and allow for easier smoothing.
- Carefully drag your finger or the tool along the caulk line: Starting at one end of the caulk line, lightly drag your finger or the caulk smoothing tool along the caulk. Apply gentle pressure to flatten and smooth out any uneven areas or ridges.
- Wipe off excess caulk: As you smooth the caulk, periodically wipe off any excess caulk that collects on your finger or the smoothing tool. This helps maintain a clean and neat finish.
- Shape the caulk line: Use your finger or the caulk smoothing tool to shape the caulk line into a neat and consistent shape. Make sure the caulk is evenly distributed and fills any gaps or cracks along the baseboard.
- Clean up any smudges or smears: If you accidentally smudge or smear the caulk on the adjacent surfaces, use a damp cloth or sponge to clean it up immediately. Wipe in a gentle, sweeping motion to avoid spreading the caulk further.
Take your time while smoothing the caulk to ensure a precise and polished finish. If you’re unhappy with the result, you can always remove and reapply the caulk before it dries completely.
Remember, practice makes perfect, so don’t get discouraged if your first attempts aren’t perfect. With a little patience and persistence, you’ll be able to achieve smooth and professional-looking caulk lines on your baseboards.
Cleaning up
Once you have finished caulking your baseboards, it’s time to clean up any residual mess and ensure a tidy end result. Follow these steps to properly clean up after caulking:
- Wipe away excess caulk: Use a clean cloth or damp sponge to carefully wipe away any excess caulk that may have squeezed out or pooled around the baseboards. Wipe in a gentle, circular motion to remove the caulk without smearing it onto adjacent surfaces.
- Check for smudges or smears: Inspect the surrounding surfaces for any caulk smudges or smears. If you notice any, use a damp cloth or sponge to gently clean them up. Be careful not to wipe the caulk lines or disrupt the freshly applied caulk.
- Remove painter’s tape: If you used painter’s tape to protect adjacent surfaces, carefully peel it off while the caulk is still wet. This will prevent any dried caulk from sticking to the tape and potentially damaging the paint or finish underneath.
- Dispose of waste: Properly dispose of any used caulk tubes, packaging, or leftover materials according to local regulations. Some caulk can be cleaned off reusable tools with warm water and soap, while others may require special solvent-based cleaners.
- Allow the caulk to dry: Follow the drying time suggested by the caulk manufacturer before handling or touching the caulked baseboards. This will ensure that the caulk fully cures and provides a long-lasting seal.
By taking the time to clean up properly, you’ll achieve a polished and professional look for your baseboards. A clean and well-maintained finish adds that final touch to your interior design project.
Remember, always refer to the specific instructions provided by the caulk manufacturer for any additional cleaning or maintenance requirements.
Tips for achieving a flawless finish
Caulking baseboards can be a straightforward task when done correctly. To help you achieve a flawless finish, here are some valuable tips:
- Practice on a test piece: If you’re new to caulking, consider practicing on a scrap piece of baseboard or an inconspicuous area before tackling the main project. This allows you to familiarize yourself with the caulk gun and get a feel for applying the caulk smoothly.
- Use steady, even pressure: Apply consistent and even pressure on the caulk gun trigger to ensure a uniform flow of caulk. This helps maintain consistent bead thickness and avoids gaps or excess buildup.
- Avoid overfilling: It’s better to underfill gaps and cracks slightly than to overfill them. Overfilled caulk can be challenging to smooth and may create a messy appearance. You can always go back and add more caulk if needed.
- Remove excess caulk promptly: As you work, wipe off any excess caulk that accumulates on the baseboard or adjacent surfaces. Removing it when wet is easier than trying to clean up dried caulk later.
- Smooth caulk in one continuous motion: When smoothing the caulk line, try to complete the entire length of the baseboard in one smooth, continuous motion. This helps create a seamless and consistent finish.
- Work in small sections: Instead of attempting to caulk the entire baseboard at once, work in small sections. This allows you to maintain control and ensures the caulk doesn’t dry too quickly before you have a chance to smooth it.
- Keep a damp cloth or sponge handy: Having a damp cloth or sponge nearby is helpful for cleaning up any mistakes or excess caulk. It also allows you to refine the caulk lines for a neater appearance.
- Inspect and make touch-ups: Once the caulk has dried, carefully inspect the baseboards for any imperfections or areas that may need touch-ups. Use a caulk remover if necessary and reapply caulk as needed to achieve the desired finish.
- Take your time: Caulking baseboards is a task that requires patience and attention to detail. Take your time to ensure each step is executed carefully and accurately. Rushing through the process may result in a subpar finish.
By following these tips, you’ll be well on your way to achieving a flawless and professional finish for your baseboards. Remember, practice makes perfect, so don’t be discouraged if it takes a few attempts to master the technique!
Conclusion
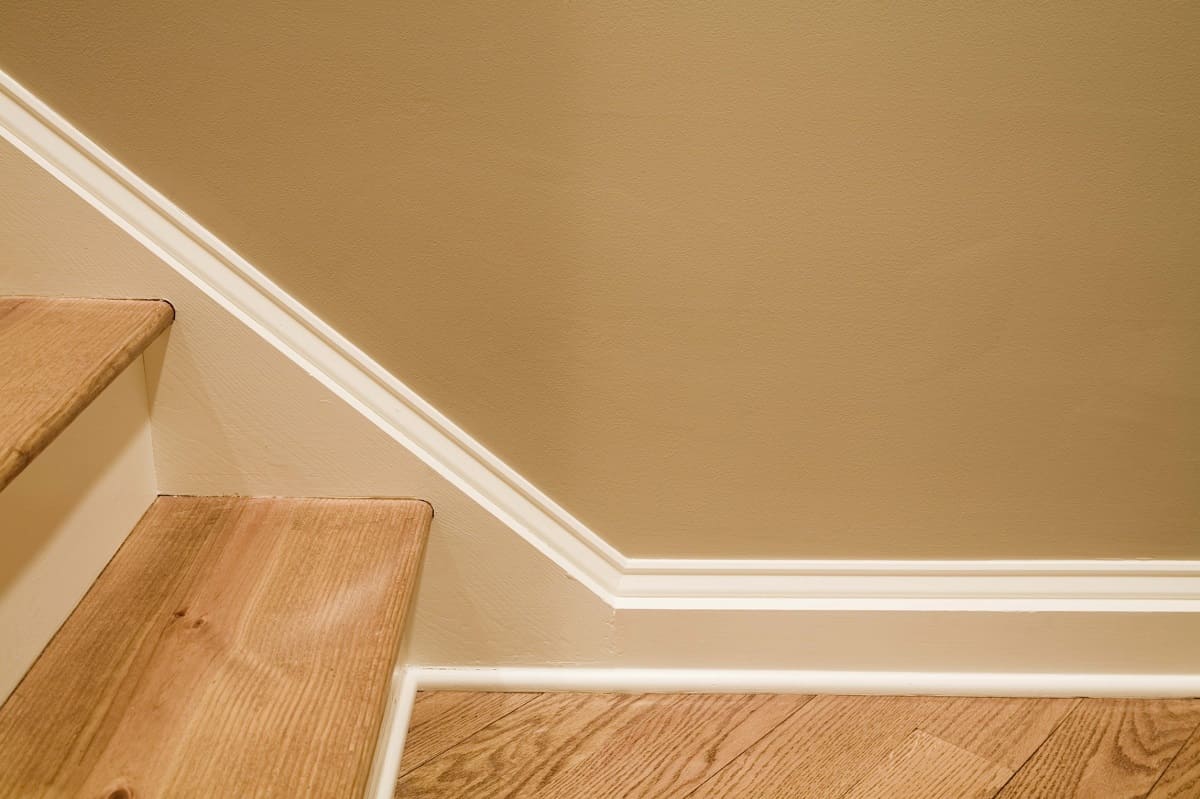
Caulking baseboards is an essential step in any interior design project, contributing to both the aesthetic appeal and functionality of a space. With the right materials and proper technique, you can achieve a flawless finish that elevates the overall look of your room.
By following the step-by-step process outlined in this guide, you can confidently caulk your baseboards like a pro. From preparing the baseboards and choosing the right caulk to applying and smoothing the caulk, each stage plays a crucial role in creating a seamless and professional result.
Remember to take your time, practice, and always strive for a neat and consistent caulk line. Be mindful of material compatibility, flexibility, and the purpose of the caulk you choose. Keep safety in mind while working with caulk, and remember to properly prepare your caulk gun for smooth application.
Smoothing the caulk and cleaning up any excess is key to achieving a polished finish. Don’t hesitate to make touch-ups and inspect the baseboards once the caulk has dried. By using the helpful tips provided, you can overcome common challenges and achieve exceptional results.
So, whether you’re sprucing up your home or working on a professional interior design project, don’t underestimate the impact of well-caulked baseboards. It’s time to dive into the world of caulking and take your interior design skills to the next level!
Remember, practice and patience are key, and soon enough, you’ll be caulking baseboards with confidence and finesse.
Frequently Asked Questions about How To Caulk Baseboards: Get A Flawless Finish, Fast
Was this page helpful?
At Storables.com, we guarantee accurate and reliable information. Our content, validated by Expert Board Contributors, is crafted following stringent Editorial Policies. We're committed to providing you with well-researched, expert-backed insights for all your informational needs.

0 thoughts on “How To Caulk Baseboards: Get A Flawless Finish, Fast”