Articles
How To Add A Flange To A Quilt
Modified: February 24, 2024
Learn how to add a beautiful flange to your quilt with this step-by-step guide. Our articles provide expert tips and techniques for seamless quilting.
(Many of the links in this article redirect to a specific reviewed product. Your purchase of these products through affiliate links helps to generate commission for Storables.com, at no extra cost. Learn more)
Introduction
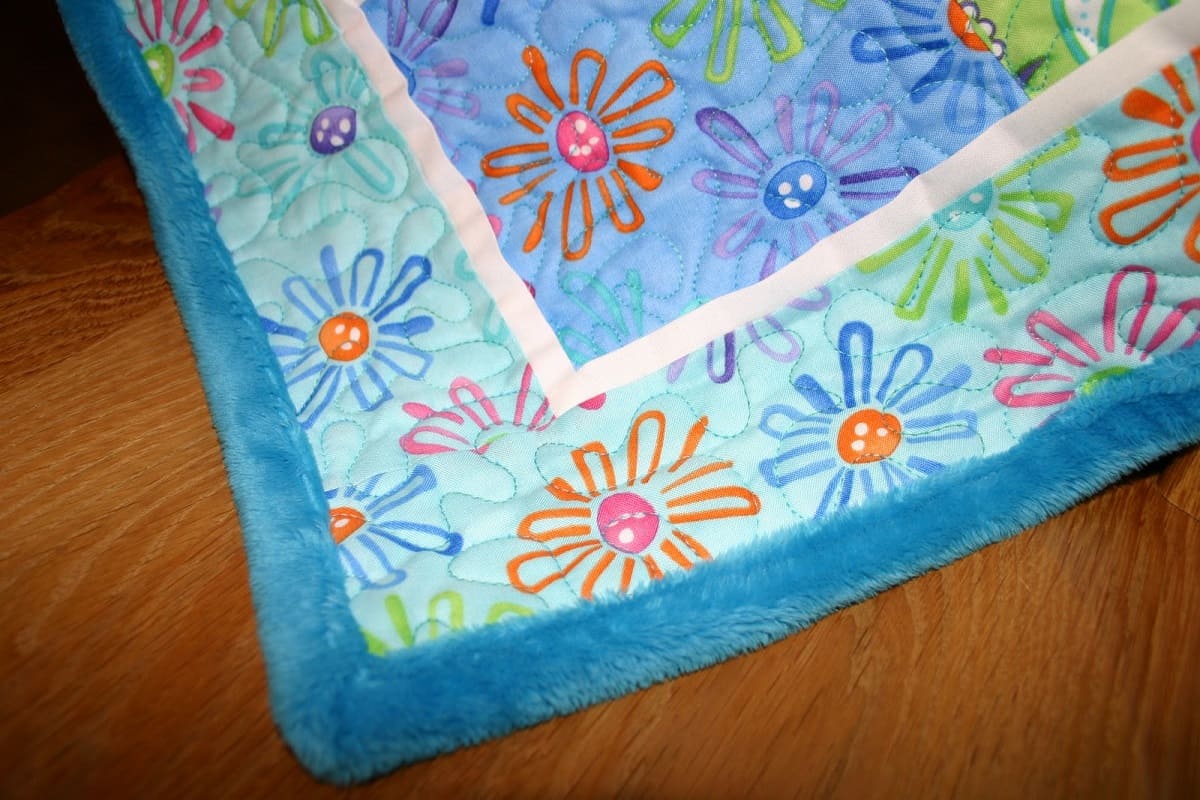
Welcome to our step-by-step guide on how to add a flange to a quilt. If you’re a quilting enthusiast looking to add an extra touch of elegance and dimension to your quilt projects, then you’re in the right place. A flange is a narrow strip of contrasting fabric that is inserted between the quilt top and the binding, creating a decorative border. It adds visual interest and can make your quilt truly stand out.
Adding a flange to a quilt is not as complicated as it may seem. With a few simple materials and some basic sewing skills, you’ll be able to give your quilts that extra pop they deserve. In this article, we’ll guide you through each step of the process, from gathering the necessary materials to attaching the flange and finishing the quilt with binding.
Before we begin, it’s important to note that this tutorial assumes you have some basic knowledge of quilting and sewing techniques. If you’re new to quilting, we recommend familiarizing yourself with the basics before attempting to add a flange. That being said, let’s dive into the world of flanges and create a beautiful quilt together!
Key Takeaways:
- Elevate your quilting projects by adding a flange for an elegant and dimensional touch. Gather materials, measure and cut the flange fabric, and follow step-by-step instructions to create a stunning finished quilt.
- With basic sewing skills and the right materials, you can seamlessly attach a flange and binding to your quilt. Experiment with different fabric combinations and widths to add your personal touch. Happy quilting!
Read more: How To Raise A Toilet Flange
Step 1: Gather the necessary materials
Before you can start adding a flange to your quilt, you’ll need to gather a few essential materials. Here’s what you’ll need:
- Quilt top: This is the main part of your quilt and should be fully constructed.
- Backing fabric: The fabric that will be used for the back of the quilt.
- Batting: A layer of material that goes between the quilt top and backing to provide warmth and thickness.
- Flange fabric: Choose a fabric that complements your quilt top. It should be a contrasting color or pattern to make the flange stand out.
- Binding fabric: The fabric that will be used to finish the edges of the quilt.
- Thread: Select a thread color that matches or complements the fabrics used in your quilt.
- Sewing machine: A reliable sewing machine will make the process much easier and faster.
- Rotary cutter and mat: These tools are helpful for cutting fabric accurately and quickly.
- Ruler: A ruler will assist you in measuring and cutting fabric pieces.
- Pins or clips: These will be used to hold the fabrics in place during sewing.
- Iron and ironing board: An iron is necessary for pressing the fabrics and seams.
Once you have gathered all of these materials, you’ll be well-prepared to add a flange to your quilt. Now, let’s move on to the next step!
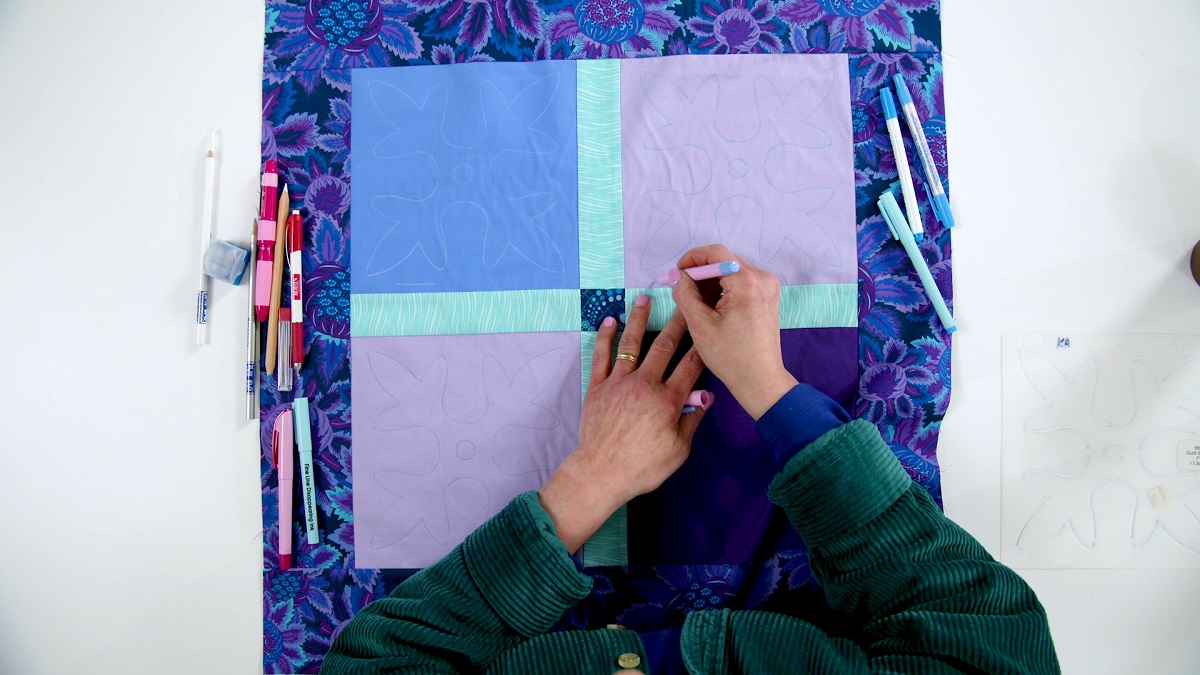
Step 2: Measure and cut the flange fabric
Now that you have all the necessary materials ready, it’s time to measure and cut the flange fabric. The flange will be inserted between the quilt top and the binding, so you’ll need to calculate the length and width of the flange strips. Follow these steps:
- Measure the sides of your quilt top: Use a measuring tape to determine the length of each side of your quilt top, including the top, bottom, and both sides. Write down these measurements.
- Determine the width of the flange: Decide how wide you want your flange to be. Usually, a flange is between 1/2 inch and 1 inch wide. Make sure to account for the seam allowance when choosing the width.
- Calculate the length of the flange strips: Calculate the length of each flange strip by adding the desired width of the flange to the corresponding side of the quilt top measurement. For example, if your quilt top side measures 40 inches, and you want a 1/2 inch wide flange, your flange strip should be 40.5 inches long.
- Cut the flange fabric: Using a rotary cutter, mat, and ruler, cut the flange fabric into strips according to the calculated length and desired width. Make sure to cut enough strips to go around all sides of the quilt top.
Once you’ve cut the flange strips, you’re ready to move on to the next step and start preparing your quilt for the flange attachment.
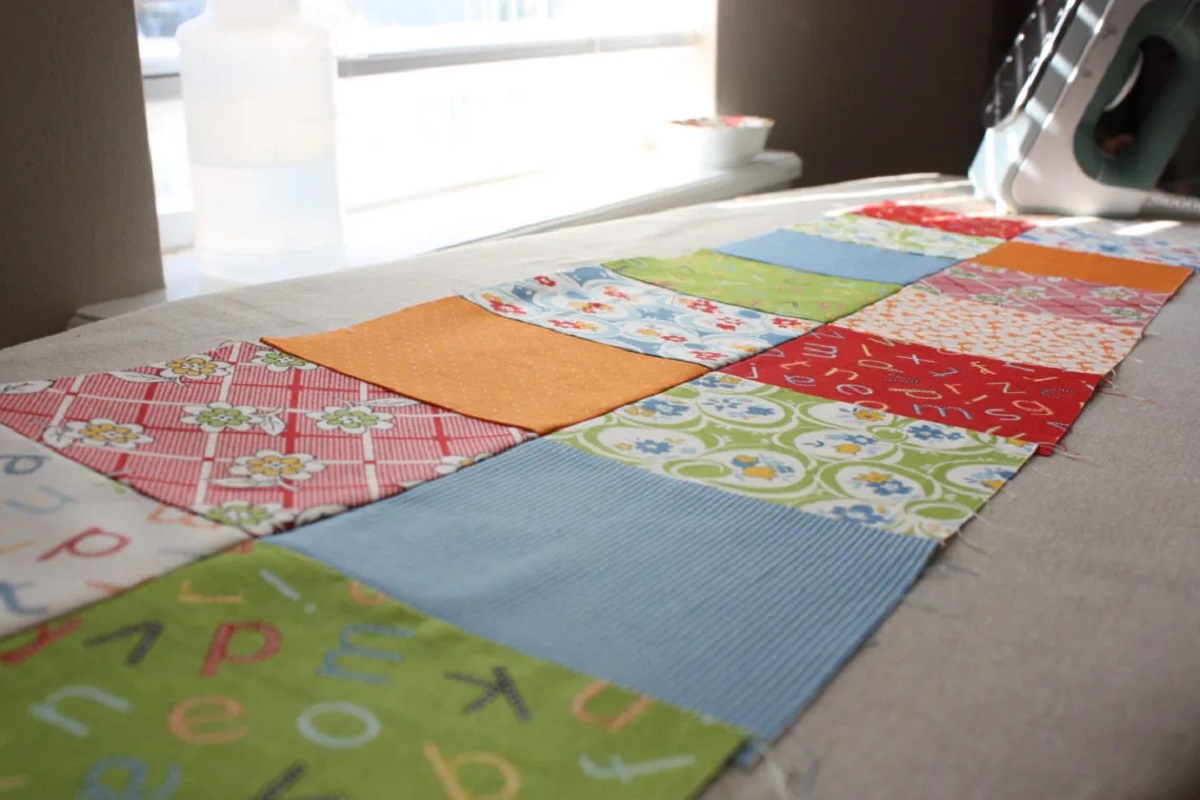
Step 3: Prepare the quilt
Before you can attach the flange to your quilt, it’s important to prepare the quilt top, backing fabric, and batting. Follow these steps to get everything ready:
- Press the quilt top: Start by pressing your quilt top with an iron to remove any wrinkles and ensure a smooth surface. This will make it easier to attach the flange later on.
- Layer the quilt sandwich: Lay the backing fabric on a flat surface, wrong side facing up. Smooth out any wrinkles or folds. Next, place the batting on top of the backing fabric, making sure it is centered and covers the entire quilt top area. Finally, carefully place the quilt top on the batting, right side facing up. Smooth out any wrinkles or lumps.
- Baste the layers together: Use pins or clips to secure the layers together, making sure they are evenly distributed. You can also use temporary spray adhesive to keep the layers in place if you prefer.
- Trim the excess fabric: With a rotary cutter and ruler, trim the excess batting and backing fabric so they are slightly larger than the quilt top. This will make it easier to attach the flange without bulkiness.
Once you’ve prepared the quilt, it’s time to move on to the exciting part – attaching the flange! Keep reading to learn how to add the flange to your quilt and give it a beautiful finishing touch.
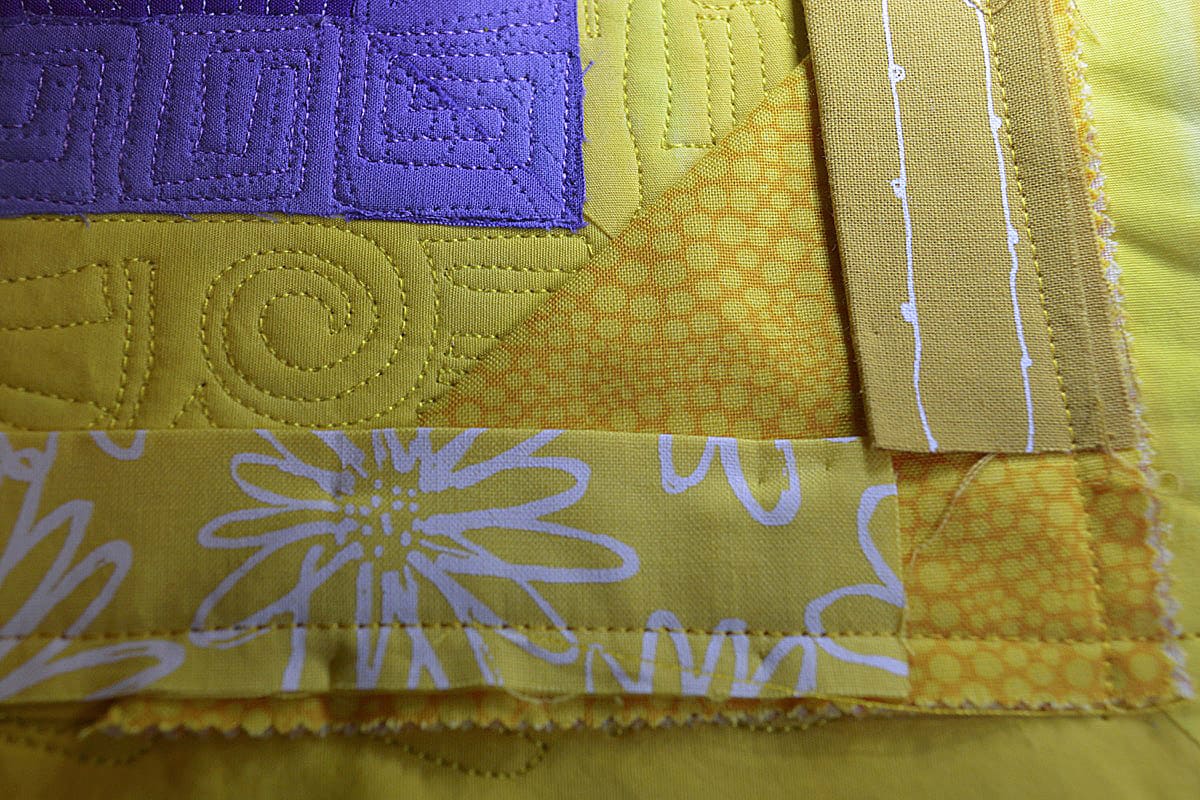
When adding a flange to a quilt, use a contrasting fabric for a pop of color and dimension. Cut the flange strips 1.5 inches wide and sew them into the seam when joining the quilt top and backing. This will create a beautiful frame effect.
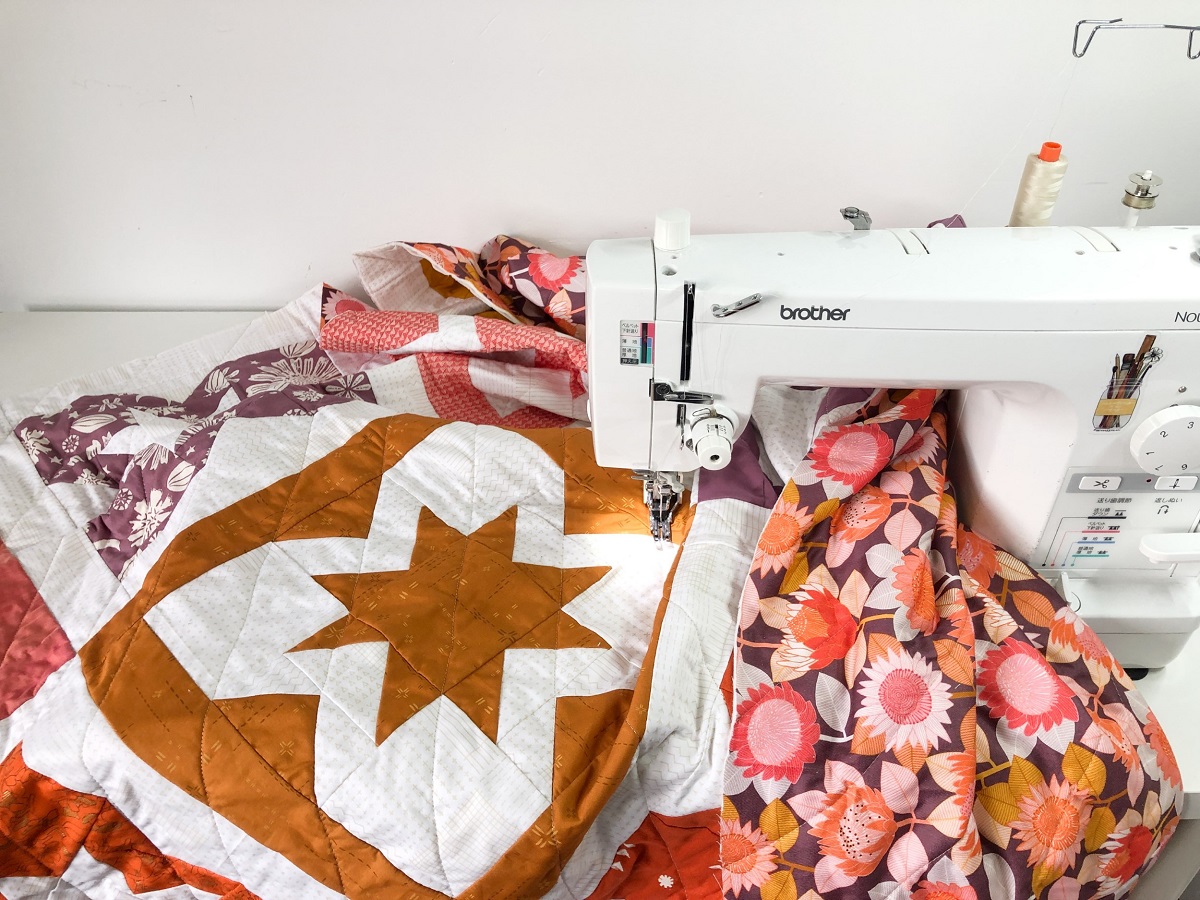
Step 4: Attach the flange to the quilt
Now comes the fun part – attaching the flange to your quilt! Follow these steps to seamlessly incorporate the flange into your quilt:
- Starting with one side of the quilt, take one of the flange strips you cut in Step 2.
- Fold the strip in half lengthwise, wrong sides together, and press it with an iron. This will create a crease along the center of the strip.
- Align the raw edge of the flange strip with the raw edge of the quilt top, right sides together. Make sure the creased center line of the flange is facing towards the quilt top.
- Pin or clip the flange strip in place along the entire side of the quilt top.
- Using a 1/4 inch seam allowance, sew the flange strip to the quilt top, removing pins or clips as you go. Backstitch at the beginning and end of the seam to secure it.
- Repeat steps 1 to 5 for the remaining sides of the quilt top, attaching the flange strips one at a time.
Once you have attached the flange strips to all sides of the quilt top, the flange will now beautifully frame your quilt. Next, let’s move on to the final step – adding the binding to finish the quilt.
Read more: What Is A Toilet Flange
Step 5: Add the binding to finish the quilt
With the flange attached, it’s time to add the binding to complete your quilt project. The binding will encase the raw edges of the quilt and give it a polished, finished look. Follow these steps to add the binding:
- Prepare the binding fabric: Cut strips of binding fabric that are 2.5 inches wide and long enough to go around the perimeter of your quilt.
- Join the binding strips: Take two binding strips and place them right sides together at a 90-degree angle, matching the diagonal ends.
- Draw a diagonal line from one corner to the other and sew along the line.
- Trim the excess fabric, leave a 1/4 inch seam allowance, and press the seam open. Repeat this step to join all the binding strips together and create a continuous binding.
- Attach the binding to the quilt: Starting in the middle of one side, align the raw edge of the binding with the raw edges of the quilt’s front side. Leave a 6-8 inch tail of binding loose and unpinned.
- Sew the binding to the quilt using a 1/4 inch seam allowance, stopping 1/4 inch away from the corner.
- Fold the binding upward, creating a 45-degree angle, and then fold it back down, aligning the raw edge with the next side of the quilt.
- Continue sewing the binding in place, repeating the folding process at each corner.
- When you reach the starting point, leave a 6-8 inch tail of binding loose and backstitch to secure it.
- Join the binding ends: Open up the loose ends of the binding strips and trim them so they overlap by the width of the binding. Then, fold and press them in half lengthwise.
- With right sides together, sew the ends of the binding together using a 1/4 inch seam allowance. Trim any excess fabric and press the seam open.
- Fold the binding over the quilt’s edge and hand stitch it in place, using a slip stitch or ladder stitch. Be careful to catch only a small amount of the quilt top and batting to hide the stitches as much as possible.
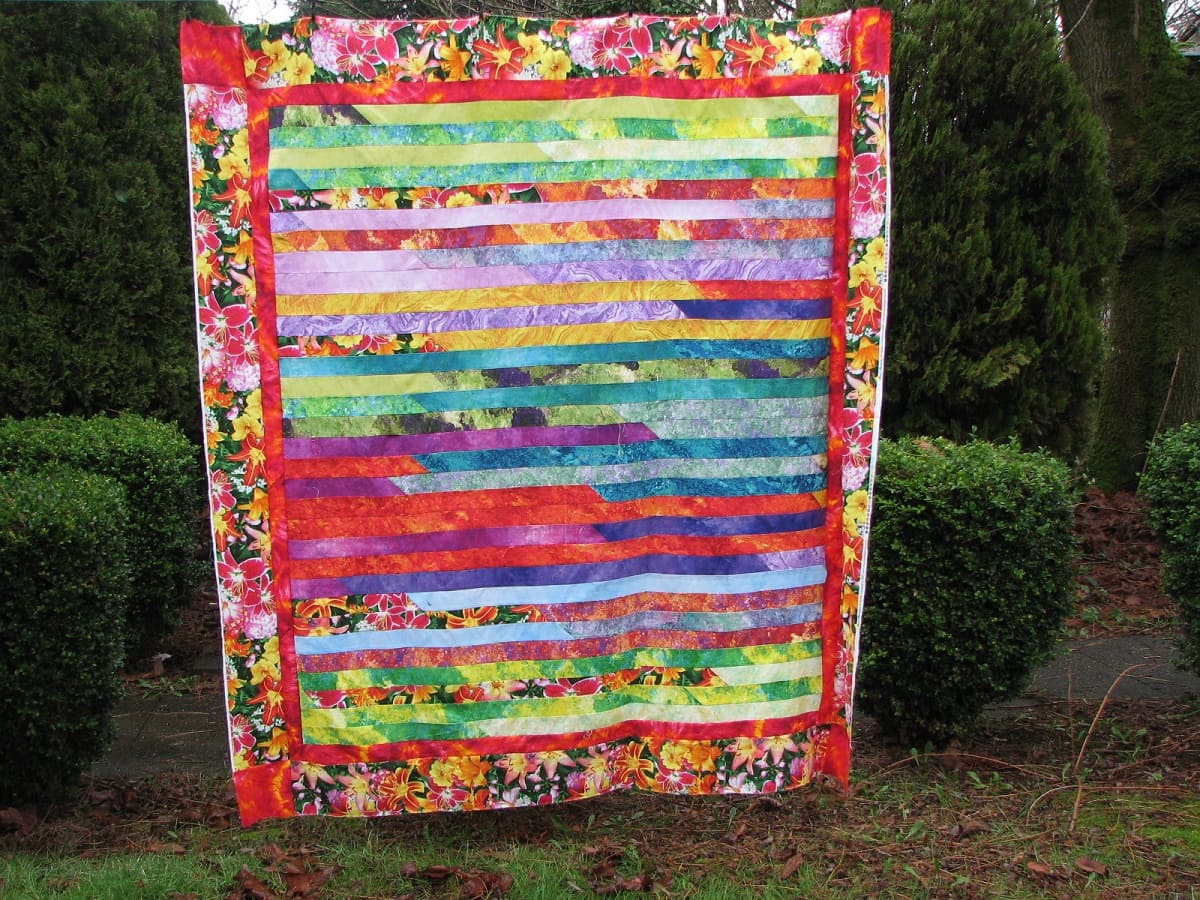
Once you have completed stitching the binding all the way around the quilt, your quilt is ready to be admired and used. Give it a final press with an iron, and you’re done!
Congratulations! You have successfully added a flange and binding to your quilt, creating a stunning finished product. Enjoy the satisfaction of completing another beautiful quilting project, and don’t be afraid to experiment with different fabric combinations and flange widths in future projects. Happy quilting!
Conclusion
Adding a flange to a quilt is a fantastic way to elevate the visual appeal and add an extra touch of elegance to your quilting projects. With the step-by-step guide we’ve provided, you now have the knowledge and skills to confidently incorporate a flange into your quilts.
We started by gathering the necessary materials, including the quilt top, backing fabric, batting, flange fabric, binding fabric, and essential tools like a sewing machine, rotary cutter, and ruler. Properly measuring and cutting the flange fabric ensures a perfect fit and professional finish.
Next, we prepared the quilt by pressing the quilt top, layering the quilt sandwich, and securing the layers together. This sets the foundation for attaching the flange and creating a visually striking border.
Then, we carefully attached the flange strips to the quilt, ensuring the raw edges were aligned and securely sewn in place. The contrasting flange beautifully frames the quilt top and adds dimension to the overall design.
Finally, we wrapped up the process by adding the binding to the quilt, encasing the raw edges and giving it a polished, finished look. Following the steps of joining the binding strips, attaching it to the quilt, mitering the corners, and securing the binding ends resulted in a clean and professional finish.
Now that you have completed all the steps, you can stand back and admire your finished quilt masterpiece. The combination of the flange and binding adds a touch of sophistication and enhances the overall aesthetic appeal of the quilt.
Remember, practice makes perfect, so don’t hesitate to experiment with different flange widths, fabric combinations, and quilting techniques in your future projects. And most importantly, enjoy the process and have fun creating beautiful quilts!
Happy quilting!
Frequently Asked Questions about How To Add A Flange To A Quilt
Was this page helpful?
At Storables.com, we guarantee accurate and reliable information. Our content, validated by Expert Board Contributors, is crafted following stringent Editorial Policies. We're committed to providing you with well-researched, expert-backed insights for all your informational needs.


0 thoughts on “How To Add A Flange To A Quilt”