Home>Renovation & DIY>Tools & Equipment>How To Tape And Spackle

Tools & Equipment
How To Tape And Spackle
Published: December 19, 2023
Learn how to tape and spackle like a pro with the right tools and equipment. Our step-by-step guide will help you achieve a smooth and flawless finish.
(Many of the links in this article redirect to a specific reviewed product. Your purchase of these products through affiliate links helps to generate commission for Storables.com, at no extra cost. Learn more)
Introduction
Welcome to the world of home improvement! Whether you're a seasoned DIY enthusiast or a novice looking to spruce up your living space, learning how to tape and spackle is a valuable skill that can transform your walls from tired and worn to fresh and inviting. Taping and spackling are essential steps in the process of repairing and refinishing drywall, and mastering these techniques will empower you to tackle a wide range of projects with confidence.
In this guide, we'll walk through the step-by-step process of taping and spackling, covering everything from gathering the necessary materials to achieving a smooth and seamless finish. By the end of this article, you'll be equipped with the knowledge and skills to revitalize your walls and create a polished look that enhances the overall aesthetic of your home.
So, roll up your sleeves, gather your tools, and let's dive into the world of taping and spackling. Whether you're repairing a small blemish or renovating an entire room, this guide will serve as your roadmap to achieving professional-quality results and elevating the appearance of your living space. Let's get started!
Key Takeaways:
- Mastering taping and spackling can transform tired walls into inviting spaces. Attention to detail and patience are key to achieving professional-quality results.
- With the right tools and techniques, anyone can revitalize their living space. Taping and spackling is a valuable skill for DIY enthusiasts and novices alike.
Read more: What Is A Spackle
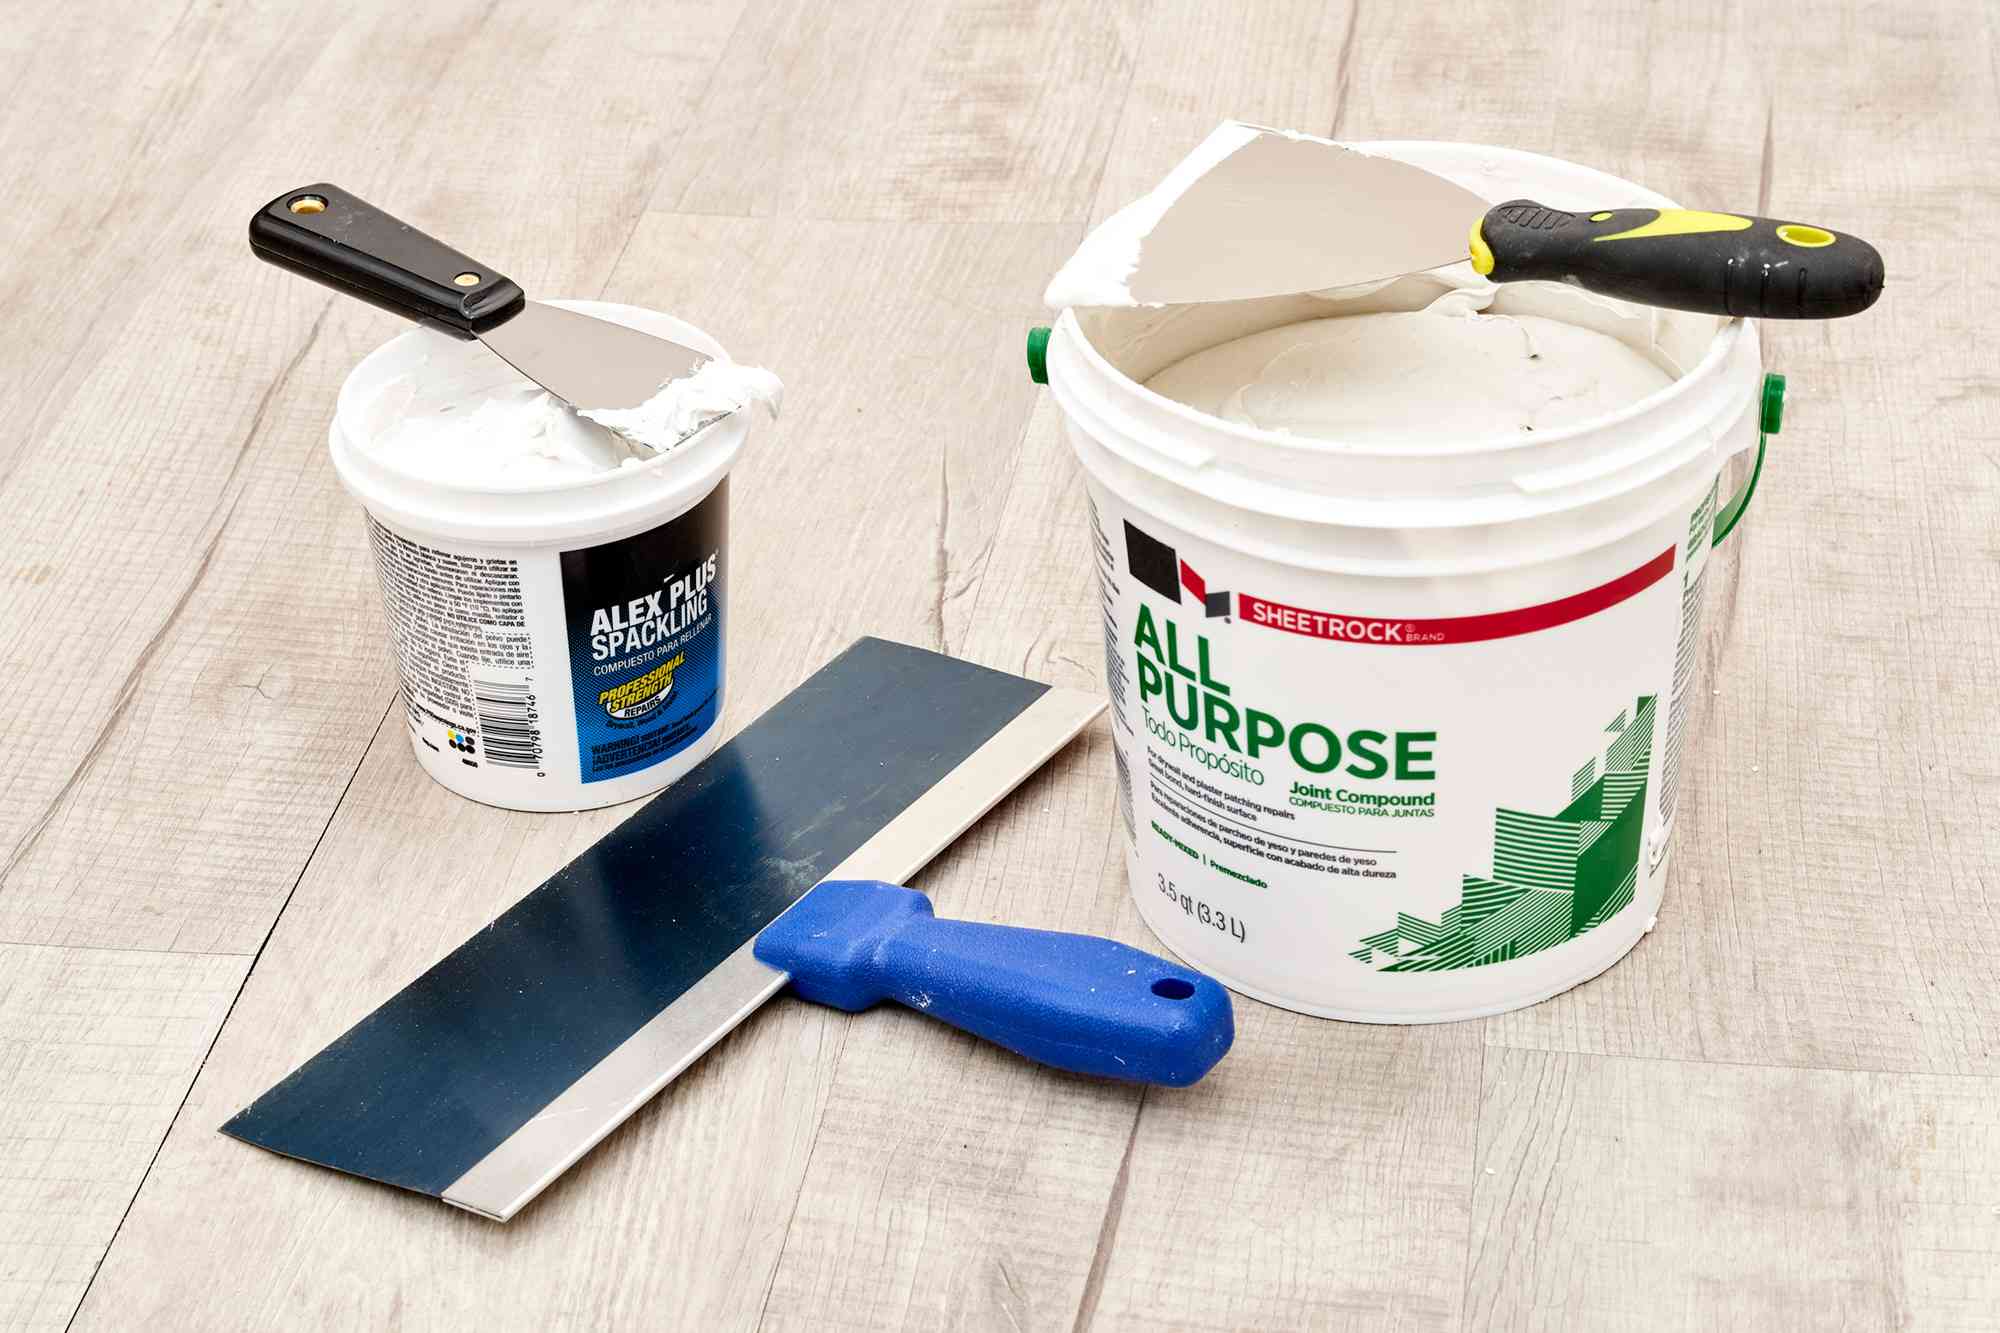
Materials Needed
Before embarking on your taping and spackling journey, it’s essential to gather the necessary materials to ensure a smooth and efficient process. Here’s a comprehensive list of the items you’ll need:
- Drywall Tape: Choose from paper tape, which is ideal for inside corners, or self-adhesive mesh tape, which is versatile and easy to work with.
- Spackling Compound: Opt for a high-quality, lightweight spackling compound that is easy to sand and provides a seamless finish.
- Putty Knife: Select a flexible putty knife in varying widths to accommodate different areas of the wall.
- Sanding Block or Sandpaper: Have a sanding block or fine-grit sandpaper on hand to smooth the spackled surface to perfection.
- Joint Compound: This versatile product is essential for embedding the tape and creating a smooth base for the spackling compound.
- Utility Knife: A sharp utility knife is indispensable for cutting drywall tape and trimming excess material.
- Primer and Paint: Once the taping and spackling process is complete, you’ll need primer and paint to finish the wall and achieve a polished look.
- Drop Cloths or Plastic Sheeting: Protect your floors and furniture from dust and debris by laying down drop cloths or plastic sheeting.
- Dust Mask and Safety Glasses: Prioritize safety by wearing a dust mask and safety glasses to shield yourself from airborne particles during sanding.
- Clean, Damp Cloth: Keep a damp cloth on hand for wiping excess spackling compound and maintaining a tidy workspace.
By ensuring that you have these materials readily available, you’ll be well-prepared to tackle the taping and spackling process with confidence and efficiency. With the right tools at your disposal, you’ll be one step closer to achieving professional-quality results and transforming your walls into pristine canvases for your desired aesthetic.
Preparing the Surface
Before diving into the taping and spackling process, it’s crucial to prepare the surface to ensure optimal adhesion and a flawless finish. Follow these steps to set the stage for a successful taping and spackling experience:
- Clean the Area: Begin by clearing the wall of any dust, debris, and loose particles. Use a clean, damp cloth to wipe the surface and ensure that it is free of any contaminants that could affect the adhesion of the tape and spackling compound.
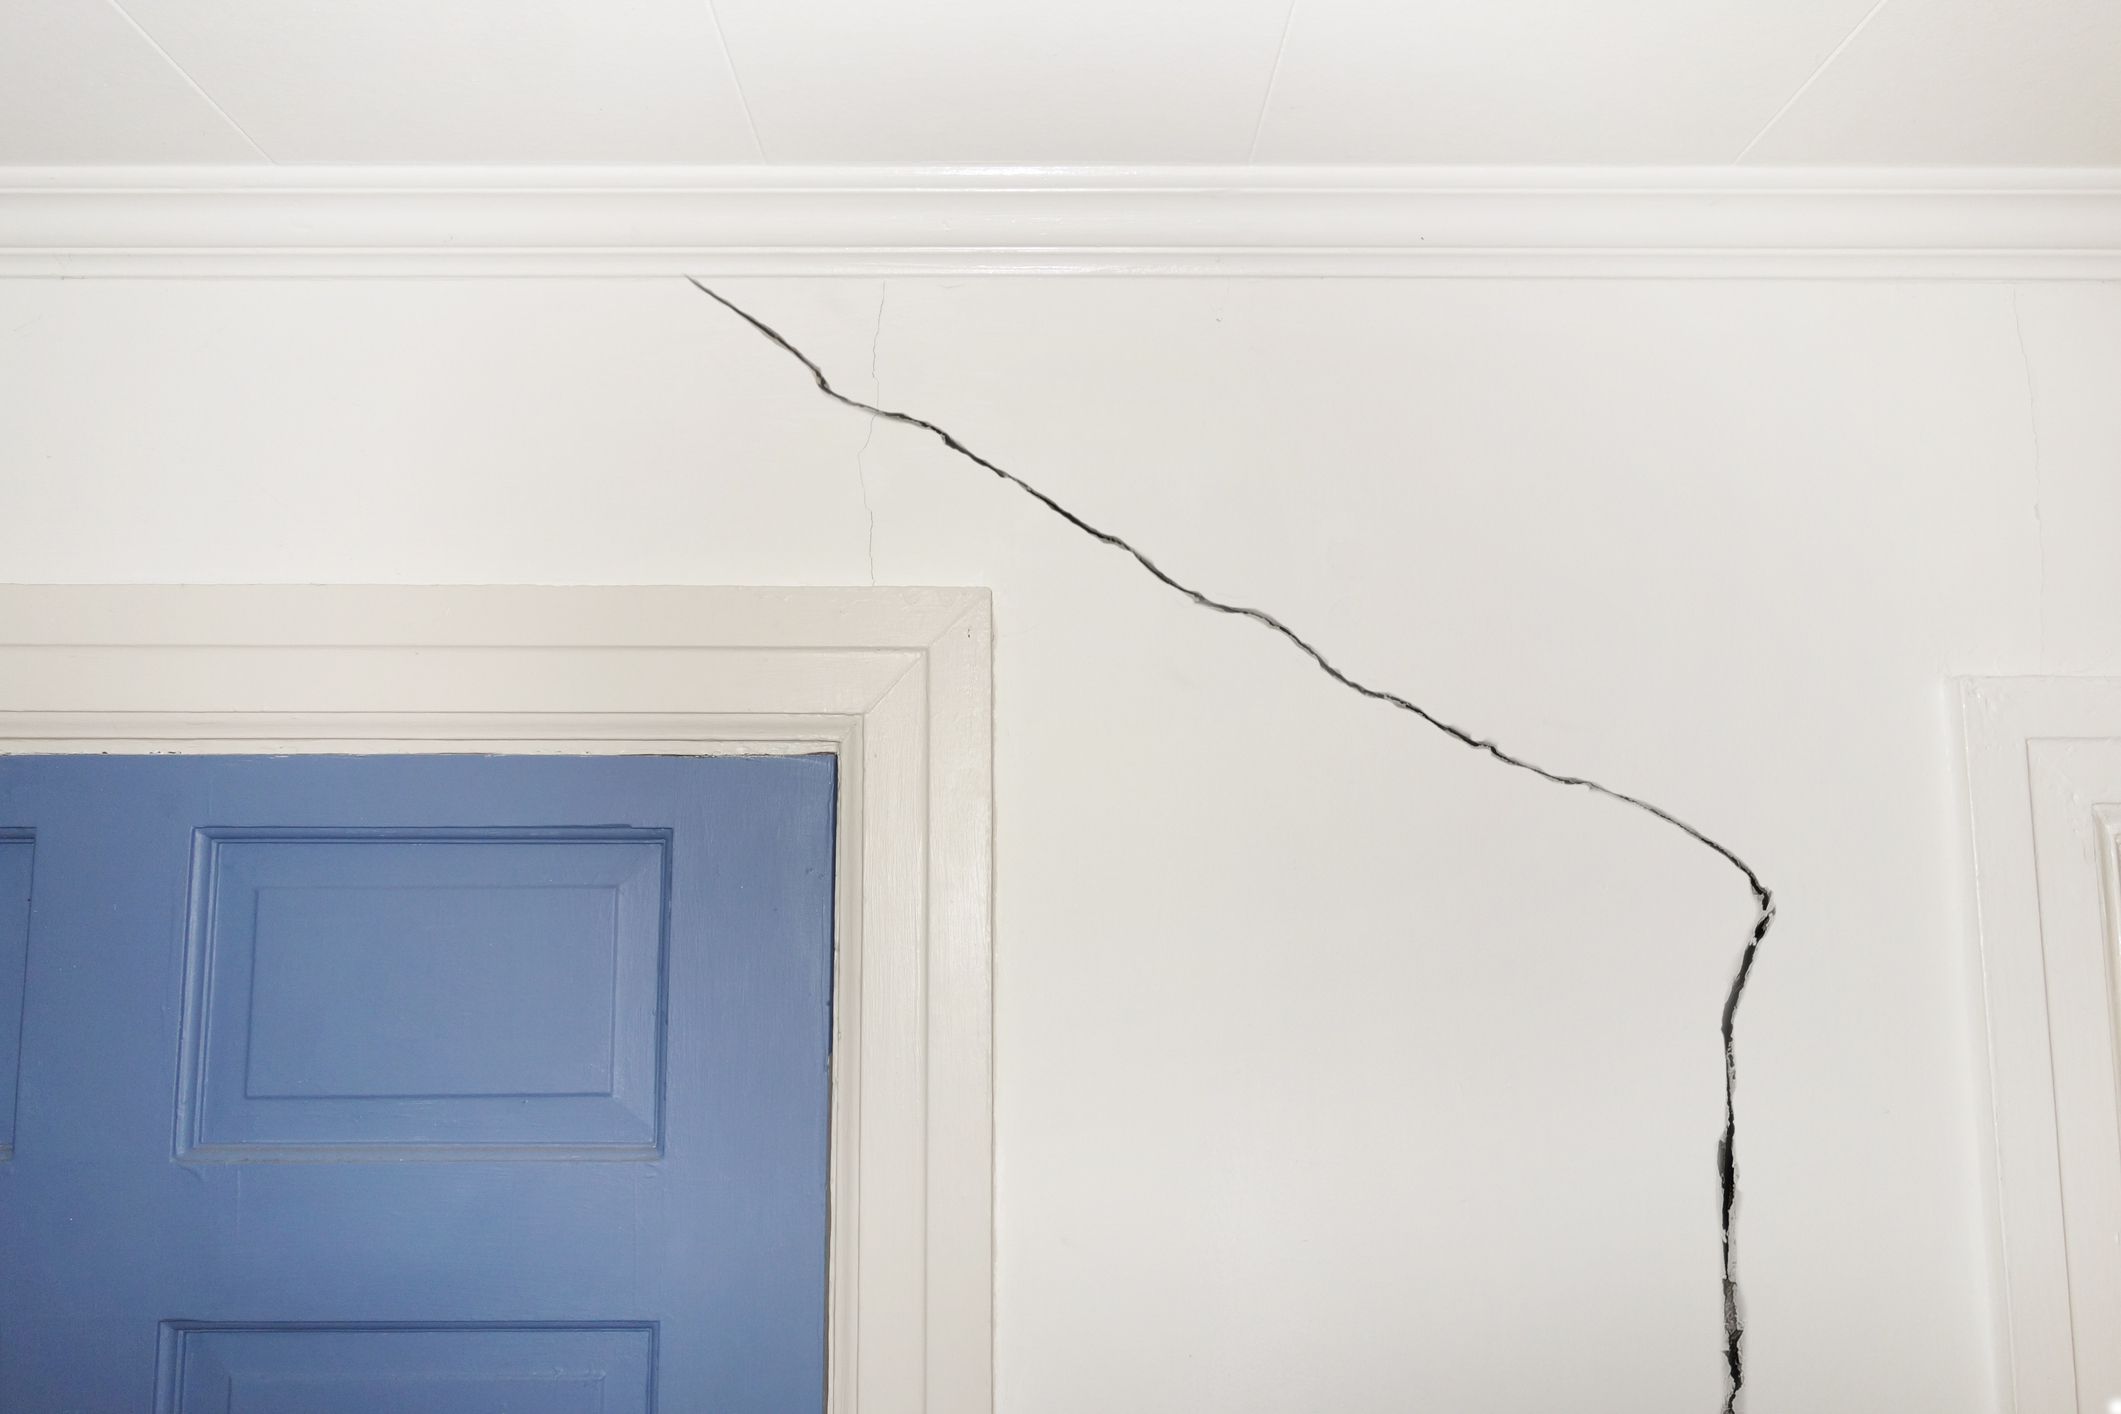
- Inspect for Damage: Carefully examine the wall for any signs of damage, such as cracks, holes, or uneven surfaces. Address any structural issues before proceeding with the taping and spackling process.
- Apply Primer (If Necessary): If you’re working on a bare drywall surface or if the existing paint is in poor condition, consider applying a coat of primer to promote better adhesion and uniformity in the final finish.
- Mark the Corners: For taping inside corners, use a pencil to mark the center of the corner where the tape will be applied. This step will serve as a guide for precise tape placement.
By meticulously preparing the surface, you’ll create an optimal environment for the taping and spackling materials to adhere effectively and produce a seamless, professional-looking finish. Taking the time to address any imperfections and set the stage for success will ultimately contribute to the overall quality and longevity of your wall’s revitalization.
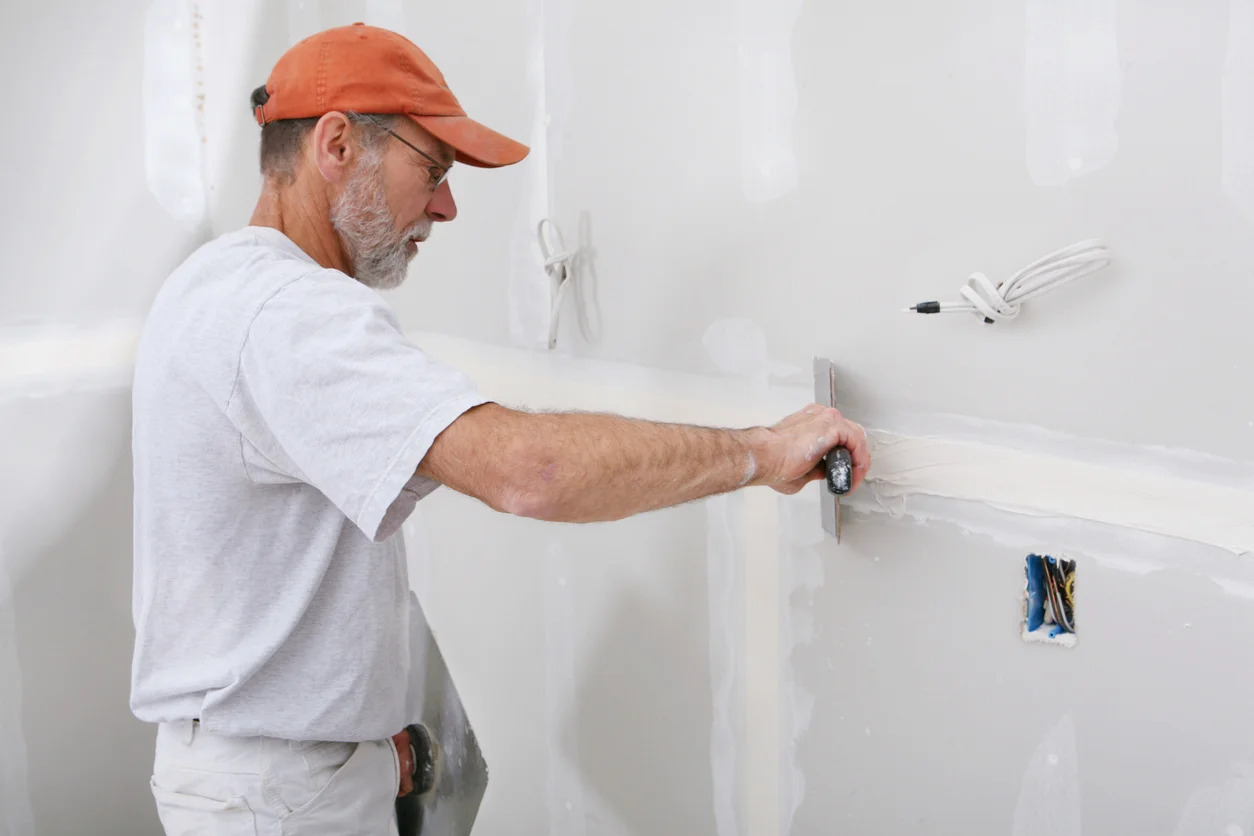
Applying the Tape
Once the surface is prepped and ready, it’s time to embark on the taping phase, a critical step in achieving smooth and durable results. Follow these steps to master the art of applying drywall tape:
- Measure and Cut: Begin by measuring the length of tape needed for the area to be covered. Use a sharp utility knife to cut the tape to the appropriate size, ensuring clean and precise edges.
- Embedding Inside Corners: For inside corners, apply joint compound to both sides of the corner using a putty knife. Press the paper tape into the wet compound, using the corner markings as a guide for precise placement. Smooth out any air bubbles or excess compound with the putty knife.
- Applying Mesh Tape: When using self-adhesive mesh tape, simply unroll the tape and press it firmly onto the joint or seam to be covered. The adhesive backing ensures secure attachment to the surface.
- Overlapping Joints: When taping seams, slightly overlap the edges of the tape to create a seamless transition. This overlapping technique helps prevent cracks and ensures a strong, uniform bond.
Mastering the art of applying drywall tape is essential for creating a solid foundation for the subsequent spackling phase. By paying attention to detail and employing proper techniques, you’ll set the stage for a successful spackling process and ultimately achieve a flawless, professional-looking finish.
When taping and spackling, make sure to use the right type of tape for the job, such as paper tape for drywall joints and mesh tape for corners. Apply spackle in thin layers, allowing each layer to dry before adding more. Sand lightly between coats for a smooth finish.
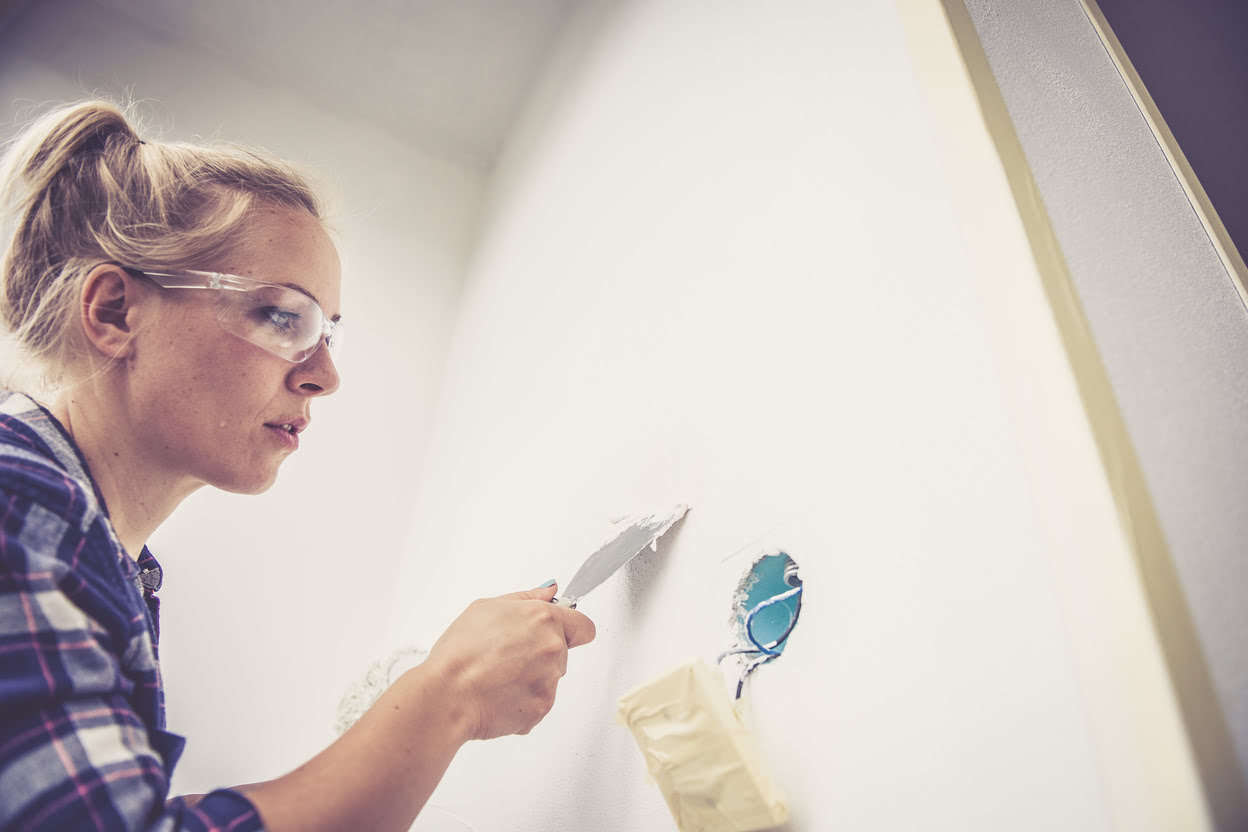
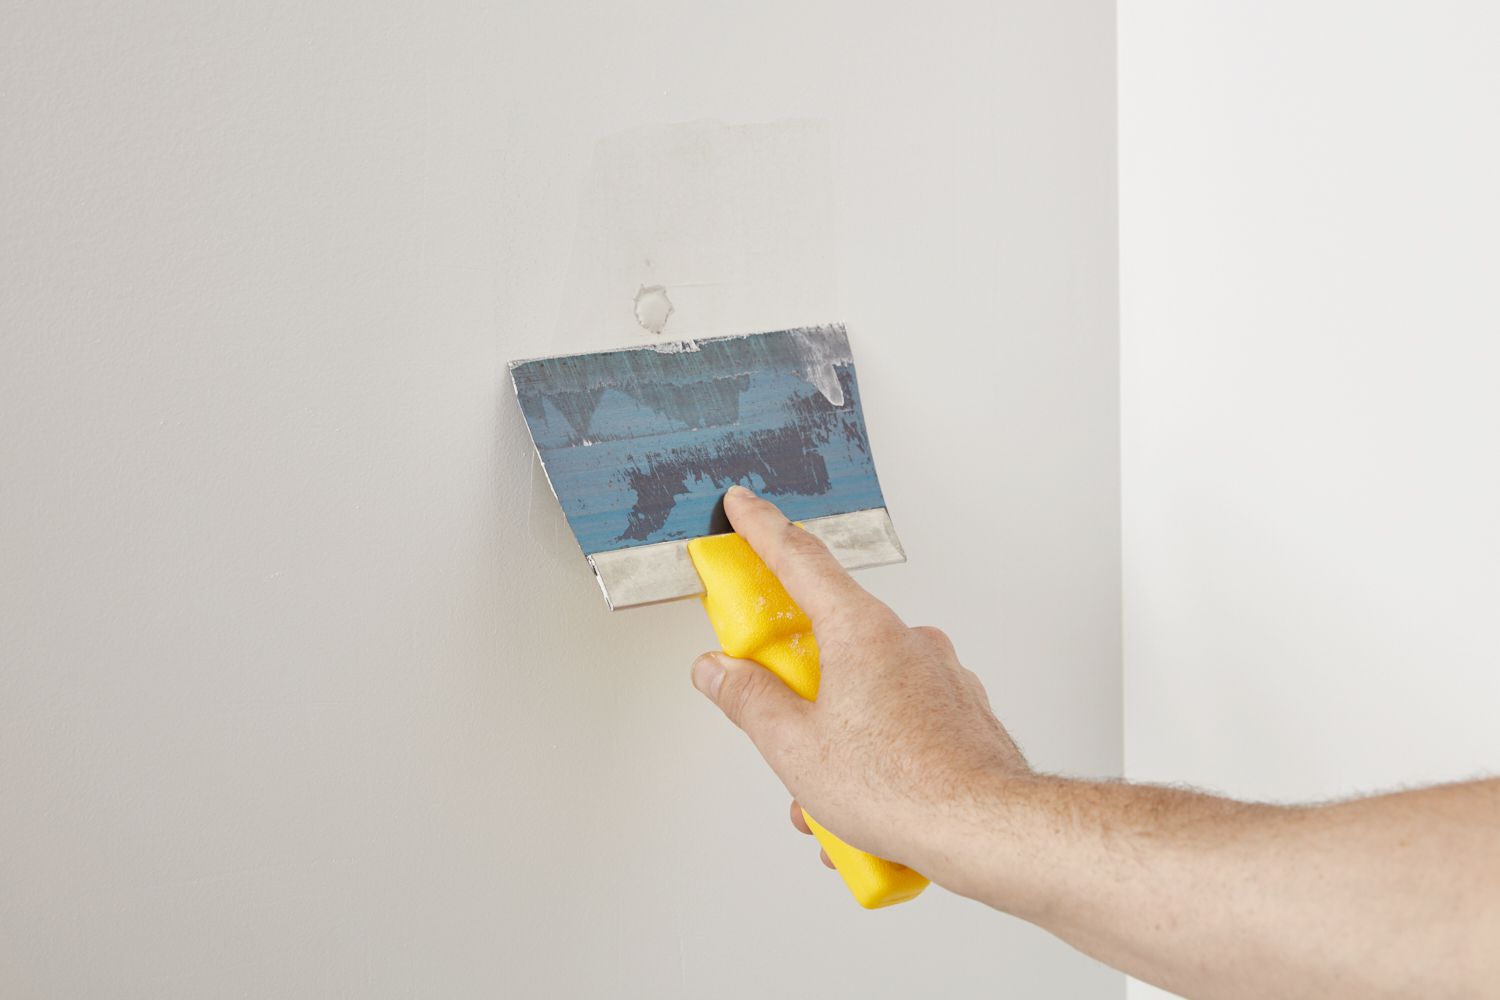
Spackling the Surface
With the tape securely in place, it’s time to shift your focus to the spackling phase, where you’ll fill in gaps, cover seams, and create a smooth, uniform surface. Follow these steps to master the art of spackling:
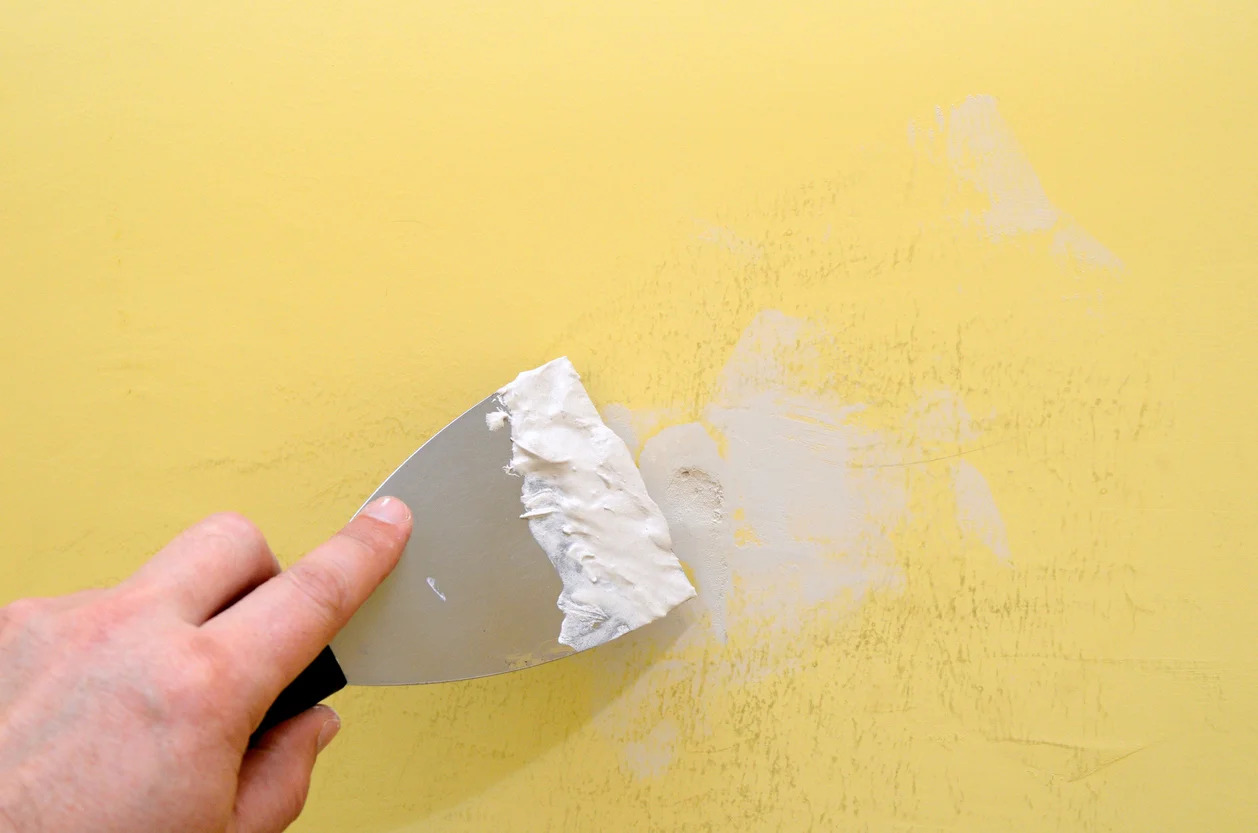
- Fill Gaps and Indentations: Using a putty knife, apply a thin layer of spackling compound over the taped areas, ensuring that any gaps, indentations, or imperfections are thoroughly filled and smoothed out.
- Feathering the Edges: To achieve a seamless transition between the spackled areas and the surrounding wall, feather the edges of the spackling compound by applying gentle pressure with the putty knife. This technique helps blend the spackled areas into the existing wall surface.
- Multiple Thin Layers: For larger gaps or uneven surfaces, it’s advisable to apply multiple thin layers of spackling compound, allowing each layer to dry completely before applying the next. This incremental approach results in a smoother, more uniform finish.
- Sand Smooth: Once the spackling compound has dried, use a sanding block or fine-grit sandpaper to gently sand the surface, smoothing out any ridges or imperfections and creating a seamless transition between the spackled areas and the rest of the wall.
Mastering the art of spackling is essential for achieving a flawless, professional-quality finish. By taking a meticulous and patient approach to this phase, you’ll be able to transform uneven and blemished surfaces into smooth, seamless canvases ready for the final touches.
Read more: How To Spackle Corners
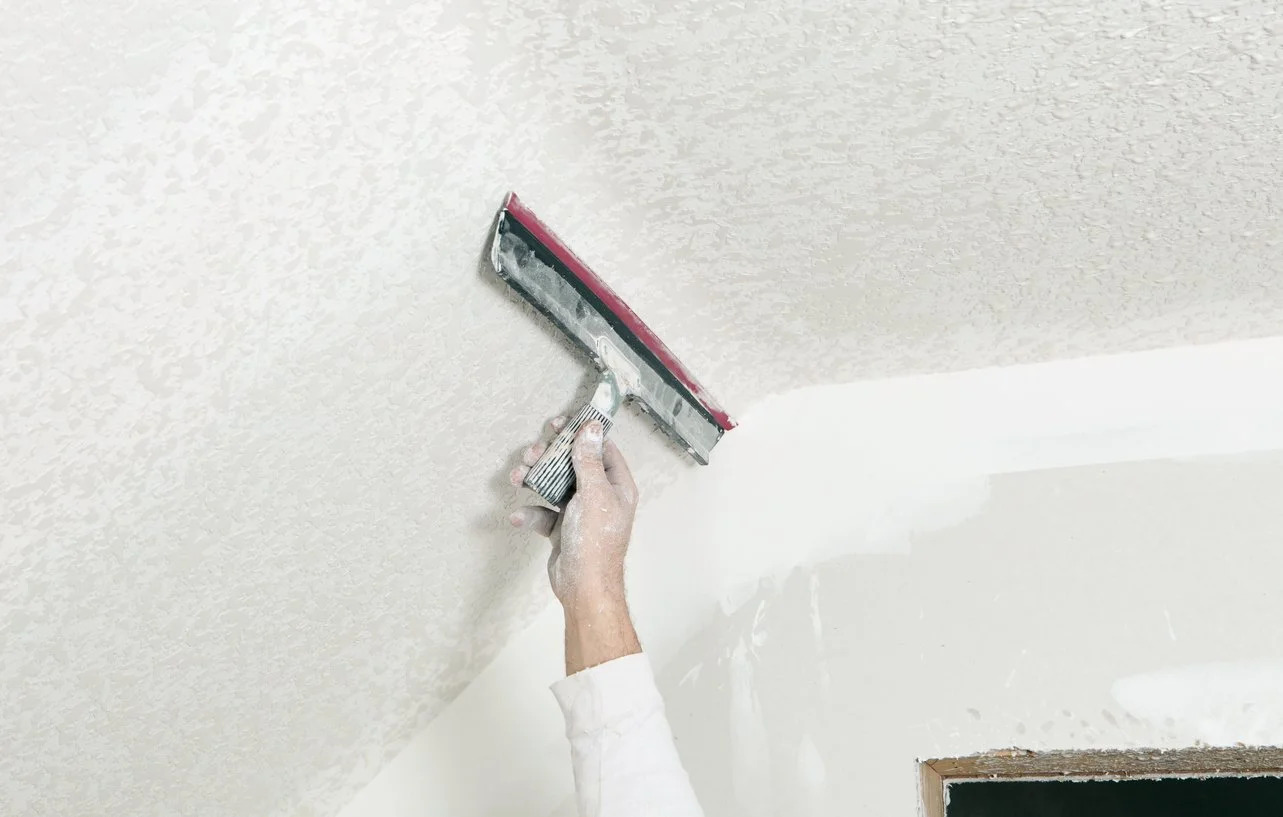
Sanding and Finishing
As you near the completion of the taping and spackling process, it’s essential to focus on sanding and finishing to achieve a polished and professional look. Follow these steps to master the art of sanding and finishing your spackled surfaces:
- Gentle Sanding: Use a sanding block or fine-grit sandpaper to gently sand the spackled areas, focusing on smoothing out any imperfections and creating a seamless transition between the spackled surfaces and the surrounding wall.
- Clean the Surface: After sanding, use a clean, damp cloth to wipe away any dust and debris, ensuring that the surface is clean and ready for the next steps.
- Apply Primer: If necessary, apply a coat of primer to the spackled areas to promote adhesion and create a uniform base for the final paint application.
- Painting: Once the primer has dried, it’s time to apply the final coats of paint to the spackled areas, seamlessly blending them with the rest of the wall for a cohesive and professional finish.
- Inspect and Touch Up: After the paint has dried, inspect the spackled areas for any remaining imperfections. Touch up as needed to ensure a flawless and seamless integration with the surrounding wall.
By paying attention to detail and employing proper sanding and finishing techniques, you’ll be able to achieve a smooth and professional-looking surface that seamlessly blends with the rest of the wall. The art of sanding and finishing is the final touch that elevates your taping and spackling efforts to create a polished and inviting living space.
Conclusion
Congratulations! You’ve now completed the journey of taping and spackling, transforming your walls from worn and blemished to smooth and inviting. By mastering these essential techniques, you’ve gained the skills and confidence to revitalize your living space and achieve professional-quality results.
As you reflect on your taping and spackling experience, remember that attention to detail, patience, and a meticulous approach are key ingredients for success. The thorough preparation of the surface, precise application of tape, skillful spackling, and seamless finishing touches have all contributed to the creation of a polished and professional-looking wall.
Whether you’ve tackled a small repair or embarked on a larger renovation project, the knowledge and expertise you’ve gained will serve you well in future endeavors. The art of taping and spackling is not only a valuable skill but also a transformative process that allows you to take pride in the appearance of your home.
As you admire your newly revitalized walls, take a moment to appreciate the dedication and craftsmanship that have gone into this endeavor. Your attention to detail and commitment to achieving a flawless finish have undoubtedly elevated the aesthetic appeal of your living space.
With taping and spackling under your belt, you’re well-equipped to take on future home improvement projects with confidence and finesse. Whether it’s repairing a small blemish or embarking on a larger renovation, the skills you’ve acquired will continue to serve you as you enhance and personalize your living environment.
So, take a step back, admire your handiwork, and revel in the transformation you’ve brought about through the art of taping and spackling. Your walls now stand as a testament to your dedication and the craftsmanship that has elevated your living space to new heights.
Frequently Asked Questions about How To Tape And Spackle
Was this page helpful?
At Storables.com, we guarantee accurate and reliable information. Our content, validated by Expert Board Contributors, is crafted following stringent Editorial Policies. We're committed to providing you with well-researched, expert-backed insights for all your informational needs.


0 thoughts on “How To Tape And Spackle”