
Articles
How To Make Quilt Bias Binding
Modified: December 7, 2023
Learn how to create beautiful quilt bias binding with this step-by-step guide. Our articles provide expert tips and techniques for achieving professional results.
(Many of the links in this article redirect to a specific reviewed product. Your purchase of these products through affiliate links helps to generate commission for Storables.com, at no extra cost. Learn more)
Introduction
Welcome to the world of quilting! Whether you are a beginner or a seasoned quilter, understanding how to make quilt bias binding is an essential skill to have in your repertoire. Bias binding not only adds a polished and professional finish to your quilt, but it also ensures that your quilt edges are durable and long-lasting. In this article, we will guide you through the step-by-step process of creating quilt bias binding, helping you achieve stunning results every time.
Quilt bias binding is a long, narrow strip of fabric that is cut on the bias grain. This means that the fabric strip is cut at a 45-degree angle to the selvage, allowing the binding to stretch and curve smoothly around the edges of your quilt. By utilizing the bias grain, you can create binding that is flexible, durable, and resistant to fraying.
Before diving into the process, let’s quickly go over the materials you will need:
Key Takeaways:
- Master the art of quilt bias binding to achieve professional and durable quilt edges. Use quality tools, cut fabric on the bias, and join, press, and attach binding with precision for stunning results.
- Embrace creativity and experiment with different fabrics to create unique and personalized quilt bindings. Whether hand-sewing or machine-sewing, take your time to ensure even and secure stitches for a polished finish.
Read more: How To Make Continuous Bias Quilt Binding
Materials Needed
- Fabric for binding – Choose a fabric that complements your quilt design and is cut on the bias grain. A quarter yard of fabric should be sufficient, but this may vary depending on the size of your quilt.
- Rotary cutter or fabric scissors – For cutting the fabric
- Acrylic ruler – For precise measurements
- Iron – For pressing the fabric
- Sewing machine – For attaching the binding to the quilt (optional)
- Pins or fabric clips – For securing the binding
- Thread – Matching or contrasting thread for sewing
- Needle – For hand-sewing the binding (optional)
Now that you have gathered all the necessary materials, let’s dive into the step-by-step process of making quilt bias binding.
Key Takeaways:
- Master the art of quilt bias binding to achieve professional and durable quilt edges. Use quality tools, cut fabric on the bias, and join, press, and attach binding with precision for stunning results.
- Embrace creativity and experiment with different fabrics to create unique and personalized quilt bindings. Whether hand-sewing or machine-sewing, take your time to ensure even and secure stitches for a polished finish.
Read more: How To Make Continuous Bias Quilt Binding
Materials Needed
Before you begin making quilt bias binding, it’s important to gather all the necessary materials. Below is a list of items you will need:
- Fabric for binding – Choose a fabric that complements your quilt design and is cut on the bias grain. It’s important to select a fabric that is sturdy and won’t easily fray. A quarter yard of fabric should be sufficient, but this may vary depending on the size of your quilt.
- Rotary cutter or fabric scissors – You will need a sharp cutting tool to cut the fabric into strips. A rotary cutter is ideal for achieving clean, straight lines, while fabric scissors can also be used if you don’t have a rotary cutter.
- Acrylic ruler – An acrylic ruler is essential for making precise measurements when cutting the fabric strips. Make sure to choose a ruler that is long enough to accommodate the desired width of your bias binding.
- Iron – It’s crucial to have an iron on hand for pressing the fabric. Pressing helps to create crisp, even folds in the bias strips, ensuring a polished finish for your quilt binding.
- Sewing machine (optional) – While hand-sewing is a traditional method for attaching binding to quilts, using a sewing machine can save time and provide a more secure hold. If you prefer machine-sewing, make sure you have a sewing machine that is in good working condition.
- Pins or fabric clips – Pins or fabric clips are essential for securing the bias binding in place before sewing. They hold the binding securely to prevent shifting during sewing.
- Thread – You will need thread that matches or complements the color of your fabric. Choose a thread that is strong and suitable for the weight of your fabric.
- Needle (optional) – If you choose to hand-sew your binding, you will need a needle. Make sure to select a needle that is appropriate for the weight of your fabric and comfortable for you to use.
Having these materials ready will ensure a smooth and successful process when making quilt bias binding. Once you have gathered everything, you can move on to the next steps in creating beautifully finished quilts.
Step 1: Cutting the Fabric
The first step in making quilt bias binding is cutting the fabric into strips. To ensure the strips are cut on the bias grain, follow these steps:
- Preparation: Start by preparing your fabric. If it’s wrinkled, give it a good press with the iron to ensure accuracy when cutting. Make sure the fabric is smooth and lays flat.
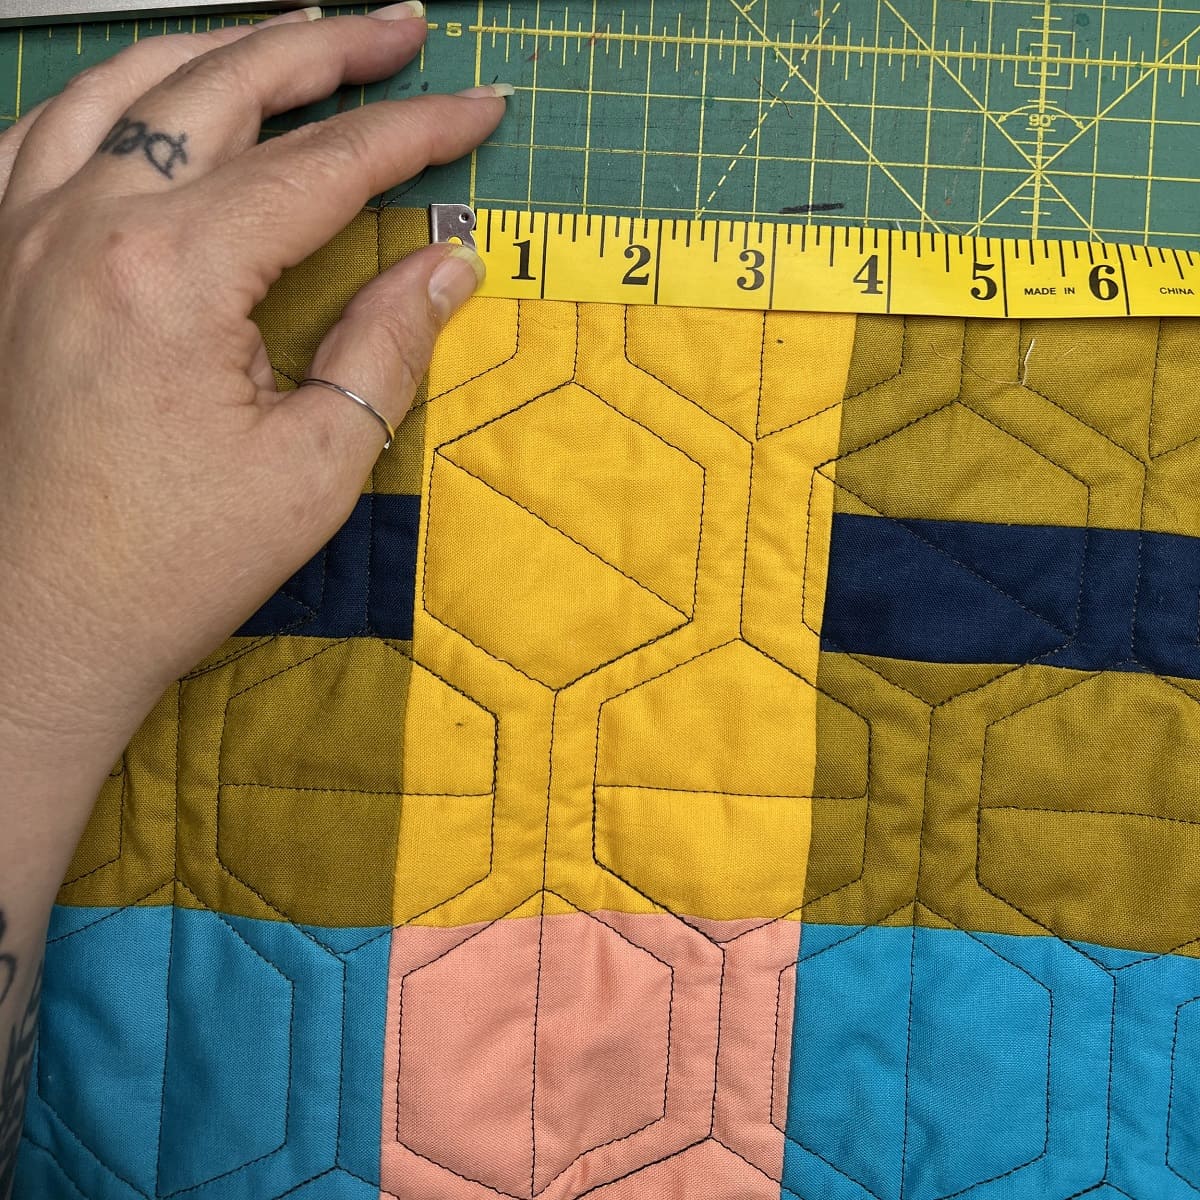
- Measurements: Determine the width of your binding strips. A common width is 2.5 inches, but you can adjust it according to your preference and the size of your quilt. Use the acrylic ruler to measure and mark the width along the edge of the fabric.
- Angle of the cut: To cut the fabric on the bias, you will need to create a 45-degree angle from the selvage edge. Align the ruler diagonally with the marked width line, making sure it intersects with the edge of the fabric. This angle cuts across the grain, creating bias strips.
- First cut: Use the rotary cutter or fabric scissors to cut along the marked line. Ensure the cuts are clean and straight to achieve uniform strips. Continue cutting until you have the desired number of bias strips. If you require multiple strips, repeat the process across the width of the fabric.
- Trim excess: Trim any excess fabric from the ends of the strips to ensure they are all the same length. This will help when joining the strips together later.
Remember to handle the cut strips with care to prevent stretching or distorting their shape, as bias-cut fabric is more prone to stretching. Ensure that the strips are free from any twists or wrinkles before proceeding to the next step.
By cutting your fabric on the bias, you are creating strips that have elasticity and can easily conform to the curves and edges of your quilt. This results in a smoother and more professional finish for your bias binding.
Once you have completed cutting the fabric strips, you are ready to move on to the next step: joining the bias strips.
When making quilt bias binding, be sure to cut the fabric on the bias (45-degree angle) to allow for flexibility around corners. This will help prevent the binding from puckering or stretching unevenly.
Step 2: Joining the Bias Strips
After cutting the fabric into bias strips, the next step in making quilt bias binding is joining the strips together. Follow these steps to seamlessly connect the bias strips:
- Trim the ends: Begin by trimming the ends of each bias strip at a 45-degree angle. This creates a clean and precise edge, making it easier to join the strips together.
- Align the strips: Take two bias strips and place them right sides together, aligning the angled ends. Ensure that the strips are lined up evenly along their entire length to avoid any gaps or overlaps.
- Sew the strips: Sew a diagonal seam along the aligned edges of the strips, starting at the top left corner and gradually stitching down to the bottom right corner. Use a ¼ inch seam allowance and backstitch at the beginning and end of the seam to secure it.
- Trim excess fabric: Trim the excess fabric from the seam allowance, leaving a small overhang. This will help reduce bulk when folding and sewing the bias binding later on.
- Press the seam: Open up the joined bias strips and press the seam open with an iron. This will create a flat and smooth connection between the strips. Take care to avoid stretching or distorting the fabric while pressing.
- Repeat for additional strips: If your quilt requires more than one seam to connect all the bias strips, repeat the process of aligning, sewing, trimming, and pressing until all the strips are joined together.
By joining the bias strips in this manner, you are creating one continuous strip of bias binding that can be easily manipulated and attached to your quilt.
Once all the bias strips are joined together, you are ready to move on to the next step: pressing the strips in preparation for attaching them to the quilt.
Read more: How To Make Binding On Quilt
Step 3: Pressing the Strips
Pressing the bias strips is a crucial step in creating quilt bias binding. Properly pressing the strips will ensure that they are flat, straight, and ready to be attached to your quilt. Follow these steps to effectively press the bias strips:
- Prepare your iron: Set your iron to the appropriate heat setting for your fabric. If you are unsure, start with a lower heat setting and gradually increase if needed. Ensure that there is a clean and heat-resistant surface nearby to place the iron.
- Working with one strip at a time: Take one bias strip and fold it in half lengthwise with the wrong sides together. Press along the fold line with the iron, making sure to apply even pressure and heat. This will create a crisp center crease in the strip.
- Open up the strip: Unfold the strip and lay it flat with the right side facing up. Press the entire strip from one end to the other, using long, smooth strokes. Pay attention to the edges of the strip, making sure to press them flat and eliminate any wrinkles or folds.
- Fold and press the edges: Fold both long edges of the strip towards the center crease, overlapping them slightly. Press the folded edges with the iron to create crisp folds. Take extra care to ensure that the folded edges are even and parallel.
- Press the entire strip again: With the folded edges in place, press the entire strip once more from one end to the other. This final press will help set the folds and create a neat and professional look for your bias binding.
- Repeat for the remaining bias strips: Follow the same steps to press each of the joined bias strips in the same manner. Take your time to press each strip diligently, as this will contribute to the overall appearance and functionality of your quilt binding.
By pressing the bias strips carefully and consistently, you are ensuring that they are ready to be attached to your quilt with ease. Pressing helps to eliminate any wrinkles, create crisp folds, and make the strips more pliable for sewing.
Now that your bias strips are expertly pressed, you can proceed to the next step: attaching the bias binding to your quilt.
Step 4: Attaching Bias Binding to Quilt
Now that you have prepared your quilt bias binding, it’s time to attach it to your quilt. Follow these steps to secure the bias binding to your quilt edges:
- Prepare your quilt: Lay your quilt flat on a clean and spacious work surface. Ensure that all the layers of your quilt are smooth and well-aligned.
- Starting point: Choose a starting point along one edge of your quilt. This is usually a corner, but it can be any point along the edge that you prefer.
- Leaving a tail: Leave a tail of approximately 6-8 inches of bias binding at the starting point. This tail will be used to secure the ends of the binding later.
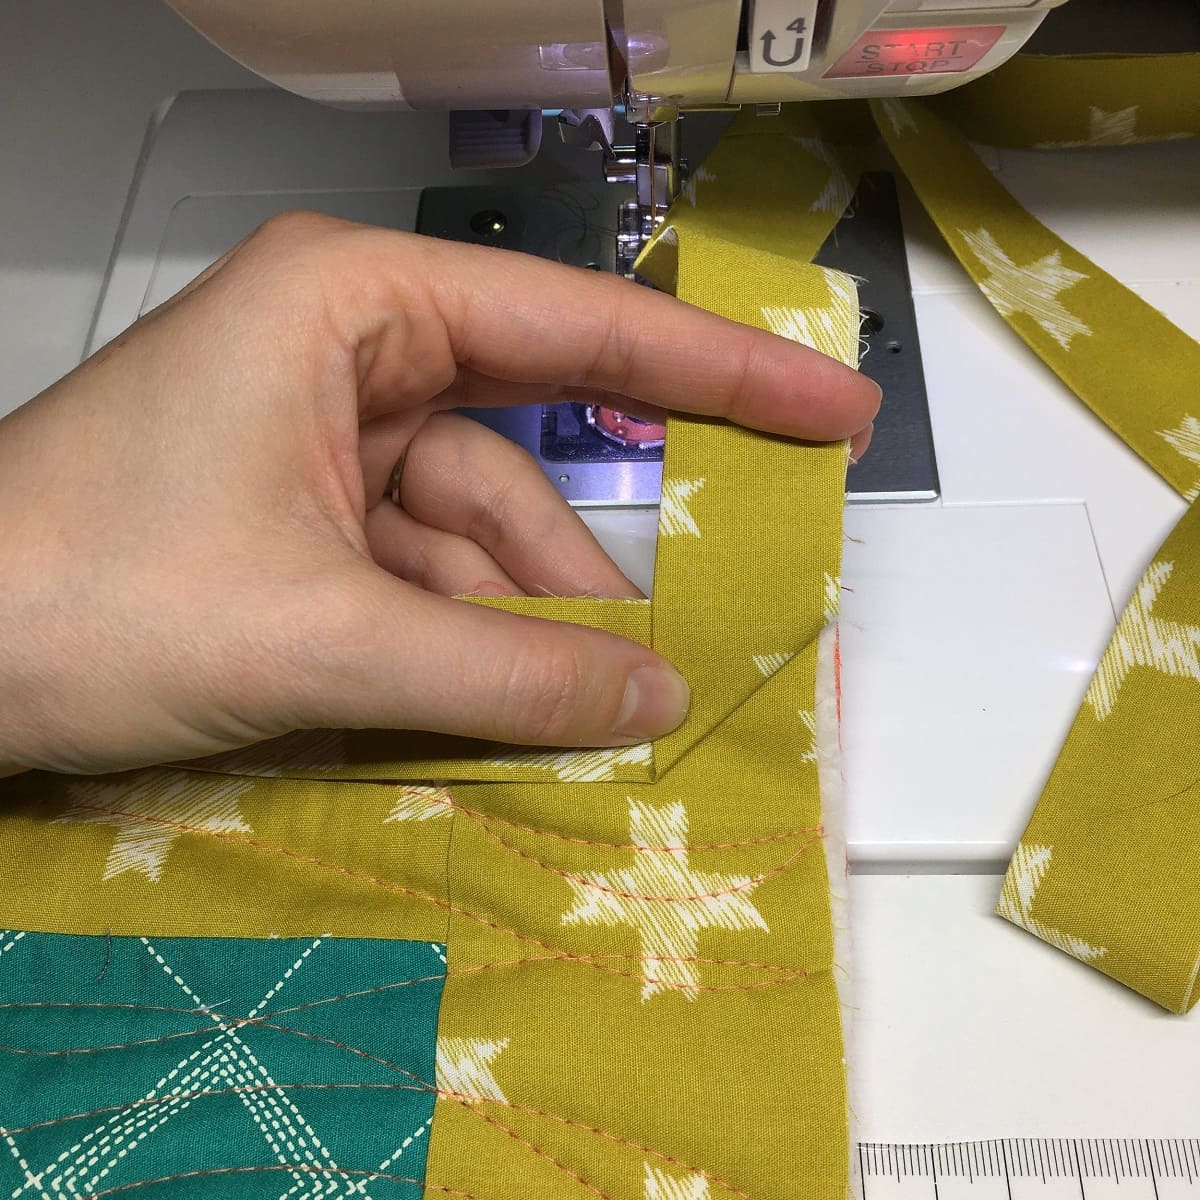
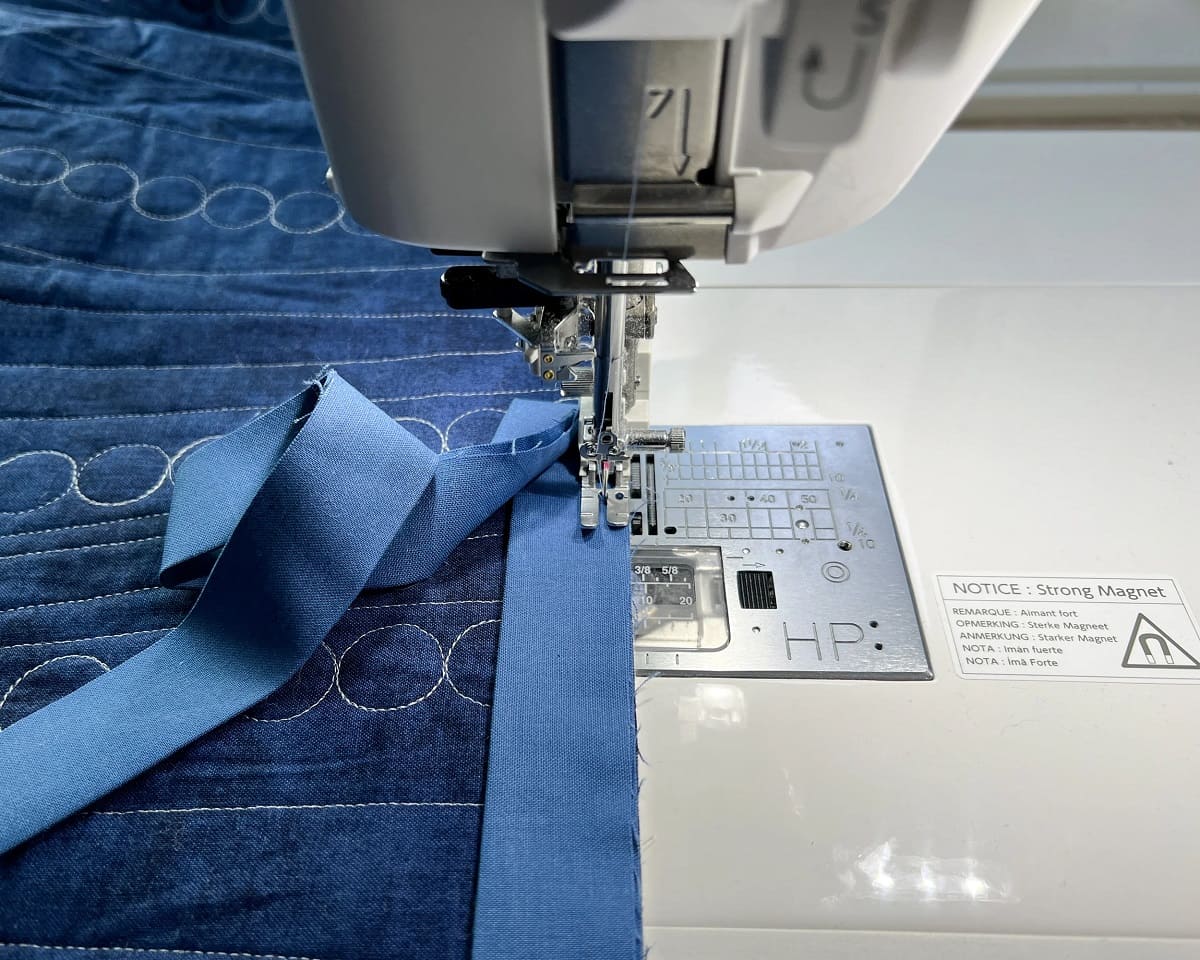
- Align and pin: Take your bias binding strip and align the raw edge of the strip with the raw edge of your quilt. The folded edges of the binding should be facing towards the quilt. Pin the binding in place, making sure to distribute the fabric evenly along the edge of the quilt.
- Sew the binding: Using a sewing machine or stitching by hand, start sewing the binding to the quilt along the pinned edge. Use a ¼ inch seam allowance and remove the pins as you go. Take your time to ensure that the stitching is even and secure.
- Joining the strips: If you have multiple strips of bias binding, continue sewing along the edge of your quilt with the first strip until you are close to the end. Stop stitching a few inches before the end, leaving an unsewn gap.
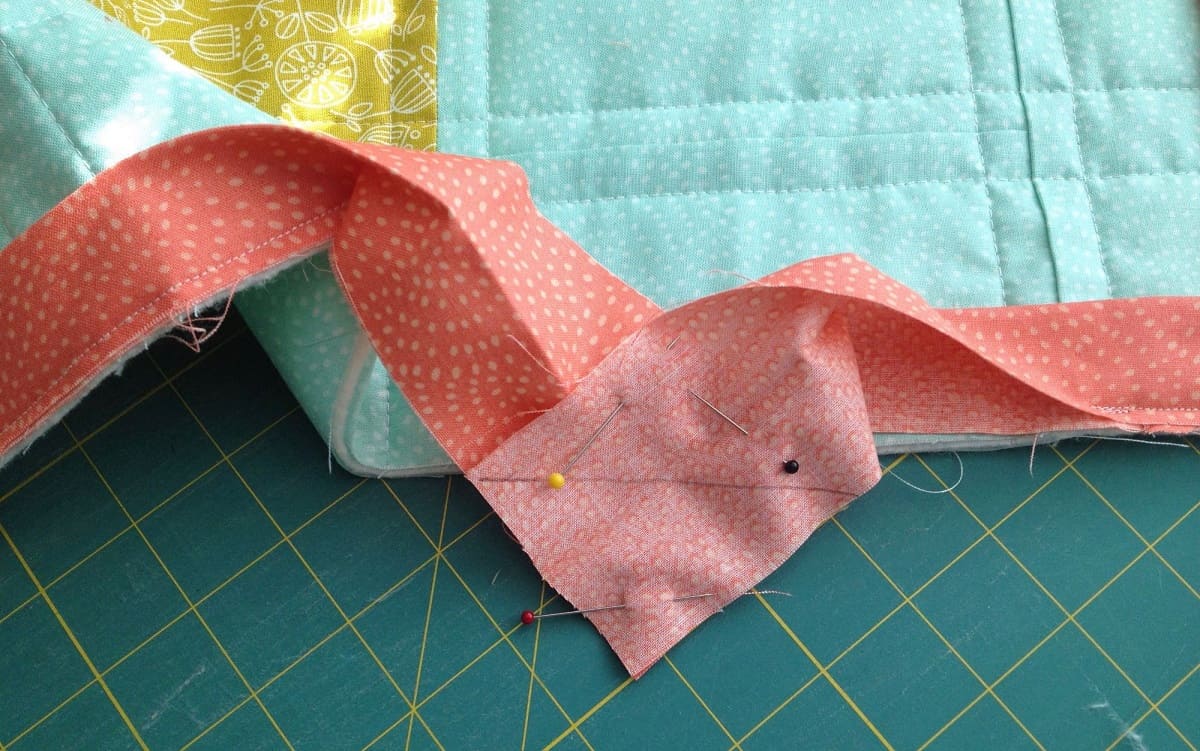
- Joining the ends: Take the tail of the first strip and the beginning of the next strip and overlap them. Mark the point of overlap and trim any excess fabric. Open up the strips and sew them together at a diagonal angle.
- Finishing the sewing: Resume sewing the joined strip to the quilt, continuing along the edge until you reach the starting point. Stop stitching a few inches before reaching the starting point.
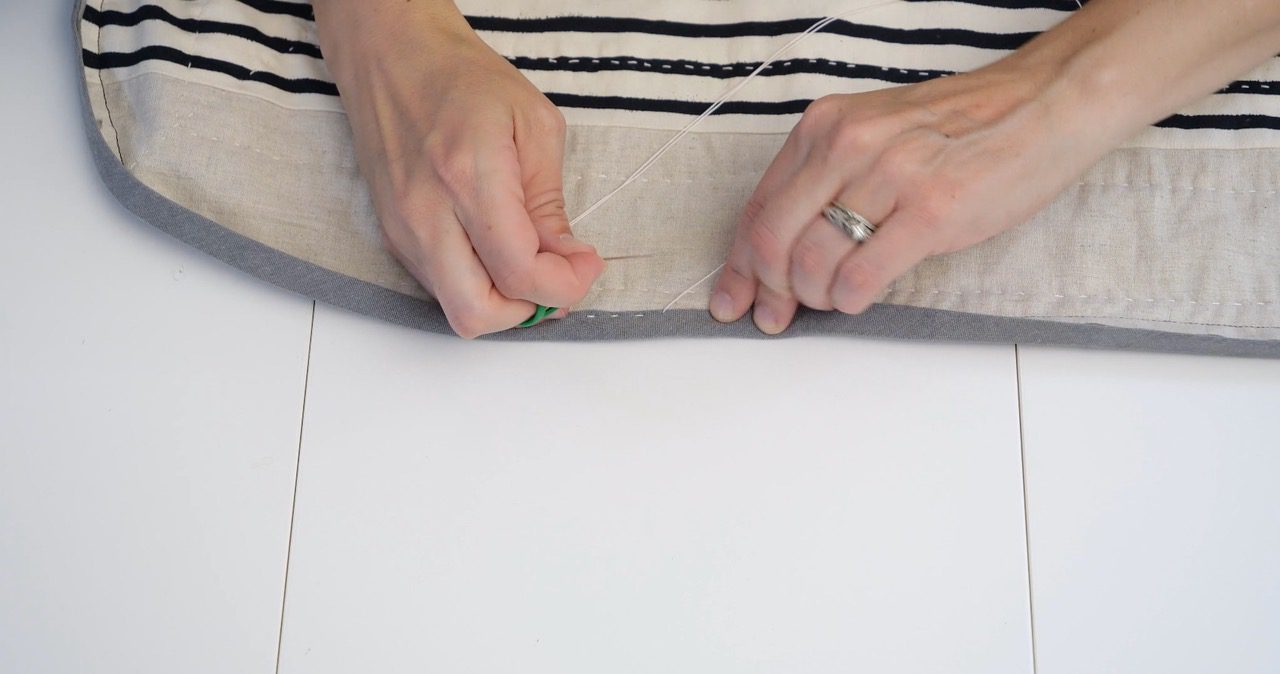
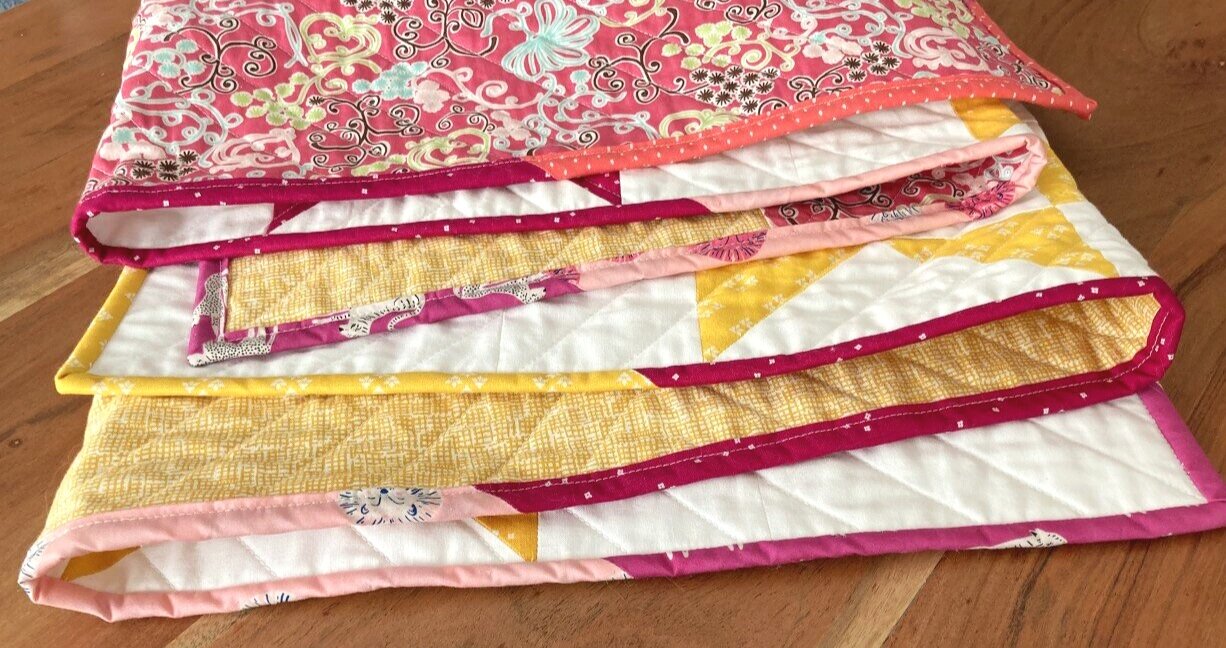
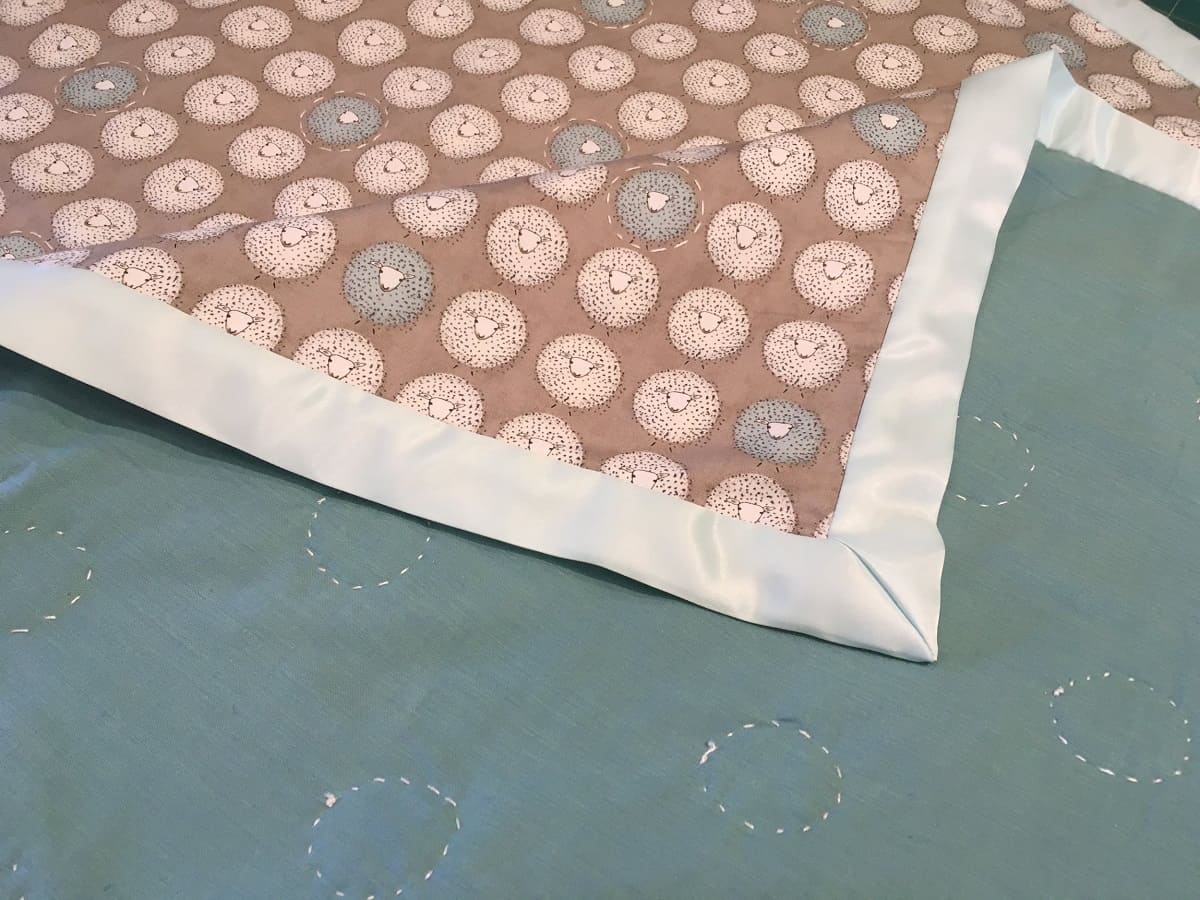
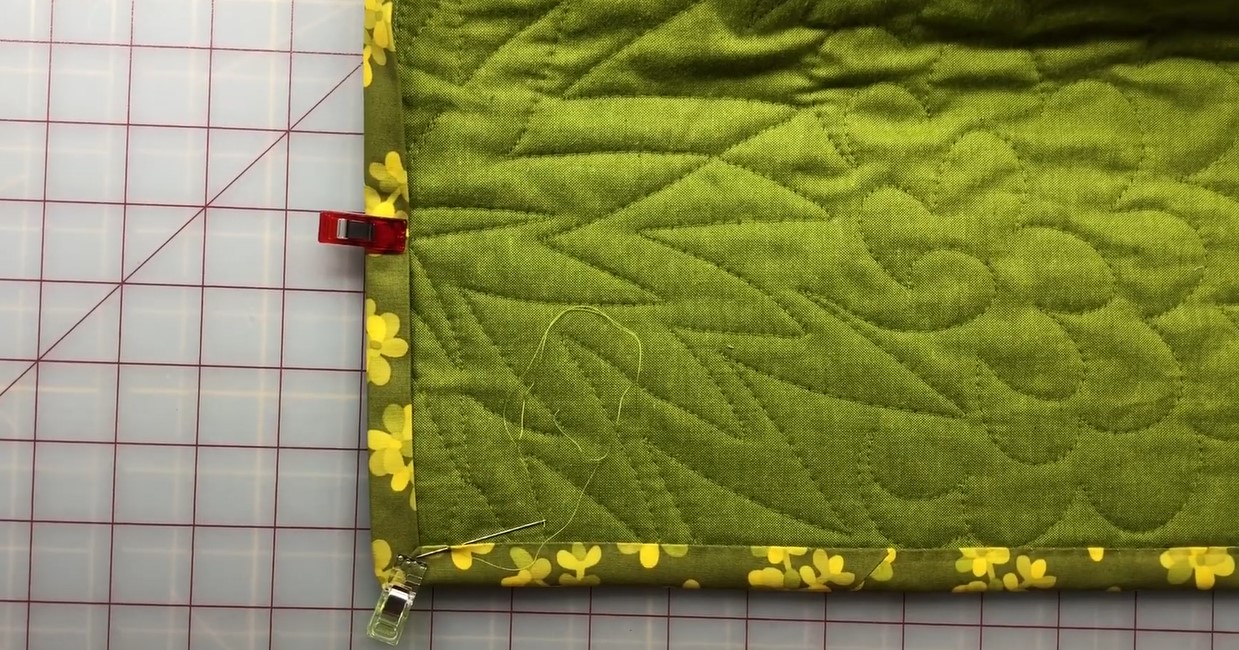
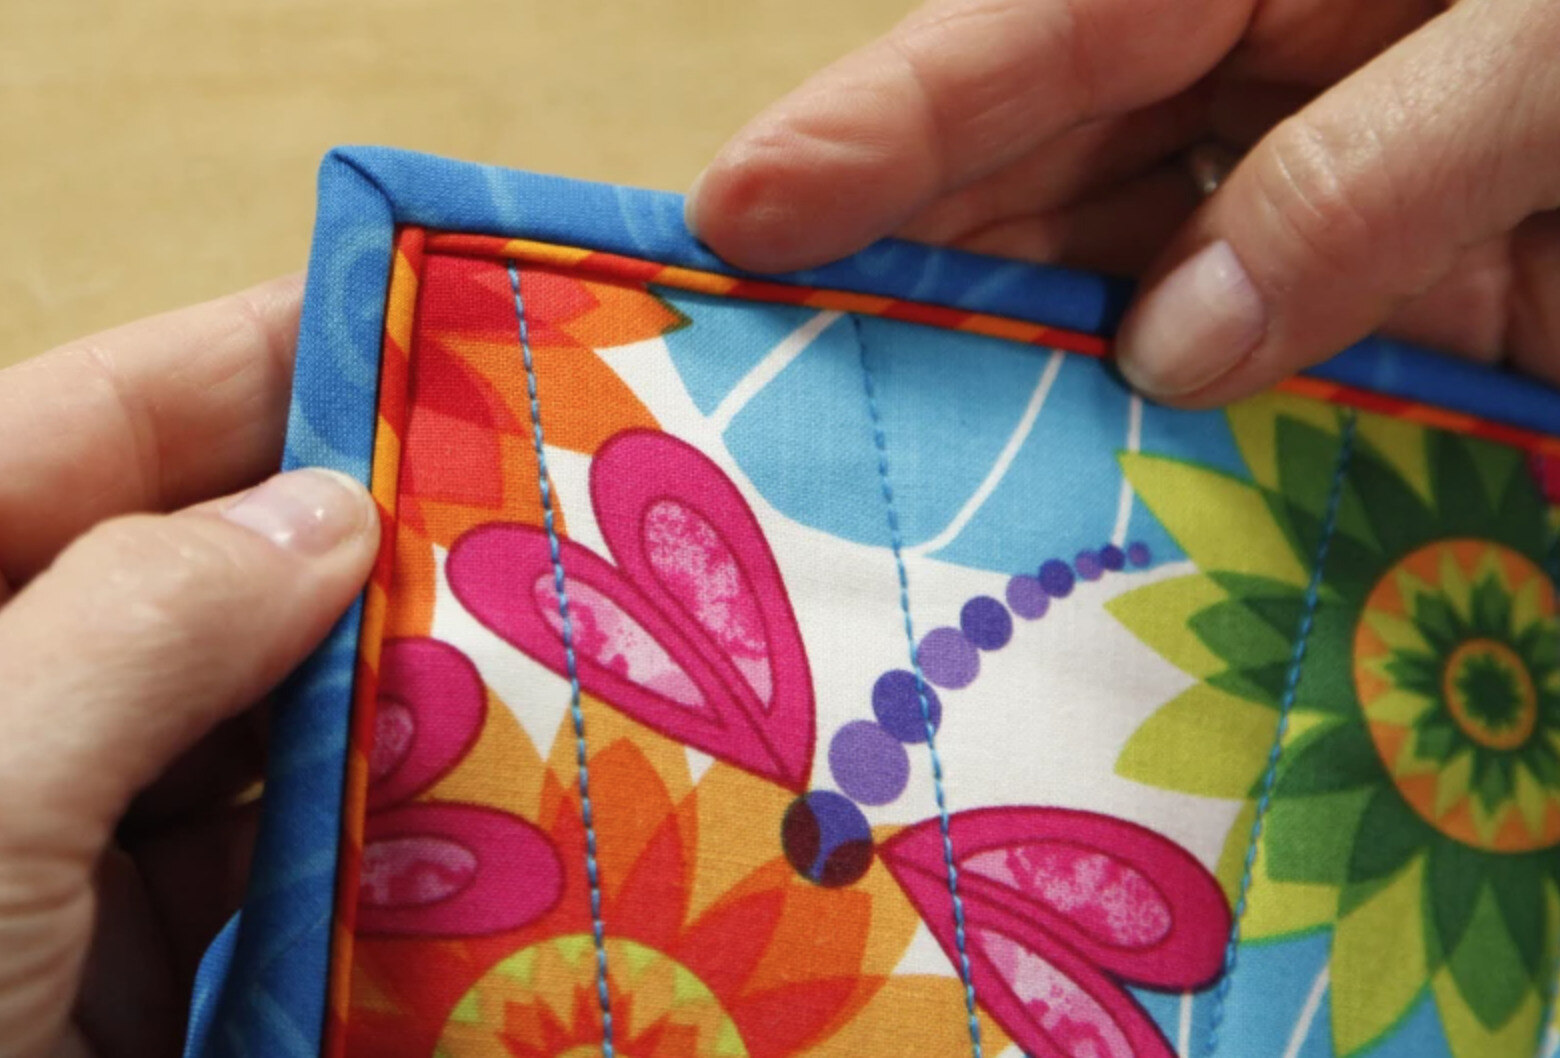
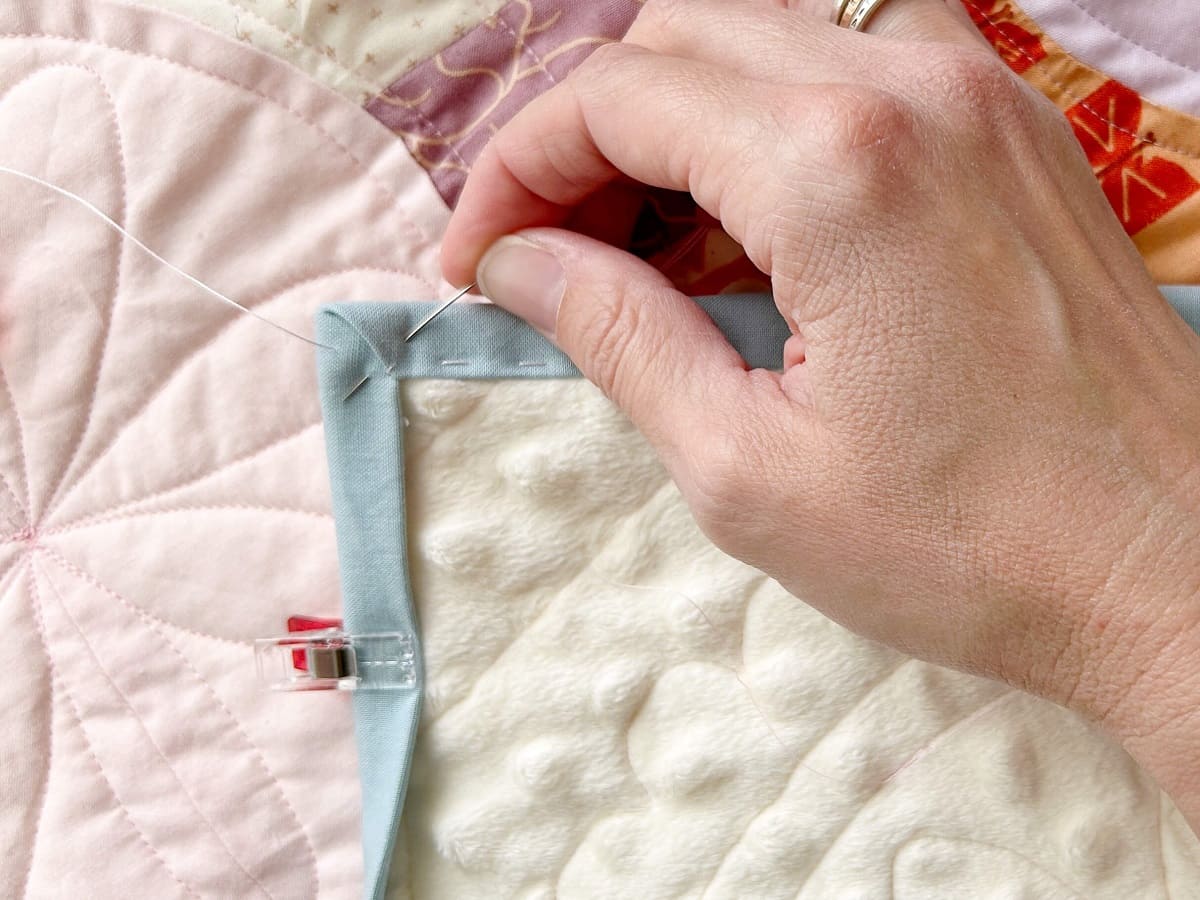
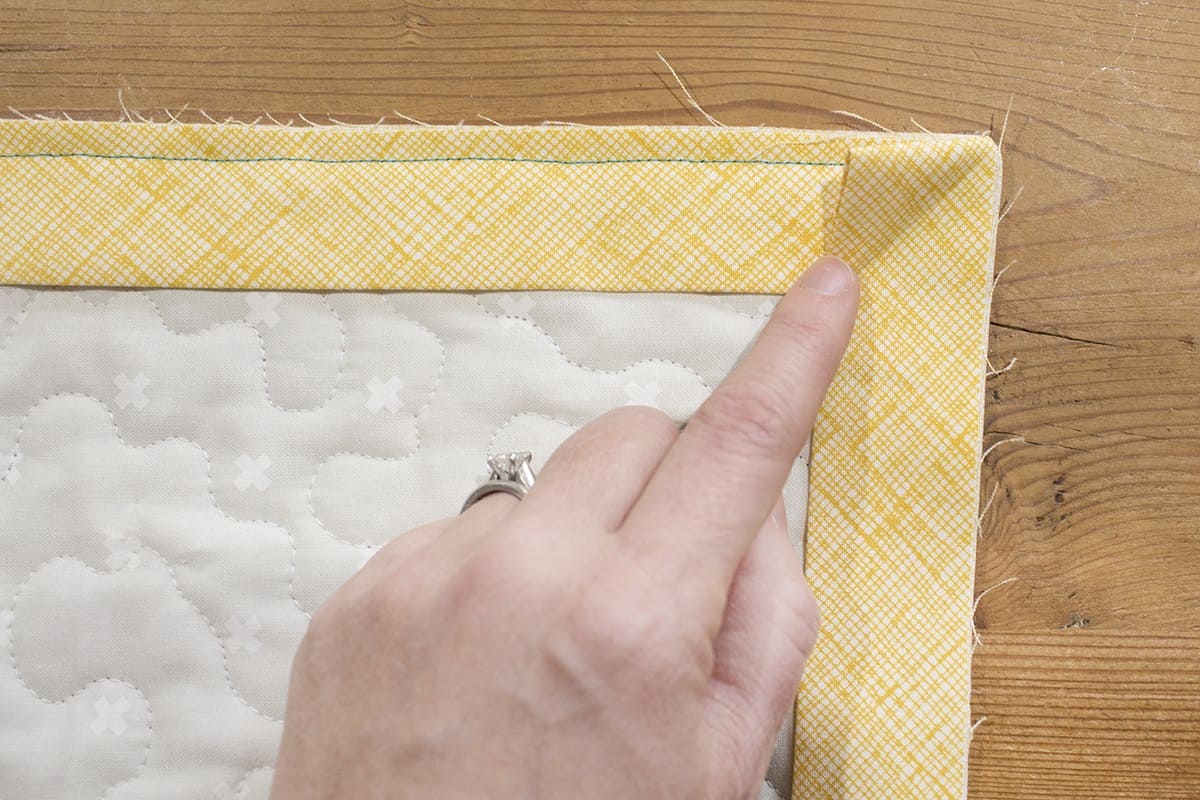
- Folding and securing the binding: Fold the bias binding over the edge of your quilt towards the backside, covering the raw edges. Secure the folded binding in place with pins or fabric clips.
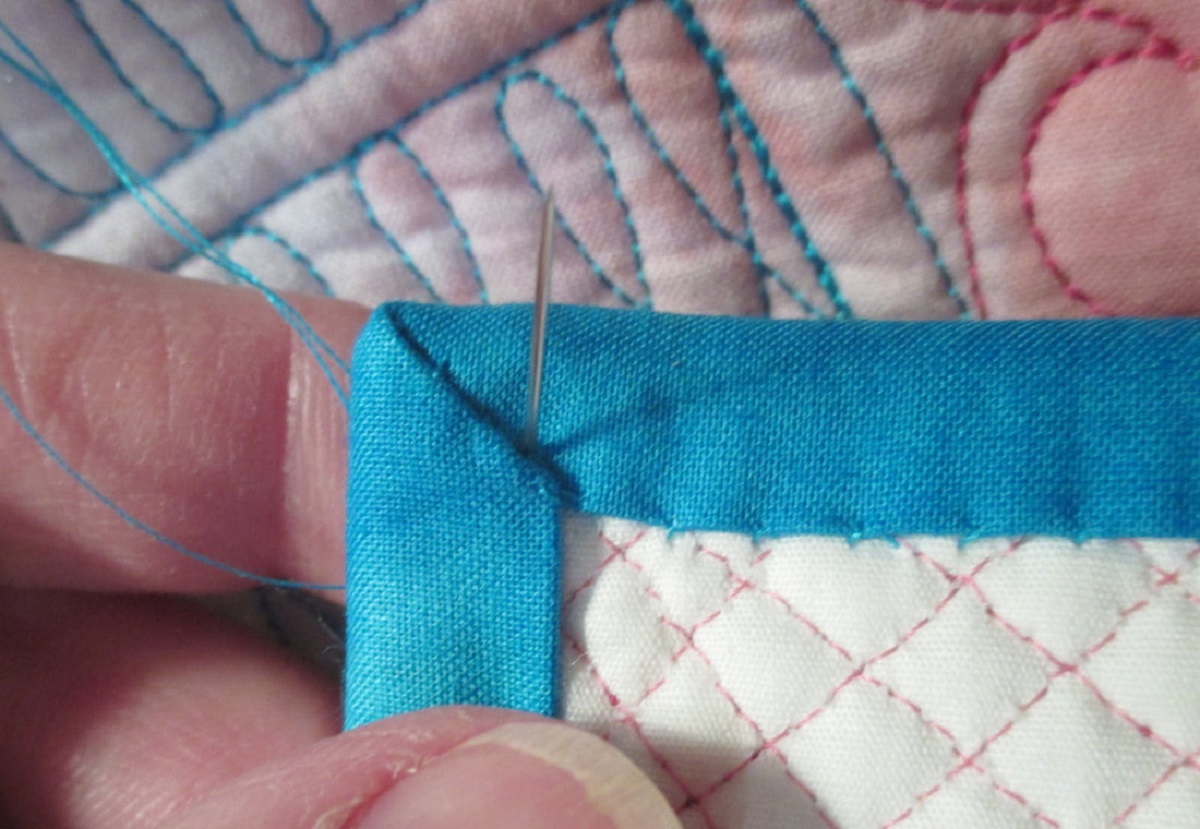
- Hand-sewing or machine-sewing: You can choose to hand-sew the folded binding to the backside of your quilt using a whipstitch or ladder stitch. Alternatively, you can opt to use a sewing machine to stitch close to the folded edge for a secure and professional finish.
- Final touches: Once the binding is securely attached, remove any remaining pins or fabric clips. Give your quilt a final press with the iron to smooth out any wrinkles.
By following these steps, you can successfully attach the quilt bias binding to your quilt, giving it a clean and polished look. Take your time and ensure that your stitches are neat and even, as this will contribute to the overall appearance and durability of your quilt edges.
Congratulations! You have completed the process of making quilt bias binding. Your quilt is now beautifully finished and ready to showcase your quilting skills.
Conclusion
Congratulations on completing the process of making quilt bias binding! By following the steps outlined in this article, you have gained the knowledge and skills to create beautifully finished quilt edges that are not only durable but also add a professional touch to your quilting projects.
Remember, quilt bias binding is a versatile technique that can be used for a variety of quilting projects, from small wall hangings to large bed-sized quilts. The flexibility and longevity of bias binding ensure that your quilt edges will withstand regular use and washing, maintaining their shape and integrity over time.
Throughout this article, you have learned the importance of cutting the fabric on the bias grain, joining the bias strips seamlessly, pressing the strips for a polished look, and attaching the bias binding securely to your quilt. Each step plays a crucial role in achieving a high-quality finish and ensuring the longevity of your quilts.
Remember to choose a fabric that complements your quilt design and is cut on the bias grain to maximize the flexibility and durability of your bias binding. Use quality tools such as rotary cutters, acrylic rulers, and a reliable sewing machine to achieve clean and precise cuts and stitches.
Whether you choose to hand-sew or machine-sew your bias binding, take your time to ensure that your stitches are even and secure. The final result will be a quilt with beautifully finished edges that will stand the test of time.
Now that you have mastered the art of making quilt bias binding, it’s time to put your skills into practice and add that perfect finishing touch to your future quilting projects. Embrace your creativity and experiment with different fabrics, colors, and designs to create unique and personalized quilt bindings.
Happy quilting!
Frequently Asked Questions about How To Make Quilt Bias Binding
Was this page helpful?
At Storables.com, we guarantee accurate and reliable information. Our content, validated by Expert Board Contributors, is crafted following stringent Editorial Policies. We're committed to providing you with well-researched, expert-backed insights for all your informational needs.

0 thoughts on “How To Make Quilt Bias Binding”