
Articles
How To Make Continuous Bias Quilt Binding
Modified: December 7, 2023
Learn how to make continuous bias quilt binding with these helpful articles and step-by-step tutorials. Perfect your quilting skills and create beautiful bindings for all your quilting projects.
(Many of the links in this article redirect to a specific reviewed product. Your purchase of these products through affiliate links helps to generate commission for Storables.com, at no extra cost. Learn more)
Introduction
When it comes to quilting, the finishing touch can often make all the difference. One of the most popular ways to beautifully finish off the edges of a quilt is by using continuous bias quilt binding. This type of binding not only adds a professional and polished look to your quilt, but it also offers flexibility and ease of use.
In this article, we will guide you through the process of creating continuous bias quilt binding step by step. We will cover everything you need to know, from cutting the strips to attaching the binding to your quilt. So, gather your materials and let’s get started!
Key Takeaways:
- Elevate your quilting projects with continuous bias quilt binding, adding a professional and polished finish to your quilts. Master the art and create beautiful, finished pieces that showcase your skills and creativity.
- Gather your materials, take your time, and follow the step-by-step process to create seamless and uninterrupted bias binding for your quilts. Achieve clean, mitered edges and a professional appearance with continuous bias quilt binding.
Read more: How To Make Binding On Quilt
Materials Needed
Before we dive into the process of making continuous bias quilt binding, let’s gather all the necessary materials:
- Fabric of your choice
- Rotary cutter
- Quilting ruler
- Cutting mat
- Sewing machine
- Cotton thread
- Iron
- Pins
- Scissors
- Quilt to bind
Ensure that you have all these materials ready before starting the process. It’s always a good idea to have extra fabric on hand in case you need to make any adjustments or corrections.
Step 1: Cutting the Strips
The first step in creating continuous bias quilt binding is to cut the fabric into strips. These strips will eventually be sewn together to form the continuous bias binding. Follow these steps to cut the strips:
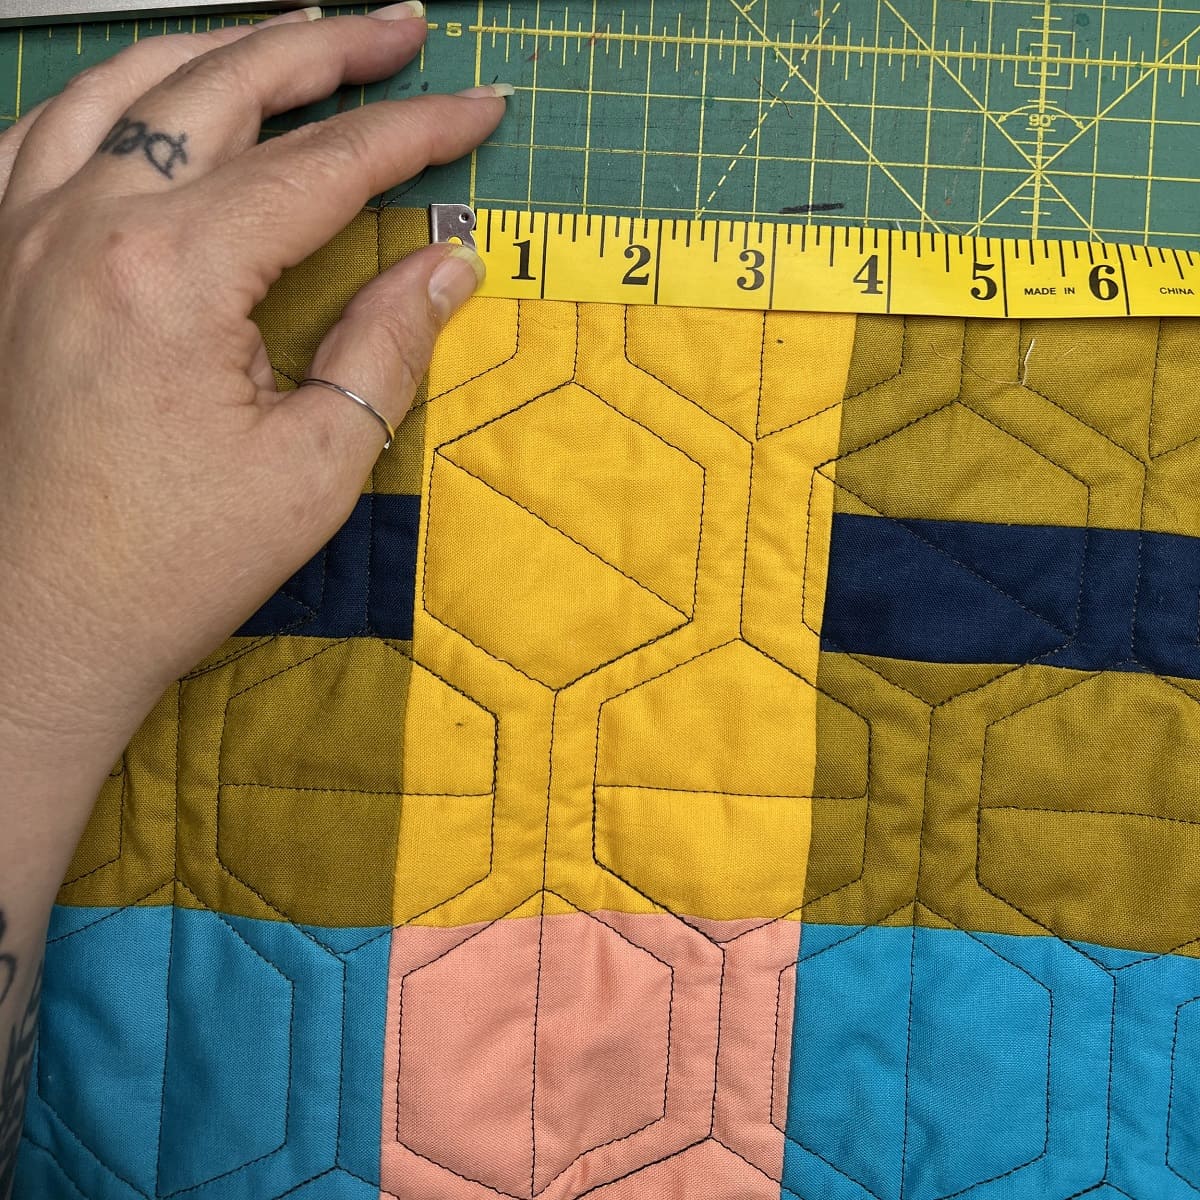
- Start by determining the width of your binding. A common width for quilt binding is 2.5 inches. However, you can adjust this according to your preference.
- Cut a square piece of fabric from which you will create your bias strips. The size of the square will depend on the length of binding you need, but a 12-inch by 12-inch square is a good starting point.
- Place the fabric square on your cutting mat, ensuring that the edges are aligned.
- Using a rotary cutter and quilting ruler, cut the fabric diagonally from one corner to the opposite corner. This will create two triangular pieces.
- Take one of the triangular pieces and fold it in half, aligning the short edges. Press the fold with an iron to create a crease.
- Open up the triangle and fold it again along the opposite diagonal, aligning the short edges. Press the fold with the iron to create a second crease.
- Keeping the second crease intact, use your rotary cutter and quilting ruler to cut parallel strips across the triangle. The width of these strips will be determined by the desired width of your binding.
- Repeat this process with the other triangular piece.
By cutting the fabric in this manner, you are creating bias strips that will have stretch and flexibility, making it easier to sew the binding around curves and corners.
Step 2: Joining the Strips
Now that you have cut the fabric into bias strips, the next step is to join them together to create one long continuous strip for your quilt binding. Follow these steps to join the strips:
- Lay two bias strips right sides together, matching the ends at a 90-degree angle. Pin them in place to prevent shifting during sewing.
- Using a ¼ inch seam allowance, sew the strips together diagonally from the corner to the opposite corner.
- Press the seam open with an iron to reduce bulk and ensure a smooth finished binding.
- Repeat this process with the remaining bias strips, joining them diagonally until you have one continuous strip.
Take care to match the edges accurately when joining the strips to maintain the straight line and avoid any puckering or unevenness in the finished binding.
Once you have completed joining all the strips, trim any excess fabric and press the seams open again to ensure a flat and seamless continuous strip for your binding.
Step 3: Creating the Continuous Bias
In this step, we will transform the joined bias strips into a continuous bias binding. Follow these steps to create the continuous bias:
- Lay your joined bias strip flat on your cutting surface.
- Identify the starting point of your continuous bias, which will be the end of one strip.
- Fold the starting point of the strip diagonally towards the center of the strip, creating a triangular shape.
- Continue folding the strip in this manner, making sure each fold aligns with the previous fold.
- As you fold, the opposite ends of the strip will meet, forming a loop.
- With the loop formed, pin the folds in place to secure them.
- Trim the excess fabric from the ends of the loop, leaving a ¼ inch seam allowance.
- Open up the pinned folds to reveal your continuous bias binding.
By creating a continuous loop, you eliminate the need to sew separate binding strips together, resulting in a seamless and uninterrupted binding for your quilt.
With the continuous bias binding ready, you can now move on to the next step of the quilt binding process.
When cutting your fabric for continuous bias quilt binding, make sure to cut it on the bias to ensure flexibility and stretch for easier application to the quilt edges.
Read more: How To Put Bias Tape On A Quilt
Step 4: Pressing the Bias Binding
Before attaching the bias binding to your quilt, it’s essential to properly press and shape the binding. Follow these steps to get your bias binding ready for sewing:
- Lay your bias binding flat on an ironing board.
- Set your iron to the appropriate heat setting for your fabric.
- Gently press the entire length of the bias binding, smoothing out any wrinkles or creases.
- Fold the bias binding in half lengthwise, wrong sides together, and press the fold with the iron. This creates a neat and defined edge for sewing.
- Open up the bias binding and fold one long edge towards the center fold line. Press the fold with the iron.
- Repeat the previous step with the other long edge, folding it towards the center fold line and pressing the fold.
- With both edges folded in, fold the bias binding in half again along the original center fold line and press it once more.
- Run your fingers along the folded edges to ensure they are crisp and well-defined.
Properly pressing the bias binding helps it maintain its shape and gives it a professional and polished appearance when sewn onto your quilt. It also makes it easier to handle and sew without any wrinkles or unevenness.
Now that your bias binding is nicely pressed and shaped, it’s time to attach it to your quilt.
Step 5: Attaching the Bias Binding to Quilt
Now that you have prepared the bias binding, it’s time to attach it to your quilt. Follow these steps to sew the bias binding to your quilt:
- Start by unfolding one end of the bias binding and align it with the edge of your quilt, right sides together. Leave a tail of a few inches to work with.
- Pin the binding in place along the edge of the quilt, ensuring that the raw edges are aligned.
- Using a sewing machine, begin stitching the binding to the quilt. Start approximately 6 inches from the unfolded end of the binding. Use a ¼ inch seam allowance and backstitch at the beginning and end of your stitching.
- Continue stitching, carefully guiding the binding along the edge of the quilt. Sew slowly and smoothly, removing the pins as you go.
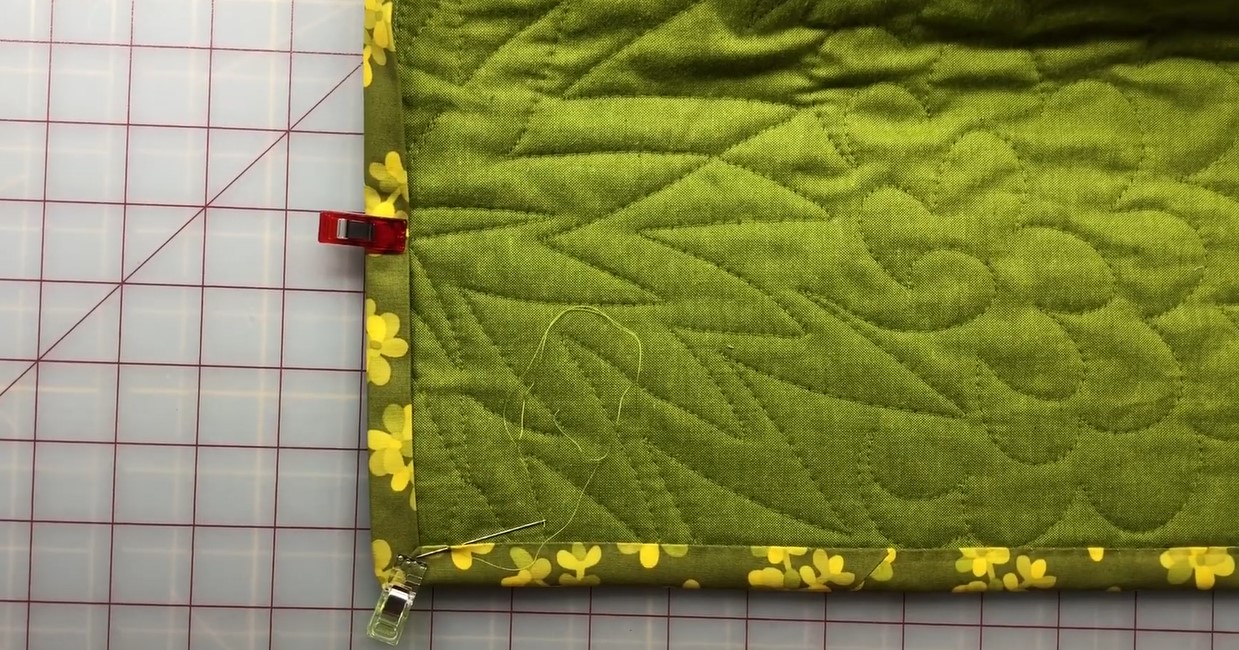
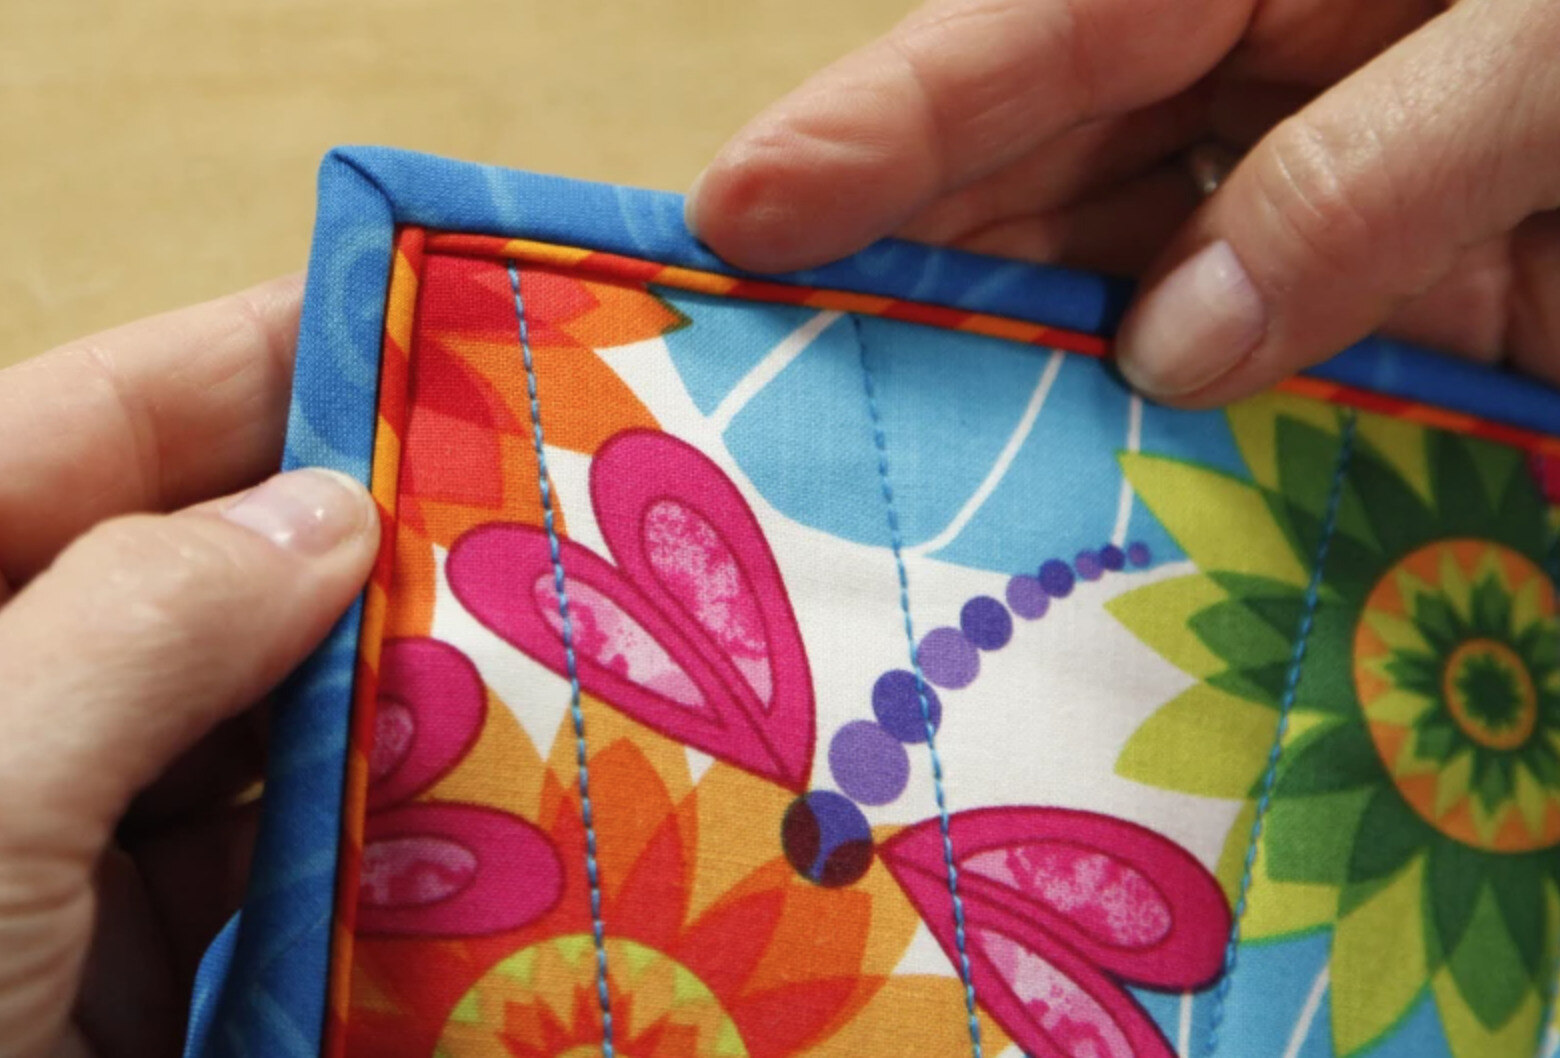
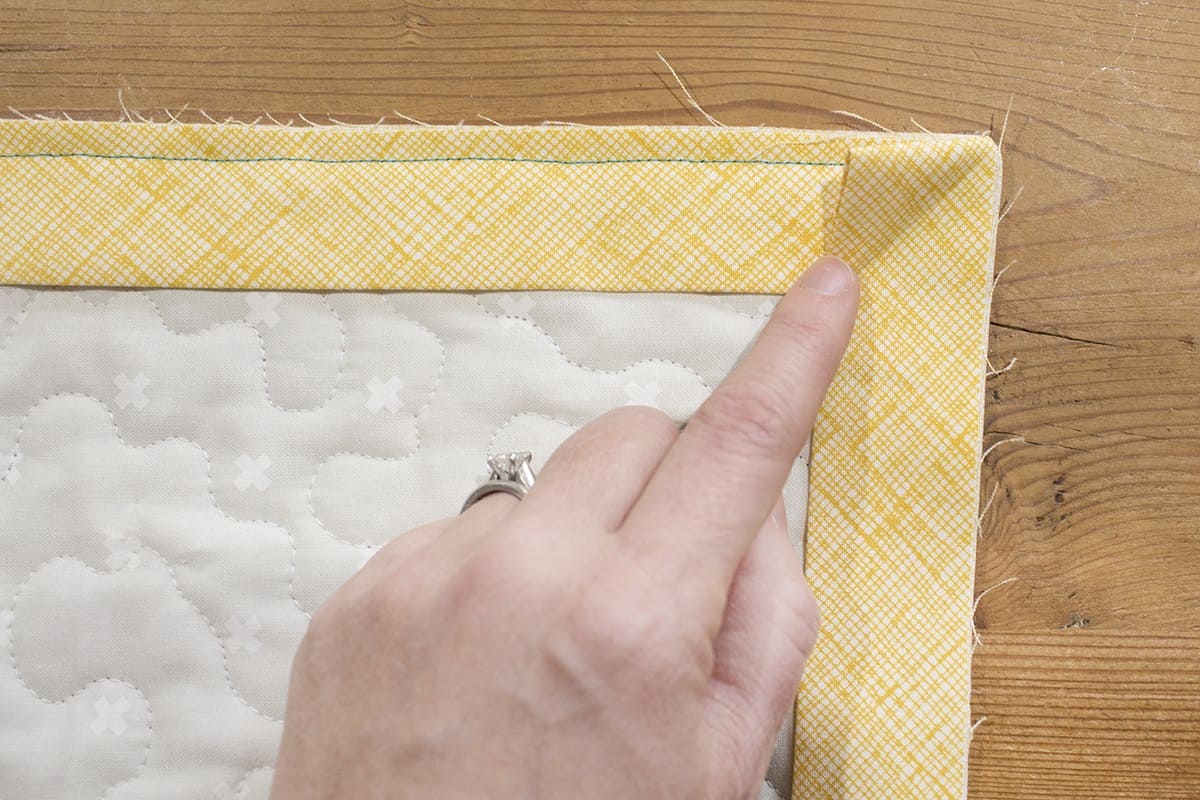
- When you reach a corner, stop stitching approximately ¼ inch away from the corner. Remove the quilt from the sewing machine, and fold the binding up at a 45-degree angle, creating a mitered corner.
- Fold the binding back down, aligning it with the next edge, and continue stitching, starting from the corner. Repeat this process for each corner.
- Once you reach the starting point, overlap the unfolded end of the binding with the beginning section by a few inches.
- Trim any excess binding, leaving a ¼ inch seam allowance.
- Fold the unfolded end of the binding over the finished edge, tucking it inside to create a clean and neat finish. Pin it in place.
- Complete the stitching, sewing over the folded end of the binding to secure it.
Take your time and sew carefully, ensuring that the binding is securely attached to the quilt. The bias binding will provide a beautiful and professional-looking edge to your quilt once completed.
Now that the bias binding is sewn on, it’s time to join the ends of the binding to complete the circle.
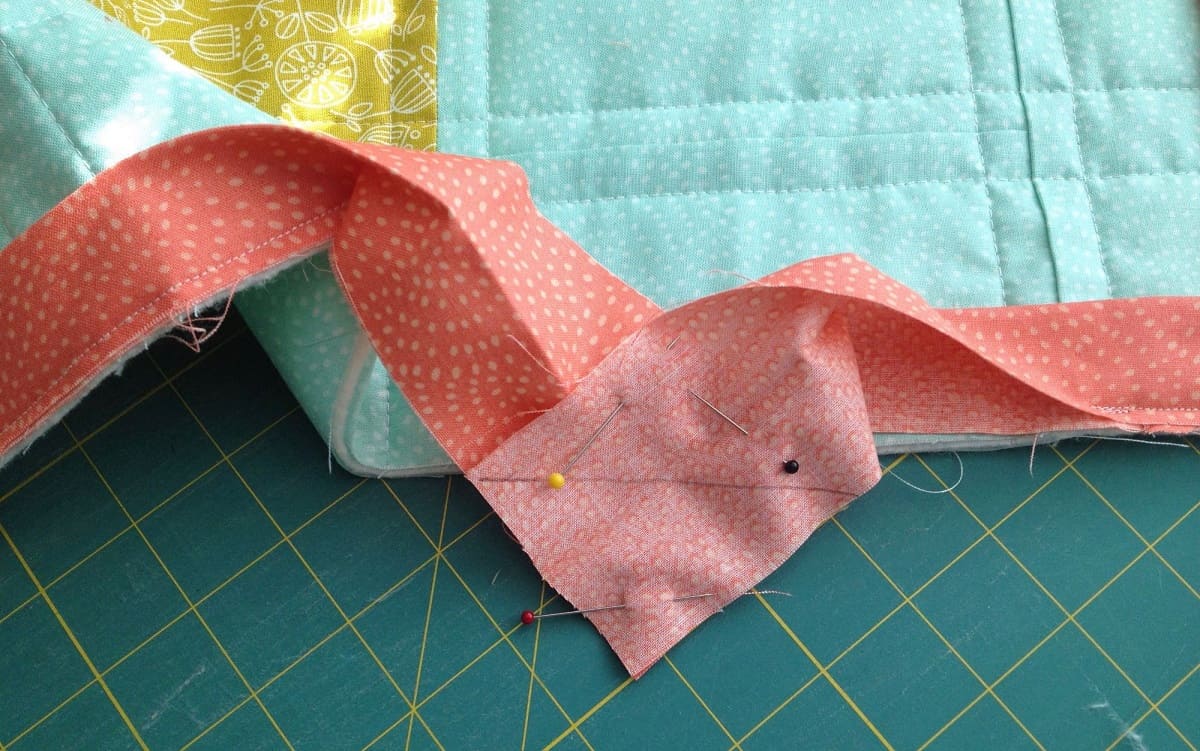
Step 6: Joining Ends of Bias Binding
To give your quilt a seamless and continuous binding, it’s important to properly join the ends of the bias binding. Follow these steps to join the ends:
- Trim both ends of the bias binding, ensuring they have a straight and even edge.
- Open up one end of the binding and fold back a small portion of the fabric, creating a diagonal fold.
- Measure and mark the desired overlap on the diagonal fold. This overlap should match the width of the binding.
- Line up the other end of the binding with the marked overlap, ensuring that the raw edges are aligned.
- Pin the two ends together, making sure they are securely held in place.
- Using a ruler and fabric marking pen, draw a diagonal line from one corner to the opposite corner of the marked overlap.
- Take the pinned ends to your sewing machine and stitch along the marked line.
- Trim the excess fabric, leaving a ¼ inch seam allowance.
- Open up the bias binding and press the seam open with an iron to reduce bulk.
- Fold the bias binding back into its original position and press it again to create a seamless join.
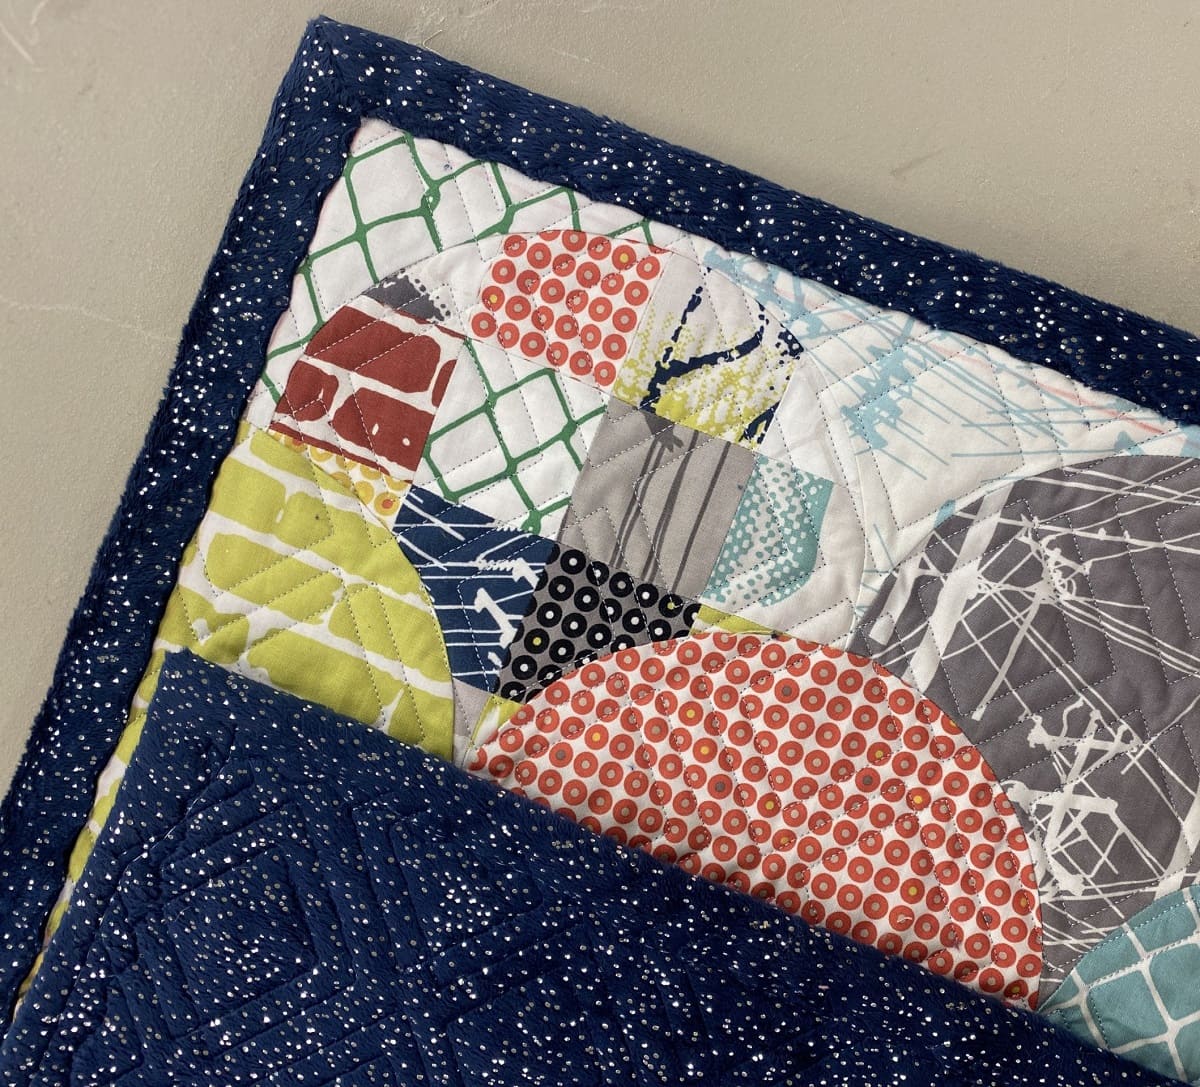
With the ends of the bias binding joined, your quilt now has a continuous and uninterrupted binding all the way around.
Finally, give your quilt one last press to ensure the binding lies flat and smoothly against the quilt. Admire your finished work!
Conclusion
Congratulations! You have successfully learned how to create continuous bias quilt binding. This technique adds a professional and polished finish to your quilts, making them truly stand out. By following the steps outlined in this article, you can confidently create bias binding and attach it seamlessly to your quilts.
Remember to gather all the necessary materials before starting, including fabric, cutting tools, sewing machine, and quilting supplies. Take your time in cutting the strips, joining them together, and creating the continuous bias. Pressing the binding at each step is crucial to achieving a neat and professional appearance.
When attaching the bias binding to your quilt, be mindful of the corners and take care to achieve clean and mitered edges. Lastly, don’t forget to join the ends of the binding to create a continuous loop.
By mastering the art of continuous bias quilt binding, you can elevate your quilting projects and create beautiful, finished pieces that showcase your skills and creativity. So, grab your fabric, dust off your sewing machine, and start experimenting with continuous bias quilt binding. Happy quilting!
Frequently Asked Questions about How To Make Continuous Bias Quilt Binding
Was this page helpful?
At Storables.com, we guarantee accurate and reliable information. Our content, validated by Expert Board Contributors, is crafted following stringent Editorial Policies. We're committed to providing you with well-researched, expert-backed insights for all your informational needs.


0 thoughts on “How To Make Continuous Bias Quilt Binding”