Articles
How To Put Electric Motor On Bicycle
Modified: August 27, 2024
Learn how to install an electric motor on your bicycle with step-by-step instructions and helpful articles. Upgrade your ride today!
(Many of the links in this article redirect to a specific reviewed product. Your purchase of these products through affiliate links helps to generate commission for Storables.com, at no extra cost. Learn more)
Introduction
Adding an electric motor to a bicycle can completely transform the way you ride. It provides you with the convenience of assisted pedaling, allowing you to cover more ground with less effort. Whether you want to commute to work without breaking a sweat or explore hilly terrains effortlessly, installing an electric motor on your bicycle is the way to go.
In this article, we will guide you through the step-by-step process of putting an electric motor on a bicycle. We will cover everything from gathering the necessary materials and tools to testing and fine-tuning the motor system. So, let’s dive in and turn your ordinary bicycle into an electrifying ride!
Key Takeaways:
- Transform your ordinary bicycle into an electrifying ride by following a step-by-step guide to installing an electric motor. Enjoy the convenience, efficiency, and fun of riding an electric bicycle while prioritizing safety and maintenance.
- Embrace the freedom and thrill of riding an electric bicycle. Explore new terrains, extend your range, and share the joy of electric biking with others. Prioritize safety, maintain your electric motor system, and enjoy the benefits of sustainable transportation.
Step 1: Gather the necessary materials and tools
Before you can begin installing an electric motor on your bicycle, you’ll need to gather the necessary materials and tools. Here’s a list of what you’ll need:
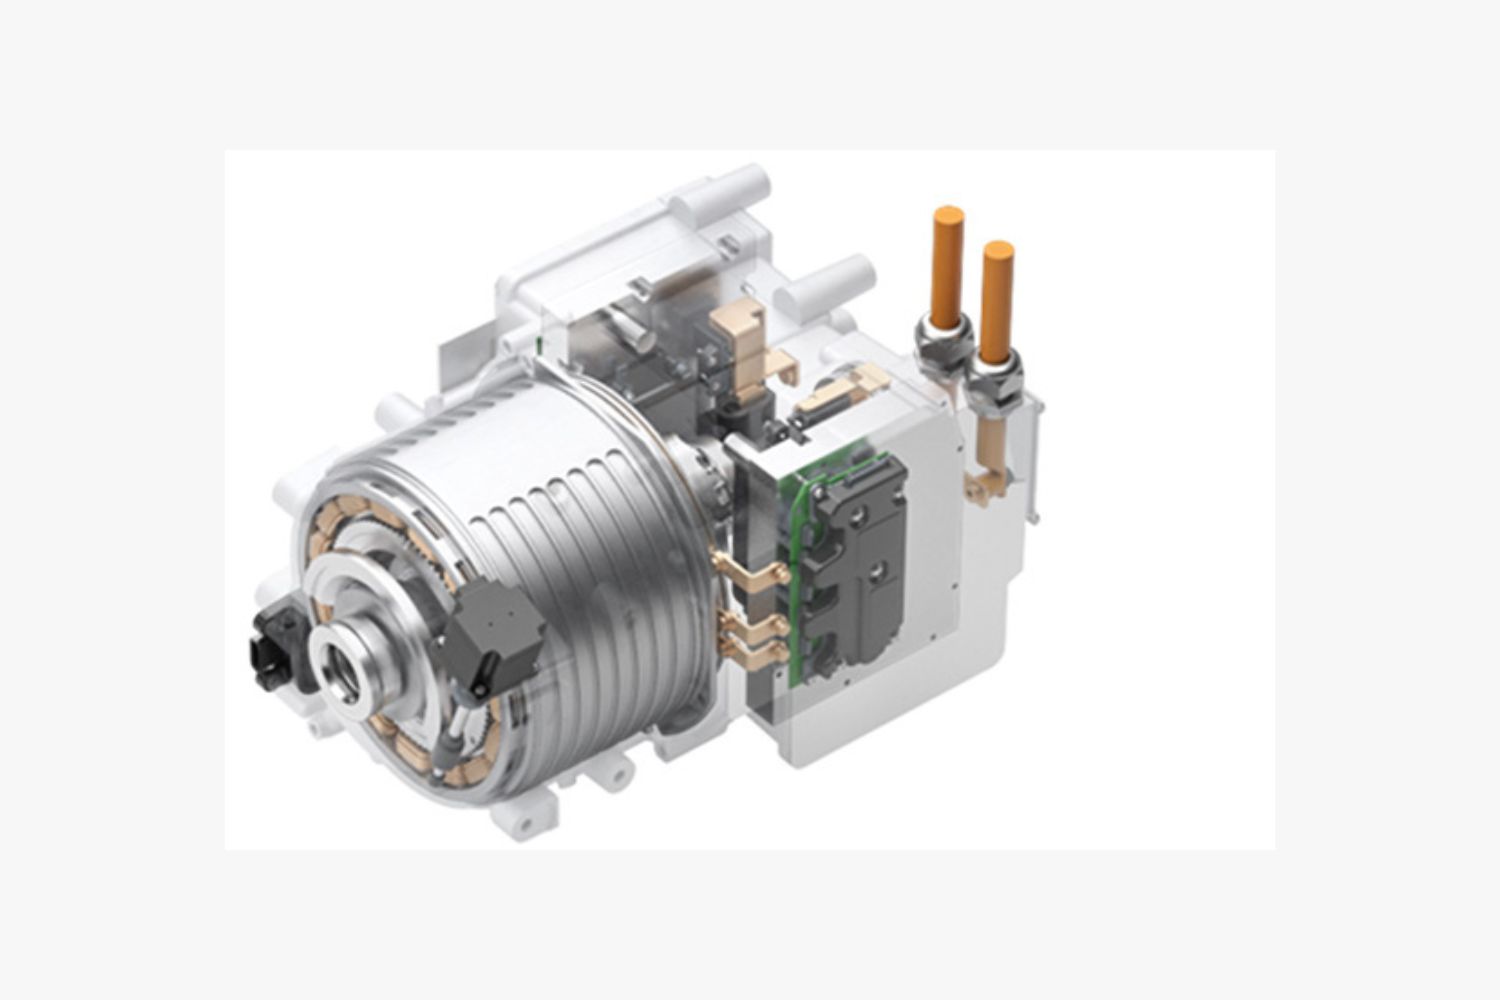
- Electric motor: The heart of your electric bicycle conversion is the motor. There are various types available, including hub motors and mid-drive motors. Choose one that fits your bicycle and desired performance.
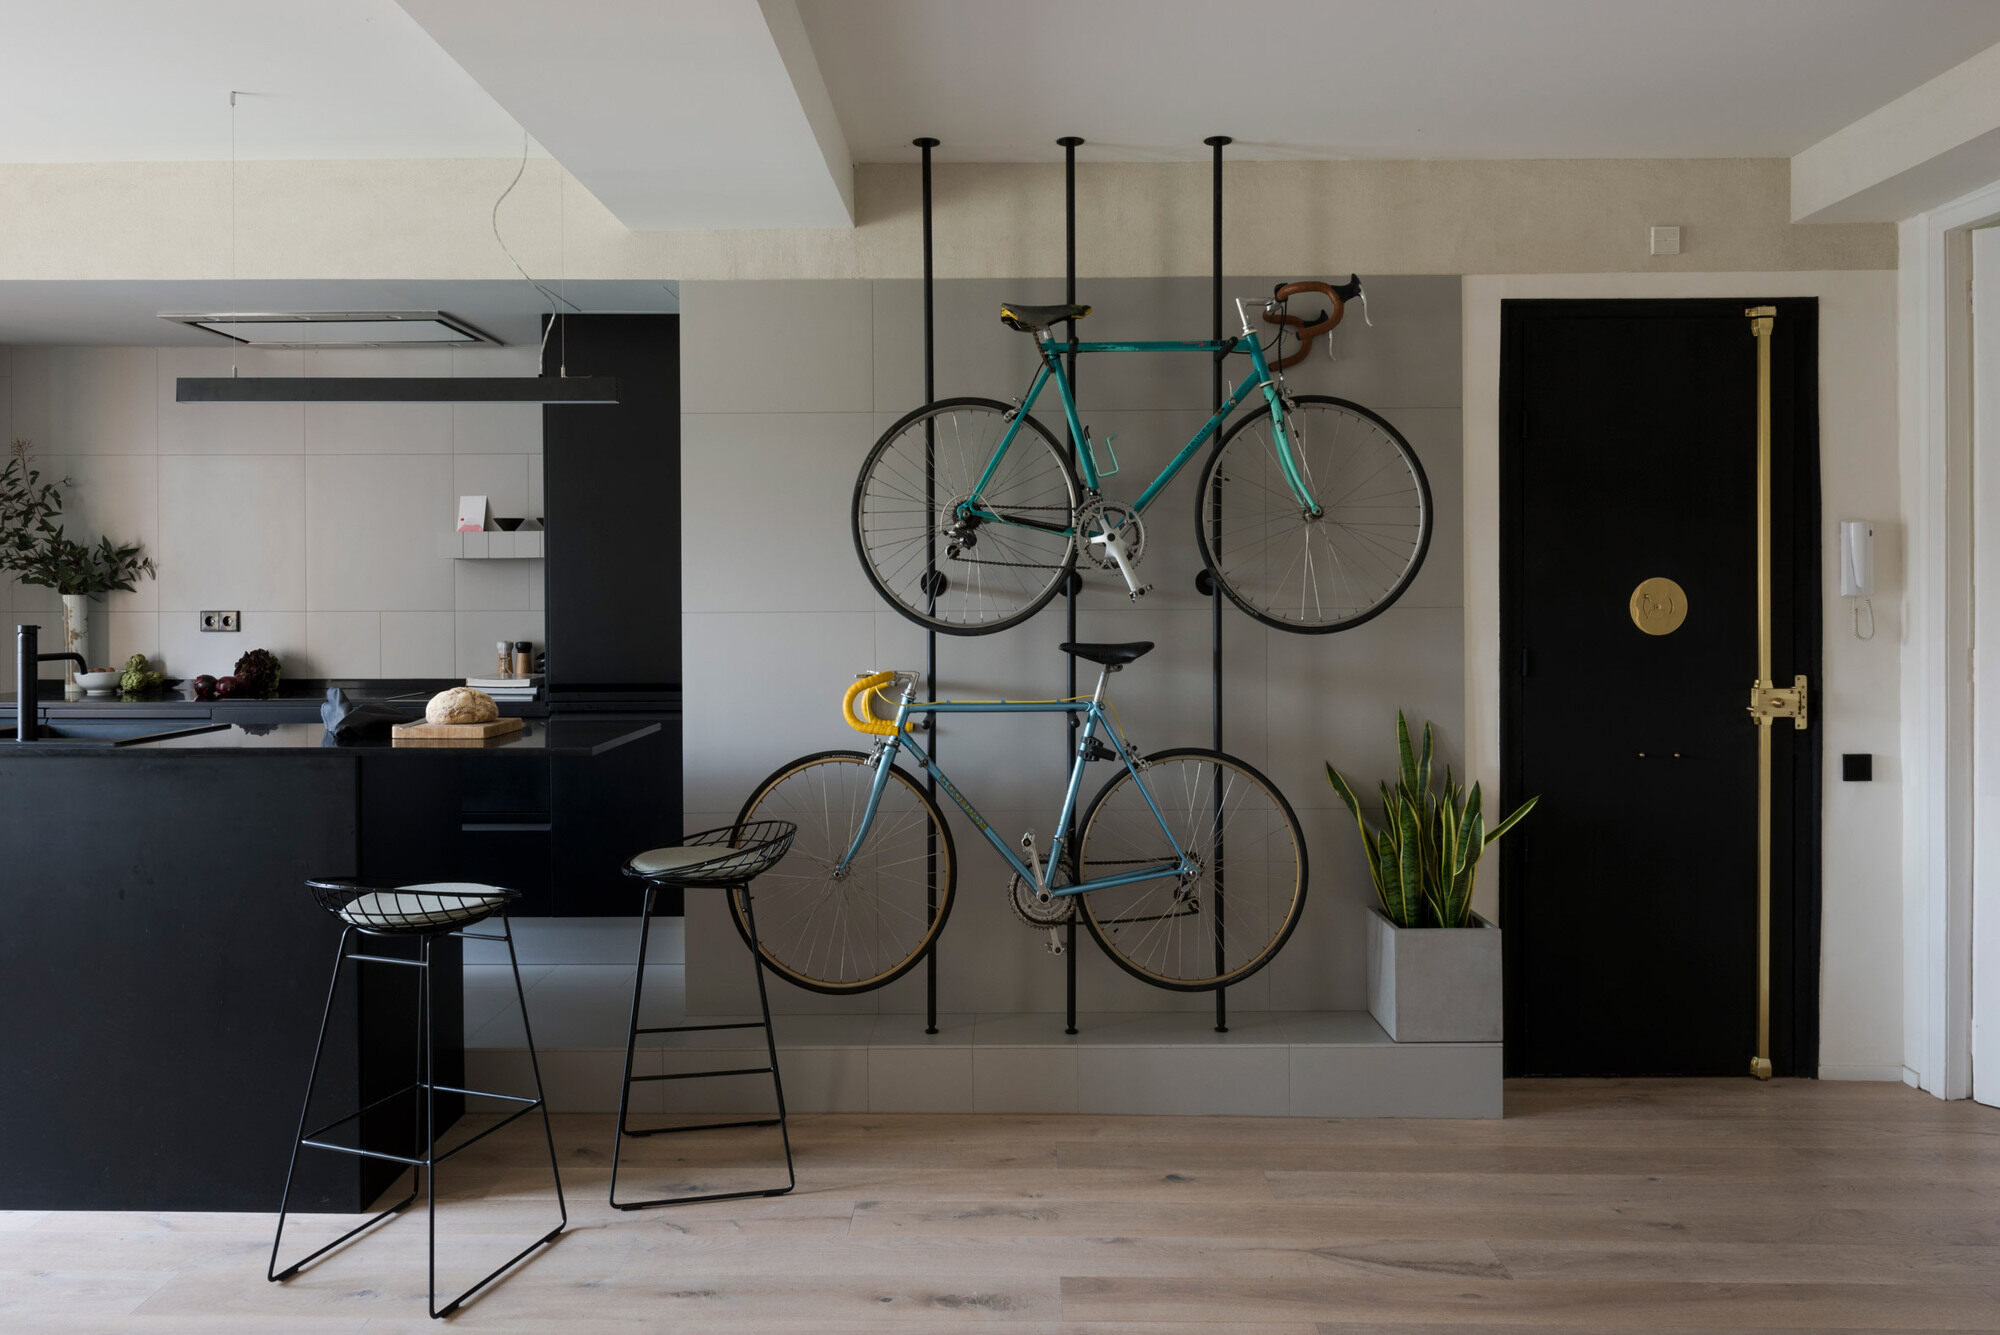
- Bicycle: You’ll need a bicycle to convert into an electric bike. Make sure the frame is in good condition and can handle the added weight and power of the motor.
- Battery pack: The battery pack is responsible for providing power to the electric motor. Consider factors such as capacity, voltage, and range when choosing the right battery pack for your needs.
- Controller: The controller serves as the interface between the battery pack and the motor. It regulates the power flow and allows you to control the speed and other settings.
- Wiring: You’ll need wiring to connect the various components of your electric motor system. Make sure to use appropriate gauge wire and connectors that can handle the current.
- Tools: To successfully install the electric motor on your bicycle, you’ll need a set of basic tools, including a wrench, screwdriver, and pliers. These will be used to disassemble and reassemble parts of your bicycle.
Once you have gathered all the necessary materials and tools, you can move on to the next step of the installation process.
Step 2: Choose a suitable motor mounting location on the bicycle
When it comes to installing an electric motor on your bicycle, choosing the right mounting location is crucial. Consider the following factors when deciding on the placement:
- Weight distribution: The location of the motor can significantly impact the weight distribution of your bicycle. It’s important to find a balance that ensures stability and doesn’t make the front or rear end too heavy.
- Accessibility: Choose a mounting location that provides easy access to the motor for maintenance and repairs. It should also allow for easy installation and removal of the battery pack.
- Stability: Ensure that the chosen location on the bicycle frame can provide a secure and stable platform for the motor. Avoid areas that may flex or vibrate excessively, as this can affect the performance and longevity of the motor.
The specific mounting location may vary depending on the type of bicycle and motor you have. In some cases, you may need to make modifications to the frame or utilize additional mounting brackets for secure attachment.
Take the time to carefully evaluate your bicycle and consider these factors before finalizing the motor mounting location. Once you have determined the optimal placement, you can proceed to the next step of the installation process.
Step 3: Install the motor bracket on the bicycle frame
Now that you have chosen a suitable mounting location for your electric motor, it’s time to install the motor bracket on the bicycle frame. Here’s how you can do it:
- Select the appropriate bracket: Depending on the type of motor and your bicycle frame, you’ll need to choose the correct size and type of bracket. Refer to the manufacturer’s instructions or consult an expert if you’re unsure.
- Prepare the bicycle frame: Clean the area where the bracket will be installed to ensure good adhesion. Remove any dirt, rust, or paint that may interfere with the attachment.
- Position the bracket: Place the motor bracket on the chosen mounting location and align it with the frame. Ensure that it is parallel to the ground and properly positioned for optimal motor placement.
- Mark the attachment points: Use a marker or pencil to mark the attachment points on the frame. Make sure to mark both sides of the bracket for accurate alignment.
- Drill pilot holes: With a drill and an appropriate-sized drill bit, carefully drill pilot holes on the marked attachment points. Take caution not to drill too deep or damage the frame.
- Attach the bracket: Using screws or bolts provided with the bracket, fasten it securely to the frame. Tighten the screws or bolts evenly to ensure a stable and secure attachment.
Remember to follow the manufacturer’s instructions and use the appropriate tools for the installation. If needed, seek professional assistance to ensure a proper installation and avoid any damage to your bicycle frame.
With the motor bracket successfully installed, you’re now ready to proceed to the next step of attaching the electric motor to the bracket.
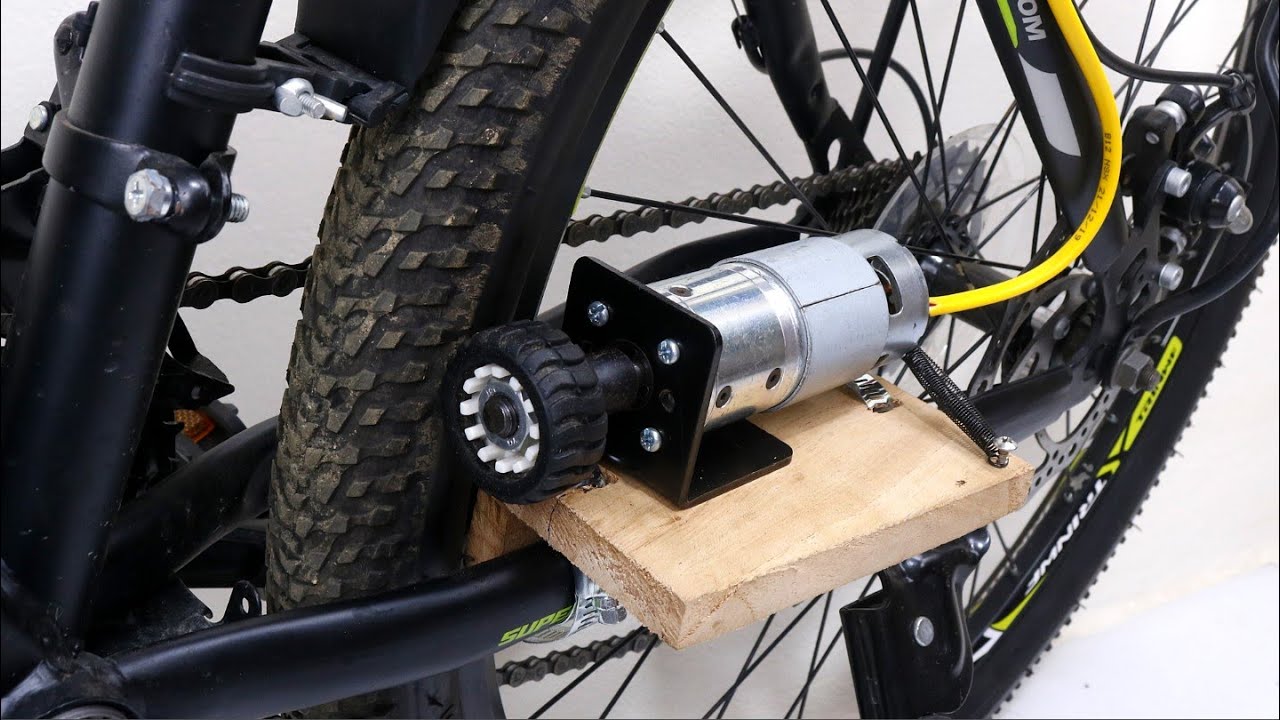
Step 4: Attach the electric motor to the bracket
Now that you have the motor bracket securely installed on your bicycle frame, it’s time to attach the electric motor to the bracket. Follow these steps to ensure a stable and secure attachment:
- Align the motor: Position the electric motor on the motor bracket, making sure it is properly aligned and centered. The motor shaft should be aligned with the crankset or the rear wheel, depending on the type of motor you have.
- Secure the motor: Use the appropriate bolts, nuts, or clamps provided with the motor kit to secure the motor to the bracket. Ensure that the fasteners are tightened securely, but be cautious not to overtighten as this can damage the motor or the bracket.
- Check for stability: Once the motor is attached, gently shake the bicycle to check for any looseness or play in the motor bracket or attachment. If there is any movement, tighten the fasteners further until the motor is securely held in place.
- Minimize vibrations: To minimize vibrations and noise, consider using rubber or foam padding between the motor and the bracket. This can help absorb vibrations and provide a more stable and silent ride.
It is crucial to ensure that the motor is securely fastened to the bracket to prevent any accidents or damage while riding. Take the time to double-check all connections and tighten any loose fasteners before moving on to the next step in the installation process.
With the motor securely attached to the bracket, you’re now ready to move on to the next steps of connecting the motor to the battery pack and controller.
Read more: How To Build A Electric Motor
Step 5: Connect the motor to the battery pack and controller
Now that the electric motor is securely attached to the bracket, it’s time to connect it to the battery pack and controller. Follow these steps to ensure proper connections and prevent any potential short circuits:
- Refer to the wiring diagram: Every electric motor kit comes with a wiring diagram that shows the proper connections between the motor, battery pack, and controller. Refer to this diagram to understand how the components should be wired.
- Prepare the wires: To ensure reliable connections, trim the wires provided with the kit to the appropriate length, leaving some slack for flexibility. Strip the insulation from the ends of the wires to expose the conductive metal underneath.
- Connect the motor: Based on the wiring diagram, connect the wires from the motor to the corresponding terminals on the controller. It is usually color-coded, so matching the colors on the wires can make the process easier.
- Connect the battery pack: Connect the wires from the battery pack to the appropriate terminals on the controller, again following the wiring diagram. Take note of the polarity and ensure that the positive and negative terminals are correctly connected.
- Ensure proper insulation: Once all the connections are made, carefully insulate each connection point with electrical tape or heat shrink tubing. This helps protect against short circuits and ensures that the connections remain secure.
- Secure the wiring: Use zip ties or wire management clips to secure the wiring and prevent it from getting tangled or interfering with other bicycle components. Make sure there is no strain on the wires that could lead to damage over time.
It is important to follow the wiring diagram provided with your motor kit to ensure the correct connections and prevent any electrical issues. Take your time to double-check each connection and ensure that everything is properly insulated before moving on to the next steps in the installation process.
With the motor, battery pack, and controller properly connected, you are one step closer to experiencing the electric power on your bicycle.
When installing an electric motor on a bicycle, make sure to carefully follow the manufacturer’s instructions for proper installation and safety. Double-check all connections and test the motor before riding.
Step 6: Mount the battery pack on the bicycle
Now that the motor is connected to the battery pack and controller, it’s time to mount the battery pack on your bicycle. Choosing a suitable location for the battery pack is important for both safety and convenience. Follow these steps to mount the battery pack:
- Consider weight distribution: Take into account the weight of the battery pack and its impact on the overall balance of your bicycle. Ideally, you want to place the battery pack in a location that won’t make your bicycle too front-heavy or rear-heavy.
- Choose a safe location: Select a location on your bicycle that provides good protection for the battery pack. Avoid areas where the battery pack could be susceptible to damage from vibrations, road debris, or potential accidents.
- Accessibility: Ensure that the chosen location allows for easy access to the battery pack. You’ll need to remove and charge the battery pack regularly, so a location that offers convenient access will make your life easier.
- Battery mount options: Depending on your bicycle’s frame design, you may have various options for mounting the battery pack. Look for mounting brackets or cages specifically designed for your battery pack model.
- Secure the battery pack: Once you’ve chosen the location and mount for your battery pack, securely attach it to your bicycle. Use the appropriate fasteners and ensure a snug fit. Double-check that the battery pack is securely attached and won’t come loose during rides.
Remember to test the stability of the battery pack after mounting it by gently shaking your bicycle and ensuring that there is no excessive movement or rattling. Additionally, consider adding some padding or vibration-damping materials to minimize vibrations and protect the battery pack.
By carefully selecting the location and securely mounting the battery pack, you can ensure a safe and reliable setup for your electric bicycle.
Step 7: Install the controller and wiring
Now that the motor and battery pack are installed, it’s time to install the controller and organize the wiring. Follow these steps to ensure a secure and organized setup:
- Secure attachment of the controller: Find a suitable location on your bicycle to mount the controller. This can be on the frame, handlebars, or any other accessible area. Use secure mounting brackets or straps to attach the controller, avoiding locations that could be prone to damage or interference while riding.
- Organize and secure the wiring: Carefully route the wiring from the motor, battery pack, and controller. Use zip ties or cable management clips to secure the wiring to the frame of the bicycle, ensuring that there are no loose or dangling wires that could get tangled in the wheels or other moving parts.
- Avoid potential hazards: Pay attention to the placement of the wiring and ensure that there are no sharp edges or elements that could potentially damage or cut through the wires. Protect the wiring by wrapping them with electrical tape or using wire loom tubing to prevent any accidental damage.
- Properly insulate connections: Double-check that all connections are properly insulated and protected against moisture and potential short circuits. Use heat shrink tubing or electrical tape to cover exposed wire connections and terminals.
- Test the system: Before finishing the installation, thoroughly test the electric motor system. Ensure that all connections are secure and that the motor, battery pack, and controller are functioning properly.
By organizing and securing the wiring and ensuring a secure attachment for the controller, you can prevent potential hazards and keep your electric motor system in top condition. Regularly check the wiring and connections for any signs of wear or damage, and make any necessary repairs or replacements as needed.
With the controller and wiring properly installed, you’re one step closer to experiencing a smooth and efficient electric bicycle ride.
Step 8: Test the electric motor system
Before jumping into the excitement of riding your newly upgraded electric bicycle, it’s crucial to test the electric motor system to ensure everything is in proper working order. Here are the steps to follow:
- Double-check all connections: Take a moment to carefully inspect all the connections between the motor, battery pack, controller, and wiring. Ensure that everything is securely attached and properly insulated.
- Verify proper installation: Review the installation of the motor, battery pack, and controller to confirm that they are properly mounted and positioned according to the manufacturer’s guidelines and your personal preferences.
- Turn on the system: Switch on the controller and power up the electric motor system. Listen for any unusual noises or vibrations that could indicate a loose connection or other issues.
- Test the motor: Pedal your bicycle and engage the electric motor to confirm that it activates smoothly and provides the expected assistance. Pay attention to the responsiveness and throttle control of the motor.
- Check the battery: Monitor the battery level on the controller’s display or indicator to ensure it is accurately reporting the charge. If the battery level is low, recharge it fully before embarking on a ride.
- Test all power modes: If your electric motor system offers different power modes, test each mode to ensure they are functioning correctly. Check for any issues with acceleration, deceleration, or changes in speed.
During the testing process, be mindful of any abnormal sounds, excessive vibrations, or other signs that could indicate a problem. If you encounter any issues, refer to the manufacturer’s instructions or seek assistance from a professional to address them.
Remember, safety should always be a top priority. Wear appropriate protective gear and adhere to traffic laws when testing your electric motor system. Once you are confident that everything is functioning as intended, you can proceed to the final step of fine-tuning the motor and controller settings.
Read more: How To Cool An Electric Motor
Step 9: Fine-tune the motor and controller settings (optional)
Once you have successfully tested your electric motor system and ensured that everything is functioning properly, you may want to fine-tune the motor and controller settings to customize your riding experience. Here’s how you can do it:
- Refer to the manufacturer’s instructions: First, consult the manufacturer’s instructions or user manual for your specific motor and controller to understand the available settings and how to adjust them.
- Adjust speed and power: Most electric motor systems allow you to adjust the speed and power output. You can typically do this through a control panel or interface on the controller. Increase or decrease the speed and power levels based on your preferences and riding conditions.
- Experiment with different modes: If your motor system offers different riding modes, such as eco, normal, or sport mode, try them out to see which one suits your riding style and terrain best.
- Consider throttle sensitivity: If your electric motor system has a throttle feature, you may be able to adjust the sensitivity. Fine-tune it to have better control over the motor’s activation and response while riding.
- Brake regen settings: Some electric motor systems allow you to adjust the regenerative braking settings. This feature allows your motor to recharge the battery while braking. Experiment with different settings to find the right balance between regen and traditional braking.
- Monitor battery usage: Keep an eye on the battery usage and range of your electric motor system. Understanding the battery’s performance will help you plan longer rides and avoid running out of power unexpectedly.
Remember, fine-tuning the motor and controller settings is optional, but it can enhance your overall riding experience. Take the time to experiment with different settings and find the configuration that suits your preferences and riding conditions.
Once you are satisfied with your adjustments, you’re ready to embark on your electric bicycle adventures with confidence and enjoyment.
Step 10: Enjoy your electric bicycle
Congratulations! You have successfully installed and fine-tuned your electric motor system on your bicycle. Now it’s time to fully enjoy the benefits of your newly upgraded ride. Here are a few tips to help you make the most of your electric bicycle:
- Ride safely: Just like any other bicycle, safety should always be a priority. Observe traffic rules, wear appropriate safety gear, and be mindful of pedestrians and other cyclists.
- Get familiar with the controls: Take some time to familiarize yourself with how the electric motor system works, including the throttle, power modes, and any other controls or display panels on the controller.
- Practice using the motor: Experiment with different levels of assist from the motor. Start with lower power settings and gradually increase as you become more comfortable and confident with the added assistance.
- Extend your range: Take advantage of the electric motor’s assistance to explore further and tackle longer rides. Keep an eye on your battery level and plan your routes accordingly.
- Explore different terrains: With the electric motor, you can conquer various terrains that may have been challenging before. Take your bike off-road, climb hills with ease, and discover new routes and adventures.
- Maintain your electric motor system: Regularly inspect and maintain your electric motor system. Keep an eye on the condition of the motor, wiring, and battery pack. Clean your bike after each ride and protect it from harsh weather conditions.
- Share your experience: Spread the joy of electric biking with others. Share your experiences, tips, and enthusiasm for electric bicycles with friends, family, and fellow cyclists.
Remember, the electric motor is there to enhance your riding experience, but it’s still important to pedal and contribute to the effort. Embrace the newfound convenience, fun, and freedom that your electric bicycle offers.
Now, get out there and embark on your electrifying adventures while enjoying the benefits of your newly upgraded bicycle!
Conclusion
Congratulations on successfully adding an electric motor to your bicycle! By following the step-by-step process outlined in this guide, you have transformed your ordinary bicycle into an electrifying ride. Now, you can enjoy the convenience, efficiency, and fun that comes with riding an electric bicycle.
Throughout the installation process, you learned how to gather the necessary materials and tools, choose a suitable motor mounting location, install the motor bracket, attach the electric motor, connect the motor to the battery pack and controller, mount the battery pack, install the controller and wiring, test the electric motor system, and fine-tune the motor and controller settings.
Remember to prioritize safety at all times. Wear appropriate safety gear, follow traffic rules, and maintain your electric motor system regularly to ensure it stays in optimal condition. Regular inspections, cleaning, and any necessary repairs or replacements will help prolong the lifespan of your electric motor system.
Your newly upgraded electric bicycle opens up a world of possibilities. Experience the thrill of effortlessly cruising through city streets, conquer challenging terrains without breaking a sweat, and extend your riding range to explore new destinations. Share your passion for electric biking with others, encouraging them to embrace this eco-friendly and efficient form of transportation.
Now, it’s time to embark on your electric bicycle adventures. Enjoy the smooth rides, the wind in your hair, and the satisfaction of knowing that you’ve taken part in the growing movement of sustainable transportation.
So, get out there, ride safely, and have a fantastic time exploring the world on your newly upgraded electric bicycle!
Frequently Asked Questions about How To Put Electric Motor On Bicycle
Was this page helpful?
At Storables.com, we guarantee accurate and reliable information. Our content, validated by Expert Board Contributors, is crafted following stringent Editorial Policies. We're committed to providing you with well-researched, expert-backed insights for all your informational needs.

0 thoughts on “How To Put Electric Motor On Bicycle”