Articles
How To Disassemble An Electric Motor
Modified: August 27, 2024
Learn how to disassemble an electric motor with our informative articles. Gain insights and tips from industry experts to successfully dismantle electric motors.
(Many of the links in this article redirect to a specific reviewed product. Your purchase of these products through affiliate links helps to generate commission for Storables.com, at no extra cost. Learn more)
Introduction
Electric motors are essential components in various machines and appliances, powering everything from industrial equipment to household gadgets. Understanding how to disassemble an electric motor can be a useful skill for maintenance or repairs. Whether you’re an experienced technician or a DIY enthusiast, this guide will walk you through the step-by-step process of disassembling an electric motor.
Before we dive into the disassembly process, it’s important to note that working with electrical components can be dangerous. Always prioritize your safety and take necessary precautions to prevent accidents. Make sure to wear proper protective gear, such as gloves and safety glasses, and work in a well-ventilated area.
This guide assumes that you have a basic understanding of electrical systems and have experience handling tools. If you’re unsure or uncomfortable with any part of the process, it’s best to consult a professional technician.
Key Takeaways:
- Prioritize safety by disconnecting the power supply, wearing protective gear, and working in a well-ventilated area when disassembling an electric motor. Proper handling and storage of components are crucial for a safe and efficient process.
- Gather the necessary tools and materials, follow a systematic approach, and inspect and clean components thoroughly to ensure a successful disassembly and reassembly of the electric motor. Adhering to manufacturer’s instructions and seeking professional help when needed are essential for a smooth process.
Read more: How To Build A Electric Motor
Safety Precautions
Disassembling an electric motor involves dealing with live electrical connections and moving parts. It is crucial to take appropriate safety precautions to protect yourself and prevent accidents. Here are some important safety measures to keep in mind:
- Disconnect power supply: Before starting any work on the electric motor, ensure that the power supply is turned off and safely disconnected. This will prevent any accidental electrical shocks.
- Wear protective gear: Always wear protective gear, including safety glasses and gloves, to protect your eyes and hands from any potential hazards.
- Work in a well-ventilated area: Make sure you have adequate ventilation in the work area to prevent the buildup of fumes or harmful gases.
- Use the right tools: Ensure that you have the necessary tools and equipment for the disassembly process. Using the correct tools will not only make the task easier but also minimize the risk of injury.
- Handle with care: Be cautious when handling sharp objects or parts with jagged edges. Use protective measures and handle all components with care to prevent cuts or injuries.
- Avoid contact with moving parts: When disassembling the motor, be aware of any rotating or moving parts. Keep your fingers and clothing away from these areas to prevent entanglement or injuries.
- Properly store removed components: As you remove the motor’s parts, make sure to store them in a safe and organized manner. This will help prevent damage and ensure easy reassembly.
- Keep children and pets away: Always work in an area where children and pets cannot access, to avoid any potential accidents or injuries.
- Seek professional help if needed: If you’re unsure or unfamiliar with any aspect of the disassembly process, it’s best to consult a professional technician. They have the knowledge and expertise to handle the task safely and efficiently.
By adhering to these safety precautions, you can minimize the risk of accidents and maintain a safe working environment while disassembling an electric motor.
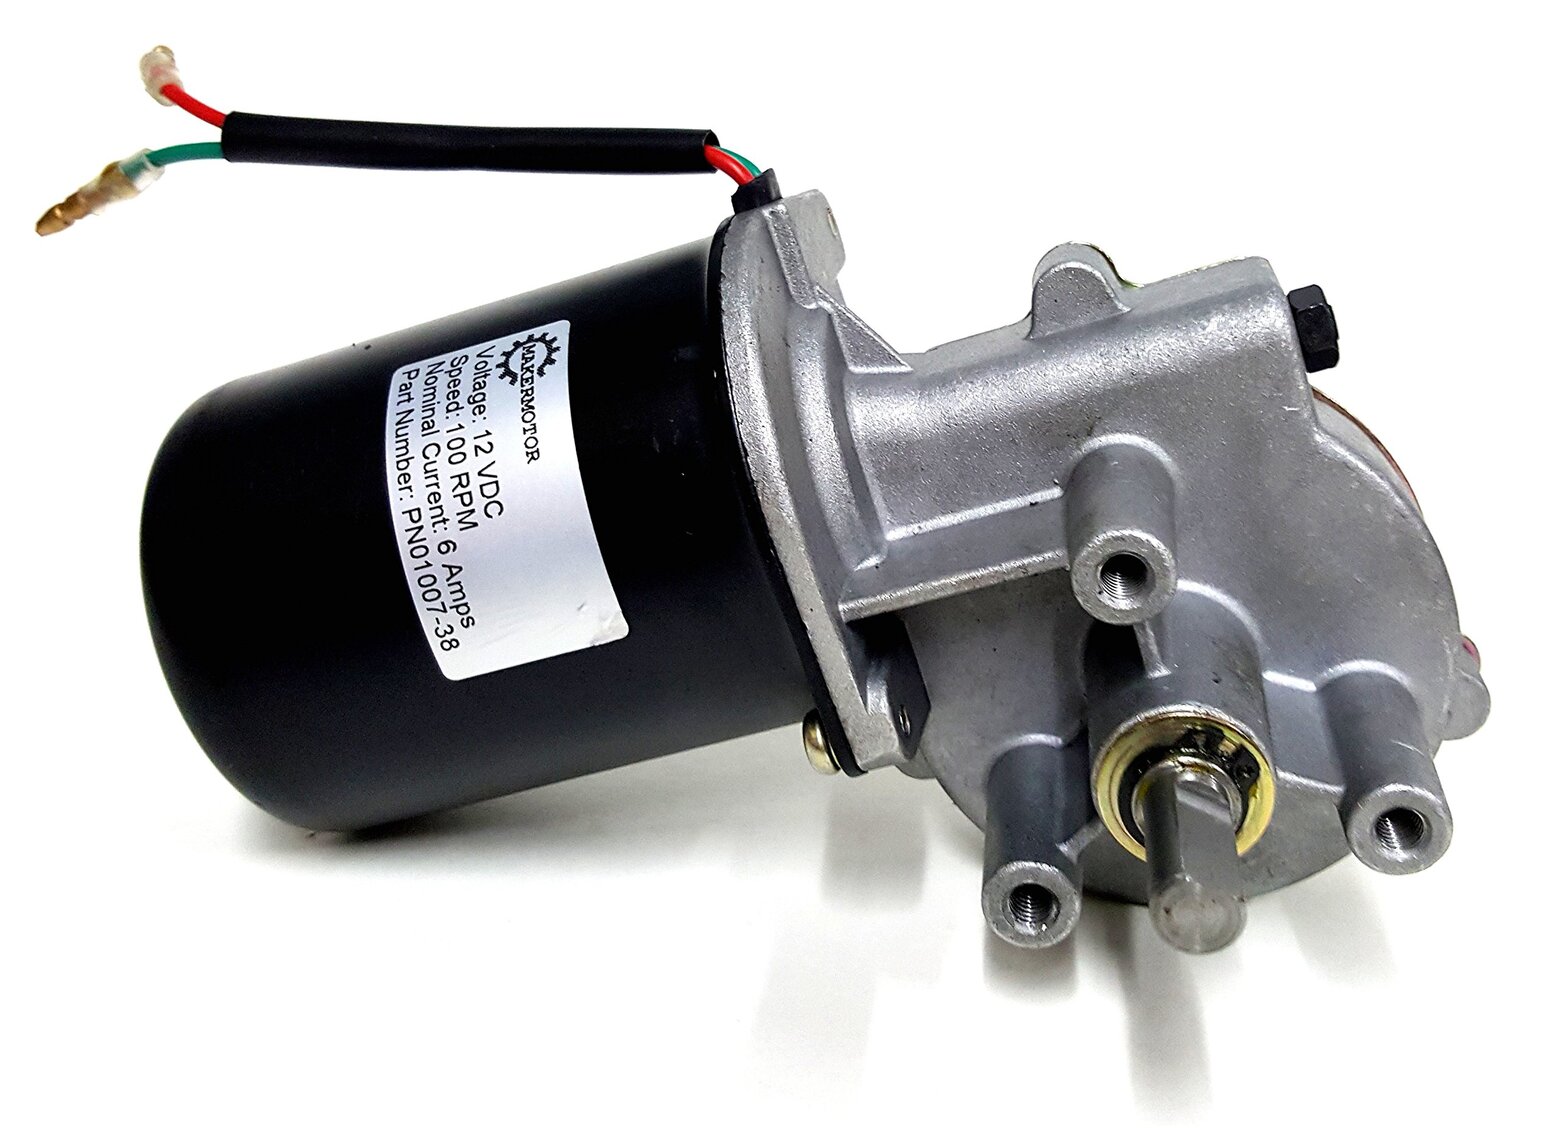
Tools and Materials Needed
Before you begin the process of disassembling an electric motor, it’s essential to gather all the necessary tools and materials. Having the right equipment will make the process smoother and more efficient. Here are the tools and materials you’ll need:
- Screwdrivers: You’ll need a set of screwdrivers with various sizes and types, including flathead and Phillips head, to remove screws and fasteners.
- Wrenches: Depending on the motor’s design, you may need different wrench sizes for loosening or removing nuts and bolts.
- Socket set: A socket set with a ratchet handle will come in handy for removing and tightening bolts.
- Pliers: Pliers, such as needle-nose pliers and adjustable pliers, will be useful for gripping small components, such as wire connectors or fasteners.
- Wire cutters/strippers: A pair of wire cutters and strippers will be necessary for disconnecting electrical connections and removing insulation from wires.
- Protective gear: Ensure you have safety glasses, gloves, and possibly ear protection, depending on your work environment.
- Clean cloth or wipes: Having a clean cloth or wipes will help you wipe down and clean the components as you disassemble the motor.
- Lubricant: Depending on the motor’s condition, you may need lubricant to loosen stubborn or rusted parts.
- Notebook and pen: Keeping a notebook and pen nearby will allow you to jot down any important instructions, measurements, or observations as you progress through the disassembly process.
It’s important to have all these tools and materials readily available before you begin. This will save you time and effort and ensure a smooth disassembly process.
Step 1: Disconnect Power Supply
Before you start working on disassembling an electric motor, it’s crucial to ensure that the power supply is completely disconnected. This step is essential to prevent any electrical shocks or accidents during the disassembly process. Follow these steps to disconnect the power supply:
- Identify the power source: Locate the power source that supplies electricity to the motor. It could be a power outlet, circuit breaker, or control panel.
- Switch off the power source: Once you have identified the power source, turn off the power by either flipping the switch on the circuit breaker or unplugging the motor from the power outlet.
- Double-check the power supply: After switching off the power source, use a voltage tester or multimeter to verify that there is no electricity flowing to the motor. Follow the manufacturer’s instructions on how to use the voltage tester or multimeter correctly.
- Tag or label the power supply: To ensure safety and avoid accidental power restoration, consider tagging or labeling the power supply with a clear warning indicating that work is being done on the motor, and it should not be reconnected until the disassembly is complete.
Remember, electrical safety is paramount when working with electric motors. Double-checking that the power supply is disconnected will provide a safe working environment throughout the disassembly process. Always exercise caution and follow safety guidelines.
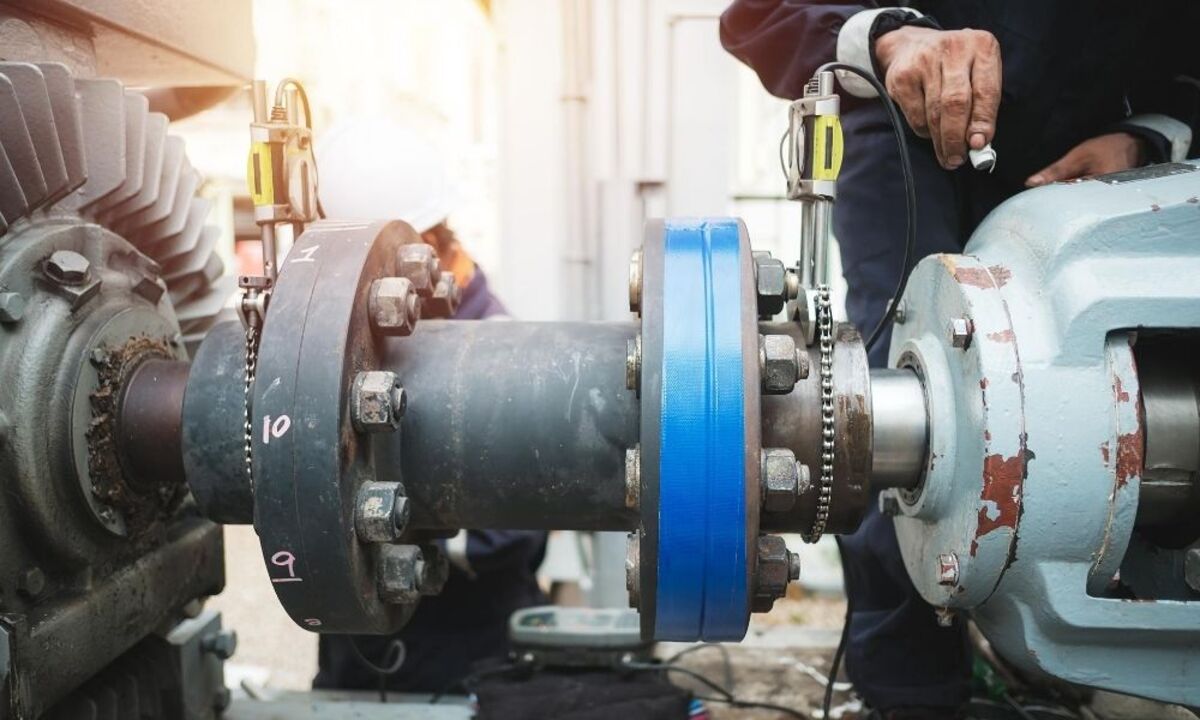
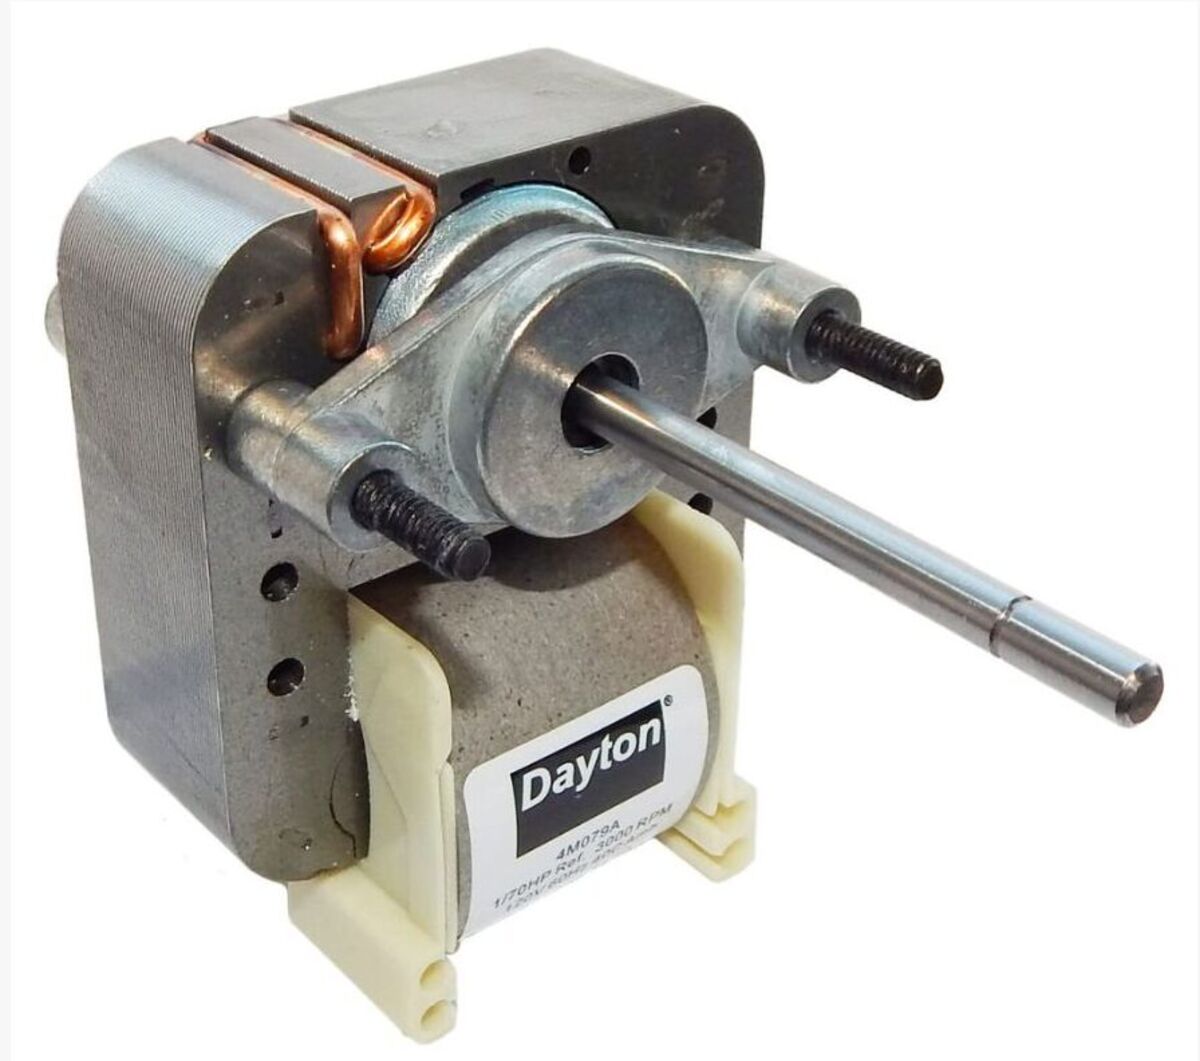
Step 2: Remove the Motor Casing
Once you have disconnected the power supply and ensured your safety, it’s time to remove the motor casing. The motor casing houses the internal components of the motor and protects them from external elements. Follow these steps to remove the motor casing:
- Inspect the motor casing: Take a moment to visually inspect the motor casing. Look for any screws, clips, or fasteners that secure the casing in place.
- Identify and remove the casing fasteners: Using the appropriate screwdriver or wrench, carefully remove the screws or fasteners that hold the motor casing together. Keep track of the removed fasteners as you’ll need them for reassembly.
- Gently pry open the motor casing: Once all the fasteners are removed, gently pry open the motor casing using a flathead screwdriver or a plastic opening tool. Take your time and be careful not to damage any internal components or wiring.
- Set aside the motor casing: Once the casing is open, set it aside in a safe location. It’s a good idea to keep the casing in order and note any identifying marks or labels for reference during reassembly.
Removing the motor casing allows you to access the inner components of the motor and perform any necessary repairs or maintenance. Remember to handle the casing and its components with care to avoid any damage. Take note of how the casing comes apart for easier reassembly later.
Read more: How To Cool An Electric Motor
Step 3: Locate and Remove the Mounting Bolts
Once the motor casing is removed, you can proceed to locate and remove the mounting bolts. The mounting bolts secure the motor to its housing or mounting bracket. Follow these steps to successfully remove the mounting bolts:
- Identify the mounting bolts: Take a close look at the motor housing and locate the mounting bolts. These bolts are typically positioned at various points around the motor, depending on the specific design.
- Choose the appropriate tool: Depending on the type and size of the mounting bolts, select the appropriate tool such as a wrench or socket set.
- Remove the mounting bolts: Use the selected tool to loosen and remove the mounting bolts. Take note of the placement and order of the bolts as it will be helpful during reassembly.
- Store the mounting bolts safely: Keep the removed mounting bolts in a secure location to ensure they are not misplaced. You can use a small container or resealable bag to keep them organized and easily accessible.
Removing the mounting bolts will allow you to easily detach the motor from its housing or mounting bracket, providing better access to the internal components. Be mindful of the order and placement of the bolts to facilitate reassembly later.
When disassembling an electric motor, be sure to carefully label and organize all the parts and screws to make reassembly easier. Keep track of the order in which the parts are removed to ensure proper reassembly.
Step 4: Disconnect Wiring Connections
With the mounting bolts removed, the next step is to disconnect the wiring connections of the electric motor. It’s important to disconnect these connections properly to ensure safe and effective disassembly. Follow these steps to disconnect the wiring connections:
- Identify the wiring connections: Take a close look at the motor and locate the wiring connections. These connections may include electrical cables, terminal blocks, or wire connectors.
- Turn off the power supply: Before handling any electrical connections, ensure that the power supply to the motor is completely turned off and safely disconnected. This step is crucial to prevent any electrical shocks.
- Label or take notes: If necessary, label or take detailed notes of the wiring connections. This will help you accurately reconnect the wires during the reassembly process.
- Disconnect the wires: Carefully unfasten the wire connectors or terminals, ensuring that you do not damage the wires or the connectors themselves. If needed, use a pair of pliers or wire cutters/strippers to free the wires.
- Secure the disconnected wires: Once the wires are disconnected, secure them safely to prevent any accidental contact or entanglement with other components.
Properly disconnecting the wiring connections is crucial for a successful disassembly process. Take your time and exercise caution to prevent any damage to the wires or other components. Remember to label or take notes of the wiring connections to aid in the reassembly later.
Step 5: Separate Motor Housing
After disconnecting the wiring connections, you can move on to separating the motor housing. This step allows you to access the internal components of the motor, such as the rotor and stator. Follow these steps to successfully separate the motor housing:
- Inspect the motor housing: Take a closer look at the motor housing and identify any additional screws, clips, or fasteners that hold it together. These may be located on the sides, bottom, or back of the housing.
- Remove the housing fasteners: Using the appropriate screwdriver or wrench, carefully remove the screws or fasteners that secure the motor housing. Keep track of the removed fasteners as you’ll need them for reassembly.
- Separate the motor housing: Once all the fasteners are removed, gently pry apart or separate the motor housing. Take your time and be cautious not to damage any internal components or wiring.
- Clean the housing: Take this opportunity to clean the motor housing. Use a clean cloth or wipes to remove any dirt, dust, or debris that may have accumulated over time.
- Set aside the housing: Once the motor housing is separated, set it aside in a safe location. Keep it in order and note any identifying marks or labels for ease of reassembly later.
Separating the motor housing is a crucial step in gaining access to the internal components for inspection, cleaning, or repairs. Take care to handle the housing with caution and clean it thoroughly before proceeding to the next step.
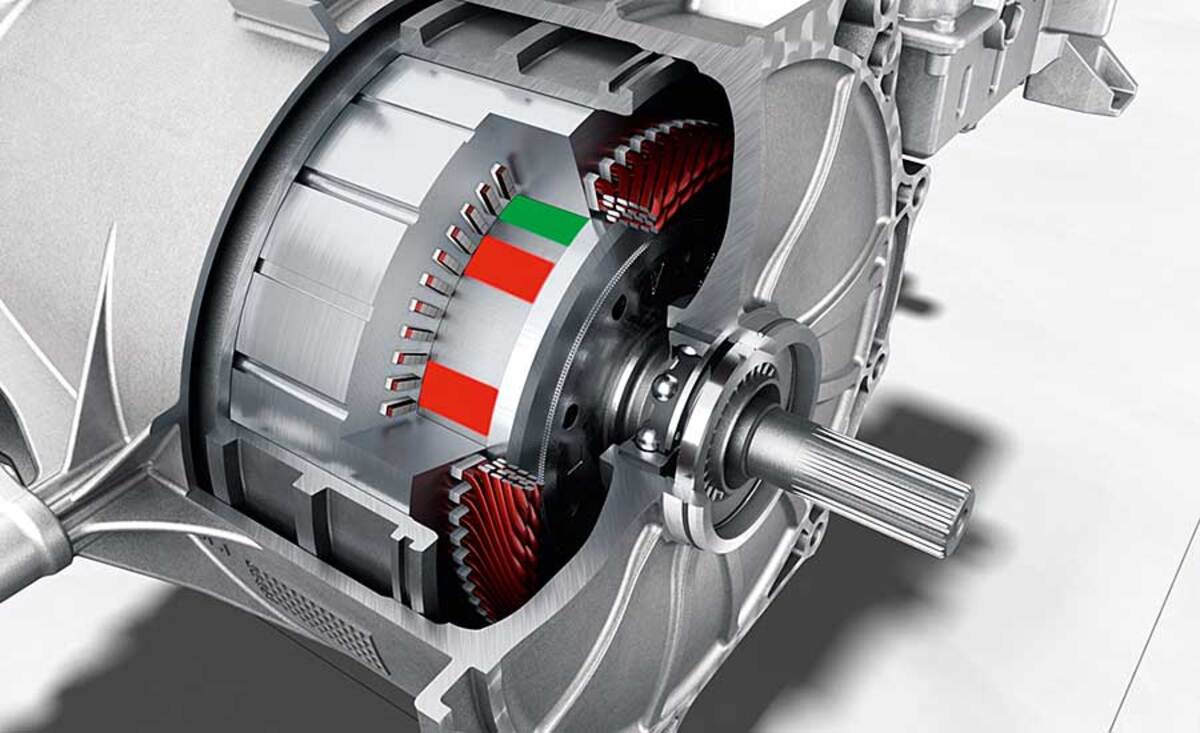
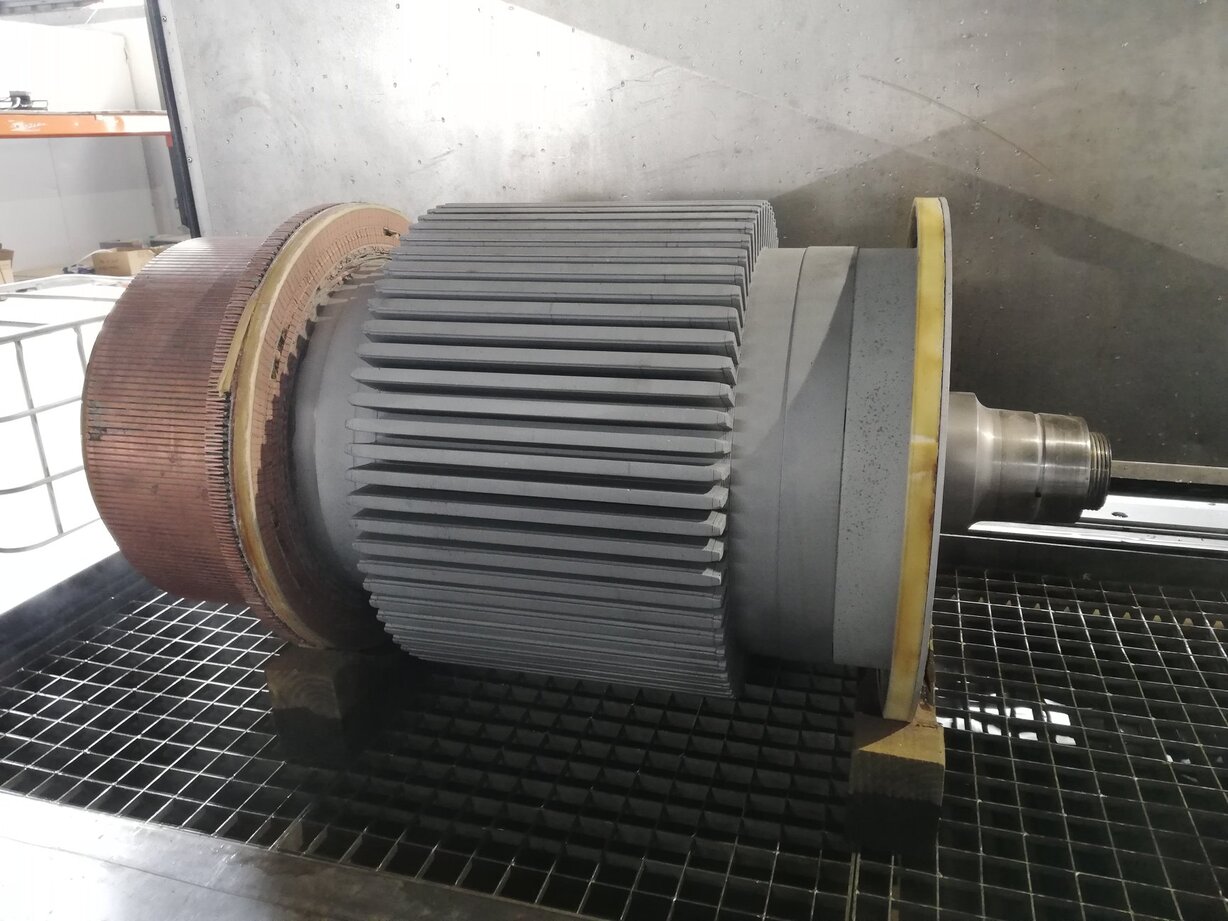
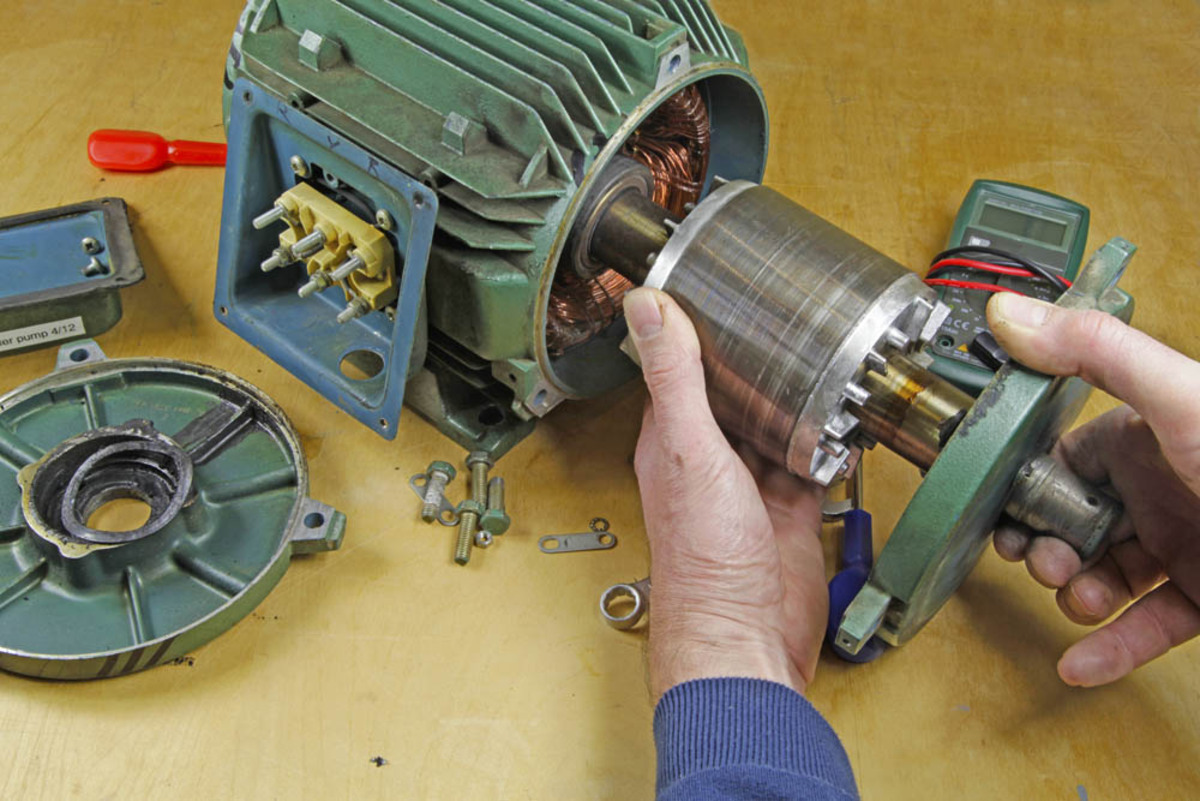
Step 6: Remove Rotor and Stator
After separating the motor housing, you can proceed to remove the rotor and stator. These are the key components responsible for the motor’s operation. Follow these steps to successfully remove the rotor and stator:
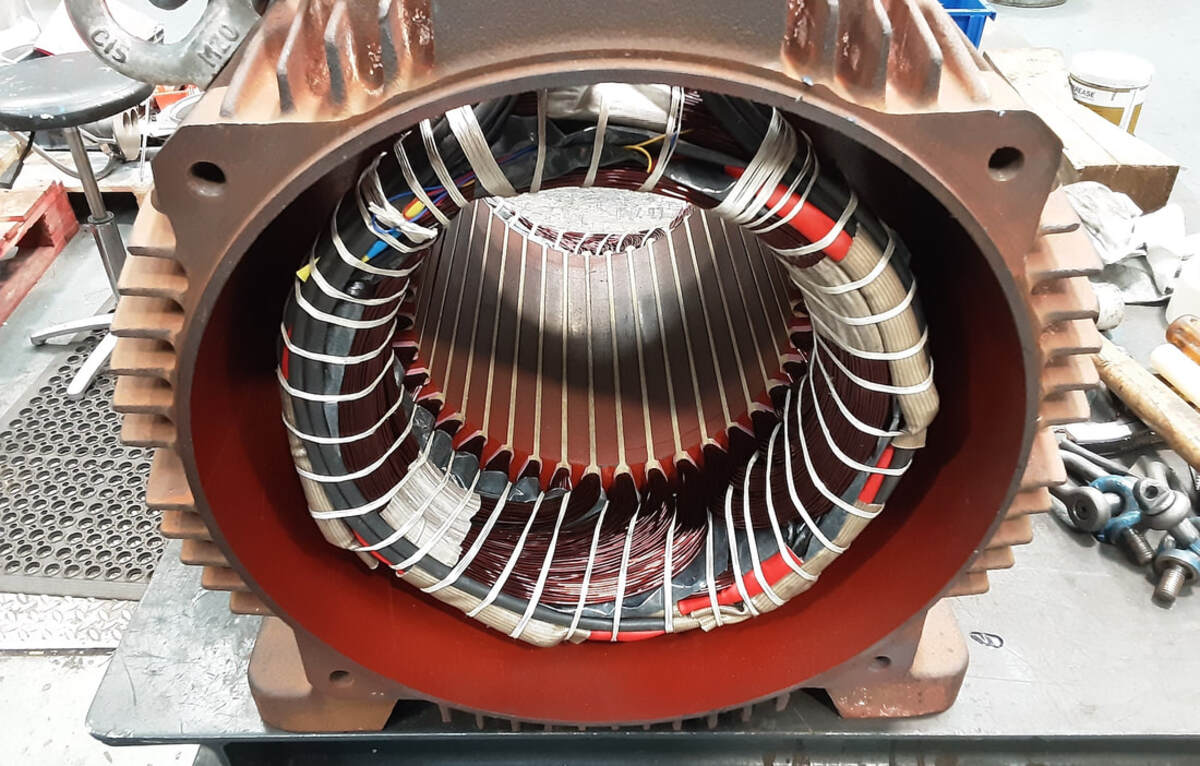
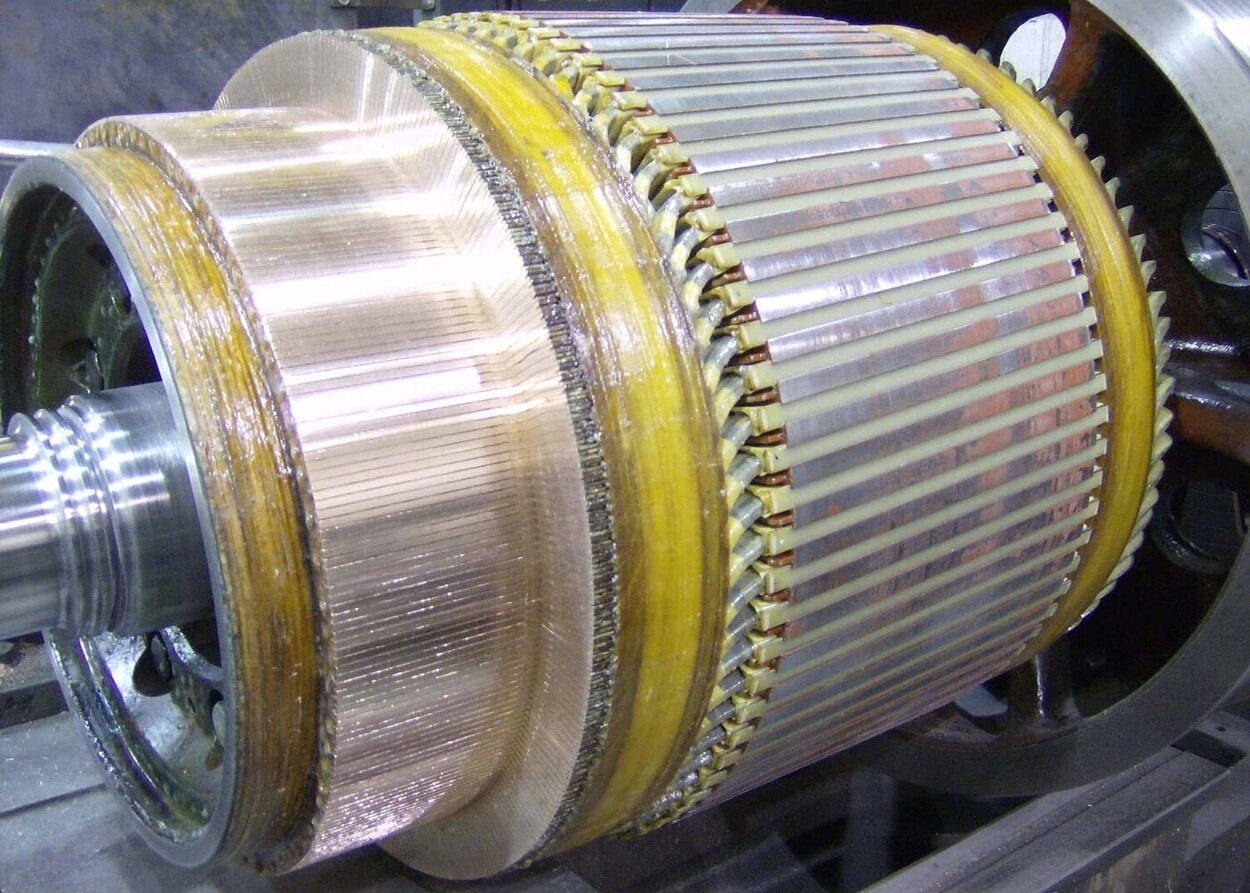
- Identify the rotor and stator: Take a close look at the internal components of the motor and identify the rotor and stator. The rotor is the rotating part, while the stator is the stationary part surrounding it.
- Inspect the rotor and stator: Before removal, visually inspect the rotor and stator for any signs of damage or wear. This will give you an idea of their condition and whether they may need replacement.
- Loosen and remove fasteners: Depending on the motor design, there may be additional fasteners securing the rotor or stator in place. Use the appropriate tools to loosen and remove these fasteners.
- Gently lift out the rotor and stator: Once the fasteners are removed, carefully lift out the rotor and stator from their housing. Be cautious not to damage any wires or delicate parts as you lift them out.
- Inspect and clean the rotor and stator: Take this opportunity to inspect the rotor and stator closely for any signs of damage, such as cracks or excessive wear. Clean them using a clean cloth or wipes to remove any dirt or debris.
- Set aside the rotor and stator: After inspection and cleaning, set the rotor and stator aside in a safe place. Keep them in order and note any markings or labels that may assist during reassembly.
Removing the rotor and stator allows for a more thorough inspection and potential repairs or replacements if necessary. Carefully handle and clean these components to ensure their proper functionality during the reassembly process.
Read more: How Efficient Is An Electric Motor
Step 7: Inspect and Clean the Components
With the rotor and stator removed, it’s important to take the time to inspect and clean all the components of the electric motor. This step ensures that any issues or dirt buildup are addressed before reassembly. Follow these steps for a thorough inspection and cleaning:
- Inspect the components: Take a close look at all the components, including the rotor, stator, casing, and any other parts you have removed. Check for any signs of damage, such as cracks, excessive wear, or burnt-out areas.
- Clean the components: Use a clean cloth or wipes to gently clean the components. Remove any dirt, dust, or debris that may have accumulated over time. Pay special attention to areas where there may be grease or oil buildup.
- Check for loose connections: Inspect the wiring connections, terminals, and any other electrical components for loose or damaged connections. Tighten any loose connections or replace damaged components as needed.
- Test electrical continuity: Using a multimeter or continuity tester, check the electrical continuity of the wiring connections. This will help identify any faulty or broken wires that may need to be repaired or replaced.
- Inspect bearings and bushings: If your motor has bearings or bushings, inspect them for any signs of wear or damage. Lubricate them if necessary, following the manufacturer’s recommendations.
- Replace damaged or worn components: If you discover any components that are damaged or excessively worn, consider replacing them with appropriate replacements to ensure optimal performance.
By inspecting and cleaning all the components, you can identify and address any issues before reassembling the motor. A thorough cleaning also helps improve the motor’s efficiency and extends its lifespan.
Step 8: Reassemble the Motor
After inspecting and cleaning all the components, it’s time to reassemble the motor. Reassembling the motor requires careful attention to detail to ensure all parts are put back together correctly. Follow these steps for a successful reassembly:
- Refer to your notes and labels: If you made notes or labeled any components during the disassembly process, refer to them to guide you in the reassembly.
- Place the rotor and stator back into the housing: Carefully position the rotor and stator back into their respective places within the motor housing. Ensure they fit snugly and align correctly with any mounting holes.
- Secure the mounting bolts: Insert and tighten the mounting bolts to hold the rotor, stator, and motor housing securely together. Use the appropriate tools and follow any specifications provided by the manufacturer.
- Reconnect the wiring connections: Reattach the wiring connections, ensuring that the correct wires are connected to their corresponding terminals or connectors. Double-check the connections to avoid any crossed or loose wires.
- Close and secure the motor casing: Place the motor casing back over the assembled components and secure it with the previously removed screws or fasteners. Ensure the casing is properly aligned and closed.
- Double-check all connections: Before powering on the motor, double-check all the connections, fasteners, and components to ensure they are secure and properly aligned.
- Reconnect the power supply: Once you are confident in the reassembly, reconnect the power supply to the motor, following proper safety procedures.
- Test the motor: Turn on the power supply and test the motor to ensure it is operating correctly. Listen for any unusual noises or vibrations and monitor for any signs of overheating.
Reassembling the motor requires precision and attention to detail. Take your time, follow the correct sequence, and ensure all components are securely in place. Testing the motor after reassembly will help verify its proper functioning.
Conclusion
Disassembling and reassembling an electric motor may seem like a daunting task, but with the right knowledge and precautions, it can be a manageable process. By following the step-by-step guide outlined in this article, you can safely and effectively disassemble your electric motor for maintenance, repairs, or cleaning.
Remember to prioritize your safety throughout the disassembly process. Disconnect the power supply and wear proper protective gear at all times. Take note of any labeling, make detailed observations, and keep the components organized to facilitate the reassembly.
Inspecting and cleaning the components during the disassembly stage allows you to identify any damage, wear, or faulty connections, ensuring optimal performance of the motor. By replacing damaged components and reassembling the motor carefully, you can restore it to its functionality and extend its lifespan.
While this guide provides a general overview, it’s essential to consult the specific manufacturer’s instructions for your particular motor model. If you’re unsure or uncomfortable with any aspect of disassembling or reassembling the motor, it’s always best to seek the assistance of a professional technician who can provide expert guidance.
By following the proper procedures and taking the necessary precautions, you can successfully disassemble and reassemble your electric motor, gaining valuable insights into its internal workings and ensuring its continued operation for years to come.
Frequently Asked Questions about How To Disassemble An Electric Motor
Was this page helpful?
At Storables.com, we guarantee accurate and reliable information. Our content, validated by Expert Board Contributors, is crafted following stringent Editorial Policies. We're committed to providing you with well-researched, expert-backed insights for all your informational needs.


0 thoughts on “How To Disassemble An Electric Motor”