Articles
How To Repair An Electric Motor
Modified: October 31, 2024
Learn how to repair an electric motor with these informative articles. Gain the knowledge and skills needed to troubleshoot and fix motor malfunctions.
(Many of the links in this article redirect to a specific reviewed product. Your purchase of these products through affiliate links helps to generate commission for Storables.com, at no extra cost. Learn more)
Introduction
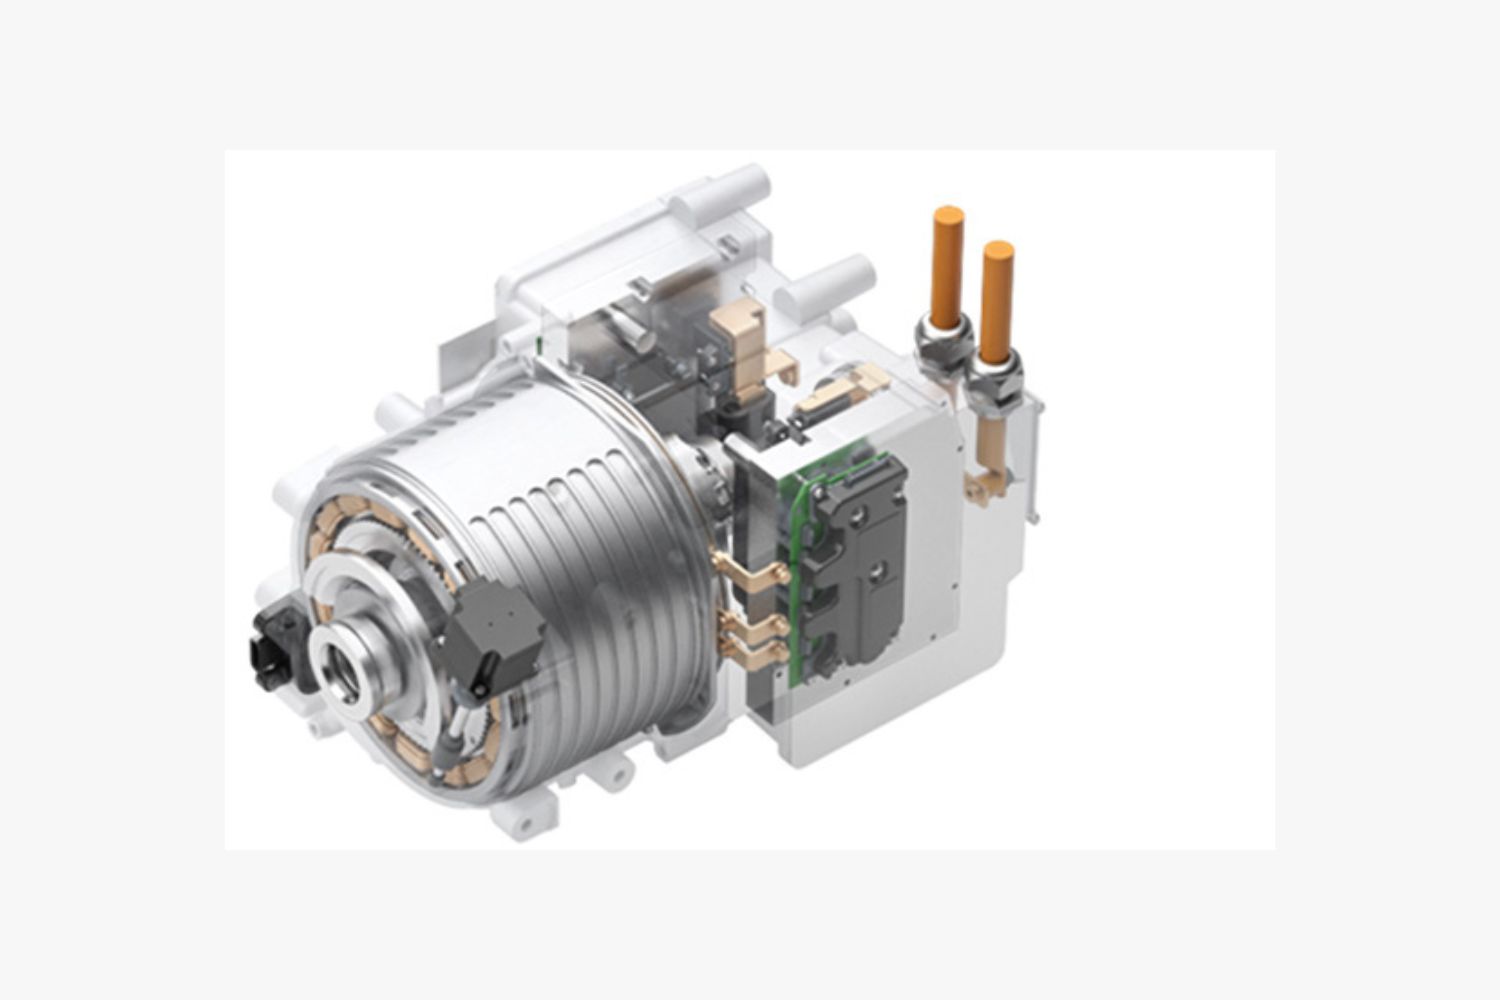
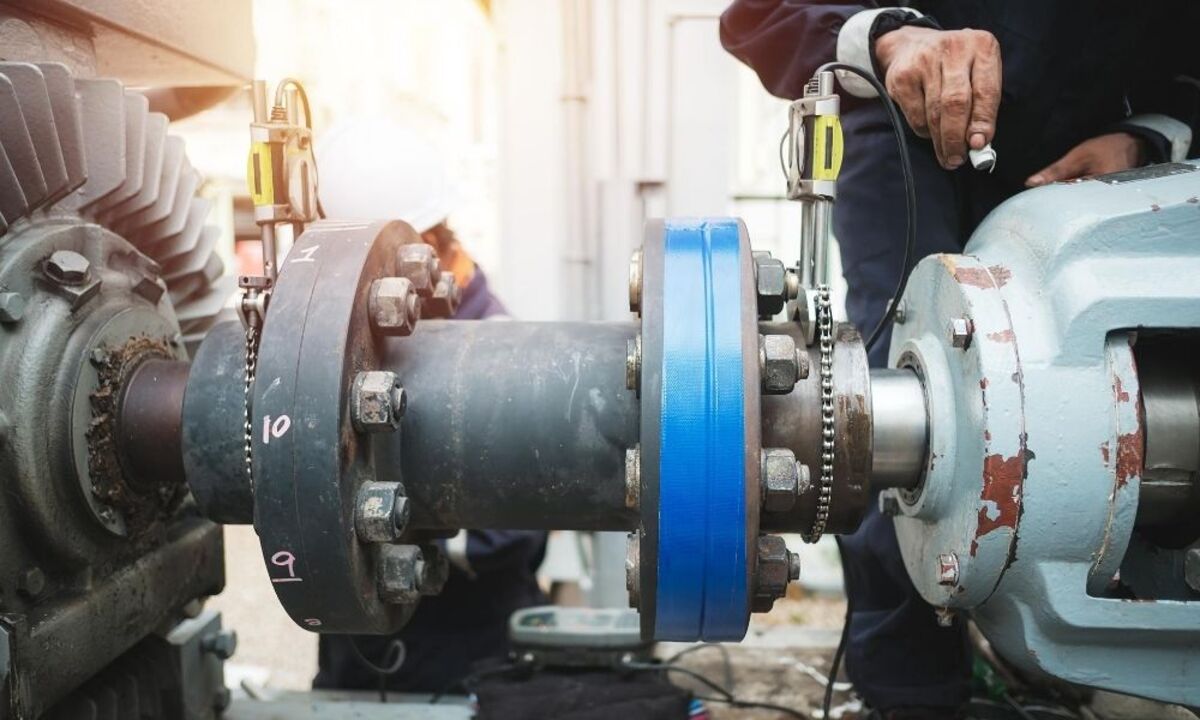
Electric motors are an essential component in many devices and machines, from home appliances to industrial equipment. These motors convert electrical energy into mechanical energy, allowing for various mechanical tasks to be performed.
However, like any piece of machinery, electric motors can sometimes experience issues and malfunction. Instead of immediately replacing the motor, it is often more cost-effective and environmentally friendly to attempt repairs. In this article, we’ll provide you with a step-by-step guide on how to repair an electric motor.
Before we begin, it’s important to note that working with electric motors can be hazardous. Always prioritize your safety and take proper precautions. If you have any doubts about your ability to repair the motor, it’s best to consult a professional.
Now, let’s dive into the process of repairing an electric motor!
Key Takeaways:
- Prioritize safety when repairing electric motors by following essential precautions, conducting thorough inspections, troubleshooting systematically, and replacing faulty components to ensure optimal functioning and longevity.
- Successfully repairing an electric motor involves meticulous disassembly, cleaning, reassembly, and testing processes, coupled with attention to detail, proper documentation, and the willingness to seek professional assistance if needed.
Read more: How To Build A Electric Motor
Safety Precautions
Repairing an electric motor involves working with electricity and moving parts, so it’s crucial to follow safety precautions to prevent accidents and injuries. Here are some essential safety measures to keep in mind:
- Disconnect the power supply: Before starting any repair work, ensure that the power supply to the motor is turned off, and the circuit breaker or switch is in the off position. This will prevent any accidental electrocution while working on the motor.
- Use appropriate personal protective equipment (PPE): Always wear appropriate PPE, including safety glasses, gloves, and insulated footwear. This will protect you from potential hazards such as flying debris, electrical shocks, or chemical exposure.
- Work in a well-ventilated area: If you’re working with solvents or cleaning agents during the repair process, make sure you do it in a well-ventilated area to avoid inhaling harmful fumes.
- Handle tools and equipment with care: Inspect your tools before use, making sure they are in good working condition. Use insulated tools specifically designed for electrical work. Avoid using damaged or defective tools, as they can cause accidents.
- Avoid working alone: Whenever possible, have someone nearby who can assist you or call for help in case of an emergency. Working alone increases the risk of accidents going unnoticed.
- Refer to the manufacturer’s instructions: Different types and models of electric motors may have specific safety guidelines or procedures. Always consult the manufacturer’s manual or instructions for any particular safety precautions or steps specific to your motor.
- Double-check connections and components: Before reassembling the motor or powering it back on, ensure that all connections are secure, and components are properly installed. Loose connections or faulty components can lead to short circuits or other electrical hazards.
- Keep a fire extinguisher nearby: In case of an electrical fire or any other type of fire, make sure you have a fire extinguisher nearby and know how to use it properly. This can help prevent a small fire from turning into a major incident.
Remember, safety should always be your top priority when working with electric motors. By following these precautions, you can minimize the risk of accidents and ensure a safer repair process.
Tools and Materials Needed
Before you begin the repair process, gather the necessary tools and materials. Having these items on hand will make the repair work more efficient and convenient. Here are the essential tools and materials needed for repairing an electric motor:
Tools:
- Screwdrivers (both flathead and Phillips) – for loosening and tightening screws
- Adjustable wrench – for securing and loosening nuts and bolts
- Needle-nose pliers – for gripping and manipulating small components
- Multimeter – for testing electrical continuity and resistance
- Wire strippers – for removing insulation from wires
- Insulated gloves – for protecting against electrical shocks
- Insulation tape – for insulating exposed wires
- Cleaning brushes – for removing dirt and debris from motor parts
- Lubricating oil – for lubricating moving parts of the motor
- Motor repair manual or online resources – for guidance and reference
Materials:
- Replacement components (such as capacitors, brushes, or bearings) – depending on the troubleshooting results
- Lubricant or grease – for lubricating the motor’s bearings and other moving parts
- Cleaning solvent – for removing grease, oil, and dirt buildup from motor parts
- Electrical tape – for securing wire connections
- Sealant or adhesive – for resealing the motor housing (if necessary)
- Rags or paper towels – for cleaning and drying motor parts
- Safety goggles – for protecting your eyes from debris and chemicals
Make sure to have a well-organized workspace where you can keep all your tools and materials within easy reach. This will help streamline the repair process and avoid unnecessary delays or disruptions.
Now that you have gathered the required tools and materials, you’re ready to move on to the next steps of repairing an electric motor.
Read more: How To Cool An Electric Motor
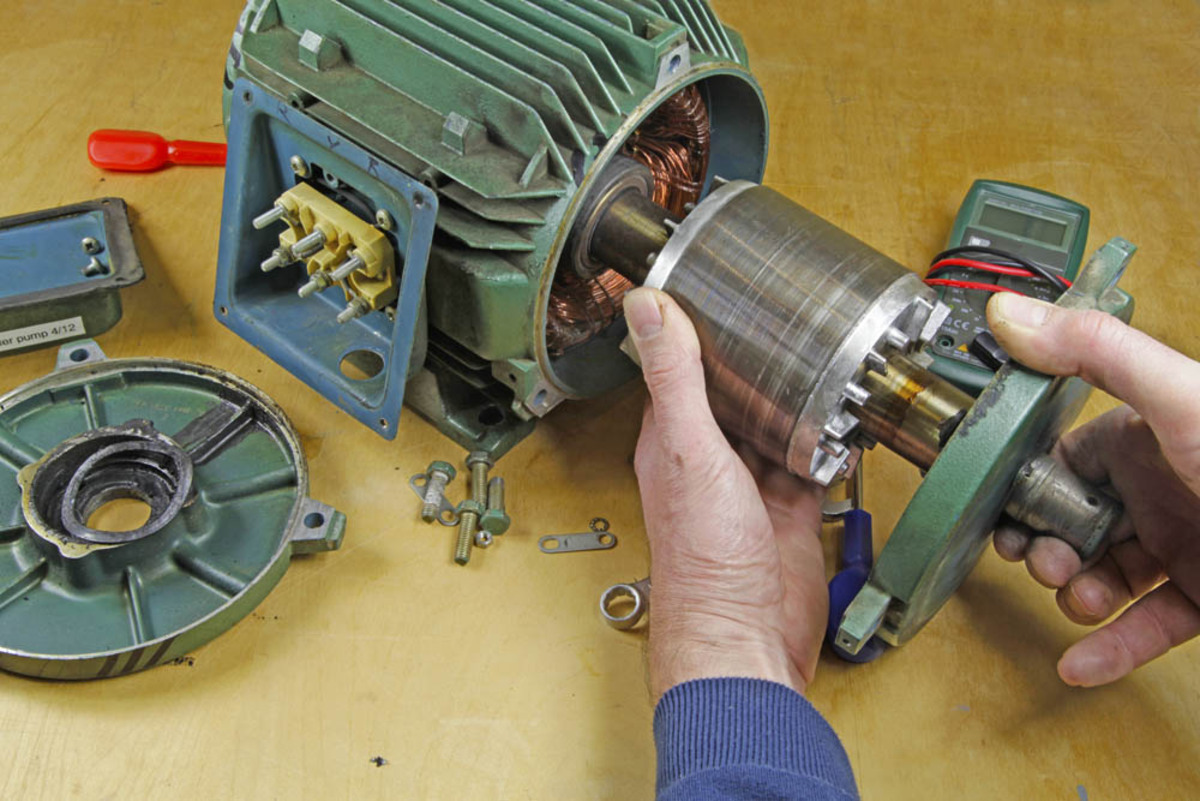
Step 1: Motor Inspection
The first step in repairing an electric motor is to perform a thorough inspection to identify any visible signs of damage or wear. Here’s what you need to do:
- Disconnect the power: Ensure that the power supply to the motor is turned off and disconnected. This eliminates the risk of electrical shock while inspecting the motor.
- Clean the motor: Use a soft brush or compressed air to remove any dust, dirt, or debris from the motor’s exterior. A clean motor allows for better visibility of potential issues.
- Inspect the exterior: Look for any cracks, dents, or signs of physical damage on the motor’s casing or housing. Check for loose or broken wires, connectors, or terminals as well.
- Check the motor bearings: Gently rotate the motor shaft to check for smooth movement. If you feel any roughness or hear unusual noises, it may indicate worn-out or damaged bearings that need replacement.
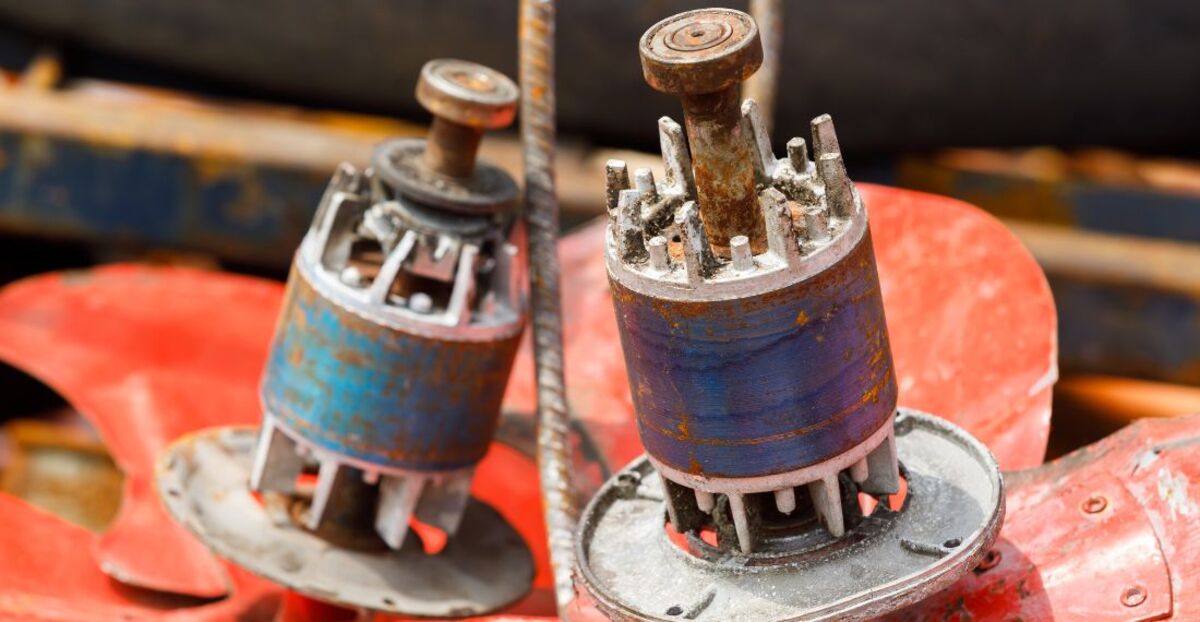
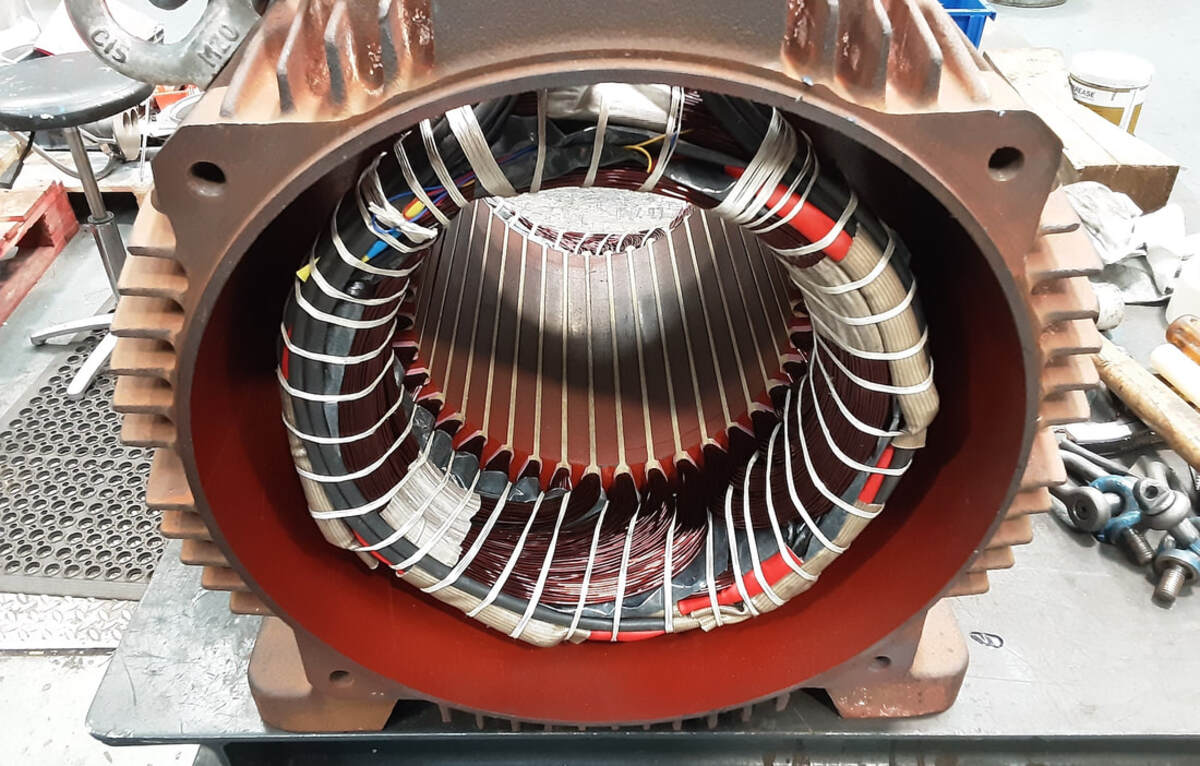
- Inspect the motor windings: Visually examine the motor windings for signs of discoloration, burnt areas, or melted insulation. These indicate overheating or electrical issues that require further investigation.
- Check the motor capacitors: Inspect the capacitors, if visible, for bulging or leaking. Faulty capacitors can affect the motor’s performance and may need replacement.
- Document the findings: Take note of any visible damages or abnormalities you have observed during the inspection. This will help guide you in the troubleshooting and repair process.
Remember to always prioritize safety during the inspection. Use appropriate personal protective equipment and be cautious when handling the motor.
If you have identified any clear issues during the inspection, proceed to the next step of troubleshooting the motor. If there are no visible signs of damage, move on to Step 2: Troubleshooting.
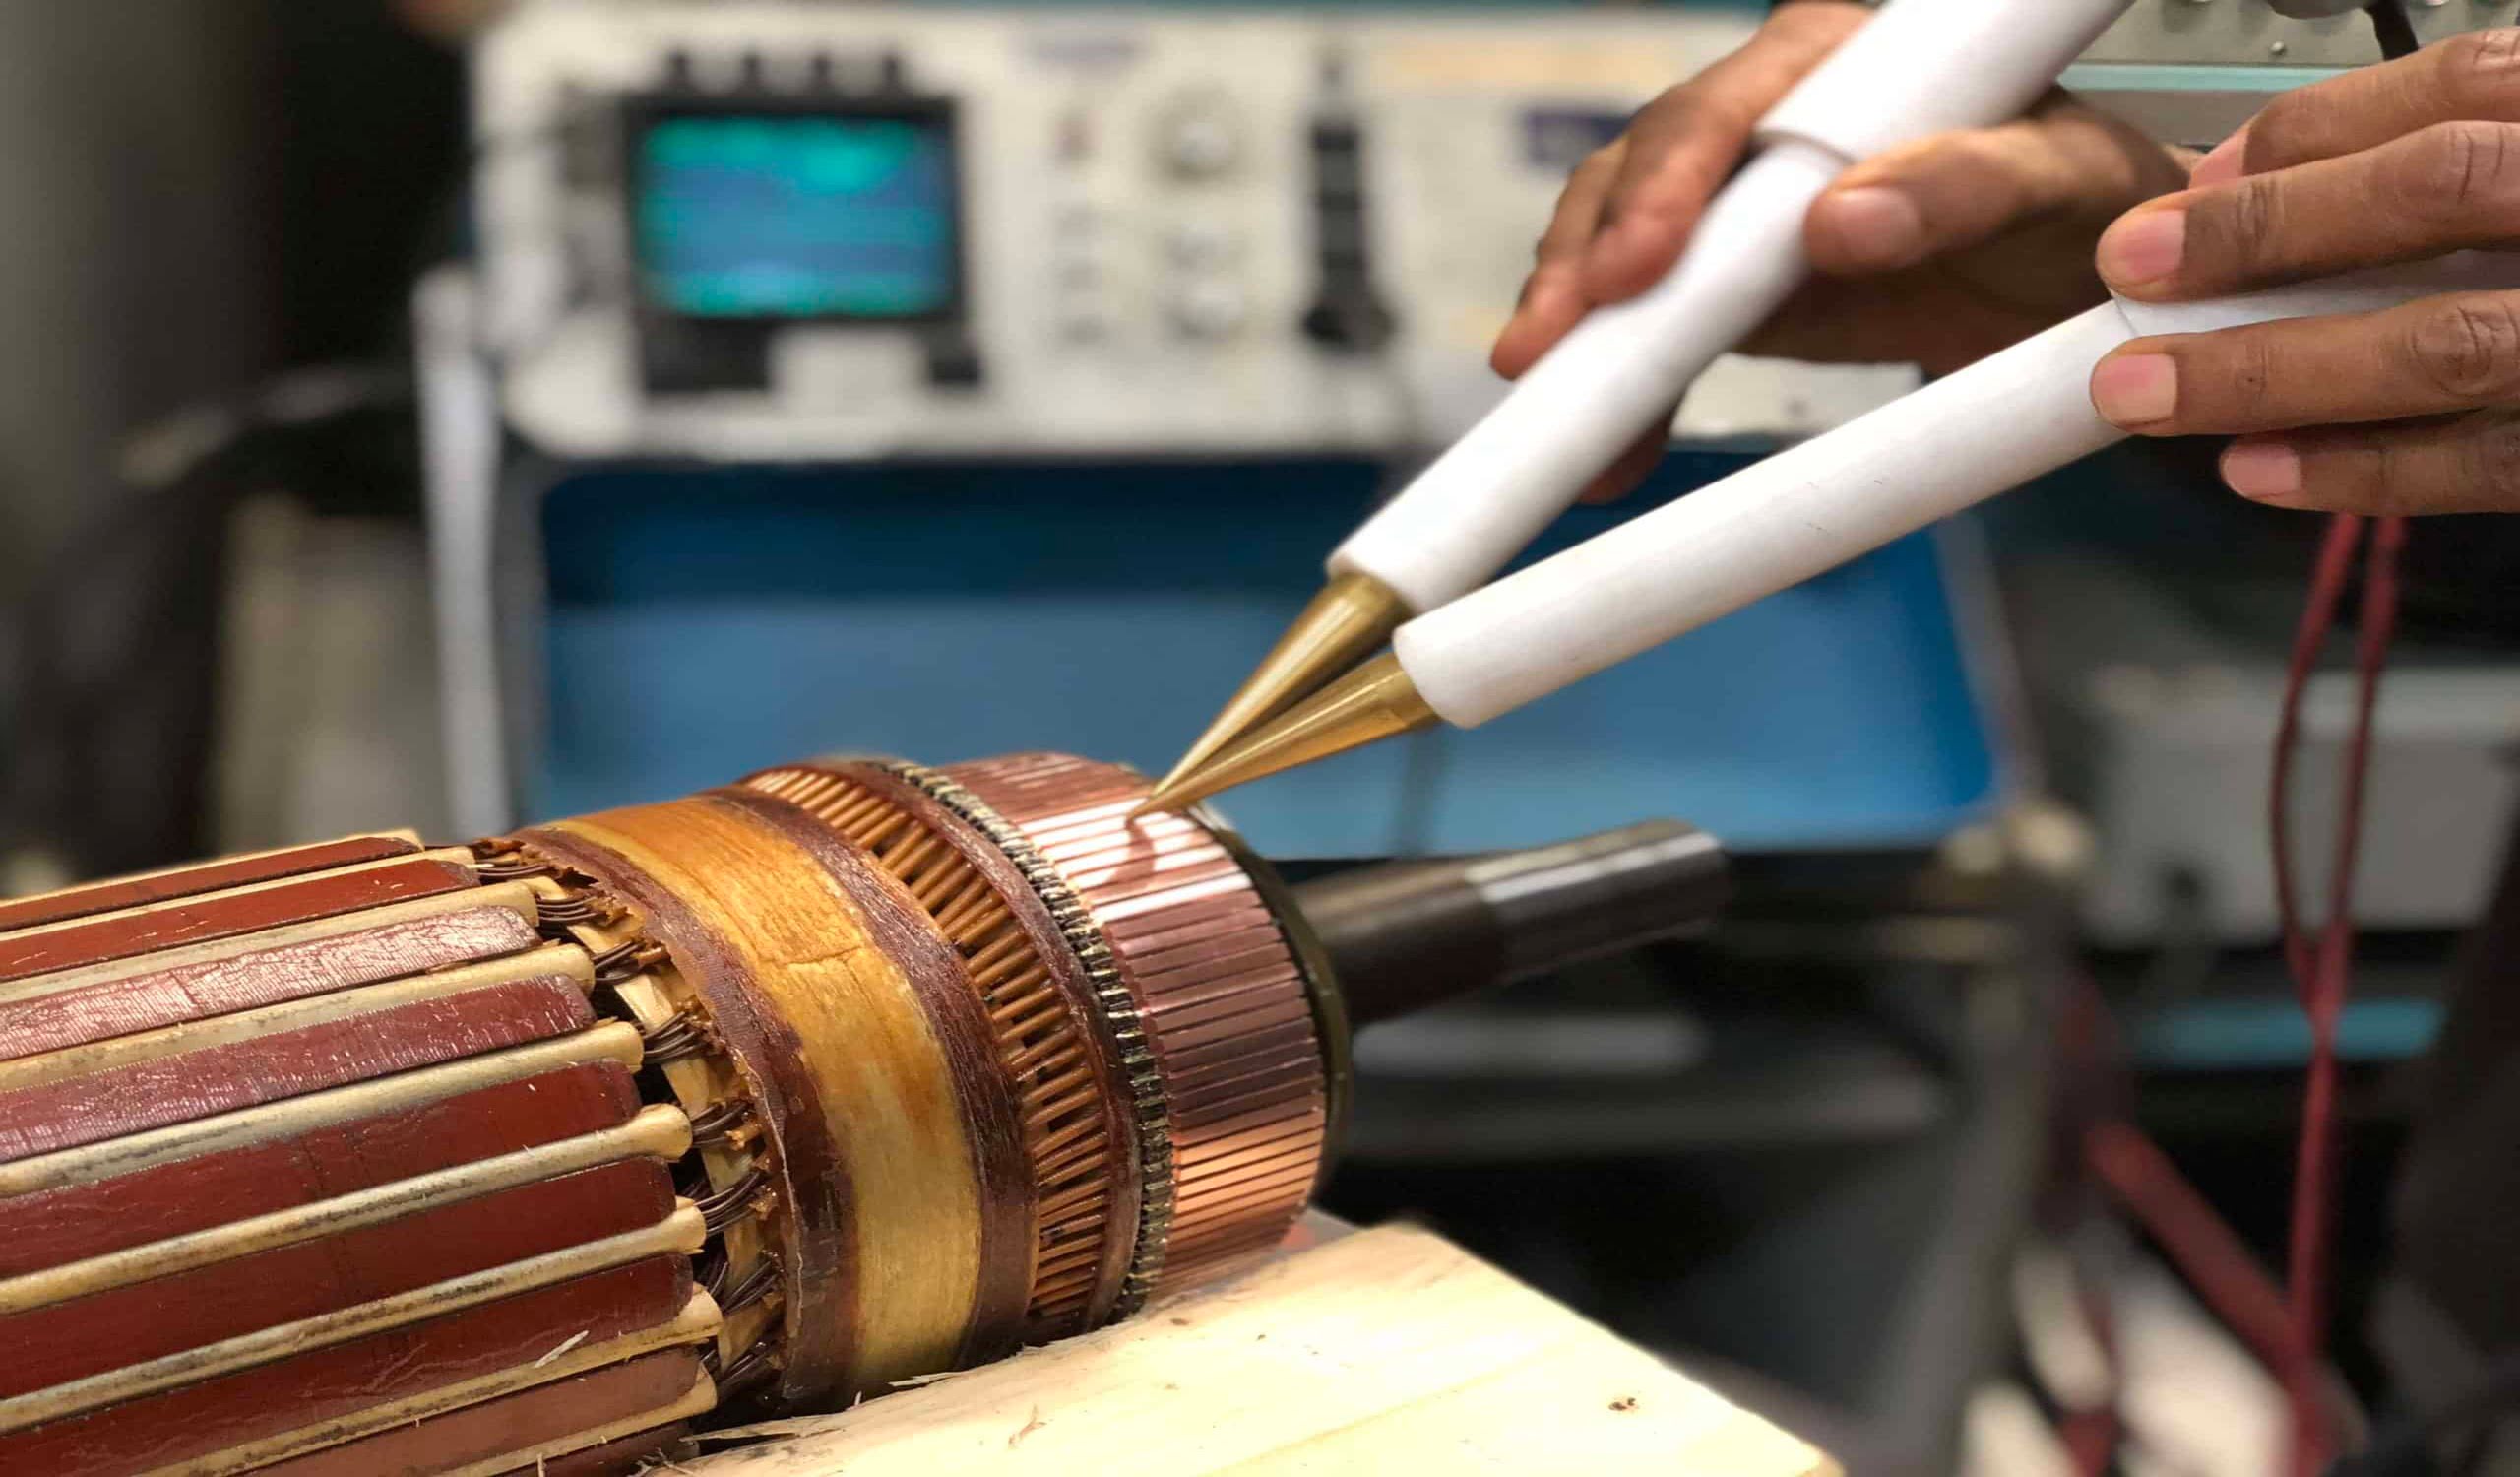
Step 2: Troubleshooting
Troubleshooting is an essential step in identifying the root cause of the motor’s malfunction. It involves systematic testing and analysis to pinpoint the problem. Follow these steps to troubleshoot an electric motor:
- Refer to the motor’s manual: Consult the motor’s manual or online resources specific to your motor model for troubleshooting guidance. This can provide valuable information on common issues and solutions.
- Identify the symptoms: Take note of the specific symptoms or issues you have experienced with the motor. This can include irregular starting, overheating, abnormal noise, or complete motor failure.
- Test the power supply: Use a multimeter to measure the voltage at the motor’s terminals. Ensure that the power supply is delivering the appropriate voltage. Low voltage can cause motor performance problems, while high voltage can lead to motor damage.
- Check the motor connections: Inspect the electrical connections, including wires, terminals, and connectors. Ensure that they are securely attached and free from corrosion or damage.
- Test the motor windings: Use a multimeter set to the resistance mode to test the continuity of the motor windings. Compare the readings with the manufacturer’s specifications to determine if the windings are intact.
- Inspect the motor capacitors: If the motor has capacitors, test them with a capacitance meter to ensure they are within the specified range. Faulty capacitors can cause motor performance issues.
- Check the motor brushes: If your motor has brushes, inspect them for wear and proper contact with the commutator. Worn-out or improperly positioned brushes can lead to poor motor performance or failure.
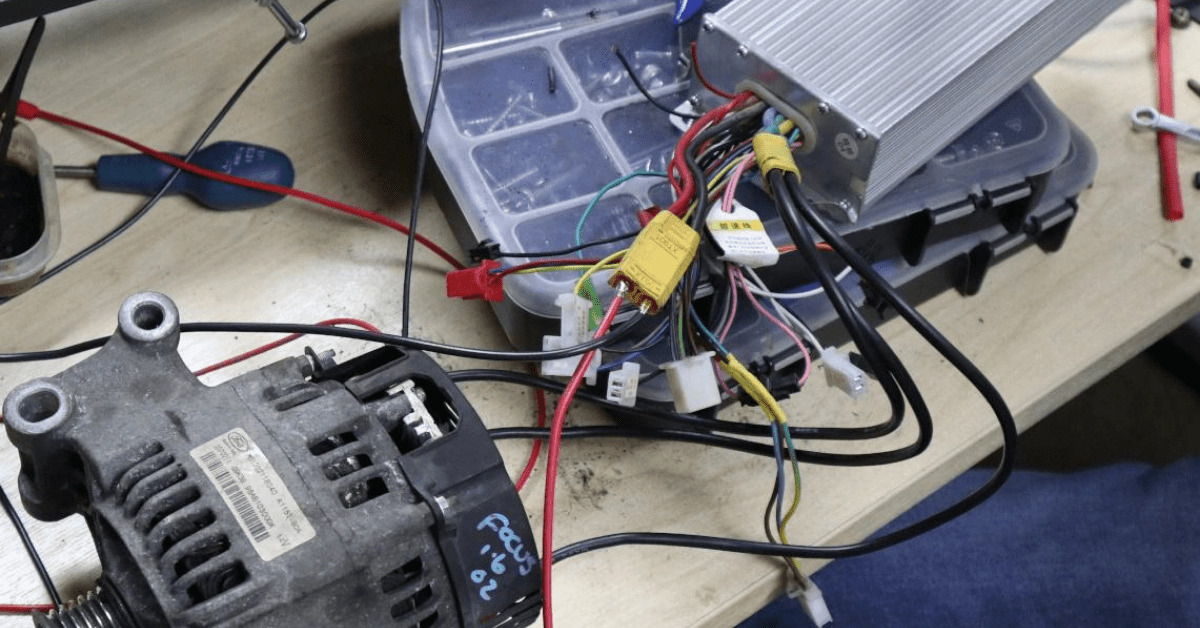
- Examine the motor controller: If your motor is controlled by a separate controller, check for any faults or malfunctions. Verify that the control settings and parameters are correct.
- Refer to troubleshooting resources: If you’re unable to pinpoint the issue, consult reputable troubleshooting resources, online forums, or seek professional assistance for further guidance.
By systematically troubleshooting the motor, you can narrow down the potential causes of the malfunction and move closer to an accurate diagnosis. Once you have identified the problem, you can proceed to the next steps of repairing the motor.
If the troubleshooting process does not reveal any specific issues, consider seeking professional help or moving on to Step 3: Disassembling the Motor for a more in-depth inspection.
Step 3: Disassembling the Motor
Disassembling the motor is necessary to access and repair its internal components. Follow these steps to disassemble the electric motor:
- Disconnect the power: Ensure that the power supply to the motor is turned off and disconnected. This is crucial to prevent any electrical accidents while working on the motor.
- Refer to the motor’s manual: Consult the motor’s manual or online resources specific to your motor model for disassembly instructions. Each motor may have unique procedures and nuances to follow.
- Take photos: Before starting the disassembly process, take photos or make drawings of the motor’s configuration. This will help guide you during reassembly and ensure correct placement of components.
- Remove the motor housing: Use the appropriate tools, such as screwdrivers or wrenches, to loosen and remove the screws or bolts securing the motor housing. Carefully lift off the housing to expose the internal components.
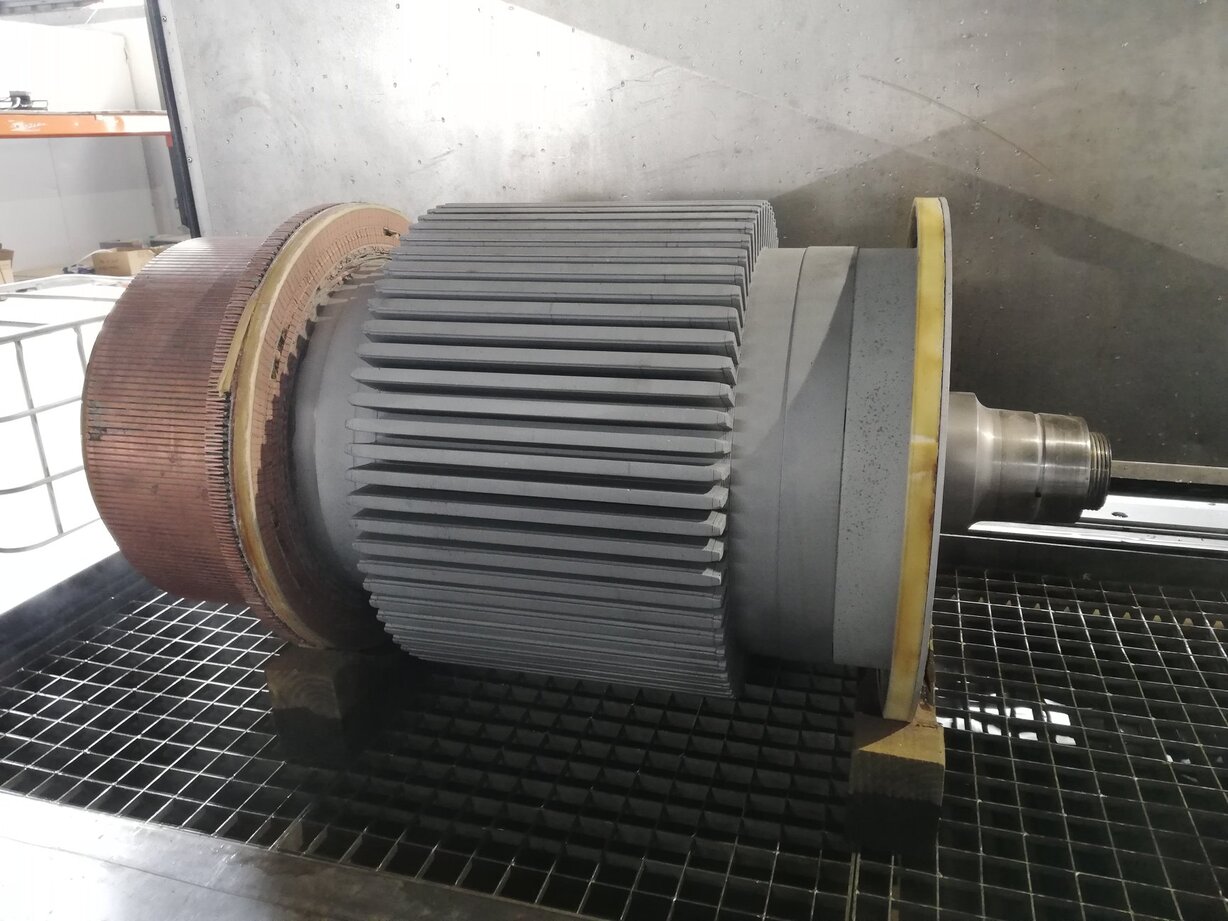
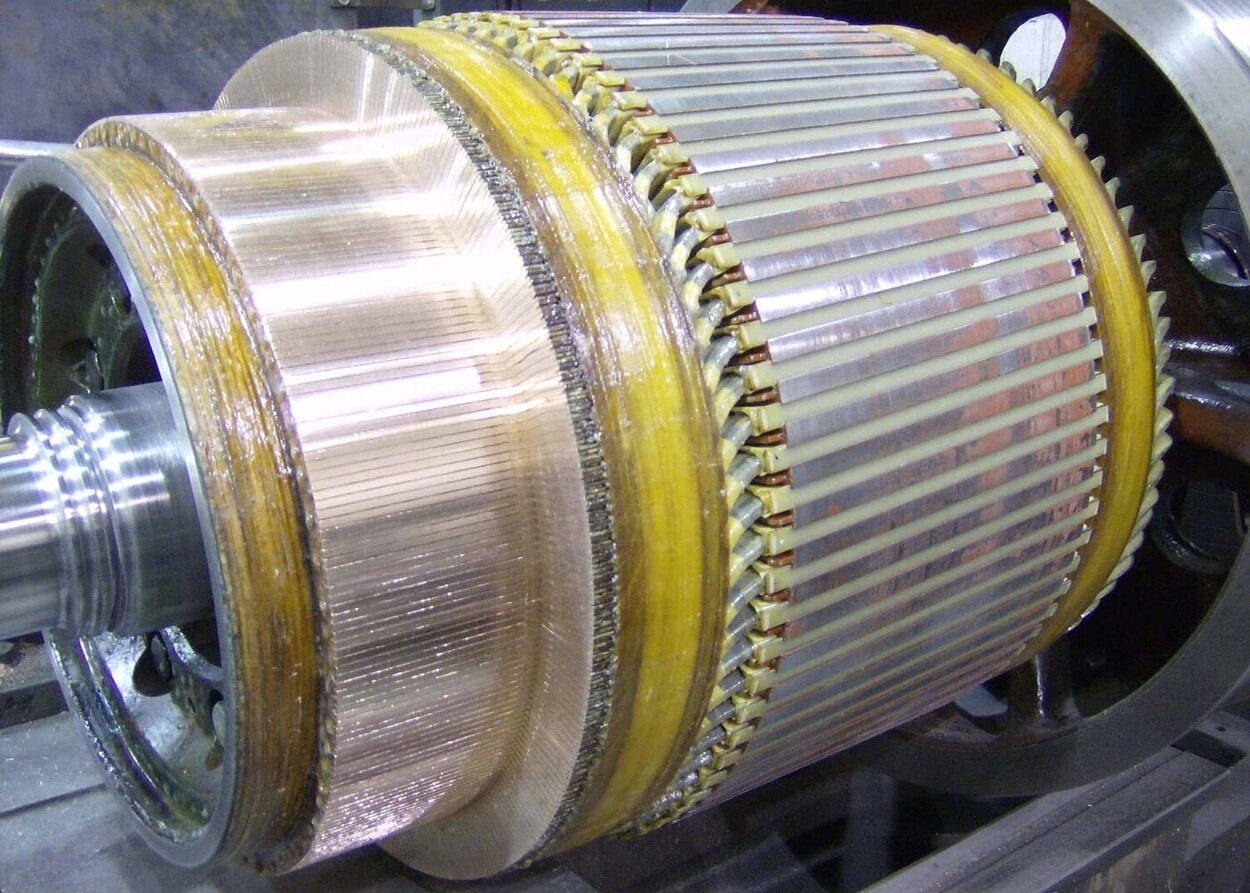
- Separate the motor parts: Identify the various motor components, such as the rotor, stator, coils, brushes, and bearings. Remove any retaining clips, fasteners, or connectors holding these parts in place.
- Label and organize components: As you disassemble the motor, label or make notes on the components to keep track of their locations and orientations. This is crucial for proper reassembly later.
- Inspect internal components: Take this opportunity to closely examine the internal components for any signs of damage, wear, or faulty connections. Look for burnt wires, broken coils, or worn-out brushes.
- Keep screws and small parts secure: As you remove screws or small parts, place them in a secure container or tray to prevent them from getting lost. This ensures that you can easily locate them during reassembly.
- Store components safely: Once removed, store the components in a clean and organized manner. Keep them protected from dust, moisture, and other contaminants that could further damage the motor.
Disassembling an electric motor requires patience and careful handling of components. Take your time and pay attention to the details to ensure a successful repair process. With the motor disassembled, you can move on to the next steps of cleaning the motor parts and replacing faulty components.
Step 4: Cleaning the Motor Parts
Cleaning the motor parts is an important step in the repair process as it helps remove dirt, debris, and other contaminants that may affect the motor’s performance. Follow these steps to clean the motor parts effectively:
- Gather cleaning materials: Prepare cleaning materials such as a soft brush, cleaning solvent, rags or paper towels, and a compressed air canister (if available).
- Remove debris: Use a soft brush or compressed air to remove any loose debris or dust from the motor components. Be gentle to avoid causing damage to delicate parts.
- Apply cleaning solvent: Apply a small amount of cleaning solvent to a clean rag or paper towel. Gently wipe down the components, paying attention to areas with visible dirt or grease buildup. Avoid excessive moisture that may damage electrical components.
- Clean the motor housing: Clean the motor housing with a damp rag or paper towel to remove any dust or residue. Ensure that the housing is completely dry before proceeding.
- Inspect and clean the brushes: Remove the motor brushes and inspect them for wear or damage. Clean the brushes using a brush or a cloth dampened with cleaning solvent. Ensure they are free from dirt, debris, or built-up carbon.
- Clean the bearings: If the motor has accessible bearings, clean them carefully. Remove any dirt or old grease using a solvent or a specific bearing cleaner. Apply a small amount of new lubricating grease to ensure smooth operation.
- Clean other components: Clean other motor parts, such as the rotor, stator, coils, and terminals, using the appropriate cleaning method and solvent. Be cautious not to damage any delicate wiring or insulation.
- Dry the components: After cleaning, allow the components to air dry completely. Ensure there is no moisture remaining before proceeding to the next step.
- Inspect for any missed dirt or debris: Once dry, inspect the cleaned components to ensure no dirt or debris is left behind. Use a flashlight to check for any hidden areas that may need further cleaning.
Cleaning the motor parts not only improves the motor’s performance but also helps in identifying any additional issues that may require attention. With the motor parts clean and dry, you can move on to the next step of replacing any faulty components.
Regularly clean and lubricate the moving parts of the electric motor to prevent wear and tear, and ensure smooth operation.
Read more: How Efficient Is An Electric Motor
Step 5: Replacing Faulty Components
After inspecting and cleaning the motor parts, the next step is to replace any faulty components that were identified during the inspection. Here’s how to replace the faulty components:
- Refer to the motor’s manual or documentation: Consult the motor’s manual or online resources specific to your motor model for guidance on replacing components. Follow the recommended procedures and specifications.
- Identify the faulty components: Based on the inspection results, identify the specific components that need to be replaced. This can include damaged coils, worn-out brushes, faulty capacitors, or malfunctioning bearings.
- Acquire replacement components: Purchase or obtain the necessary replacement components from reputable suppliers or authorized dealers. Ensure that the replacements match the specifications required by your motor model.
- Prepare the motor: Before replacing the faulty components, ensure that the motor is clean and dry. Remove any remaining cleaning residue and verify that all other parts are in their correct positions.
- Follow proper procedures: Adhere to the recommended procedures for replacing each specific component. This may include soldering wires, securing new brushes or capacitors, or installing new bearings.
- Exercise caution: Be careful when handling delicate components, such as coils or brushes, to avoid damage. Follow any safety precautions or guidelines provided by the manufacturer.
- Double-check connections: Ensure that all connections are securely made and properly fitted. Tighten screws or fasteners to the appropriate level without over-tightening.
- Verify proper orientation: Pay attention to the correct orientation of components such as brushes or coils. Improper positioning can result in poor performance or damage to the motor.
- Reassemble the motor: Once all faulty components have been replaced, carefully reassemble the motor. Ensure that all parts are correctly aligned and securely fastened according to the manufacturer’s instructions.
- Perform a final inspection: Before moving on to the next step, conduct a final inspection to verify that all replaced components are properly installed and there are no loose connections or missed steps.
By replacing the faulty components, you address the root cause of the motor’s malfunction. This increases the chances of restoring the motor to its optimal functioning state. With the replacements made, it’s time to move on to the next step of reassembling the motor.
Step 6: Reassembling the Motor
After replacing the faulty components, the next step in repairing an electric motor is to reassemble it. Follow these steps to ensure a proper reassembly:
- Refer to the motor’s manual or documentation: Consult the motor’s manual or online resources specific to your motor model for reassembly instructions. Follow the recommended procedures and ensure you have the necessary information.
- Organize the components: Gather all the cleaned and replaced components. Organize them in the order in which they need to be installed, ensuring that the correct orientation is maintained.
- Start with the motor housing: Begin by reattaching the motor housing. Align the housing with the motor body and secure it using the appropriate screws or bolts. Make sure the housing is tightly fitted.
- Reinstall the internal components: Follow the order in which you disassembled the motor to reinstall the internal components. Refer to the photos or drawings taken during the disassembly process to ensure correct placement.
- Secure each component: As you reinstall each component, secure them properly using the necessary fasteners, clips, or connectors. Double-check that connections are tight but not over-tightened.
- Reconnect wiring: Reconnect any wires or cables that were disconnected during the disassembly process. Ensure that the connections are secure and properly insulated.
- Check for alignment: Verify that all components are aligned correctly and fit snugly together. Any misalignment or loose fitting might affect the motor’s performance.
- Tighten screws and fittings: Go over all the screws and fittings to ensure they are properly tightened. Be cautious not to over-tighten, as it can damage delicate components or cause the housing to crack.
- Clean the motor exterior: Once the motor is fully reassembled, give the exterior a final clean using a soft cloth or brush. Remove any fingerprints, dirt, or residue accumulated during reassembly.
- Perform a function test: Before finalizing the reassembly process, perform a function test. Connect the motor to a power supply and check if it operates smoothly and without any abnormal noise or issues.
By following these steps, you can ensure that the motor is reassembled correctly and ready for testing. Proper reassembly is crucial for the motor to function optimally and reliably. Once you have completed the reassembly, you can move on to the final step of testing the repaired motor.
Step 7: Testing the Repaired Motor
After reassembling the motor, the final step is to test its functionality and performance. This step allows you to verify the success of the repair work and ensure that the motor is working properly. Follow these steps to test the repaired motor:
- Ensure safety precautions: Before testing the motor, double-check that all safety precautions are in place. Ensure that you have disconnected the motor from the power supply and that there are no loose connections or exposed wires.
- Reconnect the power supply: Reconnect the motor to the power supply, following the appropriate safety procedures. Make sure the power supply is within the motor’s specified voltage range.
- Power on the motor: Turn on the power supply to energize the motor. Observe the motor for any signs of abnormal noise, vibration, or excessive heat. These could indicate underlying issues.
- Check for proper rotation: Verify that the motor rotates in the correct direction, as indicated by the manufacturer or based on the desired application. Incorrect rotation may require reversing the wiring connections.
- Assess motor performance: Run the motor under normal operating conditions and assess its performance. Observe for smooth operation, consistent speed, and stable torque output. Watch out for any irregularities.
- Monitor temperature: Keep an eye on the temperature of the motor during operation. A lightly warm motor is acceptable, but excessive heat may indicate insufficient cooling or a potential issue with the repair.
- Document test results: Record the results of the motor test, noting any abnormalities or concerns. This documentation will be useful for future reference and troubleshooting, if needed.
- Perform additional tests if necessary: Depending on the specific motor application, you may need to conduct additional tests. This can include load testing, speed control testing, or other specialized tests.
- Make necessary adjustments: If any issues or suboptimal performance are identified during testing, make the necessary adjustments or investigate further to address the problem. This may involve rechecking connections, adjusting settings, or replacing components if needed.
- Finalize the repair: Once you are satisfied with the motor’s performance and have addressed any outstanding concerns, finalize the repair work. Secure all connections, ensure proper insulation, and clean the motor’s exterior.
By thoroughly testing the repaired motor, you can ensure that it is functioning correctly and ready for use. If any issues persist or if you are uncertain about the motor’s performance, it is advisable to consult a professional for further assistance or evaluation.
Congratulations on successfully repairing the electric motor!
Conclusion
Repairing an electric motor can save you time and money while extending the lifespan of the motor. By following a step-by-step approach and taking proper safety precautions, you can successfully repair the motor and restore it to optimal functioning. Here’s a summary of the key points covered in this guide:
– Safety should always be the top priority when working with electric motors. Disconnect the power supply and use appropriate personal protective equipment to prevent accidents or injuries.
– Before starting the repair process, conduct a thorough motor inspection to identify any visible signs of damage or wear. Take note of any issues or abnormalities found during the inspection.
– Troubleshooting is a crucial step in identifying the root cause of the motor’s malfunction. Test the power supply, check connections, and inspect various motor components to identify potential issues.
– Disassemble the motor carefully, following the manufacturer’s instructions. Take photos or make drawings to aid in reassembly.
– Clean the motor parts to remove dirt, debris, and contaminants. Pay attention to components such as brushes, bearings, and wiring.
– Replace any faulty components that were identified during the inspection. Ensure that you acquire the correct replacements and follow proper procedures for installation.
– Reassemble the motor, ensuring that all components are properly aligned and securely fastened.
– Test the motor’s functionality and performance by connecting it to the power supply and observing its behavior. Monitor temperature and assess its operation under normal conditions.
– Make necessary adjustments or further investigations if any issues are identified during the testing phase.
Remember, if you’re unsure about your ability to repair the motor or if the issues persist after repair, it’s always a good idea to seek professional help. By following these steps and exercising caution throughout the process, you can successfully repair an electric motor and extend its operational life.
Now, armed with this knowledge, you’re ready to take on the challenge of repairing an electric motor. Best of luck with your repair endeavors!
Frequently Asked Questions about How To Repair An Electric Motor
Was this page helpful?
At Storables.com, we guarantee accurate and reliable information. Our content, validated by Expert Board Contributors, is crafted following stringent Editorial Policies. We're committed to providing you with well-researched, expert-backed insights for all your informational needs.
0 thoughts on “How To Repair An Electric Motor”