Articles
How To Clean An Electric Motor
Modified: January 9, 2024
Learn effective techniques for cleaning electric motors with step-by-step instructions and expert advice. Discover helpful articles to ensure proper maintenance and optimize performance.
(Many of the links in this article redirect to a specific reviewed product. Your purchase of these products through affiliate links helps to generate commission for Storables.com, at no extra cost. Learn more)
Introduction
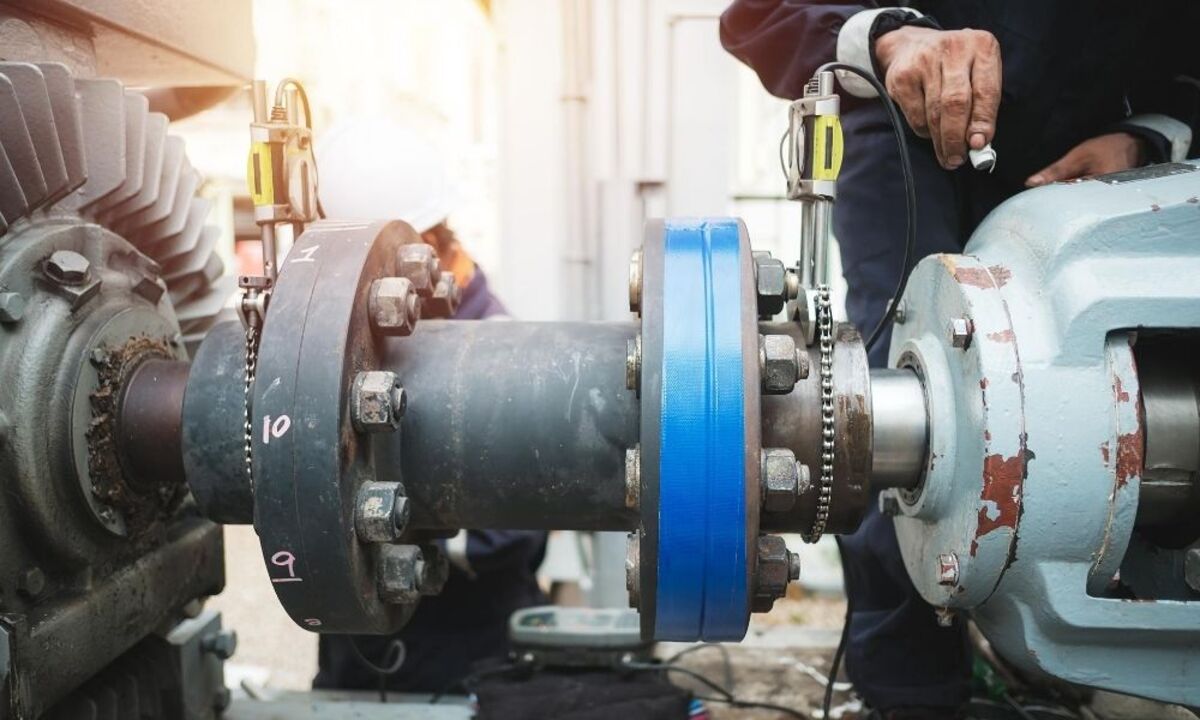
Welcome to our comprehensive guide on how to clean electric motors. Electric motors are crucial components in many household appliances, industrial machinery, and automotive vehicles. They are responsible for converting electrical energy into mechanical energy, enabling the smooth operation of various systems.
Regular maintenance and cleaning of electric motors are essential for their longevity and optimal performance. Over time, motors can accumulate dust, dirt, and grime, which can affect their efficiency and lifespan. In this article, we will walk you through the step-by-step process of cleaning electric motors, ensuring that they remain in top condition.
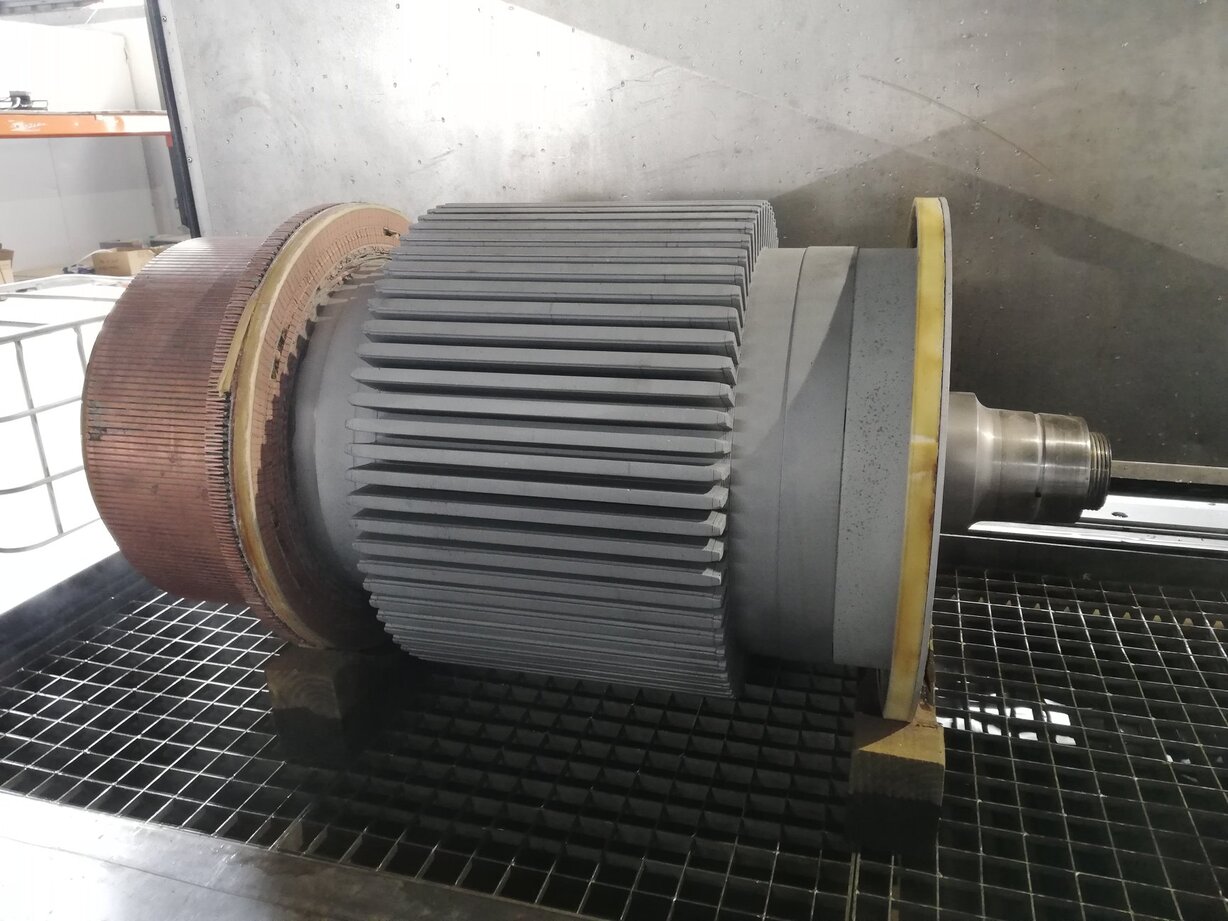
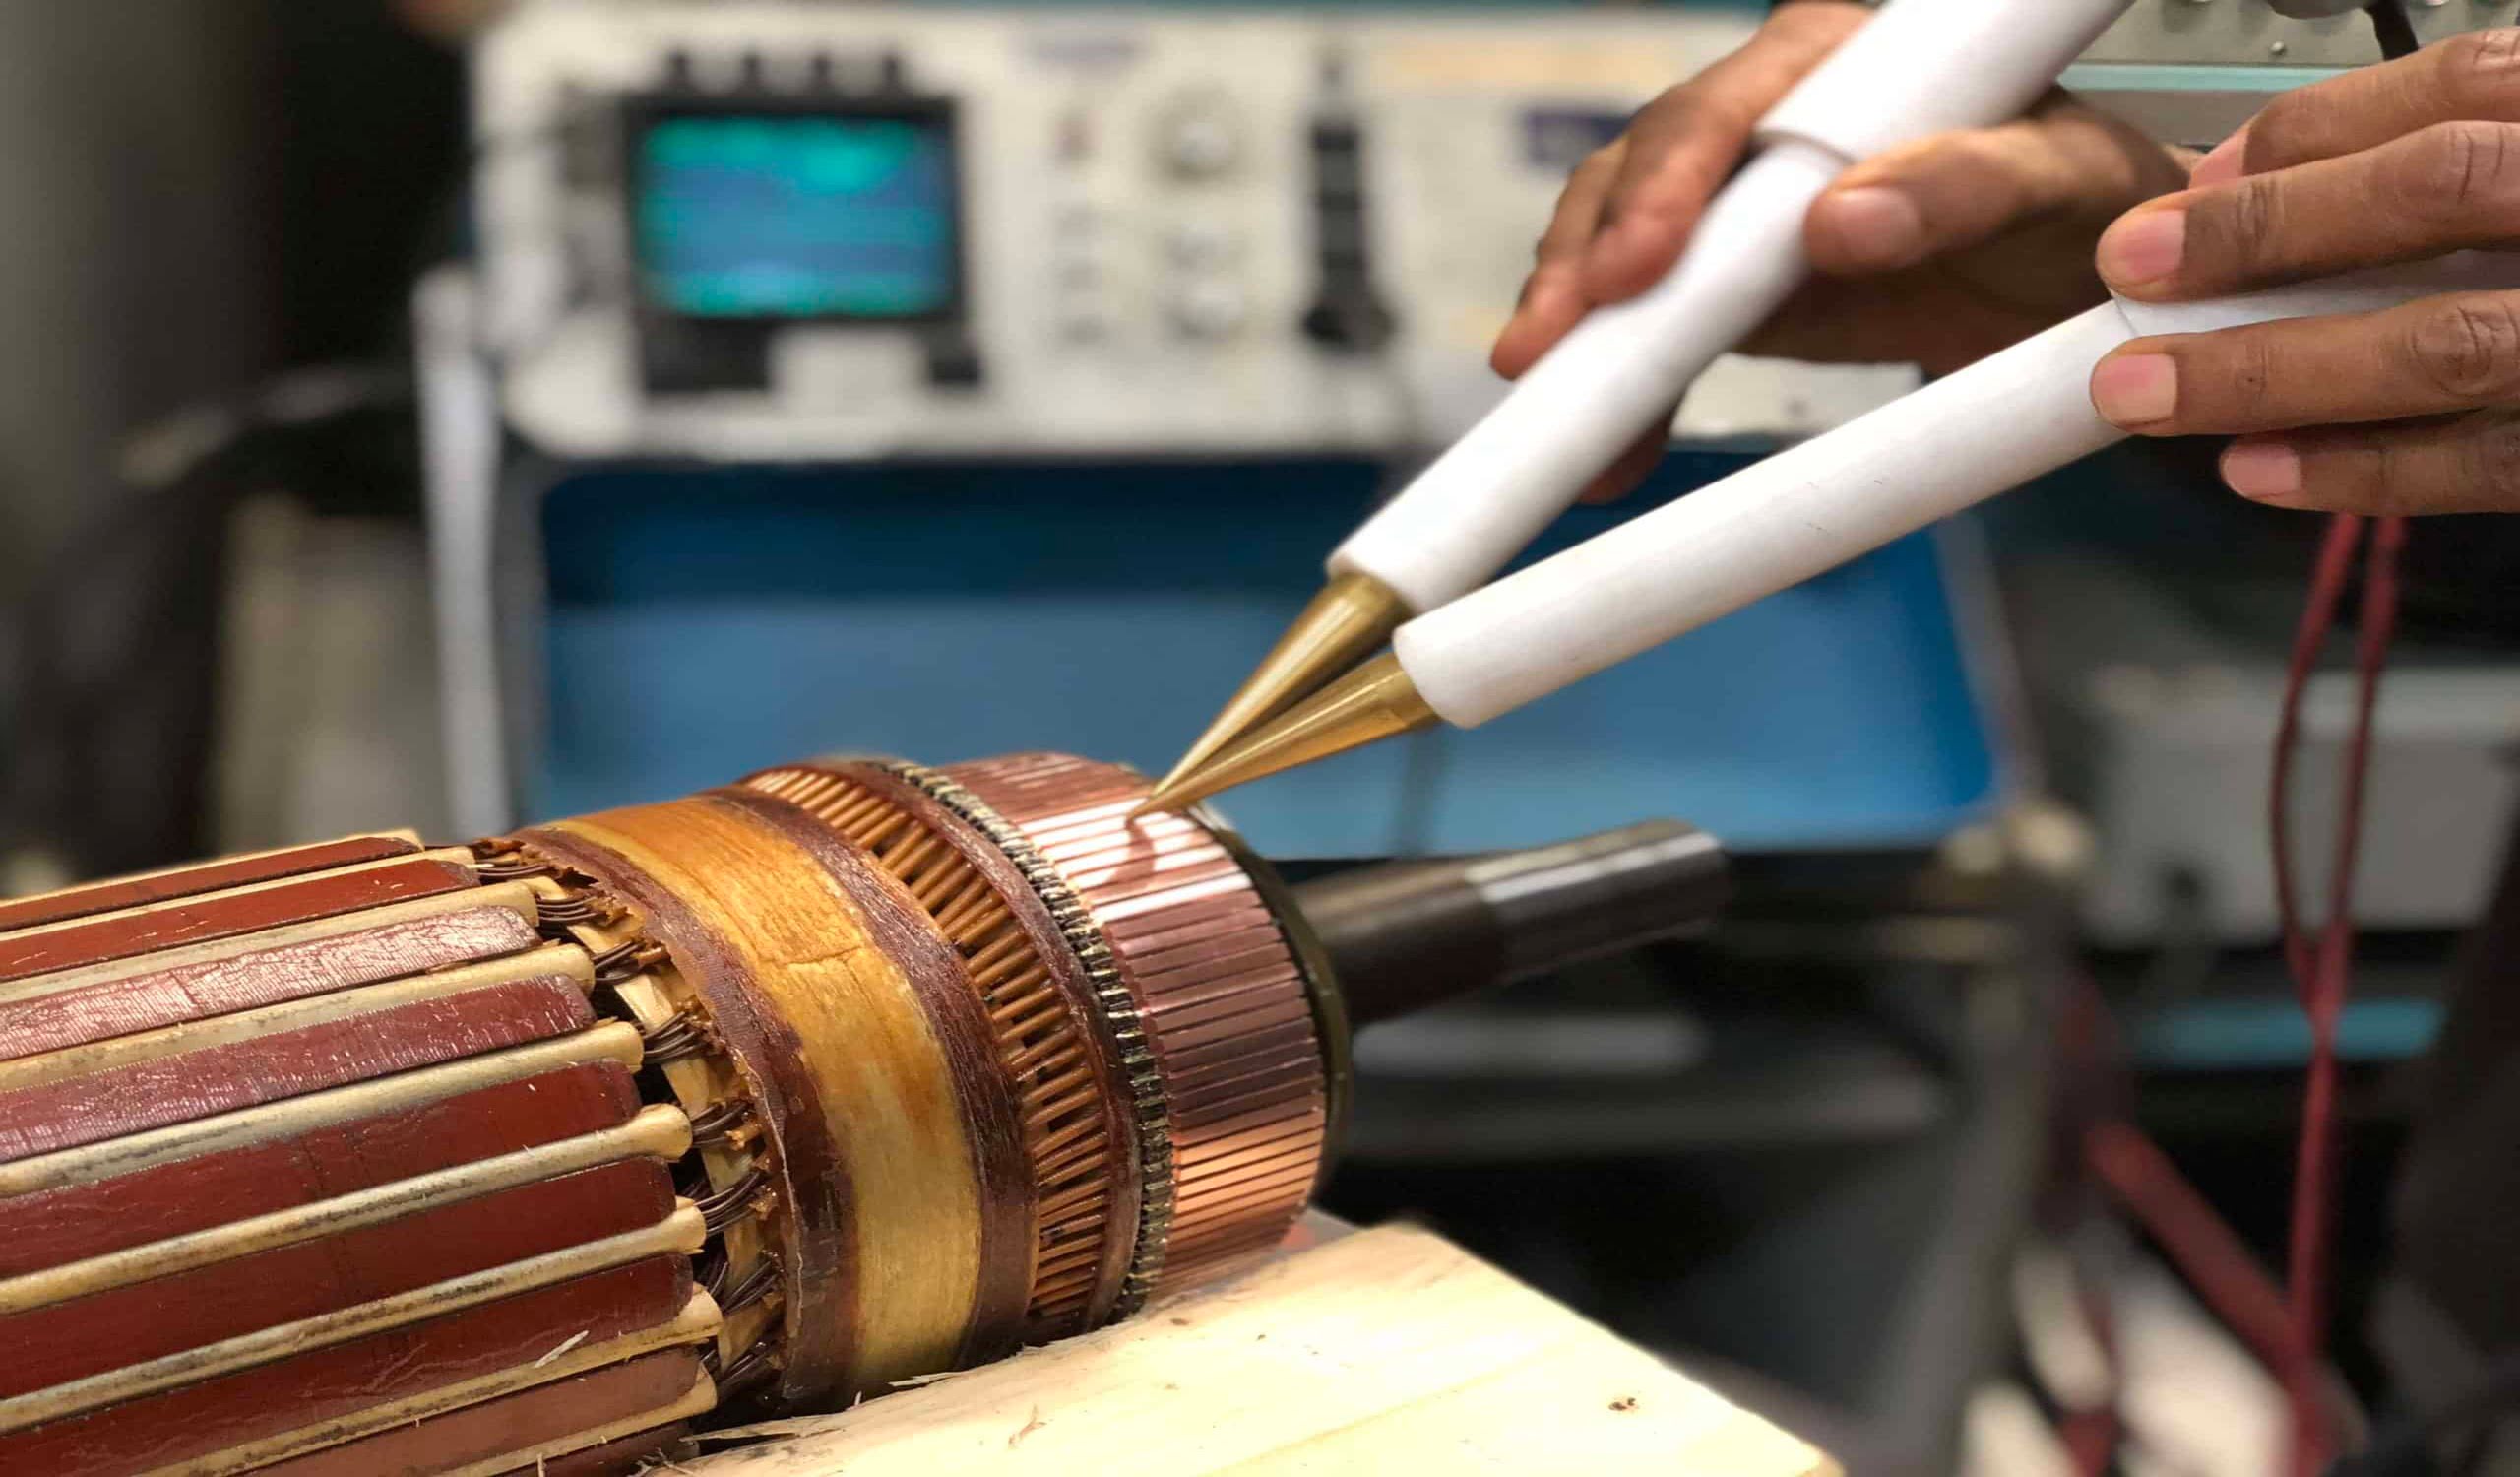
Before we dive into the cleaning process, it’s important to understand how electric motors work. Electric motors consist of several key components, including the stator (fixed part), rotor (rotating part), windings, and bearings. These components work together to generate the mechanical power needed to drive machinery and appliances.
However, it’s important to note that electric motors can be dangerous if not handled properly. Therefore, we will also highlight important safety precautions that should be followed to avoid any accidents or injuries during the cleaning process.
To properly clean an electric motor, you will need a few tools and materials. These may include a screwdriver, soft brushes, a vacuum cleaner, electrical contact cleaner, a grease gun, and lubricants suitable for electric motors. Gathering these items beforehand will ensure a smooth and efficient cleaning process.
Now, let’s get started with the step-by-step guide on how to clean electric motors, beginning with the necessary safety precautions to keep in mind.
Key Takeaways:
- Prioritize safety by following essential precautions when cleaning electric motors, including disconnecting the power, wearing protective gear, and working in a well-ventilated area. Properly gathering tools and materials is crucial for a smooth cleaning process.
- Regular cleaning and maintenance of electric motors are vital for optimal performance and longevity. Understanding the motor’s components, inspecting its parts, and applying proper lubrication contribute to improved efficiency and reliability.
Read more: How To Build A Electric Motor
Understanding Electric Motors
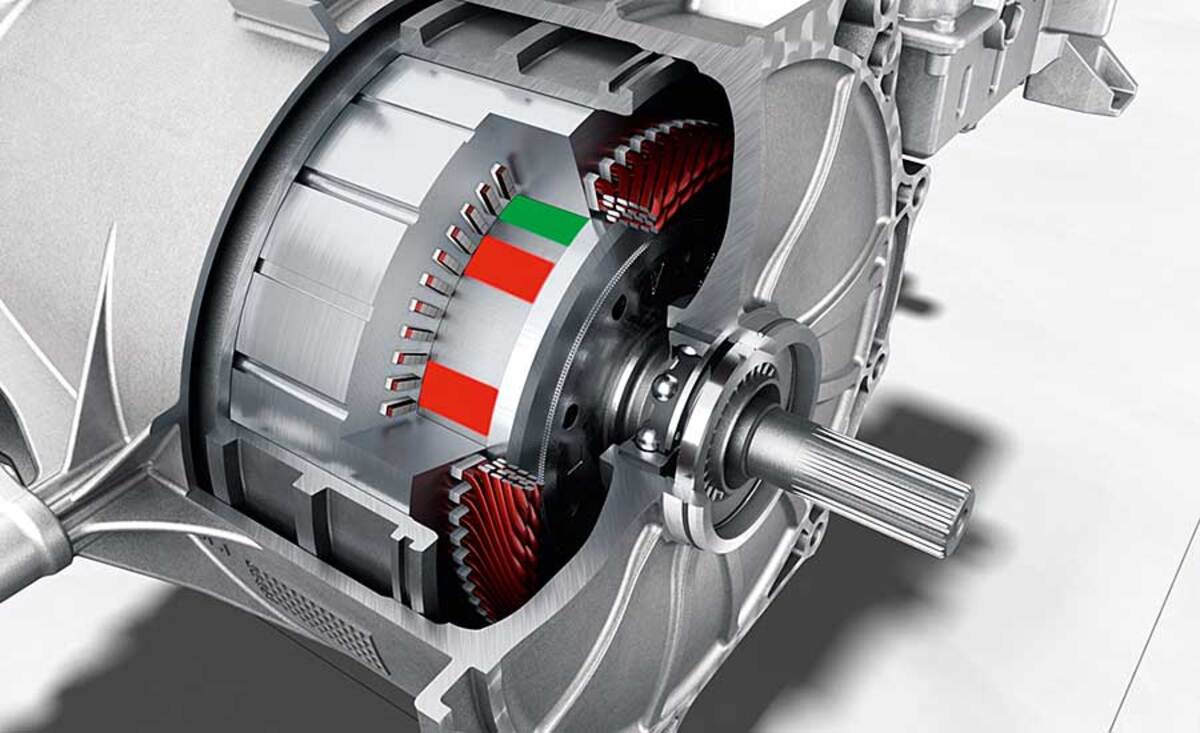
Before we delve into the process of cleaning electric motors, it’s important to have a basic understanding of how they function. Electric motors work on the principle of electromagnetic induction, where electrical energy is converted into mechanical energy through the interaction of magnetic fields.
The key components of an electric motor include:
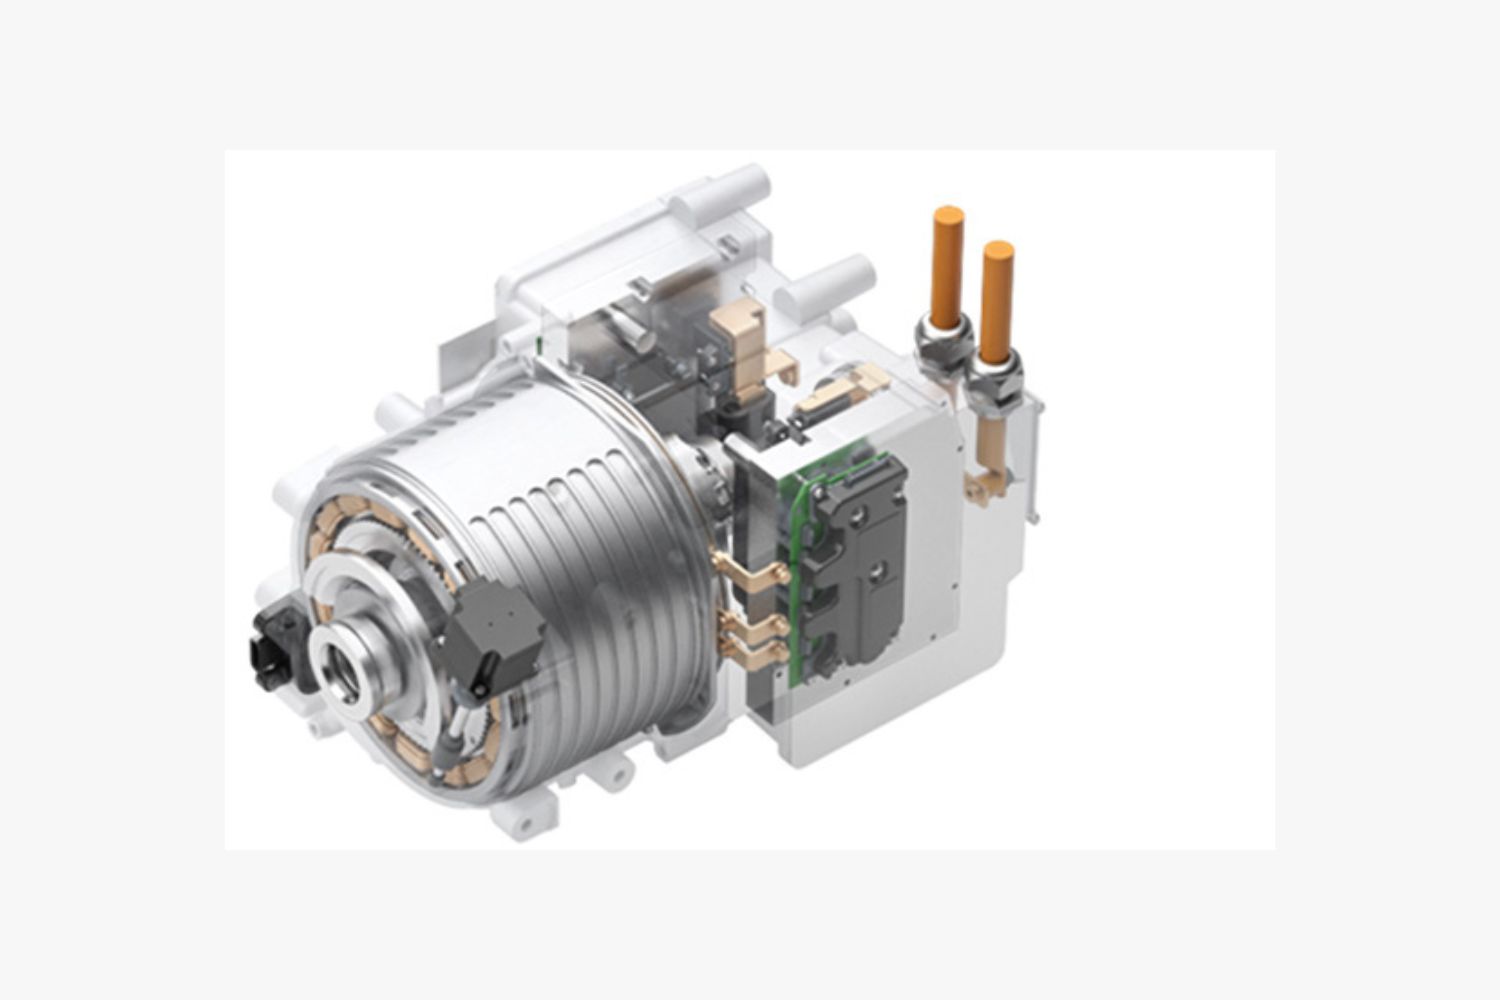
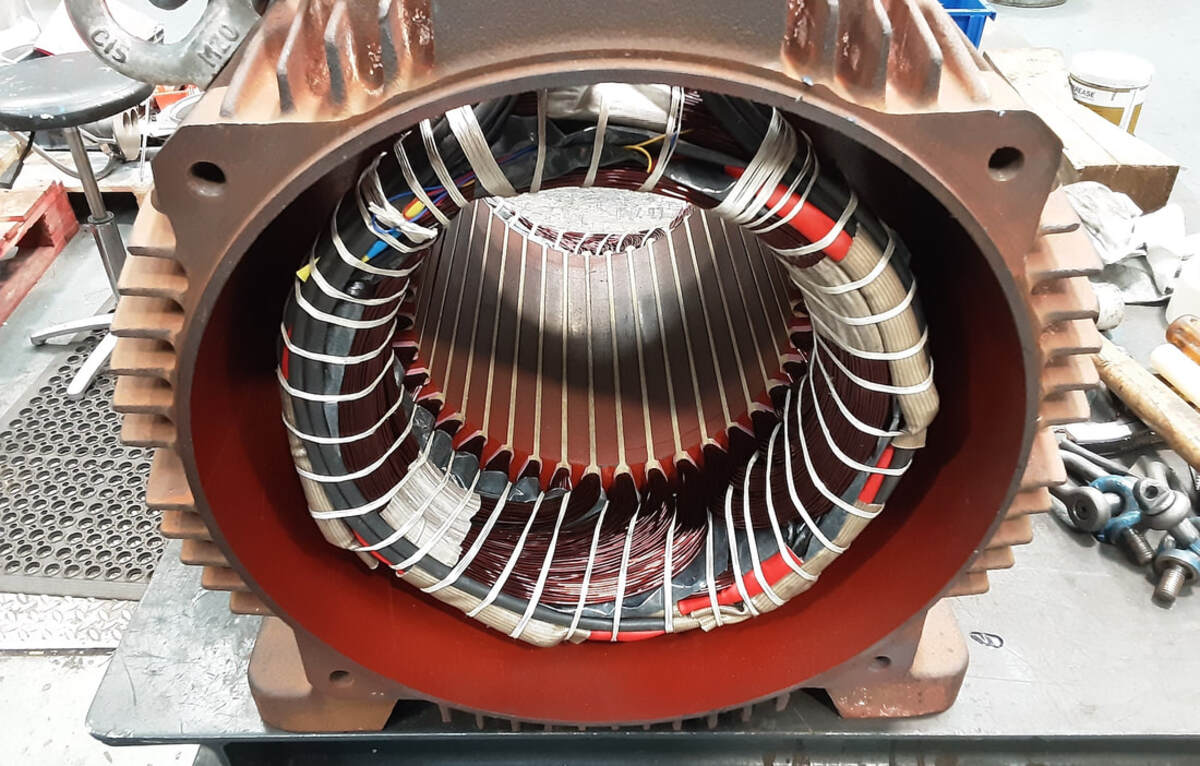
- The Stator: This is the stationary part of the motor and consists of a set of coils or windings. These windings are arranged in a specific pattern to create a magnetic field.
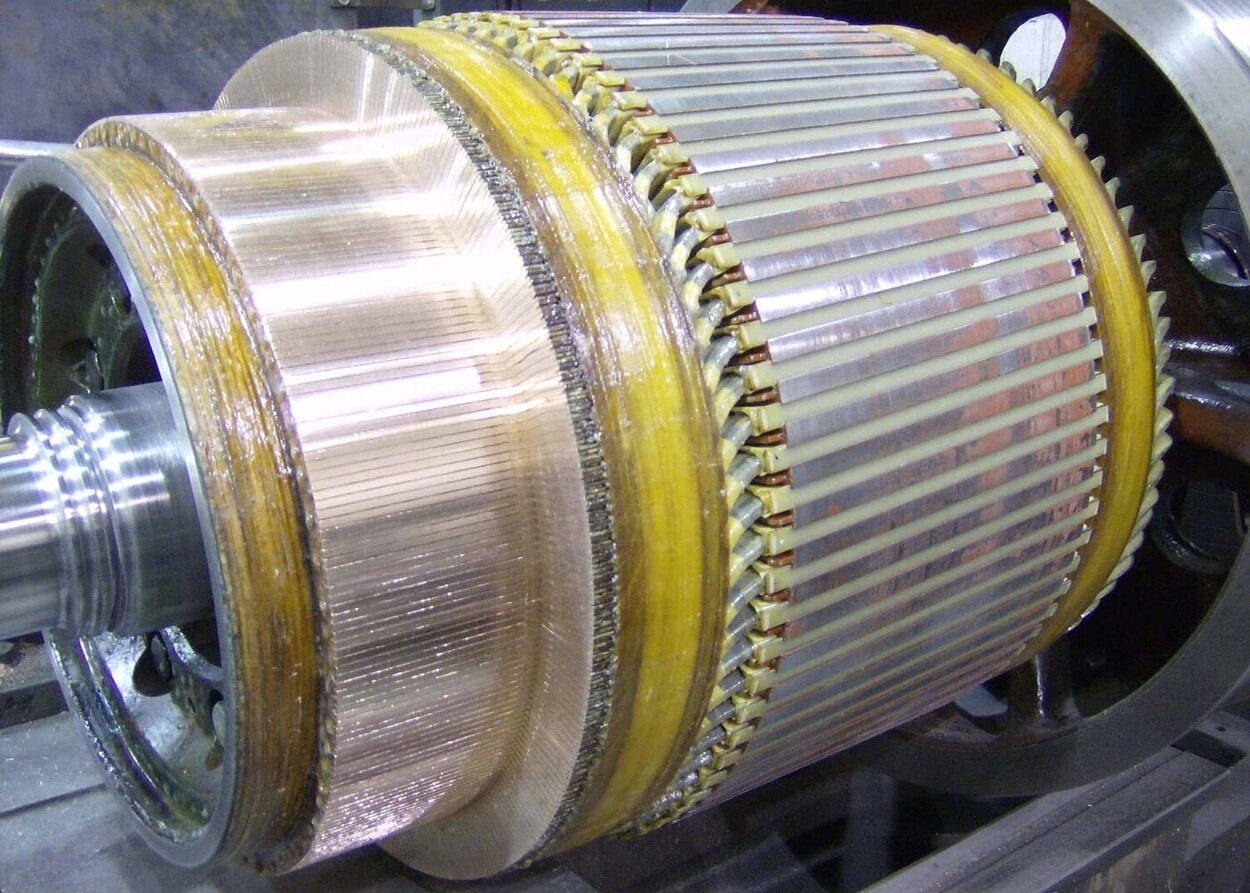
- The Rotor: This is the rotating part of the motor and usually comprises a set of permanent magnets or electromagnets. The magnetic field generated by the stator interacts with the magnetic field of the rotor, causing it to rotate.
- The Windings: These are coils of wire wound around the stator or rotor. When an electric current flows through these windings, a magnetic field is created, which produces the necessary force to drive the rotor.
- The Bearings: These are mechanical components that support and allow smooth rotation of the rotor. They are typically made of metal and require lubrication to reduce friction and wear.
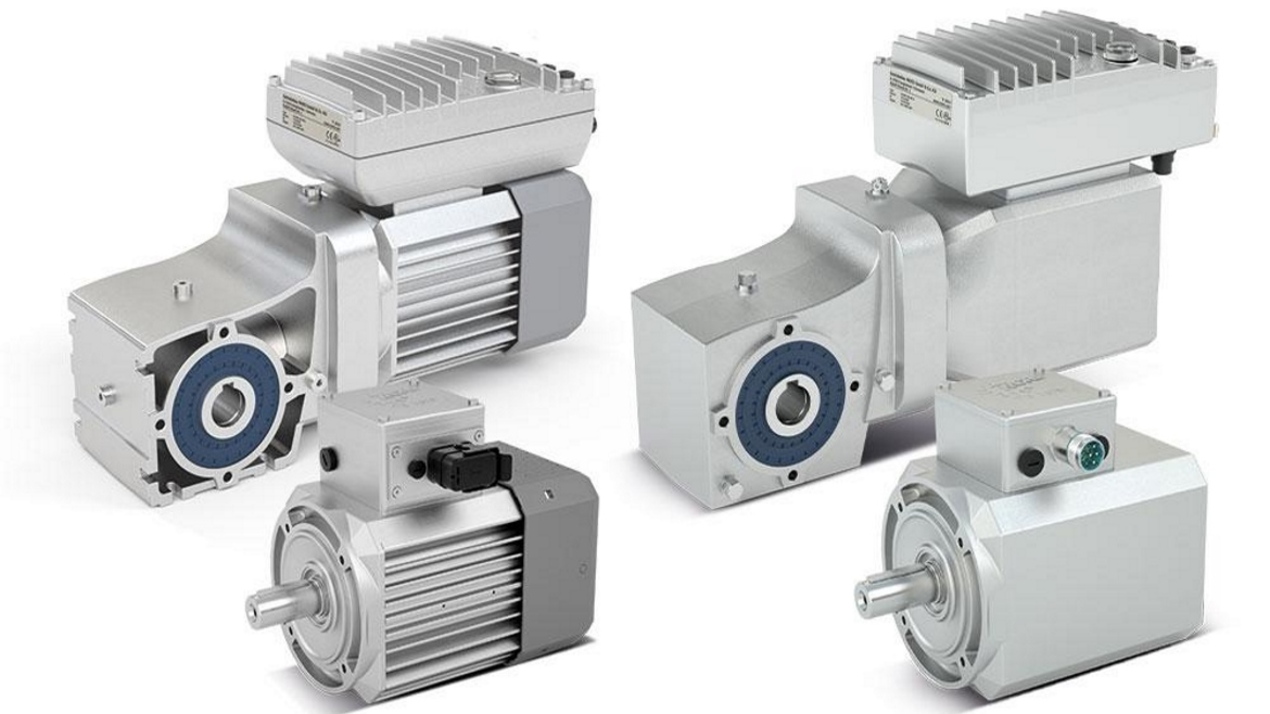
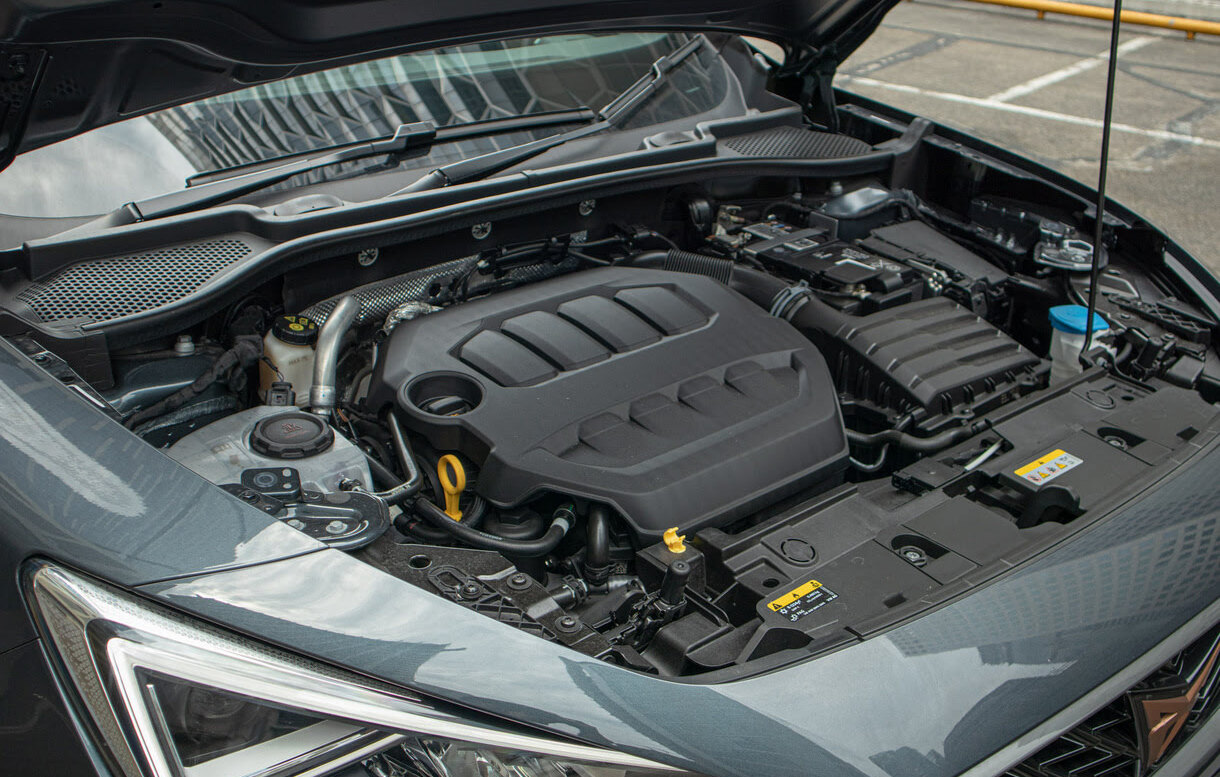
Electric motors are used in various applications, ranging from household appliances like refrigerators and washing machines to industrial machinery such as pumps, compressors, and conveyor systems. In automotive vehicles, electric motors power essential components like windows, seats, and windshield wipers.
Understanding the basic structure and function of an electric motor is crucial for its proper maintenance and cleaning. The accumulation of dirt, dust, and debris can disrupt the motor’s efficiency and lead to overheating or even failure. Regular cleaning ensures optimal performance and extends the lifespan of the motor.
Now that we have a clear understanding of electric motors, let’s move on to the safety precautions that should be followed when cleaning these powerful devices.
Safety Precautions
When cleaning electric motors, it is essential to prioritize safety to prevent any accidents or injuries. Here are some important safety precautions to keep in mind:
- Disconnect the Power: Before beginning any cleaning or maintenance tasks, always disconnect the power supply to the motor. This can be done by either unplugging the appliance or switching off the circuit breaker.
- Allow Cooling Time: Electric motors can become hot during operation. To avoid burns, wait for the motor to cool down before starting the cleaning process.
- Wear Protective Gear: Wear protective gear such as gloves, safety goggles, and a dust mask to protect yourself from chemicals, debris, and potential electrical hazards.
- Work in a Well-Ventilated Area: Make sure you have proper ventilation when cleaning electric motors to avoid inhaling any fumes or chemicals that may be present.
- Use Proper Tools: Only use tools specifically designed for working with electric motors. Using incorrect tools can cause damage to the motor or risk electrical shock.
- Avoid Exposure to Electrical Components: When cleaning the motor, avoid coming into direct contact with electrical components, such as the windings or electrical connections, to prevent electric shock.
- Follow Manufacturer’s Instructions: Always refer to the manufacturer’s instructions and guidelines for cleaning and maintenance specific to your motor model.
- Have a Fire Extinguisher Handy: In case of an electrical fire, have a fire extinguisher nearby and ensure you know how to use it properly.
By following these safety precautions, you can ensure a safe cleaning process and protect yourself from potential hazards associated with electric motors.
Now that we’ve covered the necessary safety measures, let’s move on to the tools and materials you’ll need to clean the electric motor effectively.
Tools and Materials Needed
Before you begin the process of cleaning an electric motor, it is important to gather the necessary tools and materials. Having these items on hand will ensure a smooth and efficient cleaning process. Here are the tools and materials you will need:
- Screwdriver Set: A set of screwdrivers will be necessary to remove any screws or fasteners that secure the motor cover in place.
- Soft Brushes: You will need soft brushes, such as a paintbrush or a toothbrush, to gently brush away dust and debris from the motor’s exterior and parts.
- Vacuum Cleaner: A small handheld vacuum cleaner or a brush attachment for your regular vacuum cleaner can be used to remove loose particles and dirt from the motor.
- Electrical Contact Cleaner: Electrical contact cleaner is a specialized cleaning solution that effectively removes dirt, grease, and grime from electrical components. Ensure that the cleaner is safe for use on electrical equipment.
- Grease Gun: A grease gun is necessary to apply lubrication to the bearings and moving parts of the motor, ensuring smooth operation.
- Lubricants: You will need lubricants specifically designed for electric motors. These lubricants help reduce friction and wear, extending the life of the motor. Refer to the manufacturer’s recommendations for the appropriate lubricant to use.
- Clean Cloths: Have clean, lint-free cloths or microfiber towels to wipe down the motor’s exterior and remove any excess lubricant.
- Safety Gear: Remember to wear protective gear, including gloves, safety goggles, and a dust mask, to protect yourself from any potential hazards during the cleaning process.
By gathering these tools and materials beforehand, you will have everything you need to effectively clean your electric motor.
Now that we have the necessary tools and materials ready, let’s move on to the step-by-step process of cleaning an electric motor.
Step 1: Disconnecting the Electric Motor
Before you begin cleaning the electric motor, it is crucial to disconnect it from the power source to avoid any electrical accidents or injuries. Follow these steps to safely disconnect the motor:
- Turn Off the Power: Locate the power switch or circuit breaker that supplies electricity to the motor, and switch it off. This will ensure that there is no electrical current running through the motor during the cleaning process.
- Unplug the Motor: If the motor is plugged into an electrical outlet, unplug it from the outlet. This will prevent any accidental switching on of the power while you are working on the motor.
- Lockout/Tagout: If you are working with an industrial motor, follow proper lockout/tagout procedures as mandated by your workplace. This involves using a lock or tag to ensure that the power source is locked or tagged out, preventing it from being energized while you are working.
- Verify Power Disconnection: Use a voltage tester or a multimeter to verify that there is no electrical current flowing through the motor. This step is essential to ensure your safety before proceeding with any cleaning tasks.
- Wait for Motor to Cool: If the motor has been in use recently, allow it to cool down completely before starting the cleaning process. Cleaning a hot motor can be dangerous and may cause burns.
By following these steps, you will safely disconnect the electric motor from the power source, ensuring that you can proceed with the cleaning process without any risk of electrical shock.
Next, we’ll move on to Step 2, which involves removing the motor cover to access the interior for cleaning.
Read more: How To Cool An Electric Motor
Step 2: Removing the Motor Cover
Once you have safely disconnected the electric motor from the power source, the next step is to remove the motor cover. This will allow you to access the interior of the motor for thorough cleaning. Follow these steps to remove the motor cover:
- Locate Screws or Fasteners: Inspect the motor cover to identify the screws or fasteners that secure it in place. These may be located on the sides or the back of the motor.
- Use the Proper Screwdriver: Select the appropriate screwdriver from your set based on the type of screws in the motor cover. It is important to use the correct screwdriver size and type to avoid damaging the screws.
- Loosen and Remove Screws: Insert the screwdriver into the screws and gently rotate it counterclockwise to loosen them. Once loosened, continue removing the screws until they are completely detached from the motor cover.
- Set Aside Screws Safely: Place the screws in a secure container or on a tray to prevent them from getting lost or mixed up with other items during the cleaning process.
- Remove the Motor Cover: With the screws removed, carefully lift off the motor cover. Be cautious not to force it or damage any internal components in the process.
- Inspect the Interior: Once the cover is removed, visually inspect the interior of the motor for any visible dirt, dust, or debris. This will give you an idea of the level of cleaning required.
By following these steps, you will be able to remove the motor cover, providing you with access to the interior for thorough cleaning. Remember to handle the motor cover and screws with care to avoid any accidental damage.
In the next step, Step 3, we will guide you on how to clean the exterior of the motor to remove any surface dirt and grime.
Step 3: Cleaning the Exterior
With the motor cover removed, you can now proceed to clean the exterior of the electric motor. This step involves removing any surface dirt, dust, and grime that may have accumulated over time. Follow these steps to clean the exterior of the motor:
- Prepare Cleaning Solution: Mix a mild cleaning solution by diluting a small amount of mild dish soap or all-purpose cleaner in a bucket of warm water. Avoid using harsh chemicals or abrasive cleaners, as they may damage the motor’s surface.
- Dampen a Soft Cloth: Take a clean, lint-free cloth and dampen it with the cleaning solution. Make sure the cloth is not dripping wet, as excess moisture can seep into the motor and cause damage.
- Gently Wipe the Exterior: Starting from the top, gently wipe the exterior surfaces of the motor with the damp cloth. Pay attention to areas that may have accumulated more dirt or grime, such as vents or crevices, and ensure that they are thoroughly cleaned.
- Remove Stubborn Stains: For stubborn stains or marks, use a soft brush or toothbrush dipped in the cleaning solution to gently scrub the affected area. Be cautious not to apply too much pressure, as it may cause scratches on the motor’s surface.
- Dry the Motor: After thoroughly cleaning the exterior, use a dry, clean cloth to remove any excess moisture. Ensure that the motor is completely dry before proceeding to the next steps.
It is important to note that you should avoid directing water or excessive moisture towards any openings or electrical components of the motor. Moisture can damage the motor’s internal parts and potentially pose an electrical hazard.
By following these steps, you will effectively clean the exterior of the electric motor, removing any surface dirt and grime. In the next step, Step 4, we will guide you on how to inspect the motor’s internal parts.
Use a soft brush or compressed air to remove dust and debris from the motor. Wipe down the motor with a damp cloth and mild detergent, then dry thoroughly before use.
Step 4: Inspecting the Motor’s Parts
Now that you have cleaned the exterior of the electric motor, it is time to inspect its internal parts. This step is crucial to identify any signs of damage, wear, or buildup that may require further attention. Follow these steps to inspect the motor’s parts:
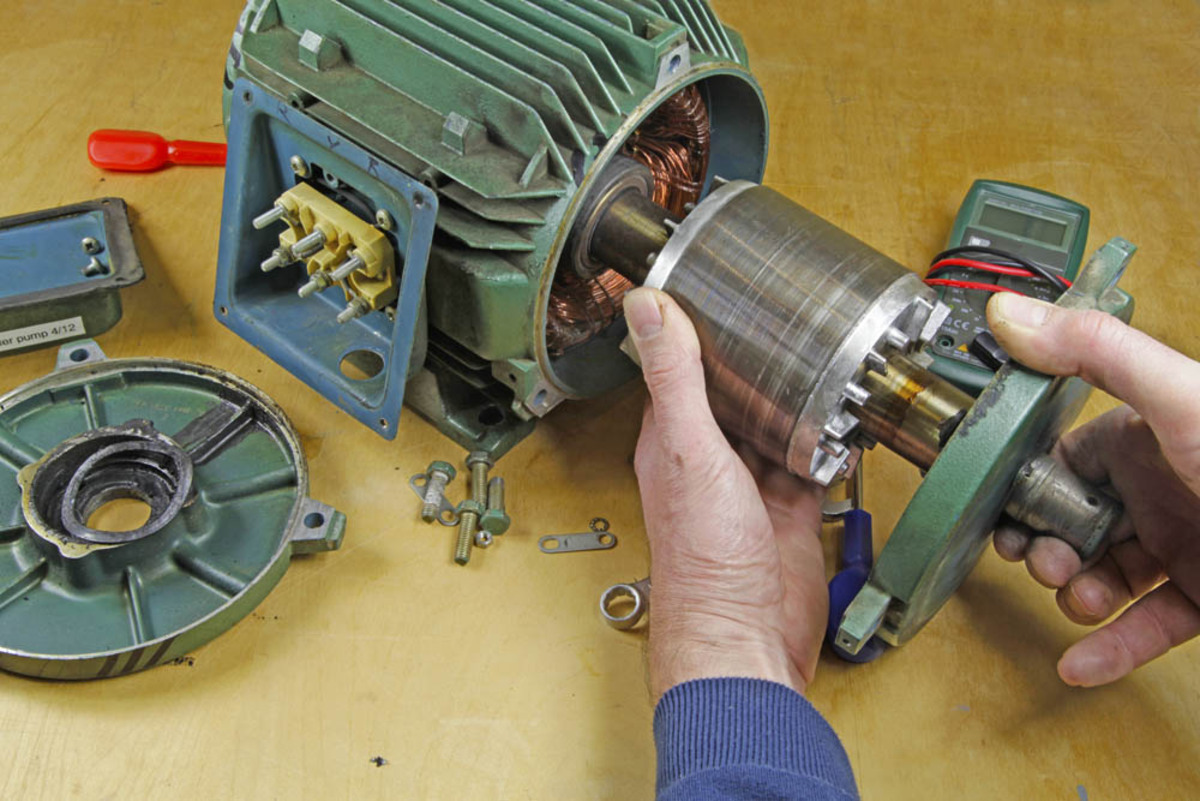
- Visually Examine the Windings: Take a close look at the motor’s windings, which are the coils of wire around the stator or rotor. Look for any signs of fraying, corrosion, or damage. If you notice any issues, it may indicate the need for professional repair.
- Check the Bearings: Inspect the motor’s bearings, which are responsible for smooth rotation of the rotor. Look for any signs of wear, excessive debris, or lack of lubrication. If the bearings show signs of degradation, they may need to be replaced or lubricated.
- Inspect the Stator and Rotor: Examine the stator and rotor for any visible dust, dirt, or debris. Any buildup on these components can affect the motor’s performance. Use a soft brush or compressed air to gently remove any loose particles.
- Check the Wiring Connections: Ensure that all wiring connections inside the motor are secure and free from any loose or damaged connections. Loose wiring can cause electrical issues or the motor to malfunction.
- Look for Signs of Overheating: Check for any discoloration, burn marks, or signs of overheating on the motor’s surface or around its components. Overheating can indicate an underlying issue and should be addressed promptly.
- Inspect Other Components: Depending on the type of motor, you may have additional components to inspect, such as fans, capacitors, or brushes. Examine these components for any signs of damage or wear.
During the inspection process, make note of any areas that require further attention or potential issues that may need professional assistance. It is important to address any problems before proceeding with the cleaning and reassembly of the motor.
In the next step, Step 5, we will guide you on how to clean the motor’s interior to remove any dirt and debris that may have accumulated inside.
Step 5: Cleaning the Motor’s Interior
Now that you have inspected the motor’s internal parts, it is time to clean its interior. Over time, dirt, dust, and debris can accumulate inside the motor, affecting its performance. Follow these steps to clean the motor’s interior:
- Use a Soft Brush or Compressed Air: Begin by using a soft brush or compressed air to remove loose dirt and debris from the motor’s interior. Gently brush or blow away any particles, paying close attention to hard-to-reach areas.
- Apply Electrical Contact Cleaner: Spray a small amount of electrical contact cleaner onto a clean cloth or a soft-bristle brush. Carefully wipe or brush the interior components, such as the windings, stator, rotor, and other accessible parts. This cleaner helps to remove stubborn dirt, grease, and grime from electrical components.
- Be Gentle and Avoid Excessive Moisture: When using the electrical contact cleaner, it is important to be gentle and avoid using excessive moisture. Ensure that no liquid drips into the motor or its electrical parts, as this can cause damage.
- Dry the Interior: After cleaning, use a dry, clean cloth or allow the motor to air dry for a few minutes to ensure that any remaining moisture evaporates.
It is important to note that there may be some parts of the motor’s interior that are inaccessible or not recommended for cleaning by non-professionals. If you identify areas that require further attention or if you are unsure about cleaning certain components, it is best to consult a professional or the manufacturer’s guidelines.
By following these steps, you will effectively clean the interior of the electric motor, removing any dirt and debris that may have accumulated. In the next step, Step 6, we will guide you on how to lubricate the motor to ensure smooth operation.
Read more: How Efficient Is An Electric Motor
Step 6: Lubricating the Motor
Lubrication is a crucial step in maintaining the optimal performance of an electric motor. Proper lubrication helps reduce friction, prevent excessive wear, and ensure smooth operation of the motor’s moving parts. Follow these steps to lubricate the motor effectively:
- Refer to Manufacturer’s Guidelines: Before applying any lubricant, refer to the manufacturer’s guidelines or documentation for specific recommendations on the type of lubricant to use and the areas that require lubrication.
- Identify Lubrication Points: Inspect the motor and identify the lubrication points, which typically include bearings, bushings, or other moving parts. These points may be marked or indicated in the manufacturer’s documentation.
- Clean the Lubrication Points: Before applying new lubricant, ensure that the lubrication points are free from any dirt, debris, or old lubricant. Use a soft cloth or brush to gently clean the areas around the lubrication points.
- Apply Lubricant: Apply the appropriate lubricant to each lubrication point as recommended by the manufacturer. Use a grease gun or a small brush to apply the lubricant evenly and avoid over-lubrication.
- Distribute the Lubricant: If necessary, gently rotate the motor’s shaft or move its components to help distribute the lubricant evenly throughout the lubrication points. This ensures that the lubricant reaches all necessary areas for smooth operation.
- Wipe off Excess Lubricant: After applying the lubricant, use a clean cloth or rag to wipe off any excess lubricant. Excess lubricant can attract dust and debris, leading to clogged parts and decreased motor performance.
It is important to note that different motors may require different types of lubricants or have specific lubrication frequency recommendations. Always follow the manufacturer’s instructions and guidelines for proper lubrication.
In the next step, Step 7, we will guide you on how to reassemble the motor after cleaning and lubrication.
Step 7: Reassembling the Motor
After cleaning, inspecting, and lubricating the motor, it’s time to reassemble the various components. Follow these steps to reassemble the motor:
- Retrieve the Motor Cover: Locate the motor cover that you removed in Step 2.
- Position the Motor Cover: Carefully align the motor cover with the motor’s body, ensuring that it is properly aligned and positioned.
- Secure the Motor Cover: Using the screws or fasteners that were removed in Step 2, start screwing them back into their respective positions. Tighten the screws gently, making sure not to overtighten them or strip the threads.
- Double-Check the Attachment: Once all the screws are securely fastened, double-check that the motor cover is correctly attached and there are no loose or missing screws.
It is important to follow the specific guidelines provided by the manufacturer for reassembling the motor. Some motors may have additional components or specific instructions for reassembly, so referring to the manufacturer’s documentation is always recommended.
With the motor properly reassembled, you can now move on to the final step of the cleaning process – testing the motor’s functionality.
In Step 8, we will guide you on how to test the motor to ensure that it’s working properly after the cleaning and reassembly.
Step 8: Testing the Motor
After cleaning, lubricating, and reassembling the motor, it is crucial to test its functionality to ensure that it is working properly. Follow these steps to test the motor:
- Reconnect the Power: Plug in or switch on the power supply to the motor, ensuring that it is securely connected.
- Turn On the Motor: Switch on the motor using the appropriate control or power switch.
- Listen for Unusual Noises: As the motor starts running, listen for any unusual noises such as grinding, rattling, or squealing. Any abnormal sounds could indicate an issue that needs to be addressed.
- Observe Smooth Operation: Watch the motor’s rotation and operation to ensure that it is running smoothly without any hesitations or vibrations. Any irregularities in movement should be noted for further investigation.
- Check for Signs of Overheating: Monitor the motor during its operation to check for any signs of overheating, such as excessive heat radiating from the motor or a burning smell. If the motor becomes unusually hot, turn it off immediately and seek professional assistance.
- Test Motor Functionality: If your motor is part of a larger machinery or system, test its functionality within that system to ensure that it is performing its intended task effectively.
By following these steps and observing the motor during testing, you can determine whether it is working properly after the cleaning and reassembly process. If you notice any issues or abnormalities during the testing phase, it is best to consult a professional for further evaluation and assistance.
Finally, remember to document the cleaning and maintenance process for future reference and to maintain a regular cleaning schedule to ensure the longevity and optimal performance of your electric motor.
Congratulations! You have successfully cleaned and tested your electric motor. Enjoy its improved performance and efficiency in your desired applications!
If you have any further questions or concerns, please feel free to consult the manufacturer’s documentation or seek professional assistance.
Thank you for following this comprehensive guide on how to clean electric motors.
Conclusion
Cleaning electric motors is an essential maintenance task that helps maintain their performance and extend their lifespan. By following the step-by-step process outlined in this guide, you can effectively clean and maintain your electric motor, ensuring its optimal functioning in various applications.
Throughout the cleaning process, it is important to prioritize safety by following the necessary precautions, including disconnecting the power supply, wearing protective gear, and working in a well-ventilated area. Properly gathering the tools and materials needed for the cleaning process will also contribute to a smooth and efficient experience.
Understanding the components and principles of electric motors is crucial for proper maintenance. By inspecting the motor’s parts, such as the windings, bearings, and wiring connections, you can identify any potential issues that may require further attention.
Cleaning the exterior and interior of the motor removes dirt, dust, and debris that can hinder performance. Applying lubrication to the appropriate points ensures smooth operation and reduces friction and wear. Additionally, reassembling the motor correctly and testing its functionality are vital to ensure that it is operating as expected.
Regular cleaning and maintenance of your electric motor will not only optimize its performance but also increase its longevity. Be sure to consult the manufacturer’s guidelines and recommendations for specific cleaning instructions and lubrication requirements for your particular motor model.
By properly cleaning and maintaining your electric motor, you can reap the benefits of improved efficiency, extended lifespan, and reliable performance. Enjoy the benefits of a well-maintained electric motor in your appliances, machinery, or vehicles.
Thank you for following this comprehensive guide on how to clean electric motors. If you have any further questions or need assistance, do not hesitate to consult the manufacturer’s documentation or seek professional help.
Frequently Asked Questions about How To Clean An Electric Motor
Was this page helpful?
At Storables.com, we guarantee accurate and reliable information. Our content, validated by Expert Board Contributors, is crafted following stringent Editorial Policies. We're committed to providing you with well-researched, expert-backed insights for all your informational needs.
0 thoughts on “How To Clean An Electric Motor”