Home>Gardening & Outdoor>Outdoor Structures>How To Put A Polycarbonate Roof On A Pergola

Outdoor Structures
How To Put A Polycarbonate Roof On A Pergola
Modified: January 26, 2024
Learn how to enhance your outdoor space with a polycarbonate roof for your pergola. Discover step-by-step instructions for installing outdoor structures.
(Many of the links in this article redirect to a specific reviewed product. Your purchase of these products through affiliate links helps to generate commission for Storables.com, at no extra cost. Learn more)
Introduction
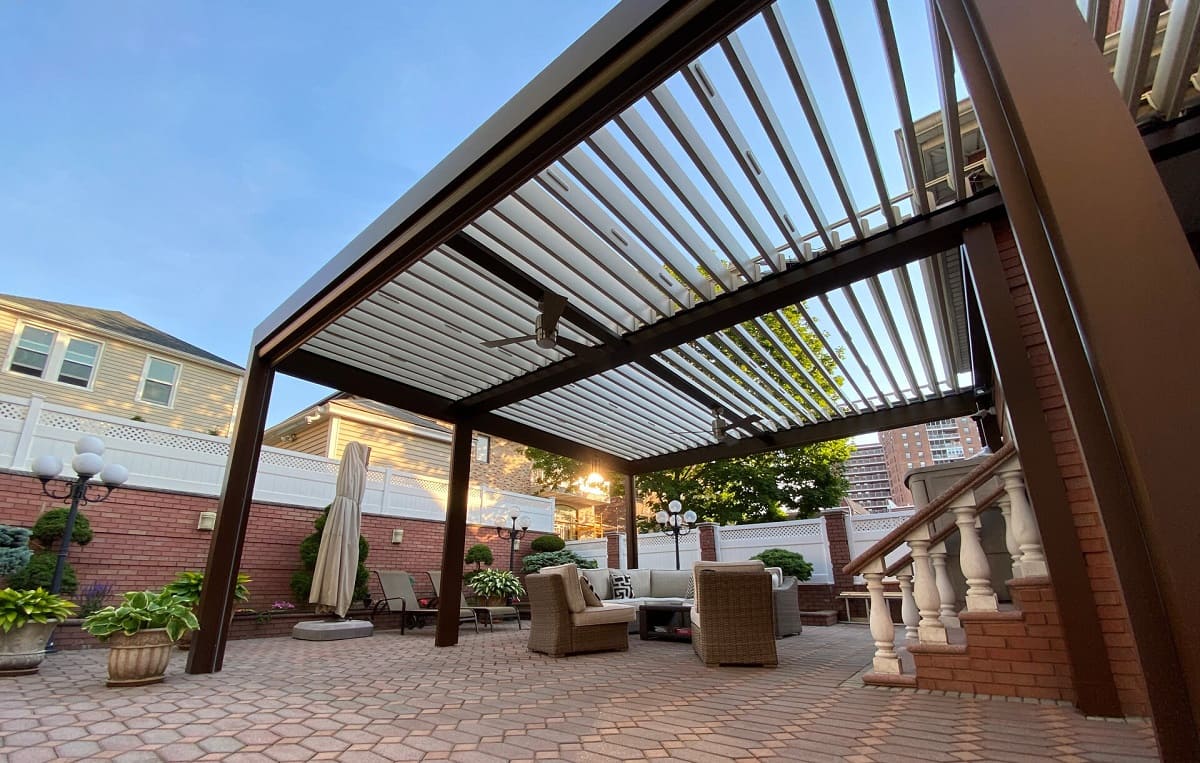
When it comes to enhancing the functionality and aesthetic appeal of your outdoor living space, adding a polycarbonate roof to your pergola can be a game-changer. Not only does it provide protection from the elements, but it also allows natural light to filter through, creating a comfortable and inviting atmosphere. Whether you're looking to create a cozy outdoor retreat or a versatile entertainment area, a polycarbonate roof offers a perfect blend of practicality and style.
In this guide, we'll walk you through the process of installing a polycarbonate roof on your pergola, covering everything from the essential materials and tools needed to the final touches and maintenance tips. By the end of this journey, you'll be well-equipped to transform your pergola into a functional and visually stunning space that can be enjoyed throughout the year.
So, roll up your sleeves, gather your tools, and get ready to embark on a rewarding DIY project that will elevate your outdoor living experience. Let's dive into the world of polycarbonate roofing and discover how it can take your pergola to the next level.
Key Takeaways:
- Transform your pergola into a weather-resistant oasis by adding a polycarbonate roof. Enjoy natural light and protection from the elements for a cozy outdoor retreat or versatile entertainment area.
- Ensure a durable and visually stunning polycarbonate roof by preparing the pergola, installing panels with precision, and securing them against environmental elements. Regular maintenance will preserve its functionality and appeal.
Read more: How To Put A Roof On A Pergola
Materials and Tools Needed
Before you begin the process of installing a polycarbonate roof on your pergola, it’s essential to gather all the necessary materials and tools. Here’s a comprehensive list to ensure you’re well-prepared for the project:
Materials:
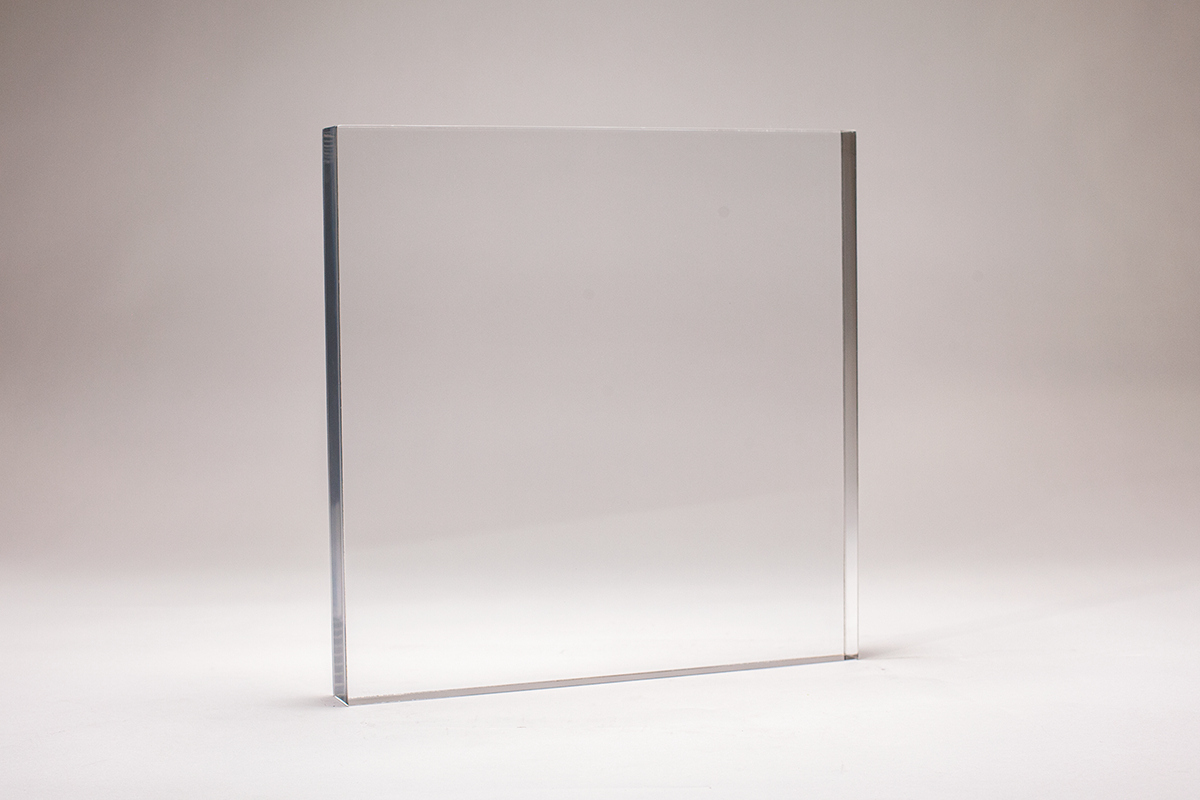
- Polycarbonate panels: Choose panels that are designed for outdoor use and can withstand UV exposure. They are available in various thicknesses and colors, so select the ones that best suit your preferences and climate conditions.
- Aluminum or polycarbonate profiles: These will be used to secure the panels in place and provide a finished look to the edges.
- Sealing tape: To prevent water leakage and ensure a watertight seal between the panels and the pergola structure.
- Screws and fasteners: Opt for rust-resistant screws and fasteners to secure the panels and profiles to the pergola.
- Cleaning supplies: Have a gentle, non-abrasive cleaner on hand to maintain the clarity and appearance of the polycarbonate panels over time.
Tools:
- Measuring tape and level: Precise measurements and a level surface are crucial for a successful installation.
- Drill and drill bits: For creating pilot holes and securing the panels and profiles.
- Saw: Depending on the size of your pergola and panels, you may need a saw to cut the panels to fit the roof dimensions accurately.
- Safety gear: This includes gloves, safety goggles, and a dust mask for protection during cutting and installation.
- Ladder or scaffolding: To access the pergola's roof safely and comfortably.
By ensuring you have all the required materials and tools at your disposal, you’ll be ready to tackle each step of the installation process with confidence and efficiency. With everything in place, you’re one step closer to creating a stunning and functional outdoor space that can be enjoyed for years to come.
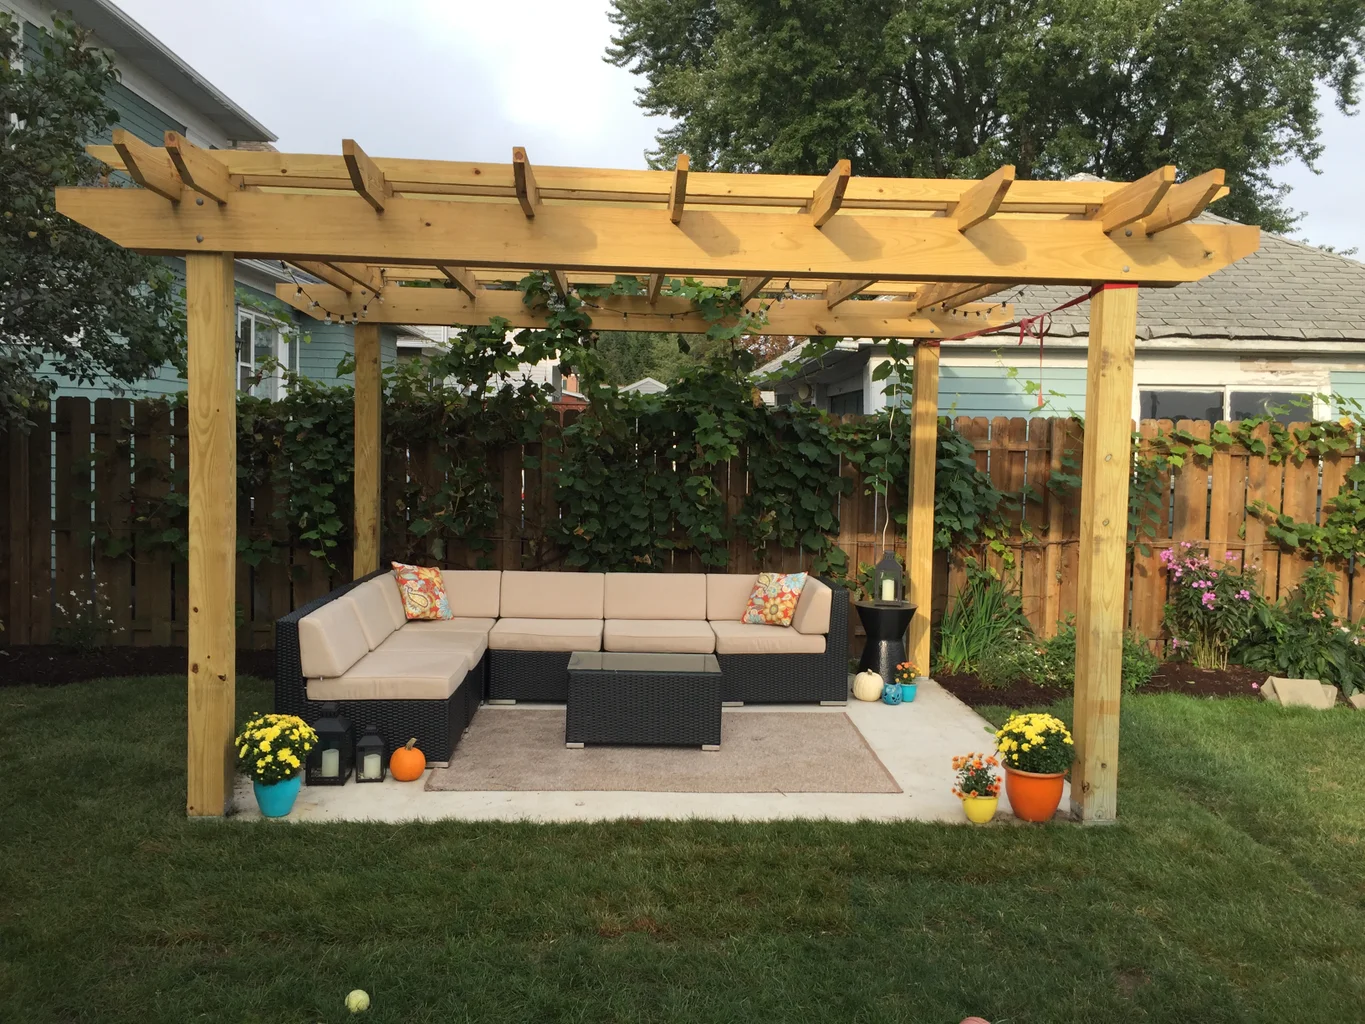
Preparing the Pergola
Before diving into the installation of the polycarbonate roof, it’s crucial to prepare the pergola to ensure a smooth and successful process. Here are the essential steps to get your pergola ready for the new addition:
Read more: How To Put A Metal Roof On A Pergola
Assess the Structural Integrity:
Begin by thoroughly examining the existing pergola structure. Check for any signs of damage, rot, or instability. It’s vital to address any structural issues before proceeding with the installation of the polycarbonate roof. Reinforce or repair any weakened or damaged components to ensure the pergola can support the additional weight of the roofing materials.
Clean and Clear the Area:
Remove any debris, dirt, or leaves from the pergola’s roof and support beams. A clean and clear surface will make it easier to work and ensure a secure attachment of the polycarbonate panels and profiles. Additionally, take this opportunity to clean the entire pergola structure to enhance its overall appearance and longevity.
Measure and Plan:
Accurate measurements are critical for a precise and professional-looking installation. Measure the dimensions of the pergola’s roof to determine the exact size of the polycarbonate panels needed. Consider the panel layout and the placement of supporting profiles to create a detailed installation plan. Taking the time to plan the layout and measurements will streamline the installation process and minimize potential errors.
Apply Protective Coating (Optional):
If desired, consider applying a protective coating or sealant to the pergola’s wooden components. This can help prolong the lifespan of the wood and provide added protection against moisture and UV exposure. Choose a coating that is compatible with the type of wood used in your pergola and follow the manufacturer’s application instructions.
By carefully preparing the pergola and ensuring its structural soundness, cleanliness, and precise measurements, you’ll set the stage for a successful and visually appealing installation of the polycarbonate roof. With the groundwork laid, you’re ready to move on to the exciting phase of transforming your pergola into a versatile and weather-resistant outdoor haven.
Read more: How To Build A Pergola Roof
Installing the Polycarbonate Panels
With the pergola prepared, it’s time to embark on the installation of the polycarbonate panels. This phase requires precision and attention to detail to ensure a secure and visually pleasing outcome. Here’s a step-by-step guide to installing the panels:
1. Positioning the Panels:
Begin by positioning the polycarbonate panels on the prepared pergola roof according to your layout plan. Take care to align the panels accurately and ensure they fit snugly within the designated area. If necessary, use a saw to trim the panels to the required size, following the manufacturer’s cutting guidelines.
2. Creating Pilot Holes:
Using a drill equipped with the appropriate drill bit, create pilot holes in the panels and the support beams of the pergola. These pilot holes will serve as guides for the screws, ensuring precise and secure attachment of the panels to the structure.
3. Attaching the Panels:
Secure the polycarbonate panels to the pergola’s support beams using rust-resistant screws. Place the screws through the pre-drilled holes in the panels and into the support beams, ensuring a firm and even attachment. Take care not to overtighten the screws, as this can lead to damage or warping of the panels.
Read more: What Is A Pergola Roof?
4. Installing the Supporting Profiles:
Once the panels are in place, install the aluminum or polycarbonate profiles along the edges of the panels. These profiles serve to secure the panels, provide a finished look, and create a watertight seal. Use sealing tape between the panels and the profiles to prevent water infiltration and ensure a weather-resistant installation.
5. Checking for Alignment and Stability:
After attaching the panels and profiles, carefully inspect the entire installation to ensure the panels are aligned correctly and securely fastened. Use a level to check for any unevenness or misalignment, making adjustments as needed to achieve a uniform and professional finish.
By following these steps, you’ll successfully install the polycarbonate panels on your pergola, creating a durable and visually striking roofing solution. With the panels securely in place, you’re ready to move on to the next crucial phase of securing the panels and adding the final touches to complete the transformation of your pergola.
Securing the Panels
Securing the polycarbonate panels is a crucial step in ensuring the longevity and stability of your pergola’s new roof. Proper installation and reinforcement will contribute to the structural integrity of the panels and enhance their resistance to environmental elements. Here’s a detailed guide to effectively securing the panels:
1. Adding Additional Support:
Depending on the size of your pergola and the span of the polycarbonate panels, it may be necessary to add additional support to prevent sagging or flexing. Consider installing support beams or purlins beneath the panels to distribute the weight evenly and minimize the risk of deformation over time. Ensure these additional supports are securely anchored to the existing pergola structure.
Read more: How To Attach A Pergola To A Roof
2. Sealing and Waterproofing:
To reinforce the weather resistance of the polycarbonate panels, apply a high-quality sealant along the edges and seams where the panels meet the supporting profiles. This step is essential for preventing water infiltration and maintaining a watertight seal. Additionally, inspect the entire installation for any gaps or areas that may require additional sealing to enhance the overall waterproofing of the roof.
3. Wind Resistance:
Consider the potential impact of strong winds on the polycarbonate roof. Depending on your location and local weather conditions, it may be prudent to reinforce the panels with additional fasteners or specialized wind-resistant hardware. Consult with local building codes and regulations to ensure compliance with wind load requirements and implement any necessary reinforcements to enhance the roof’s resilience in windy conditions.
4. Thermal Expansion Considerations:
Polycarbonate panels are susceptible to thermal expansion and contraction, especially in fluctuating temperatures. To accommodate this natural movement and prevent stress on the panels and supporting structure, allow for adequate expansion gaps between the panels and the pergola framework. These gaps will facilitate thermal movement without compromising the integrity of the roofing system.
5. Regular Maintenance:
Establish a routine maintenance schedule to inspect the polycarbonate panels and their attachments for any signs of wear, damage, or loosening. Tighten fasteners as needed, replace any worn sealing materials, and address any issues promptly to prolong the lifespan of the roof and preserve its functionality and visual appeal.
By implementing these measures, you’ll effectively secure the polycarbonate panels on your pergola, ensuring a durable, weather-resistant, and structurally sound roofing solution. With the panels firmly in place, you’re ready to add the final touches and embark on a journey of enjoying your transformed outdoor space for years to come.
Read more: How To Build A Pergola Roof
Final Touches and Maintenance
As the installation of the polycarbonate roof on your pergola nears completion, attention to final touches and ongoing maintenance is essential to ensure the longevity and performance of the roofing system. By adding thoughtful finishing touches and establishing a maintenance regimen, you’ll elevate the aesthetic appeal and functionality of your outdoor space. Here’s a comprehensive guide to the final touches and maintenance of your polycarbonate pergola roof:
1. Trimming and Finishing:
Trim any excess polycarbonate panel material to achieve a clean and polished appearance. Use a fine-toothed saw or specialized cutting tool to carefully trim the panels to the desired length, ensuring precise edges and a professional finish. Additionally, consider adding decorative caps or trim pieces to the exposed panel edges to enhance the overall aesthetic of the roof.
2. Cleaning and Preservation:
Regular cleaning is essential to maintain the clarity and visual appeal of the polycarbonate panels. Use a mild soap or specialized polycarbonate cleaner and a soft cloth to gently remove dirt, dust, and debris from the panels. Avoid abrasive materials or harsh chemicals that can cause scratching or damage. Periodically apply a UV-resistant coating to the panels to protect against sun damage and maintain their transparency over time.
3. Inspecting and Repairing:
Establish a routine inspection schedule to assess the condition of the polycarbonate panels, supporting profiles, and fasteners. Look for signs of wear, damage, or loosening, and address any issues promptly. Replace any worn sealing tape or damaged profiles, and tighten fasteners as needed to ensure the structural integrity and weather resistance of the roofing system.
Read more: What Is A Pergola With A Roof Called?
4. Seasonal Considerations:
During seasonal transitions, pay attention to the impact of temperature and weather changes on the polycarbonate roof. Monitor the expansion gaps and ensure they provide adequate allowance for thermal movement. Make any necessary adjustments to accommodate temperature fluctuations and prevent stress on the panels and supporting structure.
5. Enhancing Structural Support:
Consider incorporating additional features, such as retractable shades or decorative elements, to further enhance the functionality and visual appeal of your pergola with a polycarbonate roof. These enhancements can contribute to the versatility of the outdoor space and provide added comfort and aesthetic charm.
By attending to these final touches and implementing a proactive maintenance routine, you’ll preserve the beauty and functionality of your polycarbonate pergola roof for years to come. With a well-maintained and visually striking outdoor space, you’re poised to enjoy countless memorable moments and experiences in the comfort of your transformed pergola.
Frequently Asked Questions about How To Put A Polycarbonate Roof On A Pergola
Was this page helpful?
At Storables.com, we guarantee accurate and reliable information. Our content, validated by Expert Board Contributors, is crafted following stringent Editorial Policies. We're committed to providing you with well-researched, expert-backed insights for all your informational needs.
0 thoughts on “How To Put A Polycarbonate Roof On A Pergola”