Articles
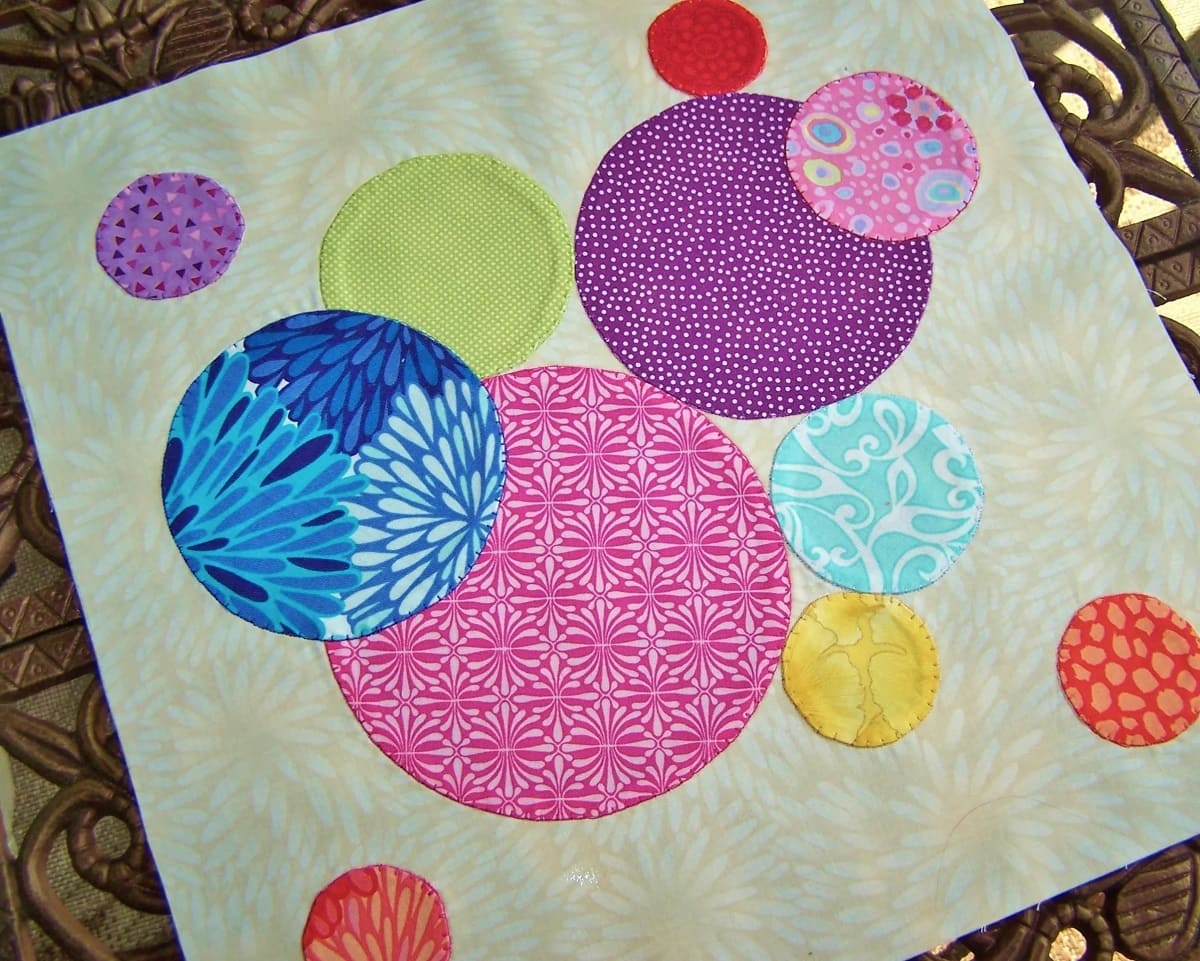
How To Quilt Circles
Modified: August 22, 2024
Learn how to quilt circles with our informative articles. Improve your quilting skills and create unique designs with ease.
(Many of the links in this article redirect to a specific reviewed product. Your purchase of these products through affiliate links helps to generate commission for Storables.com, at no extra cost. Learn more)
Introduction
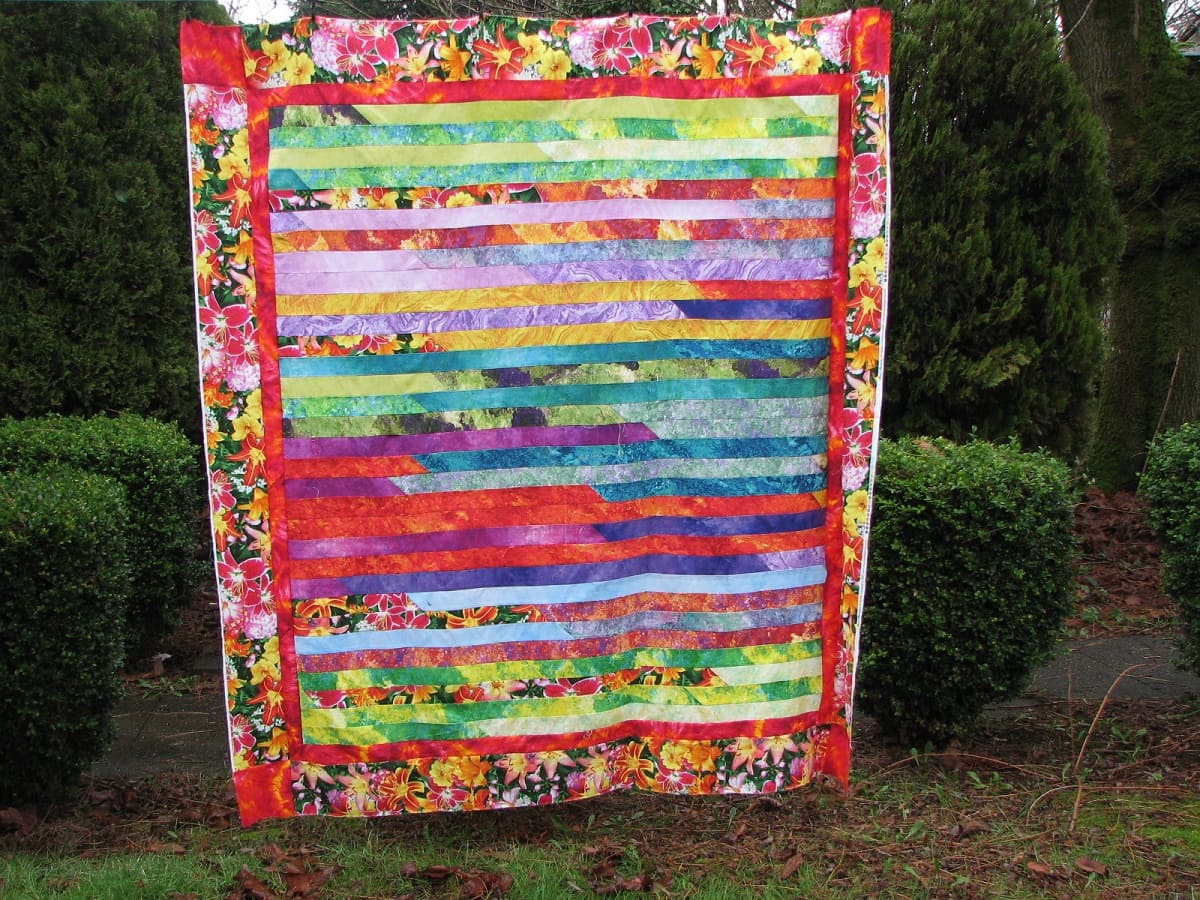
Welcome to the wonderful world of quilting circles! Quilting is a beloved craft that allows you to create beautiful and functional pieces of art. Whether you are a seasoned quilter or just starting out, quilting circles can add a unique and eye-catching element to your projects.
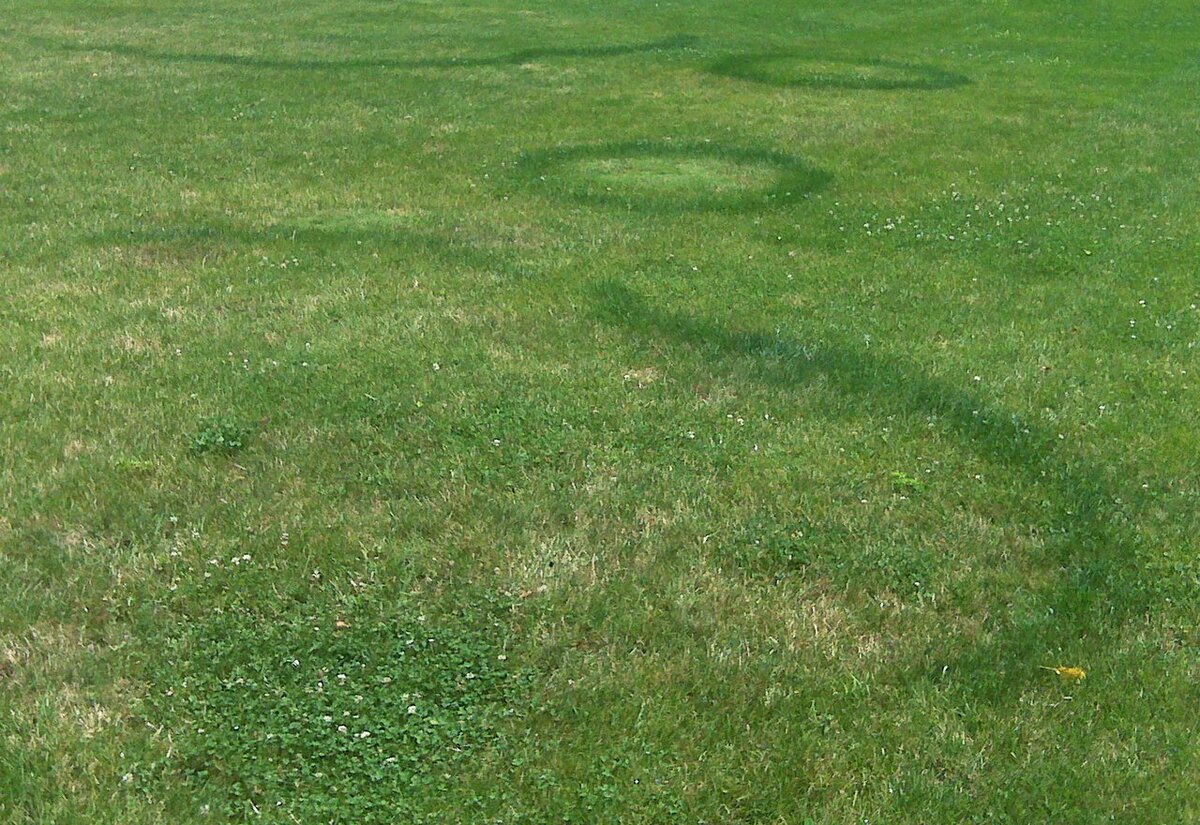
Quilting circles can be incorporated into various quilt designs, from simple to intricate patterns. They add a touch of elegance and whimsy to any quilt, and create an interesting focal point. While quilting circles may seem intimidating at first, with the right techniques and a bit of practice, you can master the art of quilting circles.
In this article, we will explore the materials needed, the process of choosing the right fabric, preparing the quilt top, different techniques for quilting circles, whether it’s hand quilting or machine quilting, as well as some tips and tricks to make your quilting experience a success.
Key Takeaways:
- Embrace the art of quilting circles by choosing contrasting fabrics, preparing the quilt top with precision, and mastering hand or machine quilting techniques. Enjoy the journey and create stunning, personalized quilts.
- Elevate your quilting experience with valuable tips and tricks, such as practicing on scrap fabric, experimenting with marking tools, and adding finishing touches like binding and labeling. Share your masterpiece with pride!
Read more: How To Find Center Of Circle Woodworking
Materials Needed
Before you dive into quilting circles, it’s essential to gather the necessary materials. Here’s a list of items you’ll need to get started:
- Fabric: Choose a variety of fabrics in colors and patterns that complement your design. Consider using both solid colors and prints to add depth and interest to your quilt.
- Quilting Thread: Use a high-quality thread specifically designed for quilting. This thread should be strong and durable to withstand the wear and tear of everyday use.
- Quilting Needles: Invest in a set of quilting needles with different sizes. Thicker needles are suitable for handling multiple layers of fabric, while thinner needles are ideal for intricate designs.
- Thimble: A thimble will protect your finger while hand quilting. Look for one that fits comfortably on your finger and allows you to maneuver the needle with ease.
- Fabric Marking Tools: These tools are used to mark the quilting lines and circles on the fabric. Options include washable markers, chalk, or fabric pencils.
- Ruler: A quilting ruler will help you achieve precise measurements and straight lines. Look for a ruler with clear markings and a non-slip surface to prevent any mistakes.
- Scissors: Invest in a pair of sharp fabric scissors for cutting fabric and thread. Keep them separate from your regular household scissors to maintain their sharpness.
- Backing Fabric: This is the fabric that will be used as the back of your quilt. Choose a fabric that complements the design and color scheme of your quilt top.
- Batting: Batting is the layer of insulation between the quilt top and the backing fabric. It adds warmth and gives your quilt a plush feel. Different types of batting are available, so choose one that suits your desired quilt thickness.
- Quilting Hoop or Frame: These tools keep the fabric taut and help maintain even tension while quilting. Consider using a hoop or frame that is suitable for the size of your quilt.
With these materials in hand, you’re ready to embark on your quilting journey and start quilting circles with confidence!
Choosing the Right Fabric
When it comes to quilting circles, selecting the right fabric is crucial to achieving the desired effect. Here are some tips to help you choose the perfect fabric for quilting circles:
- Consider Contrast: Quilting circles tend to stand out more when there is a contrast between the fabric used for the circles and the background fabric. Choose fabrics with different colors or patterns that complement each other and create a visually appealing contrast.
- Pay Attention to Scale: The scale of the fabric pattern is important when quilting circles. Small-scale prints or solids work well for intricate circle designs, while larger-scale prints can create a bold and eye-catching effect for larger circles.
- Check the Fabric Content: The type of fabric you choose will affect how the circles hold their shape. Fabrics with a higher thread count, such as quilting cotton, are recommended for crisp and well-defined circles. Avoid fabrics that are too stretchy or slippery, as they may be challenging to work with.
- Test the Fabric Washability: It’s important to consider the washability of the fabric, especially if you plan on using the quilt for everyday purposes. Make sure the fabric can withstand regular washing without fading or shrinking.
- Think About Texture: Quilting circles can be enhanced by incorporating fabrics with different textures. Consider using fabrics with a slight sheen, such as satin or silk, to add visual interest and dimension to your circles.
- Experiment with Solids and Prints: Mixing solid fabrics with prints can create a dynamic and visually appealing quilt. Play around with different combinations to find the right balance for your design.
- Consider the Overall Design: Think about how the quilting circles will fit into the overall design of your quilt. Take into account the colors, patterns, and style of the other elements in the quilt to ensure a cohesive and harmonious look.
Ultimately, choosing the right fabric for quilting circles comes down to personal preference and the overall vision for your quilt. Don’t be afraid to be bold and experiment with different fabric combinations to create a quilt that reflects your unique style and creativity.
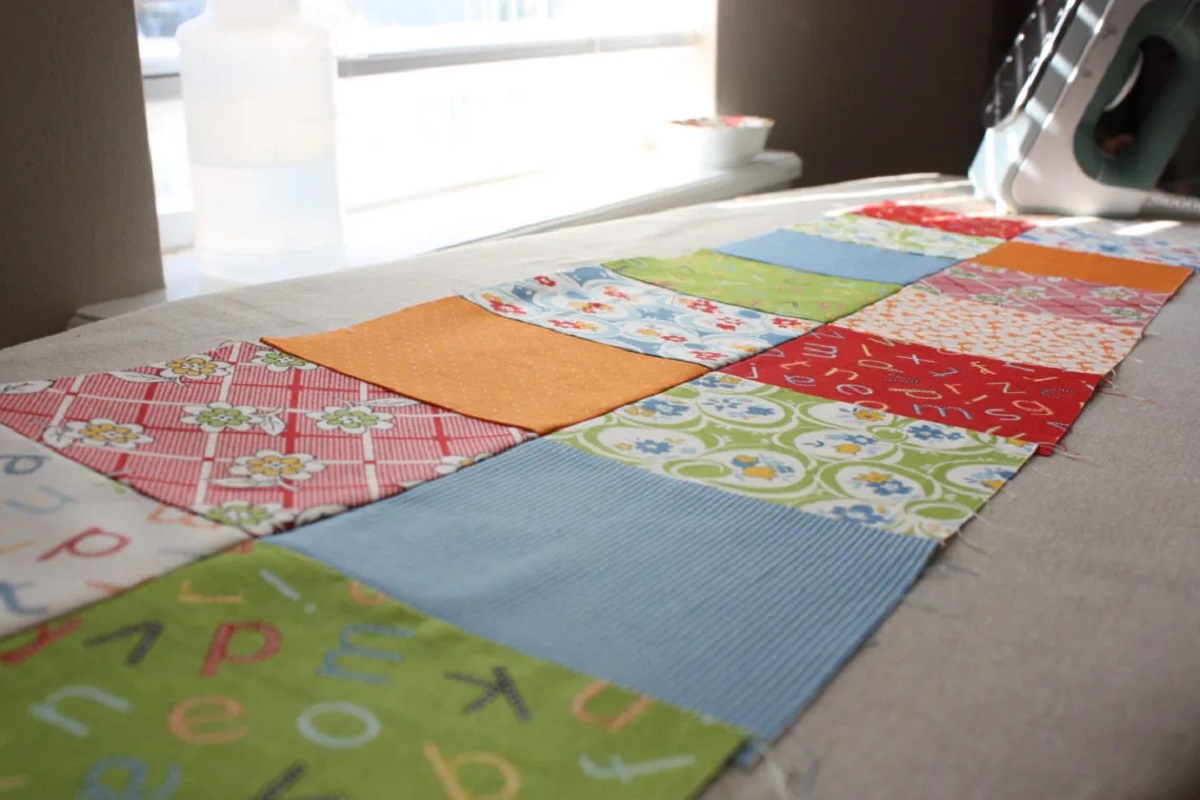
Preparing the Quilt Top
Before you begin quilting circles, it’s important to properly prepare the quilt top. Follow these steps to ensure a smooth and successful quilting process:
- Press the Fabric: Start by pressing the fabric for your quilt top to remove any wrinkles or creases. Use a steam iron on the appropriate heat setting for the fabric you’re using. Pressing the fabric will create a smooth surface for quilting.
- Trim and Square the Fabric: Trim the edges of your quilt top to ensure they are straight and even. Use a rotary cutter and a quilting ruler for precision. Then, square up the corners to ensure that all sides of the quilt top are at right angles.
- Baste the Layers: Layer the quilt top, batting, and backing fabric together, with the quilt top facing up. Smooth out any wrinkles or folds. To hold the layers in place, you can use safety pins or basting spray. Basting will prevent shifting and puckering during the quilting process.
- Mark the Quilting Lines: Use your fabric marking tool to mark the quilting lines on the quilt top. If you’re quilting circles, you can use a circle template or a compass to create precise circles. Alternatively, you can use free-motion quilting to create organic and flowing circles without marking.
- Practice on a Scrap Fabric: If you’re new to quilting circles, it’s a good idea to practice on a scrap fabric before quilting on the actual quilt top. This will help you get a feel for the technique and adjust your tension and stitch length if needed.
- Secure the Quilt Top: Once you’re satisfied with the placement of the quilting lines, secure the quilt top by stitching along the marked lines. You can hand sew or use a sewing machine, depending on your preference and the desired look. Take your time and work with even stitches to ensure an even and professional finish.
By following these steps and properly preparing your quilt top, you’ll create a solid foundation for quilting circles. The key is to work with precision and attention to detail to achieve the best results.
Techniques for Quilting Circles
When it comes to quilting circles, there are various techniques you can use to achieve beautiful and precise results. Here are two popular methods: hand quilting and machine quilting.
- Hand Quilting: Hand quilting circles allows for a more traditional and personalized touch to your quilt. Follow these steps to hand quilt circles:
- Start by threading a quilting needle with quilting thread and knotting the end.
- Choose a quilting hoop or frame that comfortably fits the section you are working on. Place the quilt inside the hoop or frame, ensuring that the fabric is taut.
- Begin quilting by following the marked circle lines. Use a rocking motion with the needle, pushing it through the layers of fabric and batting, and then pulling it back up in a smooth and even motion.
- Work your way around the circle, keeping your stitches equal in length and evenly spaced. Take your time and enjoy the meditative process of hand quilting.
- Continue quilting each circle until the entire quilt is complete. Remember to secure your thread at the start and end of each circle to prevent unraveling.
- Machine Quilting: Machine quilting circles offers a more efficient and quicker way to quilt. Follow these steps for machine quilting circles:
- Set up your sewing machine with a quilting foot or a free-motion quilting foot, depending on your machine’s capabilities.
- Lower the feed dogs or put your machine in free-motion mode, allowing you to move the quilt freely in any direction.
- Start at the center of the circle and lower your needle into the fabric. Begin sewing in a circular motion, following the marked lines.
- Keep your stitches even and adjust your speed as needed. Move the fabric smoothly around the circle, maintaining a steady pace.
- Continue quilting each circle until the entire quilt is complete. Take breaks as needed to rest your hands and maintain your focus.
Both hand quilting and machine quilting techniques have their advantages and create different effects. Choose the method that best suits your preferences and the overall style of your quilt. Remember to practice and experiment to refine your quilting circles skills.
When quilting circles, use a template or a compass to mark the circle on the fabric before stitching. This will help ensure a smooth and even circle shape.
Read more: How To Unlock A Door With A Circle Lock
Hand Quilting Circles
Hand quilting circles is a time-honored technique that allows for a personal and artistic touch in your quilt. While it requires patience and precision, the end result is a beautiful and tactile quilt that showcases your handiwork. Here are some steps to help you achieve successful hand quilting circles:
- Prepare the Quilt: Ensure that your quilt layers are properly basted together and secured in a quilting hoop or frame. This will keep the fabric taut and make it easier to quilt.
- Choose the Right Thread: Select a quilting thread that complements your fabric and does not overpower the design. Thread a quilting needle with a length of thread, and knot the end to prevent it from slipping through the fabric.
- Mark the Circles: Use a fabric marking tool to draw the circles onto your quilt top. You can use templates, stencils, or even trace around objects of the desired size to create your circle designs. Ensure that the markings are clear and visible.
- Start Quilting: Begin stitching along the circle markings, starting from the center and working your way outwards. Use a rocking motion with the needle, pushing it through the layers of fabric and batting, and then pulling it back up in a smooth and even motion.
- Maintain Consistency: Keep your stitches uniform in length and evenly spaced. Consistency in stitching will ensure a visually pleasing result. Take your time and focus on maintaining even tension as you work around the circle.
- Adjust as You Go: As you quilt, you may need to adjust the tension of your stitches or the size of your stitches depending on the intricacy and size of the circle. Pay attention to the fabric and adjust accordingly for a smooth and even quilting process.
- Enjoy the Process: Hand quilting circles can be a meditative and enjoyable process. Embrace the slow and deliberate nature of hand quilting, and take pleasure in each stitch as your quilt design comes to life.
- Finish and Secure: When you have completed quilting all the circles, knot the thread at the back of the fabric to secure it. Trim the excess thread and inspect your work for any loose threads or areas that need additional stitching.
Hand quilting circles is a labor of love that requires practice and patience. With time and experience, your hand quilting skills will improve, and you’ll be able to create intricate and stunning circle designs that add a unique touch to your quilts.
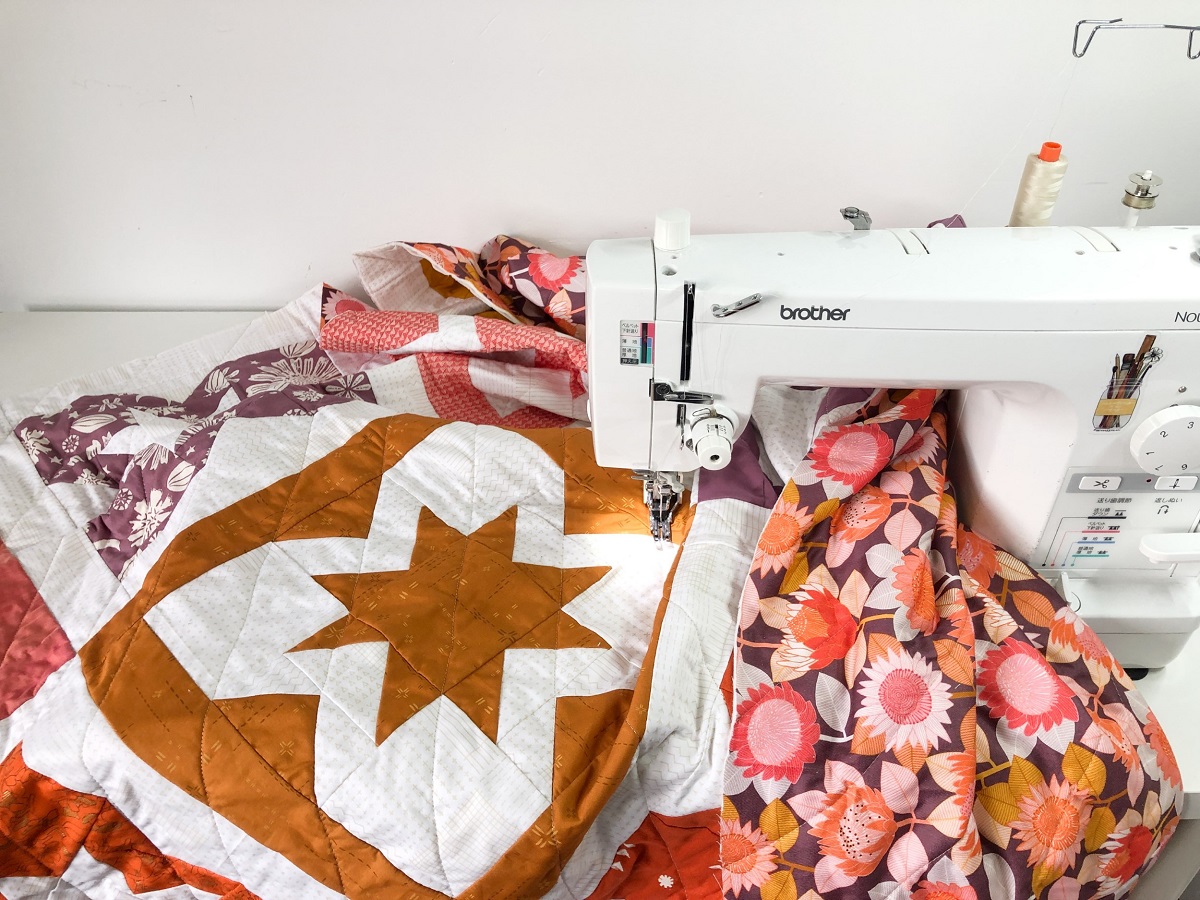
Machine Quilting Circles
Machine quilting circles is a faster and more efficient technique for quilting that allows you to create precise and consistent circle designs. With the right tools and settings, you can achieve beautiful results using your sewing machine. Here’s a step-by-step guide for machine quilting circles:
- Prepare the Quilt: Ensure that your quilt layers are securely basted together either with safety pins or basting spray. This will prevent the layers from shifting as you quilt.
- Select the Quilting Foot: Attach a free-motion quilting foot to your sewing machine. This foot allows you to move the fabric freely in any direction as you quilt. Refer to your machine’s manual for specific instructions on attaching the foot.
- Set the Machine: Lower the feed dogs or set your sewing machine to the free-motion quilting mode. This will disengage the feed dogs so that you have full control over the fabric movement. Adjust the tension and stitch length according to your preference and the thickness of the quilt layers.
- Start Quilting: Begin quilting by lowering the needle into the fabric at the starting point of the circle. Slowly pivot the fabric in a circular motion, following the marked circle line. Move the fabric with a smooth and steady motion, keeping an even speed.
- Maintain Consistency: As you quilt, focus on maintaining a consistent stitch length and even tension. Keep your eye on the marked line and guide the fabric along it smoothly. Practice controlling the fabric movement to create perfectly round circles.
- Adjust as You Go: Depending on the size and intricacy of the circle, you may need to adjust the speed of your machine or the tightness of your grip on the fabric. Take your time and make any necessary adjustments to ensure precise quilting.
- Practice and Experiment: Machine quilting circles may require some practice to get comfortable with the technique. Set aside some scrap fabric to experiment with different machine settings and get a feel for the fabric movement.
- Finish and Secure: Once you have completed quilting the circles, secure the threads by backstitching or tying them off at the back of the fabric. Trim any excess thread and inspect your work for any areas that may need additional quilting.
Machine quilting circles offers speed and precision, allowing you to create intricate designs in a shorter amount of time. With practice and experimentation, you’ll be able to master this technique and add beautiful circle designs to your quilts.
Tips and Tricks for Quilting Circles
Quilting circles can be a challenging yet rewarding endeavor. To help you achieve the best results and enhance your quilting experience, here are some tips and tricks to keep in mind:
- Practice on Scrap Fabric: Before quilting circles on your actual quilt, take the time to practice on a scrap fabric. This allows you to familiarize yourself with the technique, adjust your tension settings, and perfect your stitching before working on your final piece.
- Use Quilting Gloves: Quilting gloves with grippy fingertips can provide better control and precision as you maneuver the fabric under the needle. They also help prevent your hands from becoming too fatigued during long quilting sessions.
- Experiment with Marking Tools: Try different types of marking tools to find the one that works best for you. Washable markers, chalk pencils, or even masking tape can be effective for marking circles on your fabric.
- Quilt from the Center Outwards: When quilting circles, it’s often easier to start from the center and work your way outwards. This allows for better control and helps prevent any distortion of the fabric as you quilt.
- Use Guide Lines: Consider marking additional guide lines to help you maintain consistency and accuracy when quilting circles. These guide lines can create reference points or intersections that can make your circles more precise and evenly spaced.
- Take Breaks: Quilting circles can require a lot of concentration and effort. Remember to take regular breaks to rest your hands, refocus your eyes, and prevent fatigue. This will help you maintain the quality of your quilting throughout the process.
- Experiment with Stitch Length: Varying the stitch length can add texture and visual interest to your quilt. Consider using shorter stitches for more intricate circles and longer stitches for larger circles or background quilting.
- Embrace Imperfections: Remember that quilting circles by hand or machine may not always yield perfect results, and that’s perfectly okay! Embrace the handmade charm and uniqueness of your quilt. Small imperfections can add character and make your quilt truly one-of-a-kind.
Lastly, don’t be afraid to get creative and think outside the box when it comes to quilting circles. Explore different designs, experiment with fabrics and colors, and let your imagination soar. With time, practice, and these valuable tips, you’ll become a master of quilting circles and create stunning quilts that will be cherished for generations to come.
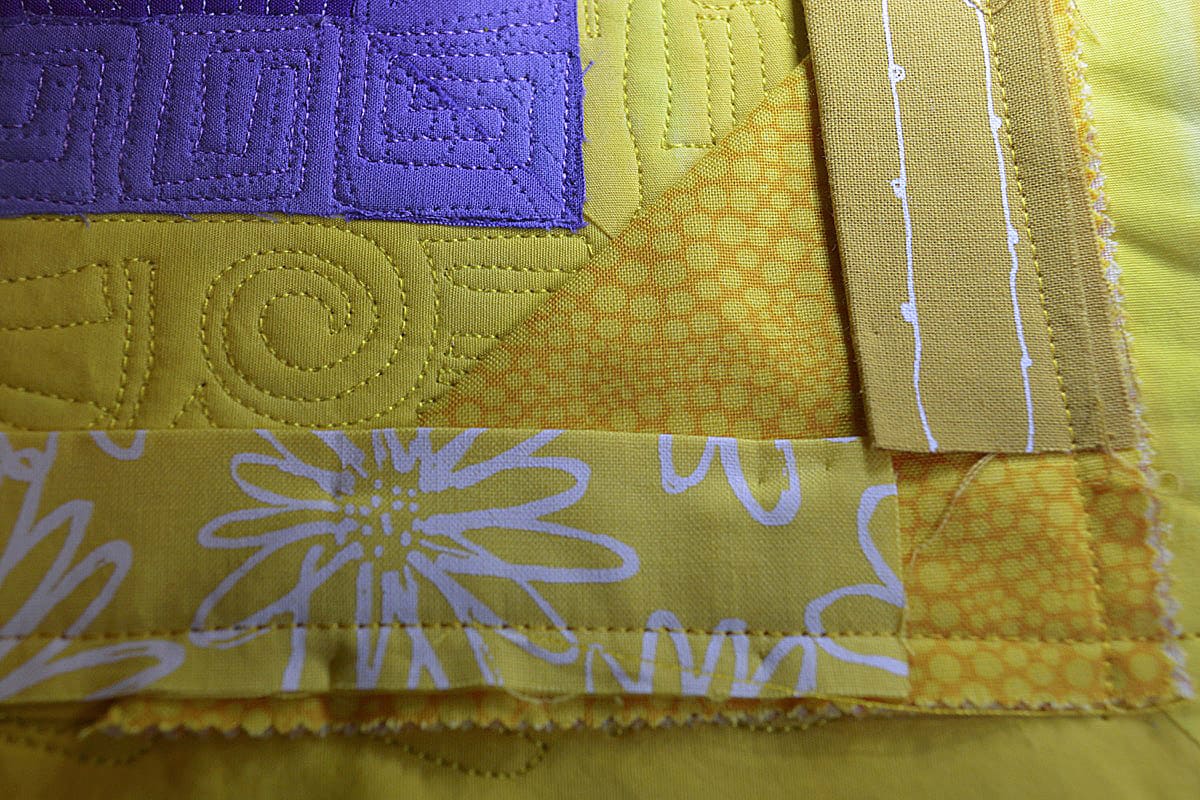
Finishing Touches
Completing the quilting process is an exciting milestone, but there are a few finishing touches that will elevate your quilt to its full potential. Here are some essential steps to add those final touches:
- Trim Excess Fabric: Once you have finished quilting, carefully trim away any excess fabric or batting that extends beyond the edges of your quilt top. Use a ruler and rotary cutter for precision.
- Bind the Quilt: Binding is the fabric strip that wraps around the raw edges of the quilt to create a finished edge. Choose a fabric that complements your quilt design and cut it into strips. Attach the binding to the edges of the quilt and secure it with stitching.
- Hand or Machine Finish the Binding: You can choose to sew the binding by hand or using your sewing machine. Hand-sewn binding creates a traditional and polished look, while machine-sewn binding offers durability and a quicker finish.
- Label Your Quilt: Add a personal touch to your quilt by attaching a label that includes your name, the date, and any other meaningful information. This not only adds a sentimental value but also serves as a reminder of your hard work.
- Square Up the Quilt: Check that all sides of your quilt are straight and even. Trim any uneven edges to create a neat and symmetrical shape.
- Give it a Final Press: Once your quilt is completed, gently press it with an iron to give it a final smooth finish. Be careful to use the appropriate heat setting for your fabric.
- Share and Enjoy: Display, gift, or use your finished quilt with pride! Whether you choose to hang it on a wall, drape it over a couch, or give it as a cherished gift, your quilt is a testament to your creativity and craftsmanship.
Remember that the finishing touches are just as important as the quilting itself. They provide the final polish and ensure that your quilt is a beautiful and professional-looking piece of art. Take your time and pay attention to the details to create a quilt that you can be proud of.
Conclusion
Congratulations on completing your journey into the world of quilting circles! You’ve learned about the materials needed, how to choose the right fabric, how to prepare the quilt top, and various techniques for quilting circles, both by hand and using a sewing machine. With practice and patience, you can master the art of quilting circles and create stunning quilts that showcase your creativity and skill.
Remember to take your time and enjoy the process of quilting circles. It’s a craft that allows you to express your individuality and create unique designs. Whether you prefer the therapeutic rhythm of hand quilting or the efficiency of machine quilting, both methods offer their own beauty and advantages.
Throughout your quilting journey, you’ve learned some valuable tips and tricks to enhance your quilting experience. From practicing on scrap fabric to experimenting with marking tools and stitch lengths, these insights will help you refine your technique and achieve the best results.
Don’t forget the importance of the finishing touches, such as trimming, binding, and labeling your quilt. These final steps add a professional and polished look to your creation and give it a personal touch that will be cherished for years to come.
Now, it’s time to proudly display, gift, or use your finished quilt. Share your masterpiece with others and bask in the joy and satisfaction of creating something beautiful and meaningful with your own hands.
Remember, quilting is a journey that never truly ends. Continue to explore new techniques, experiment with different fabrics and designs, and let your creativity soar. The possibilities are endless as you continue to expand your quilting skills and create quilts that are truly works of art.
So, grab your fabric, thread, and needle, and let your imagination guide you as you embark on your next quilting adventure. Happy quilting!
Frequently Asked Questions about How To Quilt Circles
Was this page helpful?
At Storables.com, we guarantee accurate and reliable information. Our content, validated by Expert Board Contributors, is crafted following stringent Editorial Policies. We're committed to providing you with well-researched, expert-backed insights for all your informational needs.


0 thoughts on “How To Quilt Circles”