Home>Dining>Tableware>How To Replace The Leather Seat Of A Dining Chair
Tableware
How To Replace The Leather Seat Of A Dining Chair
Modified: December 7, 2023
Learn how to easily replace the leather seat of your dining chair with our comprehensive guide. Upgrade the look of your tableware with this simple DIY project.
(Many of the links in this article redirect to a specific reviewed product. Your purchase of these products through affiliate links helps to generate commission for Storables.com, at no extra cost. Learn more)
Introduction
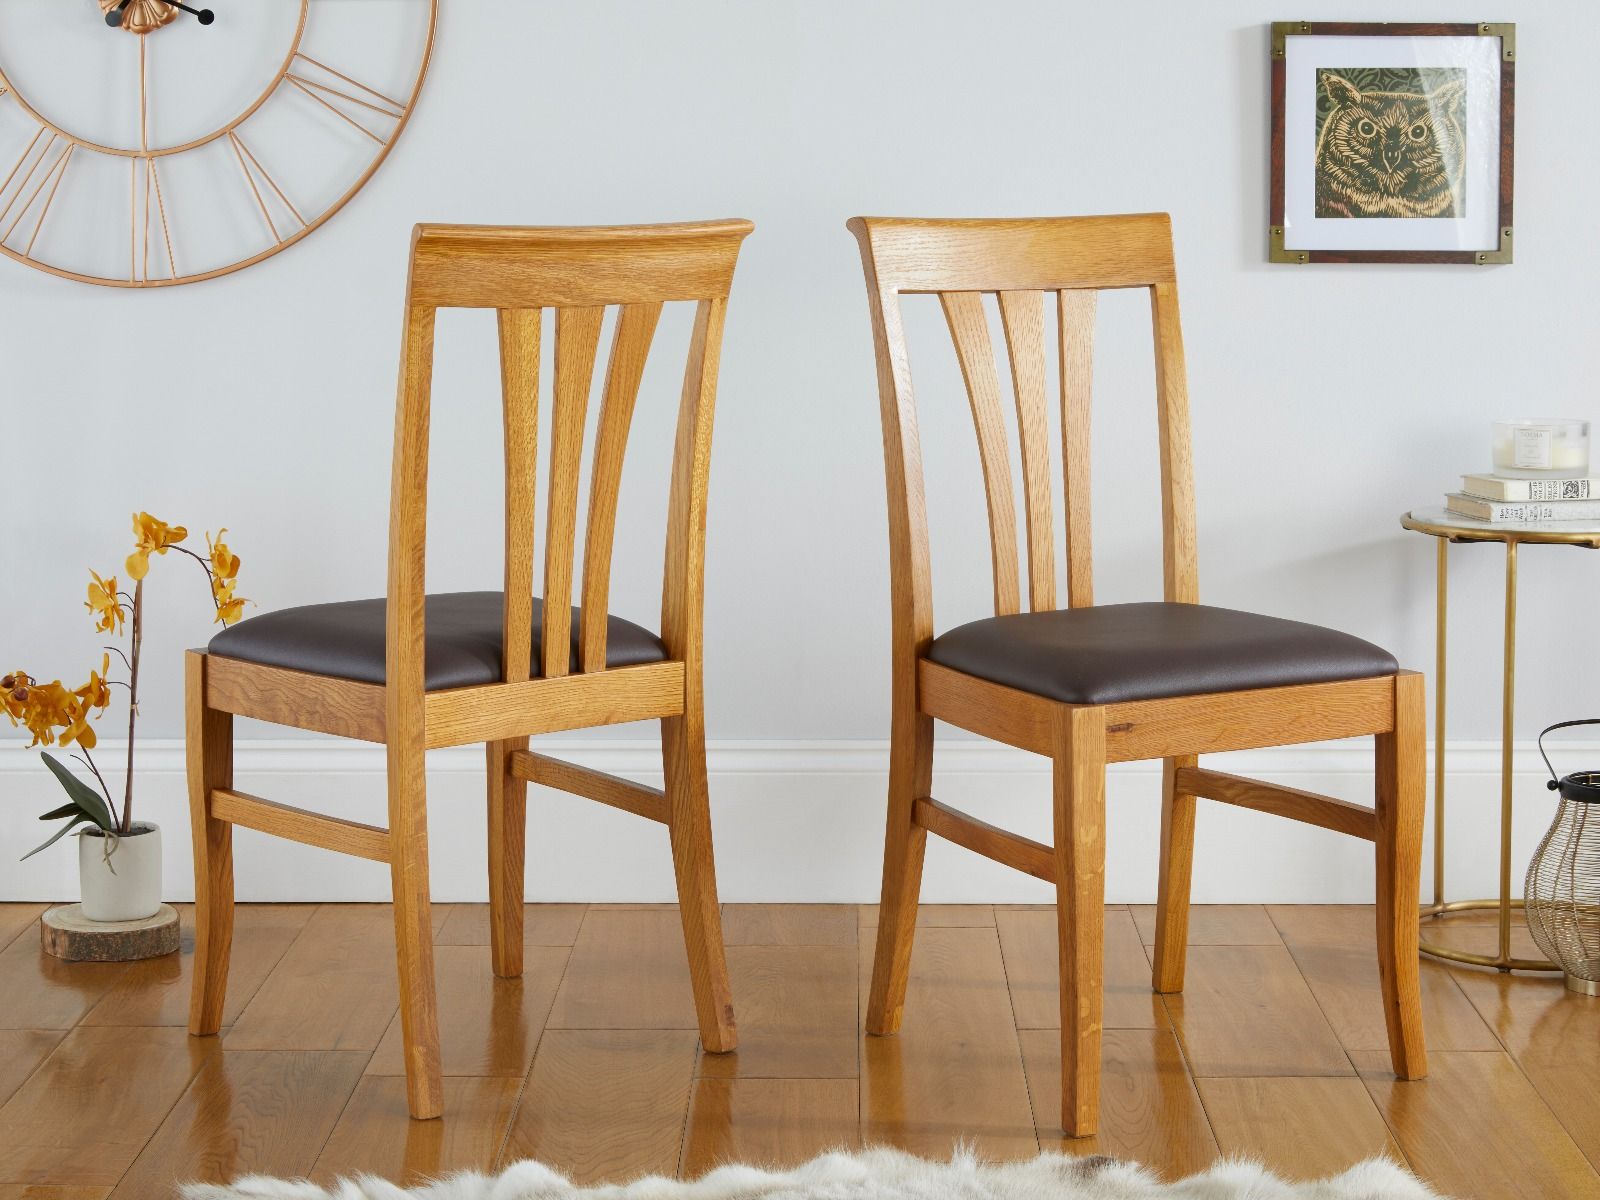
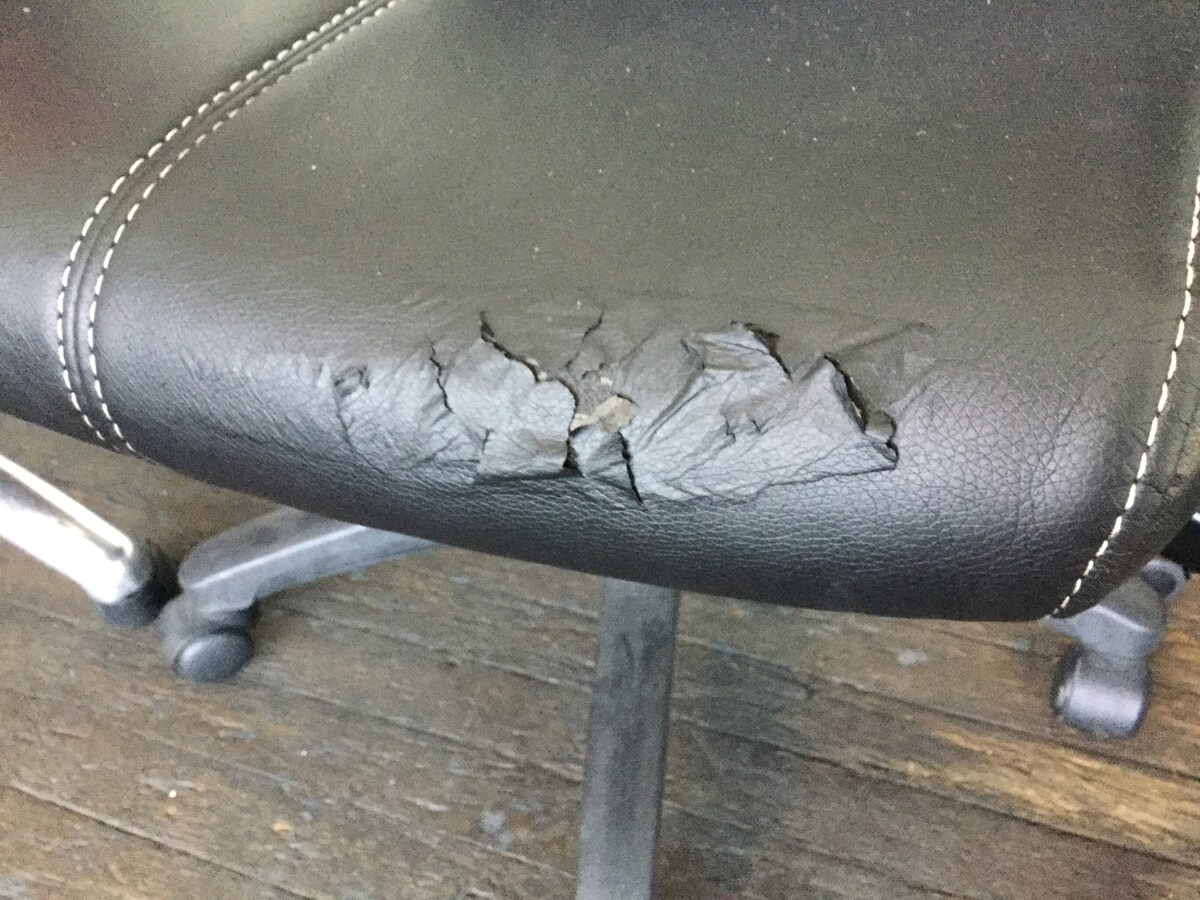
Welcome to our guide on how to replace the leather seat of a dining chair. Over time, the leather on dining chairs can become worn, torn, or stained, diminishing both the appearance and comfort of the piece. However, with a few simple steps, you can give your dining chairs a fresh and luxurious look by replacing the leather seats.
Replacing the leather seat of a dining chair may seem like a daunting task, but with the right tools and instructions, it can be easily accomplished. Not only will this rejuvenate your dining chairs, but it will also save you the cost of purchasing new chairs. So, let’s dive in and learn how to replace the leather seat of a dining chair!
Key Takeaways:
- Revitalize worn-out dining chairs by replacing the leather seats with a few simple steps, saving money and creating a fresh, luxurious look for your dining area.
- Ensure the longevity of your newly replaced leather seats by maintaining them with regular cleaning, avoiding direct sunlight, and applying protective leather conditioner for a polished and long-lasting result.
Read more: How To Clean Faux Leather Dining Chairs
Step 1: Removing the old leather seat
The first step in replacing the leather seat of a dining chair is to remove the old seat. Follow these steps to ensure a smooth removal process:
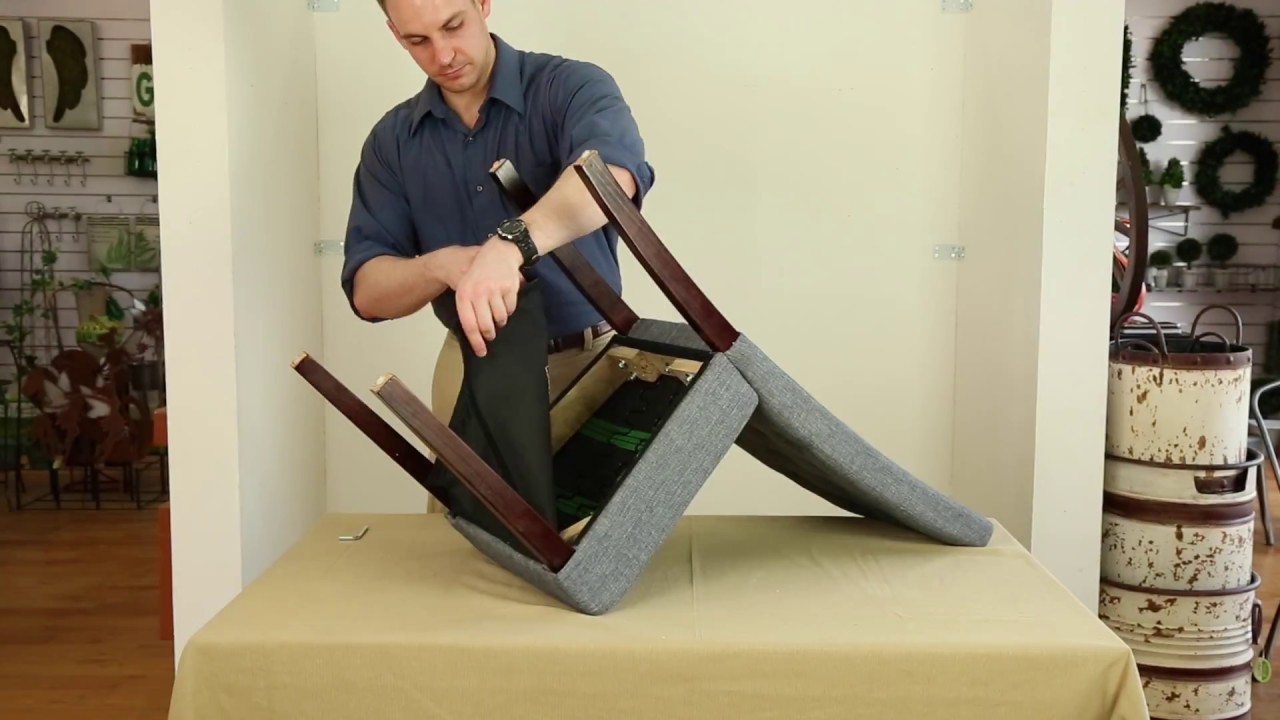
- Flip the chair upside down on a stable surface to expose the underside of the seat.
- Using a screwdriver or drill, remove any screws or bolts that are securing the seat to the chair frame. Take note of the placement of these screws or bolts as you will need to reinstall the new seat in the same position.
- If the seat is not attached with screws or bolts, it may be held in place by staples or upholstery tacks. Carefully pry these out using a flat-head screwdriver or a staple remover tool.
- Once all the fasteners have been removed, gently lift the seat off the chair frame. Depending on the condition of the leather, it may separate easily or require some additional maneuvering.
After removing the old leather seat, take a moment to assess the condition of the chair frame. Inspect for any damage or loose joints that may need attention before attaching the new seat.
Now that you have successfully removed the old leather seat, it’s time to move on to the next step: preparing the new seat cushion.
Step 2: Preparing the new seat cushion
Once the old leather seat has been removed, it’s time to prepare the new seat cushion. Follow these steps to ensure a smooth preparation process:
- Measure the dimensions of the seat frame to determine the size of the new seat cushion. Take accurate measurements, including the length, width, and thickness.
- Using these measurements, cut a new seat cushion from high-density foam or upholstery foam. Make sure to cut it slightly larger than the measurements to allow for a snug fit.
- If desired, you can add additional layers of foam or padding for extra comfort. This is particularly beneficial if the previous seat cushion was thin or worn.
- Next, cut a piece of fabric slightly larger than the seat cushion. This fabric will act as a barrier between the foam and the leather, preventing any friction or damage.
- Secure the fabric to the foam by wrapping it tightly around the cushion and using a staple gun to attach it to the underside. Make sure the fabric is smooth and free from wrinkles.
Preparing the new seat cushion is vital to ensuring a comfortable and durable seating surface. When cutting the foam and fabric, ensure precision to achieve a professional and neat result. With the cushion ready, we can now move on to the next step: attaching the new leather seat.
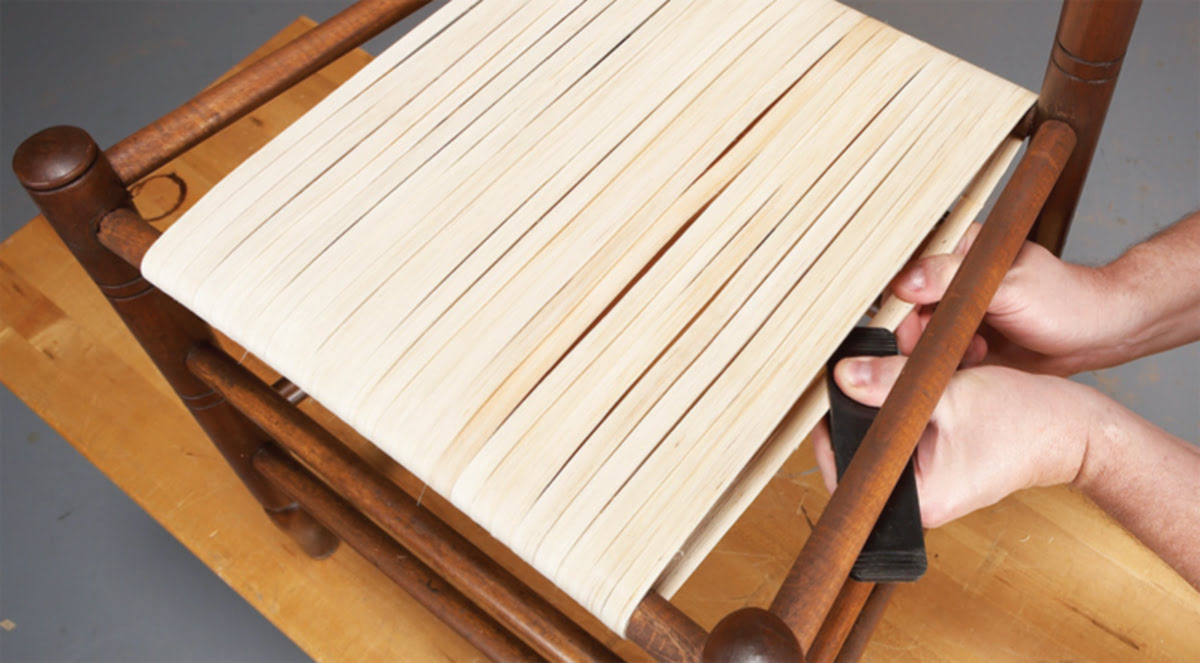
Step 3: Attaching the new leather seat
Now that you have prepared the new seat cushion, it’s time to attach the new leather seat. Follow these steps to ensure a seamless and secure attachment:
- Place the new leather seat on a clean and flat surface, with the leather side facing down.
- Position the prepared seat cushion on top of the leather, ensuring it is centered and aligned properly.
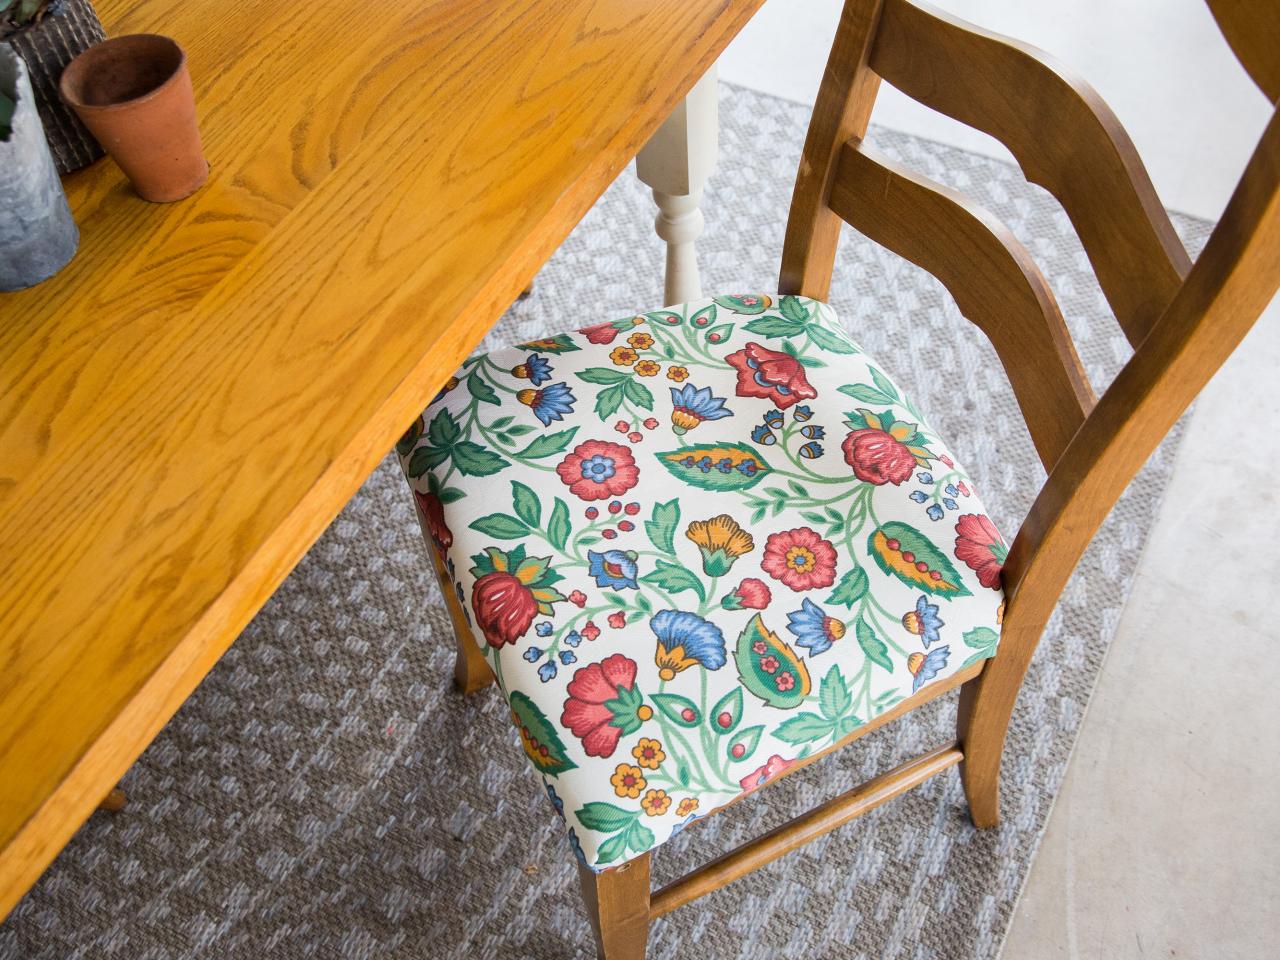
- Starting from one side, pull the leather tightly over the seat cushion, smoothing out any wrinkles or creases as you go.
- Use a staple gun to secure the leather to the underside of the seat frame. Start by stapling one side, then move to the opposite side, making sure the leather is pulled tightly. Continue stapling along all sides, spacing the staples evenly.
- For a cleaner finish, fold the corners of the leather upholstery neatly and staple them securely.
- As you staple, check the front side periodically to ensure the leather is smooth and free from any wrinkles or sagging.
Remember to take your time and work carefully to ensure a professional and neat result. It’s important to keep the leather tight and secure to provide a comfortable and visually appealing seat surface. Once the new leather seat is securely attached, it’s time to move on to the next step: securing the seat to the dining chair frame.
When replacing the leather seat of a dining chair, make sure to measure the dimensions of the seat accurately before purchasing the new leather. This will ensure a proper fit and professional-looking result.
Step 4: Securing the seat to the dining chair frame
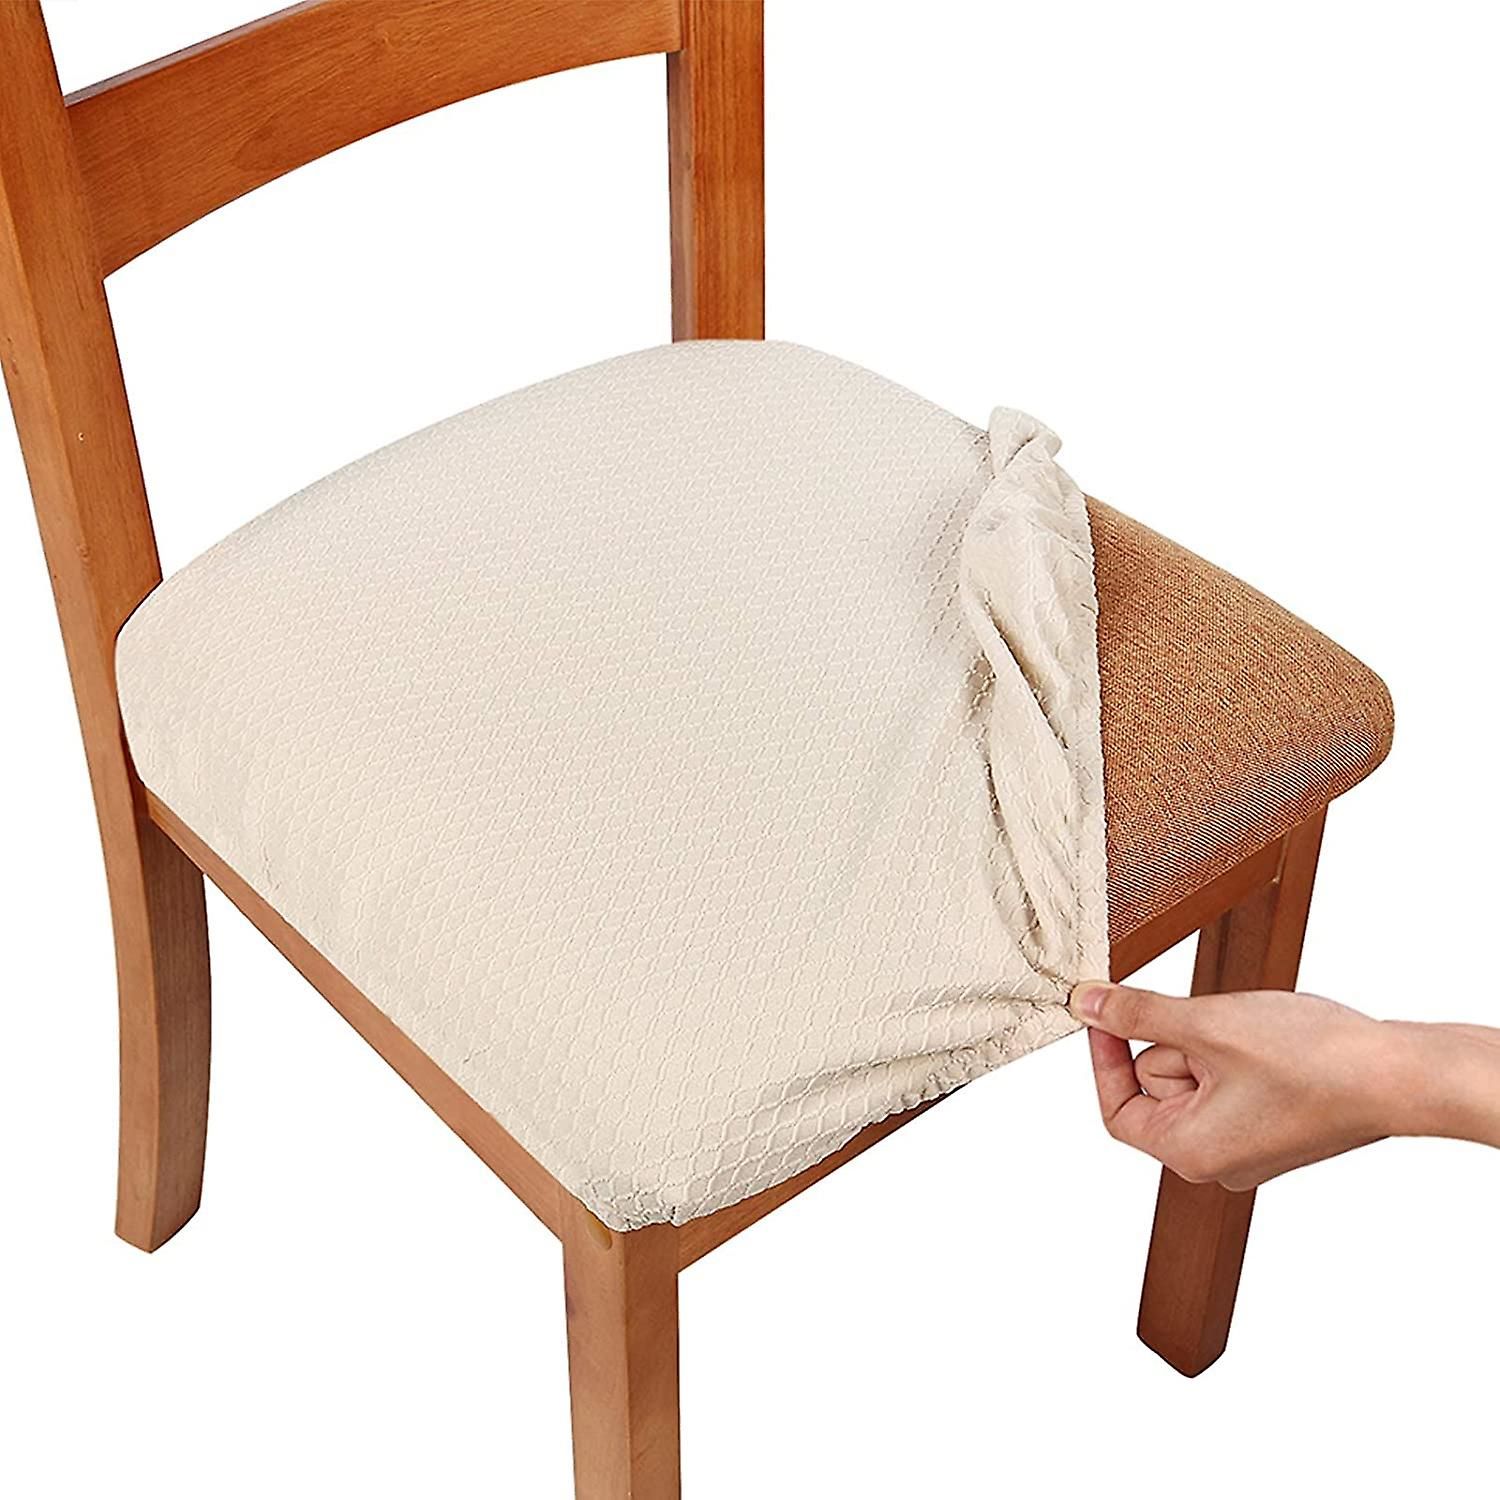
With the new leather seat successfully attached to the cushion, the next step is to secure the seat to the dining chair frame. Follow these steps to ensure a stable and secure attachment:
- Bring the dining chair frame to the upright position.
- Align the holes in the metal brackets of the seat frame with the corresponding holes in the chair frame.
- Insert screws or bolts through the brackets and into the chair frame. Tighten them securely using a screwdriver or drill.
- Double-check that the seat is aligned properly and sits evenly on the chair frame.
It’s important to use the same screws or bolts that were removed during the seat removal process. If any fasteners were damaged or lost, make sure to replace them with identical ones to maintain the stability of the chair.
Once the seat is securely attached to the chair frame, give it a gentle shake to ensure there is no movement or wobbling. If the seat feels loose, tighten the screws or bolts further until the chair feels sturdy and secure.
With the seat now firmly secured to the dining chair frame, it’s time for the final step: adding the finishing touches and maintenance tips.
Read more: How To Cover A Dining Chair Seat
Step 5: Finishing touches and maintenance tips
After replacing the leather seat of your dining chair, it’s time to add the finishing touches and learn how to maintain your newly transformed chairs. Follow these steps and tips for a polished and long-lasting result:
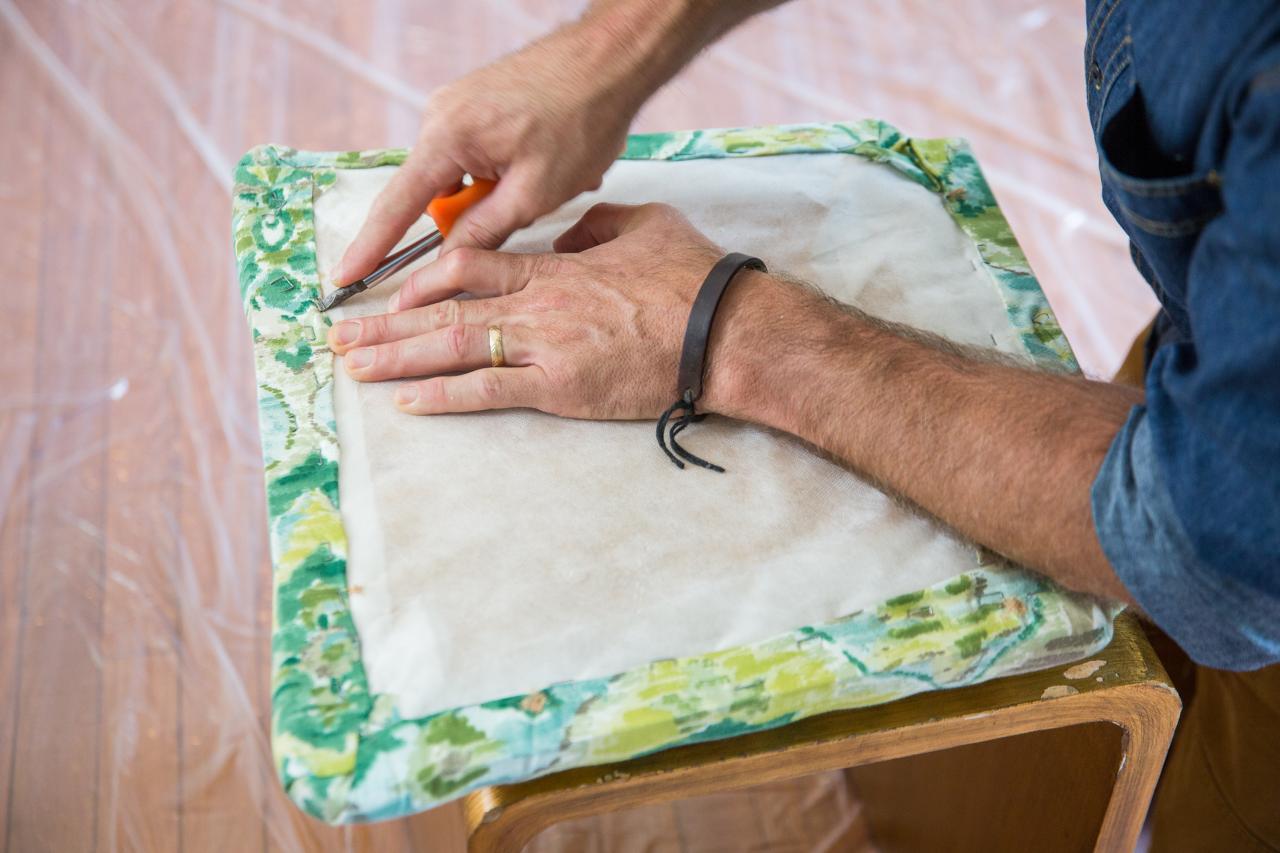
- Trim any excess fabric or leather that may be hanging from the underside of the seat using sharp scissors. This will give the chair a clean and professional appearance.
- Inspect the entire chair for any remaining staples or sharp edges. Remove any stray staples or smooth out any rough spots with sandpaper or a file to prevent injury.
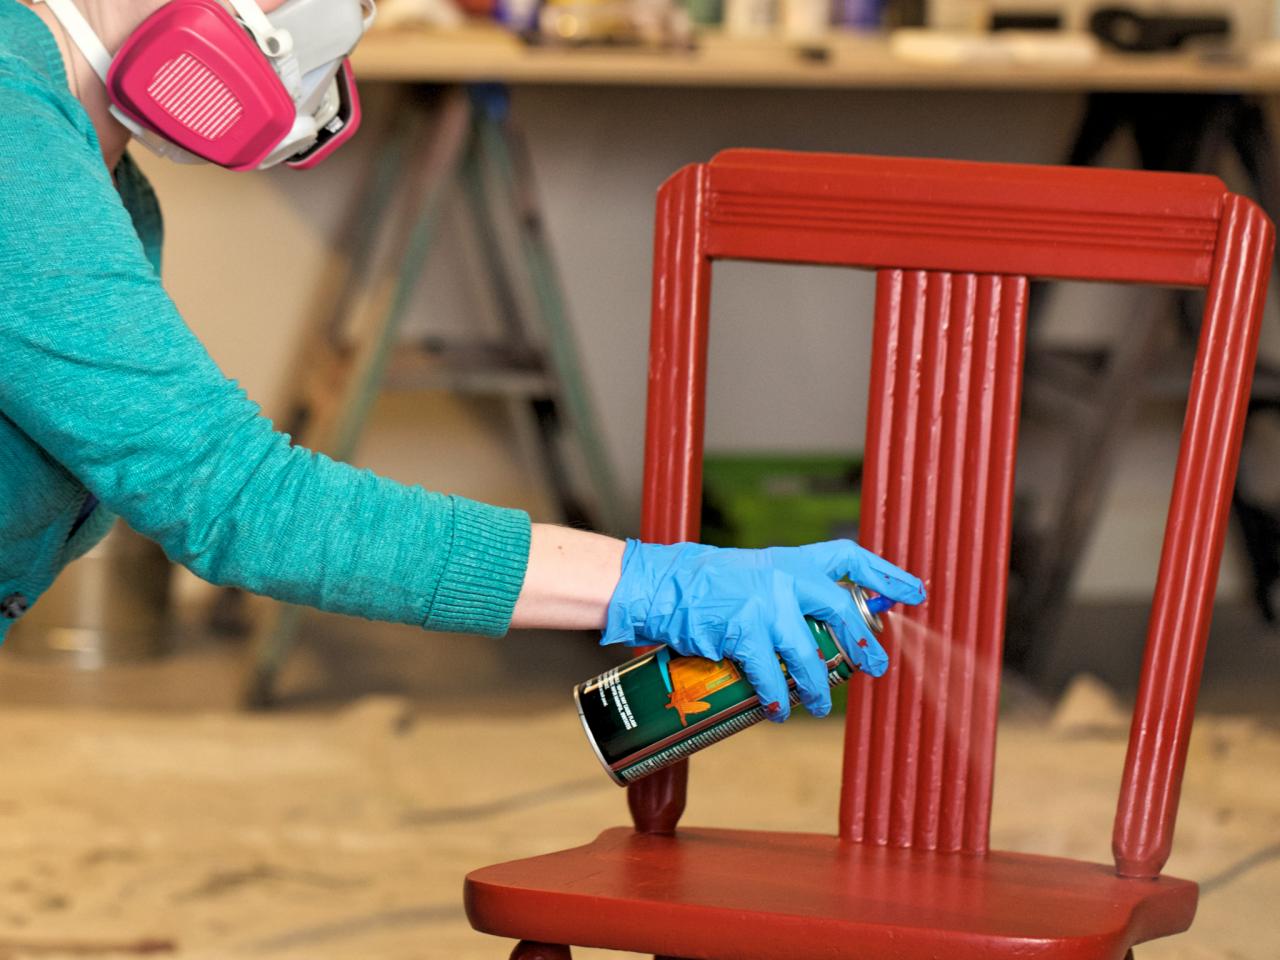
- Consider applying a protective leather conditioner to the surface of the newly replaced seat. This will help moisturize and maintain the leather’s quality over time.
- Regularly clean and dust your dining chairs to preserve the appearance and condition of the leather seats. Use a soft cloth or brush to remove any dirt or debris, and avoid using harsh chemicals that may damage the leather.
- Avoid exposing the leather seats to direct sunlight, as prolonged exposure can cause the leather to fade and deteriorate. If necessary, use window coverings or position the dining chairs away from direct sunlight.
- Incorporate chair pads or cushions to provide extra comfort and protect the leather seats from excessive wear and tear.
- Lastly, consider rotating the dining chairs periodically to ensure even usage and prevent one seat from wearing out more quickly than the others.
By following these finishing touches and maintenance tips, you can keep your newly replaced leather seats looking pristine and extend their lifespan.
Congratulations! You have successfully replaced the leather seat of your dining chair and transformed its appearance. Now, you can enjoy comfortable and stylish dining experiences for years to come.
We hope you found this guide helpful. Happy dining!
Conclusion
In conclusion, replacing the leather seat of a dining chair is a rewarding project that can breathe new life into worn-out chairs. By following the step-by-step instructions outlined in this guide, you can successfully replace the leather seat and create a fresh and luxurious seating surface.
From removing the old leather seat to preparing and attaching the new seat cushion, each step is crucial in achieving a professional and comfortable result. Taking the time to secure the seat to the dining chair frame and adding the finishing touches ensures a stable and visually appealing final product.
Remember to maintain your newly replaced leather seats by regularly cleaning and dusting them, avoiding direct sunlight, and applying leather conditioner as needed. By following these maintenance tips, you can preserve the quality and appearance of the leather seats for years to come.
So, why spend money on new dining chairs when you can revitalize the ones you already have? With just a few simple steps, you can transform your dining chairs into elegant and inviting pieces that enhance your dining experience.
We hope you found this guide helpful and inspiring. Enjoy your beautifully replaced leather seats and the comfort they provide as you gather around the dining table with family and friends.
Happy chair makeover!
Frequently Asked Questions about How To Replace The Leather Seat Of A Dining Chair
Was this page helpful?
At Storables.com, we guarantee accurate and reliable information. Our content, validated by Expert Board Contributors, is crafted following stringent Editorial Policies. We're committed to providing you with well-researched, expert-backed insights for all your informational needs.


0 thoughts on “How To Replace The Leather Seat Of A Dining Chair”