Home>Renovation & DIY>Home Renovation Guides>How To Regrout Kitchen Backsplash

Home Renovation Guides
How To Regrout Kitchen Backsplash
Modified: February 18, 2024
Learn how to regrout your kitchen backsplash with our comprehensive home renovation guide. Follow our expert tips for a successful DIY project.
(Many of the links in this article redirect to a specific reviewed product. Your purchase of these products through affiliate links helps to generate commission for Storables.com, at no extra cost. Learn more)
Introduction
Regrouting a kitchen backsplash is a crucial aspect of maintaining the aesthetic appeal and structural integrity of your kitchen. Over time, the grout between the tiles can become discolored, cracked, or even moldy, detracting from the overall beauty of the space. By learning how to regrout your kitchen backsplash, you can revitalize the appearance of your kitchen and ensure that the area remains hygienic and well-maintained.
The process of regrouting involves removing the old, worn-out grout and replacing it with fresh grout, effectively rejuvenating the entire backsplash. This not only enhances the visual appeal of the kitchen but also provides a protective barrier against moisture and dirt, thereby prolonging the lifespan of the tiles and preventing potential water damage.
Regrouting your kitchen backsplash is a rewarding endeavor that allows you to take control of the upkeep of your home. It provides an opportunity to infuse a new sense of vibrancy into your kitchen, transforming it into a space that exudes cleanliness and charm. Whether you are a seasoned DIY enthusiast or a novice homeowner eager to embark on a home improvement project, regrouting the kitchen backsplash is a manageable task that yields impressive results.
In this comprehensive guide, we will walk you through the step-by-step process of regrouting your kitchen backsplash, from assessing the condition of the grout to applying the new grout and carrying out the finishing touches. By following these instructions and tips, you will be equipped with the knowledge and confidence to tackle this project with ease, ultimately elevating the allure and functionality of your kitchen. So, roll up your sleeves and get ready to breathe new life into your kitchen backsplash!
Key Takeaways:
- Revitalize your kitchen by regrouting the backsplash. Assess, remove old grout, clean, prepare, and apply new grout for a fresh, clean look. Maintain with sealing, polishing, and regular care for lasting beauty.
- Regrouting your kitchen backsplash is a manageable DIY project that yields impressive results. Take control of your home’s upkeep and infuse new vibrancy into your kitchen space.
Read more: How To Regrout Tile Floor
Assessing the Condition of the Grout
The first step in the regrouting process is to thoroughly assess the condition of the existing grout in your kitchen backsplash. This critical evaluation will provide insight into the extent of wear and damage, guiding you in determining the necessary course of action. Here's how to effectively assess the condition of the grout:
-
Visual Inspection: Begin by visually examining the grout lines between the tiles. Look for signs of discoloration, cracks, or areas where the grout has become recessed or crumbled. Discolored grout may indicate the presence of mold or mildew, while cracks and recessed areas can signify structural weaknesses.
-
Tactile Examination: Gently run your fingers along the grout lines to feel for any irregularities. Pay attention to areas that feel rough or powdery, as these are indicative of deteriorating grout.
-
Moisture Assessment: Check for any areas where the grout appears damp or discolored, as this could indicate water infiltration behind the tiles. Moisture can compromise the integrity of the grout and lead to more severe issues if left unaddressed.
-
Grout Integrity: Assess the overall integrity of the grout by tapping on it lightly with a small tool or the handle of a screwdriver. Solid, well-maintained grout will produce a firm, consistent sound, while compromised grout may sound hollow or produce a dull thud.
By conducting a comprehensive assessment of the grout, you will gain a clear understanding of its condition and the specific areas that require attention. This evaluation will serve as the foundation for the subsequent steps in the regrouting process, empowering you to proceed with confidence and precision. Remember, a thorough assessment is key to achieving optimal results when regrouting your kitchen backsplash.
Removing the Old Grout
Removing the old grout is a crucial phase in the regrouting process, as it sets the stage for the application of fresh grout. This step requires patience and precision to ensure that the old grout is completely eradicated, allowing for a clean and stable foundation for the new grout. Here's a detailed guide on how to effectively remove the old grout from your kitchen backsplash:
-
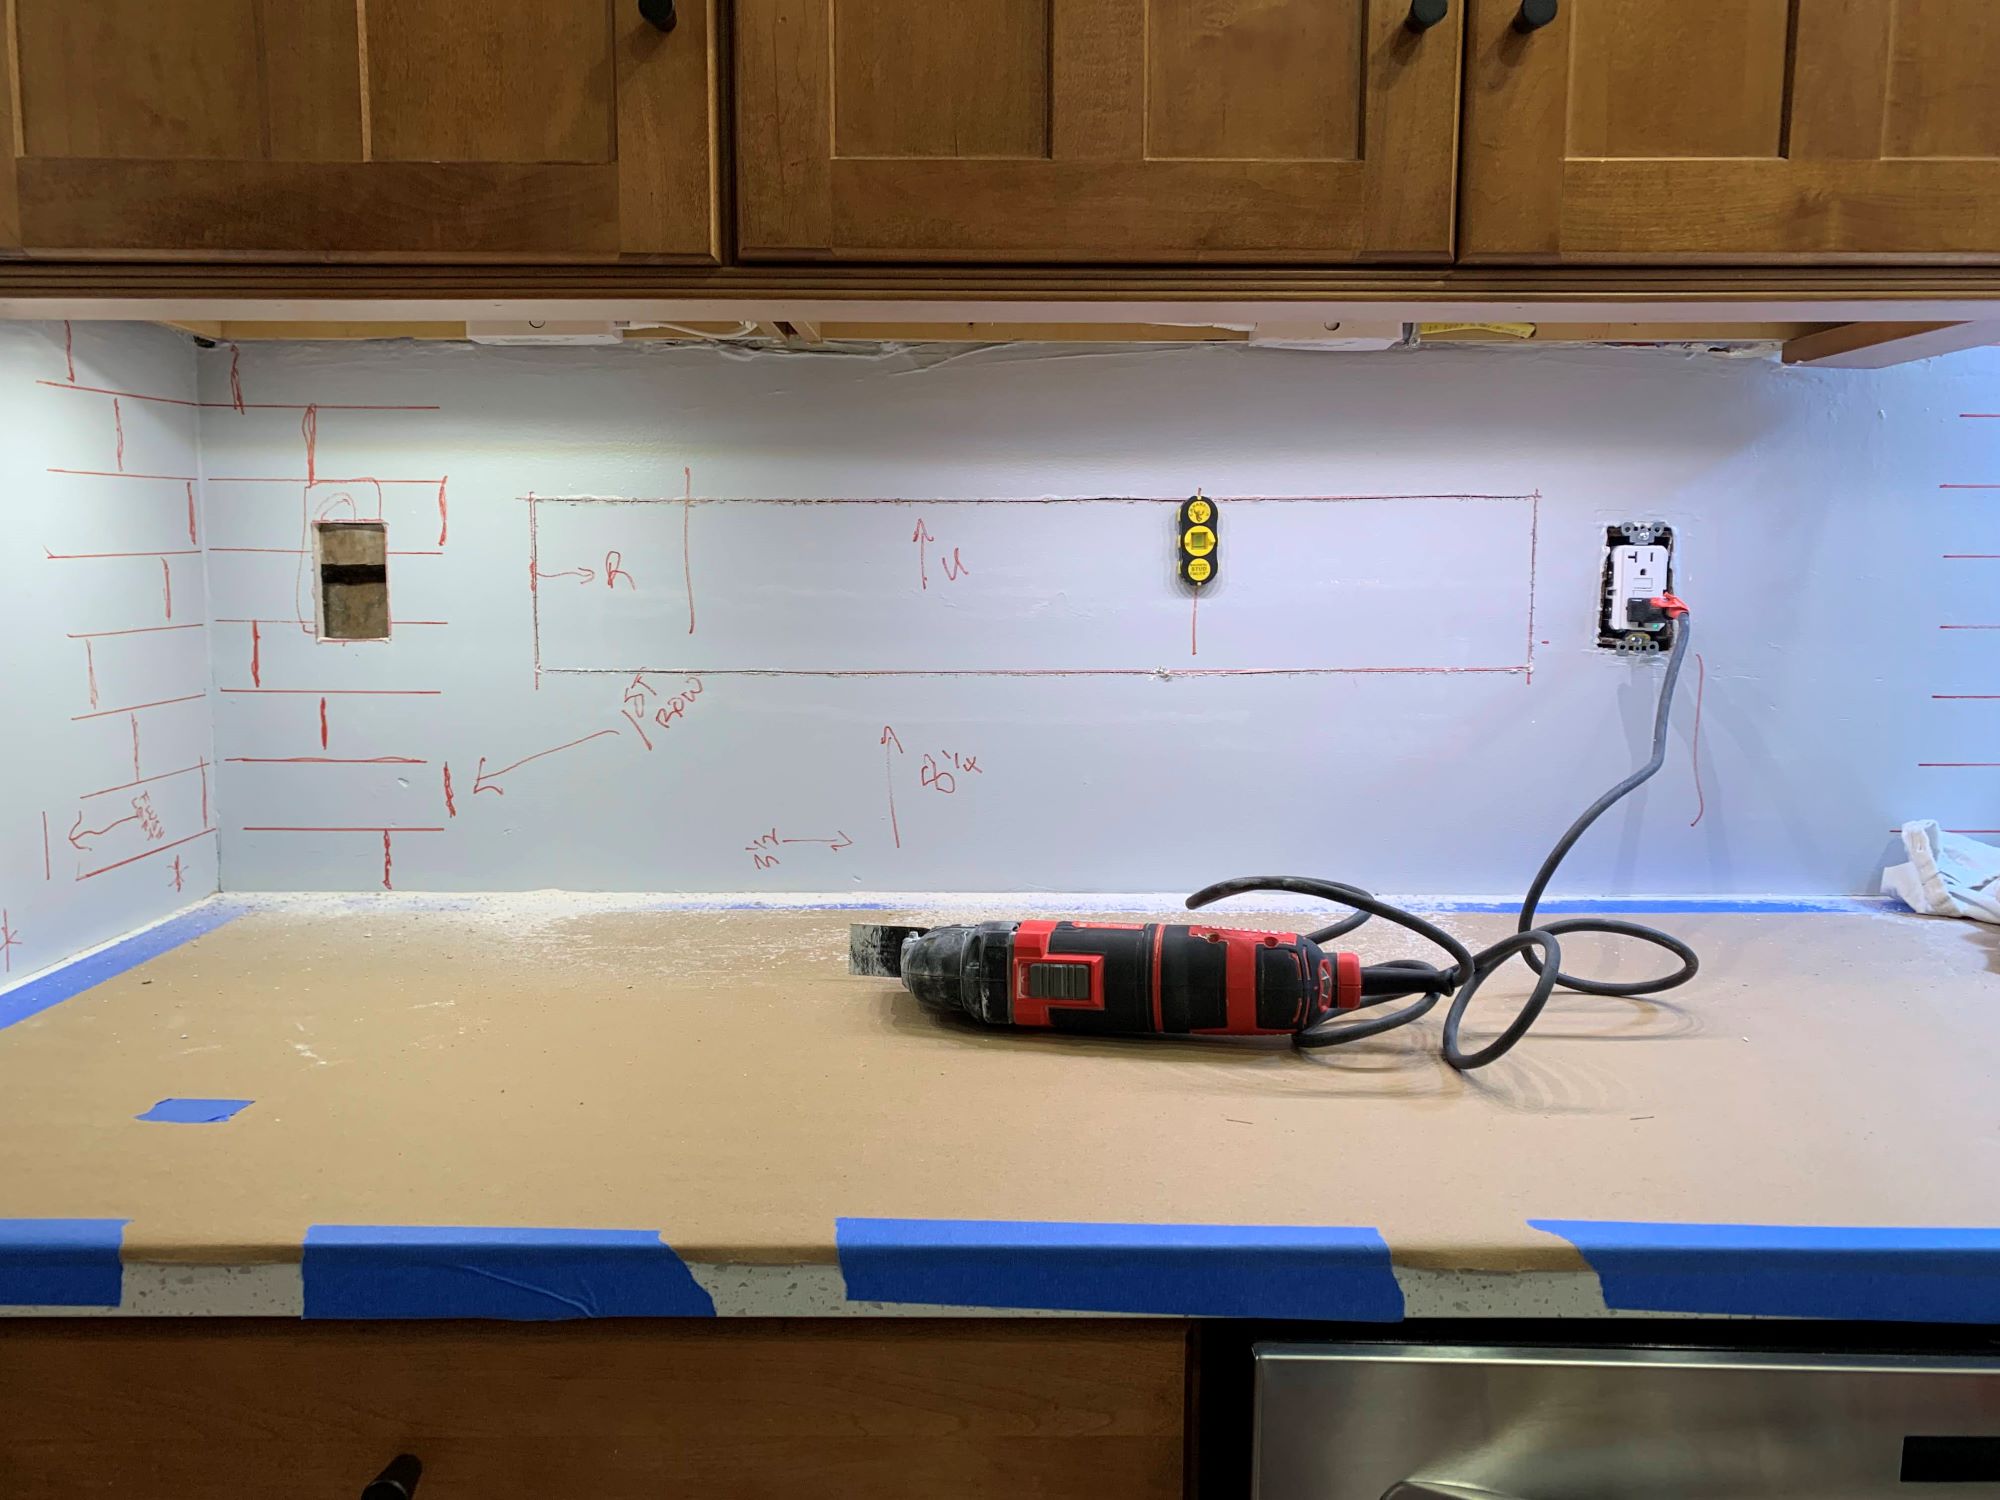
Gather the Necessary Tools: Before commencing the grout removal, gather the essential tools required for the task. These may include a grout saw, rotary tool with a grout removal attachment, utility knife, and safety goggles. Additionally, it's advisable to use a dust mask to minimize inhalation of grout dust.
-
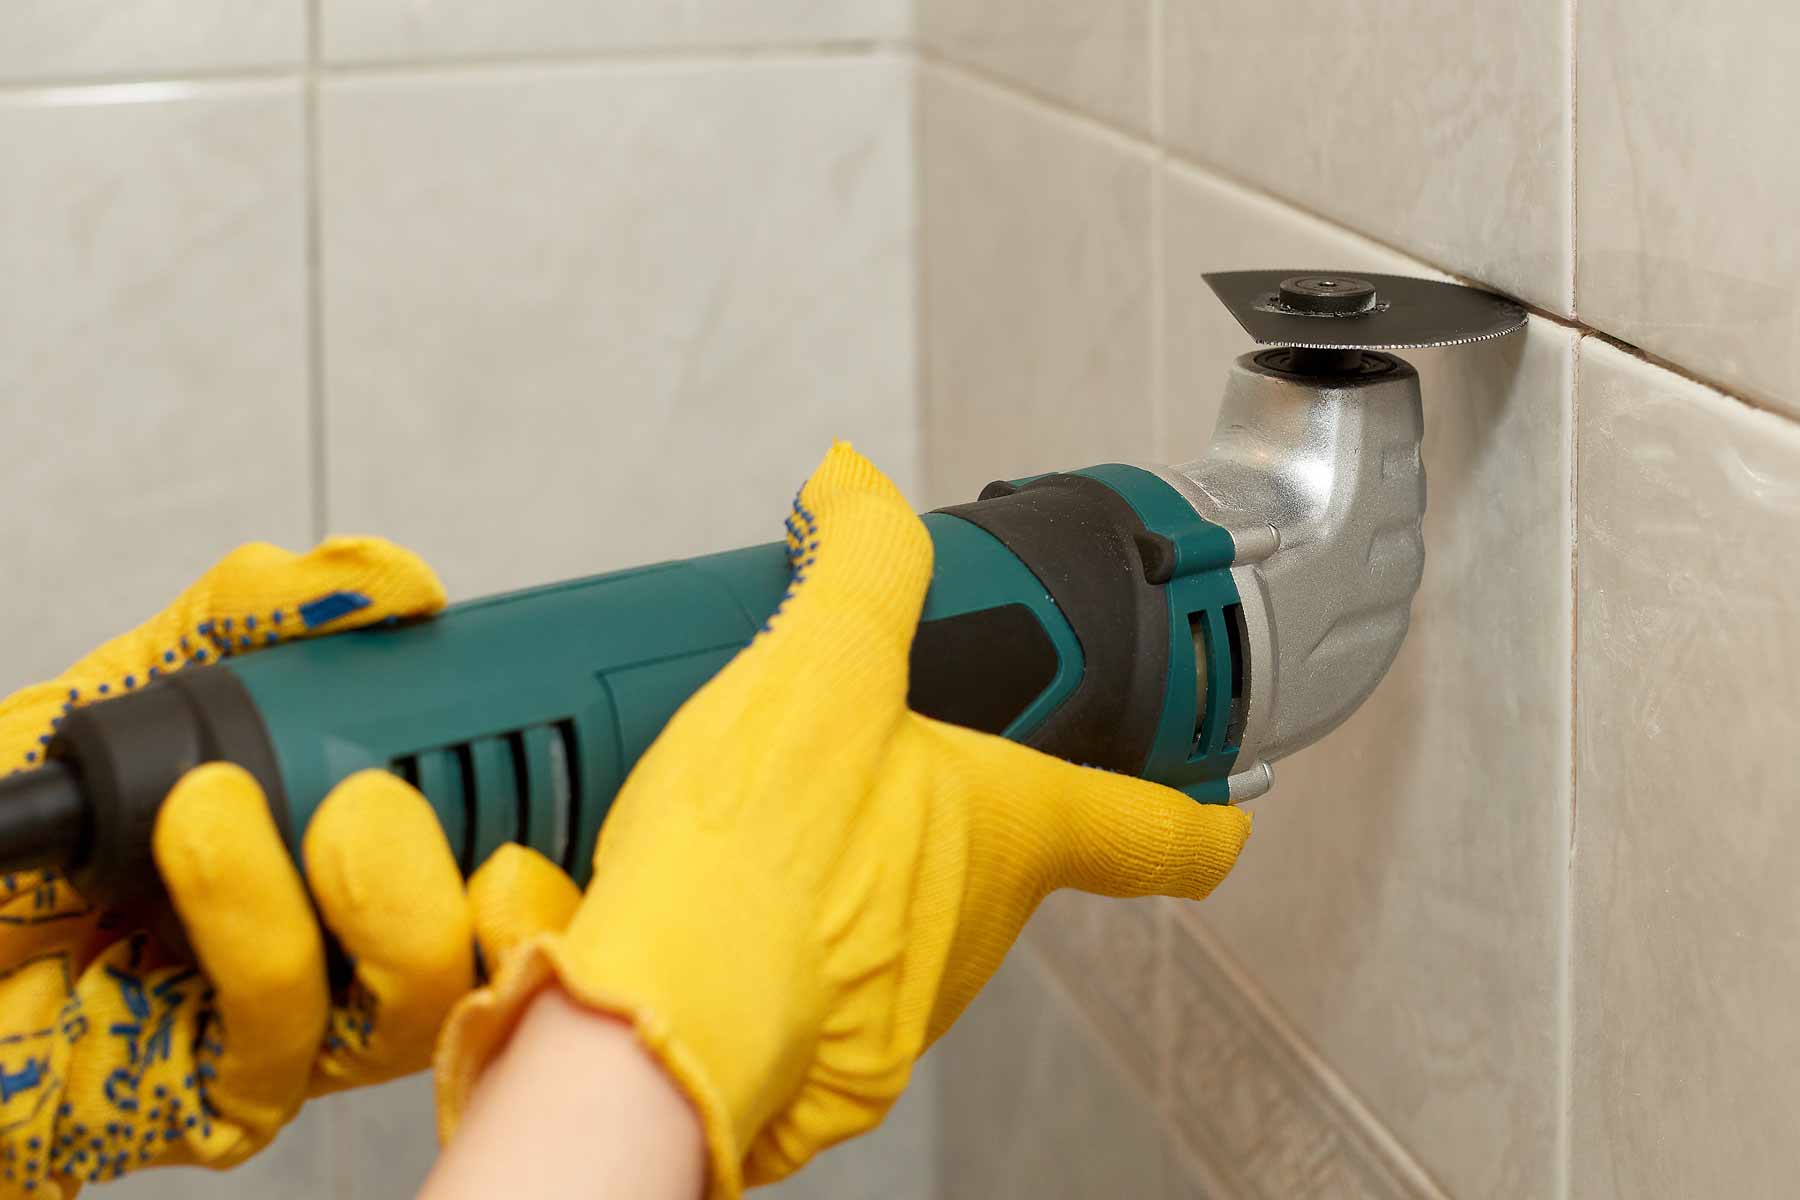
Score the Grout: Using a grout saw or a rotary tool with a grout removal attachment, carefully score the old grout along the grout lines. Exercise caution to avoid damaging the tiles. The goal is to create shallow grooves in the grout, facilitating its subsequent removal.
-
Precision with the Utility Knife: For areas where the grout lines are narrow or intricate, a utility knife can be employed to delicately score and remove the grout. Exercise patience and precision to avoid accidental damage to the surrounding tiles.
-
Grout Removal: Once the grout has been scored, use the grout saw or rotary tool to carefully remove the scored grout. Work methodically, ensuring that all the old grout is completely cleared from the grout lines. Take care to avoid applying excessive pressure, as this can lead to tile damage.
-
Clean the Area: After removing the old grout, thoroughly clean the area to eliminate any remaining grout dust and debris. A vacuum cleaner or a small brush can be used to ensure that the surface is free from loose particles.
-
Inspect for Residual Grout: Conduct a meticulous inspection to identify any residual grout that may have been missed during the removal process. Address any remaining grout to ensure that the surface is entirely prepared for the application of new grout.
By meticulously following these steps, you can effectively remove the old grout from your kitchen backsplash, paving the way for the subsequent stages of the regrouting process. This meticulous approach ensures that the new grout will adhere securely and contribute to a rejuvenated and visually appealing kitchen backsplash.
Cleaning the Surface
Cleaning the surface is a critical step in the regrouting process, as it ensures that the area is free from any residual grout, dust, or debris, thereby creating an optimal environment for the application of new grout. A meticulously cleaned surface not only promotes strong adhesion of the new grout but also contributes to the overall aesthetic appeal of the kitchen backsplash. Here's a detailed guide on how to effectively clean the surface in preparation for regrouting:
-
Thorough Debris Removal: Begin by thoroughly removing any remaining grout dust and debris from the grout lines and tile surfaces. A vacuum cleaner with a small brush attachment can be used to gently suction away loose particles, ensuring that the surface is free from any impediments to the regrouting process.
-
Damp Cleaning: Prepare a solution of warm water and mild detergent. Using a clean sponge or cloth, dampen the surface with the solution and gently scrub the grout lines and tiles. This process helps to eliminate any lingering grout residue and prepares the surface for the application of new grout.
-
Rinsing: After scrubbing the surface with the detergent solution, thoroughly rinse the area with clean water. This step is crucial in removing any residual detergent and ensuring that the surface is free from any cleaning product residue.
-
Drying: Allow the cleaned surface to dry completely before proceeding with the application of new grout. Adequate drying time is essential to ensure that the new grout adheres effectively and that the overall regrouting process yields durable and visually appealing results.
-
Final Inspection: Once the surface is dry, conduct a final inspection to ensure that it is free from any remaining debris, grout dust, or cleaning product residue. This meticulous inspection serves to confirm that the surface is impeccably clean and ready for the next phase of the regrouting process.
By diligently following these cleaning steps, you can prepare the surface of your kitchen backsplash for the application of new grout with confidence and precision. A clean and well-prepared surface sets the stage for a successful regrouting endeavor, ultimately contributing to the revitalization of your kitchen space.
Preparing the New Grout
Preparing the new grout is a pivotal stage in the regrouting process, as it involves the meticulous mixing of grout to achieve the ideal consistency for application. This step demands attention to detail and precision to ensure that the new grout adheres effectively and contributes to a durable and visually appealing finish. Here's a comprehensive guide on how to prepare the new grout for your kitchen backsplash regrouting project:
-
Selecting the Grout: Begin by selecting a high-quality grout that is suitable for use in kitchen environments. Consider factors such as color, texture, and water resistance to ensure that the chosen grout aligns with your aesthetic preferences and functional requirements.
-
Measuring the Grout: Accurately measure the amount of grout needed based on the dimensions of your kitchen backsplash. Follow the manufacturer's instructions regarding the grout-to-water ratio to achieve the desired consistency.
-
Mixing the Grout: In a clean mixing container, pour the appropriate amount of grout powder. Gradually add the recommended amount of water while stirring continuously. Use a margin trowel or a grout-mixing tool to achieve a smooth and lump-free consistency. It's essential to mix the grout thoroughly to ensure uniformity and optimal performance.
-
Resting Period: Allow the mixed grout to rest for a few minutes as per the manufacturer's instructions. This resting period allows the grout components to fully combine and attain the ideal texture for application.
-
Rechecking the Consistency: After the resting period, recheck the consistency of the grout. It should have a smooth, creamy texture that is easy to spread but not overly runny. Adjust the consistency by adding small amounts of water or grout powder as needed to achieve the desired texture.
-
Avoid Overmixing: It's important to avoid overmixing the grout, as this can lead to air entrapment and affect its performance. Aim to achieve a consistent texture without overworking the mixture.
By meticulously following these steps, you can effectively prepare the new grout for application, setting the stage for the subsequent phase of regrouting your kitchen backsplash. A well-prepared grout mixture ensures that the application process proceeds smoothly and contributes to the overall rejuvenation of your kitchen space.
Read more: How To Regrout Countertops
Applying the New Grout
With the old grout removed and the surface meticulously cleaned, the stage is set for the application of the new grout, a pivotal step that will breathe new life into your kitchen backsplash. The process of applying the new grout demands precision, patience, and attention to detail to ensure a seamless and visually appealing finish. Here's a comprehensive guide on how to effectively apply the new grout to rejuvenate your kitchen backsplash:
-
Grout Application Tools: Before commencing the grout application, gather the necessary tools, including a rubber grout float, grout sponge, and a bucket of clean water. These tools are essential for achieving a smooth and uniform grout application.
-
Loading the Grout Float: Using the rubber grout float, scoop an adequate amount of prepared grout onto the float's surface. Ensure that the grout is evenly distributed across the float, allowing for consistent application.
-
Applying the Grout: Hold the grout float at a 45-degree angle and firmly press the grout into the grout lines, ensuring complete coverage and filling any gaps. Work in small sections to prevent the grout from drying out before it can be properly smoothed.
-
Smoothing the Grout: Once the grout is applied, hold the grout float at a nearly flat angle and use it to smooth the surface, removing excess grout and creating a level finish. Work diagonally across the tiles to ensure that the grout is evenly distributed and the grout lines are filled to the appropriate level.
-
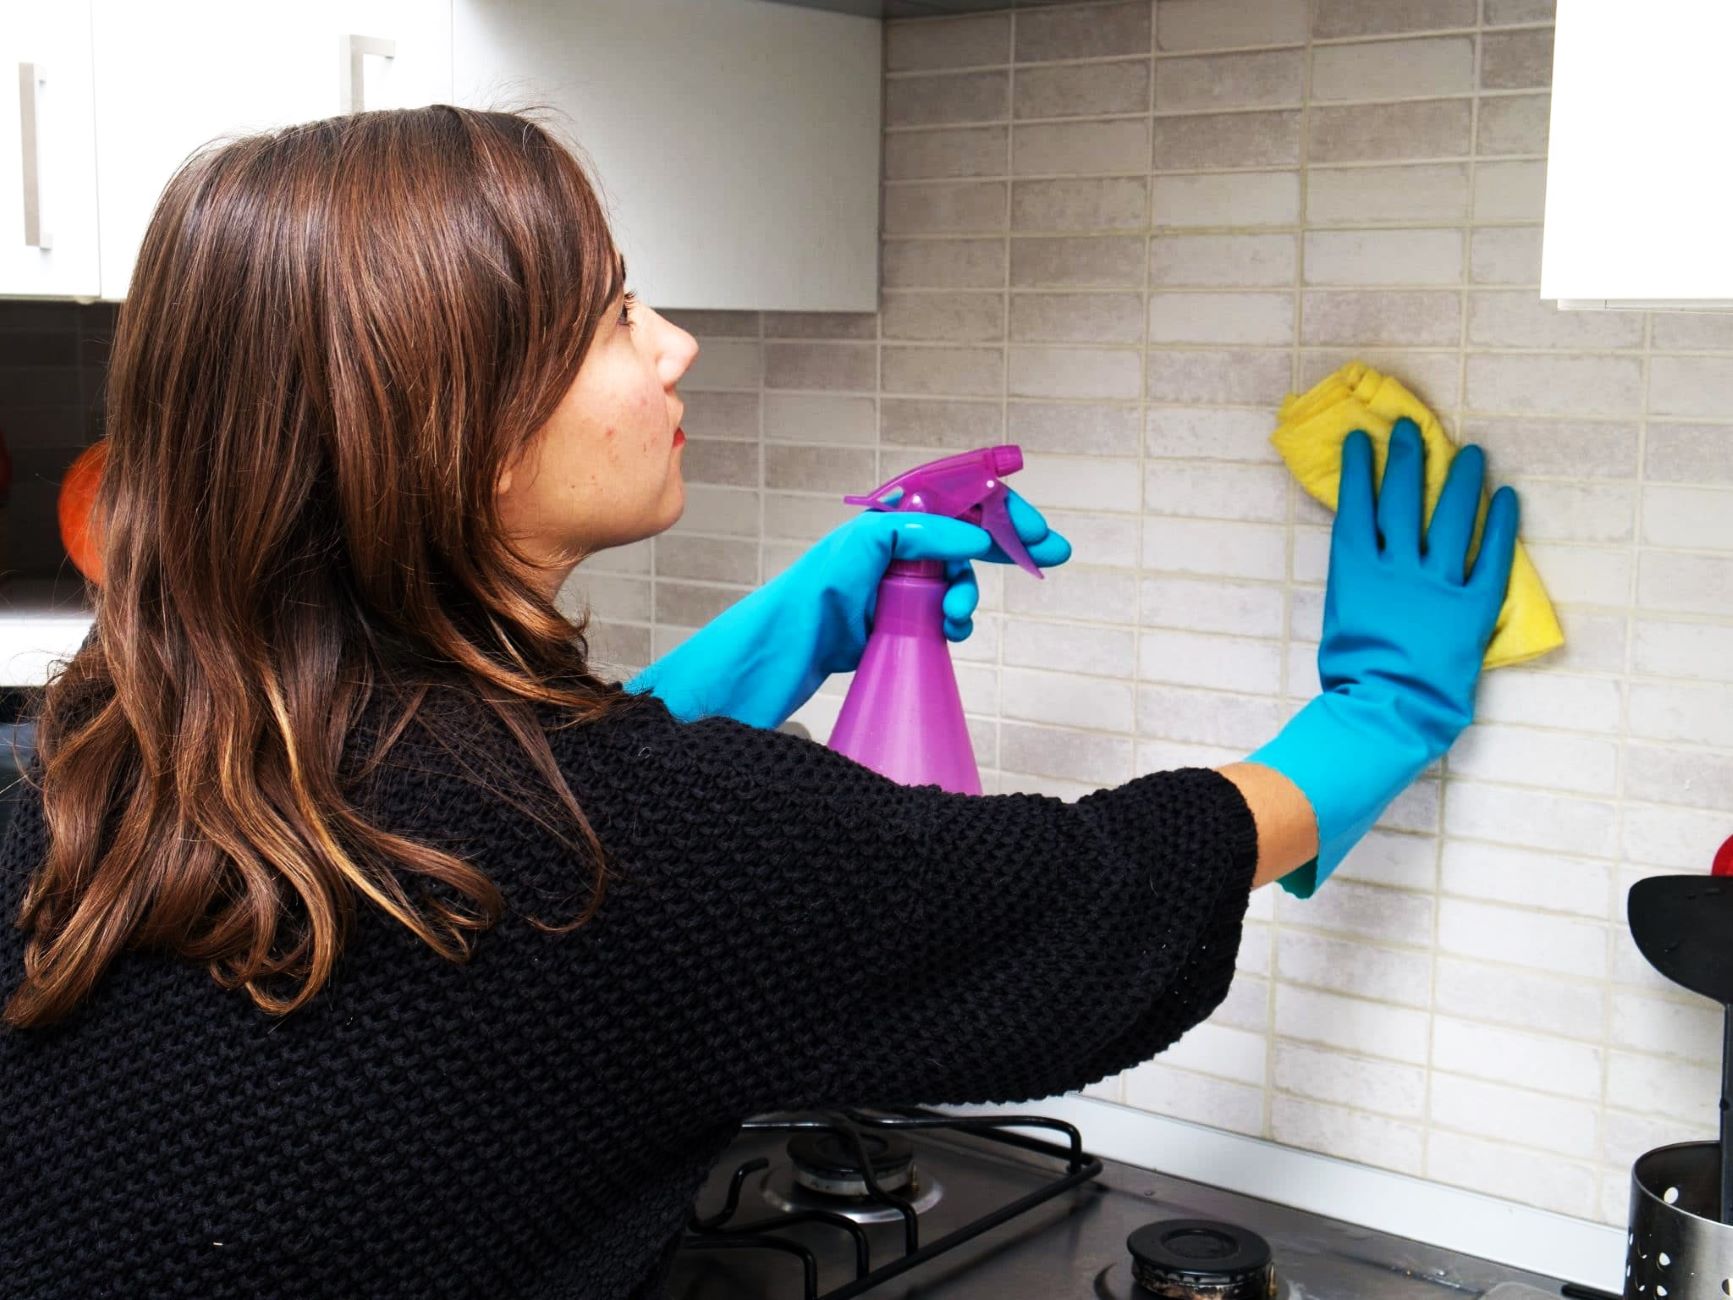
Initial Cleaning: After applying the grout to a section of the backsplash, use a damp grout sponge to gently clean the surface. Lightly wipe away excess grout from the tile surfaces while being careful not to remove grout from the lines. Rinse the sponge frequently and change the water as needed to maintain effectiveness.
-
Final Cleaning and Polishing: Once the initial cleaning is complete, allow the grout to set for the time recommended by the manufacturer. Then, perform a final cleaning and polishing of the tiles with a clean, damp sponge to remove any remaining grout haze and achieve a pristine finish.
By meticulously following these steps, you can effectively apply the new grout to your kitchen backsplash, contributing to a rejuvenated and visually appealing space. The application of new grout not only enhances the aesthetic appeal of the backsplash but also reinforces the structural integrity of the tiled surface, ensuring long-lasting beauty and functionality in your kitchen.
When regrouting a kitchen backsplash, make sure to remove the old grout completely before applying the new grout. Use a grout saw or rotary tool to carefully remove the old grout without damaging the tiles.
Finishing Touches and Maintenance
After completing the regrouting process, attention to finishing touches and ongoing maintenance is essential to ensure the longevity and visual appeal of your newly rejuvenated kitchen backsplash. This phase involves meticulous care and proactive measures to preserve the integrity of the grout and tiles, ultimately contributing to a pristine and enduring kitchen space.
Sealing the Grout
Once the new grout has fully cured as per the manufacturer's guidelines, consider applying a high-quality grout sealer to enhance its resistance to moisture, stains, and mold. The sealer acts as a protective barrier, safeguarding the grout against potential damage and discoloration, thereby prolonging its lifespan and maintaining a fresh appearance.
Polishing the Tiles
To elevate the overall aesthetic of the kitchen backsplash, consider polishing the tiles to achieve a lustrous and clean finish. A gentle tile cleaner and a soft cloth can be used to buff the tiles, removing any residual grout haze and enhancing their natural sheen. This simple yet effective step adds a touch of refinement to the backsplash, accentuating its visual allure.
Regular Maintenance
Establish a routine maintenance schedule to uphold the pristine condition of the regrouted kitchen backsplash. Regularly inspect the grout for any signs of wear, cracking, or discoloration, addressing any issues promptly to prevent deterioration. Additionally, incorporate gentle cleaning practices into your regular kitchen maintenance to preserve the cleanliness and vibrancy of the backsplash.
Preventative Measures
Implement preventative measures to safeguard the newly regrouted kitchen backsplash. Use trivets and coasters to protect the tiles from hot cookware and moisture, minimizing the risk of damage. Furthermore, promptly address any spills or splatters to prevent staining and maintain the impeccable appearance of the backsplash.
Ongoing Care
Stay proactive in caring for your regrouted kitchen backsplash, addressing any maintenance needs promptly and consistently. By maintaining a proactive approach to care and maintenance, you can ensure that your kitchen backsplash remains a focal point of cleanliness and elegance, enriching the overall ambiance of your kitchen space.
By attending to these finishing touches and embracing ongoing maintenance practices, you can preserve the beauty and functionality of your regrouted kitchen backsplash, ensuring that it continues to exude charm and durability for years to come.
Frequently Asked Questions about How To Regrout Kitchen Backsplash
Was this page helpful?
At Storables.com, we guarantee accurate and reliable information. Our content, validated by Expert Board Contributors, is crafted following stringent Editorial Policies. We're committed to providing you with well-researched, expert-backed insights for all your informational needs.




0 thoughts on “How To Regrout Kitchen Backsplash”