Home>Articles>How To Remove A Toilet Paper Holder If The Set Screw Is Stripped

Articles
How To Remove A Toilet Paper Holder If The Set Screw Is Stripped
Modified: October 19, 2024
Learn how to remove a toilet paper holder if the set screw is stripped in this helpful article. Discover step-by-step instructions and tips for easy removal.
(Many of the links in this article redirect to a specific reviewed product. Your purchase of these products through affiliate links helps to generate commission for Storables.com, at no extra cost. Learn more)
Introduction
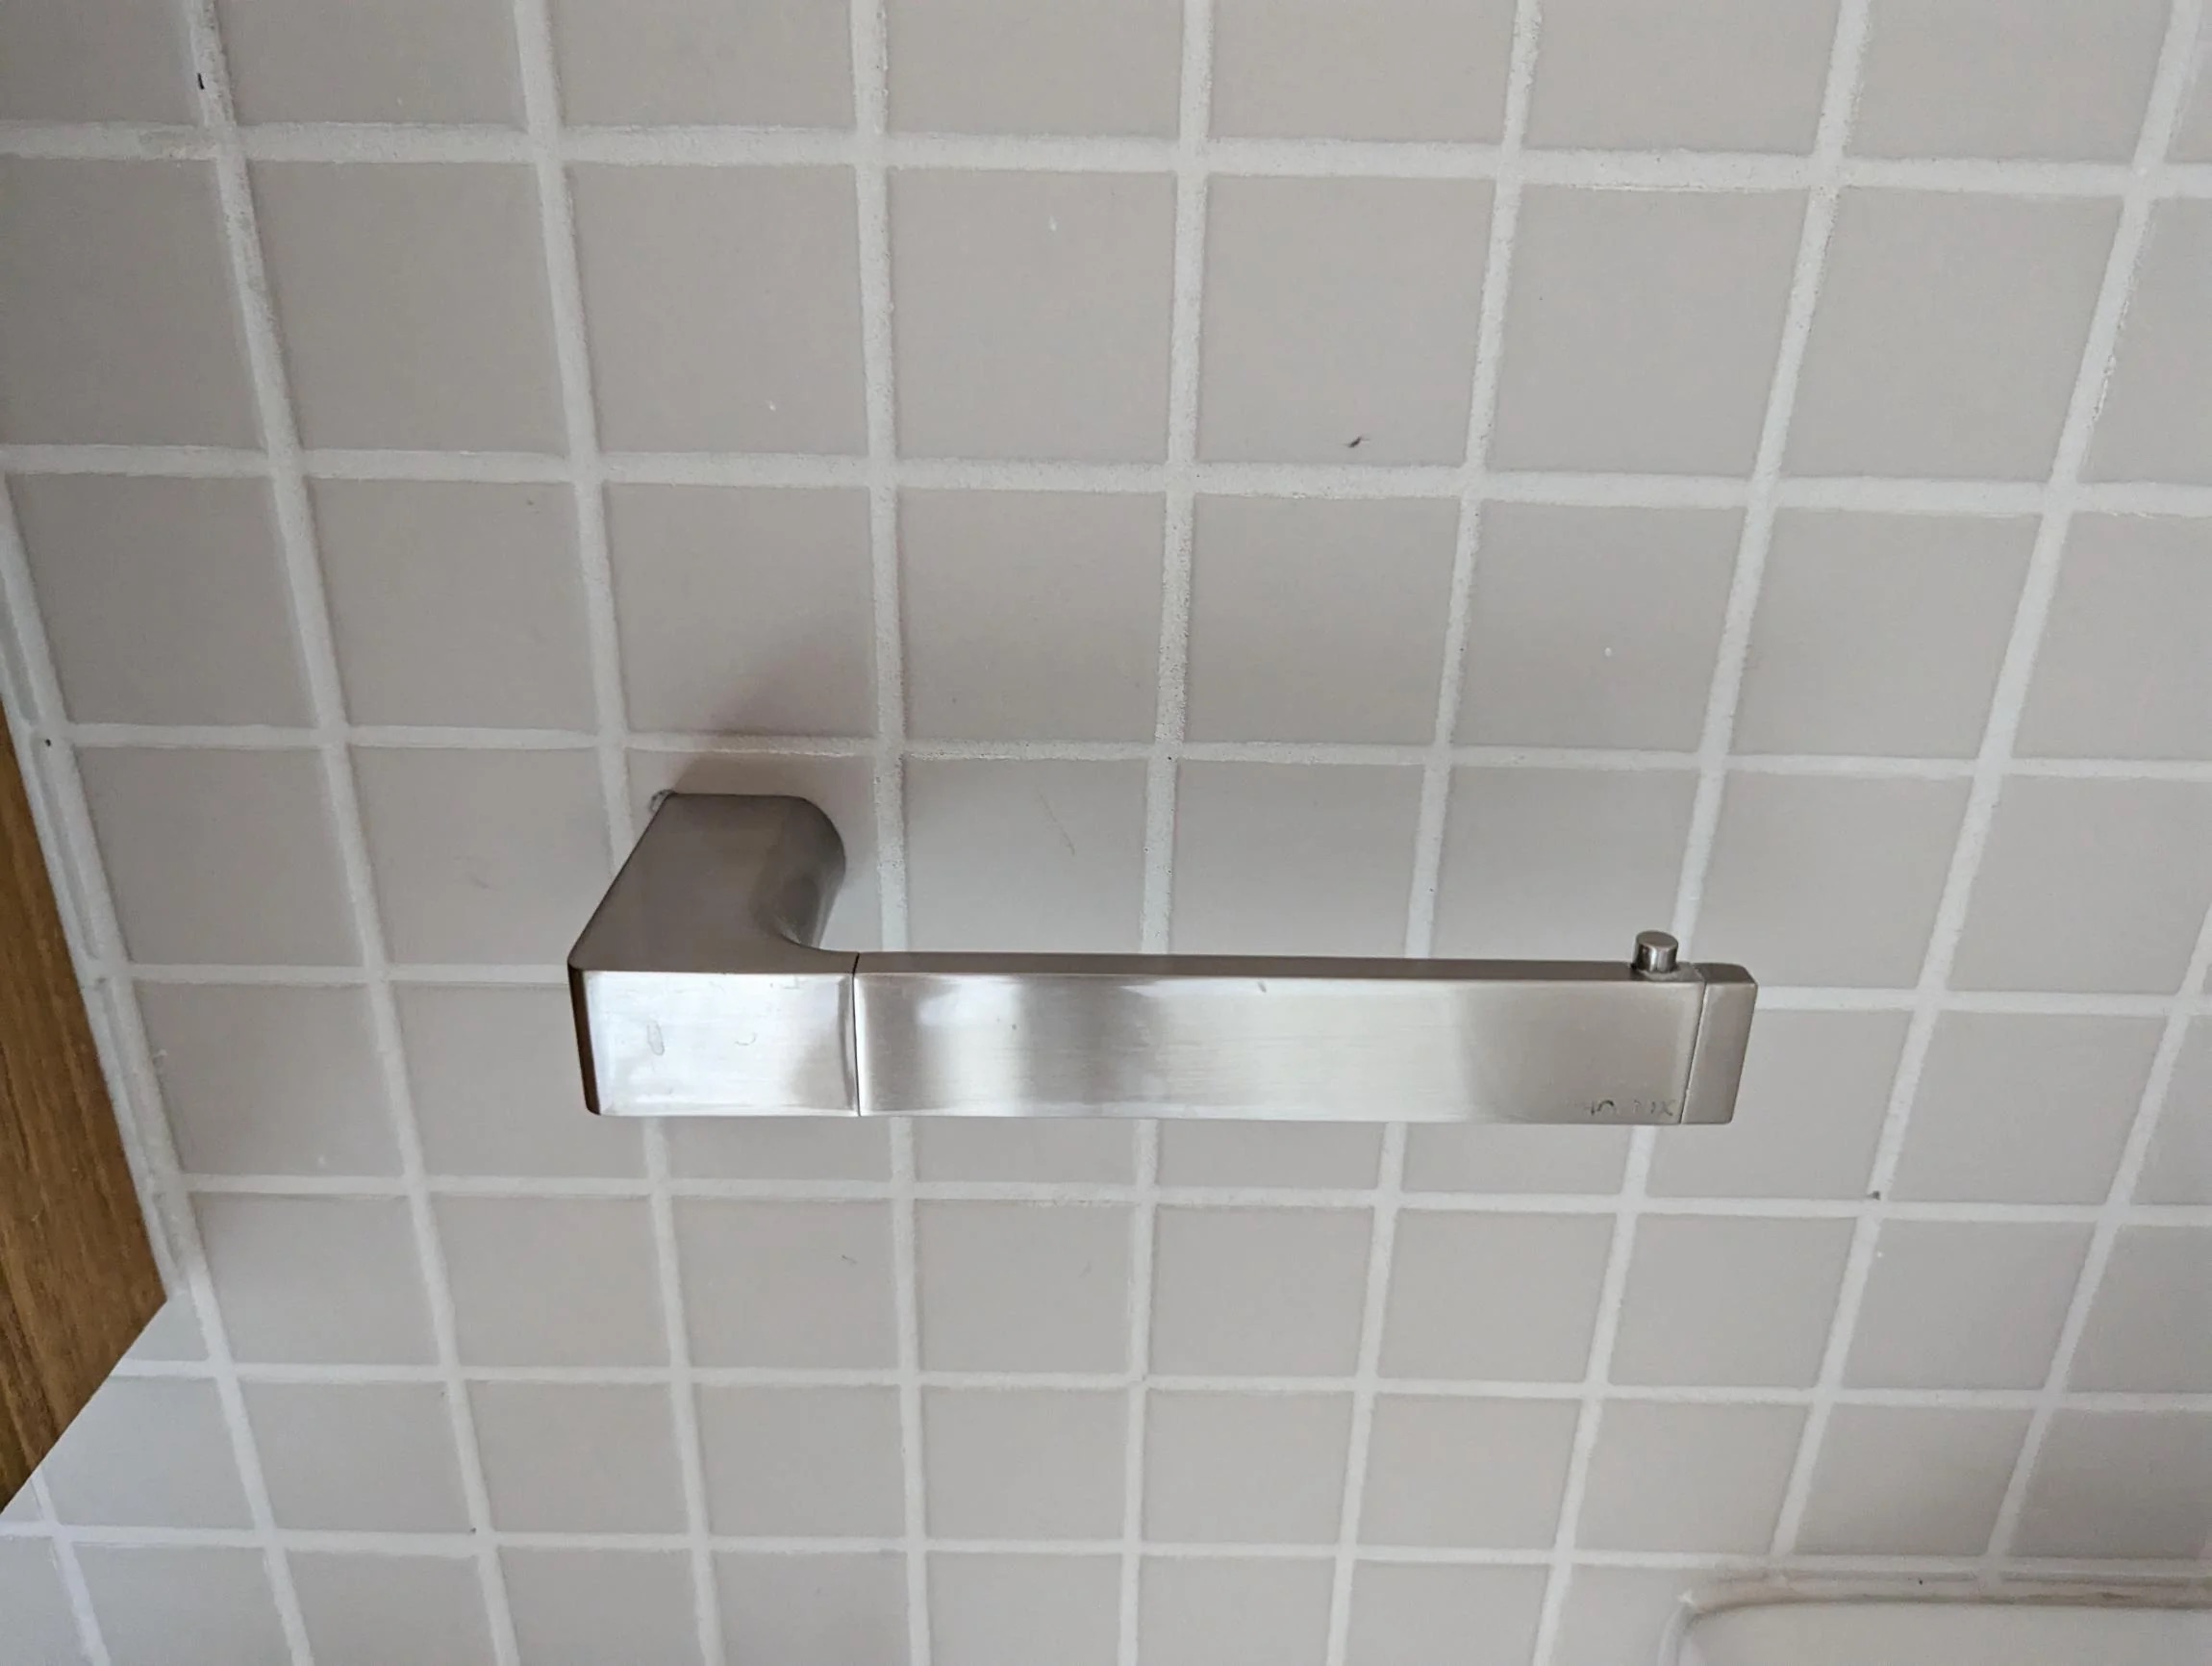
Removing a toilet paper holder can be a simple task, but it can become challenging when the set screw is stripped. A stripped set screw refers to a screw that has been damaged or worn down, making it difficult to grip or unscrew with a standard tool. However, there is no need to panic or call a professional plumber just yet. In this article, we will guide you through several methods to remove a toilet paper holder with a stripped set screw.
Having a functional toilet paper holder is essential for any bathroom, providing convenience and organization. Whether you are replacing an old holder or renovating your bathroom, understanding how to remove a toilet paper holder can save you time and money. So, let’s dive into the different methods you can try to remove that stubborn holder.
Key Takeaways:
- Don’t let a stripped set screw stop you – try using a rubber band, electric drill, hacksaw, or screw extractor to remove a toilet paper holder. Patience and caution are key!
- Gather the right tools and materials, and approach the removal process with care. If one method doesn’t work, try another until you successfully remove the stripped set screw.
Read more: How To Screw On Toilet Paper Holder
Understanding the Problem
Before we dive into the methods of removing a toilet paper holder with a stripped set screw, it’s important to understand the problem at hand. A stripped set screw can occur due to a variety of reasons. Over time, repeated use or improper handling can wear down the screw, making it difficult to unscrew. Additionally, the use of incorrect tools or excessive force can also contribute to the stripping of the set screw.
When the set screw is stripped, it means that the screw’s head no longer has any grip, making it challenging to loosen or remove. This can be frustrating, as it hinders your progress in replacing the toilet paper holder or performing any necessary repairs.
The good news is that there are several methods you can try to remove the toilet paper holder, even with a stripped set screw. These methods involve using simple tools and techniques, allowing you to tackle the problem with confidence and ease. Regardless of the method you choose, keep in mind that patience and a gentle approach will yield the best results.
Now that we have a better understanding of the problem, let’s move on to the tools and materials you will need for the removal process.
Tools and Materials Needed
Before attempting to remove a toilet paper holder with a stripped set screw, it’s important to gather the necessary tools and materials. Having these on hand will make the process much smoother and ensure that you have everything you need to successfully remove the holder. Here are the tools and materials you will need:
- Adjustable wrench
- Pliers
- Rubber band
- Electric drill
- Drill bits
- Hacksaw
- Screw extractor
- Protective gloves
Having these tools ready will help you navigate through the different methods and approaches to removing the toilet paper holder. It’s important to note that not all methods will require each tool or material, but having them available will give you flexibility in choosing the best approach for your situation.
Now that you have your tools and materials ready, let’s move on to the different methods you can use to remove the toilet paper holder with a stripped set screw.
Method 1: Using a Rubber Band
If you’re dealing with a stripped set screw on your toilet paper holder, one simple and effective method to try is using a rubber band. This method works by providing extra grip and traction to help loosen the set screw. Here’s how to do it:
- Start by stretching a rubber band tightly around the stripped set screw.
- Hold the rubber band in place, ensuring that it covers the entire head of the screw.
- Insert your screwdriver or Allen key into the set screw.
- Apply gentle pressure while turning the screwdriver counterclockwise.
- With the rubber band providing added traction, you should be able to loosen and remove the stripped set screw.
If the screw remains stuck, you can try applying some heat to the area with a hairdryer. The heat can help expand the metal, making it easier to remove the screw. Be sure to wear protective gloves to avoid burns while handling the hot surfaces.
Using a rubber band is a simple and accessible method that often yields good results. However, if you are unable to remove the stripped set screw with this method, you can move on to the next method using an electric drill.
Before proceeding, remember to always exercise caution and take safety precautions when using tools. Now, let’s explore the next method: using an electric drill.
Use a small hacksaw to carefully cut through the set screw. Be sure to protect the wall and surrounding area from any metal shavings. Once the screw is cut, the holder should be easy to remove.
Method 2: Using an Electric Drill
If the rubber band method didn’t work to remove the stripped set screw, you can try using an electric drill. This method involves drilling into the screw to create a new channel and loosen its grip. Here’s how to do it:
- Equip your electric drill with a drill bit that matches the size of the stripped set screw.
- Place the drill bit into the center of the screw head.
- Apply steady and gentle pressure as you begin drilling into the screw.
- Keep drilling until the drill bit has penetrated deep enough to create a new channel in the screw.
- Switch the drill to reverse mode and slowly turn the screw counterclockwise to remove it.
It’s important to be patient and not rush the drilling process. Apply consistent pressure and allow the drill bit to do the work. If the drill bit starts to slip or the screw remains stuck, you can try using a larger drill bit or a screw extractor for added effectiveness.
Keep in mind that this method will create a hole in the stripped set screw, so be prepared to replace the screw or find an alternative solution to secure your toilet paper holder once it’s removed.
If the electric drill method doesn’t work, don’t worry. There are still a couple of methods you can try to remove the stripped set screw. Let’s move on to Method 3 using a hacksaw.
Method 3: Using a Hacksaw
If the previous methods didn’t work, another effective approach to removing a toilet paper holder with a stripped set screw is using a hacksaw. This method involves cutting into the screw and creating a new groove to aid in loosening it. Here’s how to do it:
- Select a small hacksaw blade that can fit into the space around the stripped set screw.
- Carefully position the hacksaw blade against the side of the screw head.
- Apply light pressure and saw back and forth to create a new groove in the screw.
- Continue sawing until you have a sufficiently deep groove that allows for better grip.
- Using a pair of pliers, turn the screw counterclockwise to remove it from the toilet paper holder.
It’s important to exercise caution while using a hacksaw and work slowly to avoid damaging surrounding surfaces or the toilet paper holder itself. Remember to wear protective gloves to protect your hands during the process.
If the hacksaw method still doesn’t yield successful results, you can proceed to the final method using a screw extractor.
Before moving on, it’s worth noting that using a hacksaw may leave behind a damaged set screw. In such cases, it’s advisable to replace the screw with a new one to ensure a secure and functional toilet paper holder.
Now, let’s explore the final method: using a screw extractor.
Method 4: Using a Screw Extractor
If previous methods haven’t been successful, you can try using a screw extractor as a last resort. A screw extractor is a specialized tool designed to remove stripped or damaged screws. Here’s how to use a screw extractor to remove a stripped set screw from a toilet paper holder:
- Select a screw extractor that is suitable for the size of the stripped set screw.
- Using an electric drill, create a small pilot hole in the center of the stripped set screw.
- Attach the appropriate-sized screw extractor to the electric drill.
- Insert the screw extractor into the pilot hole and apply gentle pressure to grip the screw.
- Switch the electric drill to reverse mode and slowly and steadily turn counterclockwise.
- The screw extractor will thread into the screw and loosen it, allowing you to remove it from the toilet paper holder.
It’s important to be gentle and patient while using a screw extractor to avoid further damaging the set screw or the toilet paper holder. If the screw extractor slips or doesn’t grip the screw properly, you may need to try a different extractor size or consult a professional to assist with the removal process.
Once the stripped set screw is successfully removed, you can replace it with a new set screw or explore alternative methods for securing your toilet paper holder.
Remember to exercise caution when using tools and always wear protective gloves and eyewear to ensure your safety.
Now that we have covered the various methods for removing a toilet paper holder with a stripped set screw, let’s wrap up our discussion.
Conclusion
Removing a toilet paper holder with a stripped set screw may initially seem like a daunting task, but with the right methods and tools, it can be done successfully. Throughout this article, we have explored four different methods:
- Using a rubber band to provide extra grip on the stripped set screw.
- Using an electric drill to create a new channel in the screw.
- Using a hacksaw to cut a new groove in the screw.
- Using a screw extractor to grip and remove the stripped set screw.
It’s important to approach the removal process with patience and care, as rushing or using excessive force can lead to further damage. Remember to follow the instructions for each method closely and wear protective gear when necessary.
If one method doesn’t work, don’t get discouraged. Simply try another method until you are successful in removing the stripped set screw. If you are unsure or uncomfortable performing the task yourself, it’s always recommended to seek the assistance of a professional plumber.
Once the stripped set screw has been removed, you can proceed with replacing the toilet paper holder or making any necessary repairs or renovations in your bathroom.
Remember, prevention is key to avoiding stripped set screws in the future. Use the appropriate tools, apply proper force, and avoid over-tightening the set screw when installing or adjusting your toilet paper holder.
We hope this article has provided you with valuable insights and solutions for removing a toilet paper holder with a stripped set screw. With the right techniques, tools, and a bit of patience, you can successfully remove the stripped set screw and continue enjoying a functional and organized bathroom.
Frequently Asked Questions about How To Remove A Toilet Paper Holder If The Set Screw Is Stripped
Was this page helpful?
At Storables.com, we guarantee accurate and reliable information. Our content, validated by Expert Board Contributors, is crafted following stringent Editorial Policies. We're committed to providing you with well-researched, expert-backed insights for all your informational needs.

0 thoughts on “How To Remove A Toilet Paper Holder If The Set Screw Is Stripped”