
Articles
How To Remove Kitchen Cabinet
Modified: January 19, 2024
Learn the step-by-step process of removing kitchen cabinets and reclaim your space. Our guide covers everything you need to know about safely and efficiently removing your old kitchen furniture.
(Many of the links in this article redirect to a specific reviewed product. Your purchase of these products through affiliate links helps to generate commission for Storables.com, at no extra cost. Learn more)
Introduction
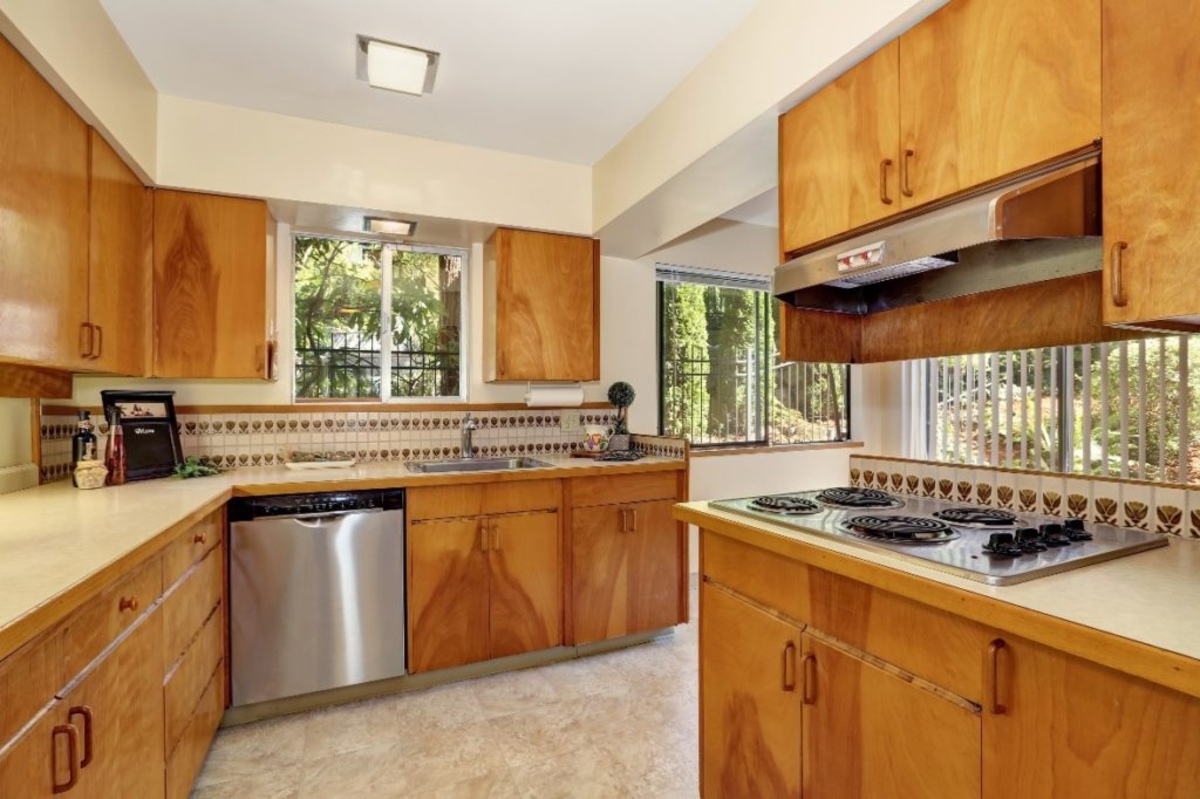
Are you tired of your old and outdated kitchen cabinets? Maybe you’re planning a kitchen renovation or simply want to update the look of your kitchen. Whatever the reason, removing kitchen cabinets can be a daunting task, especially if you’ve never done it before. But fear not, with the right tools and a little know-how, you can easily remove your kitchen cabinets and pave the way for a fresh and modern look.
In this guide, we will walk you through the step-by-step process of how to remove kitchen cabinets. From gathering the necessary tools to patching and repairing any damage left behind, we will cover everything you need to know to successfully tackle this DIY project.
Before we dive into the details, it’s important to note that removing kitchen cabinets involves some heavy lifting and potential risks. Always prioritize your safety by using proper lifting techniques, wearing protective gear, and seeking assistance if needed.
Now, let’s gather our tools and get started on transforming your kitchen!
Key Takeaways:
- Easily transform your kitchen by following a step-by-step process to safely remove old cabinets, prepare the space, and make necessary repairs for a fresh and modern look.
- Prioritize safety, gather the right tools, and take your time to successfully remove kitchen cabinets and pave the way for a new design vision to come to life.
Tools and Materials Needed
Before you begin the process of removing your kitchen cabinets, it’s important to gather all the necessary tools and materials. Here’s a comprehensive list to ensure you have everything you need:
- Screwdriver or power drill
- Hammer
- Pry bar
- Adjustable wrench
- Putty knife
- Protective gloves
- Safety glasses
- Dust mask
- Duct tape or painter’s tape
- Drop cloth or plastic sheeting
- Plastic bags or containers for hardware
- Bucket
- All-purpose cleaner
- Patching compound
- Sanding block or sandpaper
- Paint or stain (if planning to refinish the cabinets)
- Paintbrush or roller
Having these tools and materials readily available will make the process smoother and more efficient. It’s important to have the right tools to safely remove the cabinets and ensure minimal damage to the surrounding area.
Before you start, make sure to wear your protective gloves, safety glasses, and a dust mask to protect yourself from any potential hazards. Cover the floor and other surfaces with a drop cloth or plastic sheeting to catch any debris or paint chips during the removal process.
Now that you have all the necessary tools and materials, you’re ready to move on to the next step: preparation.
Preparation
Proper preparation is key to successfully removing your kitchen cabinets. Before you begin, follow these steps to ensure a smooth and efficient process:
- Clear out the cabinets: Empty all the contents from the cabinets, including dishes, utensils, and any other items. This will make the cabinets lighter and easier to handle.
- Turn off utilities: If your cabinets have any electrical outlets or plumbing fixtures connected to them, turn off the power and shut off the water supply to prevent any accidents.
- Mark the cabinets: Use a marker or painter’s tape to label each cabinet and drawer with a number or letter. This will help you remember the order in which they were removed for easier reinstallation later.
- Take measurements: Measure the dimensions of each cabinet, including the height, width, and depth. This will come in handy if you plan on replacing the cabinets or ordering new ones.
- Disconnect appliances: If your cabinets are connected to any appliances, such as a microwave or range hood, disconnect them according to the manufacturer’s instructions.
- Protect the surrounding area: Use duct tape or painter’s tape to cover the walls, countertops, and any other surfaces near the cabinets. This will prevent damage and make cleanup easier.
- Keep hardware organized: Remove any hardware, such as handles or hinges, from the cabinet doors and drawers. Place them in separate plastic bags or containers and label them accordingly. This will make reinstallation a breeze.
By following these preparation steps, you’ll ensure a smooth and organized removal process. Now that everything is in order, it’s time to move on to the next step: removing the cabinet doors.
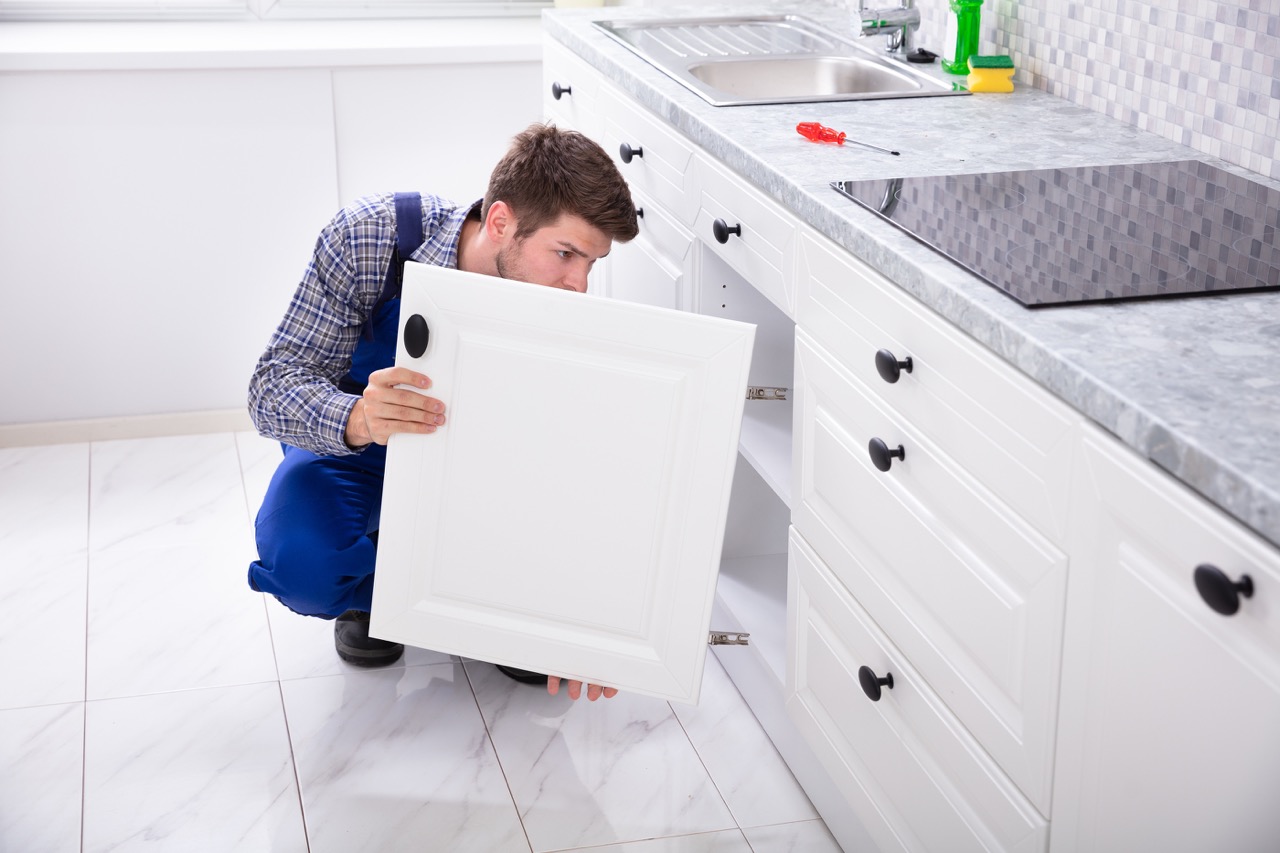
Removing the Cabinet Doors
Now that you’ve completed the necessary preparation, it’s time to start removing the cabinet doors. Follow these steps to remove them safely:
- Open the cabinet doors: Start by opening all the cabinet doors to gain access to the hinges and screws holding them in place.
- Support the doors: Enlist the help of a friend or use a sturdy prop to support the weight of the cabinet doors as you remove them. This will prevent any accidents or damage.
- Locate the hinges: Look for the hinges attaching the cabinet doors to the cabinet frames. They are typically located along the inner edge of the door.
- Remove the screws: Using a screwdriver or power drill, unscrew the hinges from the cabinet frames. Place the screws in a labeled plastic bag or container to keep them organized.
- Gently detach the doors: Once the screws are removed, carefully lift the cabinet door off the hinge pins. Keep a firm grip to avoid dropping the door or damaging the surrounding area.
- Repeat for all doors: Go through the process for each cabinet door until all of them are removed and safely set aside.
By following these steps, you’ll be able to remove the cabinet doors without any hassle. Remember to take your time and be careful to prevent any accidents or damage. Now that the doors are removed, it’s time to move on to the next step: detaching the cabinet boxes.
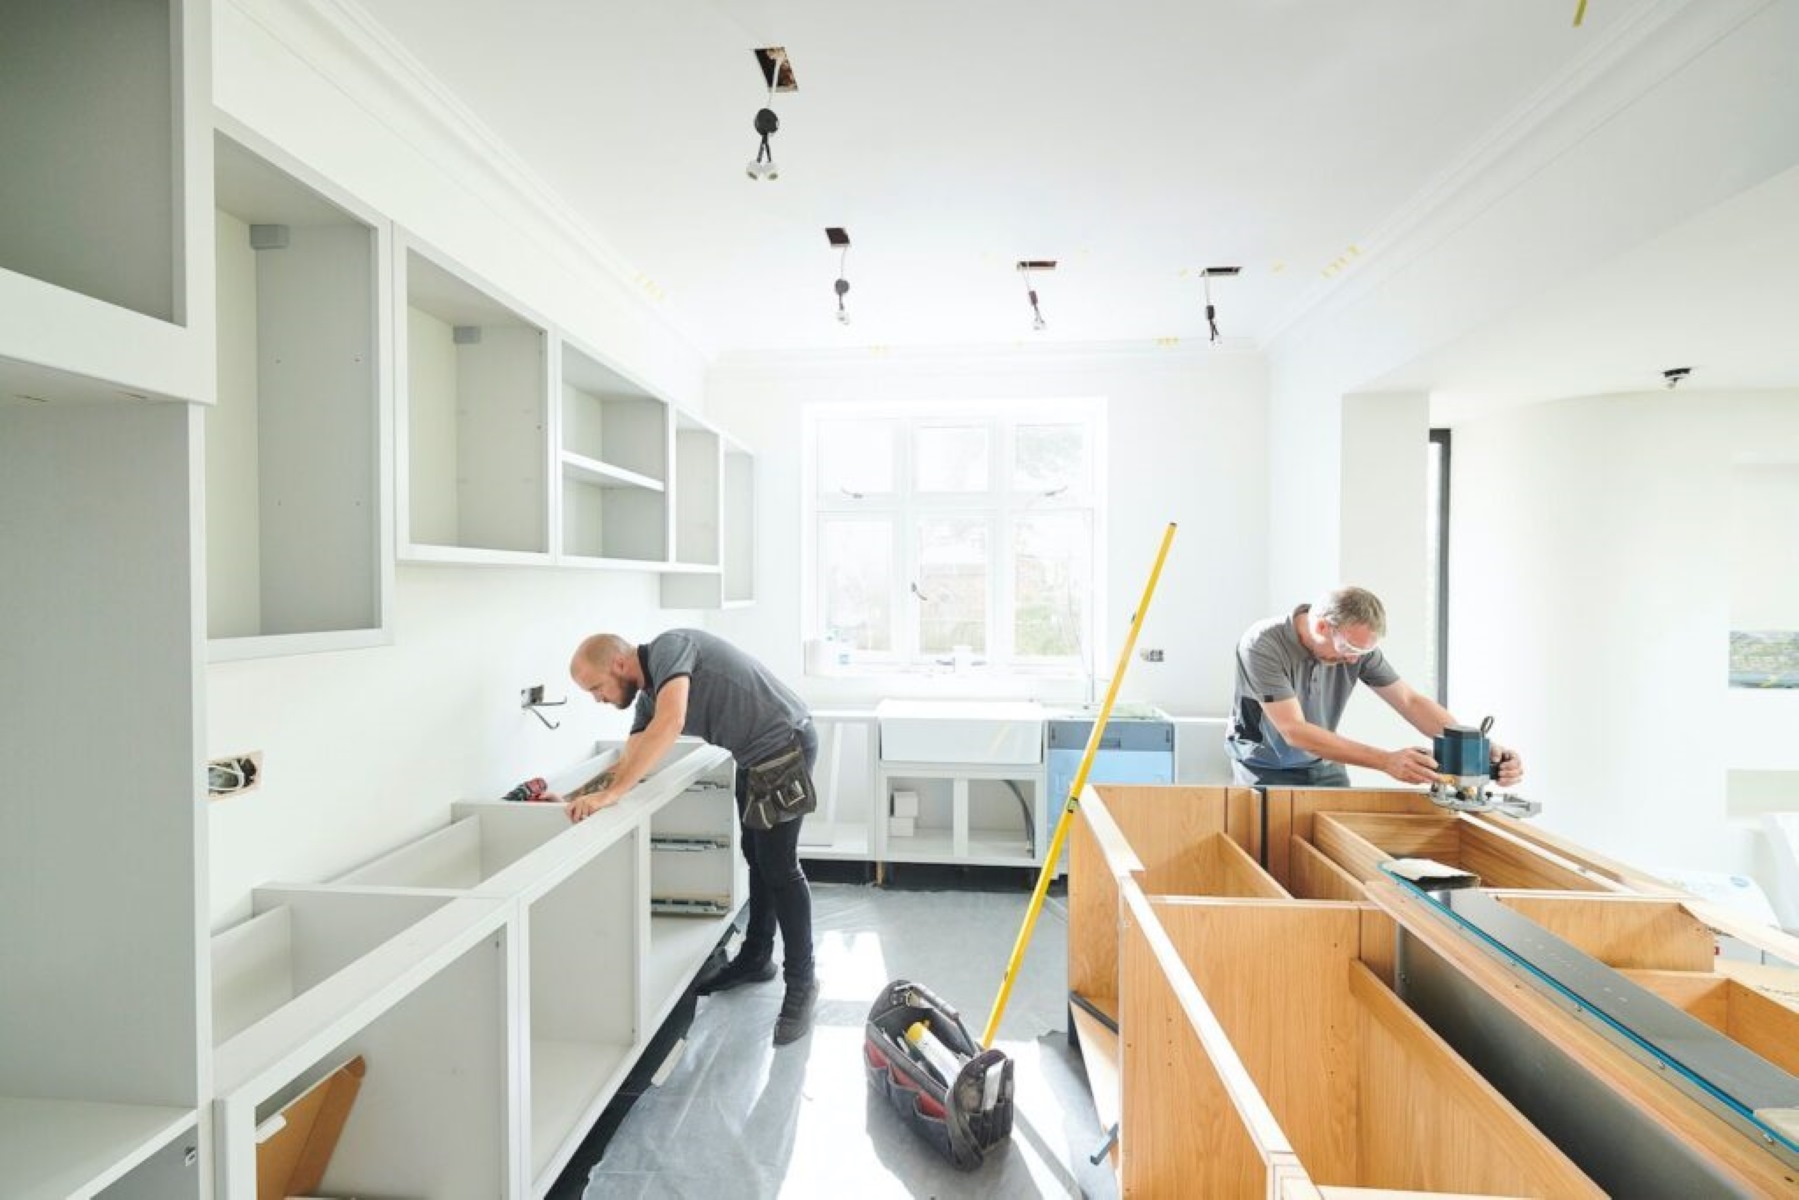
When removing kitchen cabinets, start by removing the doors and drawers. Then, unscrew the cabinets from the wall and carefully lift them off the mounting brackets. Be sure to have someone help you with the lifting to avoid injury.
Detaching the Cabinet Boxes
With the cabinet doors out of the way, it’s time to tackle the next step: detaching the cabinet boxes from the wall. Follow these steps to safely remove the cabinet boxes:
- Locate the screws or nails: Look for the screws or nails securing the cabinet boxes to the wall. These are typically located along the back and sides of the cabinets.
- Remove the screws or nails: Using a screwdriver, power drill, or hammer, carefully remove the screws or nails from each cabinet box. Keep them in a labeled plastic bag or container for easy organization.
- Support the cabinet boxes: Before completely detaching the cabinet boxes, it’s important to provide support to prevent them from falling or causing any damage. Use sturdy props or ask a friend to assist you in holding the cabinets in place.
- Gently detach the cabinet boxes: Once the screws or nails are removed, carefully lift and detach the cabinet boxes from the wall. Keep a firm grip and take extra caution if the cabinet boxes are heavy.
- Clear the area: Remove any debris or dust that may have accumulated during the removal process to ensure a clean work area.
It’s essential to follow these steps carefully to prevent any accidents or damage. The weight and size of the cabinets may vary, so always seek assistance if needed. With the cabinet boxes detached, you’re one step closer to achieving your desired kitchen transformation. Next, we’ll move on to removing the cabinet frames.
Read more: How To Remove A Cabinet Door
Removing the Cabinet Frames
Now that the cabinet doors and boxes are safely removed, it’s time to tackle the next step: removing the cabinet frames. Follow these steps to successfully remove the cabinet frames:
- Inspect the cabinet frames: Before removing the frames, carefully examine them for any additional screws or nails that may be holding them together or securing them to the wall. Use a flashlight if necessary to ensure you don’t miss any hidden fasteners.
- Remove any additional screws or nails: If you find any extra screws or nails, use a screwdriver, power drill, or hammer to remove them. Make sure to keep them organized in a labeled bag or container.
- Start from the top: Begin removing the cabinet frames from the top down. This will allow for easier access and prevent any damage to the surrounding area.
- Loosen the frames: Use a screwdriver or pry bar to gently loosen the cabinet frames from the wall. Be cautious and use steady, controlled force to avoid causing damage or injury.
- Gradually detach the frames: Once the frames are loosened, carefully lift and detach them from the wall. It’s important to have proper support and assistance if the frames are heavy or oversized.
- Inspect for any damage: After removing the cabinet frames, inspect the wall for any damage or holes that may need to be patched and repaired. Take note of any areas that require attention.
By following these steps, you’ll be able to safely remove the cabinet frames and assess any necessary repairs. Remember to take your time and proceed with caution to avoid any accidents or damage. With the frames removed, we can now move on to the next step: patching and repairing any holes or damage.
Patching and Repairing any Holes or Damage
After removing the cabinet frames, it’s common to find some holes or damage on the walls. To ensure a clean and polished finish, follow these steps to patch and repair any holes or damage:
- Clean the surface: Before beginning any repairs, clean the walls thoroughly with an all-purpose cleaner to remove any dirt, dust, or grease that may interfere with the patching process.
- Assess the damage: Carefully examine the holes or damaged areas to determine the best course of action. If the holes are small, you can use spackle or a patching compound to fill them. For larger holes, you may need to use a wall repair kit or consult a professional.
- Prepare the patching compound: Follow the instructions on the patching compound packaging to prepare the mixture. Use a putty knife to mix it thoroughly until it reaches a smooth consistency.
- Apply the patching compound: With a putty knife, apply the patching compound to the holes or damaged areas. Smooth it out using the knife, making sure to fill the holes completely and create a level surface. Remove any excess compound using the knife.
- Allow the compound to dry: Give the patching compound ample time to dry according to the manufacturer’s instructions. This typically takes a few hours, but it may vary depending on the product and the size of the repair.
- Sand and blend the repaired area: Once the patching compound is dry, use a sanding block or sandpaper to gently sand the repaired area. Blend the edges of the patch with the surrounding wall for a seamless finish. Wipe away any dust with a clean cloth.
- Prepare for painting: If you plan on painting the walls, prime the patched areas with a wall primer before applying paint. This will ensure a consistent finish and help the paint adhere properly.
- Paint the walls: Once the primer is dry, proceed with painting the walls to your desired color. Apply multiple coats if necessary for full coverage and allow the paint to dry completely between coats.
Following these steps will help you achieve a professional-looking finish by patching and repairing any holes or damage left behind from removing the cabinets. Take your time and pay attention to detail for the best results. With the repairs completed, you’re now ready to enjoy your updated kitchen space!
Conclusion
Congratulations! You’ve successfully learned how to remove kitchen cabinets and take a significant step towards transforming your kitchen. By following the step-by-step process outlined in this guide, you were able to safely remove the cabinet doors, detach the cabinet boxes, remove the cabinet frames, and patch and repair any holes or damage left behind. Now, your kitchen is ready for a fresh and modern look!
Remember, safety should always be your top priority when tackling any DIY project. Use proper lifting techniques and protective gear, and seek assistance if needed. Take your time with each step to avoid accidents and to ensure a clean and polished result.
If you plan to further renovate your kitchen, such as installing new cabinets, flooring, or countertops, now is the perfect time to do so. With your old cabinets removed, you have a blank canvas to bring your design vision to life.
Whether you’re embarking on a full kitchen renovation or simply updating the appearance of your space, the process of removing kitchen cabinets is an essential step. By following the instructions outlined in this guide, you have gained the knowledge and confidence to complete this task with ease.
Remember to properly dispose of the old cabinets and any debris generated during the removal process. Consider donating your cabinets if they are still in good condition, or contact your local waste management facility for disposal options.
Thank you for following this guide on how to remove kitchen cabinets. We hope it has been helpful in your journey towards a beautiful and functional kitchen. Make the most of this opportunity to create a space that reflects your personal style and meets your needs. Good luck with your kitchen renovations!
Frequently Asked Questions about How To Remove Kitchen Cabinet
Was this page helpful?
At Storables.com, we guarantee accurate and reliable information. Our content, validated by Expert Board Contributors, is crafted following stringent Editorial Policies. We're committed to providing you with well-researched, expert-backed insights for all your informational needs.

0 thoughts on “How To Remove Kitchen Cabinet”