Articles
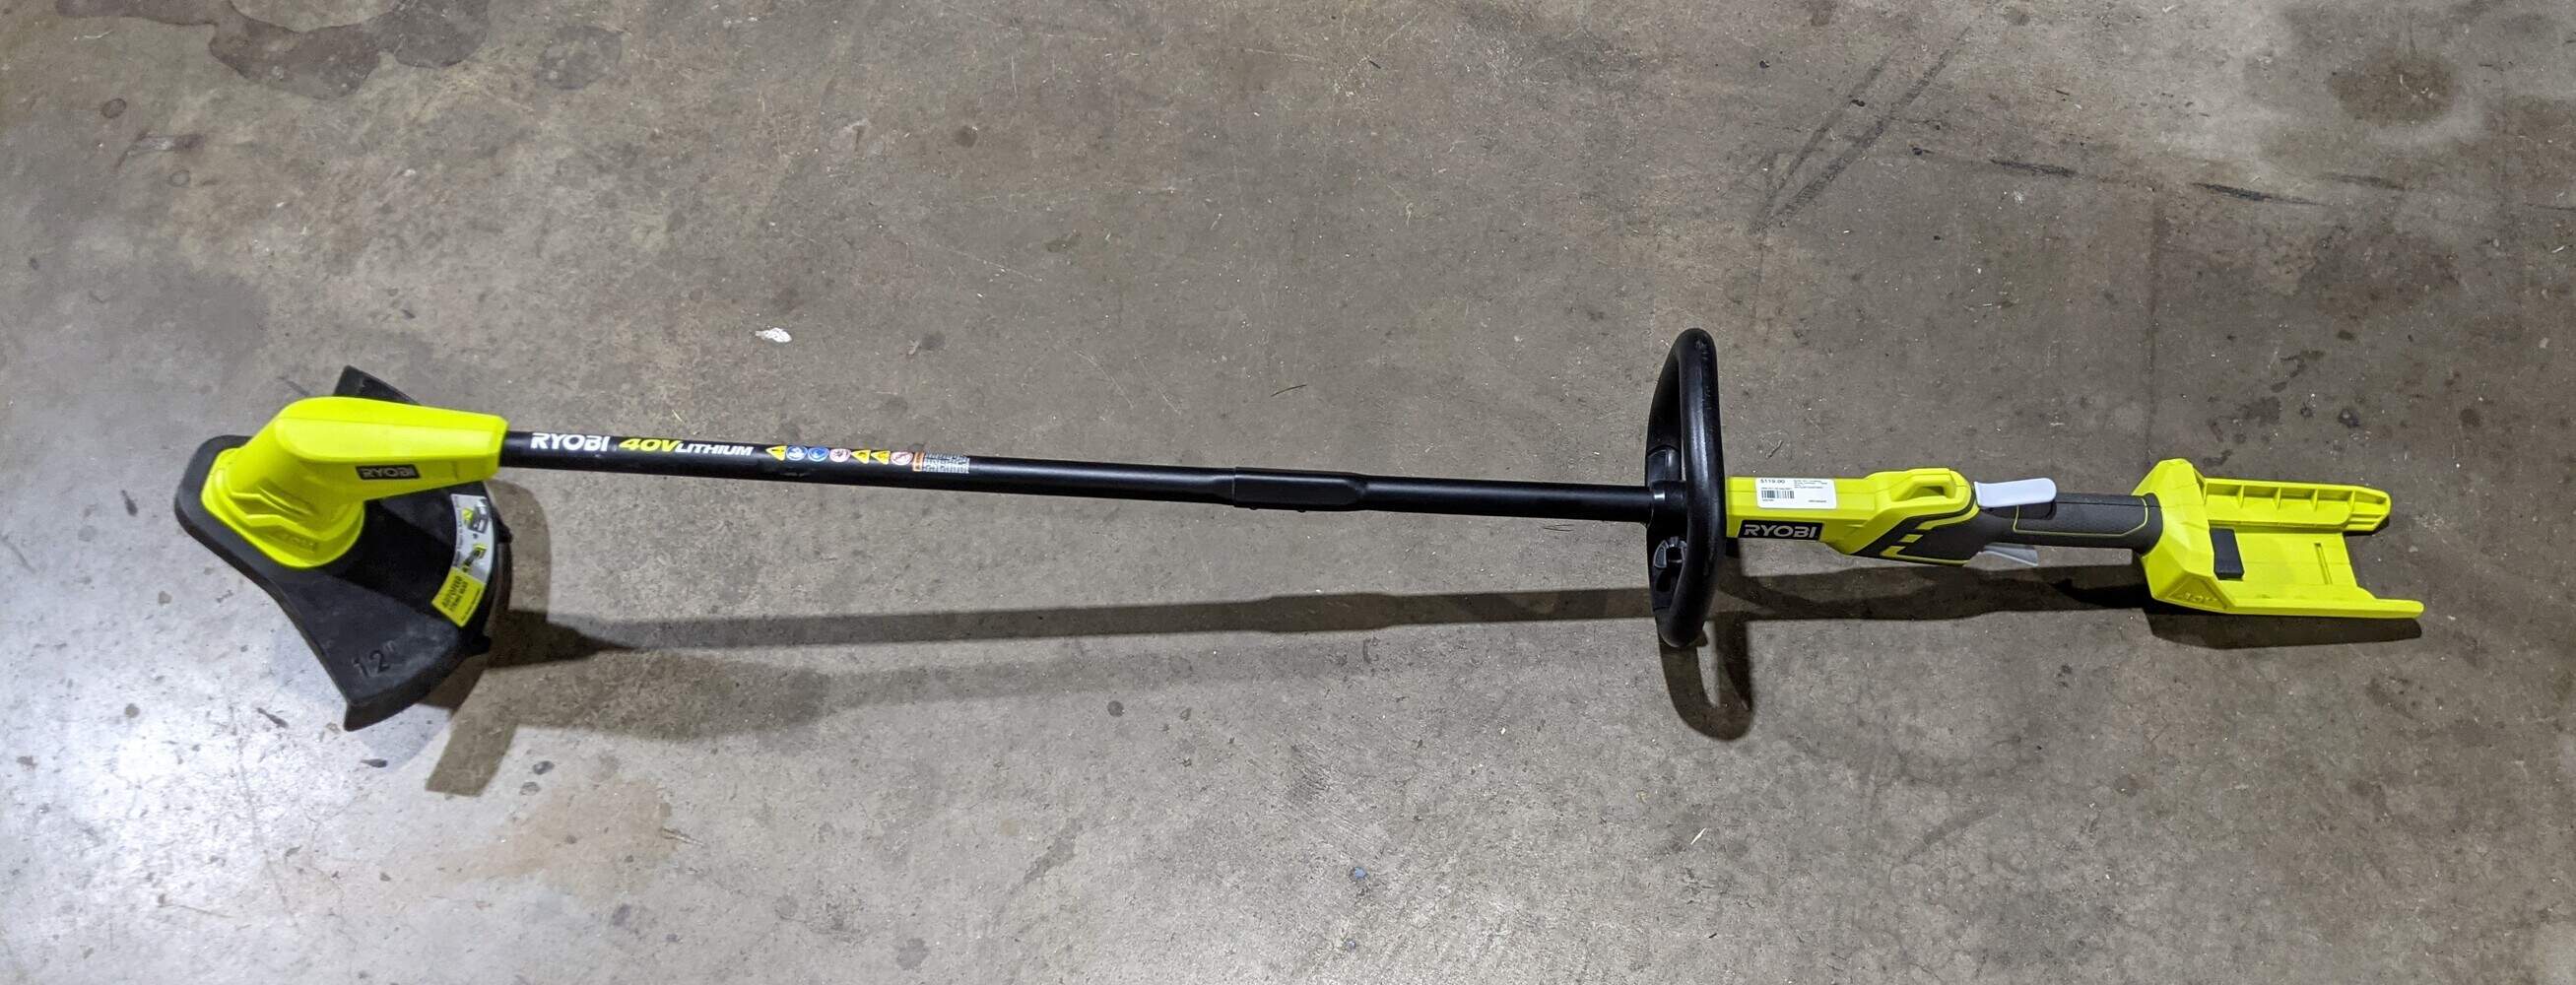
How To Remove Ryobi Trimmer Head
Modified: December 7, 2023
Learn how to remove the Ryobi trimmer head easily with our step-by-step guide. Read our informative articles for expert tips and tricks.
(Many of the links in this article redirect to a specific reviewed product. Your purchase of these products through affiliate links helps to generate commission for Storables.com, at no extra cost. Learn more)
Introduction
Welcome to this comprehensive guide on how to remove the Ryobi trimmer head from your trimmer. The trimmer head is an essential component of the trimmer that holds the cutting line, enabling you to trim and edge your yard effectively. However, there may come a time when you need to replace the trimmer head due to wear and tear or if you want to upgrade to a different type of head.
In this step-by-step tutorial, we will walk you through the process of removing the Ryobi trimmer head, ensuring that you have all the necessary tools and knowledge to complete the task successfully. Whether you are a DIY enthusiast or a beginner, this guide will provide you with clear instructions and helpful tips to make the process easy and efficient.
Before we get started, it’s important to note that safety should be your top priority. Always disconnect the spark plug wire before working on any part of your trimmer to avoid accidental starting. Additionally, ensure that you have the appropriate protective gear, such as gloves and safety glasses, to protect yourself from any potential hazards.
Now, let’s gather the required materials and get started with removing the Ryobi trimmer head!
Key Takeaways:
- Safely and efficiently remove and replace the Ryobi trimmer head by following the step-by-step guide. Prioritize safety, gather necessary materials, and ensure a smooth workflow for optimal trimmer performance.
- Upgrade to a new trimmer head or replace a worn-out one with confidence. From disconnecting the spark plug wire to reassembling the trimmer, this guide provides clear instructions for a successful trimmer head removal and installation.
Read more: How To Rotate Ryobi Trimmer Head
Step 1: Gather the Required Materials
Before you begin the process of removing the Ryobi trimmer head, it’s important to gather all the necessary materials. Having everything on hand will ensure a smooth and efficient workflow. Here are the materials you will need:
- Ryobi trimmer
- Replacement trimmer head (if you are planning to install a new one)
- Socket wrench or adjustable wrench
- Allen wrench set or screwdriver (depending on the type of trimmer head)
- Workbench or flat surface
- Gloves
- Safety glasses
Once you have gathered these materials, you are ready to move on to the next step.
Step 2: Disconnect the Spark Plug Wire
Before working on any part of your Ryobi trimmer, it’s crucial to disconnect the spark plug wire to prevent accidental starting. This step will ensure your safety throughout the process. Here’s how you can disconnect the spark plug wire:
- Locate the spark plug on your trimmer. It is usually positioned on the engine and can be identified by a rubber boot covering the spark plug terminal.
- Gently pull off the rubber boot to expose the spark plug terminal.
- Use a pair of pliers or your fingers to grip the spark plug wire firmly.
- While holding the wire, gently pull it away from the spark plug terminal. This will disconnect the spark plug wire, ensuring that the trimmer won’t start accidentally.
After following these steps, it is advisable to move the spark plug wire away from the spark plug itself to minimize any risks. You are now ready to proceed with removing the trimmer head.
Step 3: Remove the Trimmer Head Cover
With the spark plug wire safely disconnected, you can now move on to removing the trimmer head cover. The trimmer head cover protects the internal components of the trimmer head and holds it securely in place. Follow these steps to remove the trimmer head cover:
- Locate the trimmer head cover, which is typically positioned at the top of the cutting head assembly. It is usually made of plastic and may have a small screw or knob holding it in place.
- If there is a screw or knob, use the appropriate tool (such as a screwdriver or wrench) to loosen and remove it. Set the screw or knob aside in a safe place.
- Gently pull or lift the trimmer head cover away from the trimmer. It may be snugly fitted, so use a slight twisting motion if needed.
- Inspect the inside of the trimmer head cover for any debris, such as grass clippings or dirt. Clean out any debris to ensure optimal performance of your trimmer.
Once you have removed the trimmer head cover and cleaned out any debris, proceed to the next step to remove the trimmer spool.
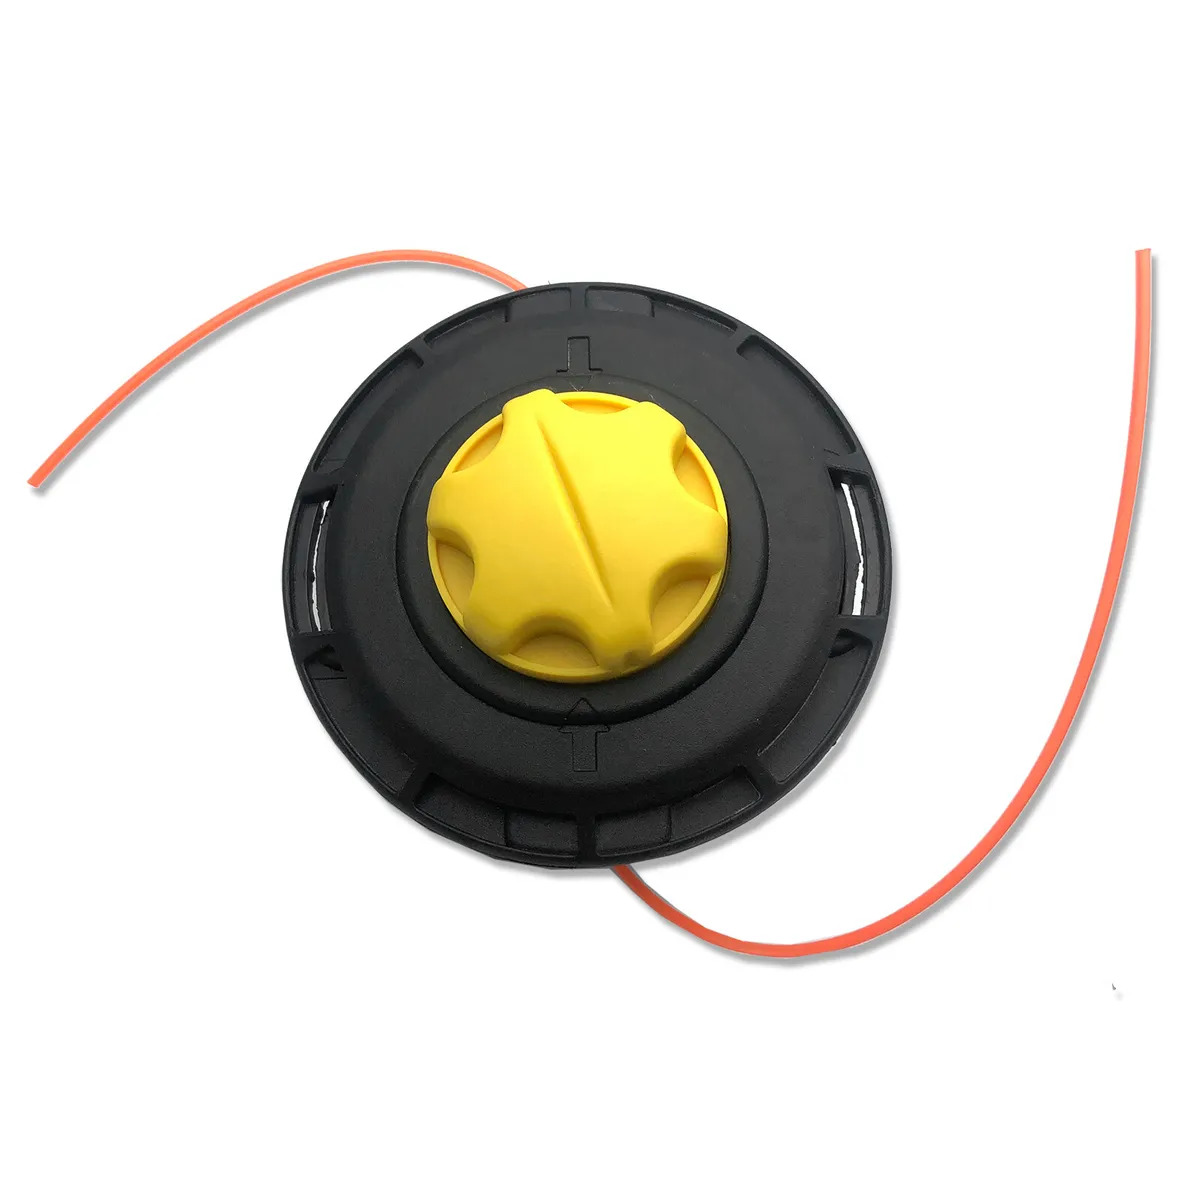
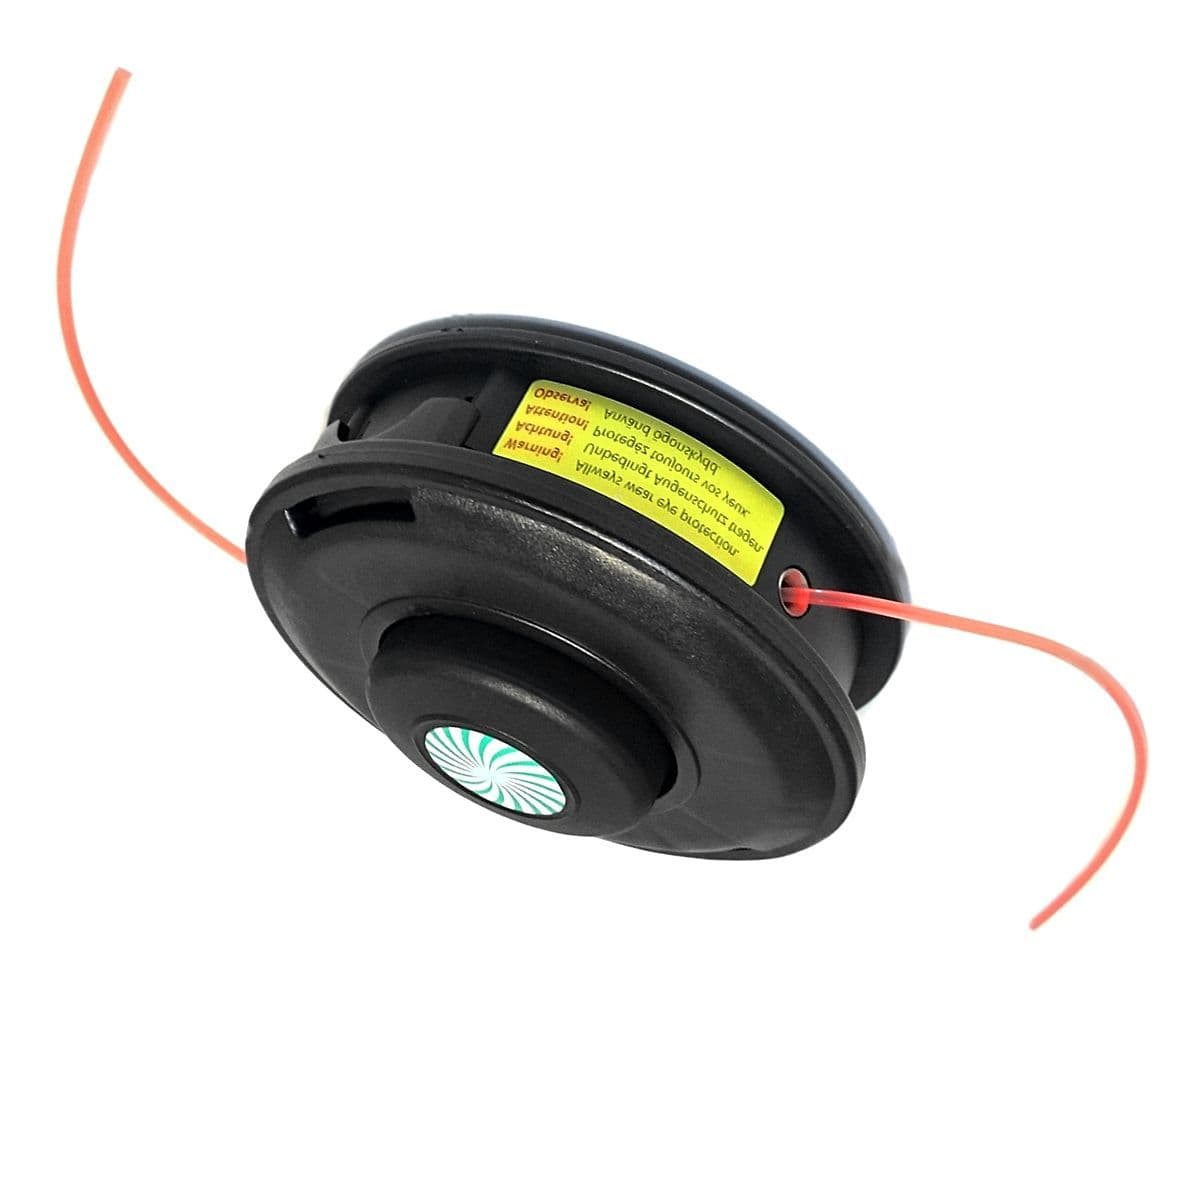
Step 4: Remove the Trimmer Spool
After removing the trimmer head cover, the next step is to remove the trimmer spool. The trimmer spool is the part that holds the cutting line, allowing you to trim and edge your yard effectively. Here’s how you can remove the trimmer spool:
- Locate the trimmer spool, which is typically found inside the trimmer head assembly. It is a round, disk-like component.
- Hold the trimmer spool in place with one hand to prevent it from spinning.
- Use your other hand to rotate the bump knob or release button on the trimmer head counterclockwise. This will loosen the spool and allow you to remove it.
- Gently pull the trimmer spool straight out of the trimmer head assembly. It may require a bit of force as it might be snugly fitted.
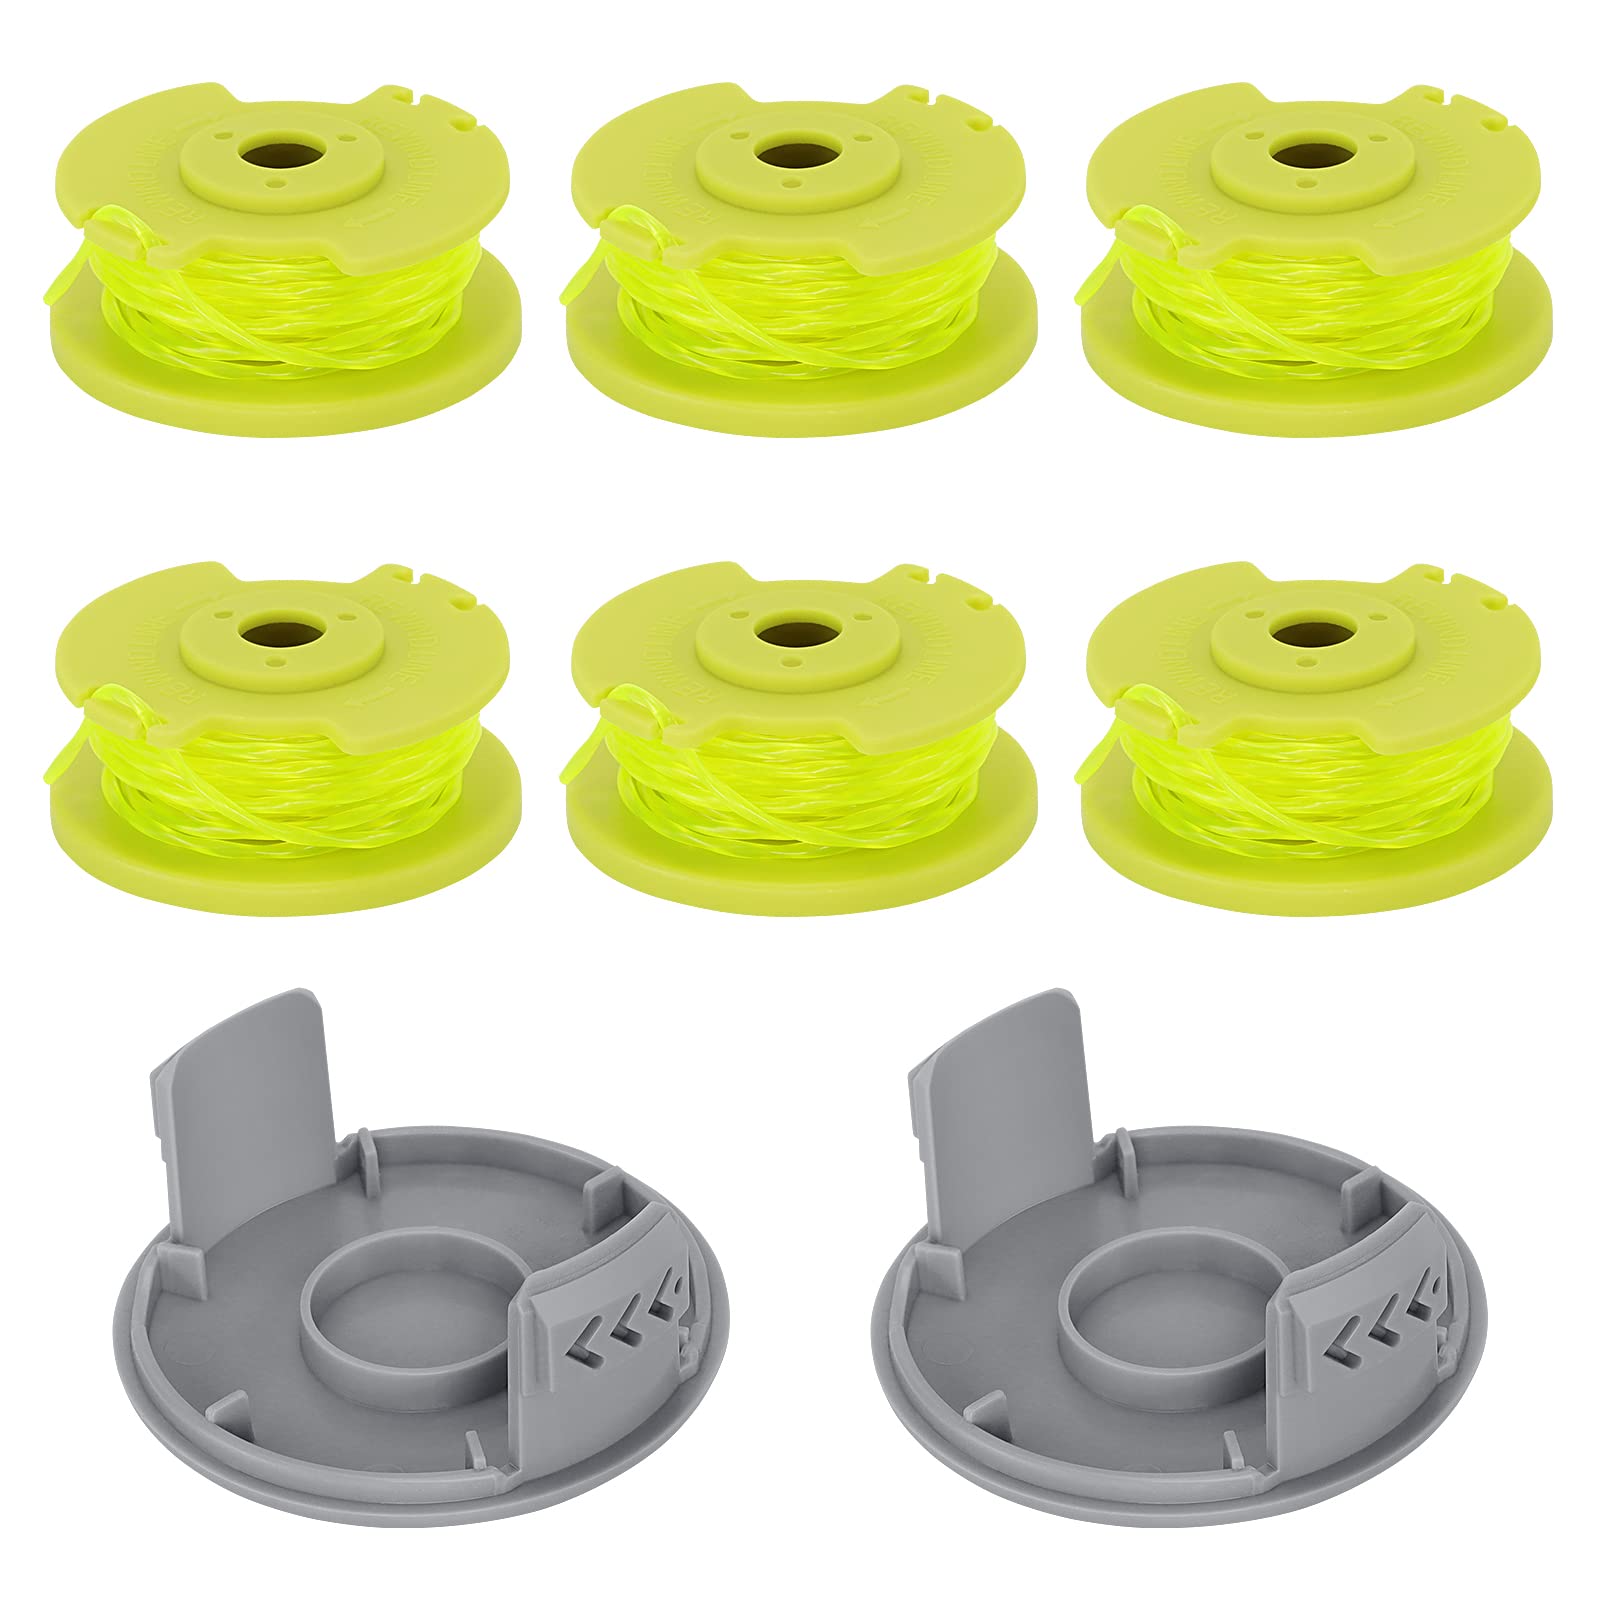
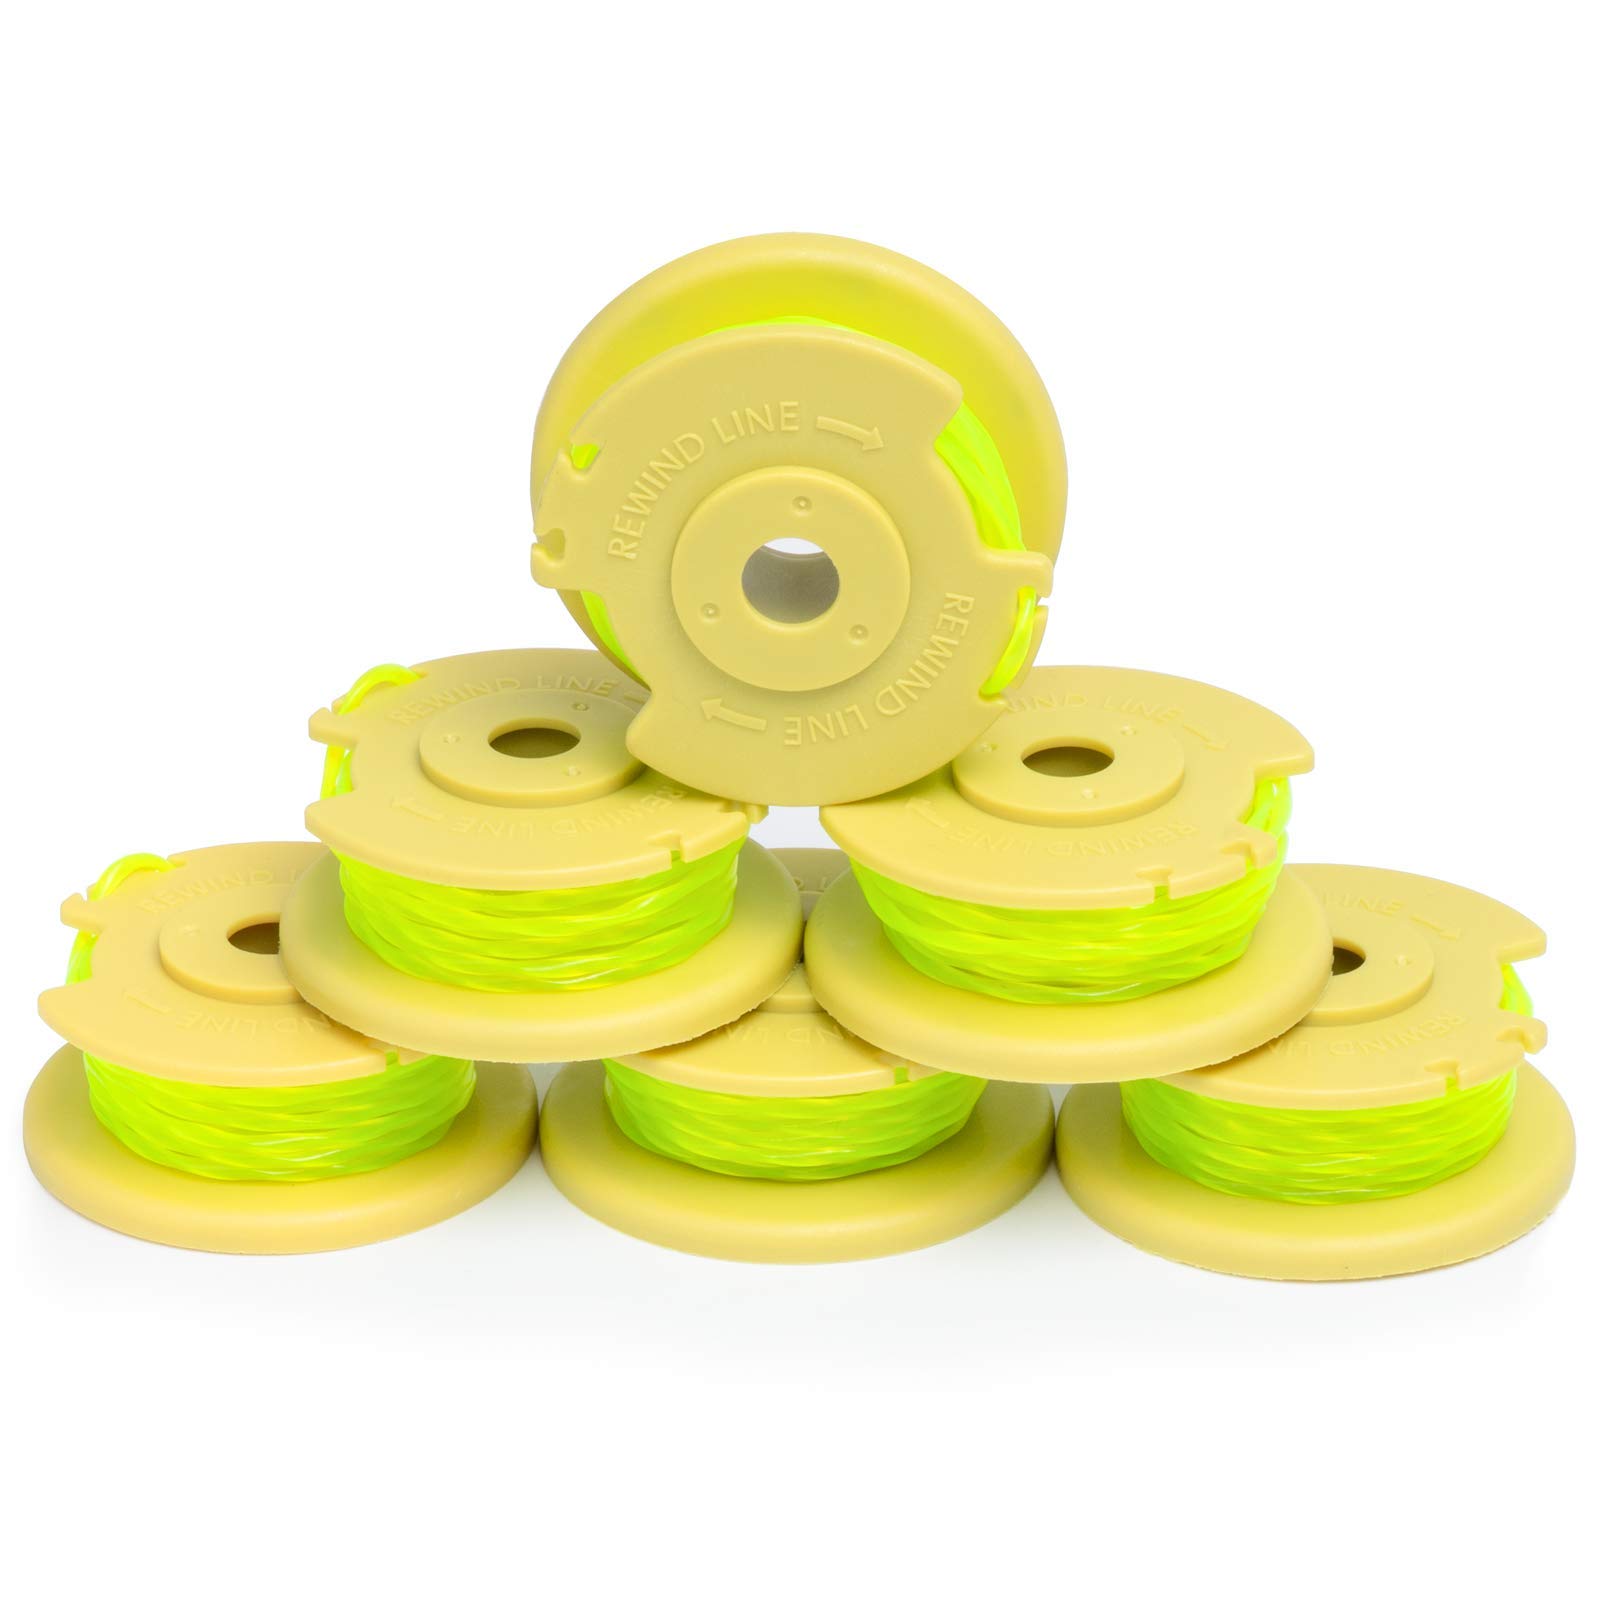
- Inspect the trimmer spool and cutting line for any damage or wear. If necessary, replace the cutting line with a new one to ensure optimal cutting performance.
With the trimmer spool removed, you are now ready to detach the trimmer head assembly in the next step.
When removing the Ryobi trimmer head, make sure to disconnect the spark plug to prevent accidental starts. Use a wrench to loosen the trimmer head and remove it carefully.
Read more: How To Advance String On Ryobi Trimmer
Step 5: Detach the Trimmer Head Assembly
Now that you have removed the trimmer spool, it’s time to detach the trimmer head assembly from the trimmer. The trimmer head assembly is the part that houses the trimmer head and allows for rotation while cutting. Follow these steps to detach the trimmer head assembly:
- Locate the connection point between the trimmer head assembly and the trimmer shaft. This is usually near the bottom of the trimmer head assembly.
- Depending on your trimmer model, there may be a retaining bolt or a quick-release mechanism securing the trimmer head assembly to the trimmer shaft.
- If there is a retaining bolt, use the appropriate tool (such as a socket wrench or adjustable wrench) to loosen and remove it. Set the bolt aside in a safe place.
- If there is a quick-release mechanism, follow the manufacturer’s instructions to disengage and separate the trimmer head assembly from the trimmer shaft.
- Once the connection is loosened or released, gently pull the trimmer head assembly away from the trimmer shaft. It may require a bit of force as it may be tightly fitted.
With the trimmer head assembly detached, you can proceed to the next step to install the new trimmer head or make any necessary adjustments.
Step 6: Install the New Trimmer Head
If you are replacing the old trimmer head or upgrading to a different type, this step will guide you through the process of installing the new trimmer head. Follow these steps to install the new trimmer head:
- Take out the new trimmer head from its packaging and ensure that it is compatible with your Ryobi trimmer model.
- Hold the trimmer head assembly and align it with the trimmer shaft. Make sure that the connection point on the trimmer head assembly matches the slot or hole on the trimmer shaft.
- Insert the trimmer head assembly into the trimmer shaft, pushing it in until it is firmly seated and the connection is secure.
- If there is a retaining bolt, reinsert it into the designated hole on the trimmer shaft and tighten it using the appropriate tool. Ensure that the trimmer head assembly is held securely in place.
- If there is a quick-release mechanism, follow the manufacturer’s instructions to engage and lock the trimmer head assembly onto the trimmer shaft.
- Give the trimmer head assembly a gentle tug to ensure it is securely attached to the trimmer shaft.
With the new trimmer head properly installed, you are now ready to reassemble the trimmer in the next step.
Step 7: Reassemble the Trimmer
After installing the new trimmer head or making any necessary adjustments, it’s time to reassemble your Ryobi trimmer. Follow these steps to complete the reassembly process:
- Take the trimmer spool and align it with the trimmer head assembly. Make sure that the spool securely fits into the designated slot or hole.
- Push the trimmer spool into the trimmer head assembly until it clicks or locks into place.
- If there is a bump knob or release button, rotate it clockwise to secure the trimmer spool in the trimmer head assembly.
- Retrieve the trimmer head cover and position it over the trimmer head assembly.
- If there was a screw or knob holding the trimmer head cover in place, reinsert it into the designated hole and tighten it using the appropriate tool.
- Ensure that the trimmer head cover is snugly fitted and properly aligned.
- Reconnect the spark plug wire by firmly pushing it back onto the spark plug terminal.
Congratulations! You have successfully reassembled your Ryobi trimmer after removing and replacing the trimmer head. Take a moment to inspect the trimmer to ensure that all components are securely in place.
Now that your trimmer is ready to go, you can resume your yard work with confidence, knowing that you have installed a new trimmer head or made the necessary adjustments to optimize performance.
Remember to follow safety precautions and consult your trimmer’s manual for specific instructions related to your model. Regular maintenance and care will help extend the lifespan of your trimmer and ensure its efficiency.
We hope this guide has been helpful in guiding you through the process of removing and replacing the Ryobi trimmer head. Happy trimming!
Conclusion
Removing and replacing the trimmer head on your Ryobi trimmer is a straightforward process that can be done with ease by following these step-by-step instructions. Whether you’re upgrading to a new trimmer head or replacing a worn-out one, knowing how to properly remove and install the trimmer head is essential for maintaining the performance and functionality of your trimmer.
Throughout this guide, we’ve covered each step in detail, from gathering the necessary materials to reassembling the trimmer after the trimmer head replacement. By disconnecting the spark plug wire, removing the trimmer head cover, detaching the trimmer spool, and finally installing the new trimmer head, you can ensure that your Ryobi trimmer is in optimal working condition.
Remember to always prioritize safety by wearing appropriate protective gear and ensuring that the spark plug wire is disconnected before working on any part of the trimmer. Additionally, consult your trimmer manual for specific instructions and guidelines related to your particular model.
By following this guide and performing regular maintenance on your trimmer, you can prolong its lifespan and continue to achieve pristine trimming and edging results in your yard. Don’t hesitate to refer back to this guide whenever you need to remove or replace the trimmer head on your Ryobi trimmer.
We hope this comprehensive guide has been helpful to you, and we wish you the best of luck with your trimmer head removal and installation journey!
Frequently Asked Questions about How To Remove Ryobi Trimmer Head
Was this page helpful?
At Storables.com, we guarantee accurate and reliable information. Our content, validated by Expert Board Contributors, is crafted following stringent Editorial Policies. We're committed to providing you with well-researched, expert-backed insights for all your informational needs.


0 thoughts on “How To Remove Ryobi Trimmer Head”